
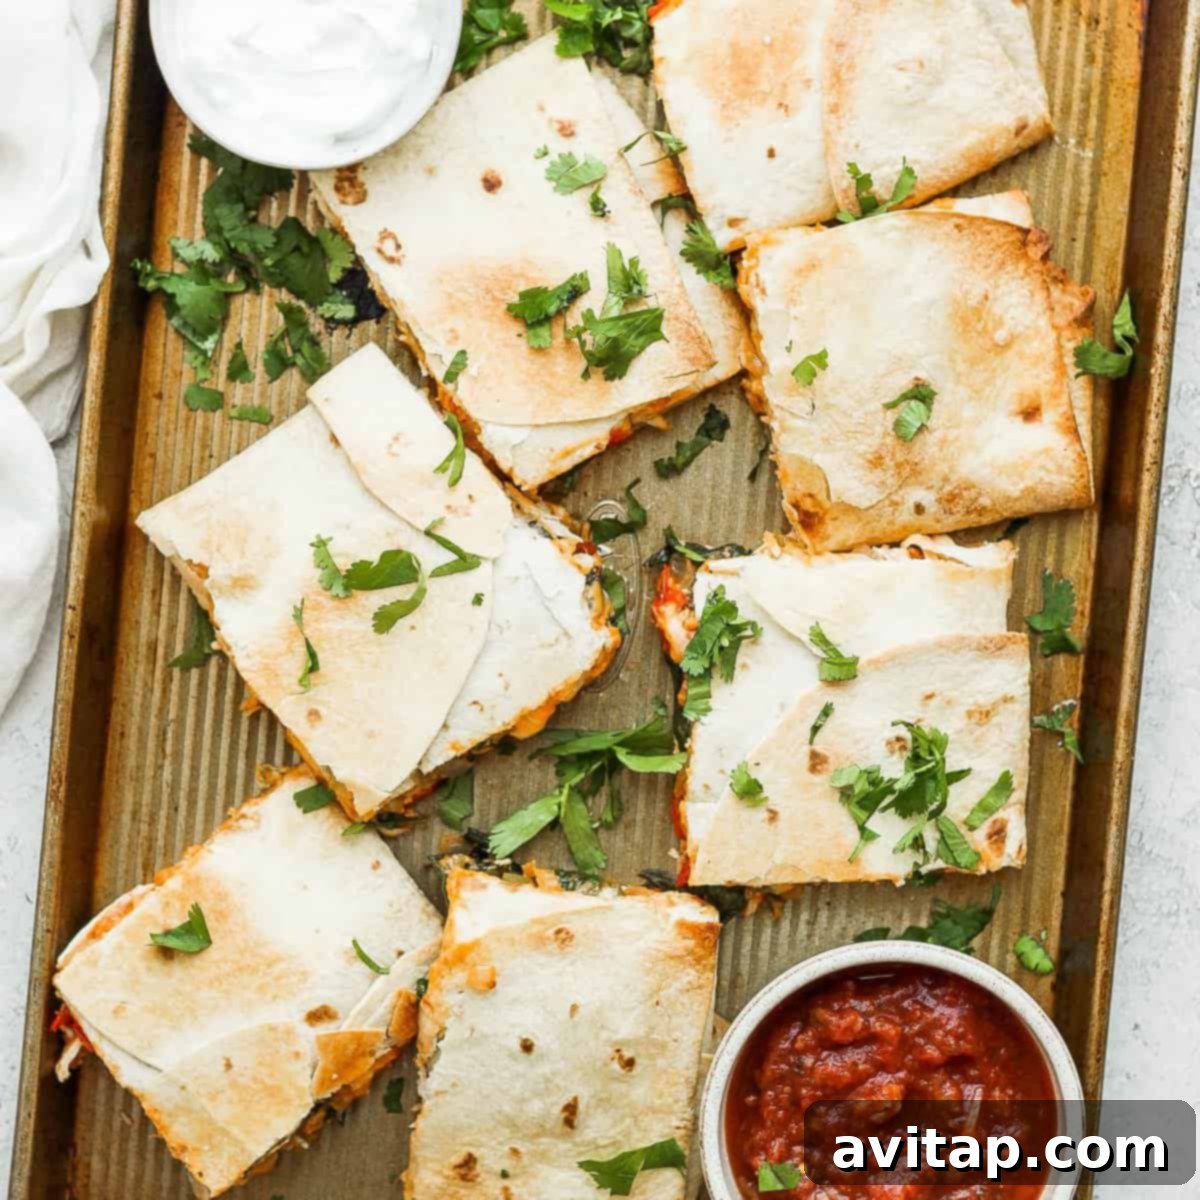
Prepare to revolutionize your weeknight dinners with these incredibly simple yet profoundly satisfying sheet pan quesadillas. This ingenious method transforms the humble quesadilla into an effortless meal, perfect for feeding a hungry crowd or streamlining your meal prep for the week ahead. Each quesadilla is generously packed with tender shredded salsa chicken, a vibrant medley of sautéed vegetables, and a rich, melty cheese blend, all baked on a single baking sheet until gloriously crispy and golden brown. Say goodbye to flipping individual quesadillas over a hot stove and embrace the ease and deliciousness of oven-baked perfection.
Why Sheet Pan Quesadillas Are a Game Changer
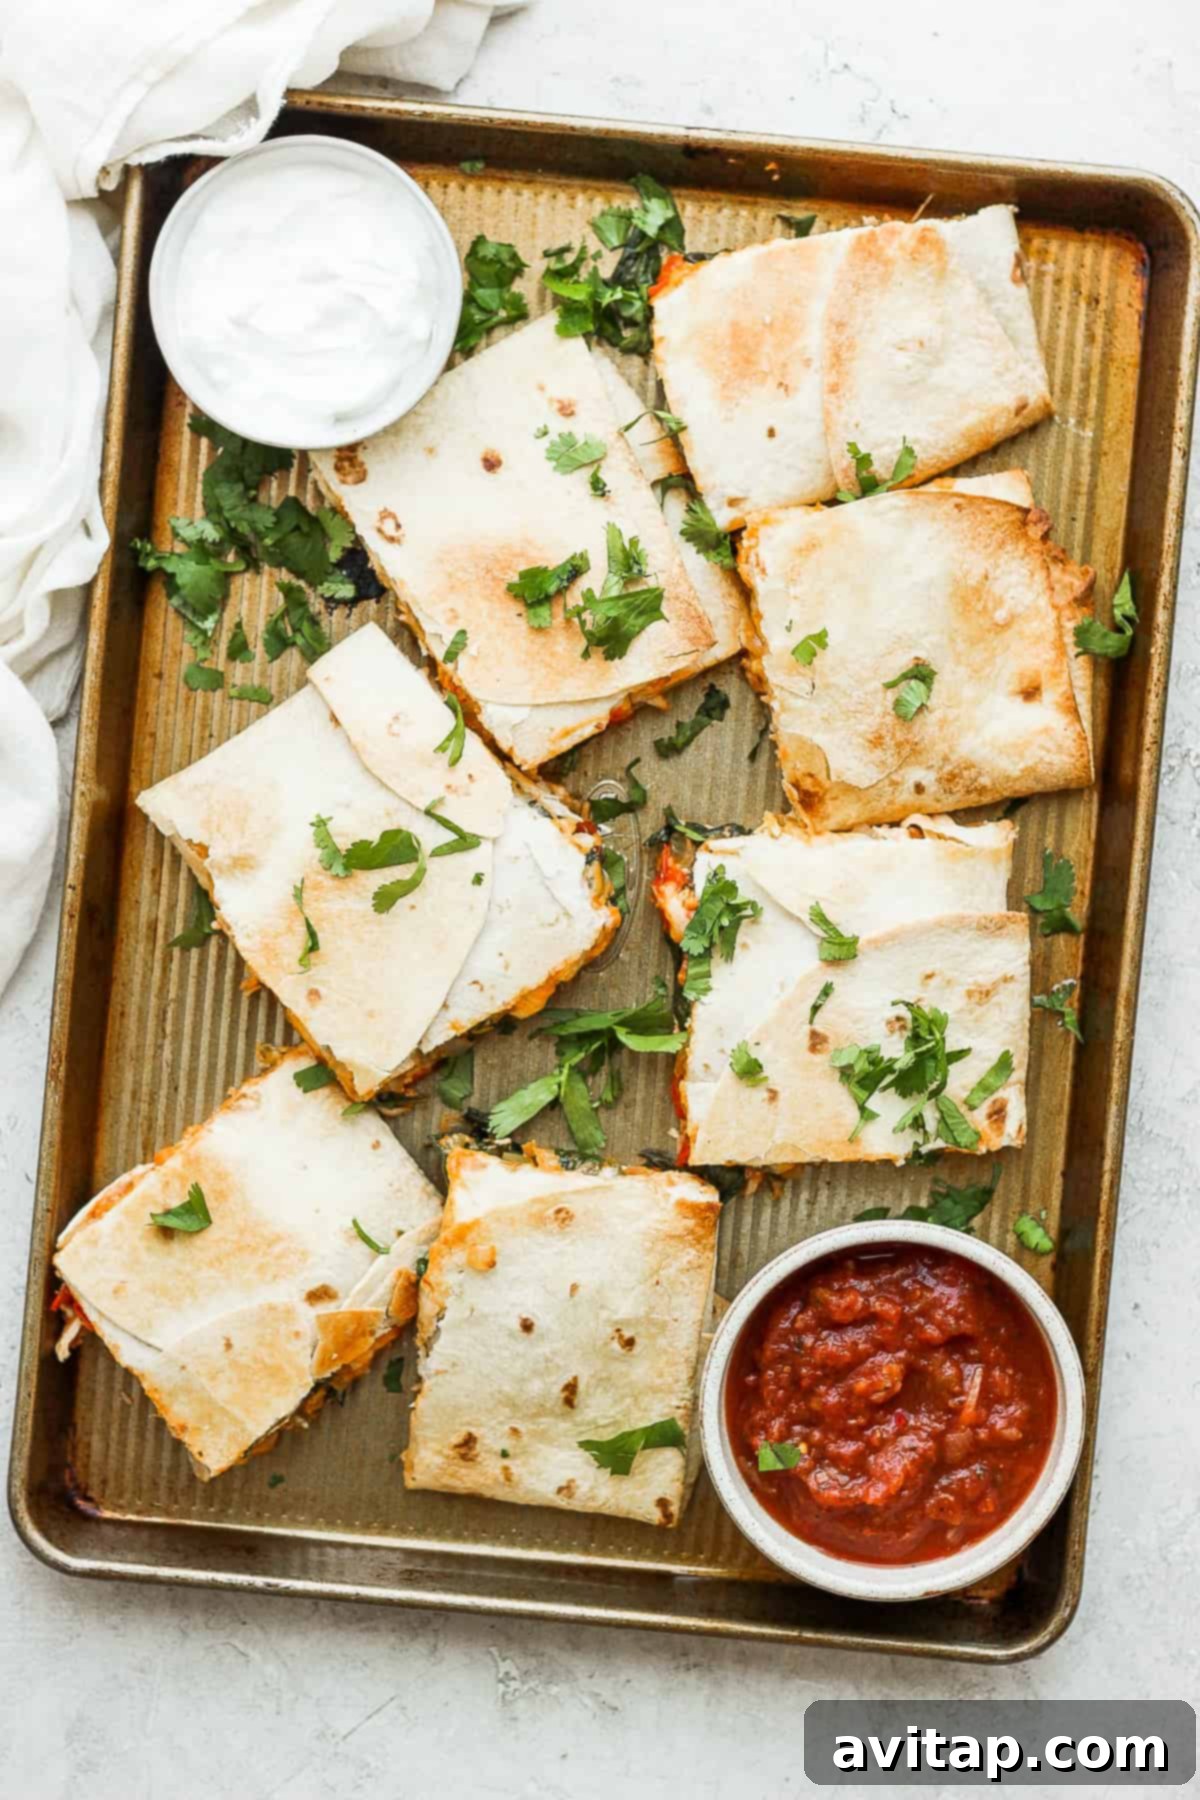
Forget the days of smoky kitchens and endless flipping of single quesadillas. This sheet pan method simplifies the entire process, yielding an impressive batch of typically 9 or more perfectly cooked quesadillas at once. The oven’s consistent heat ensures every corner turns irresistibly golden brown and delightfully crispy, without the constant attention required by a skillet. This recipe isn’t just about convenience; it’s about delivering a uniformly delicious and satisfying meal with minimal fuss.
We absolutely adore this recipe because it strikes the perfect balance between ease, incredible flavor, and substantial nutritional value. It’s an ideal solution for busy families, entertaining guests, or anyone looking for a smart way to prepare delicious food in advance.
Essential Tips for Success
To ensure your sheet pan quesadillas turn out flawlessly every time, keep these key tips in mind before you begin your culinary adventure:
- Choose the Right Tortilla Size: You can use either 10-inch or 12-inch flour tortillas. While 12-inch tortillas will naturally cover more area, requiring fewer overall, 10-inch tortillas work just as well. Simply adjust the number of tortillas used to completely line your baking sheet.
- Pre-Mix Your Chicken and Salsa: This crucial step allows the shredded chicken ample time to absorb the rich flavors of the salsa, resulting in a much more succulent and flavorful filling. Do this first and let it sit while you prepare other ingredients.
- Don’t Skip the Top Baking Sheet: Placing a second baking sheet directly on top of your assembled quesadilla before baking is vital. This gentle weight helps compress the layers, ensuring the tortillas adhere firmly to the filling and prevent the edges from curling up, leading to a cohesive, perfectly sealed quesadilla.
- Control Moisture from Vegetables: When sautéing your vegetables, cook them down until most of their excess liquid has evaporated. This prevents your tortillas from becoming soggy and ensures a beautifully crispy texture.
Crafting Your Quesadillas: Key Ingredients
The success of these sheet pan quesadillas lies in the quality and preparation of a few star ingredients:
- Flour Tortillas: Fresh, pliable flour tortillas are essential for this recipe. Their flexibility allows for easy folding and provides the best structural integrity for a large quesadilla. While 12-inch tortillas offer greater coverage, 10-inch tortillas are a perfectly suitable alternative—you’ll simply need a few more to line your pan. For gluten-free needs, look for high-quality gluten-free flour tortillas and gently warm them before assembling to enhance pliability.
- Shredded Chicken: For ultimate convenience, a pre-cooked rotisserie chicken is your best friend here, offering tender, flavorful shredded chicken in minutes. Alternatively, you can easily prepare your own chicken breast by baking, using an Instant Pot, or a Crockpot. Ensure the chicken is shredded evenly to blend seamlessly with the other fillings.
- Salsa: We highly recommend a chunky salsa for added texture and a burst of fresh flavor. Choose your favorite variety, keeping in mind that the salsa’s liquid content is important—opt for one that isn’t overly watery to avoid soggy tortillas. The spice level is also yours to command!
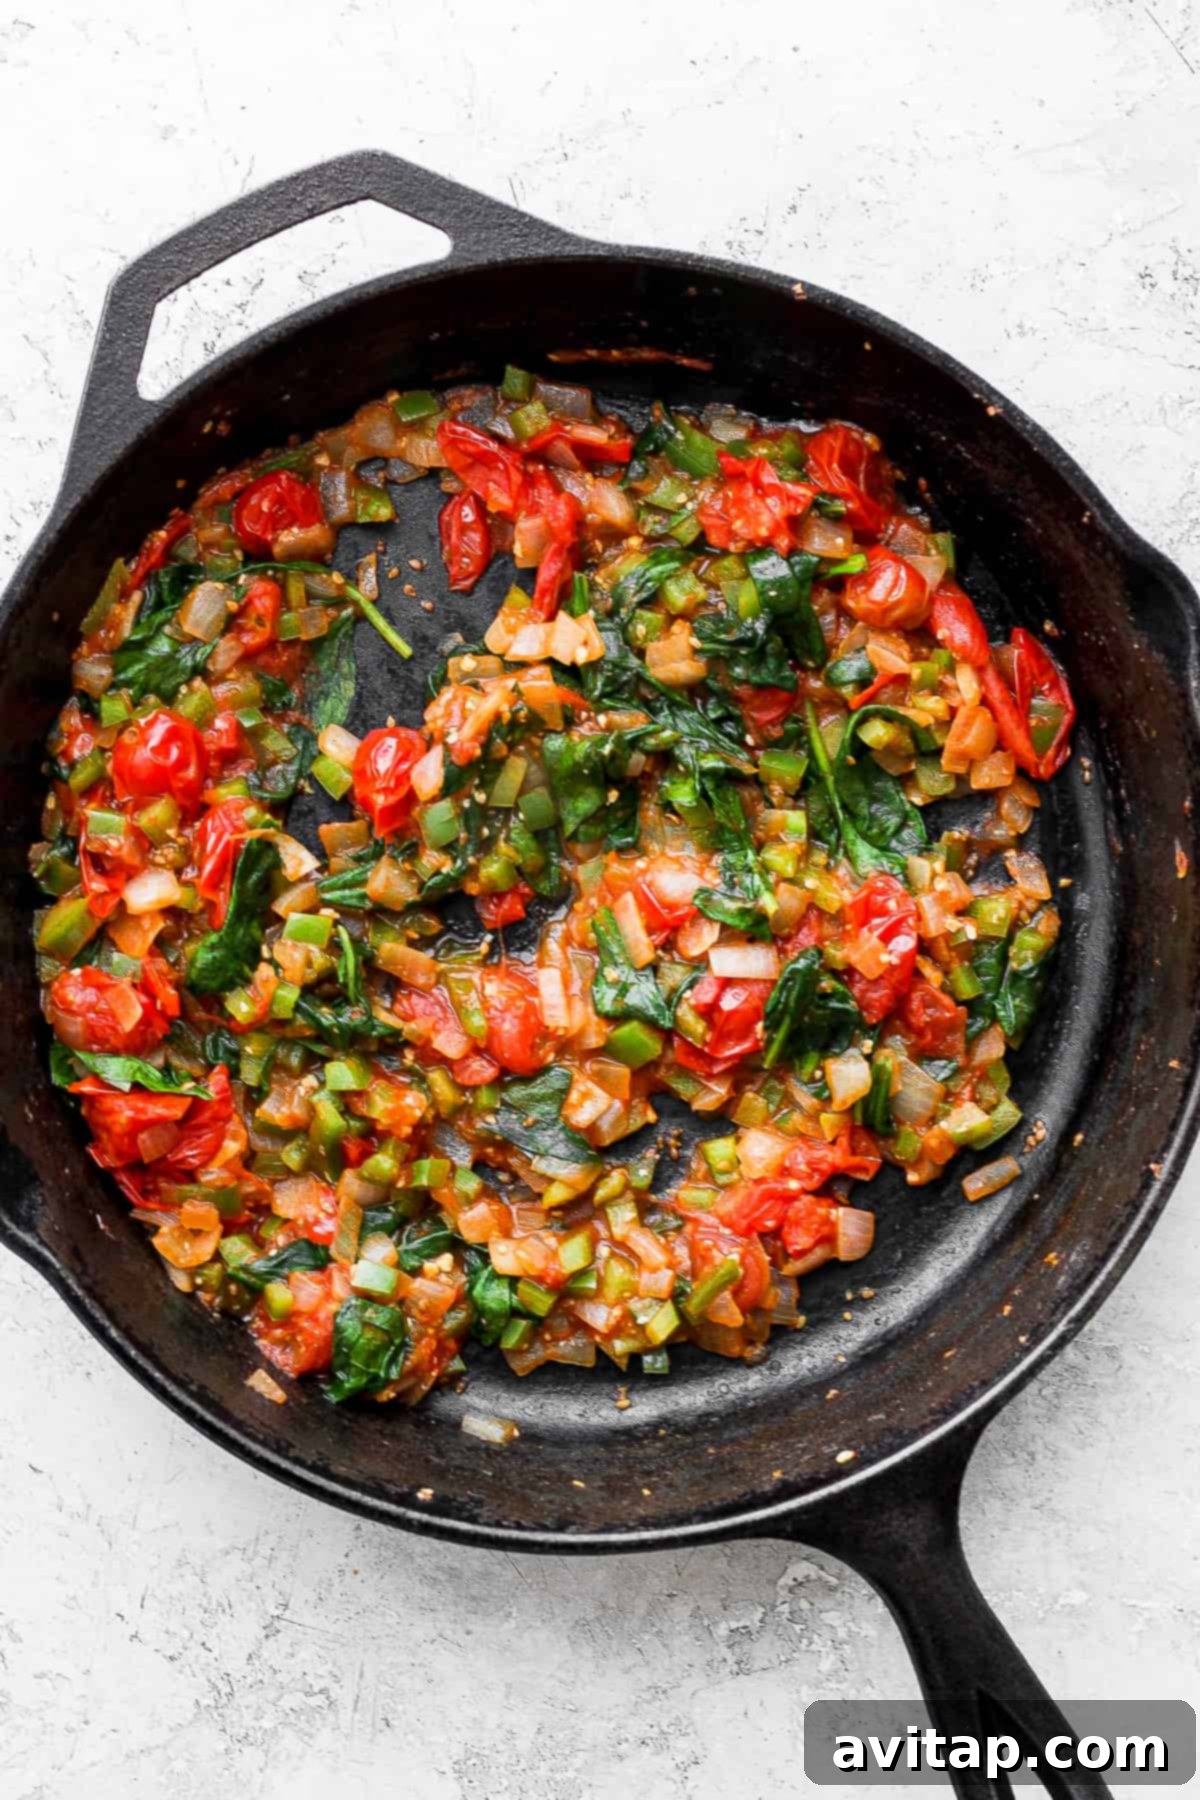
- Fresh Vegetables: A colorful mix of cherry tomatoes, bell peppers (any color works, but a mix adds visual appeal), and fresh spinach adds vital nutrients, texture, and natural sweetness. It’s crucial to sauté these vegetables thoroughly, allowing the cherry tomatoes to soften and burst, and the spinach to wilt completely. This process also helps evaporate excess moisture, preventing a watery filling. Don’t be afraid to experiment with other vegetables like corn or zucchini!
- Mexican-Style Shredded Cheese: A good melting cheese is key to a perfectly bound quesadilla. A pre-shredded Mexican blend offers convenience and a great flavor profile, but shredded Monterey Jack, Colby, or even a mix with a bit of cheddar would be delicious.
Ingredient Swaps & Creative Variations
This recipe is incredibly versatile, allowing you to tailor it to your preferences or what you have on hand:
- Tortillas: Substitute regular flour tortillas with gluten-free flour tortillas for a dietary-friendly option. Remember to warm GF tortillas slightly before folding to prevent cracking.
- Protein: Beyond shredded chicken, consider using savory carnitas, seasoned ground beef, lean ground turkey, or even a plant-based option like black beans or sofritas for a vegetarian twist.
- Cheese: Experiment with Pepper Jack for a spicy kick, Oaxaca cheese for authentic stretch, or a sharp cheddar for a bolder flavor.
- Vegetables: Feel free to add ingredients like corn kernels, diced zucchini, mushrooms, or black beans to the sautéed vegetable mix for extra flavor and nutrients.
Step-by-Step Guide to Perfect Sheet Pan Quesadillas
1. Prepare the Chicken & Salsa Mixture
Whether you’re using convenient pre-shredded rotisserie chicken or freshly cooked and shredded chicken breast, the first and most important step is to combine it thoroughly with your chosen salsa in a medium bowl. Give it a good toss and let it rest for at least 10-15 minutes. This allows the chicken to fully absorb the salsa’s robust flavors, leading to a much more succulent and integrated filling.
2. Sauté the Vegetables
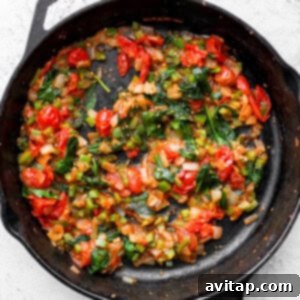
Heat two tablespoons of olive oil in a large skillet over medium-high heat. Once the oil shimmers, add the minced white onion and a pinch of salt. Sauté for 3-4 minutes until the onions begin to soften and become translucent. Next, add the minced garlic and halved cherry tomatoes along with the taco seasoning. Cook for 6-8 minutes, stirring occasionally, until the tomatoes have softened and burst, releasing their juices. Finally, stir in the minced bell pepper and fresh spinach. Continue to cook for another 3-4 minutes, or until the spinach is fully wilted and any excess liquid from the vegetables has mostly evaporated. A dry filling is key to preventing soggy tortillas! Remove from heat and set aside.
3. Assemble the Sheet Pan Quesadilla
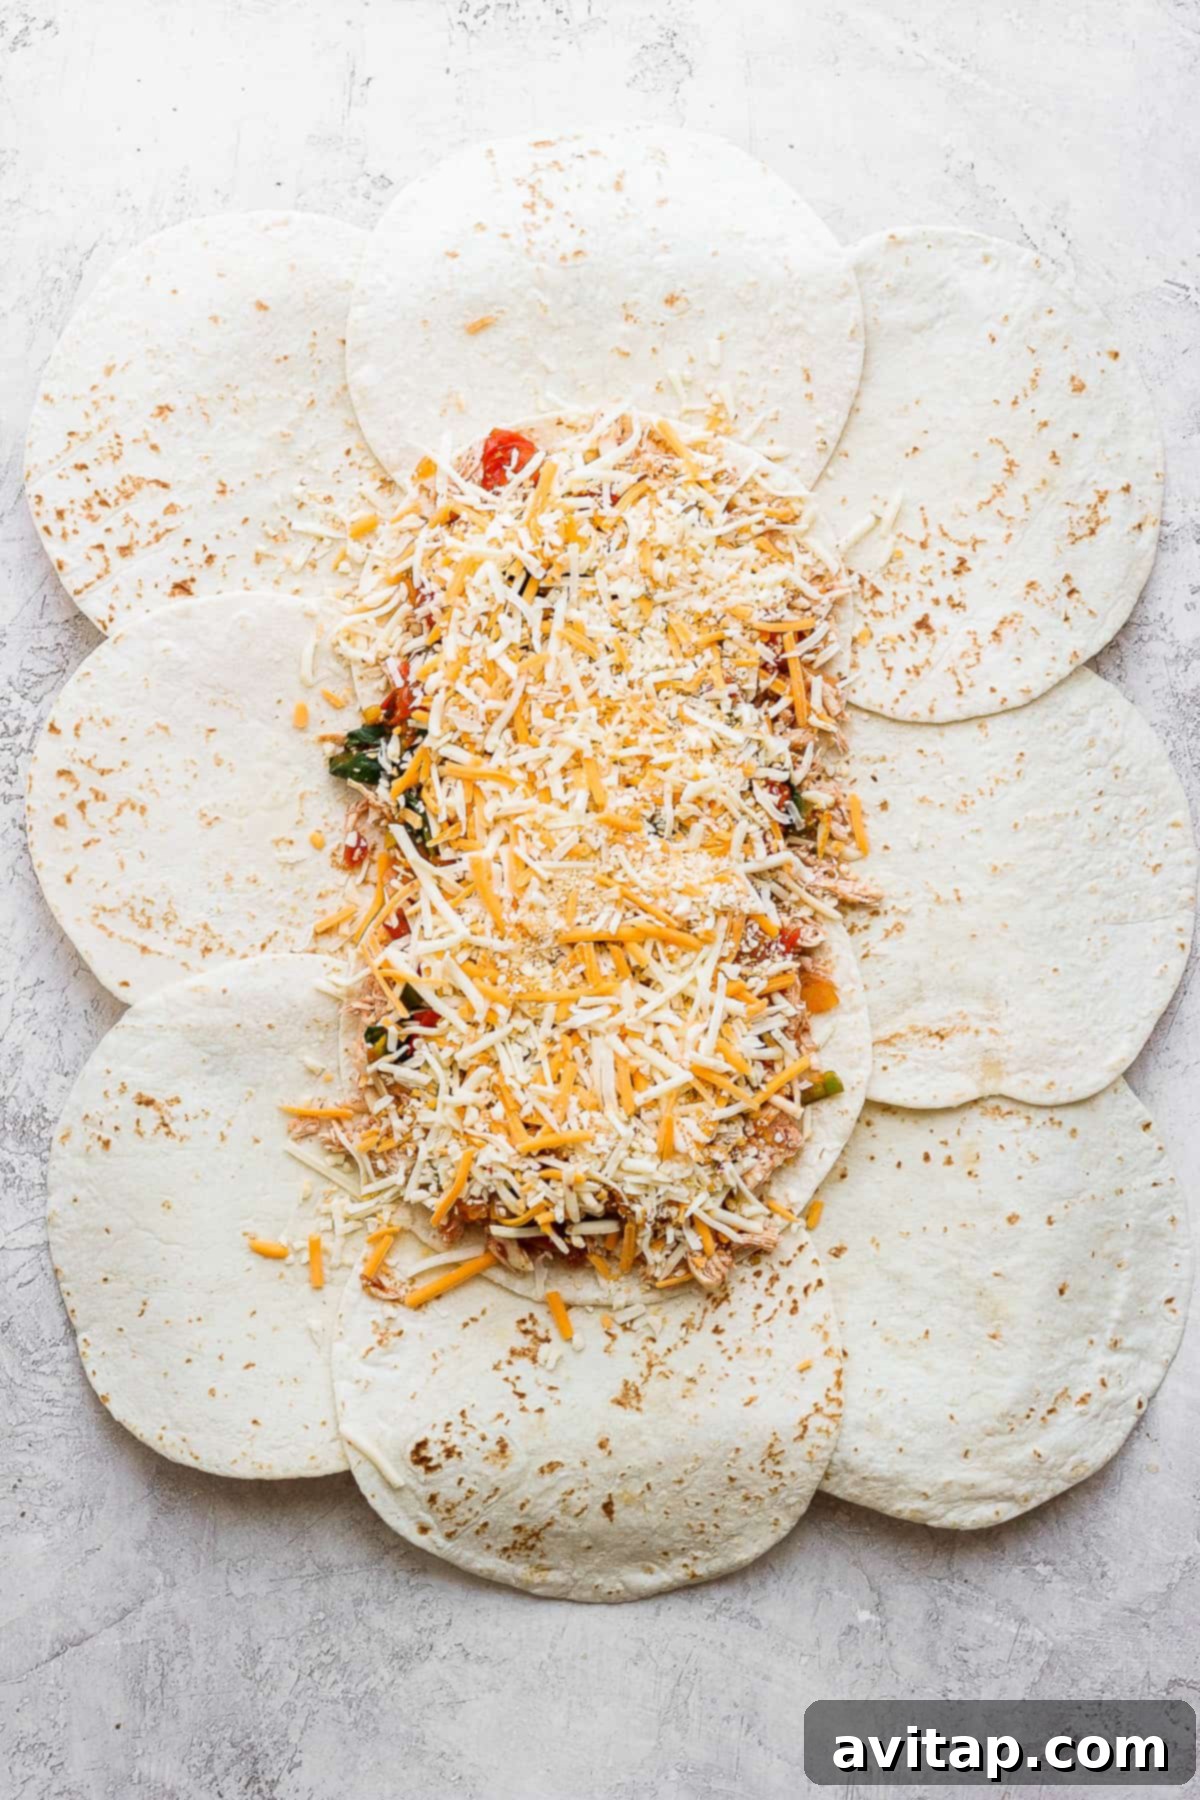
Preheat your oven to 425°F (220°C). Place a wire cooling rack directly onto a large, rimmed baking sheet. Lightly spray the wire rack with nonstick cooking spray. This setup is critical for achieving a crispy bottom crust. Now, arrange your tortillas on the wire rack to form the base of your giant quesadilla. Start by placing two tortillas flat in the center. Then, line the longer outside edges with three overlapping tortillas each, and add two more tortillas to the shorter edges, ensuring the entire surface of the wire rack is covered with overlapping tortillas, creating a solid base.
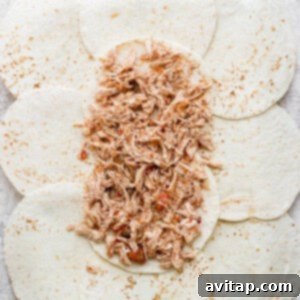
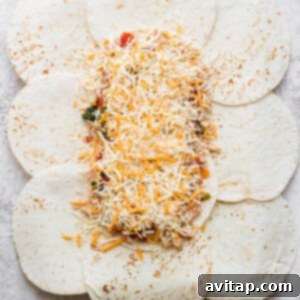
Next, evenly spread the seasoned shredded chicken mixture over the central part of the tortilla base, leaving about an inch or two free around the perimeter. This space is essential for folding. Ensure you drain any excess liquid from the salsa before adding the chicken. Layer the sautéed vegetables evenly over the chicken, followed by a generous sprinkle of your Mexican-style shredded cheese.
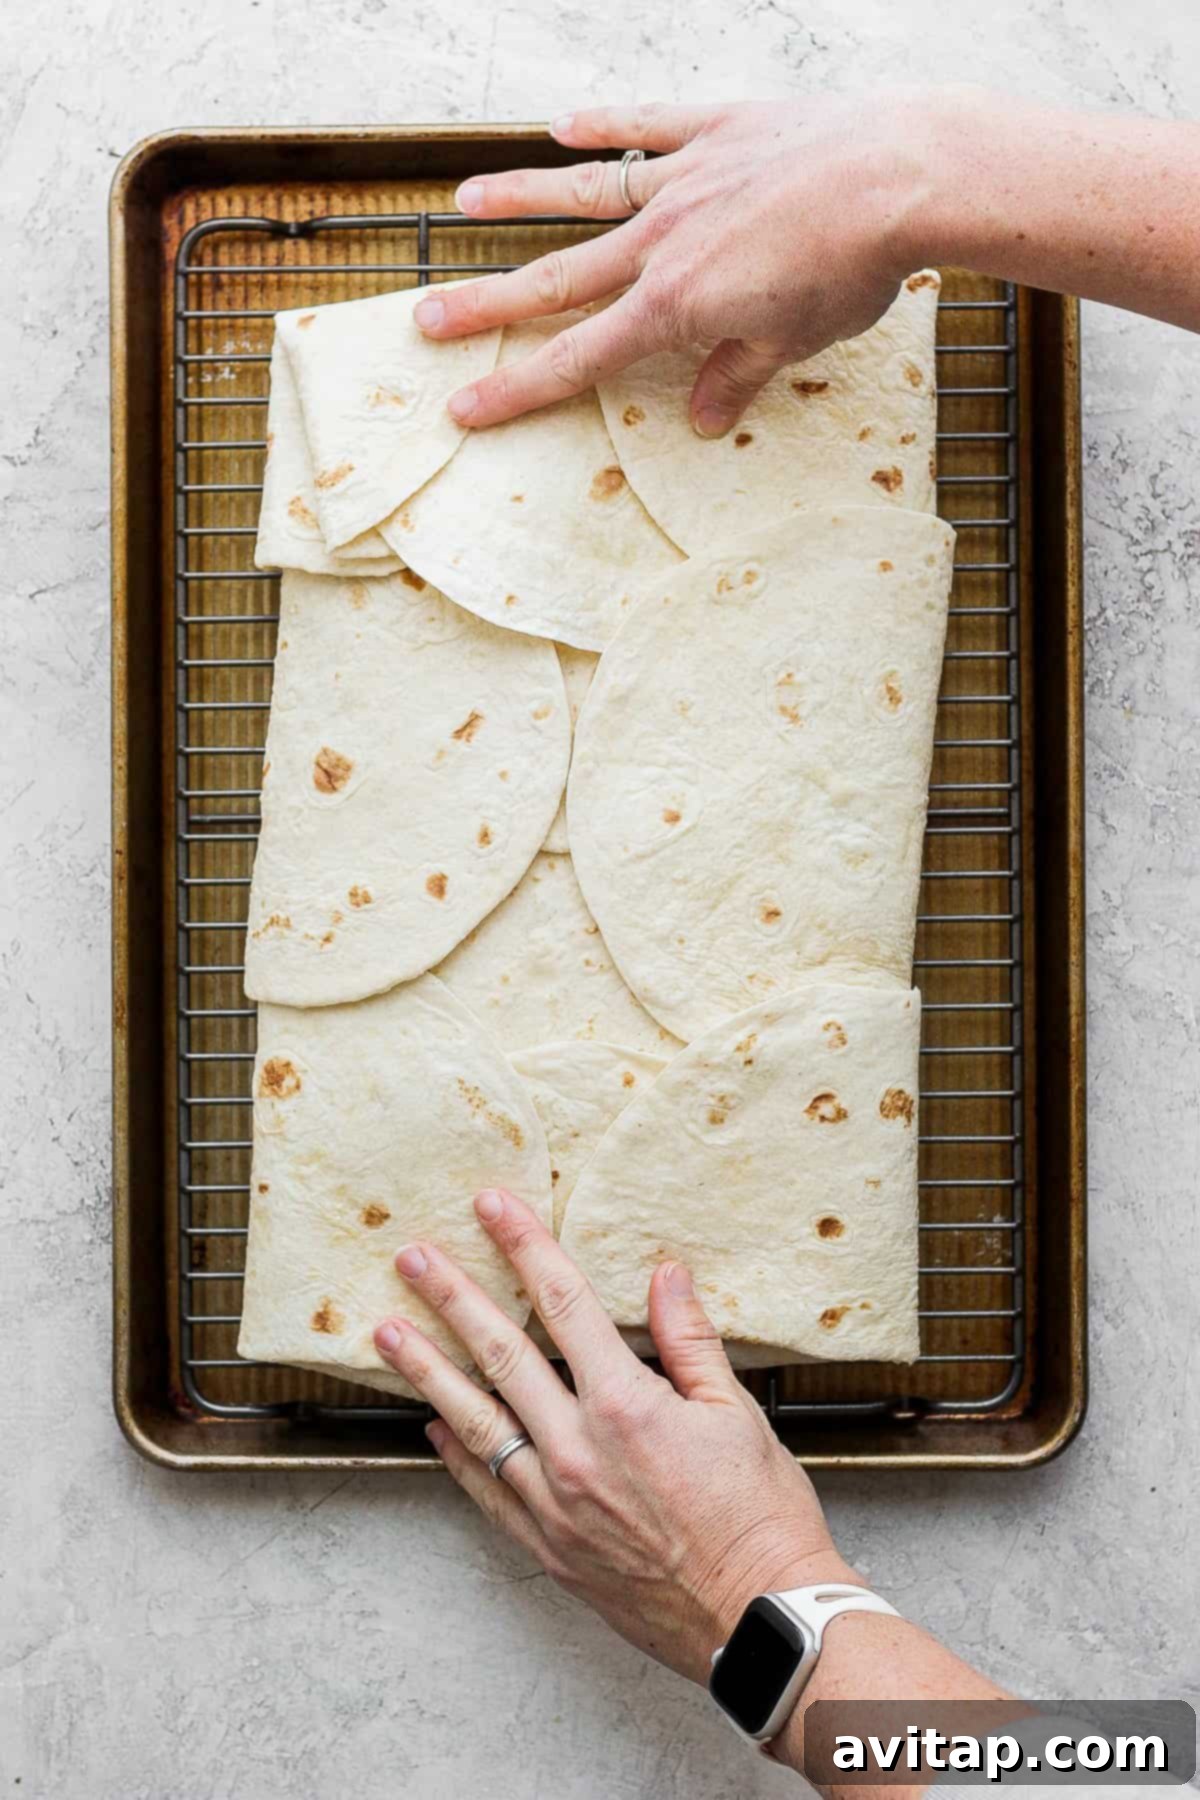
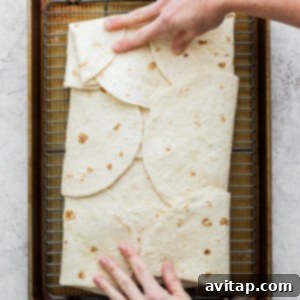
To seal your quesadilla, place two additional tortillas on top of the filling, in the center. Carefully, but firmly, fold the outer edges of the bottom tortillas up and over the top tortillas, tucking them in to secure all the delicious filling. The overlapping folds will create a sealed, large quesadilla block.
4. Bake the Quesadilla to Crispy Perfection
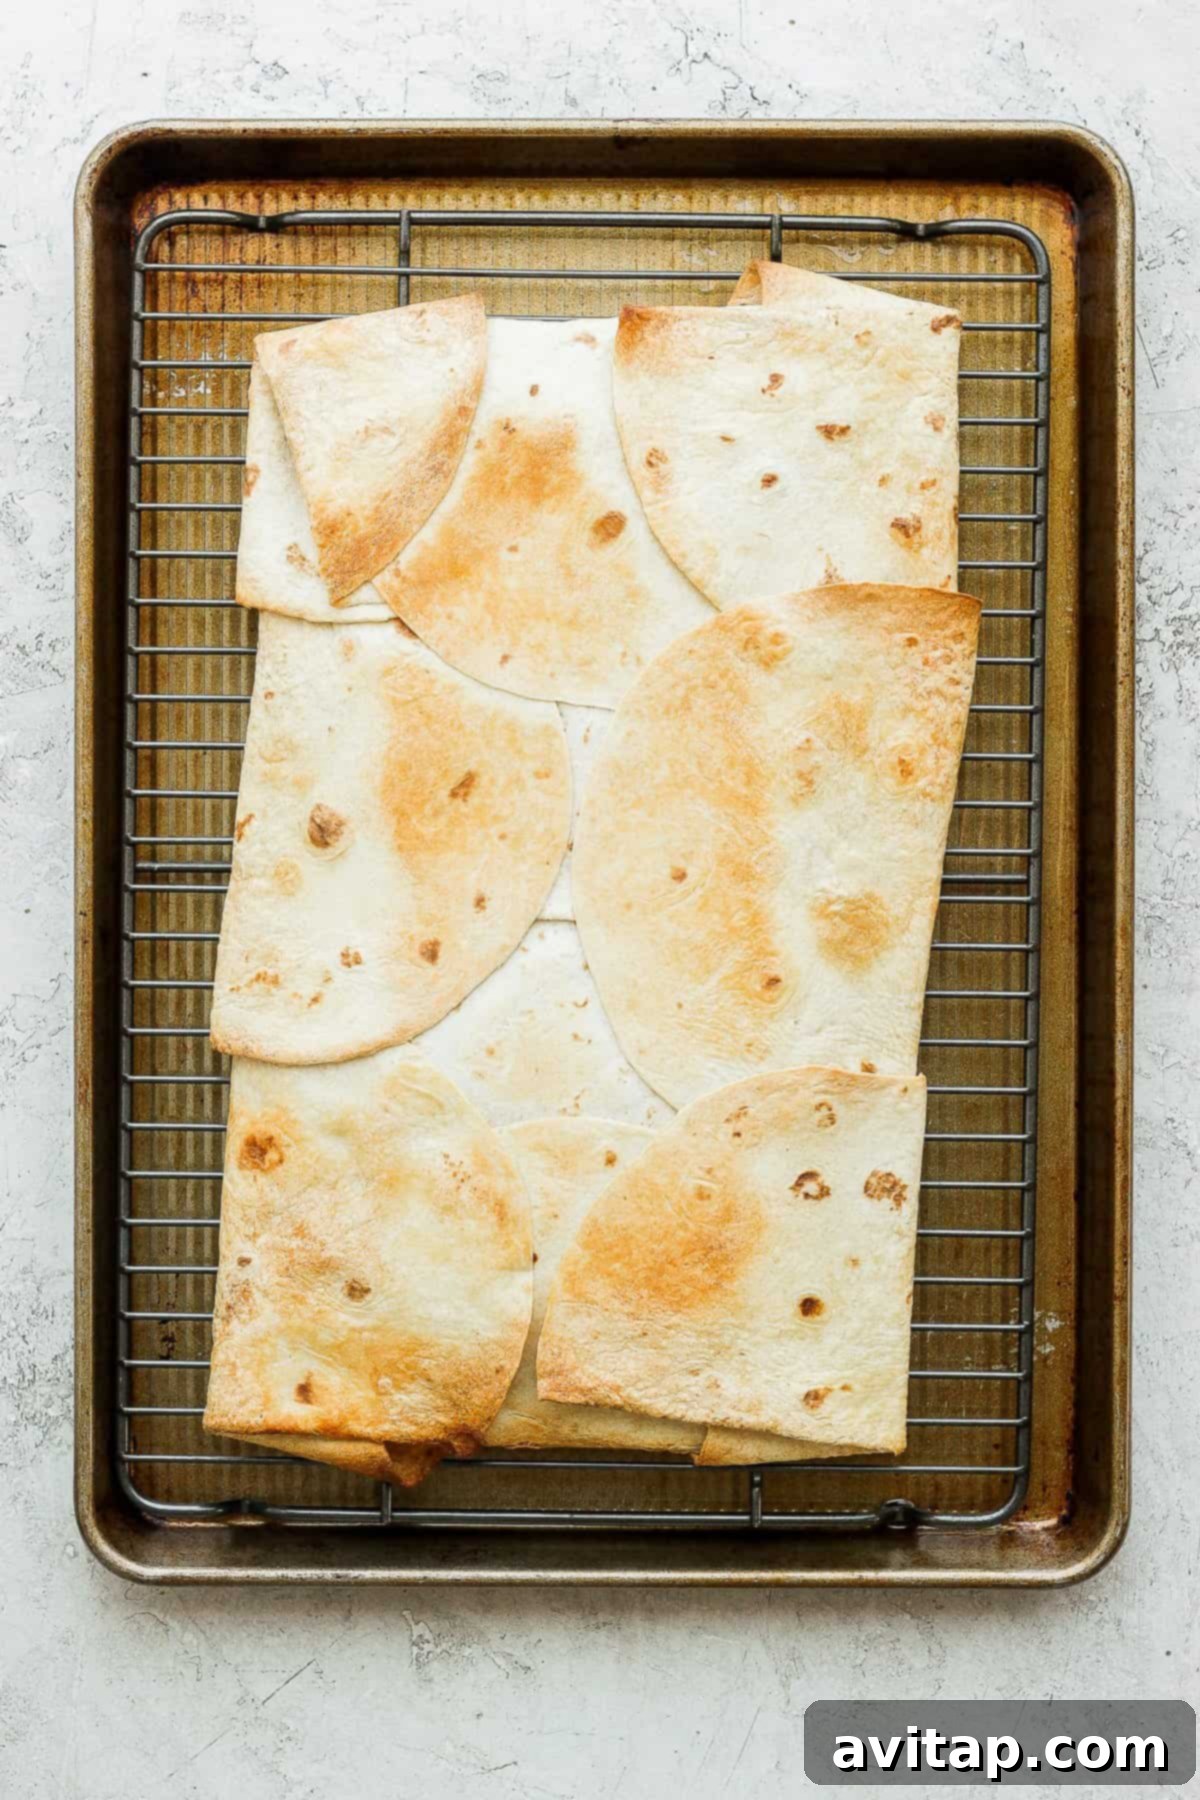
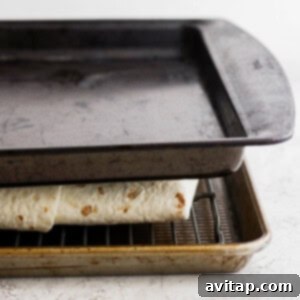
Once assembled, gently place an additional, identical baking sheet directly on top of your quesadilla. This weighted press prevents the tortillas from puffing up or curling during baking and ensures a flat, even, and wonderfully crispy top crust. Bake the quesadilla at 425ºF (220°C) for 20 minutes.
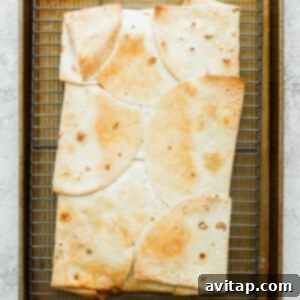
After 20 minutes, carefully remove the top baking sheet. Drizzle the top surface of the quesadilla with a little olive oil or lightly spray with cooking spray. This encourages further browning and crispiness. Return the quesadilla to the oven and bake for an additional 8-10 minutes, or until the top is beautifully golden brown and crispy.
5. Rest, Slice, and Serve
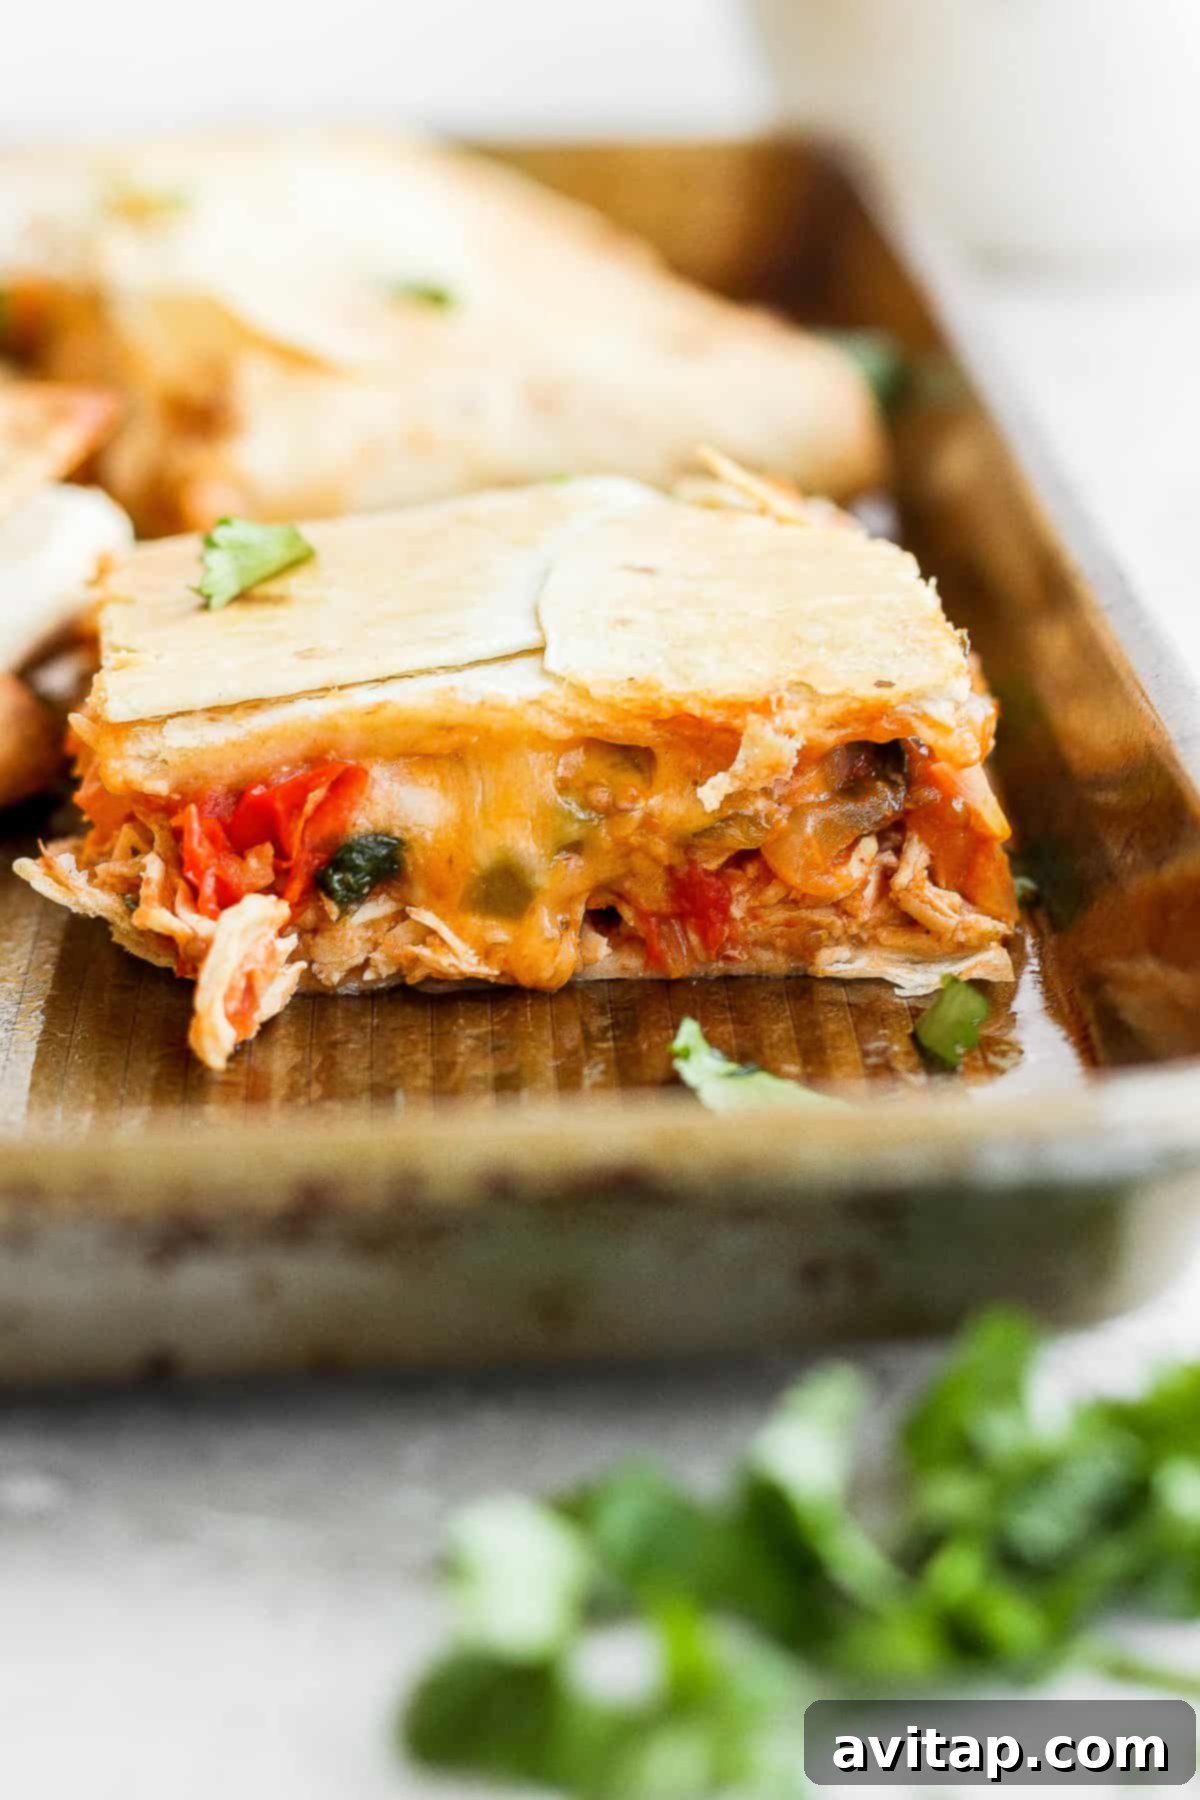
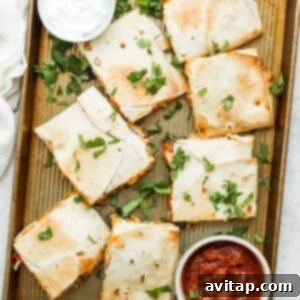
Once baked to perfection, remove the sheet pan quesadilla from the oven. Resist the urge to cut into it immediately! Let it rest on the wire rack for at least 5 minutes. This resting period allows the cheese to set and the internal juices to redistribute, making it easier to slice and ensuring a more cohesive quesadilla. After resting, carefully transfer the large quesadilla to a clean, large cutting board. Use a sharp chef’s knife or a pizza cutter to slice it into 9 even squares.
More Easy Meal Ideas
Smash Burger Tacos (Japanese BBQ Style)
Chicken Caesar Salad Spread
Italian Grinder Sliders
Grilled Cheese and Tomato Soup
High-Protein Cottage Cheese Wraps
Expert Tips for Unbeatable Sheet Pan Quesadillas
Achieving that perfect, crispy, and flavorful quesadilla isn’t hard, especially with these insider tips:
- The Unsung Hero: Your Metal Wire Rack. This is perhaps the most critical component for success. Baking on a wire rack ensures that air circulates all around the quesadilla, preventing the bottom from becoming soggy by allowing any residual moisture to escape. It’s the secret to uniform crispiness!
- Salsa Selection Matters. Be mindful of the consistency of your salsa. A very watery salsa can lead to a soggy quesadilla. Opt for a thicker, chunkier salsa, and if it seems too liquidy, strain it slightly or cook it down a bit before mixing with the chicken.
- Wrap It Up Tight! When folding the tortillas over the filling, aim for a secure, tight wrap. You might find it easier with an extra set of hands to hold the edges in place while folding. A well-wrapped quesadilla ensures the filling stays put during baking and creates a robust, delightful bite.
- Don’t Overfill. While tempting to pack in as much filling as possible, overfilling can make it difficult to fold and seal the quesadilla properly, potentially leading to a messy leakage during baking. Find a good balance of protein, veggies, and cheese.
- High Heat for Crispiness. The 425°F (220°C) oven temperature is intentional. It’s hot enough to quickly crisp the tortillas and melt the cheese without drying out the filling. Keep an eye on your oven, as individual oven temperatures can vary.
- Customize to Your Heart’s Content. This recipe is a fantastic base for creativity. Adjust the spice level with different salsas or a pinch of cayenne. Swap proteins, add different vegetables, or mix up your cheese blend. Make it truly yours!
Storage & Reheating for Meal Prep
These sheet pan quesadillas are fantastic for meal prep, holding up beautifully for several days, making them a perfect grab-and-go option for lunch or a quick dinner.
- Storage: To store, allow the quesadillas to cool completely. Then, line an airtight container with a paper towel. Place the sliced quesadilla squares on top of the paper towel, which will help absorb any residual moisture and prevent sogginess. If stacking multiple layers, place a piece of parchment paper between them and add another paper towel on top. Seal the container and store in the refrigerator for up to 5 days.
- Reheating: For the best results and to regain that desirable crispiness, reheat the quesadillas in the oven or an air fryer.
- Oven Method: Preheat your oven to 350ºF (175°C). Place the quesadilla squares on a wire rack set over a baking sheet. Bake for 10-15 minutes, or until thoroughly warmed through and crispy.
- Air Fryer Method: Place quesadilla pieces in a single layer in the air fryer basket. Air fry at 350ºF (175°C) for 5-8 minutes, flipping halfway, until crispy and heated through.
- Microwave Method: While convenient, the microwave will result in a softer, less crispy quesadilla. Heat for 30-60 seconds, or until warm.
- Freezing: Yes, you can freeze these! Once cooled, wrap individual quesadilla squares tightly in plastic wrap, then aluminum foil, and place in a freezer-safe bag or container. Freeze for up to 3 months. To reheat from frozen, bake in a preheated oven at 375ºF (190°C) for 20-30 minutes, or until hot and crispy.
More of our Favorite…
Easy Dinner Recipes
- Make Ahead Freezer Burritos
- Easy Turkey Roll-Ups
- Easy Chickpea Salad Recipe
- Avocado Tuna Salad Sandwich
Sheet Pan Quesadillas
Print Recipe
Ingredients
- 1.5 lbs. shredded chicken, ~4 cups (from rotisserie or cooked chicken breast)
- ½-¾ cup of your favorite chunky salsa (ensure it’s not too liquidy)
- 2 tablespoons olive oil
- 1 large white onion, minced
- ¼ teaspoon salt
- 4 cloves garlic, peeled and minced
- 1 cup cherry tomatoes, halved
- 2 teaspoons taco seasoning
- 1 large bell pepper, minced (any color)
- 2 cups fresh spinach, packed
- 1.5 cups Mexican-style shredded cheese
- 12 (10-inch) or 8-10 (12-inch) flour tortillas
Optional Toppings
- Guacamole
- Sour cream or plain Greek yogurt
- Chopped fresh cilantro
- Pico de gallo
- Hot sauce
Instructions
- Preheat the oven to 425ºF (220°C). Set a wire rack into a rimmed baking sheet and spray it generously with nonstick cooking spray. Set aside.
- In a medium bowl, combine the shredded chicken and salsa. Toss well to coat and let it sit while you prepare the vegetables so the chicken absorbs maximum flavor.
- Heat 2 tablespoons of olive oil in a large skillet over medium-high heat. Add the minced onion and sprinkle with ¼ teaspoon salt. Sauté the onions for 3-4 minutes until softened and translucent.
- Add the minced garlic and halved cherry tomatoes to the skillet, along with the taco seasoning. Cook for 6-8 minutes, stirring occasionally, until the tomatoes have burst and softened considerably.
- Stir in the minced bell pepper and fresh spinach. Cook for an additional 3-4 minutes, or until the spinach is wilted and most of the excess liquid from the vegetables has evaporated. It’s crucial that the vegetable mixture isn’t too wet. Remove from heat and set aside.

- Arrange the tortillas on the prepared wire rack. Place 2 tortillas flat in the middle. Then, line the longer outside edges with 3 overlapping tortillas each. Add 2 more tortillas to the two shorter edges so the entire cooling rack is completely covered by overlapping tortillas, forming the base of your giant quesadilla.
- Spread the shredded chicken and salsa mixture evenly over the middle of the tortillas, leaving about a 1-2 inch border along the edges that you will fold over. Make sure to drain any excess salsa liquid before adding the chicken.
- Evenly spread the cooked vegetable mixture over the chicken, then generously sprinkle the shredded Mexican-style cheese over the vegetables.
- Place the last 2 flour tortillas in the middle, on top of the quesadilla filling. Carefully fold the edges of the bottom tortillas up and over the top tortillas, ensuring they overlap and securely enclose the filling. Press down gently to seal.
- Place an additional, empty baking sheet directly on top of the assembled quesadilla. This acts as a press to keep the quesadilla flat and ensure crispy, non-curling edges. Bake at 425ºF (220°C) for 20 minutes.
- After 20 minutes, remove the top baking sheet. Drizzle the top of the quesadilla with a little olive oil or spray lightly with cooking spray.
- Return to the oven and bake for an additional 8-10 minutes, or until the quesadilla is beautifully golden brown and crispy all over.
- Remove the quesadilla from the oven and let it rest on the wire rack for 5 minutes. This allows the cheese to set and makes for cleaner cuts.
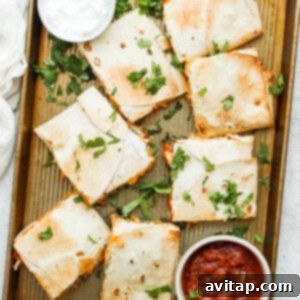
- Carefully transfer the quesadilla to a large cutting board. Use a large, sharp knife or a pizza cutter to cut the quesadilla into 9 even squares.
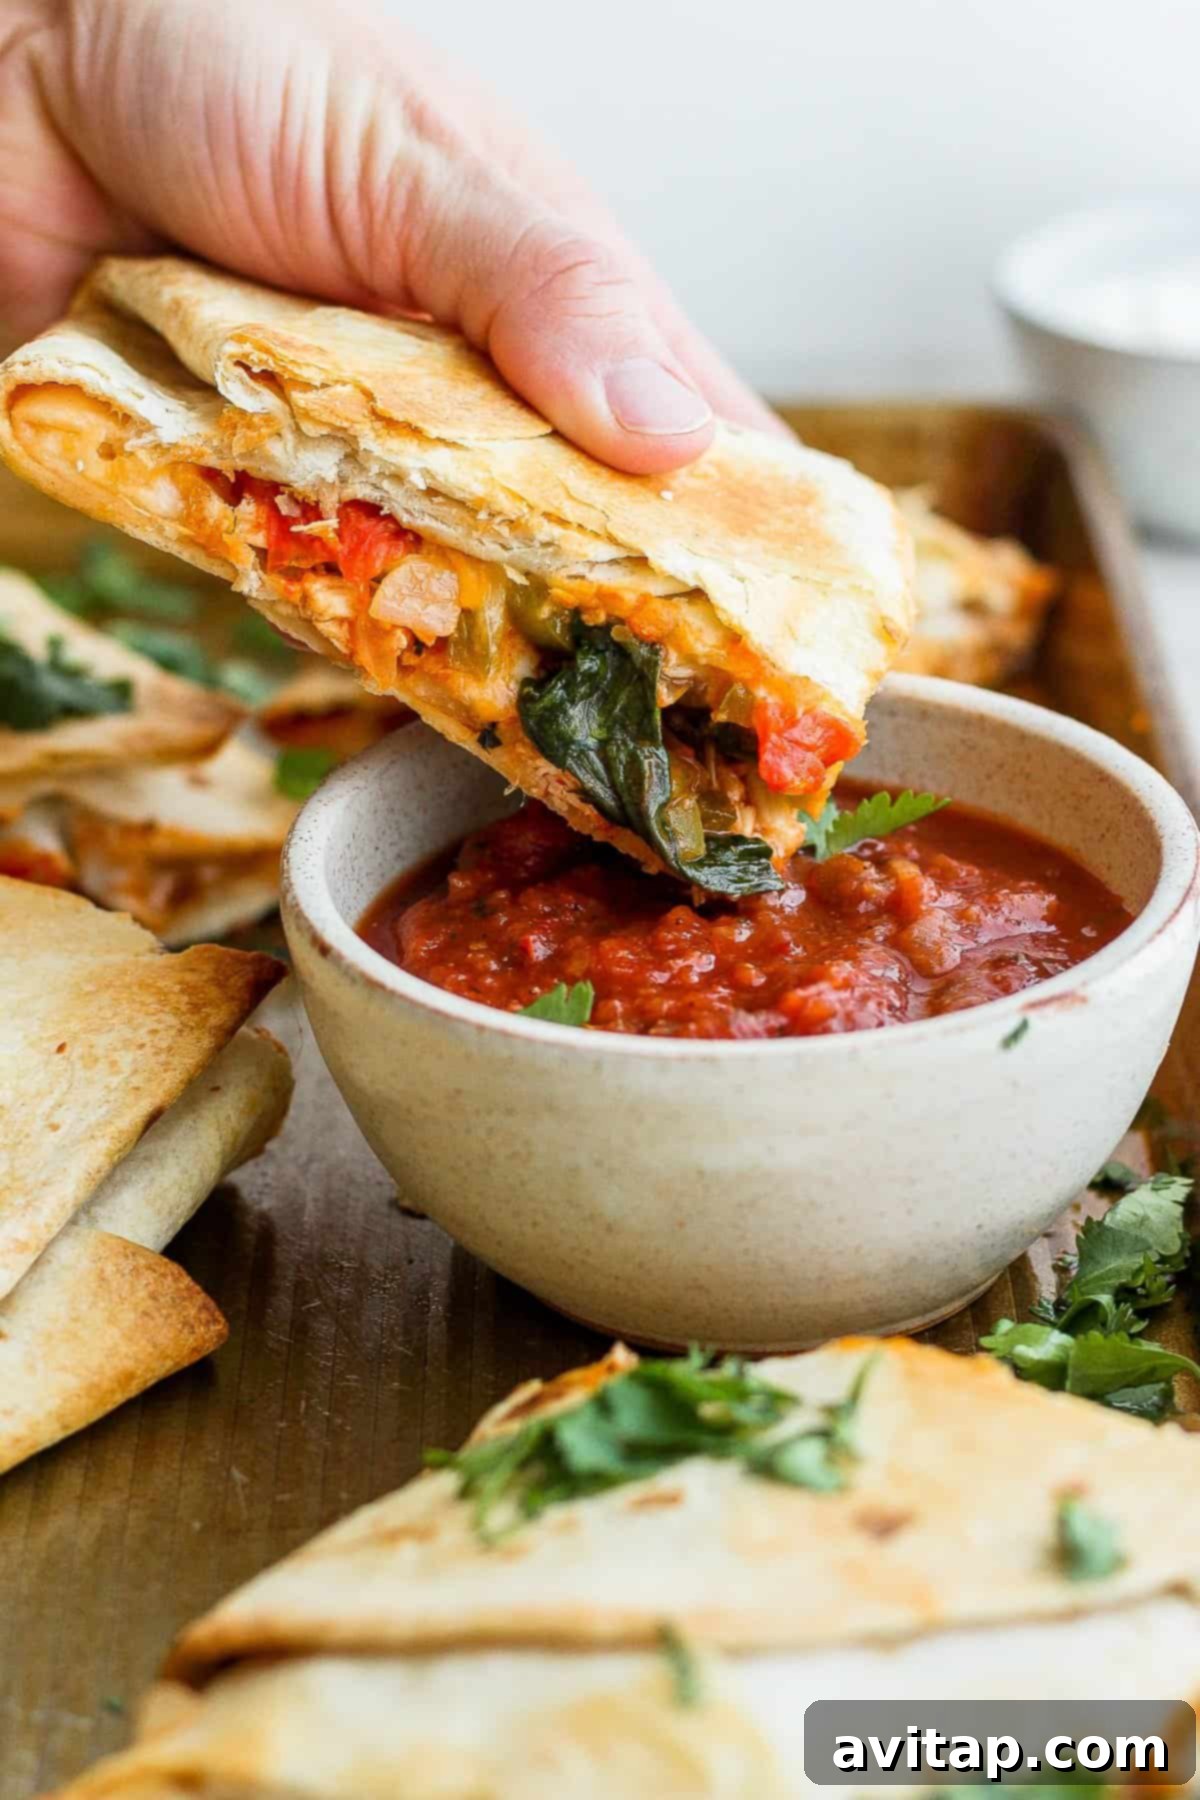
- Serve immediately with your favorite toppings like guacamole, sour cream, pico de gallo, and fresh cilantro. Enjoy!
Tips & Notes
- Always use a wire rack for baking. This ensures even cooking and allows any steam or liquid to escape, preventing the bottom of your quesadillas from becoming soggy.
- Master the moisture. When cooking your vegetables, make sure there’s no excess liquid left in the skillet. If you see liquid pooling, continue to cook it down or let the vegetables sit off the heat to absorb it. This is key for crispy tortillas.
- Oven temperatures vary. Baking times are approximate. Keep an eye on your quesadillas during the final baking stage to achieve your desired level of golden brown crispiness.
- Personalize your quesadilla. Don’t hesitate to experiment with different vegetables like corn, black beans, or mushrooms, and various types of shredded cheese. Make this recipe truly your own!
Nutrition
Carbohydrates: 38 g
Protein: 31 g
Fat: 14 g
Fiber: 1 g
Sugar: 3 g
Nutrition information is automatically calculated and should only be used as an approximation.
Love this recipe? Leave a comment below!
Don’t forget to tag your posts on social media with the hashtag #fitfoodiefinds, we’d love to see what you’re up to!