
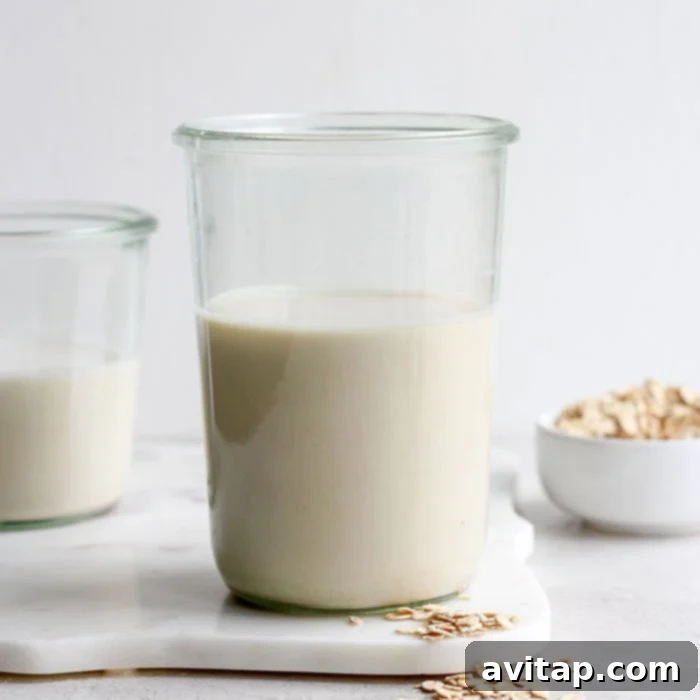
Unlock the secret to a perfectly creamy, delightfully wholesome, and incredibly versatile plant-based beverage with our ultimate guide to making homemade oat milk. Forget store-bought versions laden with unwanted additives and enjoy the pure, unadulterated goodness that comes from crafting your own. Our recipe empowers you to take control of your ingredients, offering a simple, customizable, and cost-effective solution that promises to elevate your daily routine.
Whether you’re a seasoned vegan, experimenting with dairy-free alternatives, or simply seeking a healthier option, this homemade oat milk recipe is designed to impress. Get ready to savor every sip of rich, smooth oat milk, tailored precisely to your taste preferences.
Embrace the Creamy Goodness of Homemade Oat Milk
If you’re anything like us, you’ve fallen head over heels for oat milk. Its smooth texture and subtly sweet, nutty flavor make it an unparalleled choice among plant-based milk alternatives. We adore it in our morning overnight oats, as the base for our energizing smoothies, and, of course, as the star in our indulgent iced brown sugar oat milk shaken espresso.
Oat milk is elegantly simple, typically made from just rolled oats and water. Its mild profile means it complements a wide range of dishes without overpowering other flavors. While its popularity has soared, making it readily available in stores and coffee shops, the price tag often reflects its demand. The fantastic news is that crafting this delicious beverage in your own kitchen is not only incredibly easy but also significantly more affordable, putting you in control of quality and cost.
Why Choose Oat Milk? The Health and Flavor Benefits
Oat milk stands out as an exceptional alternative to traditional dairy milk, offering a seamless 1:1 substitution in countless recipes. Beyond its mild, slightly nutty flavor that enhances rather than competes, oat milk boasts an impressive nutritional profile. It is naturally vegan, making it suitable for plant-based diets, and can easily be gluten-free if certified gluten-free oats are used.
Its naturally creamy texture makes it a favorite for coffee drinks, where it froths beautifully without curdling. It adds a delightful richness to oatmeal recipes, makes smoothie bowls extra luscious, and performs wonderfully in baking, lending moisture and a subtle sweetness. For those seeking dairy-free, nut-free, or soy-free options, oat milk is a safe and satisfying choice, free from many common allergens.
Understanding Oat Milk Nutrition: A Healthy Plant-Based Choice
One of the many reasons to love oat milk is its commendable nutritional composition. It naturally aligns with various dietary needs, being completely vegan, dairy-free, soy-free, and nut-free. This makes it an ideal option for individuals with allergies or specific dietary preferences. Beyond being allergen-friendly, homemade oat milk is often fortified with essential nutrients, and even in its simplest form, offers valuable vitamins and minerals. Per 1 cup (240ml) serving of homemade oat milk, you can expect:
- Approximately 2.5g fat (primarily healthy unsaturated fats)
- Around 130 calories (a moderate energy source)
- About 2g fiber (contributing to digestive health)
- Up to 5g protein (a decent plant-based protein boost)
Moreover, commercial oat milk is often enriched with calcium and B vitamins (like B12), which are crucial for bone health and energy metabolism, especially for those on plant-based diets. When you make it at home, you control the purity, avoiding added sugars, thickeners, and preservatives often found in store-bought varieties. This allows you to enjoy a naturally nutritious beverage that supports overall well-being.
Essential Ingredients and Equipment for Homemade Oat Milk
The beauty of homemade oat milk lies in its simplicity. You truly only need a handful of basic ingredients and a couple of kitchen tools to create this delightful plant-based milk. The core recipe is incredibly minimalist, with options to customize flavors to your heart’s content. Here’s a detailed breakdown of what you’ll need to embark on your oat milk journey:
- Old-Fashioned Rolled Oats: These are the backbone of your oat milk. We highly recommend using old-fashioned rolled oats for the best creamy consistency. While quick-cooking oats can also work in a pinch, they tend to produce a more slimy texture due to their finer processing. Ensure your oats are certified gluten-free if you require a strict gluten-free diet.
- Water: The quality of your water significantly impacts the final taste of your oat milk. We suggest using filtered water whenever possible to avoid any unwanted tap water flavors that might detract from the subtle sweetness of the oats.
- A Pinch of Salt: A small amount of salt is a secret weapon in this recipe. It doesn’t make your oat milk taste salty; instead, it skillfully balances and enhances the natural sweetness from the oats and any added sweeteners, creating a more well-rounded flavor profile.
- Medjool Dates (Optional Sweetener): For those who prefer a touch of natural sweetness, Medjool dates are an excellent choice. They are wonderfully soft, caramel-like, and blend seamlessly into the milk, providing sweetness without artificial additives or refined sugars.
- High-Powered Blender: This is arguably the most crucial piece of equipment. A powerful blender, such as a Vitamix or Beast Blender, is essential for breaking down the oats quickly and efficiently without over-processing them. This ensures a smooth, creamy result rather than a slimy one. Any blender with strong blades will do the job, but higher power yields better results.
- Fine-Mesh Sieve and Tea Towel or Cheesecloth: To achieve truly smooth oat milk, you’ll need to separate the liquid from the oat pulp. A fine-mesh sieve lined with a clean, thin tea towel or several layers of cheesecloth works perfectly. This combination ensures maximum straining efficiency, catching all the tiny oat particles.
- Airtight Storage Container (Mason Jar or Jug): Once your oat milk is made, proper storage is key to maintaining its freshness. A 32 oz. Mason Jar with a spout is ideal for easy pouring and refrigeration, but any airtight jug or container will suffice.
Customizing Your Oat Milk: Sweetener Alternatives and Flavor Enhancers
While Medjool dates offer a rich, natural sweetness, they are just one option for personalizing your homemade oat milk. Feel free to experiment with other natural sweeteners to match your preference or what you have on hand:
- Honey: For a floral, golden sweetness, honey can be a lovely addition. Start with a small amount and add more to taste.
- Maple Syrup: Maple syrup provides a distinct, earthy sweetness that pairs wonderfully with the oat flavor. It’s also a popular choice for vegan recipes.
Pro Tip: Not a fan of sweet oat milk? No problem! You can simply omit the sweetener altogether for a completely unsweetened version that’s perfect for savory recipes or those who prefer a neutral base.
Beyond sweeteners, consider other additions to boost flavor: a dash of vanilla extract for warmth, a sprinkle of cinnamon for spice, or even a few cocoa nibs for a chocolatey twist. The beauty of homemade oat milk is its adaptability.
Our Favorite
Beast Blender
The Beast Blender is our top recommendation for achieving ultra-smooth results, not just for oat milk, but for all your blending needs. Its compact size, powerful motor, and user-friendly design make it an essential kitchen gadget for smoothies, dips, soups, and more. It’s the perfect blend of power and convenience, making it a moderately priced powerhouse.
Mastering Homemade Oat Milk: Essential Tips for a Perfect Batch
While making oat milk is straightforward, a few key tips and tricks can elevate your homemade batch from good to absolutely perfect, ensuring a smooth, creamy consistency every time:
Utilize a High-Speed Blender: The power of your blender is paramount. A robust high-speed blender, like a Vitamix or Beast Blender, is crucial for rapidly breaking down the oats without over-processing them. This quick action is key to preventing a slimy texture.
Avoid Soaking the Rolled Oats Before Blending: This is a common misconception and a critical step to get right. Unlike nut milks, oats should NOT be pre-soaked. We’ve found through extensive testing that soaking oats before blending causes them to release excess starches and mucilage, resulting in an unappealing, slimy film and an undesirable consistency in your finished oat milk. Simply use dry oats directly from the package.
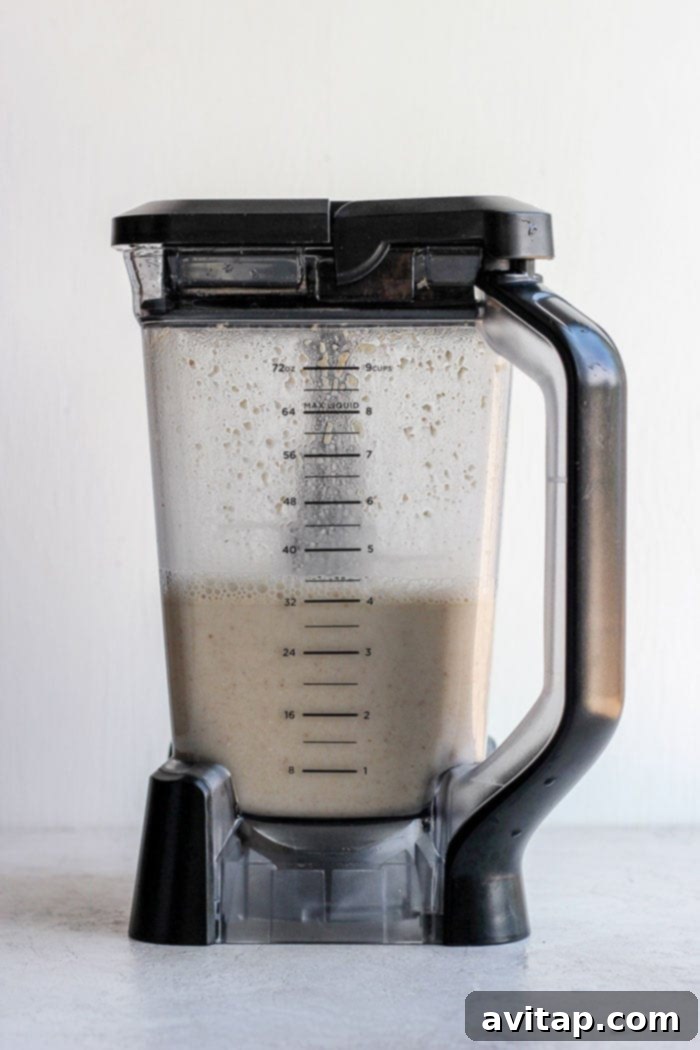
Do Not Over-Blend the Oats: This is perhaps the most vital tip for achieving creamy, non-slimy oat milk. Blend the oats just enough to break them up and integrate them with the water – typically about 30 seconds to 1 minute on high, depending on your blender’s power. Over-blending will pulverize the oats too finely, releasing too much starch and creating a strange, unpleasantly slimy and pulpy texture. You want the oats to be broken, not completely dissolved into a paste.
Blend Water and Sweeteners Before Adding Oats: For evenly sweetened oat milk, always blend the water, dates (or other sweeteners), and salt first until the dates are completely pulverized and dissolved into the water. This ensures the sweetness is thoroughly integrated into the liquid base. If you add the dates directly with the oats, they might not blend up finely enough, and their sweetness could be lost or unevenly distributed when you strain out the oat pulp.
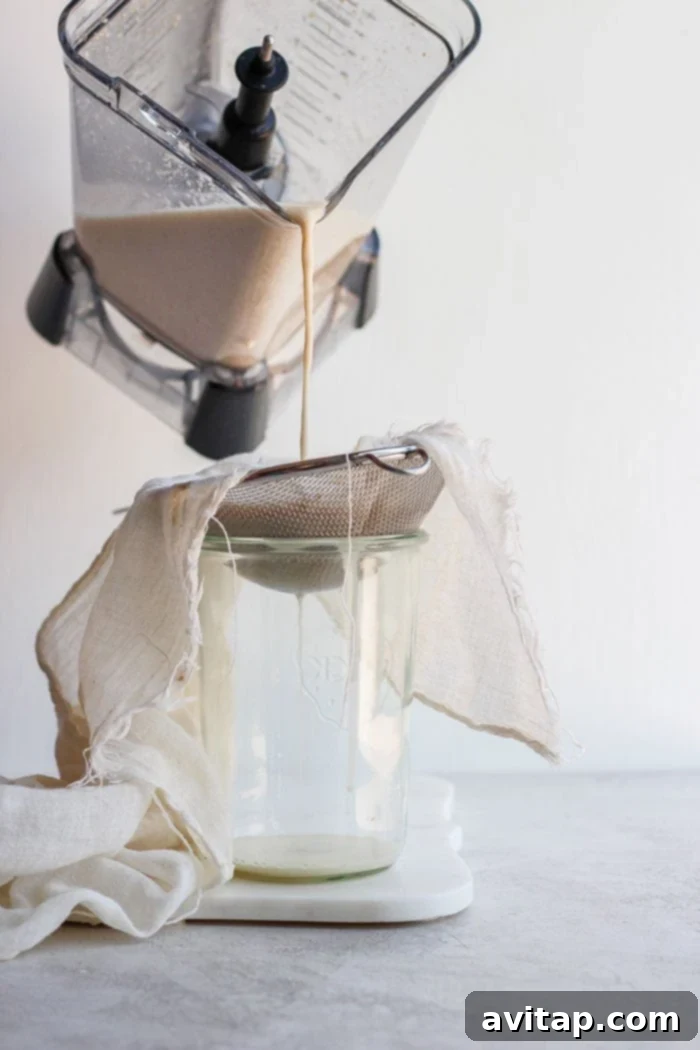
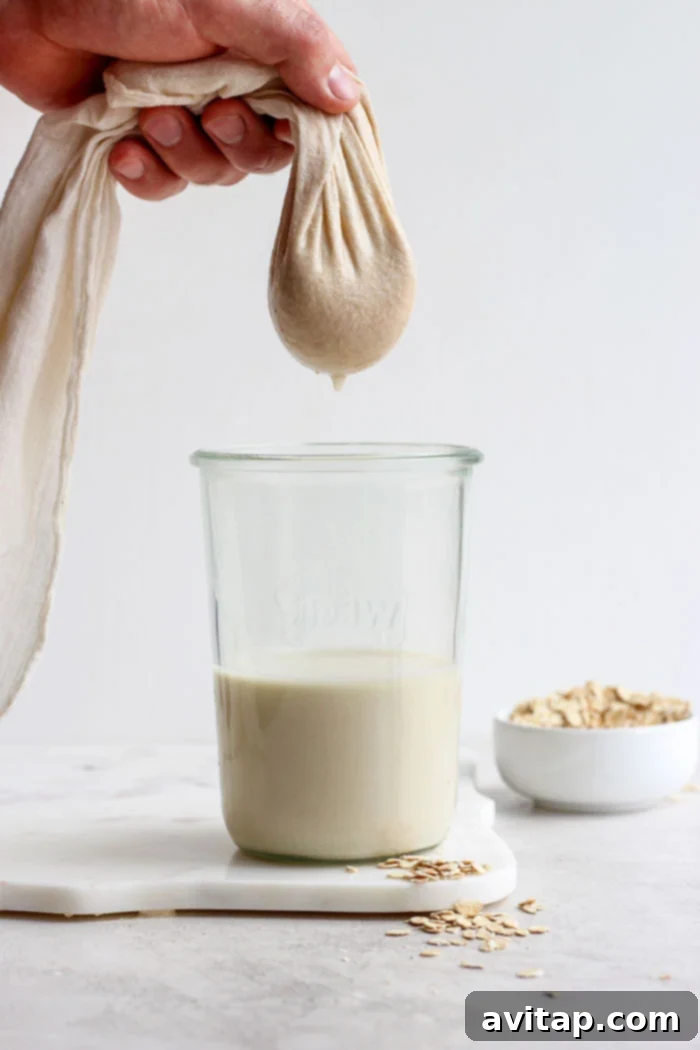
Employ a Sieve and Tea Towel for Optimal Straining: While a nut milk bag works well, we’ve found that lining a fine-mesh sieve with a clean, thin tea towel (or multiple layers of cheesecloth) offers the most efficient method for separating the creamy oat milk from the fibrous pulp. The tea towel’s tight weave prevents even the smallest oat fragments from passing through, ensuring an incredibly smooth final product. Be patient during this step; gentle squeezing may be required, but avoid over-squeezing, as this can also force starch into the milk.
Creative Ways to Enjoy Your Homemade Oat Milk
Once you’ve mastered the art of making homemade oat milk, you’ll find endless ways to incorporate its creamy goodness into your daily diet. Its mild flavor and luscious texture make it an incredibly versatile ingredient for both sweet and savory applications. Here are some of our favorite ideas:
Smoothies: Oat milk is the perfect base for any smoothie, adding a velvety texture without overpowering the fruit or other ingredients. Try it in our refreshing strawberry banana smoothie, an energizing breakfast smoothie, or a protein-packed triple berry protein smoothie.
Muffins: For moist and tender baked goods, oat milk is an excellent dairy substitute. Use it as a 1:1 replacement for any milk listed in your favorite muffin recipes. Explore our wide array of healthy muffin recipes on Fit Foodie Finds, including:
- Irresistible banana bread muffins
- Savory zucchini muffins
- Classic blueberry oatmeal muffins
Oatmeal: It’s only natural to pair oat milk with oatmeal! It enhances the creaminess and adds an extra layer of oat-y flavor. Elevate your morning bowl by using oat milk in baked oats, hearty steel cut oats, or filling protein oats.
Beyond these, consider using oat milk in creamy soups, sauces, homemade ice cream, hot chocolate, or even as a base for savory dishes. Its adaptability makes it a staple in any health-conscious kitchen.
Homemade
Almond Milk
If you’re exploring other plant-based options, our homemade almond milk recipe is another must-try. All you need are raw almonds, fresh water, and your choice of natural sweeteners for a delicious, dairy-free alternative.
Proper Storage for Fresh Homemade Oat Milk
Ensuring your homemade oat milk stays fresh and delicious is simple with proper storage techniques. While store-bought oat milk typically has a longer shelf life due to pasteurization and preservatives, your homemade version is a fresh product that needs refrigeration.
Immediately after making your oat milk, transfer it into a clean, airtight container. A glass mason jar or a sealed jug works perfectly. Label the container with the date it was made to easily keep track of its freshness. Store your homemade oat milk in the refrigerator, where it will stay fresh for up to 7 days. It’s normal for some separation to occur, so simply give it a good shake before each use. If it develops an off-odor, a sour taste, or a noticeably thicker consistency, it’s best to discard it.
More Ways to Savor Your Favorite…
Delicious Recipes Featuring Oat Milk
Beyond the suggestions above, here are more fantastic ways to integrate your freshly made oat milk into your culinary creations, adding creaminess and flavor to every dish:
- Classic Oatmeal: A warm bowl of oatmeal becomes even more comforting and nutritious with a splash of homemade oat milk.
- Peanut Butter Overnight Oats: Elevate your breakfast prep with these convenient and delicious overnight oats, made extra creamy with oat milk.
- Post-Workout Cold Brew Protein Drink: Fuel your recovery with this revitalizing drink, where oat milk provides a smooth, dairy-free base.
- Fluffy Banana Oatmeal Pancakes: Start your day right with a stack of these wholesome pancakes, made light and airy with the addition of oat milk.
How to Make Homemade Oat Milk
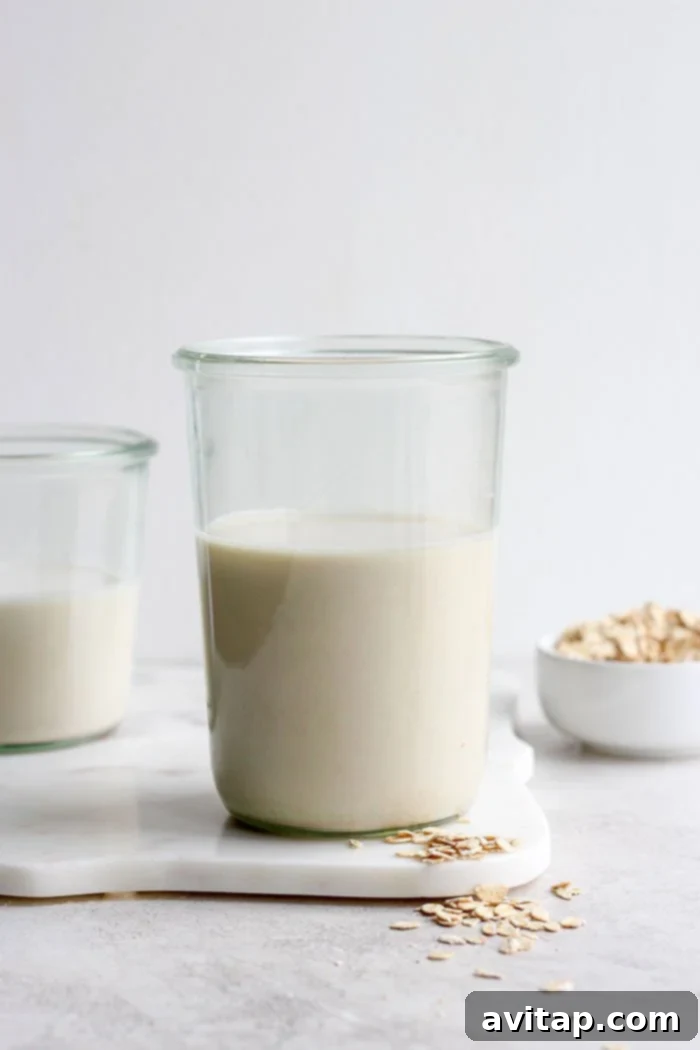
This easy homemade oat milk recipe uses just 2 main ingredients to create super smooth (never slimy) dairy-free milk perfect for all your favorite recipes and drinks!
Pin
Ingredients
- 4 cups water
- 2 Medjool dates, pitted
- 1/8 teaspoon salt
- 1 cup old fashioned oats
Instructions
-
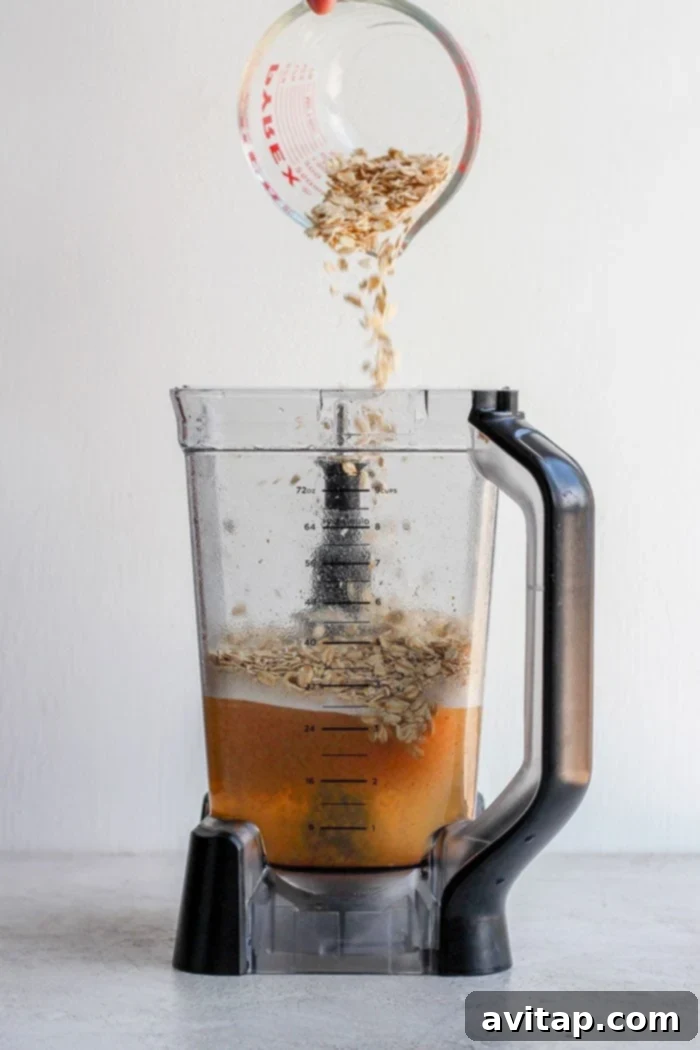
First, combine the pitted dates, water, and salt into your high-speed blender. Blend until the dates are completely pulverized and smoothly incorporated into the water, ensuring no large date pieces remain.
-
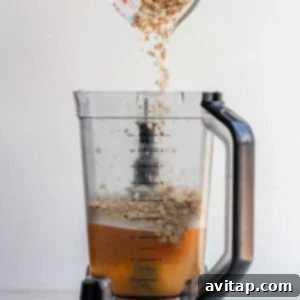
Next, add the old-fashioned rolled oats into the blender with the sweetened water. Blend on high for approximately 1 minute, or until the oats are broken up. It’s crucial not to pulverize the oats completely; aim for a slightly chunky consistency. Over-blending will cause the oat milk to become slimy and less appealing (we’ve learned this from experience!).

-
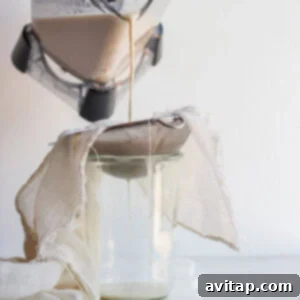
Prepare your straining setup. Place a clean, thin tea towel or a high-quality nut milk bag over the top of a tall mason jar or pitcher, ensuring it is securely fastened or held in place.
-
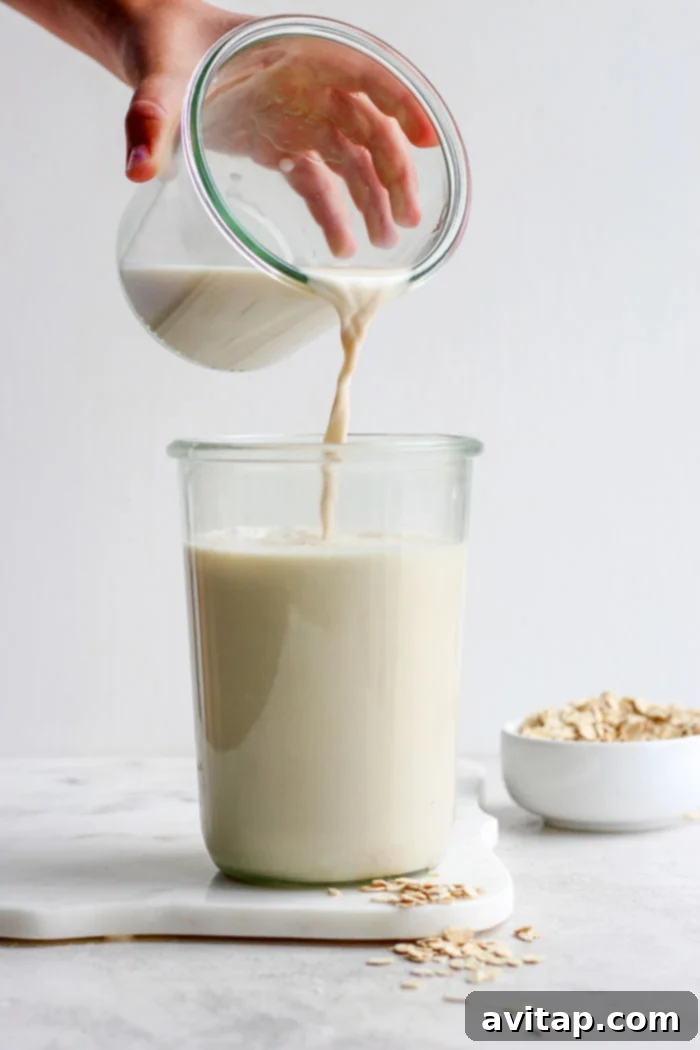
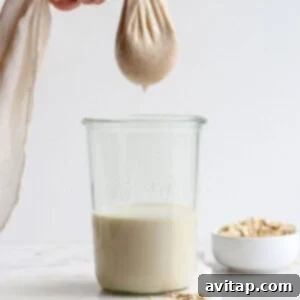
Slowly pour the blended oat milk mixture into the tea towel-lined sieve to strain out the oat fragments and pulp. You may need to gently gather the edges of the towel and squeeze to encourage the milk to pass through. Be patient, as this step can take a few minutes. Repeat this process until all the oat milk has been strained.
-
Once strained, securely place a cover on the mason jar or container. Store your freshly made oat milk in the refrigerator for up to 7 days for optimal freshness. Remember to shake well before each use!
Tips & Notes for Perfect Oat Milk
- Sweetener Customization: If you prefer unsweetened oat milk, simply leave out the Medjool dates. For alternative sweeteners, maple syrup or honey can be substituted to taste. Add gradually and taste test until you reach your desired sweetness.
- No Soaking Required: Do not soak the rolled oats before blending. Soaking causes oats to release starches that lead to a slimy, undesirable texture in your finished milk.
- Avoid Over-Blending: Blend only until the oats are broken up, not fully dissolved into a liquid. Over-blending is the primary cause of a strange, slimy, and pulpy consistency. A quick, powerful blend is key.
Nutrition Information
Calories: 108 kcal
,
Carbohydrates: 23 g
,
Protein: 3 g
,
Fat: 1 g
,
Fiber: 3 g
,
Sugar: 8 g
Nutrition information is automatically calculated and should only be used as an approximation.
Love this recipe? Share your thoughts below!
Don’t forget to tag your culinary creations on social media with the hashtag #fitfoodiefinds – we’d love to see what you’re making with your homemade oat milk!
Photography by: The Wooden Skillet
In conclusion, making your own oat milk is a rewarding and simple process that yields a superior product to many store-bought options. By following these easy steps and expert tips, you can enjoy a creamy, delicious, and healthy plant-based milk that’s free from unnecessary additives. Embrace the power of customization and transform your daily beverages and recipes with this incredible homemade staple.