
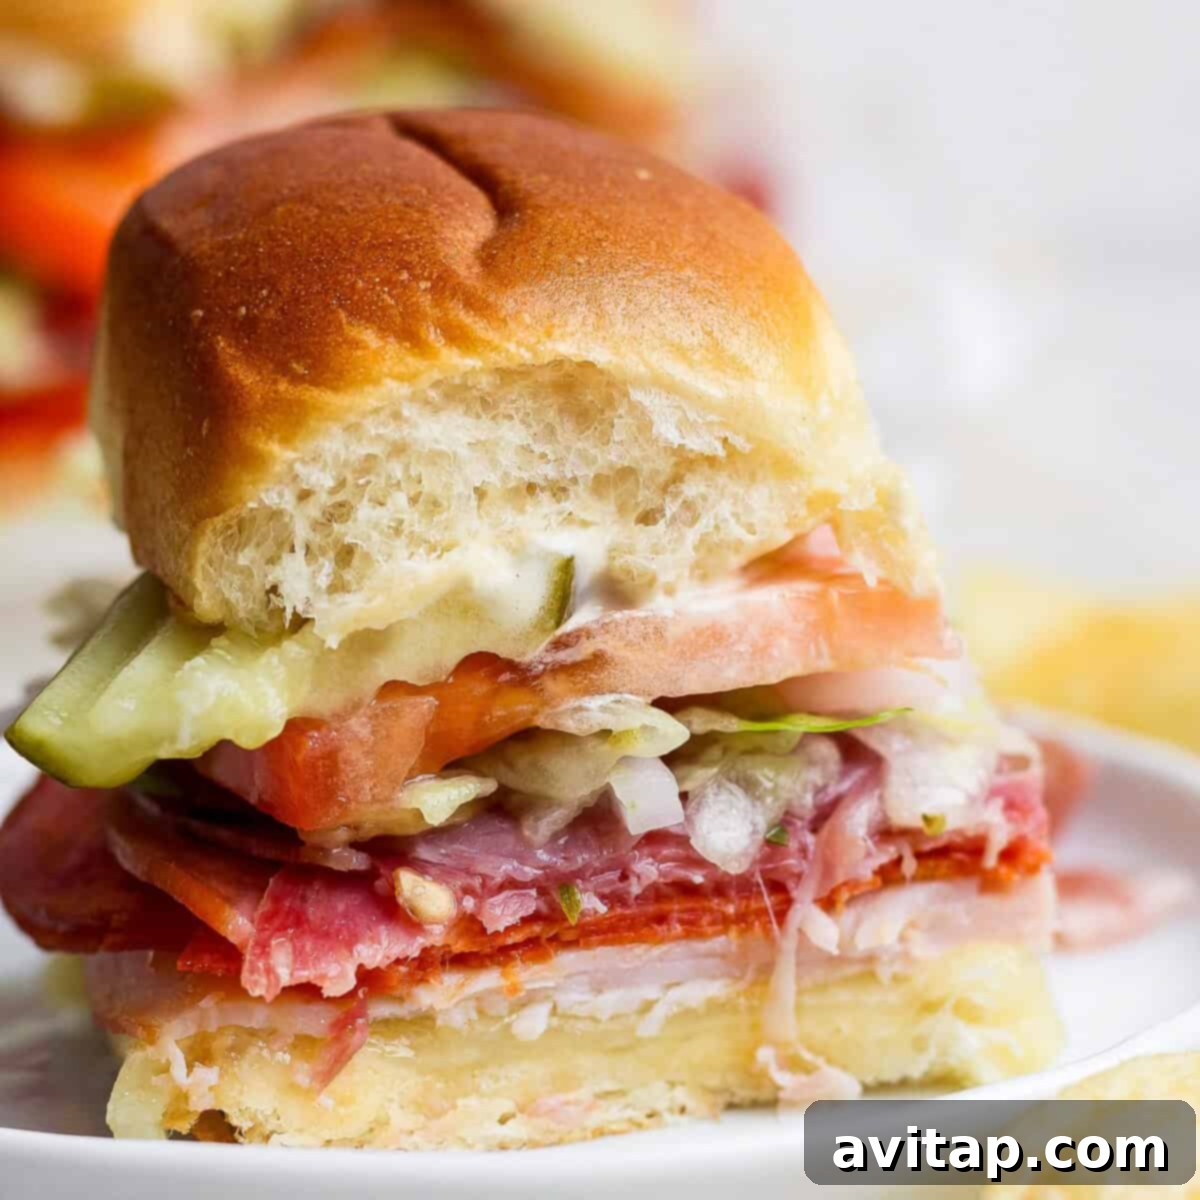
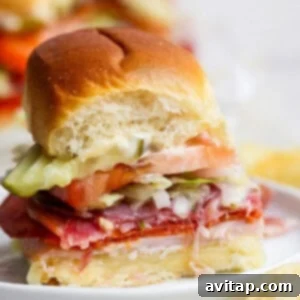
Get ready to impress with these **Italian Grinder Sliders**, a guaranteed hit for any event! Whether you’re hosting a backyard barbecue, planning a game day feast, or simply looking for an easy and delicious family dinner, these flavorful mini sandwiches are your answer. I absolutely adore preparing a generous platter of these for friends to enjoy while kids play outdoors during the summer. They’re incredibly simple to assemble in a large batch, delivering all the beloved flavors of a classic Italian sub in a convenient, handheld format.
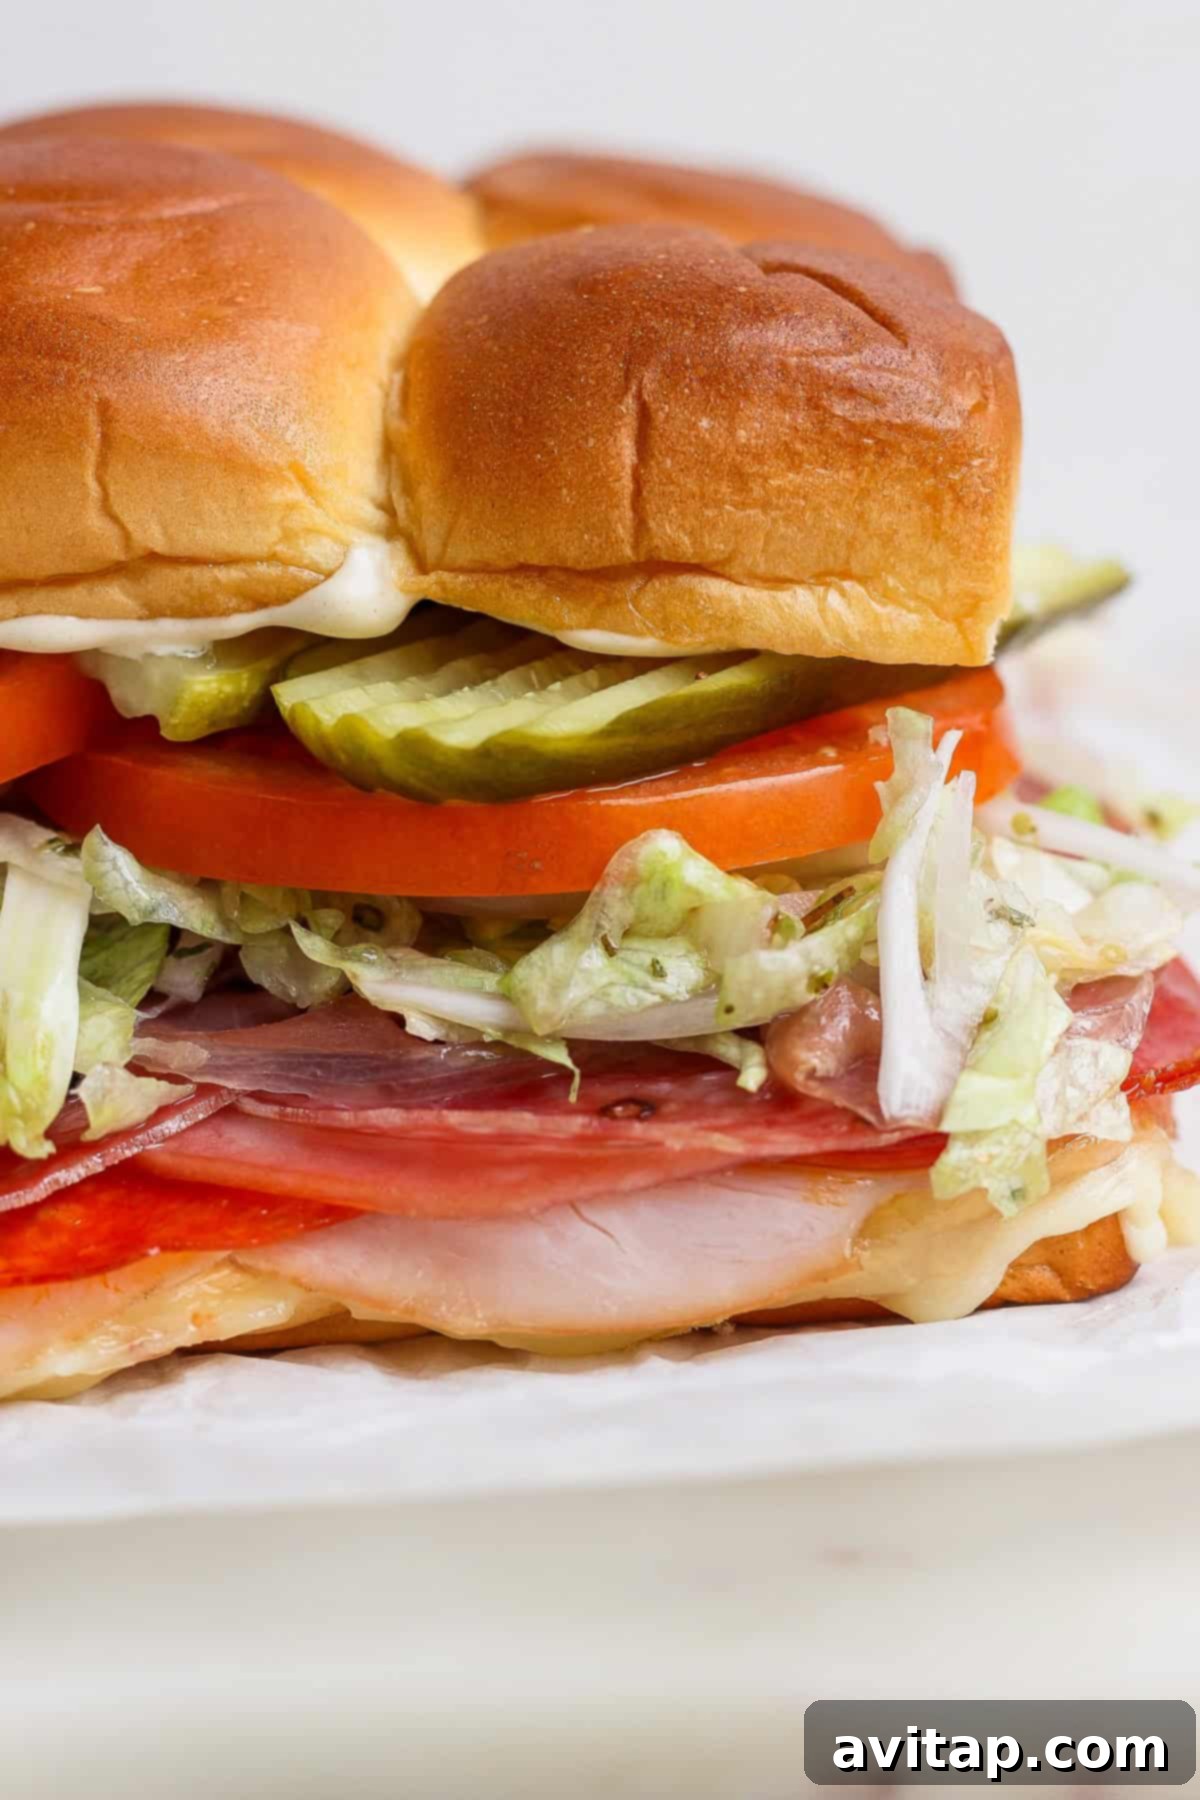
Why These Italian Grinder Sliders Are a Must-Try ⤵️
These Italian Grinder Sliders aren’t just a recipe; they’re a celebration of flavor, convenience, and versatility. Here’s why they’ll become a staple in your culinary repertoire:
Irresistible Flavor in a Convenient Handheld Size
Each slider bursts with the robust, savory taste of an authentic Italian grinder. The combination of premium deli meats, perfectly melted cheeses, and the signature zesty grinder salad creates a symphony of textures and flavors in every bite. Moreover, their compact, handheld size makes them ideal for various occasions. They’re perfectly portioned for little hands at family gatherings or serving as an elegant, yet approachable, appetizer before a main course at your next backyard barbecue, potluck, or casual get-together. No forks or knives required, just pure deliciousness!
Effortlessly Feed a Crowd with Large-Batch Assembly
One of the greatest advantages of this recipe is its impressive scalability and ease of preparation. You can effortlessly assemble an entire dozen (or more!) sliders simultaneously, treating them almost like one giant sandwich that you bake and then easily slice into individual portions. This efficient method drastically cuts down on individual assembly time, making it incredibly quick and straightforward to serve a large group of hungry guests without breaking a sweat. It’s the ultimate solution for stress-free entertaining, whether it’s for game night, a school event, or simply a busy weeknight meal for a large family.
Super Customizable to Suit Every Palate
While this exact recipe highlights my absolute favorite Italian grinder ingredients, the true beauty lies in its remarkable flexibility. Feel free to unleash your culinary creativity and tailor these sliders to your precise preferences. Don’t have a wide array of deli meats on hand? No problem! I’ve successfully crafted equally delicious variations using just turkey, ham, or even a simple roast beef. Experiment with different cheese combinations—Swiss, cheddar, or even a smoked Gouda can add interesting notes. You can also incorporate various peppers, olives, or swap out the mayonnaise for a spicy aioli or pesto. The possibilities are genuinely endless, allowing you to make these sliders uniquely your own every single time.
The Irresistible Star Ingredients for Perfect Sliders
Crafting the ultimate Italian Grinder Sliders begins with selecting the right components. Each ingredient plays a crucial role in building layers of incredible flavor and texture, contributing to that authentic taste you crave:
Hawaiian Rolls: The Sweet and Soft Foundation
You’ll need an entire package of these wonderfully soft, slightly sweet Hawaiian rolls. Their delicate texture and hint of sweetness perfectly complement the savory fillings, creating an exquisite flavor balance. The key to easy assembly is to resist the urge to pull them apart! Instead, for maximum convenience and a cohesive sandwich, slice the entire block of rolls in half lengthwise with a serrated knife. This ingenious technique allows you to construct your grinder sliders as one magnificent, giant sandwich, ensuring every bite has that perfect bread-to-filling ratio and a beautifully even bake.
Premium Deli Meats: The Heart of Authentic Italian Flavor
This is where you can truly personalize your sliders. For an authentic and robust Italian experience, I highly recommend a diverse selection of high-quality cold cuts. My go-to combination includes savory **turkey breast**, spicy **pepperoni**, rich and flavorful **mortadella**, tangy **salami**, and delicate, thinly sliced **prosciutto**. This carefully curated mix covers all the bases for that quintessential Italian deli flavor, offering a fantastic variety of tastes and textures from salty to smoky to subtly spicy. Feel free to choose your favorite cold cuts; other great options include capicola, soppressata, or even thinly sliced roast beef for a different, yet equally delicious, twist.
Melted Sliced Cheese: For Creamy, Gooey Goodness
I typically opt for a delectable combination of **pepper jack cheese** for a subtle, peppery kick and creamy, mild **provolone**. Both cheeses melt beautifully when baked, creating a gooey, satisfying layer that expertly binds the meats and adds a wonderful depth of flavor to each slider. When you’re assembling, remember this smart tip: place the sliced cheese as the initial layer directly on the bottom buns. This strategic placement not only ensures a perfect melt but also allows you to easily lift the top half of the bread after baking when it’s time to add the fresh, vibrant toppings like lettuce and onions, ensuring your sliders stay intact and picture-perfect for serving.
The Signature Italian Seasoned Lettuce and Onions: A Flavor Game-Changer
Whatever you do, **do not skip this crucial step!** This vibrant “grinder salad” is precisely what truly elevates these sliders from merely good to absolutely gourmet and unforgettable. The magic begins when thinly sliced white onions are tossed in pungent **red wine vinegar** and aromatic **dried oregano**, then allowed to marinate for a few minutes. This simple process softens the raw edge of the onions and infuses them with a tangy, herbaceous flavor. Finally, crisp shredded lettuce and a drizzle of rich **olive oil** are mixed in, creating a lively, zesty topping that provides a refreshing, crunchy contrast to the rich meats and melted cheeses. It’s an essential component for achieving that authentic, mouthwatering grinder taste.
Fresh Produce and Classic Condiments
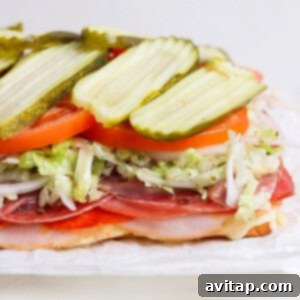
Completing your sliders are thinly sliced fresh **tomato** and crisp **pickle slices**, which add crucial freshness, acidity, and a satisfying crunch that balances the richness of the other ingredients. The simple yet incredibly effective spread of creamy **mayonnaise** and tangy **Dijon mustard** on the top bun provides the perfect finishing touch. This dynamic duo adds essential moisture and a subtle zing that beautifully ties all the diverse flavors together, creating a harmonious and utterly delicious bite.
What to Serve with These Irresistible Sliders: Perfect Pairings
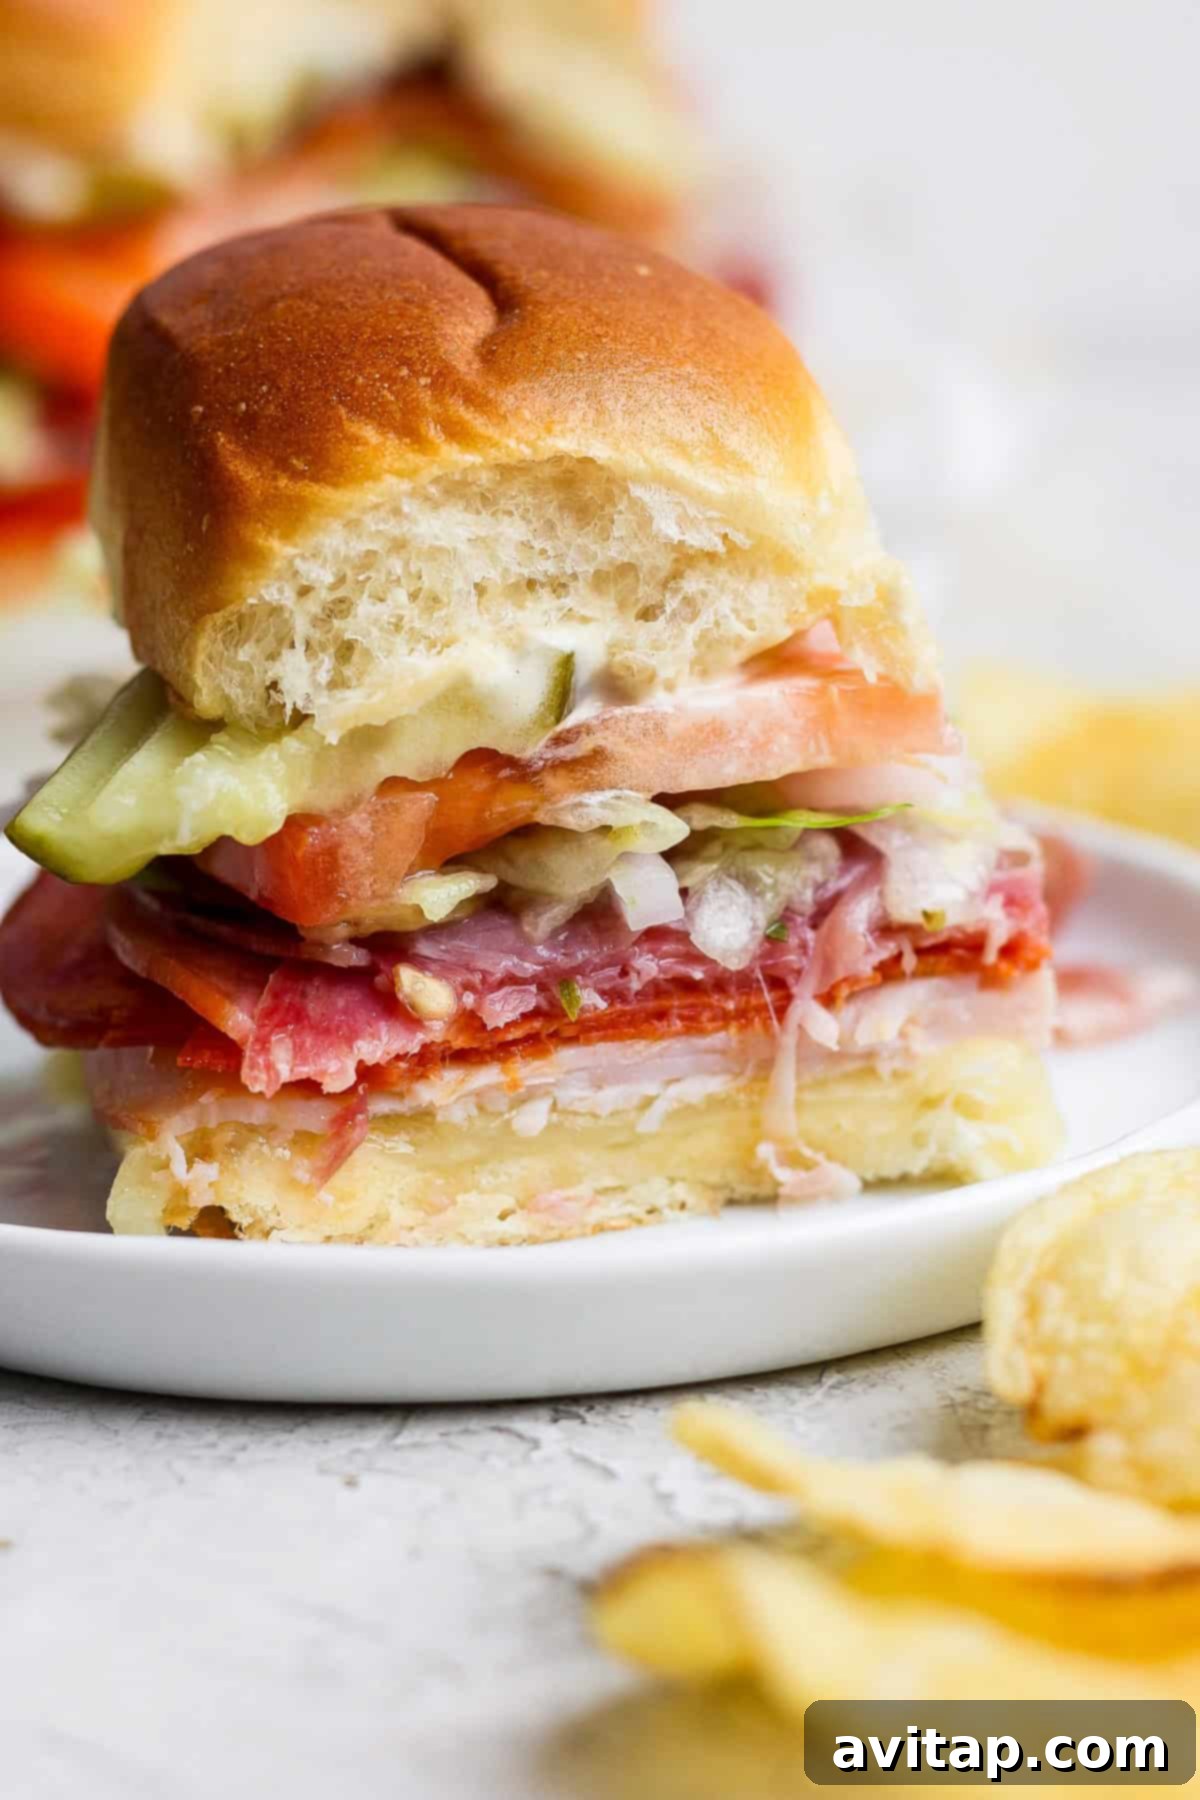
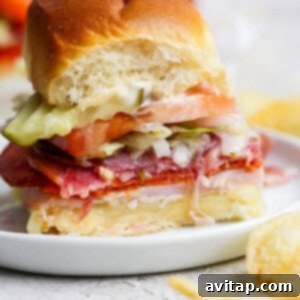
These Italian Grinder Sliders are incredibly versatile, making them a fantastic centerpiece for any meal or gathering. While they are hearty and satisfying enough to be enjoyed on their own, pairing them with the right sides can further elevate your dining experience, adding complementary textures and flavors. I’m a big proponent of the classic sandwich + potato chips combo (for a healthier, homemade twist, try these air fryer sweet potato chips!). However, to round out the meal or add more fresh elements, consider serving these flavorful sliders with:
- **Creamy Coleslaw:** The cool, crunchy, and tangy profile of a homemade creamy coleslaw offers a delightful contrast to the warm, savory sliders, cleansing the palate with its refreshing taste.
- **Crispy Sweet Potato Fries:** For a comforting side with a touch of sweetness that pairs wonderfully with the savory sliders, a batch of perfectly seasoned air fryer sweet potato fries makes an excellent companion.
- **Fresh Green Salad:** A simple, crisp garden salad, perhaps with mixed greens, cherry tomatoes, cucumbers, and a light Italian vinaigrette, can add a refreshing balance and a healthy component, especially if you’re serving these sliders as part of a larger, multi-course meal.
- **Pasta Salad:** A vibrant and flavorful Italian pasta salad, replete with olives, sun-dried tomatoes, fresh mozzarella, and a zesty herb dressing, complements the flavors of the sliders perfectly and adds another crowd-pleasing element.
- **Vegetable Platter with Dip:** For a lighter, healthier option that provides plenty of crunch, a colorful assortment of fresh, raw vegetables like bell pepper strips, cucumber slices, carrot sticks, and celery, paired with a creamy ranch or hummus dip, is always a good choice.
Storage and Make-Ahead Tips for Convenience
For the absolute best taste and optimal texture, these Italian Grinder Sliders are ideally enjoyed immediately after baking. The combination of warm, melted cheese, toasted buns, and the fresh, zesty toppings is truly at its peak right out of the oven. However, with a little strategic planning, you can easily prepare certain components ahead of time to make serving a breeze, or properly store any leftovers if you happen to have any!
Make-Ahead Assembly for Stress-Free Entertaining
If you’re looking to get a significant head start on preparation, I highly recommend assembling the sliders with just the meats and cheeses layered on the bottom buns. Once assembled this way, cover them tightly with plastic wrap or aluminum foil and keep them refrigerated until you’re ready to bake. This pre-assembly step can save you valuable time and reduce stress just before your event. You can also prepare the Italian seasoned lettuce and onions mixture in advance. Store this vibrant topping in an airtight container in the refrigerator, but it is crucial to wait to add this fresh, crunchy component to the warm, baked sliders just before serving to maintain its crispness and vibrant flavor. The mayonnaise and Dijon mustard mixture can also be prepared and stored separately in a small sealed container in the fridge.
Storing and Reheating Leftovers
While best enjoyed fresh, any leftover baked sliders can be stored in an airtight container in the refrigerator for up to 2-3 days. Please note that the buns may soften slightly, and the fresh toppings might lose some of their crispness over time. For reheating, a quick warm-up in a toaster oven or conventional oven (at a moderate temperature like 300°F or 150°C for about 10-15 minutes, or until warmed through and cheese is re-melted) is generally preferred over a microwave. This method helps to re-crisp the buns and re-melt the cheese without making the bread soggy, preserving as much of the original delicious texture as possible. If reheating, consider adding fresh grinder salad toppings after warming for the best experience.
Explore More Delicious Sandwich Recipes
If you loved these incredibly flavorful Italian Grinder Sliders and are looking for more exciting sandwich ideas, be sure to check out some of my other highly-rated and easy-to-make sandwich creations:
- Favorite Turkey Sandwiches: A classic done right, perfect for any time of day.
- Avocado Tuna Salad Sandwich: A healthier twist on a comfort food favorite, packed with creamy avocado.
- Turkey Pesto Sandwiches: A sophisticated sandwich featuring rich pesto and savory turkey.
- Homemade Egg Salad Sandwich: Simple, delightful, and incredibly satisfying, just like grandma used to make.
Italian Grinder Sliders on Hawaiian Buns Recipe
My Italian grinder sliders are a major hit for any occasion! They’re easy to make a large batch, and pack tons of yummy Italian sub flavors. Perfect for summer gatherings, parties, or a delightful family meal that everyone will love.
By: Emily Richter
Prep time: 20 minutes
Cook time: 15 minutes
Total time: 35 minutes
Servings: 12 sliders
Ingredients
- 1 (12-count) package Hawaiian Rolls
- 7 oz. sliced turkey breast (high quality deli style)
- 2 oz. sliced pepperoni
- 4 oz. sliced mortadella
- 3 oz. sliced salami
- 2 oz. sliced prosciutto
- 6 slices pepper jack cheese
- 6 slices provolone cheese
- 1 tablespoon unsalted butter, melted
- ¼ white onion, very thinly sliced
- 2 tablespoons red wine vinegar
- 1 teaspoon dried oregano
- 4 oz. shredded lettuce (such as iceberg or romaine, for crunch)
- 2 tablespoons olive oil (extra virgin preferred)
- 1 large tomato, thinly sliced
- 6 pickle slices (dill pickles work best)
- 3 tablespoons mayonnaise
- 1 tablespoon Dijon mustard
Instructions
- Preheat your oven to 350℉ (175°C). Lightly spray a 9×13 inch baking pan with cooking spray to prevent sticking. Set the prepared pan aside.
- Take the entire block of Hawaiian rolls and carefully slice them in half horizontally, ensuring they remain connected at the edges. Place the bottom half of the rolls evenly into your prepared baking pan.
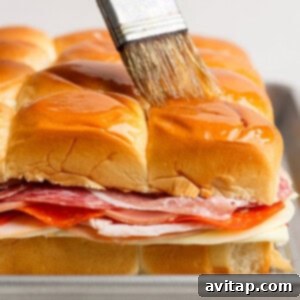
- Begin layering your delicious fillings. First, arrange the pepper jack and provolone cheese slices over the bottom half of the rolls, making sure to cover the entire surface. Next, layer all the deli meats generously: starting with turkey, then pepperoni, followed by mortadella, salami, and finally prosciutto. Place the top half of the Hawaiian rolls back over the layered meats and cheese. Brush the tops of the rolls generously with the melted unsalted butter, which will help them brown beautifully.
- Bake the sliders in the preheated oven for 15 minutes. This baking time will allow the cheeses to melt into a gooey layer, the meats to warm through, and the rolls to become golden brown and slightly toasted.
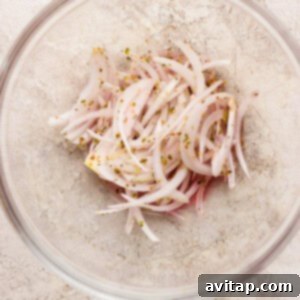
- While the sliders are baking, prepare the essential grinder salad toppings. In a medium bowl, combine the thinly sliced white onion, red wine vinegar, and dried oregano. Stir gently to ensure the onions are well coated with the seasoning and vinegar. Let this mixture marinate for at least 5 minutes; this crucial step softens the raw edge of the onions and infuses them with a tangy, herbaceous flavor.
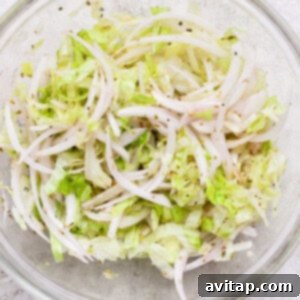
- After the onions have marinated and released some of their robust flavor, add the shredded lettuce and olive oil to the bowl. Toss everything together until the lettuce is lightly coated and thoroughly combined with the seasoned onions. Set this vibrant mixture aside.
- In a small separate bowl, whisk together the mayonnaise and Dijon mustard until smooth and well combined. This creamy, tangy mixture will serve as your flavorful spread.
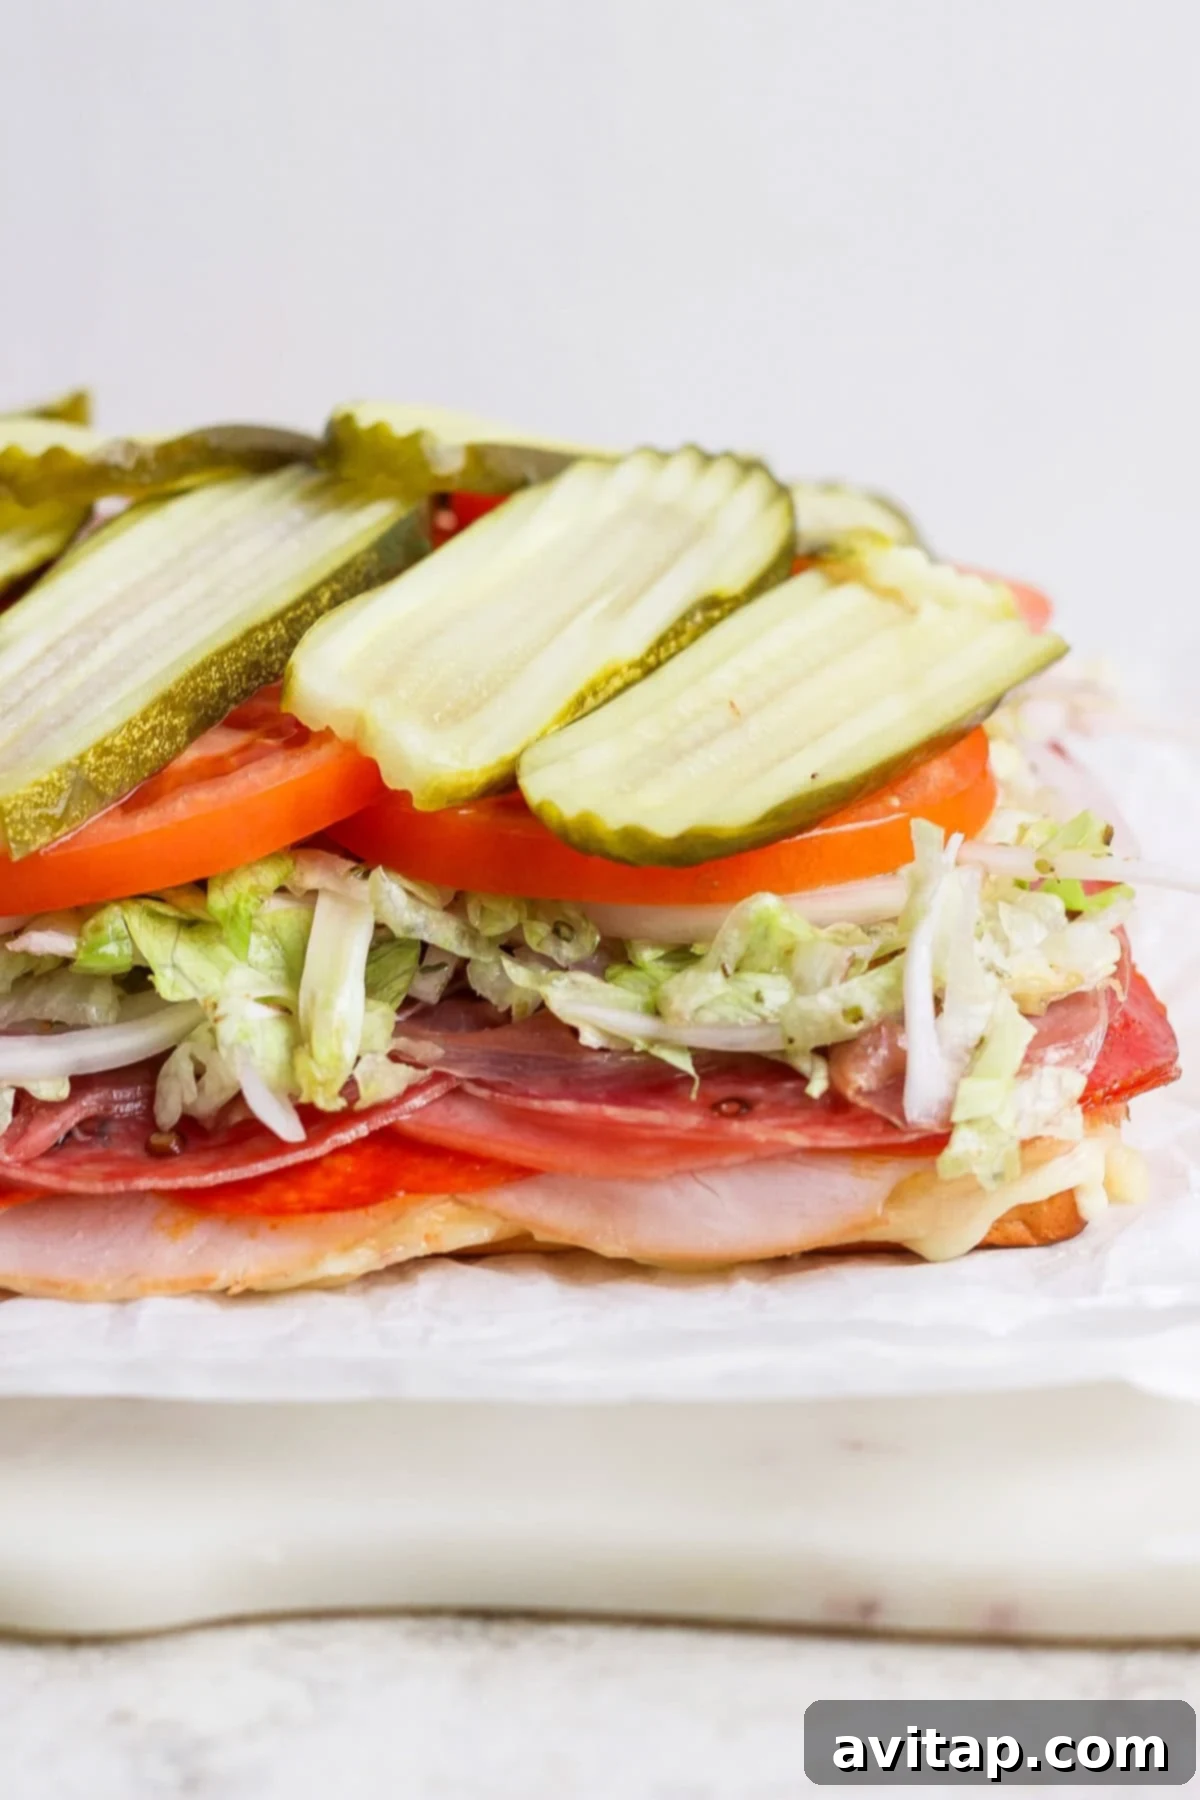
- When the sliders are done baking, carefully remove the pan from the oven and transfer the baked sliders onto a cutting board. Gently lift the entire top half of the rolls off and set them aside. Evenly distribute the prepared Italian seasoned lettuce and onion mixture over the bottom half of the sliders. Arrange the thinly sliced fresh tomatoes and crisp pickle slices on top of the lettuce for added freshness and crunch.
- Finally, spread the mayonnaise and mustard mixture evenly over the inside of the top half of the Hawaiian rolls. Carefully place the top buns back onto the sliders, gently pressing down to secure the toppings.
- Using a sharp serrated knife, cut the assembled sliders along their original perforations to create individual servings. Serve immediately and savor every delicious bite!
Tips & Notes
- **Meat and Cheese Combinations:** This recipe is incredibly adaptable. Feel free to use any combination of deli meats and cheeses that you love or have on hand. Other great cheese options include mozzarella, Swiss, or even a sharp cheddar. For meats, consider ham, roast beef, or different varieties of salami.
- **Baking for Authenticity:** Baking these sliders is key to achieving that classic “grinder” sandwich experience. It melts the cheese perfectly, warms the meats, and lightly toasts the buns, creating an irresistible texture that is superior to serving them cold.
- **Spice it Up:** For an extra kick, consider adding a pinch of red pepper flakes to your grinder salad mixture or a dash of your favorite hot sauce to your mayonnaise-Dijon mustard spread.
- **Fresh Herbs:** While dried oregano works wonderfully, a sprinkle of fresh chopped parsley or basil could also enhance the overall fresh and herbaceous flavors of the grinder salad.
- **Toasting Options:** If you prefer an extra crispy bun, you can lightly toast the Hawaiian rolls in a separate pan or under a broiler for a minute or two before assembling, but be careful not to burn them.
Watch The Recipe Video
For a visual guide on how to prepare these delectable Italian Grinder Sliders, watch our step-by-step video tutorial. It covers everything from slicing the Hawaiian rolls to assembling the perfect layers and creating that irresistible grinder salad, ensuring your sliders turn out perfectly every time.
(Video tutorial available on our website or social media channels!)
Nutrition Information
Below is an approximate nutritional breakdown per serving (1 slider):
- Calories: 339 kcal
- Carbohydrates: 17 g
- Protein: 15 g
- Fat: 23 g
- Fiber: 0.4 g
- Sugar: 5 g
Note: Nutrition information is automatically calculated and should be used as an approximation. Actual values may vary based on specific brands, ingredient choices, and preparation methods.
Loved this recipe? Share your thoughts below!
Don’t forget to tag your posts on social media with the hashtag #fitfoodiefinds – we’d love to see your delicious creations and hear your feedback!