
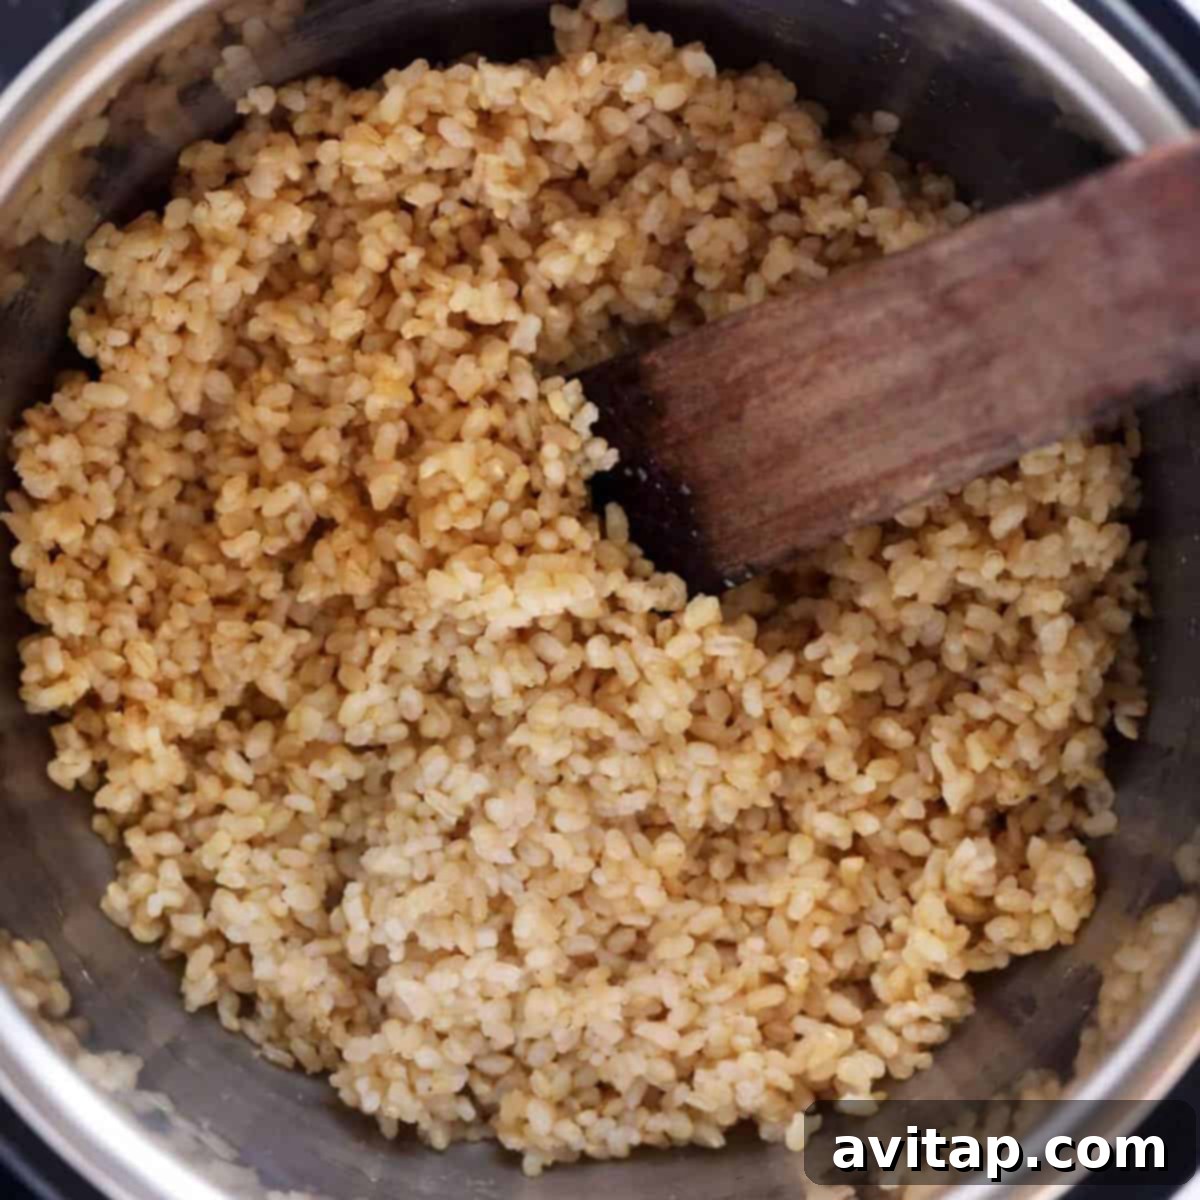
Transform your kitchen routine with the secret to perfectly fluffy, consistently cooked brown rice, every single time. Forget the frustrations of stovetop rice – no more bubbling over, scorching the bottom of your pot, or ending up with a sticky, mushy mess. Thanks to the Instant Pot, cooking brown rice has never been easier or more foolproof. This comprehensive guide will show you how to achieve flawless results using a simple 1:1 rice to water ratio, cooked under pressure for just 20 minutes. Prepare to enjoy delicious, healthy brown rice that’s ready to elevate any meal!
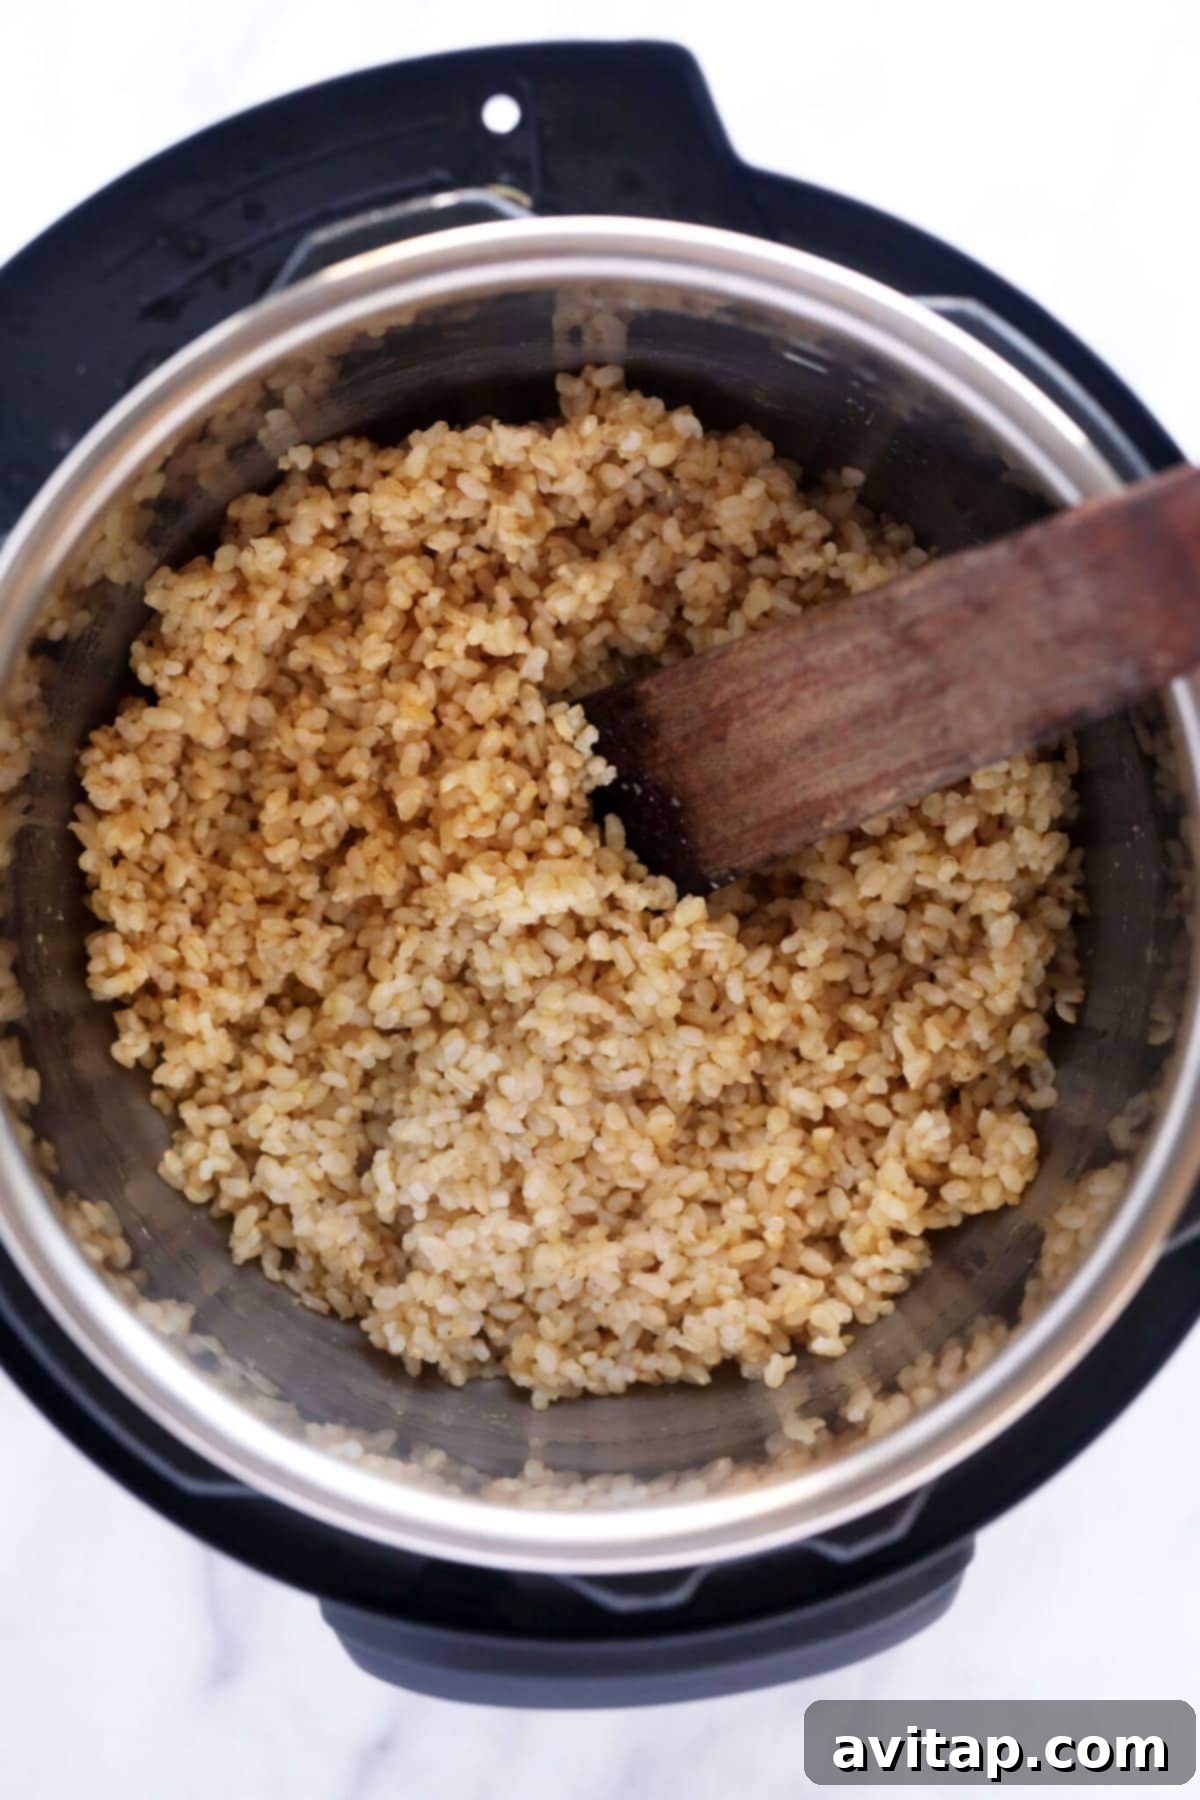
For years, many of us have battled with cooking brown rice on the stove. The process often feels like a delicate balancing act, resulting in either undercooked, chewy grains or an overcooked, glue-like texture. Whether you’re feeding a large family, meal prepping for the week, or simply want to free up stovetop space, the Instant Pot is your ultimate ally. This pressure cooking method guarantees a hands-off, consistent outcome, eliminating the guesswork and delivering a delightful batch of brown rice without fail.
The Magic of Instant Pot Brown Rice: Why It’s Superior
The Instant Pot isn’t just a kitchen gadget; it’s a game-changer, especially for grains like brown rice. Here’s why this method stands head and shoulders above traditional stovetop cooking:
- Unmatched Consistency: The sealed environment of the Instant Pot ensures even cooking and consistent pressure, leading to uniformly tender and fluffy grains. Say goodbye to hard centers or mushy exteriors.
- Effortless & Hands-Off: Once you set the timer, your work is done. No constant monitoring, no stirring, no worrying about boil-overs. This frees you up to focus on other aspects of your meal preparation.
- Time-Saving: While the pressure cook time is 20 minutes, the total active time is minimal. Plus, the quick cooking under pressure means you’ll have perfectly cooked rice much faster than conventional methods.
- Energy Efficiency: Pressure cooking often uses less energy compared to extended stovetop simmering, making it an eco-friendlier choice for your kitchen.
- Foolproof Results: The 1:1 ratio, combined with precise pressure cooking, takes the guesswork out of the equation. Even beginner cooks can achieve master-level rice.
- Easy Cleanup: A single pot to clean means less washing up, making your post-dinner routine much simpler.
Essential Tips for Foolproof Instant Pot Brown Rice
While the Instant Pot simplifies brown rice cooking significantly, a few key practices will ensure your results are truly perfect every time.
Top Tips from Our Kitchen
Always Rinse Your Rice: This crucial step is often overlooked but plays a vital role in the final texture of your brown rice. Rinsing removes excess surface starch, which can lead to gummy or clumpy rice. It also washes away any dust or debris. Place your brown rice in a fine-mesh sieve and rinse under cold running water until the water runs clear. This usually takes a minute or two.
The Universal 1:1 Ratio: Our extensive testing confirms that a straightforward 1 cup of brown rice to 1 cup of water (or broth) ratio works wonders across all types of brown rice in the Instant Pot. This simple proportion is the foundation for perfectly cooked grains, preventing both dryness and excessive moisture.
Scalable Success – Double or Triple the Recipe: Need more rice? This recipe is incredibly adaptable. We’ve successfully tested it with both 1 cup of rice/water and 2 cups of rice/water, finding that the cook time remains consistent at 20 minutes for standard-sized Instant Pots (6-quart or 8-quart). Feel free to double or even triple the recipe to suit your needs; just ensure your Instant Pot isn’t filled beyond its maximum fill line.
Understanding Brown Rice Varieties and Cooking Times
Brown rice isn’t a single entity; it comes in various forms, each with unique characteristics that can influence the optimal pressure release method. We’ve experimented thoroughly with both long grain and short grain brown rice in the Instant Pot to bring you the best advice.
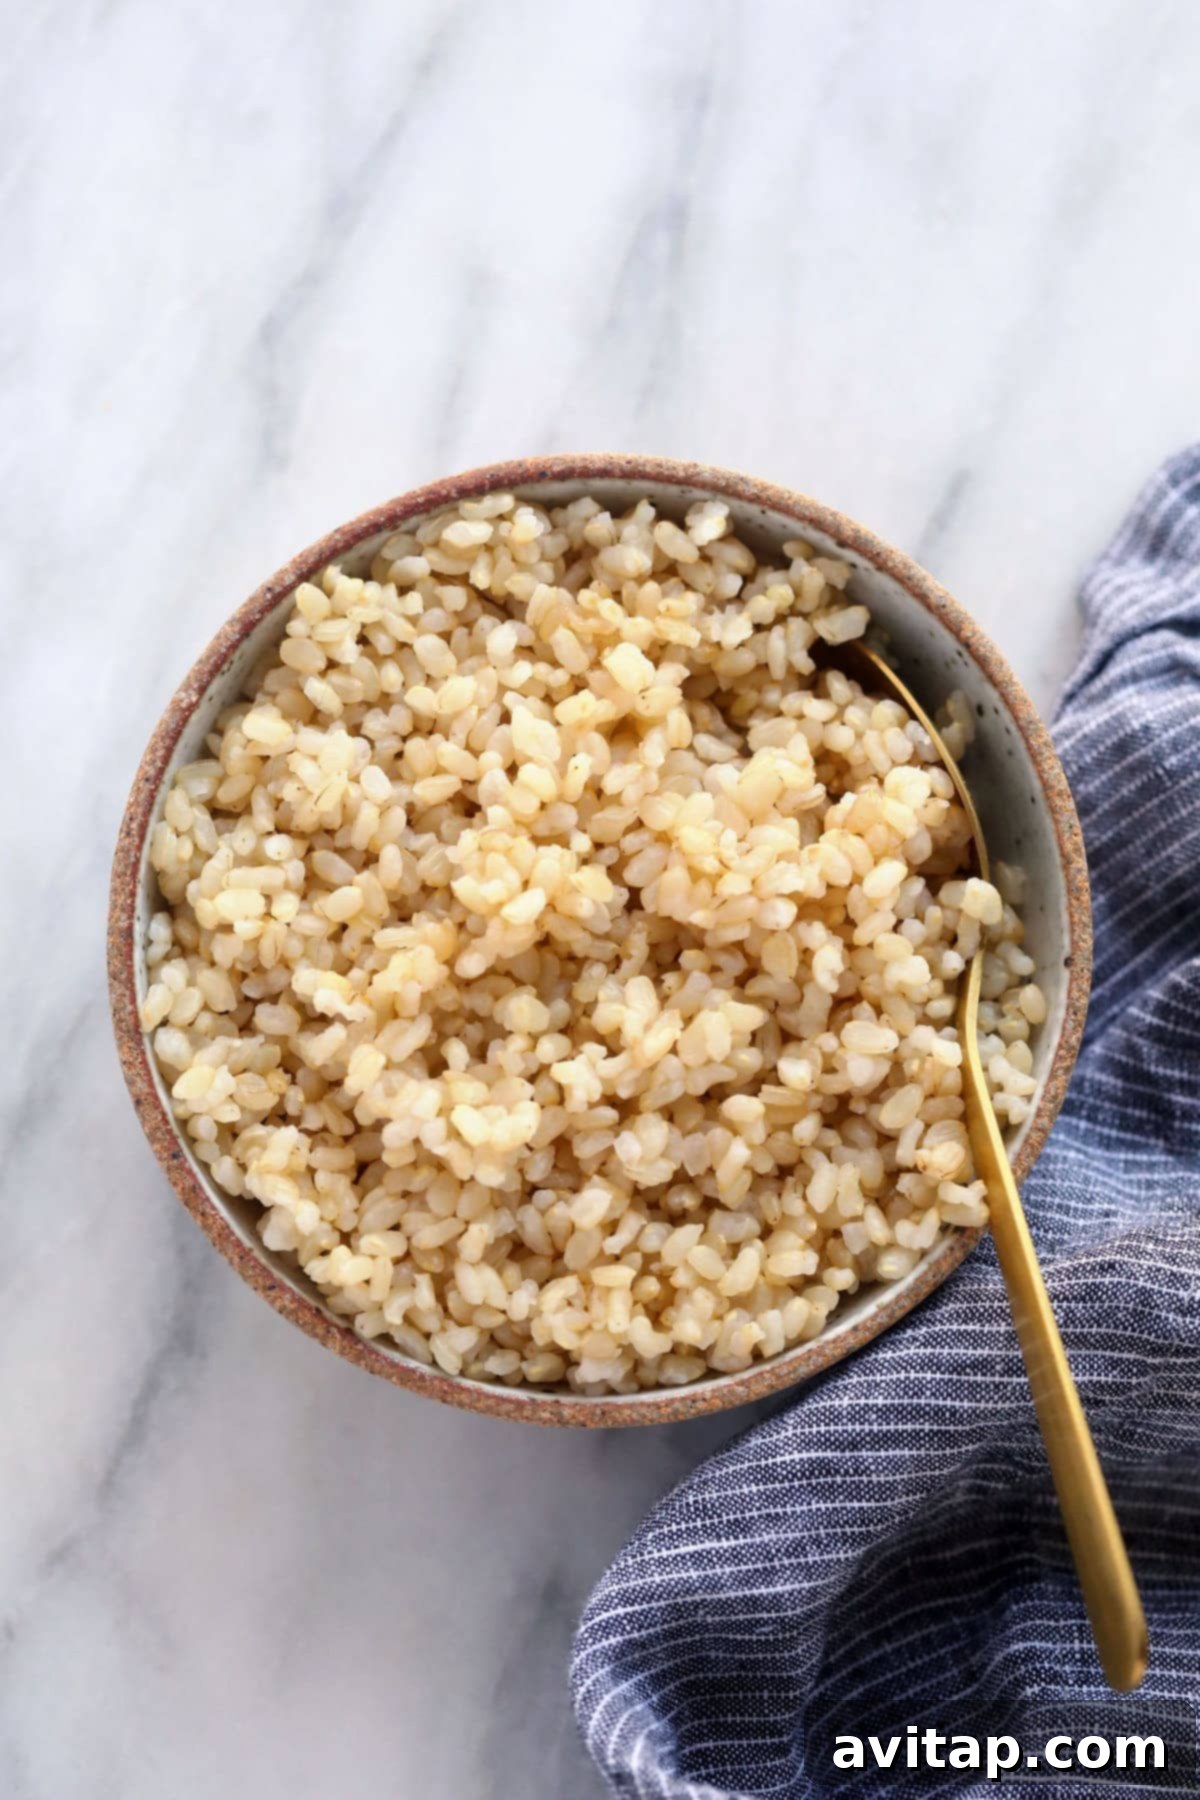
- Short Grain Brown Rice: This variety is characterized by its shorter, plumper grains and tends to be more starchy than long-grain brown rice. When cooked, it yields a soft, slightly sticky, and wonderfully fluffy texture. For short-grain brown rice, cook on high pressure for 20 minutes, then use a **quick release** for the pressure. This prevents it from becoming overly soft or mushy.
- Long Grain Brown Rice: Distinct for its slender, elongated grains, long-grain brown rice is less starchy and produces a firmer, drier, and more separate grain texture when cooked. To achieve its ideal consistency, cook long-grain brown rice on high pressure for 20 minutes, then allow the pressure to **natural release for 10 minutes** before manually releasing any remaining pressure. This additional natural release time allows the grains to absorb any residual moisture and steam, resulting in a perfectly tender bite.
Knowing the difference and applying the correct pressure release method is key to mastering each type of brown rice in your Instant Pot.
Step-by-Step: How to Make Perfect Instant Pot Brown Rice
Ready to make the best brown rice of your life? Follow these simple steps for a consistently perfect batch.
Ingredients
- 1 cup brown rice (short grain or long grain)
- 1 cup water or vegetable broth (for added flavor)
- Optional: 1/2 teaspoon salt (to taste)
- Optional: 1 teaspoon olive oil or butter (for slightly richer flavor and less sticking)
Equipment
- Instant Pot (any size)
- Fine-mesh sieve
- Spatula or fork for fluffing
Instructions
-
Add the brown rice to a fine-mesh sieve and rinse thoroughly under cold running water until the water runs clear. This essential step removes excess starch, ensuring fluffy, non-sticky rice.
-
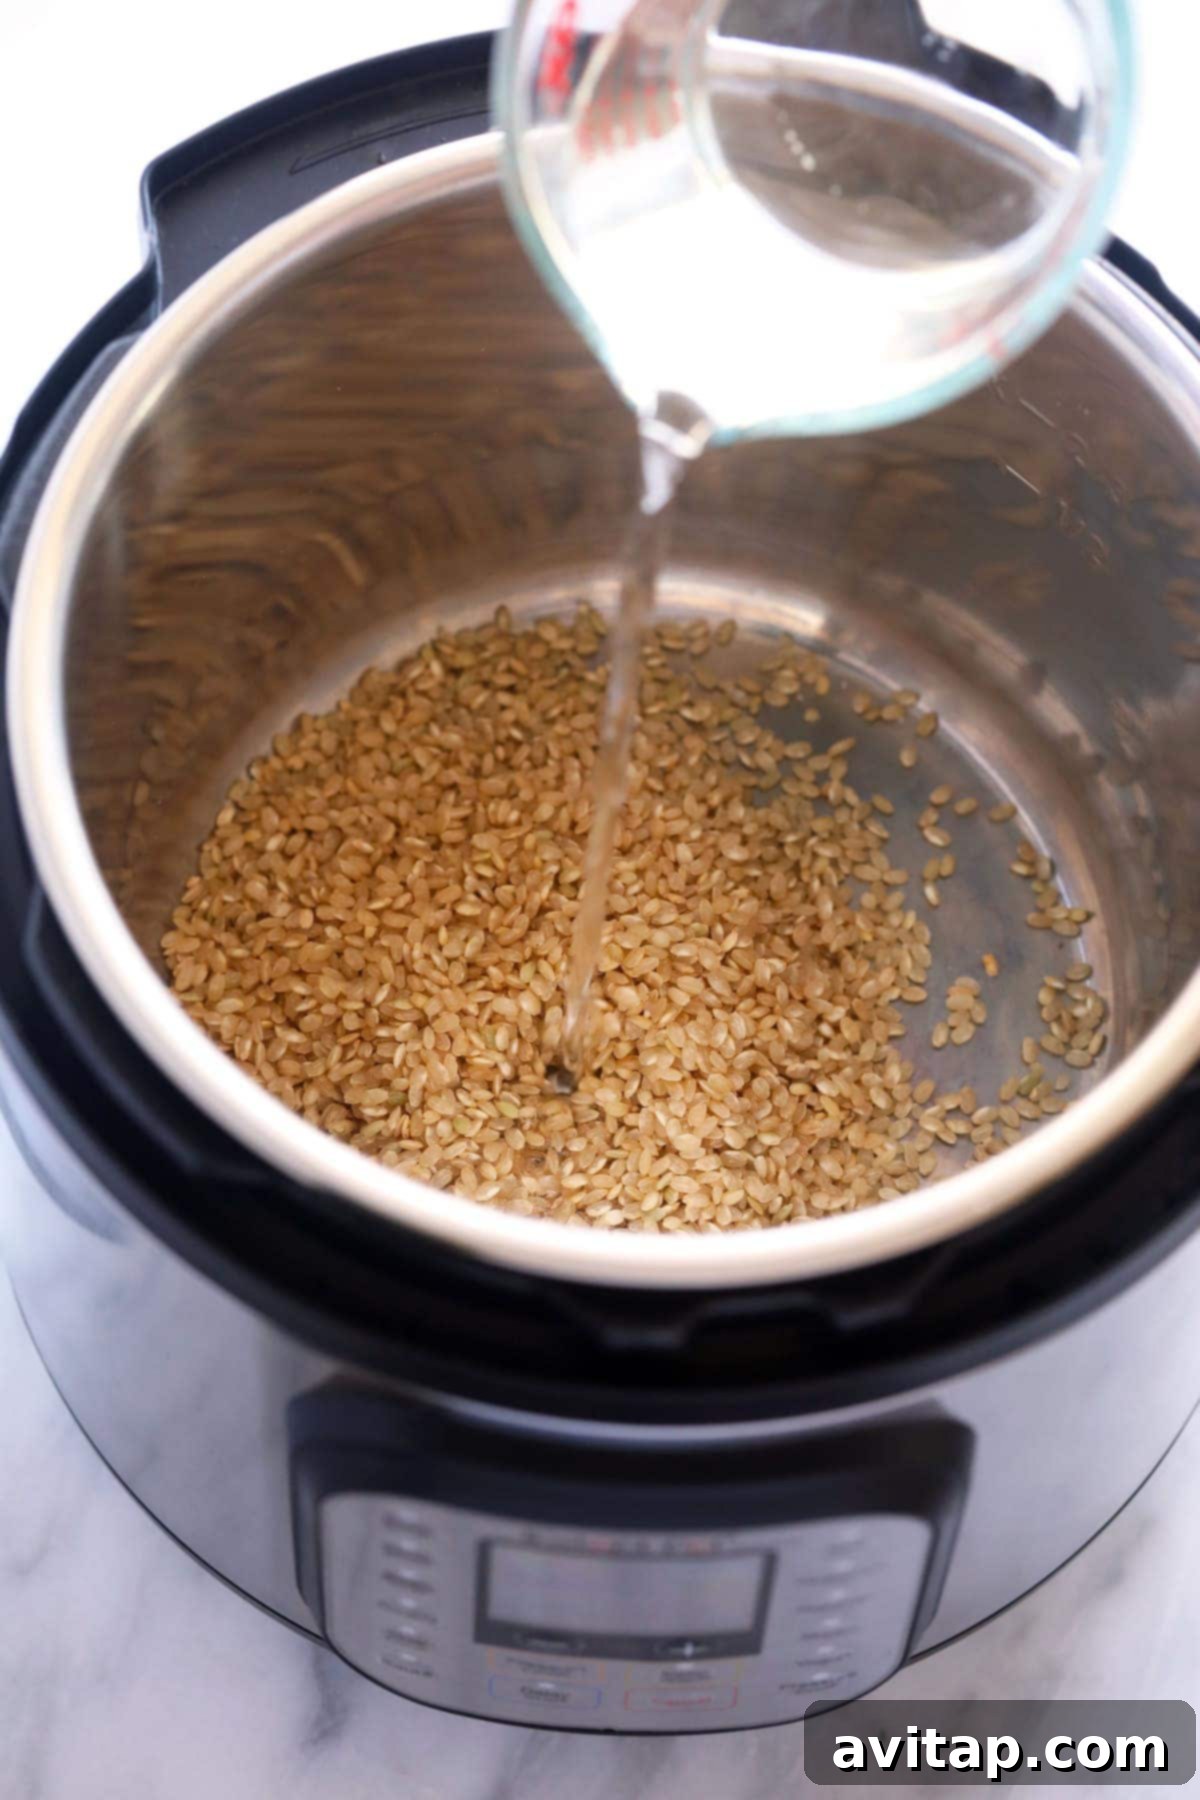
Transfer the rinsed brown rice to the Instant Pot inner pot. Pour in 1 cup of water (or broth) and, if desired, add salt and a touch of olive oil or butter. Stir the rice and liquid gently to ensure all grains are submerged.

-
Secure the Instant Pot lid and make sure the pressure release valve is set to the “Sealing” position. Select the “Manual” or “Pressure Cook” setting on high pressure and set the cook time for 20 minutes.
-
For Long Grain Brown Rice: Once the cooking cycle is complete, allow the pressure to natural release for 10 minutes. This means do nothing for 10 minutes, letting the pressure drop gradually. After 10 minutes, carefully switch the pressure release valve to “Venting” to quick release any remaining pressure.
-
For Short Grain Brown Rice: Once the cooking cycle is complete, immediately perform a quick release. Carefully switch the pressure release valve to the “Venting” position to release all the pressure quickly.
-
Once the float valve drops and all pressure is released, open the lid. Fluff the cooked brown rice with a fork or spatula before serving. Enjoy your perfectly cooked, fluffy brown rice!
Troubleshooting Common Instant Pot Brown Rice Issues
While the Instant Pot method is highly reliable, sometimes things don’t go exactly as planned. Here are solutions to common problems:
Undercooked Rice: If your rice is still a bit too firm or chewy, it usually means it didn’t have enough cooking time or insufficient liquid. The 1:1 ratio is crucial. Ensure your Instant Pot reached full pressure. If it’s just slightly undercooked, you can add 1/4 cup of hot water, reseal the pot, and cook for another 2-3 minutes on high pressure, followed by a 5-minute natural release. Make sure your pressure release method was correct for your rice type (especially for long grain requiring natural release).
Mushy Rice: This often happens when there’s too much liquid or the pressure was released too slowly for short-grain rice. Double-check your 1:1 ratio. For short-grain brown rice, always use a quick release to prevent overcooking. If your rice is slightly mushy, spreading it out on a baking sheet to cool can help evaporate some excess moisture, making it less sticky.
Burnt Bottom (Burn Notice): A “Burn” error typically indicates that there wasn’t enough liquid in the pot, or something caused the liquid to evaporate too quickly. Always ensure you’re using at least 1 cup of liquid for 1 cup of rice. Make sure the sealing ring is properly in place and clean. If you’ve doubled the recipe, sometimes adding a tiny bit extra liquid (e.g., 2 cups rice, 2.25 cups water) can prevent this in some Instant Pot models, though generally, the 1:1 ratio is robust. Also, ensure you haven’t added anything too thick or prone to sticking directly to the bottom of the pot without adequate liquid underneath.
Elevate Your Brown Rice: Flavor Variations
While perfectly cooked brown rice is delicious on its own, it also serves as a fantastic canvas for various flavors. Here are some ideas to infuse your Instant Pot brown rice with exciting tastes:
- Swap Water for Broth: For a savory depth, replace water with vegetable, chicken, or beef broth. This simple switch adds incredible flavor without much effort.
- Aromatics: Sauté minced garlic, diced onion, or shallots in a bit of olive oil using the “Sauté” function before adding the rice and liquid. This creates a fragrant base.
- Herbs & Spices: Stir in dried herbs like bay leaves, thyme, or oregano, or spices such as cumin, turmeric, or a pinch of red pepper flakes before cooking. Fresh herbs can be stirred in after cooking.
- Citrus Zest: For a bright, fresh flavor, add a teaspoon of lemon or lime zest to the pot with the liquid.
- Coconut Milk: For a rich, slightly sweet, and aromatic rice, replace half of the water with light coconut milk. This is particularly delicious with Thai or Indian-inspired dishes.
- Ginger: A few slices of fresh ginger added to the pot impart a subtle warmth and aroma. Remove before serving.
Delicious Ways to Serve Instant Pot Brown Rice
Once you’ve mastered Instant Pot brown rice, the culinary possibilities are endless. It’s an incredibly versatile side dish that pairs well with almost anything.
- Healthy Base: Serve as the foundation for grain bowls topped with roasted vegetables, lean protein (chicken, fish, tofu), and a flavorful dressing.
- Stir-Fries: A perfect accompaniment to your favorite stir-fry recipes, soaking up all the delicious sauces.
- Burrito Bowls: Create homemade burrito bowls with black beans, corn, salsa, avocado, and your choice of protein.
- Curries and Stews: Brown rice beautifully complements hearty curries, stews, and chili, providing a satisfying and absorbent base.
- Tacos and Fajitas: A healthier alternative to white rice in your taco nights or alongside sizzling fajitas.
- Salads: Add cooled brown rice to salads for extra texture, fiber, and substance.
- Breakfast Bowls: Believe it or not, leftover brown rice can be reheated and served with milk, fruit, and cinnamon for a wholesome breakfast.
- Stuffed Peppers or Vegetables: Mix cooked brown rice with ground meat, herbs, and cheese for a delicious stuffing.
Storage and Freezing Your Cooked Brown Rice
One of the best advantages of making brown rice in the Instant Pot is the ease of batch cooking and storage, making meal prep a breeze.
Storing in the Refrigerator
To store your Instant Pot brown rice, first remove it from the Instant Pot inner pot immediately after cooking to prevent it from continuing to cook or becoming soggy. Spread it out on a baking sheet or plate for a few minutes to allow it to cool completely. Once cooled, transfer the rice to an airtight storage container. Properly stored brown rice can last up to 5-7 days in the refrigerator, ready to be reheated for quick meals throughout the week.
Freezing for Future Meals
Yes, you can absolutely freeze Instant Pot brown rice! Freezing cooked rice is an excellent strategy for having healthy, pre-cooked grains on hand at all times, drastically cutting down on future meal prep. To freeze, let the cooked rice cool completely. Then, portion it into individual freezer-safe bags or containers. Flatten the rice in the bags to remove air and save space. Label with the date. Frozen brown rice can be stored in the freezer for up to 3 months. To reheat, simply transfer a frozen portion to a microwave-safe bowl, add a tablespoon or two of water, cover, and microwave until heated through, fluffing with a fork midway.
Frequently Asked Questions (FAQs)
Here are answers to some common questions about cooking brown rice in the Instant Pot:
Q: Do I need to soak brown rice before cooking it in the Instant Pot?
A: No, soaking brown rice is not necessary for this Instant Pot method. Our 1:1 ratio and 20-minute cook time are designed for unsoaked rice, yielding perfect results.
Q: Can I add salt or oil to the rice?
A: Yes, absolutely! We recommend adding about 1/2 teaspoon of salt per cup of rice for flavor. A teaspoon of olive oil or butter can also be added to the cooking liquid; it can help prevent sticking and slightly enrich the flavor.
Q: What size Instant Pot is best for this recipe?
A: This recipe works well in any size Instant Pot (3-quart, 6-quart, 8-quart, or 10-quart). Just remember to adhere to the maximum fill line of your specific model, especially if you’re doubling or tripling the recipe.
Q: How do I prevent the “Burn” message?
A: Ensure you have sufficient liquid (at least the 1:1 ratio), and that the inner pot is clean without any stuck food bits from previous cooking. If you’ve added thick sauces or ingredients, make sure they are not directly on the bottom but mixed in with enough liquid to prevent scorching.
Q: Can I use this method for other types of rice?
A: While this specific 1:1 ratio and cook time are optimized for brown rice, Instant Pots can cook various rice types. However, different types (like white rice, wild rice, or basmati) will require different water ratios and cooking times. Always refer to specific recipes for other rice varieties.
More of our Favorite…
Rice Recipes
- Wild Rice
- Instant Pot Coconut Rice
- Instant Pot Fried Rice
- Sticky Rice
Rating: 5 from 4 votes
Foolproof Instant Pot Brown Rice Recipe
Pin
Ingredients
- 1 cup brown rice, short grain or long grain
- 1 cup water, or broth
Instructions
-
Add the brown rice to a fine sieve and rinse under cold water until the water runs clear.
-
Add the rice and water to the Instant Pot and stir the rice and water together. Be sure that all the rice is covered in water.
-
Cover and seal the Instant Pot’s pressure valve. Set the Instant Pot to high pressure and cook for 20 minutes.
-
Long grain rice: naturally release the pressure for 10 minutes and then release any leftover pressure from the Instant Pot.
-
Short grain brown rice: quick release the pressure.
Tips & Notes
- Feel free to double or triple this recipe.
- For more flavor, swap the water for broth.
Watch It
Nutrition
Calories: 160 kcal, Carbohydrates: 36 g, Protein: 3 g, Fat: 1 g, Fiber: 0 g, Sugar: 0 g
Nutrition information is automatically calculated, so should only be used as an approximation.
love this? leave a comment below!
Don’t forget to tag your posts on social media with the hashtag #fitfoodiefinds, we’d love to see what you’re up to!