
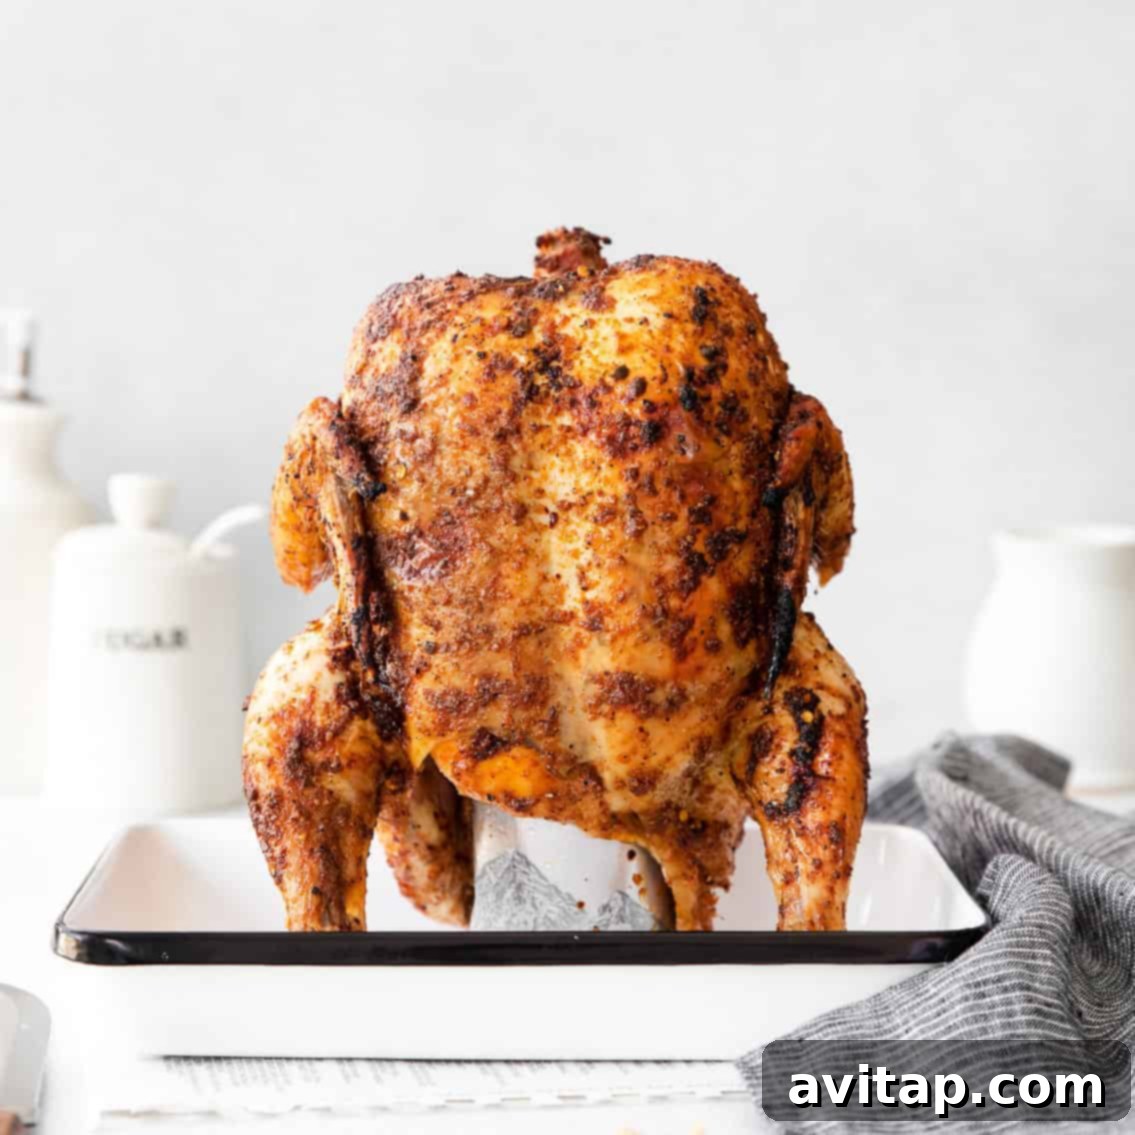
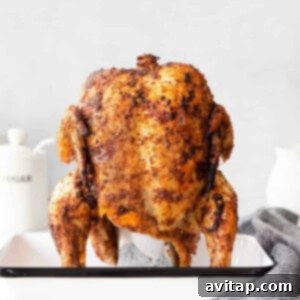
Beer can chicken, often affectionately known as “beer butt chicken,” is a culinary technique that promises a whole chicken cooked to absolute perfection. Whether you prefer the smoky char of a grill or the consistent heat of an oven, this method delivers incredibly moist, tender meat with a beautifully crispy skin. It’s surprisingly simple to prepare, making it an ideal choice for both weeknight dinners and weekend gatherings.
This comprehensive guide will walk you through everything you need to know to master the art of beer can chicken. We’ll cover essential ingredients, the secrets to an unforgettable dry rub, detailed cooking instructions for both grilling and oven roasting, and plenty of expert tips to ensure your chicken turns out juicy and delicious every single time.
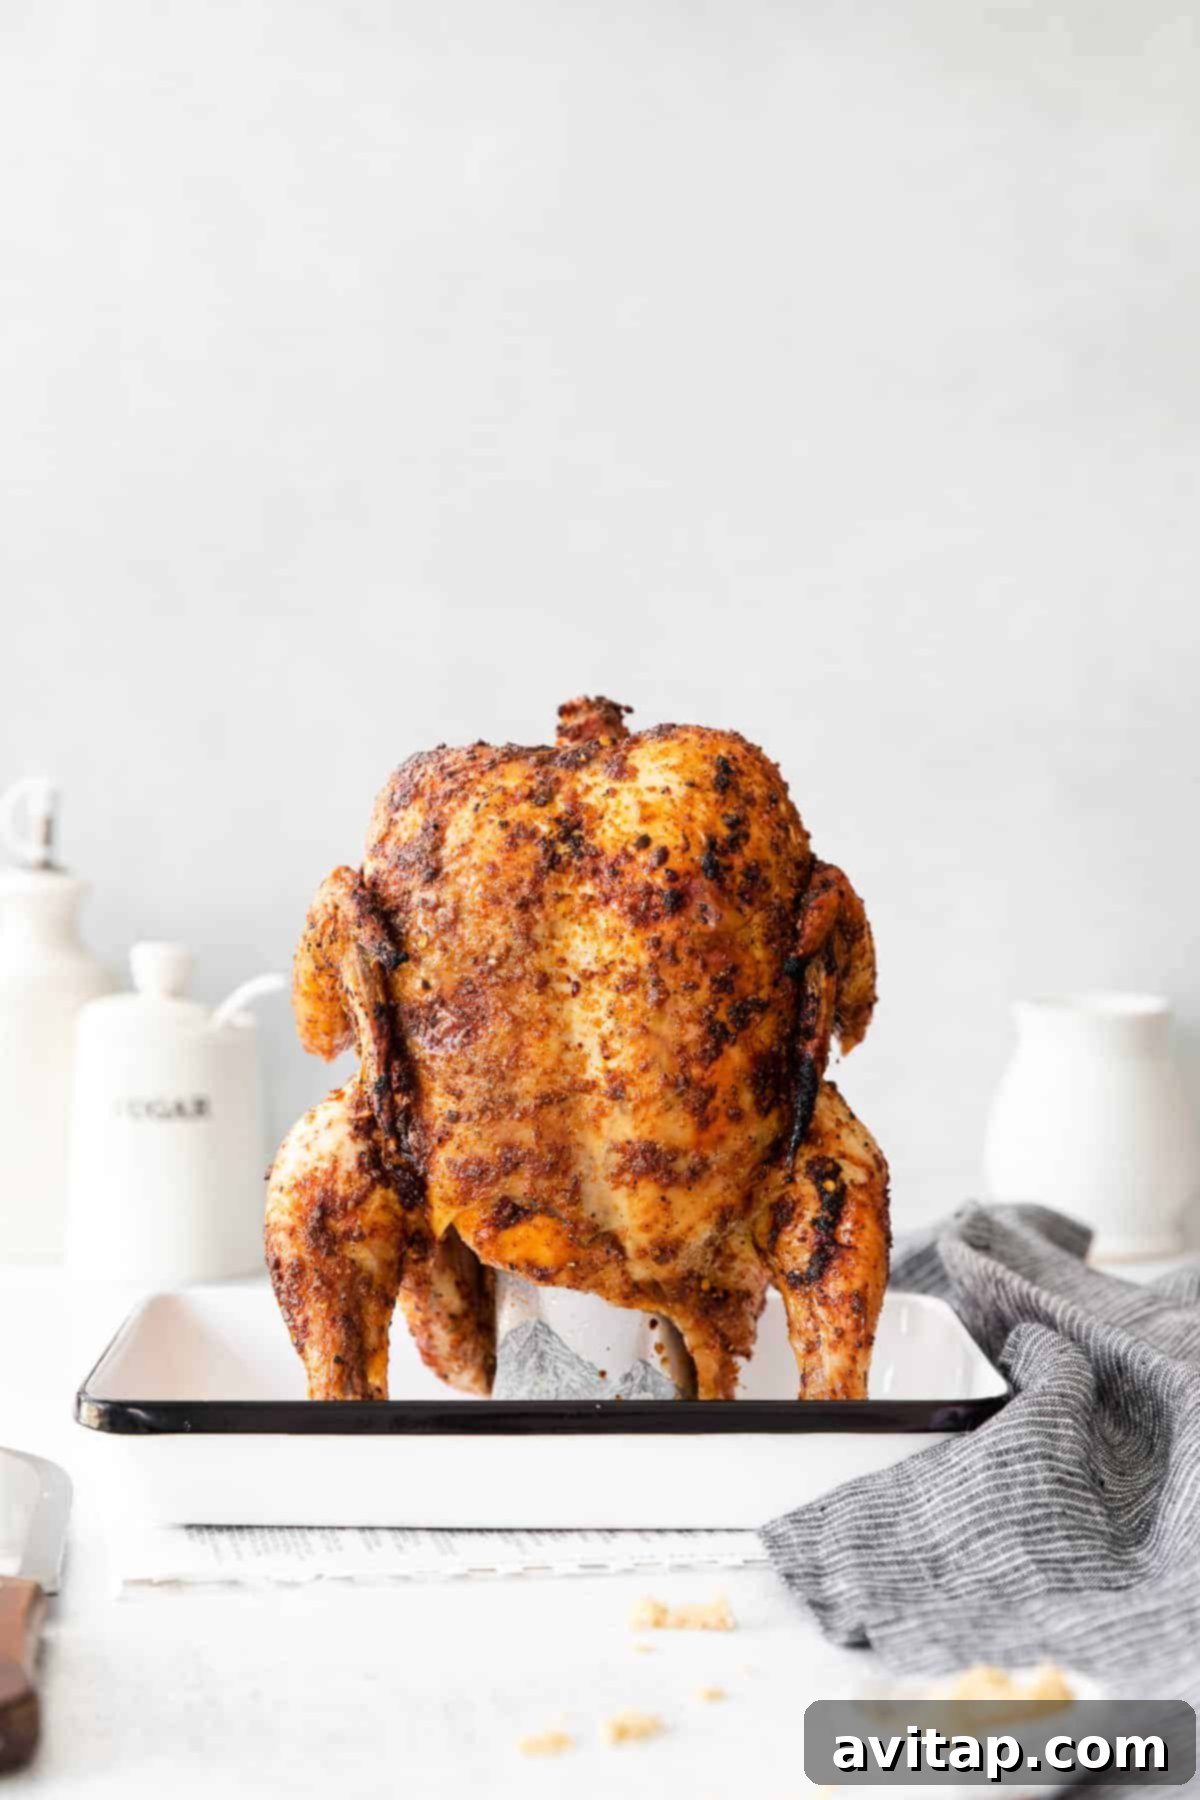
Unlock the Secret to the Most Flavorful Beer Can Chicken
There’s a reason beer can chicken consistently ranks as a favorite among home cooks and BBQ enthusiasts. The magic lies in the simple yet ingenious cooking method: a whole chicken is perched upright on an open can of beer (or another liquid), allowing the liquid to steam the chicken from the inside out. This internal steaming process keeps the meat incredibly moist and tender, while the external dry heat from your grill or oven works its wonders on the skin, transforming it into a glorious, golden-brown crisp.
The result is a whole chicken where both the white meat (often prone to drying out) and the dark meat achieve a harmonious level of succulence. Beyond moisture, the dry rub applied to the chicken’s exterior creates a deeply flavorful crust that adds another layer of deliciousness to every bite.
What exactly is beer can chicken?
Beer can chicken is a popular cooking technique where a whole chicken is placed vertically on a partially filled can of beer. The liquid inside the can steams as the chicken cooks, infusing moisture and sometimes subtle flavors into the meat, ensuring a tender and juicy result. This method can be executed successfully in either an oven or on a grill.
Is “beer can chicken” the same as “beer butt chicken”?
Yes, absolutely! “Beer butt chicken” is simply a colloquial and rather humorous alternative name for beer can chicken. Both terms refer to the exact same cooking technique and result in the same delicious dish.
What are the main benefits of cooking chicken this way?
The primary benefit of cooking chicken on a beer can is the incredible moisture it imparts. The steaming liquid inside the chicken’s cavity prevents the meat from drying out, leading to exceptionally juicy white and dark meat. Additionally, the upright position allows for even cooking and encourages a wonderfully crispy skin all around the bird.
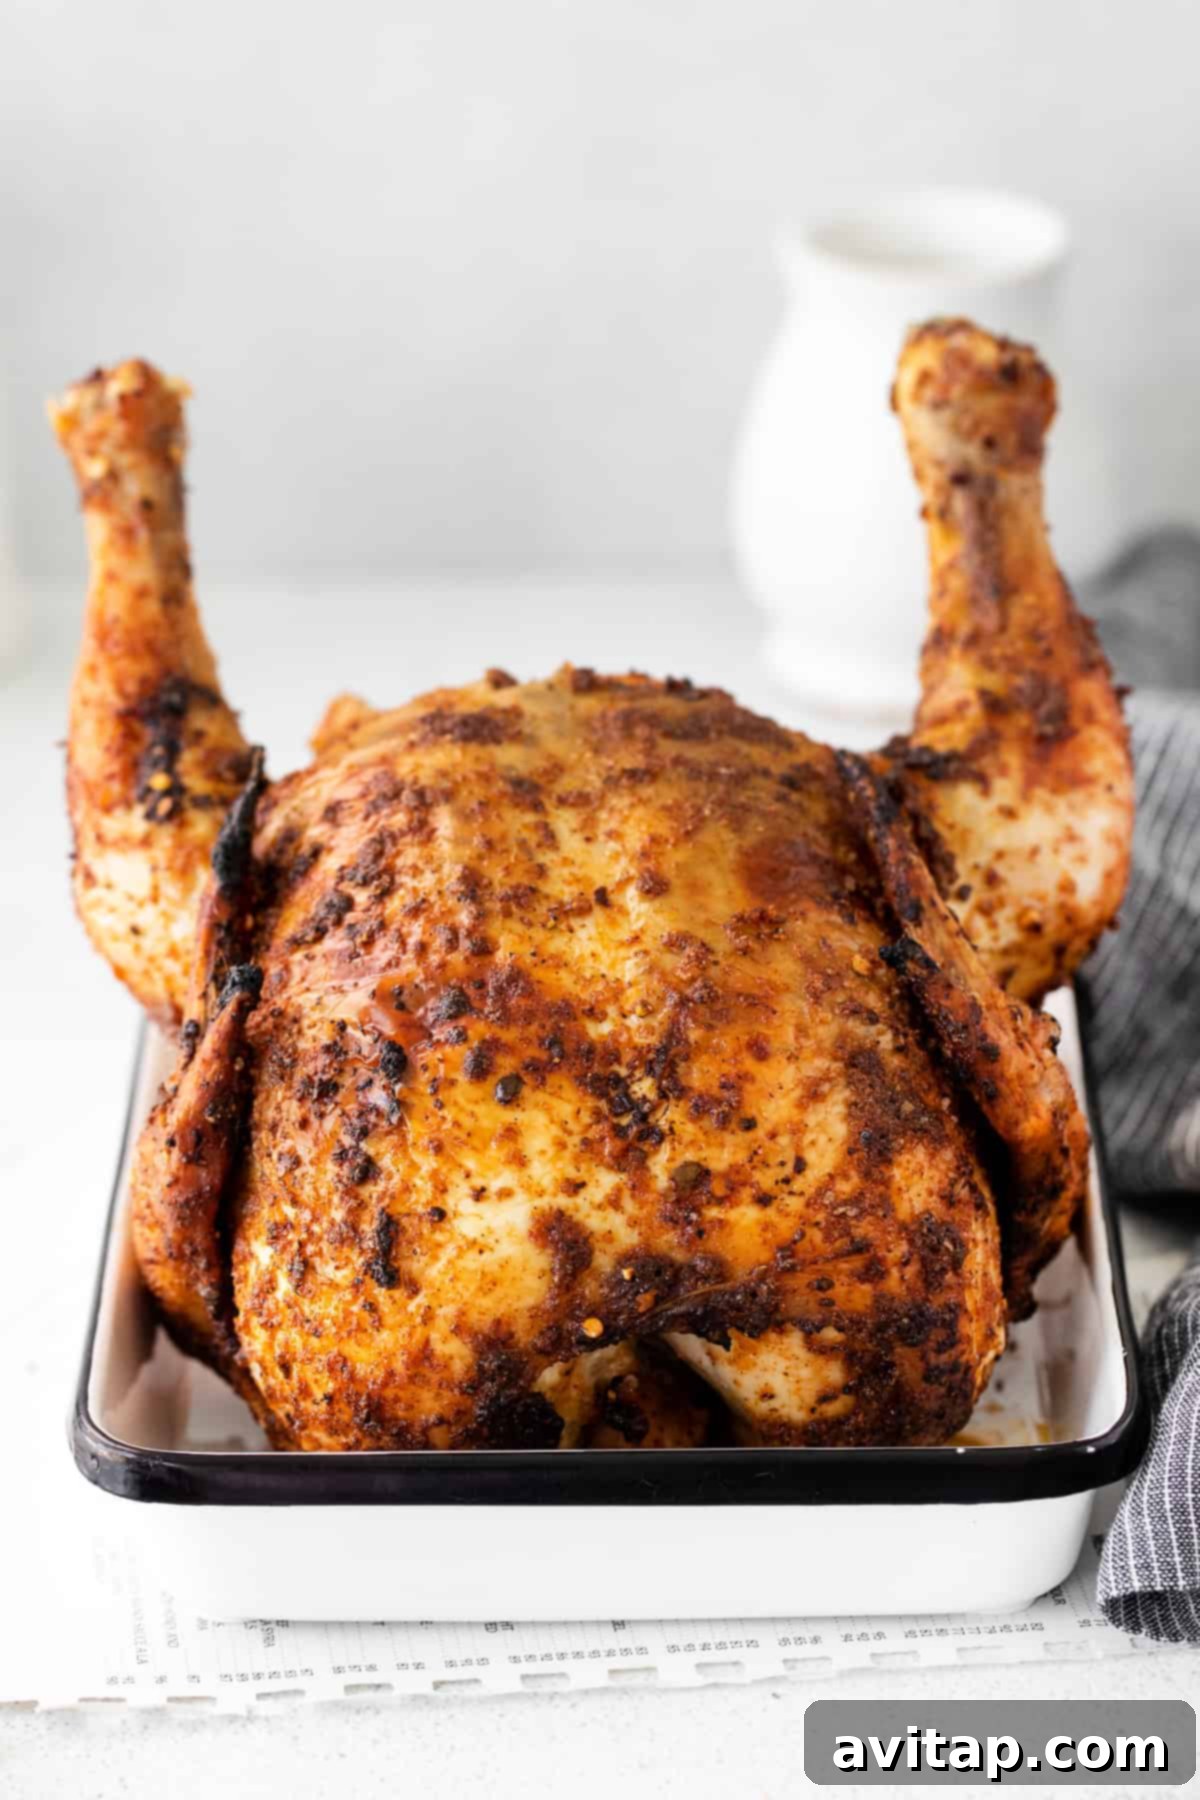
Essential Ingredients for Your Beer Can Chicken
Crafting the perfect beer can chicken begins with selecting the right ingredients. Here’s a breakdown of what you’ll need and why each component is crucial for success:
- Whole Chicken: Start with a fresh, high-quality whole chicken, ideally weighing between 3 to 4 pounds. This size cooks efficiently and fits well on a standard beer can. Remember to remove any giblets or neck from the cavity before preparation. Leaving the skin on is vital for that desired crispy texture.
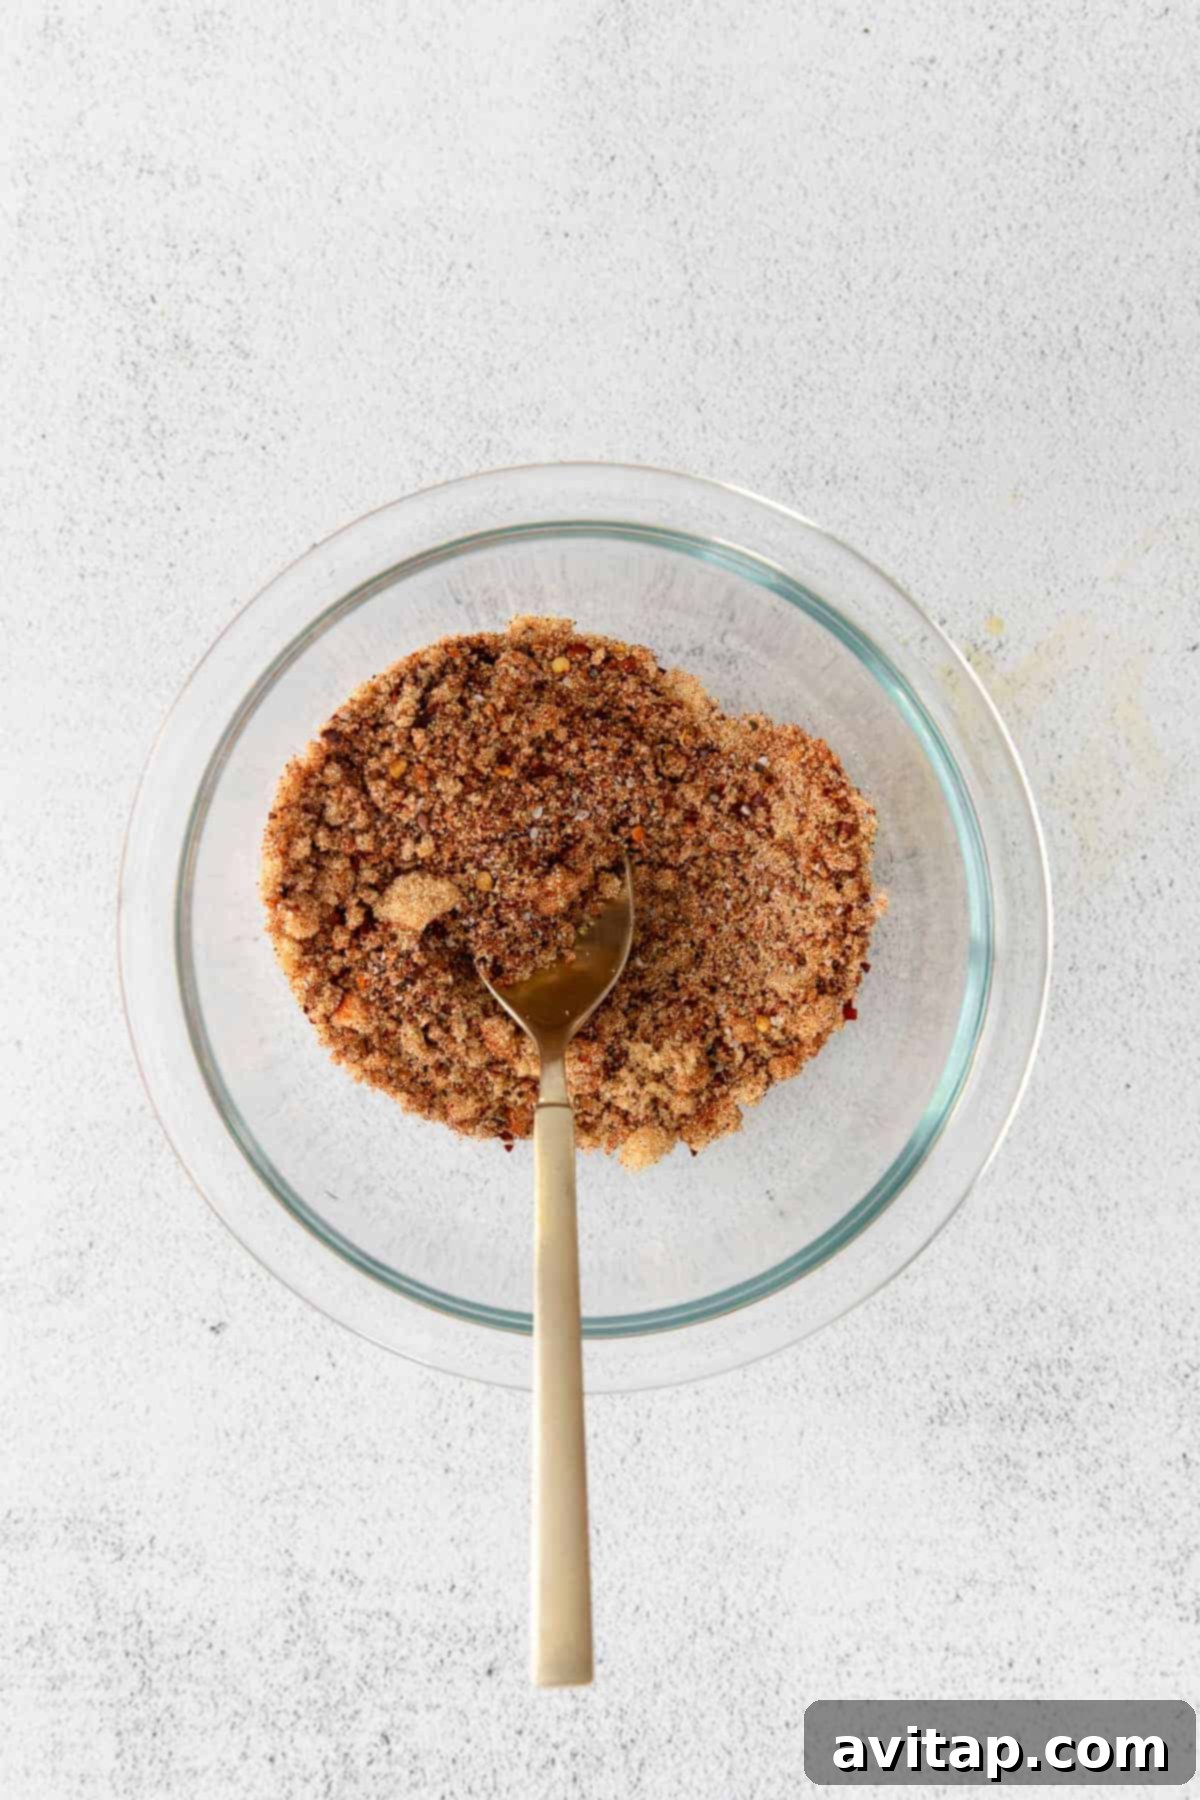
- Flavorful Dry Rub: A stellar dry rub is the cornerstone of a truly delicious beer can chicken. Our recipe features a balanced blend of sweet and smoky spices, creating an irresistible crust. If you have a go-to chicken dry rub or chicken seasoning on hand that you love, feel free to use it! The key is a generous application to maximize flavor and crispiness.
- Softened Butter: Butter plays a magical role in ensuring a rich, flavorful, and incredibly crispy skin. By gently working softened butter under the chicken’s skin, you create a barrier that bastes the meat from within while helping the skin achieve that coveted golden crispness. It truly makes a world of difference.
- Olive Oil: A light coating of olive oil on the exterior of the bird serves a dual purpose. First, it helps the dry rub adhere evenly to the skin, preventing spices from falling off during cooking. Second, it contributes to the overall crisping process, enhancing the skin’s texture and color.
- Light Beer: The namesake ingredient and star of the show! Any brand of light beer works wonderfully for this recipe. We’ve had great success with options like Michlob ULTRA, Spotted Cow, and Coors Light. The goal is the steam and moisture, not necessarily a strong beer flavor. Before placing the chicken on top, make sure to pour out about one-quarter of the beer to prevent overflow and ensure stability.
No Beer? No Problem! Try These Alternatives:
If you don’t have beer, prefer to avoid alcohol, or simply want to experiment with different flavors, there are excellent substitutes that will still yield a moist chicken:
- Non-Alcoholic Beer: A straightforward swap for the same effect without the alcohol content.
- Ginger Beer: Offers a unique, slightly spicy, and sweet aromatic steam that can add an exciting twist.
- Soft Drinks (Coke/Pepsi): The sugar and carbonation can contribute to a deliciously caramelized and tender chicken, providing a subtle sweetness.
- Chicken Broth or Stock: A classic option that guarantees moisture and enhances the savory chicken flavor without introducing new complexities.
- Apple Cider: For a hint of fruitiness and tang, apple cider or apple juice can be an excellent choice.
Mastering Beer Can Chicken: Pro Tips for Perfection
Achieving truly perfect beer can chicken every time comes down to a few key techniques. Follow these pro tips to elevate your cooking and impress your taste buds:
Be Generous with Your Dry Rub: Don’t be shy! This beer can chicken recipe calls for a substantial amount of dry rub, and for good reason. A liberal application not only ensures a deeply flavorful chicken but also contributes significantly to developing that irresistible, crispy crust. The more rub, the more flavor and texture! For alternative flavor profiles, consider our versatile chicken seasoning or a robust homemade chicken dry rub.
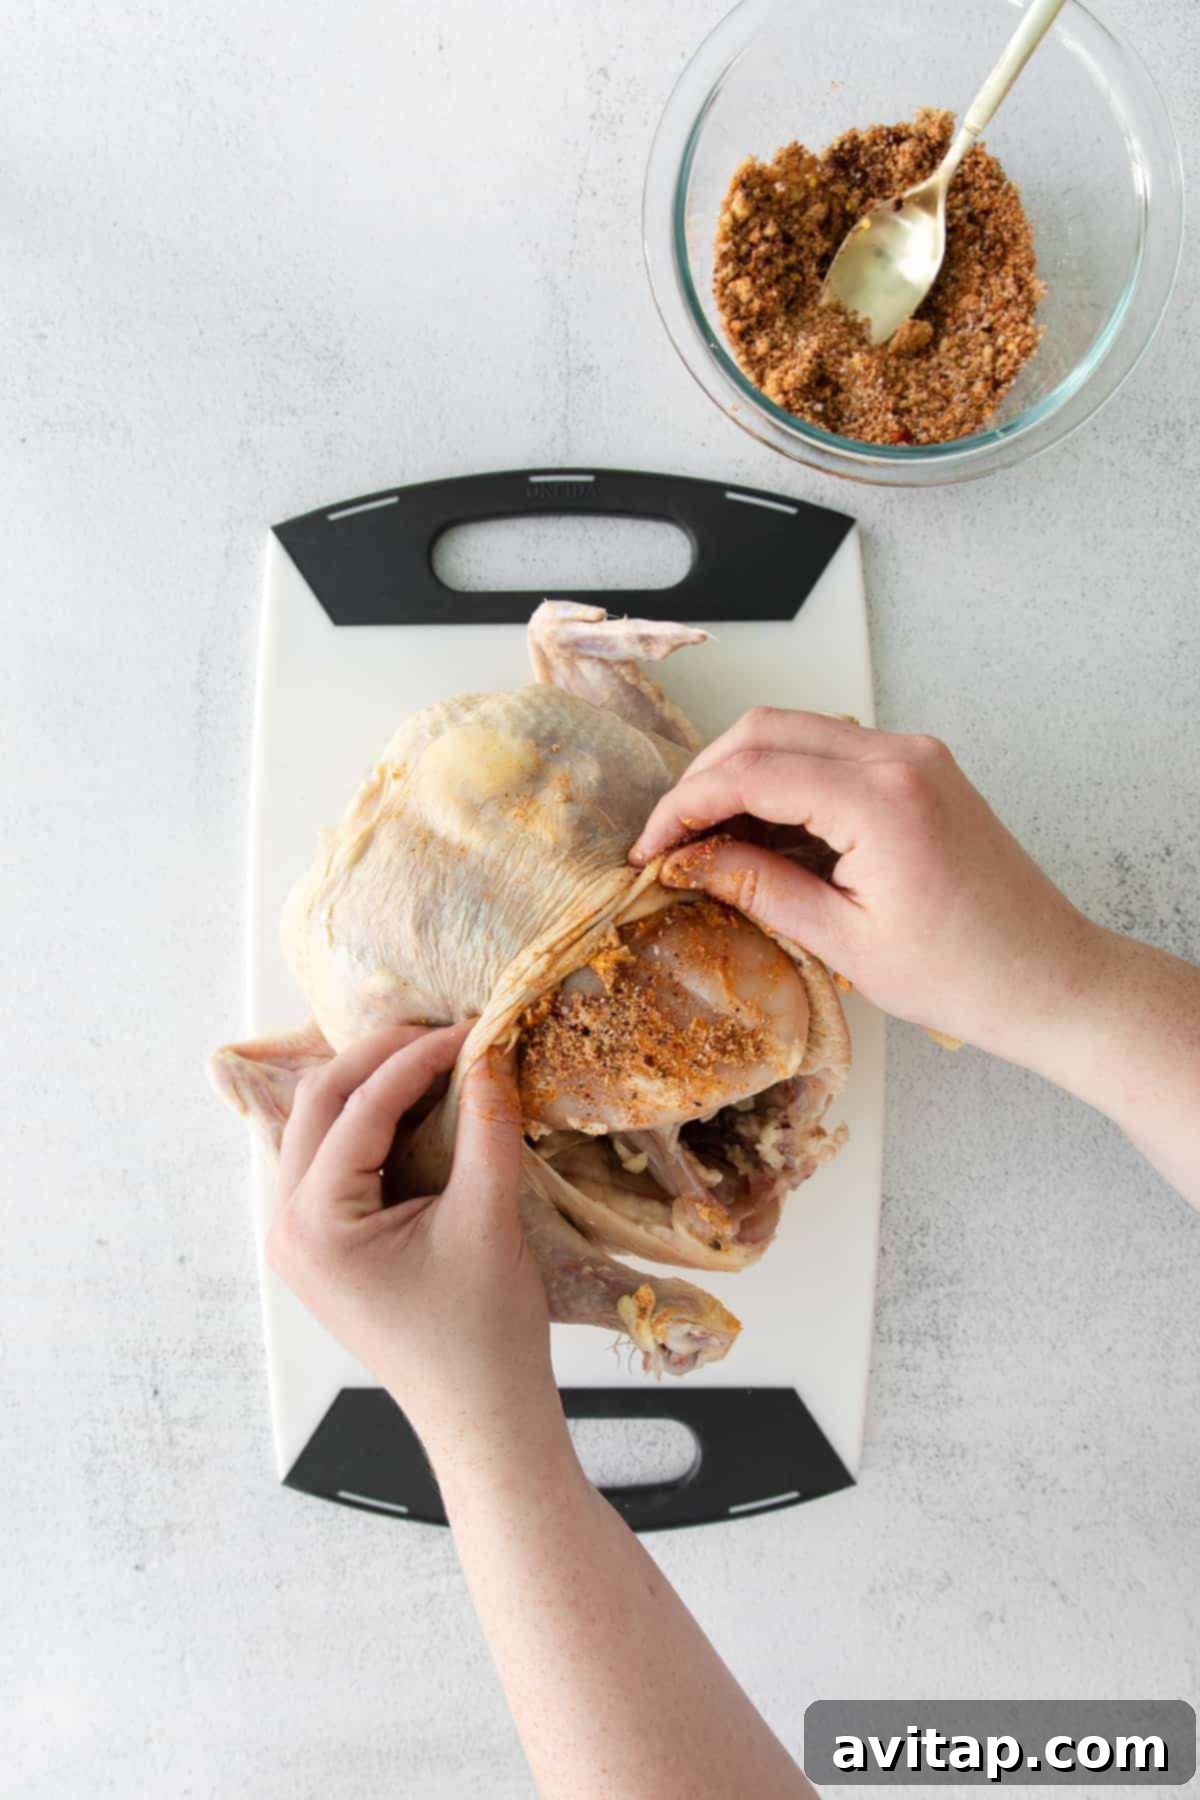
Get Under the Skin with Butter and Rub: This step is non-negotiable for maximum flavor and moisture. Carefully separate the chicken skin from the meat, then rub softened butter and a good portion of your dry rub directly onto the meat. This infuses flavor directly into the flesh and helps the butter baste the chicken from underneath the skin, resulting in incredibly juicy meat and an even crispier, more delicious skin.
Embrace Higher Heat for Superior Crispness: While many recipes suggest lower temperatures, we’ve found that cooking beer can chicken at a higher heat, specifically 425ºF, yields phenomenal results. This elevated temperature promotes a beautifully golden and exceptionally crispy skin, without sacrificing the interior moisture. Adjust your cooking time accordingly, as higher heat means faster cooking.
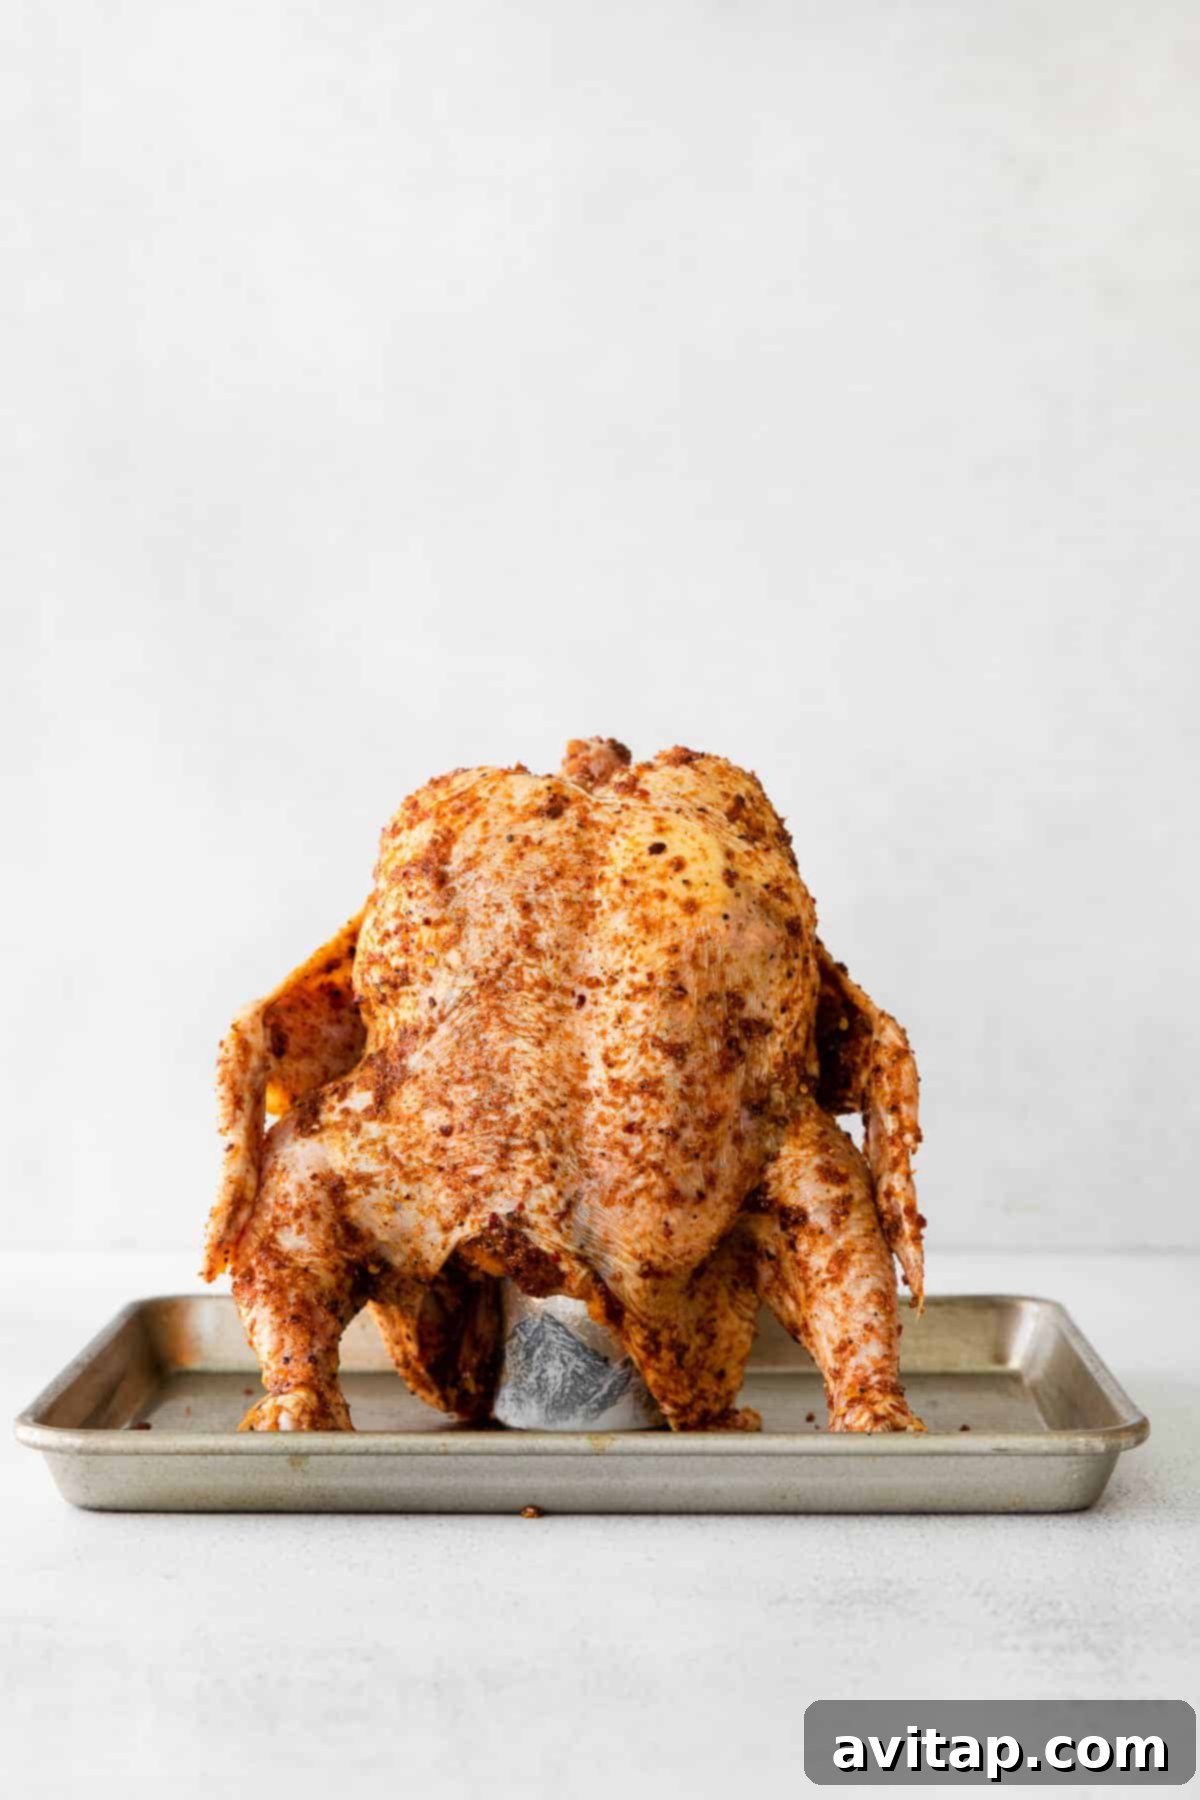
Ensure Stability: Keep That Chicken Upright: A stable chicken is a happy chicken! You can carefully balance your chicken on its own legs, creating a sort of “tripod” effect, or utilize a handy dandy beer can chicken holder. These holders provide extra stability, especially on a grill, preventing spills and ensuring even cooking. Both methods work well, so choose what feels most comfortable for you.
Cook to Temperature, Not Just Time: The most crucial tip for food safety and optimal doneness is to always cook chicken until its internal temperature reaches 165ºF (74ºC). Use a reliable digital meat thermometer inserted into the thickest part of the thigh (without touching the bone). Investing in a good thermometer is highly recommended – it’s your best friend for perfectly cooked meat every time.

Pro Tip:
Thermoworks Thermapen
We absolutely swear by using a precise meat thermometer for cooking any cut of meat to perfection. The Thermapen is our go-to choice – it’s fast, accurate, and consistently delivers reliable readings.
EXPLORE MORE
Expand Your Grilling Horizons: How to Grill Your Favorite Meats
Love the taste of grilled food? Here are more of our favorite grilling tutorials to help you master outdoor cooking:
- Grilled Chicken Breast: Perfect for Healthy Meals
- Grilled Salmon: Flaky, Flavorful, and Fast
- Grilled Pork Chops: Tender and Juicy
- Grilled Chicken Thighs: Packed with Flavor
- Grilled Flank Steak: Easy Marinades for Maximum Taste
- Grilled Whole Chicken: A Weekend Feast
- Grilled Pork Tenderloin: Quick and Elegant
- Grilled Chicken Legs: Crispy and Delicious
- Grilled Shrimp: A Seafood Favorite
- Grilled Scallops: Sweet and Seared
- Grilled Ribs: Fall-Off-The-Bone Goodness
Beer Can Chicken: Oven vs. Grill — Your Choice, Our Tips!
One of the many beauties of beer can chicken is its versatility. This fantastic cooking method yields spectacular results whether you choose to roast it indoors in your oven or cook it outdoors on the grill. Both methods produce a juicy, flavorful bird, but each offers unique advantages. Here are specific tips for mastering both approaches:
Oven Roasting Beer Can Chicken
Roasting your beer can chicken in the oven is a convenient and reliable option, allowing you to enjoy this delicious dish year-round, regardless of the weather. Here are a few pointers for oven success:
Securely Prop Your Chicken Upright: While balancing the chicken on its own legs (like a kickstand) can work, especially if the beer can is stable, some find using an inexpensive beer can chicken holder from Amazon provides extra stability and peace of mind. This prevents the chicken from toppling over during cooking.
Don’t Forget a Baking Sheet or Roasting Pan: This is a crucial step! Always place your upright chicken (and its beer can) onto a sturdy baking sheet or, ideally, a large roasting pan. As the chicken cooks, it will render delicious juices and fat, which will drip down. The pan will catch these drippings, preventing a smoky mess at the bottom of your oven and making cleanup much easier. You can even use these flavorful drippings to make a pan sauce!
Grilling Beer Can Chicken
Cooking beer can chicken on the grill adds an irresistible smoky flavor that’s hard to beat. It’s a fantastic way to enjoy outdoor cooking and still achieve that perfectly juicy interior.
Master Indirect Heat: For grilling beer can chicken, indirect heat is your best friend. This technique prevents the chicken from burning on the outside before it’s cooked through on the inside, and minimizes flare-ups from dripping fat. To achieve indirect heat on a gas grill, light burners on one side and place the chicken on the unlit side. On a charcoal grill, arrange coals on one side and place the chicken on the other, or bank them around the perimeter and place the chicken in the center. The goal is for the flames or direct heat source not to touch the bird directly, ensuring even cooking and a beautiful crust.
Charcoal or Gas? Both Work!: You can successfully cook beer can chicken on either a charcoal grill or a gas grill. Each has its advantages:
- Gas Grill: Offers precise temperature control, making it easier to maintain a consistent heat throughout the cooking process. It’s often quicker to heat up and clean.
- Charcoal Grill: Imparts a deeper, more traditional smoky flavor that many grill masters crave. While temperature control requires a bit more finessing, the flavor payoff is immense. We personally find a gas grill slightly easier for consistent temperature management, but charcoal offers that quintessential BBQ aroma.
Frequently Asked Questions About Beer Can Chicken
What kind of beer is best for beer can chicken?
Light beers are generally recommended for beer can chicken. Brands like Coors Lite, Miller Lite, or Busch Lite work excellently. The goal is primarily the moisture and steaming effect, not necessarily a strong beer flavor profile. Lighter beers provide the moisture without overpowering the chicken’s natural taste or your chosen dry rub.
How long does it take to smoke beer can chicken?
If you’re smoking your beer can chicken (which is a fantastic variation!), it typically takes longer than grilling or oven roasting. Expect approximately 4 hours of cooking time at a smoker temperature of around 275ºF (135ºC). Always cook until the internal temperature reaches 165ºF in the thickest part of the thigh.
What is the ideal cooking temperature for beer can chicken?
For oven-roasted beer can chicken, we recommend a relatively high temperature of 425ºF (220ºC). This high heat helps achieve that coveted crispy skin while ensuring the chicken cooks through efficiently. At this temperature, the chicken usually cooks in about 1 hour, but always rely on a meat thermometer for accuracy.
Do I absolutely need a special beer can chicken holder?
No, a dedicated beer can chicken holder is not strictly necessary. You can successfully cook beer can chicken by carefully propping the bird upright on its legs in the oven or on the grill, using the beer can for support. However, a holder can provide extra stability and peace of mind, especially on uneven grill grates, making the process slightly easier.
Does beer can chicken actually taste like beer?
Surprisingly, no, the chicken does not typically taste strongly of beer. The alcohol in the beer evaporates during cooking, and what remains primarily contributes moisture and subtle aromatic notes rather than a distinct beer flavor. The dominant flavors will come from your chosen dry rub and the natural deliciousness of the roasted chicken.
Should I brine the chicken before cooking?
While not strictly necessary due to the inherent moistness of the beer can method, brining can further enhance the chicken’s flavor and tenderness. If you have the time, a simple saltwater brine for a few hours before applying the dry rub can take your beer can chicken to the next level of succulence.
Got Leftovers? Creative Ways to Enjoy Your Beer Can Chicken
If you’re lucky enough to have any leftover beer can chicken (it’s so good, there might not be much!), don’t let a single shred go to waste. This tender, flavorful chicken is incredibly versatile and can be repurposed into a variety of delicious meals. Here are some fantastic ideas:
- Shred for Later: Easily remove as much chicken meat as possible from the bone and shred it. Once cooled, this shredded chicken is a fantastic meal prep ingredient. Use it for quick dinners on BBQ chicken pizza, as a filling for chicken burritos, stuffed into tacos, or mixed into a hearty buffalo chicken salad.
- Whip Up a Fresh Chicken Salad: Transform your leftovers into a delightful chicken salad. Our Greek yogurt chicken salad recipe is a fan favorite, offering a lighter, tangy twist on the classic. Simply shred your cooked chicken and incorporate it into your preferred chicken salad base.
- Freeze for Future Meals: Leftover shredded chicken freezes beautifully. After shredding and allowing the chicken to cool completely, transfer it to an airtight, freezer-safe container or resealable bag. It can be frozen for up to 3-4 months, providing a convenient protein source for those busy weeknights. Thaw in the refrigerator overnight before use.
- Chicken & Veggie Skillet: Sauté shredded chicken with your favorite vegetables (bell peppers, onions, zucchini) and a splash of broth or sauce for a quick, healthy skillet meal.
- Hearty Chicken Soup: Use the leftover bones to make a flavorful chicken stock, then add shredded chicken and vegetables for a comforting homemade soup.
Proper Storage for Longevity
To keep your leftover beer can chicken fresh and safe to eat, store it promptly. Place any cooled, leftover chicken meat in an airtight container and refrigerate for up to 3-5 days. For longer storage, refer to the freezing tips above.
More of Our Favorite…
Explore More Delicious Whole Chicken Recipes
If you enjoyed the simplicity and flavor of cooking a whole chicken with the beer can method, you’ll love these other fantastic whole chicken recipes:
- Smoked Whole Chicken: For Deep, Rich Flavor
- Spatchcock Chicken: Faster Cooking, Crispier Skin
- Herby Whole Roasted Chicken: A Classic for Any Occasion
- Slow Cooker Whole Chicken: Effortless and Tender
- Lemon Herb Roasted Chicken: Bright and Aromatic
Juicy & Flavorful Beer Can Chicken Recipe
Print Recipe
Ingredients
- 3-4 lb. whole chicken
- 3 tablespoons brown sugar
- 1.5 tablespoons garlic powder
- ½ tablespoon kosher salt
- 1 teaspoon ground black pepper
- 1 teaspoon dried thyme
- 1 teaspoon smoked paprika
- 2 teaspoons chili powder
- 1 teaspoon red pepper flakes
- 2 tablespoons salted butter, softened
- 2 tablespoons olive oil
- 1 can light beer (12 oz)
Instructions
-
Preheat your grill or oven to 425ºF (220ºC). If using a grill, set it up for indirect heat by leaving one side of the burners off or banking coals to one side.
-
Remove any giblets or neck from the chicken cavity. Pat the entire chicken dry thoroughly with paper towels. This step is crucial for crispy skin. Set aside.
-
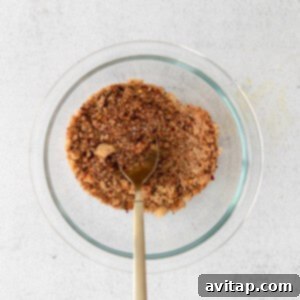
Prepare the spice rub: In a medium bowl, combine the brown sugar, garlic powder, salt, pepper, dried thyme, smoked paprika, chili powder, and red pepper flakes. Mix well until all ingredients are evenly distributed. Set aside.

-
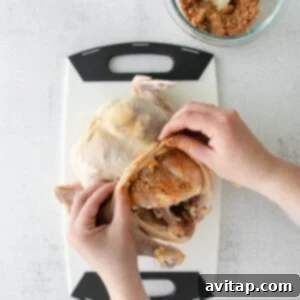
Place the chicken on a plate or cutting board. Gently separate the chicken skin from the breast meat, being careful not to tear it. Sprinkle about 2 tablespoons of the prepared dry rub directly onto the meat under the skin, massaging it in thoroughly.
-
Next, rub the softened butter generously between the skin and the meat, spreading it as evenly as possible. This helps to baste the meat and crisp the skin.
-
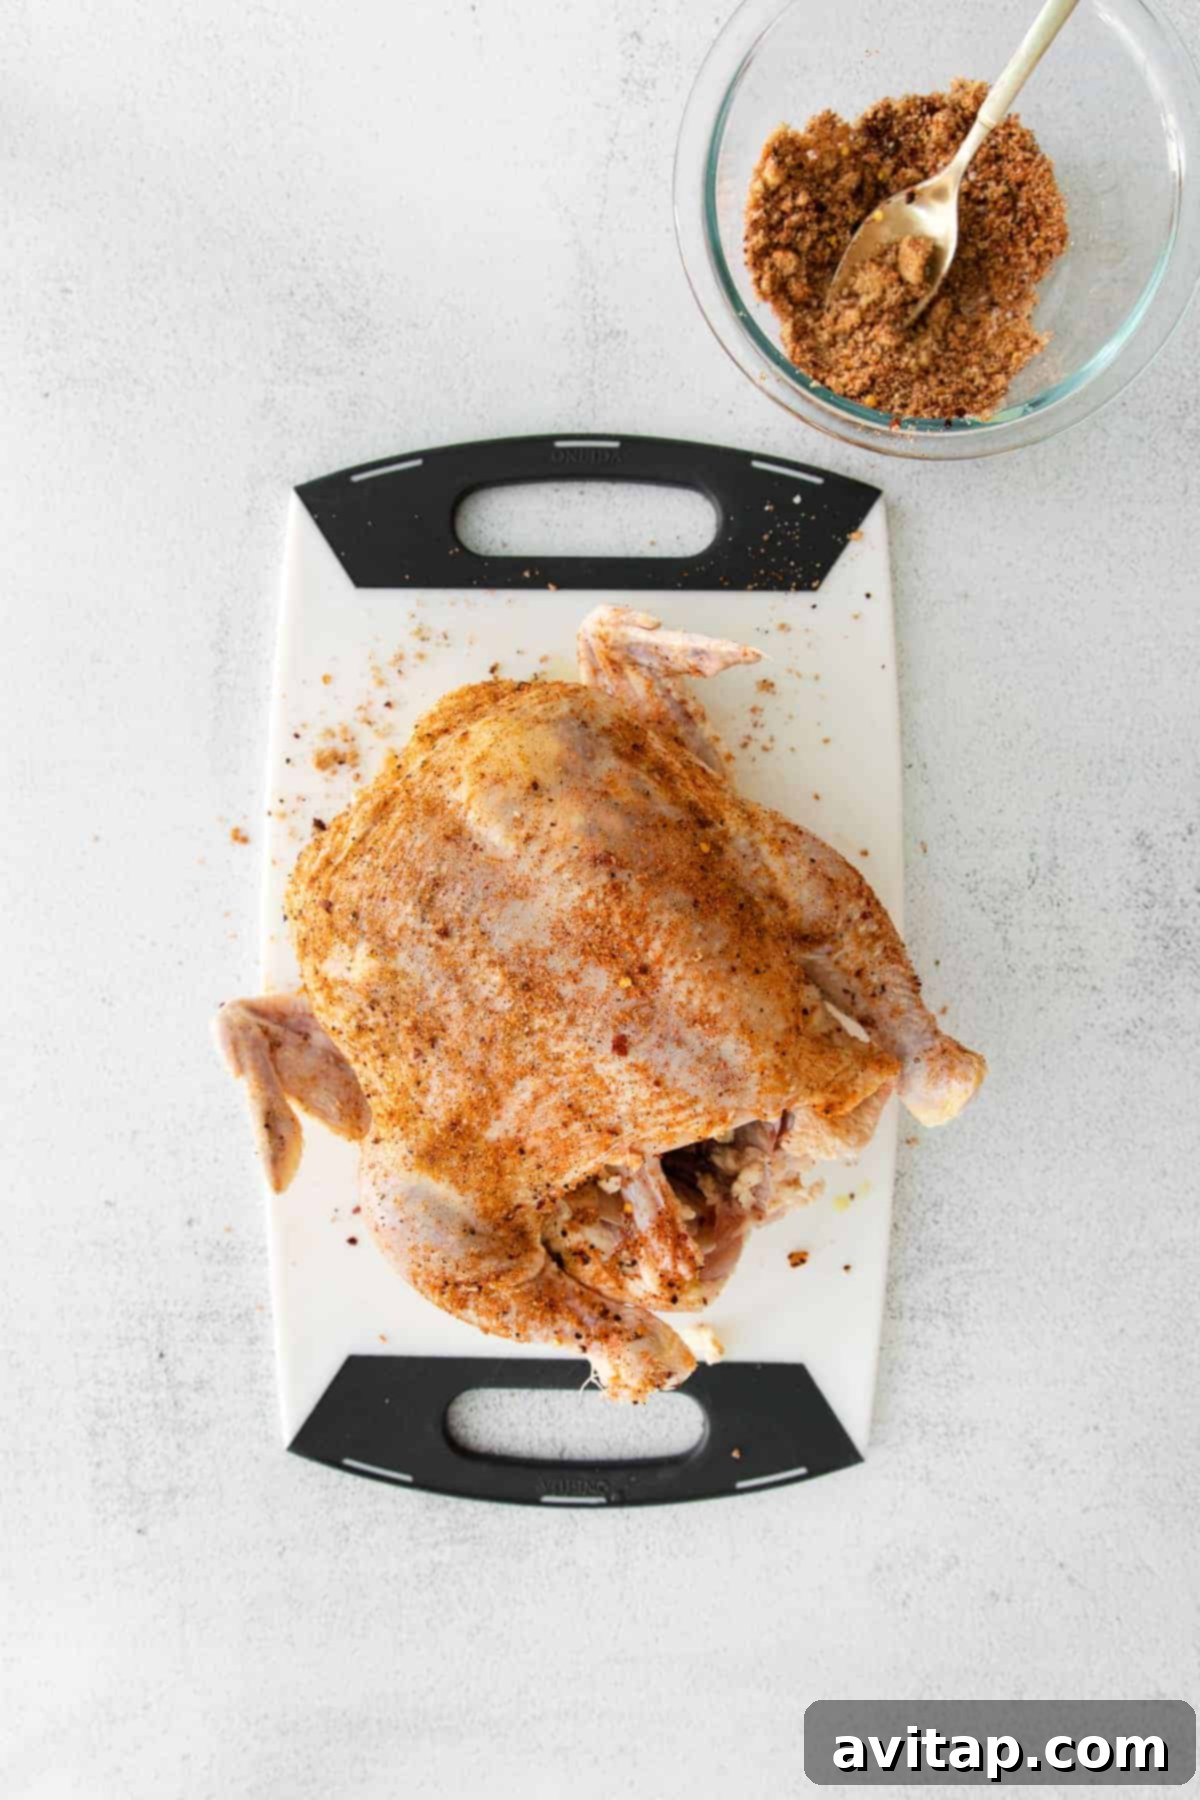
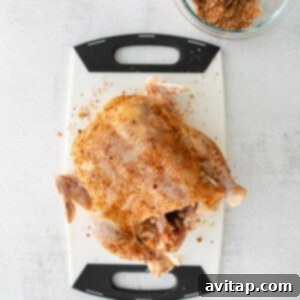
Drizzle olive oil over the entire exterior of the chicken. Then, carefully sprinkle the remaining dry rub all over the chicken, massaging it into the skin. Ensure every nook and cranny is coated for maximum flavor and crispiness.
-
Open the can of light beer and pour out (or drink!) approximately 1/4 of the liquid. If cooking in the oven, place the partially filled beer can onto a large baking sheet or roasting pan.
-
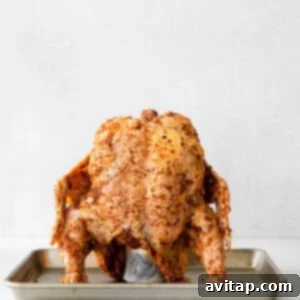
Carefully lower the chicken’s cavity over the open beer can. Position the chicken so it stands upright. You may need to balance it on its legs like a tripod on the baking sheet or grill grates, or use a beer can chicken holder for stability.
-
Finally, gather any excess dry rub that may have fallen onto your plate or cutting board and sprinkle it over the chicken for an extra flavor boost.
-
Oven Instructions: Place the baking sheet with the chicken into the preheated 425ºF (220ºC) oven. Roast for approximately 45 minutes to 1 hour, or until the internal temperature in the thickest part of the thigh (without touching the bone) reaches 165ºF (74ºC) using a meat thermometer. Our chicken typically takes around 1 hour.
-
Grill Instructions: Carefully place the beer can chicken on the grill over indirect heat (the unlit side). Close the grill lid and cook for about 45 minutes to 1 hour, maintaining a grill temperature of around 425ºF (220ºC). Use a meat thermometer to check the internal temperature, cooking until it reaches 165ºF (74ºC) in the thickest part of the thigh.
-
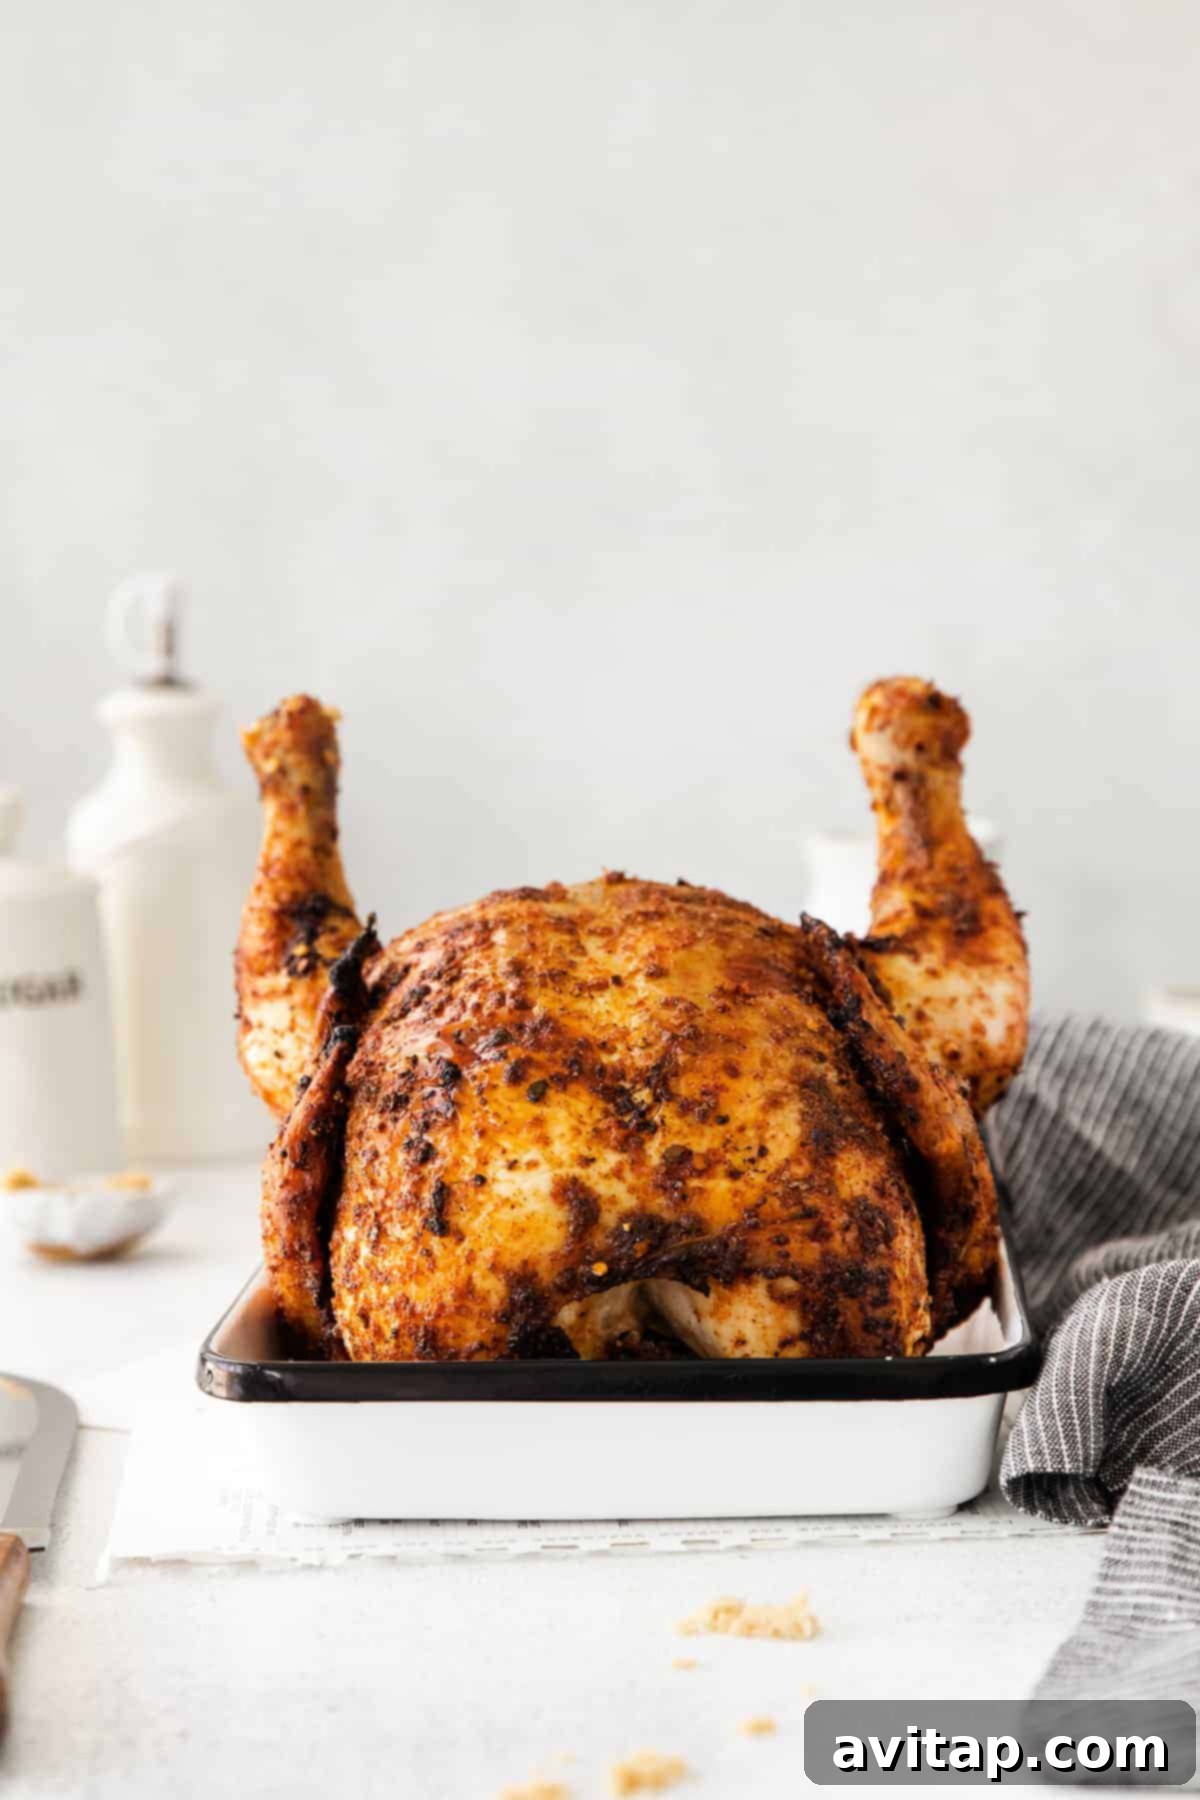
Once the chicken reaches the safe internal temperature, carefully remove it from the oven or grill. Allow it to rest for 10-15 minutes before carving. This resting period is crucial for the juices to redistribute, ensuring an even more tender and moist chicken. Enjoy!
Tips & Notes
- This recipe was updated on August 5, 2021.
- Beer Can Chicken Holder: If you find it challenging to balance your whole chicken, especially on the grill, a dedicated beer can chicken holder can be incredibly useful for stability.
- Resting is Key: Don’t skip the resting step after cooking! It ensures maximum juiciness.
Watch the Video Tutorial
A video tutorial demonstrating how to make this delicious Beer Can Chicken recipe is available to guide you through each step for perfect results.
Nutrition
Carbohydrates: 12 g,
Protein: 52 g,
Fat: 13 g,
Fiber: 1 g,
Sugar: 8 g
Nutrition information is automatically calculated and should be used as an approximation only.
💬
Love this recipe? Leave a comment below!
Don’t forget to tag your posts on social media with the hashtag #fitfoodiefinds – we’d love to see your delicious creations!
Explore this recipe in a visually engaging web story format:
Click here to view the Beer Can Chicken Web Story