
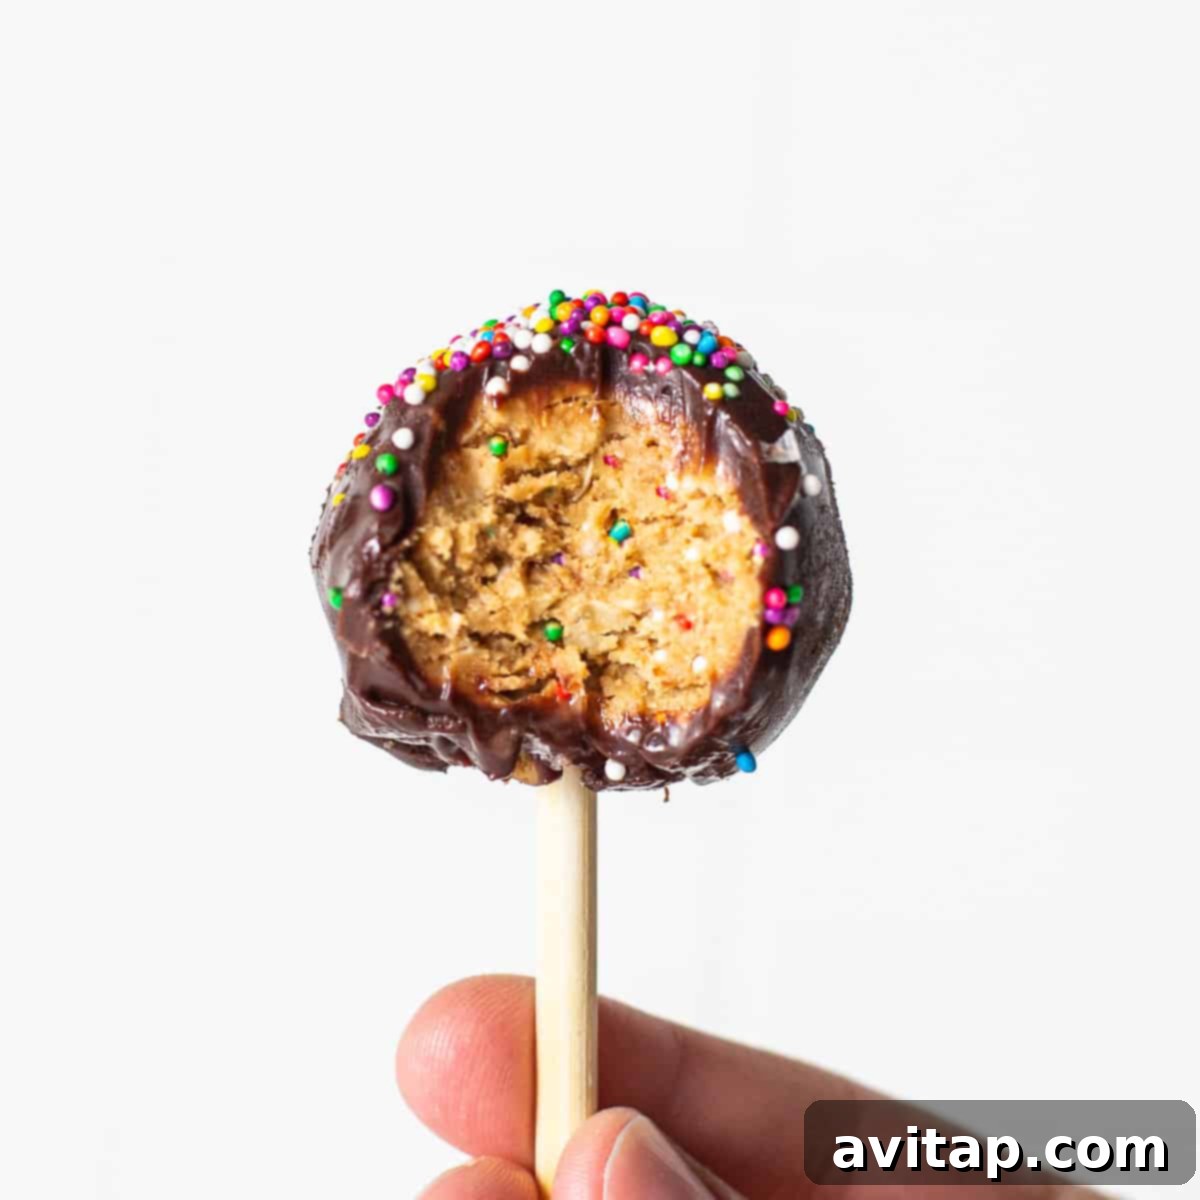
Satisfy your cravings and fuel your body with these irresistible protein cake pops! Imagine enjoying a treat that tastes exactly like a classic birthday cake, enveloped in a luxurious chocolate ganache, yet packed with protein and wholesome ingredients. These healthy, high-protein cake pops are not only incredibly delicious but also incredibly easy to prepare, making them the perfect make-ahead snack or guilt-free dessert for any time.

Delicious Protein Cake Pops: Your Healthy, Easy-to-Make Sweet Treat
Every day can feel like a celebration with these delightful protein-packed cake balls. Forget complicated baking processes; our recipe is designed for simplicity, allowing you to whip up a large batch with minimal effort. Store them conveniently in your fridge or freezer, and you’ll always have a decadent, nutritious dessert ready to conquer those sudden sweet cravings. These aren’t just any treats; they’re a testament to how healthy eating can be incredibly enjoyable and convenient.
The beauty of these protein cake pops lies in their simplicity and incredible flavor. The “dough” itself is a no-bake wonder, crafted from a handful of simple, wholesome ingredients such as creamy cashew butter, your favorite protein powder, rolled oats for texture, and a touch of natural honey for sweetness. No ovens required, just mixing, rolling, dipping, and chilling. Finish them off with a generous dip in melted chocolate and a sprinkle of colorful decorations, and voilà—a joyful treat that feels like a special occasion every time you enjoy one!
Why You’ll Adore These Protein Cake Pops!
The no-bake dough boasts an authentic cake-like flavor and soft texture, satisfying your dessert cravings instantly.
They are perfectly portioned and incredibly portable, making them an ideal on-the-go snack for busy lifestyles.
Infused with protein powder, these treats provide a sustained energy boost, helping you stay full and focused.
Preparation is a breeze with this simple, no-bake recipe, saving you time and effort in the kitchen.
Customizable to your taste, you can experiment with different protein powder flavors and toppings.
These cake pops are a fantastic make-ahead option, perfect for meal prepping healthy snacks for the week.
Key Ingredients for Perfect Protein Cake Pops
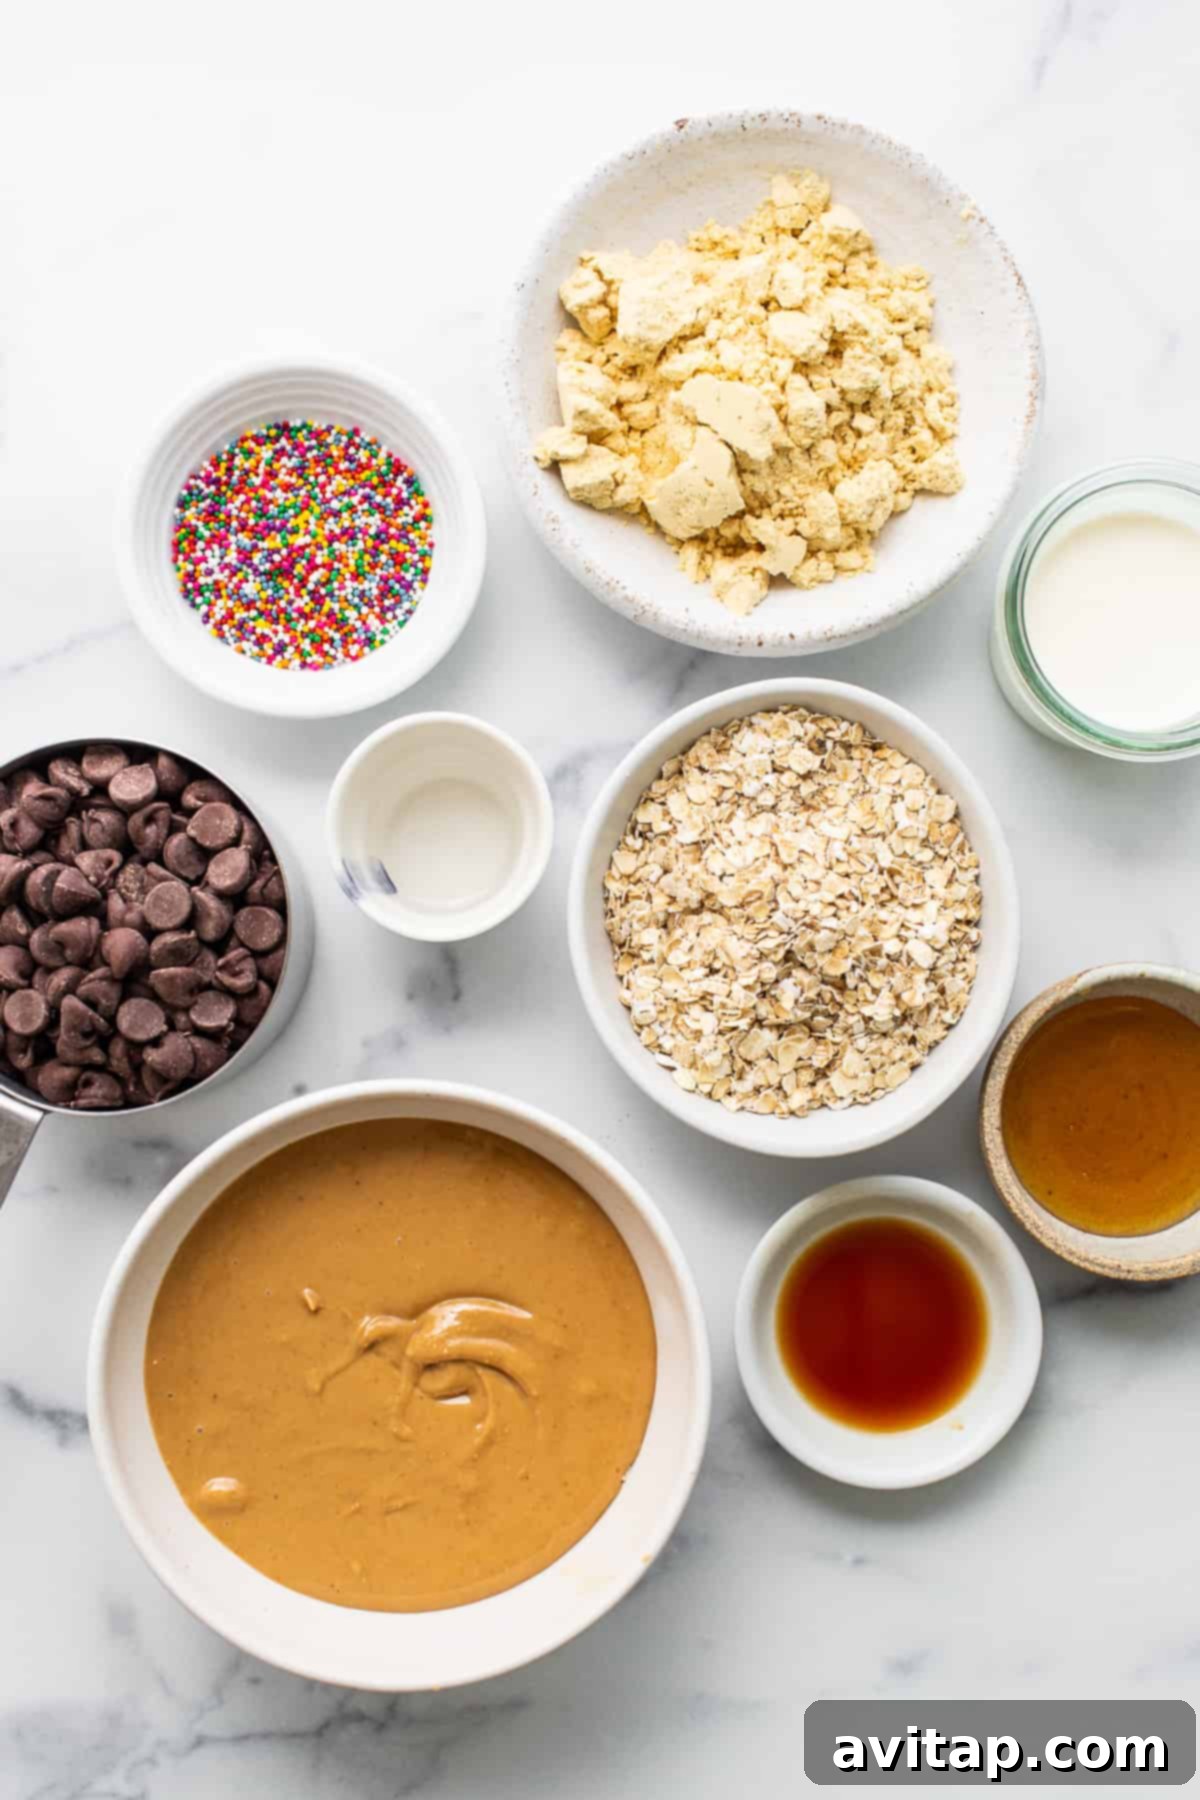
Crafting these delectable protein cake pops requires a carefully selected list of ingredients, each playing a crucial role in achieving the perfect flavor, texture, and nutritional balance. Here’s a closer look at what makes these treats so special:
- Cashew Butter: This all-natural, drippy cashew butter is the secret to achieving that authentic “cake batter” flavor. Beyond its delightful taste, it acts as an excellent binder, holding all the ingredients together, and contributes significantly to the dough’s moisture and smooth consistency. While cashew butter is highly recommended for its unique flavor profile, feel free to experiment with other smooth nut butters like almond butter or peanut butter if you prefer, keeping in mind they will subtly alter the overall taste.
- Vanilla Protein Powder: Vanilla protein powder is our top choice for complementing the cake-like flavor. It boosts the protein content, making these treats more satisfying and energizing. However, the versatility of this recipe allows for creativity; chocolate or peanut butter flavored protein powders would also be fantastic, adding a different dimension to your cake pops. Remember that different protein powders can affect the dough’s consistency, so slight adjustments might be needed.
- Quick-Cooking Oats: These finely processed oats are essential for creating the ideal texture in our no-bake dough. They absorb moisture beautifully, providing a slightly chewy yet soft interior that mimics traditional cake crumbs without the need for baking.
- Honey: As a natural sweetener, honey not only provides a lovely depth of flavor but is also critical for binding all the ingredients together. Its sticky consistency ensures the dough forms properly and adds a pleasant, mild sweetness that balances the other components.
- Rainbow Sprinkles: What’s a cake pop without sprinkles? These colorful additions are purely for fun and visual appeal, bringing that festive “birthday cake” vibe to life. Don’t hesitate to go wild with your favorite colors and add as much or as little as your heart desires!
- Vanilla Extract: A staple in almost any sweet treat, vanilla extract enhances the overall flavor profile of the cake pops, adding a warm, aromatic note and boosting the perception of sweetness.
- Chocolate Chips: We recommend using semi-sweet chocolate chips to create a rich, indulgent, and smooth coating for your cake pops. When melted, they form the perfect shell that beautifully complements the sweet interior.
- Heavy Cream: Essential for our luscious chocolate ganache, heavy cream lends a rich, velvety creaminess that elevates the chocolate coating from simple melted chocolate to a truly decadent experience.
- Flaked Salt: A tiny pinch of flaked salt might seem insignificant, but it’s a game-changer! It brightens all the flavors, enhances the chocolate, and balances the sweetness, taking these protein cake pops to an entirely new level of deliciousness.
Step-by-Step Guide: How to Make Irresistible Protein Cake Pops
Creating these delightful protein cake pops is a straightforward process, requiring no baking skills whatsoever. Just follow these simple steps to enjoy your homemade, healthy treats!
1. Create the Perfect Cake Dough
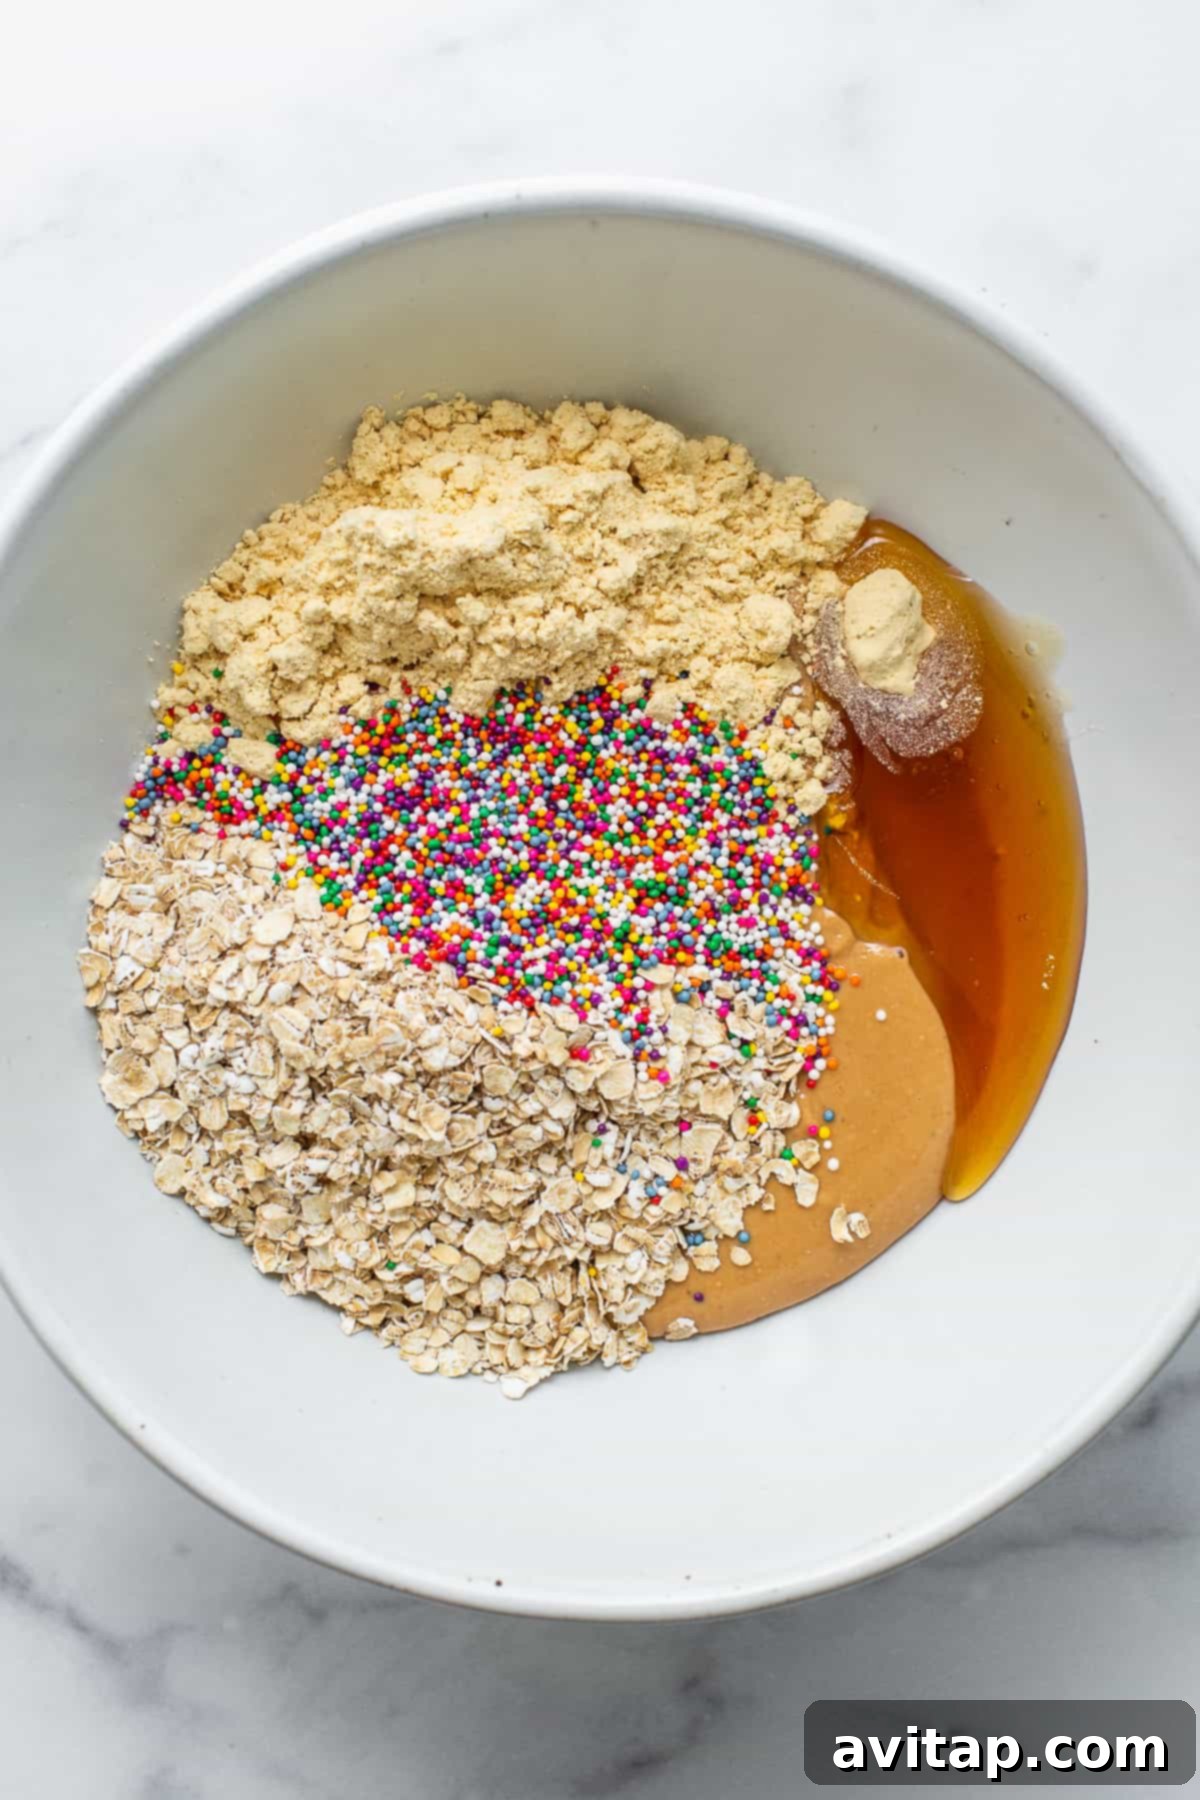
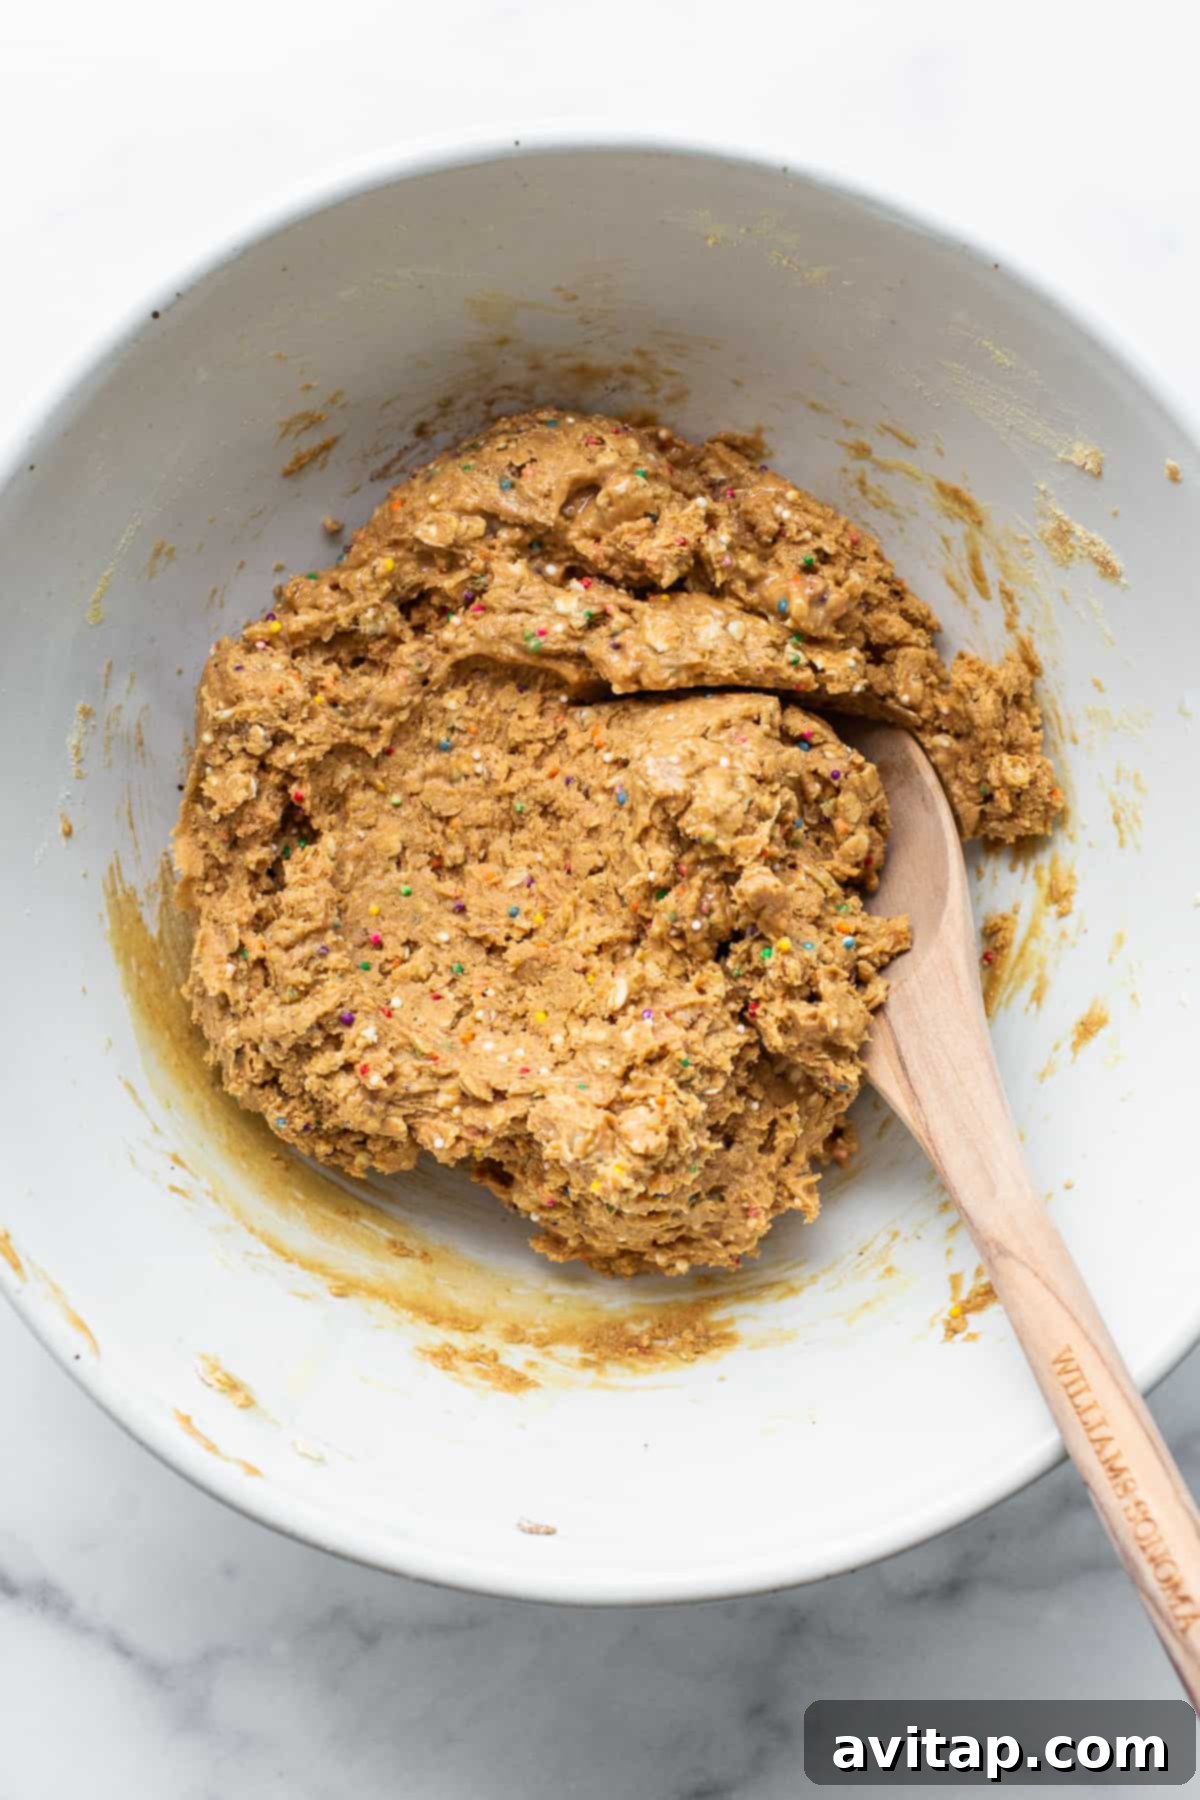
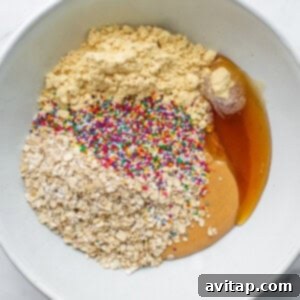
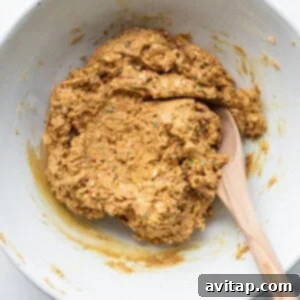
Begin by adding all the ingredients for the protein balls into a medium-sized mixing bowl. Start with your drippy cashew butter, protein powder, quick-cooking oats, honey, sprinkles, vanilla extract, and water. Initially, use a sturdy wooden utensil to mix the ingredients. As the dough comes together, it may become easier and more efficient to knead it with your hands. The goal is to achieve a malleable, slightly oily dough with a consistency similar to cookie dough. If your dough feels too dry or crumbly, add a tiny bit more water, one teaspoon at a time, until it reaches the desired texture. Conversely, if it’s too wet, you might need a tiny sprinkle more of oats or protein powder to firm it up.
2. Roll into Balls & Freeze for Firmness
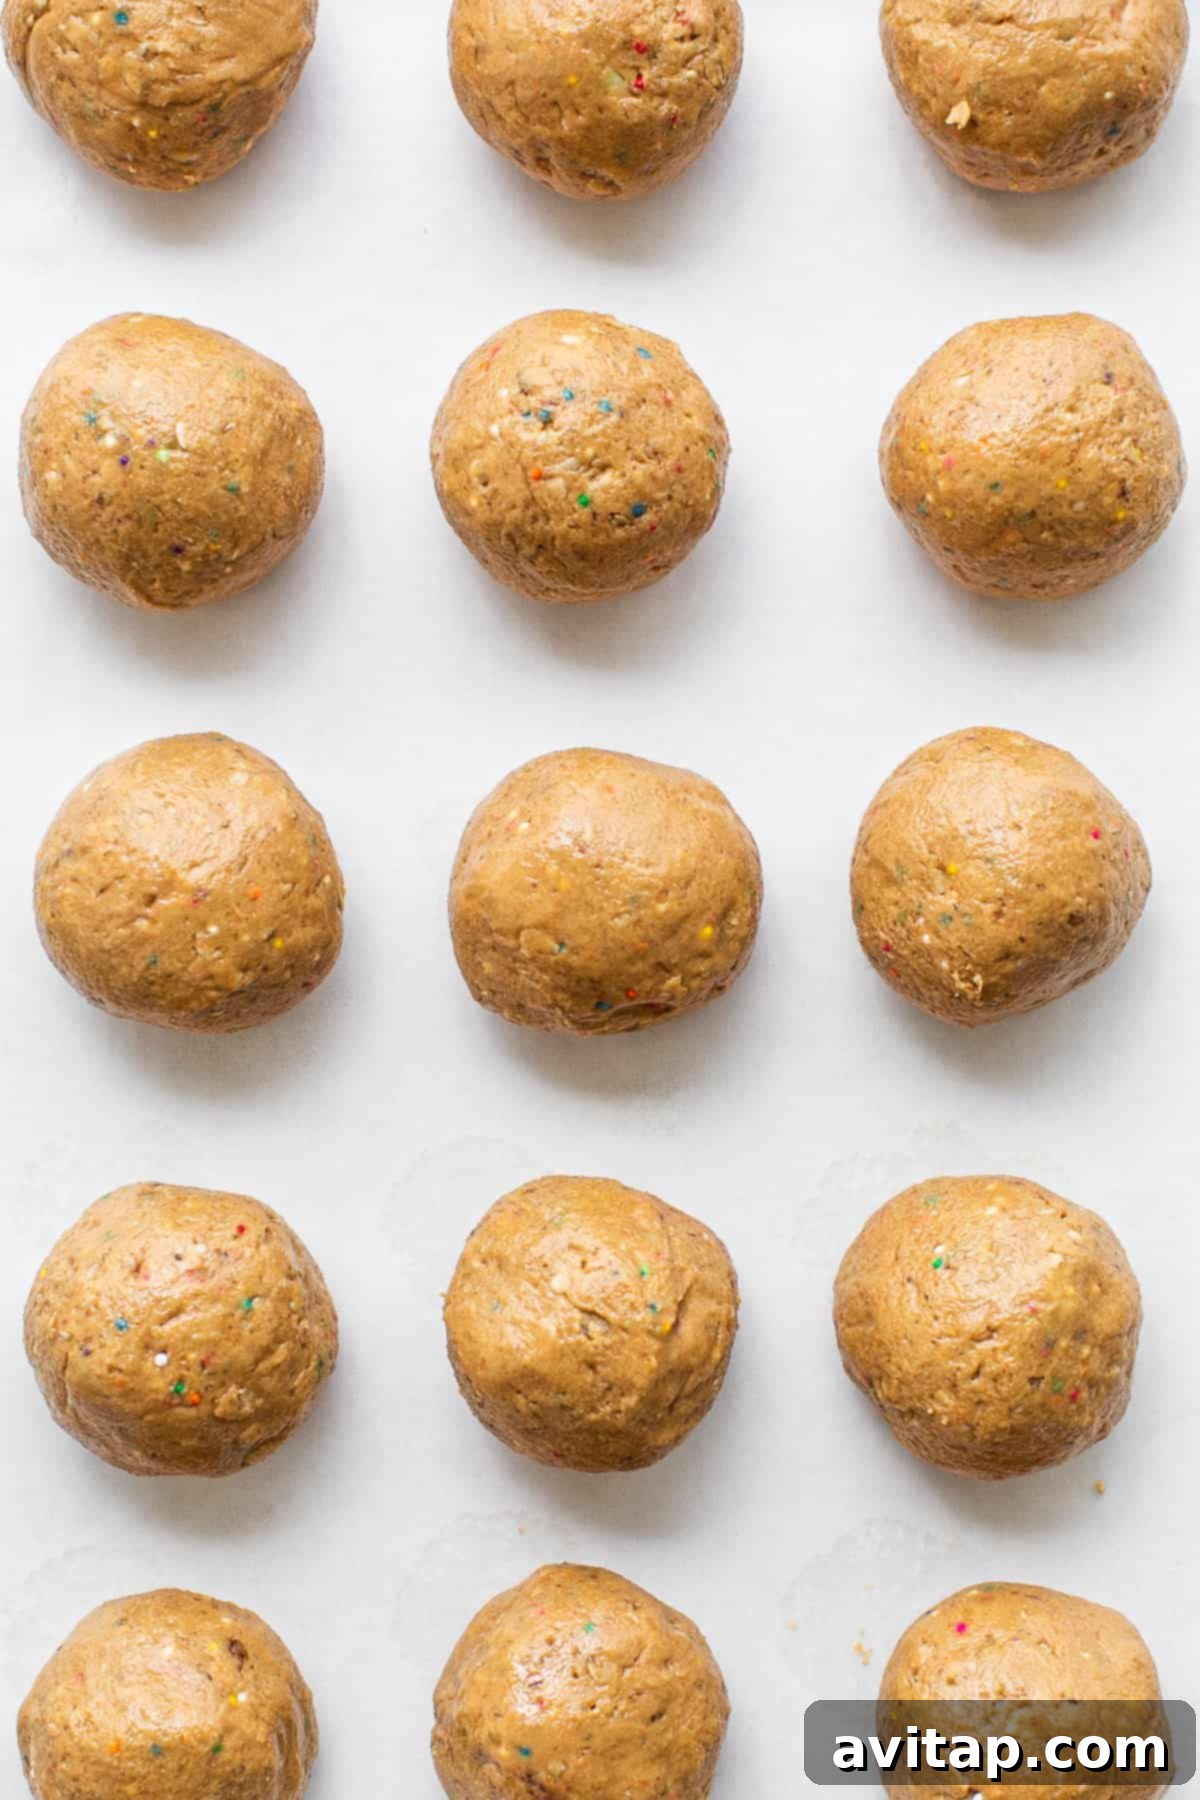
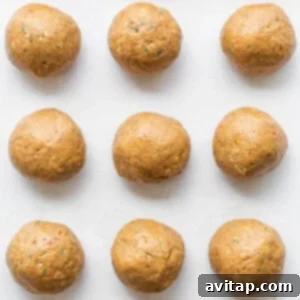
Once your dough is perfectly mixed, grab a 1-tablespoon cookie scoop to ensure uniform sizing for your cake pops. Roll the scooped dough between your palms to form smooth, compact balls. Precision here ensures an even coating later on. Arrange these neatly rolled balls onto a plate lined with parchment paper. The parchment paper prevents sticking. Once all the balls are formed and placed, transfer the plate into the freezer. Allow them to chill for at least 15-20 minutes. This crucial step helps the balls firm up, making them much easier to handle and preventing them from falling apart when dipped into the warm chocolate ganache.
3. Prepare Your Rich Chocolate Ganache
For the decadent coating, place your semi-sweet chocolate chips into a microwave-safe bowl. Microwave on high power in 30-second intervals, stirring thoroughly after each interval. Continue this process until the chocolate is completely smooth and melted, being careful not to overheat it. In a separate microwave-safe bowl, warm your heavy cream. Microwave it for about 30-50 seconds, or until it’s warm to the touch but not boiling. Boiling cream can cause the chocolate to seize. Gently and slowly pour the warm heavy cream into the melted chocolate, mixing continuously until the two are fully combined and the ganache becomes beautifully glossy and smooth. This creates a luxurious coating that will harden beautifully.
4. Coat the Dough Balls with Ganache
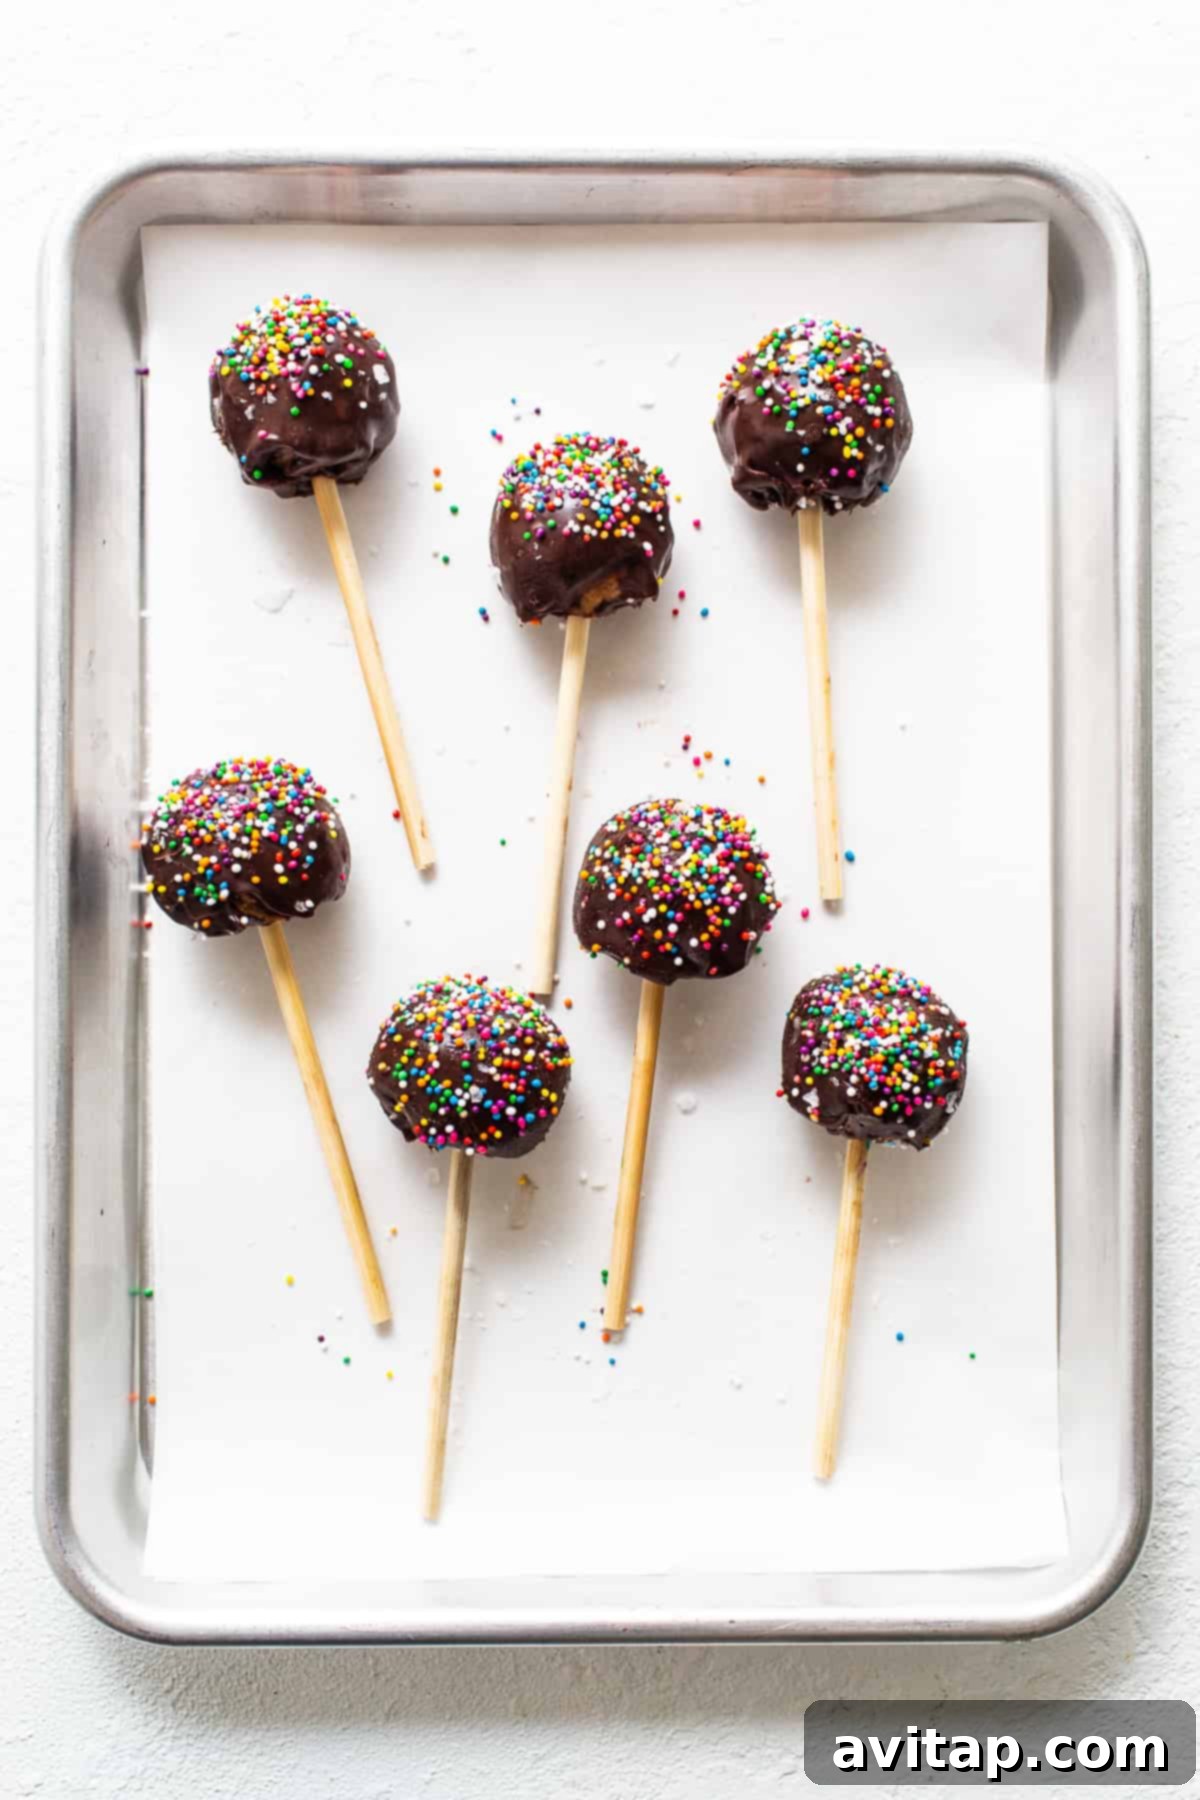
Prepare your dipping station by lining a baking sheet with parchment paper and placing a metal cooling rack on top. This setup will allow any excess chocolate to drip off, preventing puddles at the bottom of your cake pops. Retrieve the firm protein balls from the freezer. Using a fork, carefully dip each ball into the prepared chocolate ganache, ensuring it is completely coated. Gently tap the fork against the side of the bowl to remove any excess chocolate, allowing for a thinner, more elegant coating. With the aid of a wooden skewer or toothpick, delicately slide the chocolate-coated protein ball off the fork and onto the metal rack. While the chocolate is still wet, liberally sprinkle with rainbow sprinkles and a pinch of flaked salt. Repeat this process until all your protein balls are beautifully coated and decorated.
5. Freeze Again for a Firm Finish
Once all your protein cake pops are gleaming with their chocolate ganache coating and sprinkles, place the entire baking sheet back into the freezer. Allow them to chill for a minimum of 30 minutes. This final freeze is essential for the chocolate ganache to set completely, ensuring a firm, non-messy exterior that holds its shape perfectly.
6. Assemble & Serve Your Delicious Treats
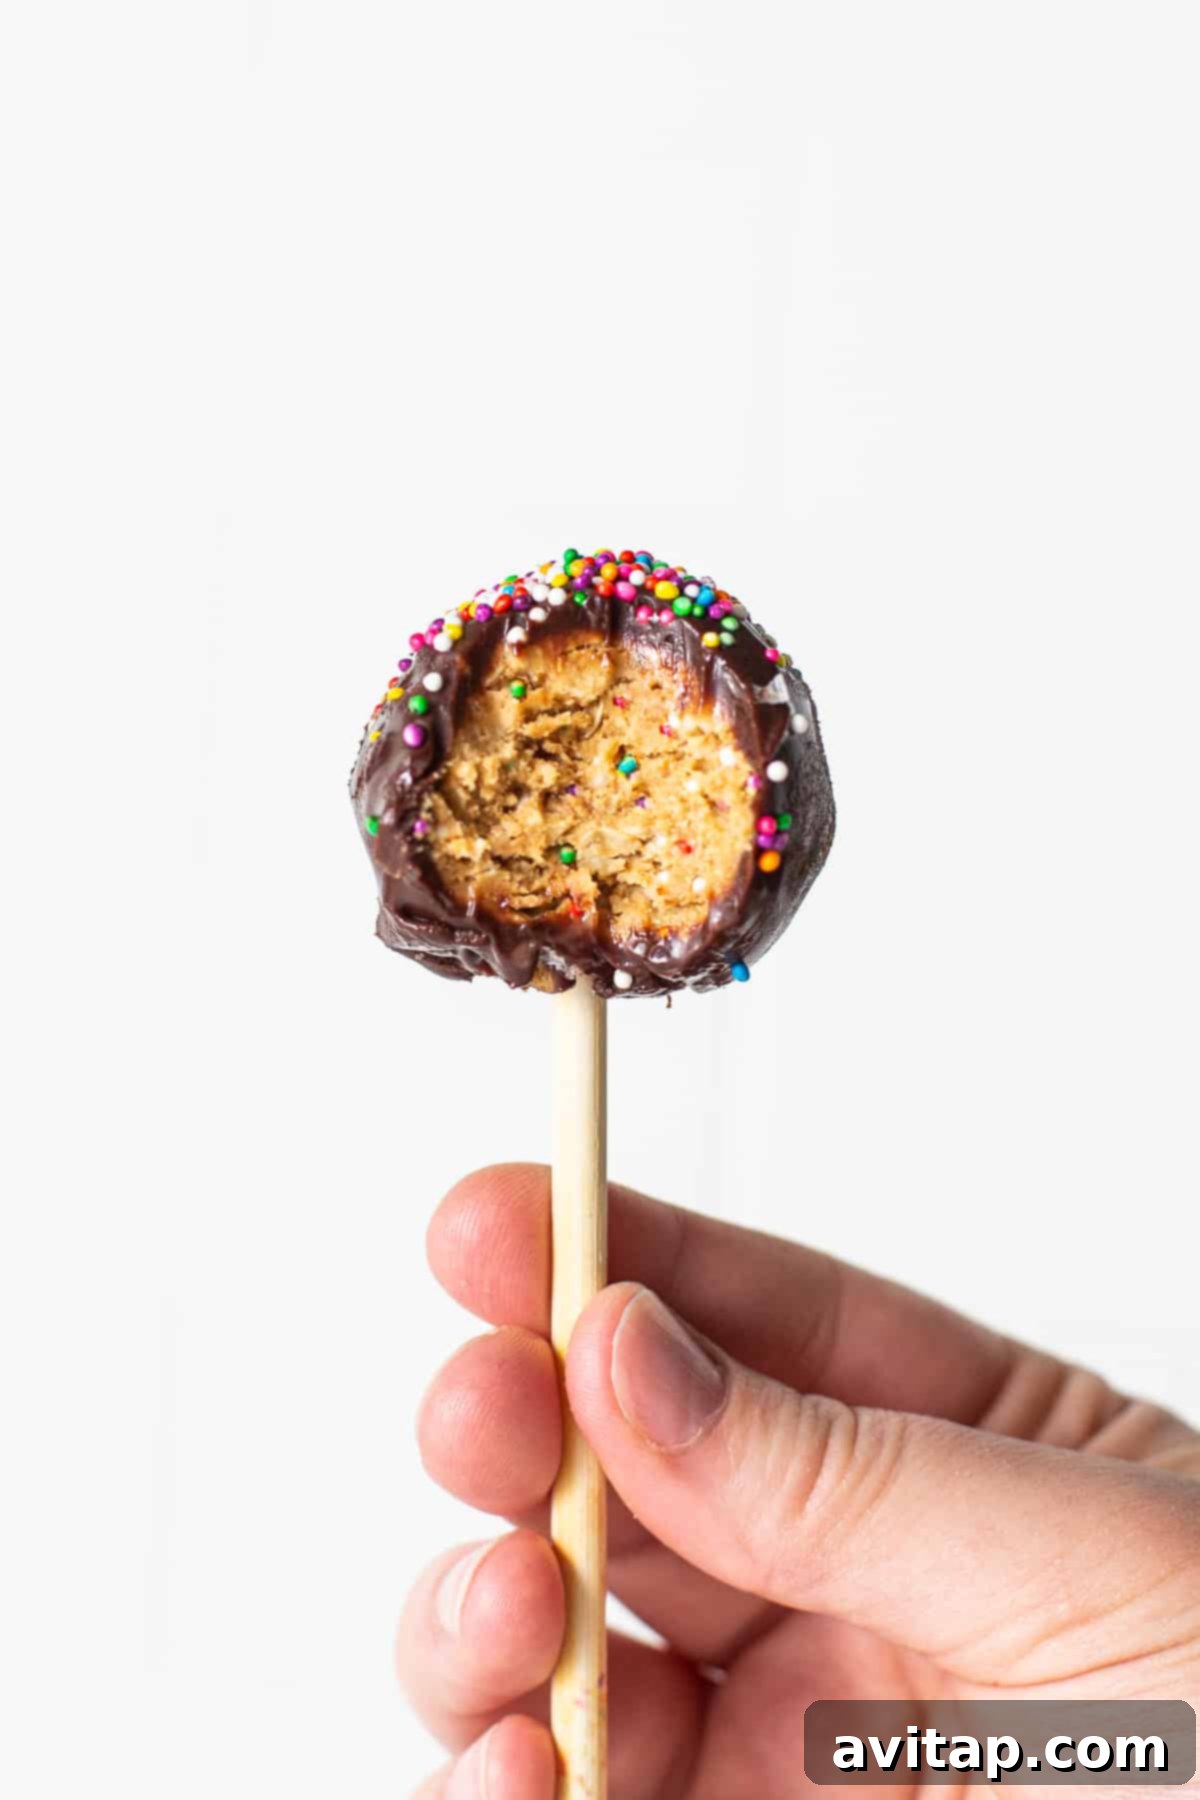
After the chocolate has fully set, remove the cake pops from the freezer. For that classic cake pop presentation, carefully insert a lollipop stick into the bottom of each cake pop. If you don’t have sticks, they are equally delicious as bite-sized protein balls! You can enjoy them immediately, or store them in the freezer until you’re ready to indulge. These delightful treats are now ready to be savored!
Expert Tips for Perfect Protein Cake Pops
Achieving bakery-quality protein cake pops at home is easier than you think with these helpful tips:
- The Magic of Cashew Butter: The unique “cake batter” flavor in these protein cake pops largely comes from cashew butter. Its mild, sweet, and creamy profile is ideal for replicating that classic taste. If you opt for a different nut butter, such as peanut butter or almond butter, be aware that it will significantly alter the flavor profile. While still delicious, it won’t be the same “birthday cake” experience.
- Drippy Cashew Butter is Key: This recipe specifically calls for all-natural, drippy cashew butter. The consistency is crucial for the dough to come together properly without being too dry or too oily. Brands like Good & Gather from Target and Trader Joe’s often have the perfect drippy texture. If your cashew butter is too thick or stiff, the dough will be difficult to mix and roll, and the final texture will be compromised. A thick nut butter will prevent the dough from being malleable, making the recipe less successful.
- Protein Powder’s Impact on Texture: Your choice of protein powder can greatly influence the consistency of the protein balls. Different types of protein (e.g., whey, casein, plant-based, collagen) absorb liquids differently. If you are using a whey or collagen-based protein powder, you will likely need more than the initial 1/3 cup specified in the recipe. We tested this recipe successfully with Vanilla Garden of Life protein powder, often needing an extra tablespoon to achieve the perfect dough. Always start with the recommended amount and gradually add more, one tablespoon at a time, until your dough reaches a firm, cookie-dough-like consistency that’s easy to roll.
- Chill Time is Your Friend: Don’t rush the freezing steps! Chilling the protein balls thoroughly before dipping them in chocolate is essential. It helps them hold their shape and prevents them from melting or crumbling when they come into contact with the warm ganache. A well-chilled ball results in a smooth, even coating.
- Mastering the Chocolate Ganache: When melting your chocolate, always use short intervals and stir frequently to prevent scorching. For the heavy cream, ensure it’s warm, not boiling, before mixing with the chocolate. Slowly combining the two ingredients and stirring until glossy will give you a perfect, smooth ganache without any lumps or separation.
- Customize Your Coating: While classic chocolate ganache is heavenly, feel free to get creative! White chocolate, dark chocolate, or even a simple drizzle of melted nut butter can be used as alternative coatings. For extra flavor, you can add a touch of peppermint extract to the ganache for a mint chocolate twist.
Discover Our Latest Dessert Recipes
Brown Butter Chai Rice Krispie Treats
Pumpkin Tiramisu (High-Protein Fall Dessert!)
Pumpkin Spice Protein Puppy Chow
Peanut Butter Chocolate Chip Protein Cinnamon Rolls (Small Batch)
Easy Homemade Cottage Cheese Donuts
Protein Cake Pops: Frequently Asked Questions
What kind of protein powder should I use for protein cake pops?
Choosing the right protein powder is essential, especially since different types can significantly affect the texture and consistency of your cake pops. While vanilla protein powder is recommended for its complementary flavor to the “cake batter” taste, you can experiment with chocolate or peanut butter protein powders for different variations. We advise using a high-quality protein powder designed for baking or general use. For specific recommendations, check out our comprehensive guide to the best protein powders suitable for smoothies, baking, and more.
Best Protein Powders for Baking and More
Explore our top recommendations for protein powders, perfect for everything from these delicious cake pops to your morning smoothies.
Garden of Life
Raw Organic Protein
Simply Tera’s
Pure Whey Protein
Sun Warrior
Protein Powder
Garden of Life
Organic Whey Protein
Aloha
Organic Protein Powder
Do I have to dip my protein cake pops in chocolate?
Not at all! While the rich chocolate ganache adds a layer of indulgence and helps hold the sprinkles, these protein balls are wonderfully tasty on their own. If you prefer a lighter option, you can skip the chocolate coating entirely. Alternatively, feel free to get creative with other coatings of your choice, such as white chocolate, a drizzle of caramel, or even a simple coating of powdered sugar for a different flavor and appearance.
Can I make these protein cake pops ahead of time?
Absolutely! These protein cake pops are an excellent option for meal prepping and can be made well in advance. Once coated and set, they can be stored in an airtight container in the freezer for up to two months. When you’re ready to enjoy them, simply remove them from the freezer and let them thaw slightly at room temperature for about five to ten minutes to achieve the perfect texture. This makes them a convenient, healthy snack always at your fingertips.
Are there any variations I can try with this recipe?
Yes, the recipe is very versatile! You can swap the vanilla protein powder for chocolate or peanut butter protein powder. Experiment with different nut butters, though be mindful of flavor changes. You can also add mix-ins to the dough like mini chocolate chips, chopped nuts, or dried fruit for extra texture and flavor. For the coating, consider white chocolate, a dark chocolate drizzle, or even a healthy yogurt-based frosting.
Can I make these protein cake pops gluten-free or vegan?
This recipe is already naturally gluten-free if you use certified gluten-free oats. For a vegan option, ensure your protein powder is plant-based (vegan protein powder), and substitute honey with a vegan liquid sweetener like maple syrup or agave nectar. Also, ensure your chocolate chips are dairy-free and replace heavy cream with full-fat coconut cream (the thick part from a can of chilled coconut milk) for the ganache.
Storage Guidelines for Protein Cake Pops
Proper storage ensures your protein cake pops remain fresh and delicious for longer:
Store any leftover protein cake pops in an airtight container in the refrigerator for up to one week. Keeping them chilled maintains their firm texture and extends their freshness.
To Freeze: For longer storage, allow the chocolate-coated cake pops to freeze completely on a baking sheet first. Once solid, transfer them to an airtight freezer-safe container, such as a sturdy plastic container, a Ziploc bag, or a reusable Stasher bag. They can be stored in the freezer for up to 3 months. This method prevents them from sticking together and helps preserve their quality.
More of our Favorite…
Delicious Protein-Packed Desserts
- Cake Batter Protein Balls
- Homemade Protein Bars
- Chocolate Peanut Butter Protein Cookies
- Healthy Banana Protein Shake
- Protein Waffles
- Mint Chocolate Protein Balls
Protein Cake Pops
These protein cake pops taste just like cake, are coated in a rich chocolate ganache, and make for a high-protein, satisfying snack or sweet treat. Enjoy guilt-free indulgence!
By: Emily Richter
Cook: 3 mins
Total: 33 mins
Servings: 15

Ingredients
Protein Ball
- 1 cup all-natural drippy cashew butter*
- 1/3 cup + 1 tablespoon vanilla protein powder
- 1/2 cup quick-cooking oats
- 2 tablespoons honey
- 2 tablespoons rainbow sprinkles + more for rolling
- 2 teaspoons vanilla extract
- 2 teaspoons water
Chocolate Coating
- 1 cup semi-sweet chocolate chips
- ¼ cup heavy cream
Toppings
- Sprinkles
- Flaked salt
Instructions
- Add the ingredients for the balls (cashew butter, protein powder, oats, honey, 2 tbsp sprinkles, vanilla extract, and water) into a medium bowl.
- Use a wooden utensil to mix until combined. Eventually, it may be easier to knead the dough with your hands. The dough should be malleable and a little bit oily. If it is not, add more water by the teaspoon until it turns into a cookie dough-like dough.

- Use a 1-tablespoon cookie scoop and roll balls between your palms to form smooth, uniform balls. Place the balls on a parchment-lined plate. Once all the balls are rolled, transfer the plate to the freezer for at least 15-20 minutes to allow the balls to firm up.
- Add the chocolate chips to a microwave-safe bowl and microwave on high for 30-second intervals, stirring thoroughly every time. Repeat until the chocolate is completely smooth and melted.
- Add the heavy cream to a microwave-safe bowl and microwave for 30-50 seconds or until the cream is warm, but not boiling.
- Slowly pour the warm cream into the melted chocolate, mixing the ingredients continuously until combined and the ganache is glossy and smooth.
- Line a separate baking sheet with parchment paper and place a metal rack on top of the parchment paper.
- Remove the chilled protein balls from the freezer. Use a fork to dip each ball completely into the chocolate ganache, ensuring full coverage.
- Gently tap the fork on the side of the bowl to remove as much excess chocolate as possible. Use a wooden skewer or toothpick to carefully slide the coated protein ball off the fork and onto the metal rack. Sprinkle the protein pops with additional sprinkles and a pinch of flaked salt while the chocolate is still wet. Repeat this process until you’ve coated all the balls.
- Once all your cake pops are coated, place the baking sheet back into the freezer for at least 30 minutes so that the chocolate ganache can firm up completely.
- Remove the cake pops from the freezer. If desired, stick a lollipop stick into the bottom of each cake pop for presentation. Eat immediately or store in the freezer until ready to enjoy.

Tips & Notes
- The cashew butter is crucial for the “cake batter” flavor. Using a different nut butter will alter the taste profile.
- Cashew butter consistency: This recipe requires drippy cashew butter. We recommend brands like Good & Gather (Target) or Trader Joe’s. If your cashew butter is not drippy, the dough will be too stiff and the recipe will not yield the correct texture.
- Protein powder type: The type of protein powder affects the dough’s texture. If using whey or collagen-based protein powder, you might need more than 1/3 cup. We tested with Vanilla Garden of Life protein powder and often added an extra tablespoon. Start with 1/3 cup and adjust as needed to achieve a cookie-dough-like consistency.
Nutrition Information
Carbohydrates: 16 g,
Protein: 6 g,
Fat: 15 g,
Fiber: 1 g,
Sugar: 8 g
Nutrition information is automatically calculated and should only be used as an approximation.
Love this recipe? Don’t forget to leave a comment below!
We’d love to see your creations! Tag your posts on social media with #fitfoodiefinds.
Photography: photos taken in this post are by Ashley McGlaughlin from The Edible Perspective.