
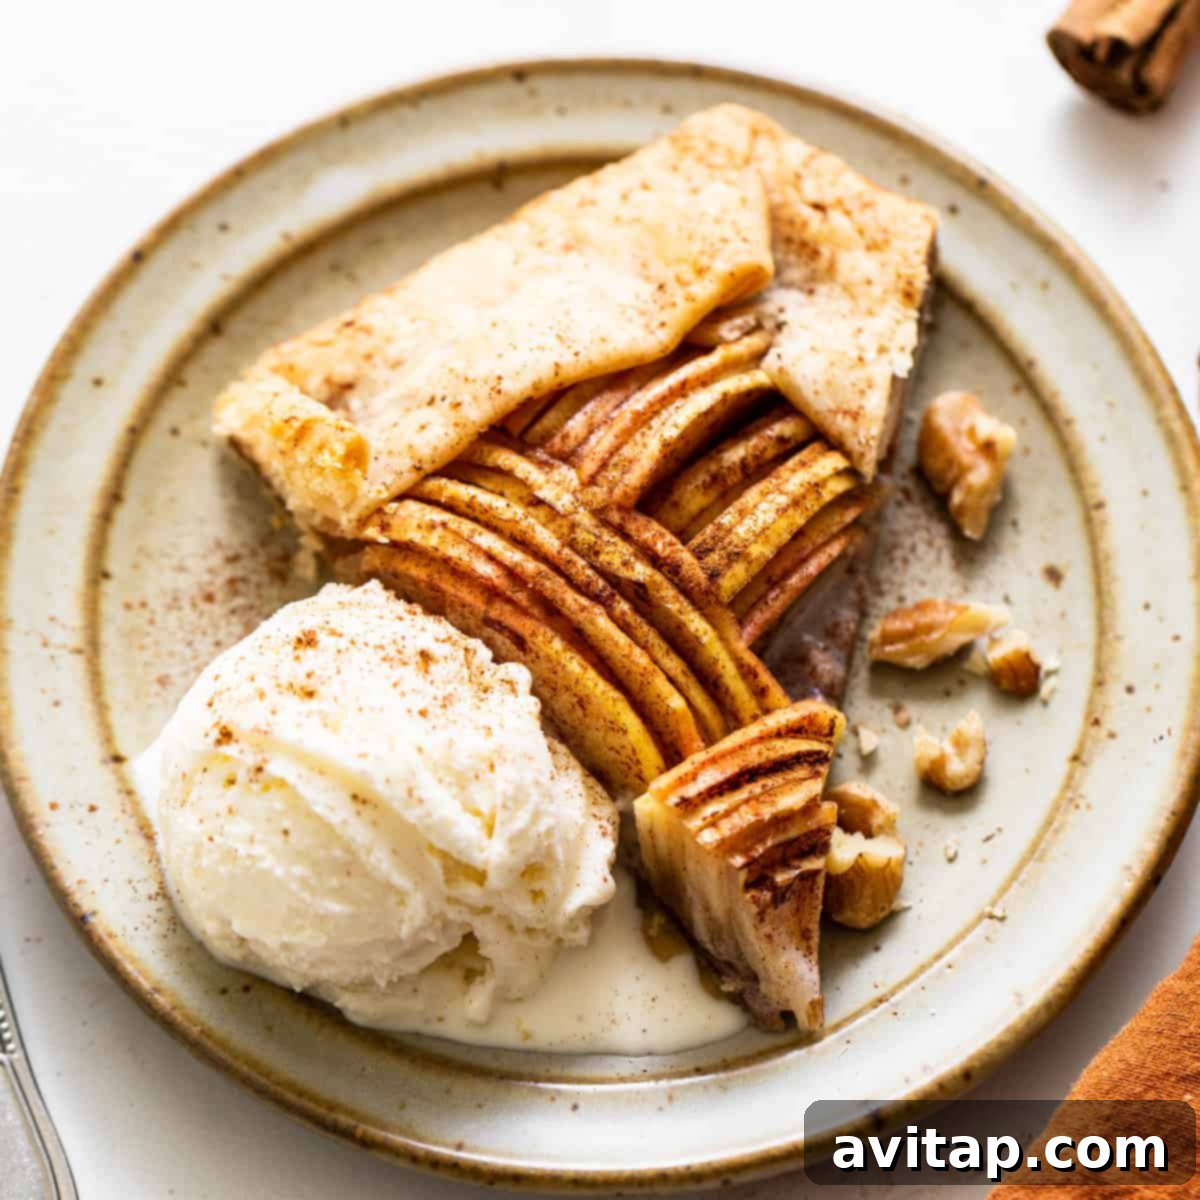
Indulge in the rustic charm and irresistible flavors of this gorgeous brown butter apple galette. This incredibly simple yet sophisticated dessert is crafted with a flaky pie crust, crisp Honeycrisp apples, aromatic brown sugar, warm cinnamon, and the nutty depth of brown butter, creating truly the most perfect apple dessert recipe for any occasion. It’s an elegant, free-form pie that requires no special pan, making it an ideal baking project for both novice and experienced home cooks.
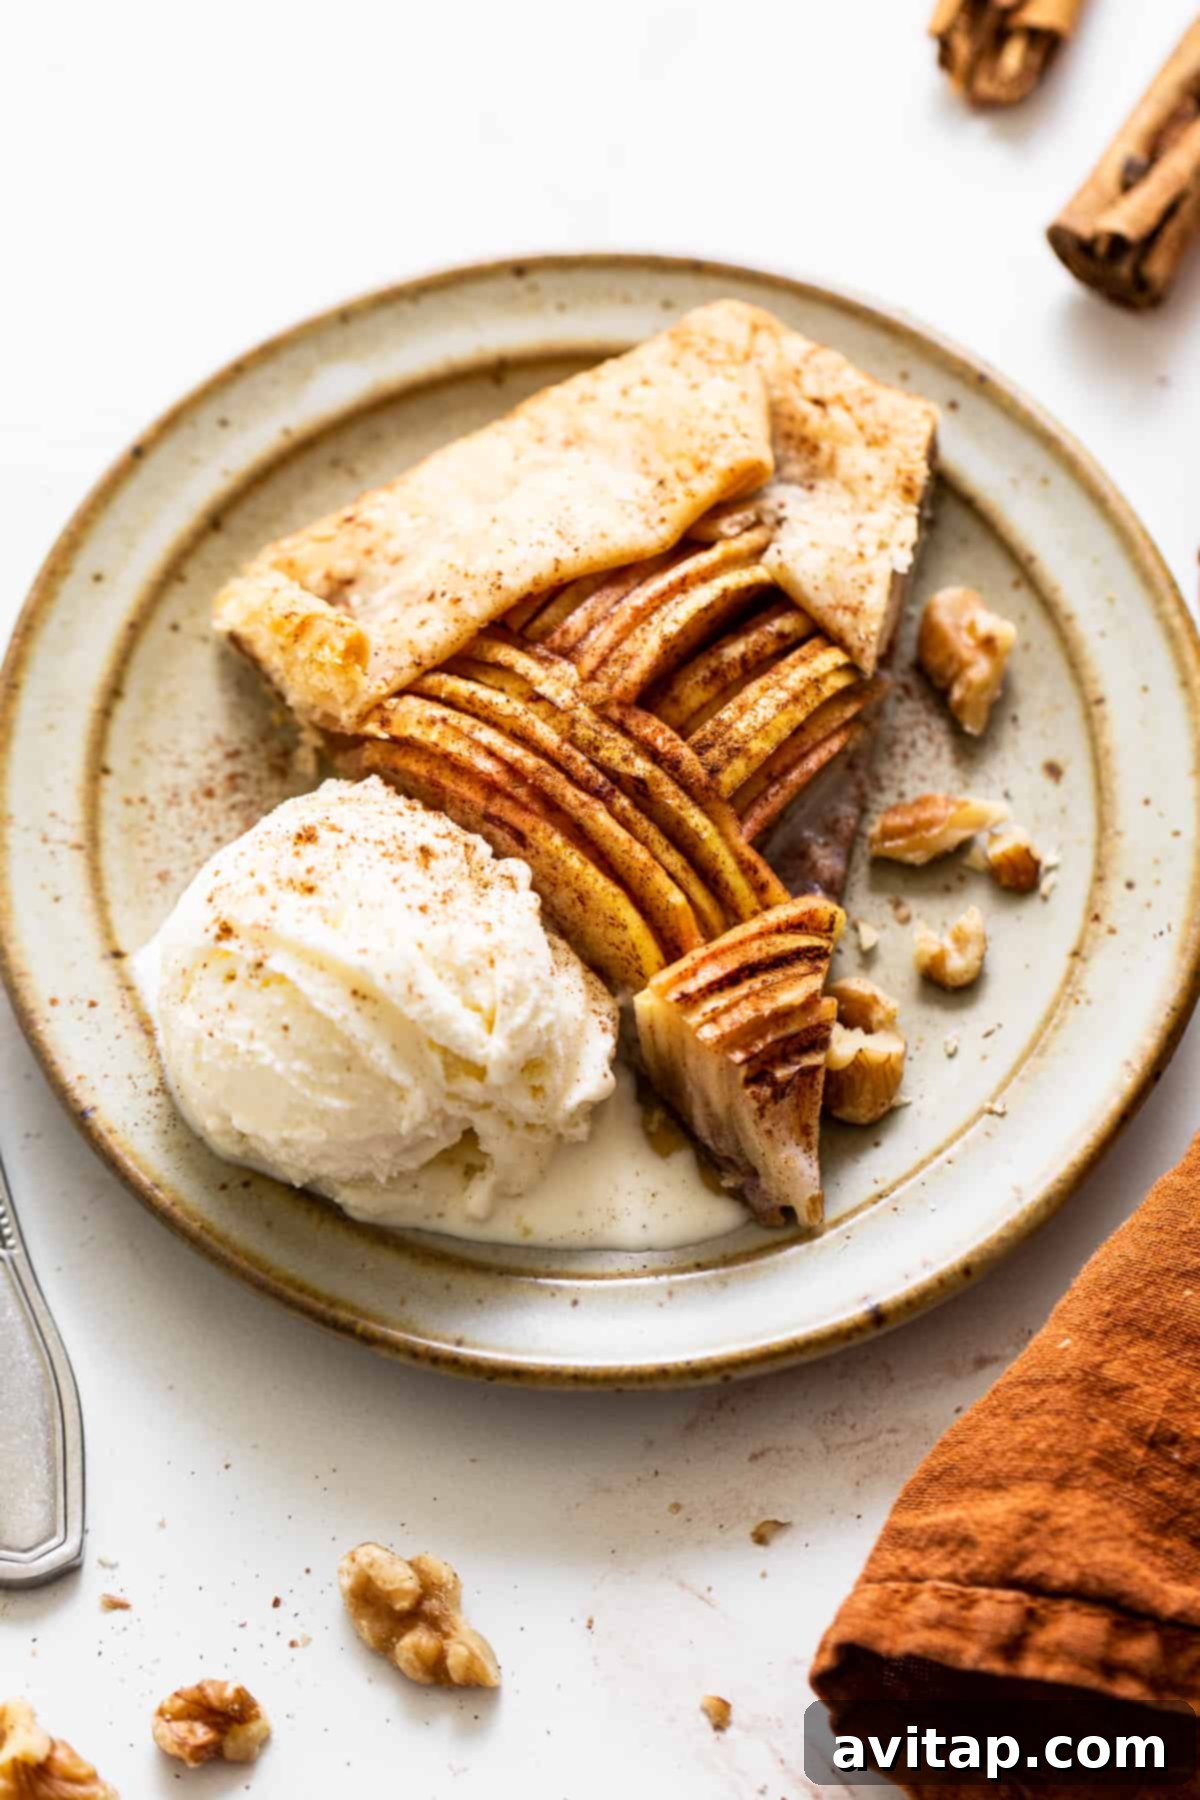
The Ultimate Seasonal Apple Dessert Recipe
When autumn arrives, bringing with it a bounty of fresh, crisp apples, there’s no better way to celebrate the season than with a delightful homemade treat. If you’re searching for a simple, yet utterly delicious apple dessert recipe that captures the essence of fall, look no further than this exquisite brown butter apple galette. This rustic pastry is generously filled with thinly sliced Honeycrisp apples, complemented by a crunchy walnut filling, a hint of warm cinnamon, and a touch of sweet maple syrup. It’s a truly comforting and visually stunning dessert that serves as the perfect after-dinner treat or a show-stopping centerpiece for any seasonal gathering.
You’ve raved about our honey pear galette, and we’re confident you’re going to fall head over heels for this apple variation. The combination of perfectly tender, sweet apples and a wonderfully puffy, golden-brown pie crust creates a symphony of textures and flavors that will leave everyone craving more. The addition of brown butter elevates this galette, imparting a rich, nutty aroma that takes it from delicious to absolutely unforgettable.
Why You’ll Fall in Love with This Apple Galette!
Embrace the Season: This galette highlights the best of fall produce, featuring the vibrant taste of fresh apples. It’s a quintessential autumn dessert, perfect for holiday celebrations or a cozy evening at home. Enjoy the flavors of crisp apples at their peak, creating a truly seasonal delight.
Effortlessly Simple: We understand that baking can sometimes feel daunting, which is why this recipe is designed for ease. By utilizing a store-bought pie crust, you save valuable time without compromising on taste or texture. This makes it an approachable recipe for bakers of all skill levels, allowing you to enjoy homemade goodness with minimal fuss.
Perfectly Balanced Sweetness: The careful balance of natural apple sweetness with brown sugar, cinnamon, and maple syrup ensures this dessert is never overly sugary. Each bite offers a harmonious blend of flavors, allowing the natural tang and sweetness of the apples to truly shine through, enhanced by the rich, caramelized notes of brown butter.
Key Ingredients for the Best Apple Galette
Crafting a truly exceptional apple galette starts with selecting the right ingredients. Each component in this recipe plays a crucial role in achieving that perfect balance of flavor and texture:
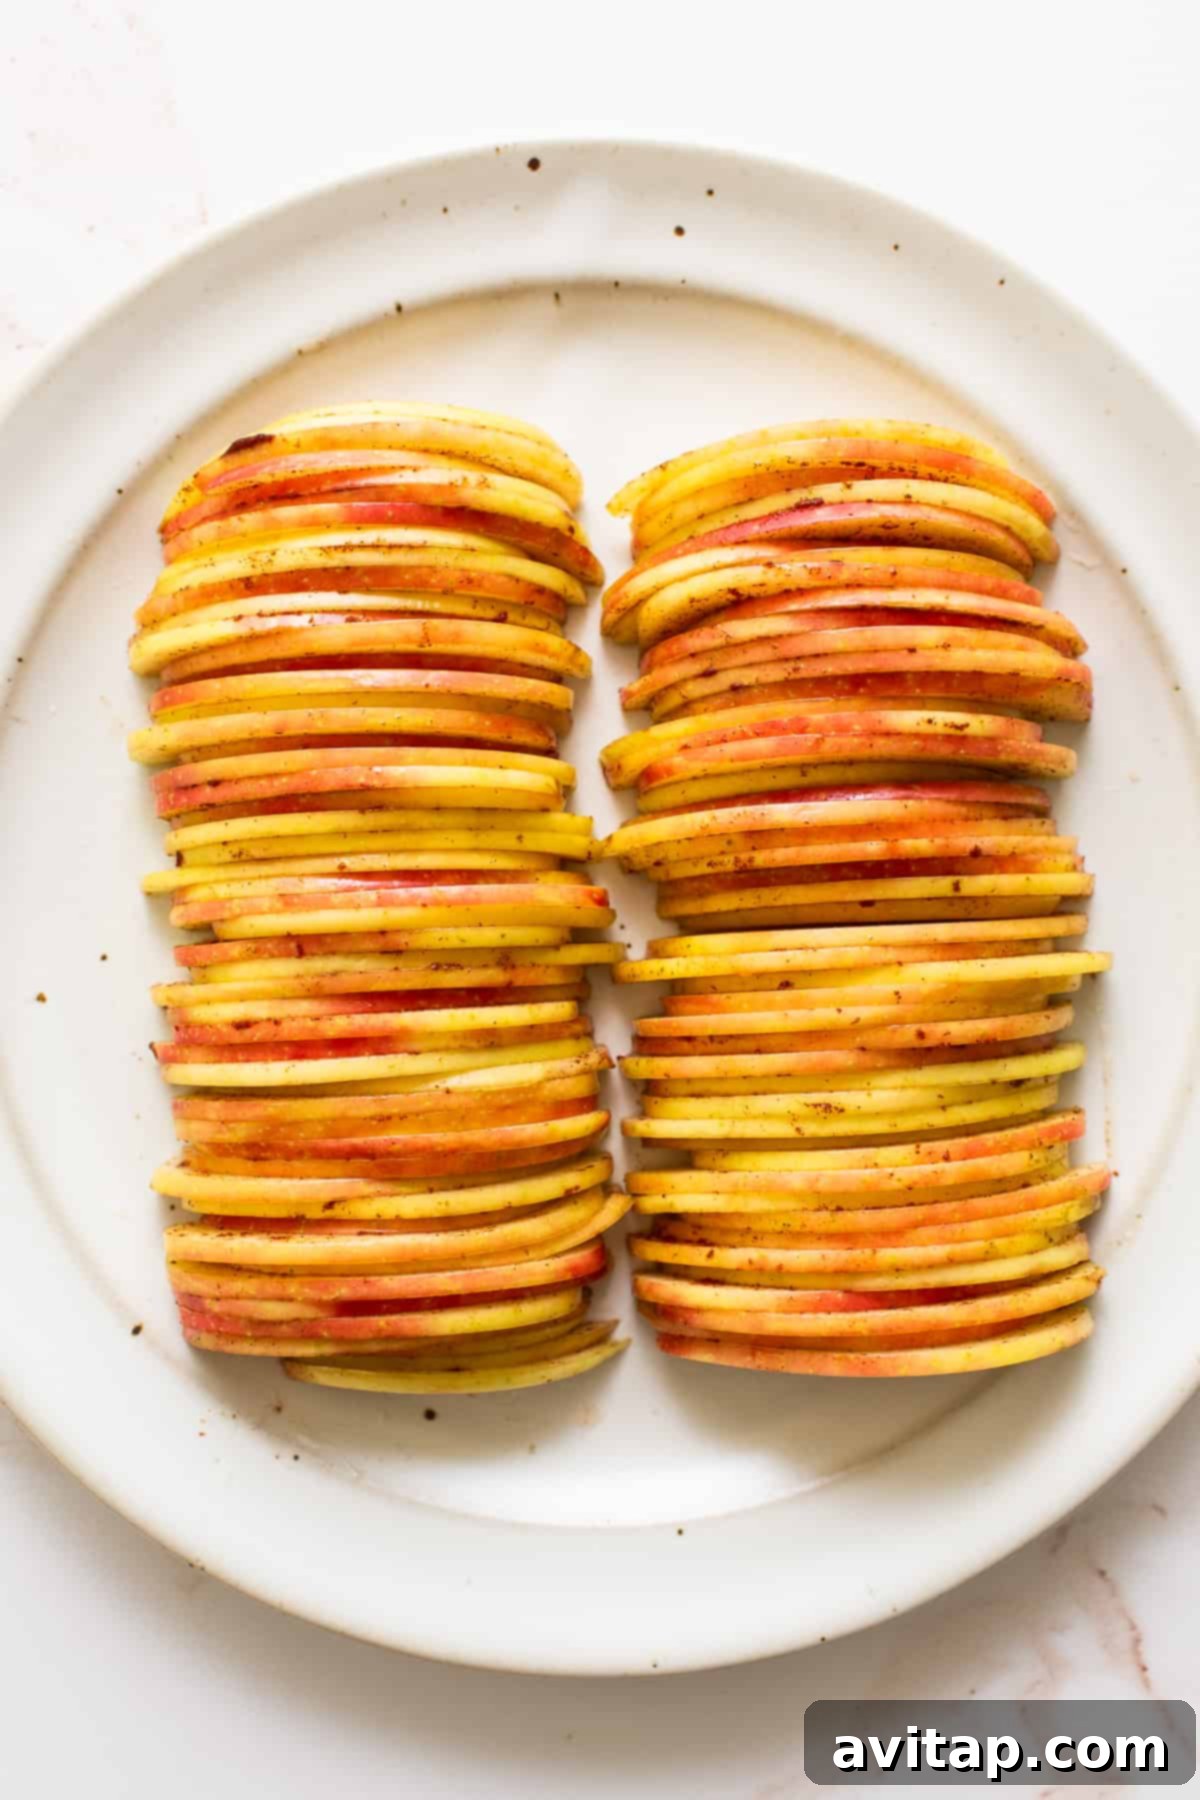
- Honeycrisp Apples: These apples are a baker’s dream. Honeycrisps are renowned for their firm, crisp texture that holds up beautifully during baking, preventing a mushy filling. Their delightful balance of sweet and tart notes also adds a complex flavor profile to the galette. While Honeycrisp are our top recommendation, other excellent apple varieties that work wonderfully in this recipe include:
- Granny Smith: For a tarter profile that balances sweetness.
- Pink Lady: Offering a sweet-tart taste and a firm texture.
- Gala: A milder, sweeter option that bakes well.
- Golden Delicious: Softens nicely and adds a mellow sweetness.
- Fuji: Crisp and sweet with a good balance.
For the best results, use a combination of sweet and tart apples to add depth to your galette.
- Pie Crust: Our recipe embraces convenience with a high-quality store-bought pie crust. This ensures a consistently buttery, flaky base without the added effort of making dough from scratch. While some recipes suggest puff pastry, we find the rich, tender texture of a traditional pie crust to be superior for a galette, providing a satisfying contrast to the soft apple filling. If you prefer, a homemade pie crust will certainly elevate this dessert even further.
- Walnuts: These add a delightful crunch and earthy flavor that beautifully complements the sweet apples and warm spices. The finely processed walnuts create a flour-like consistency, forming a protective layer that helps absorb moisture from the apples, preventing the pie crust from becoming soggy. You can also experiment with pecans or almonds for a different nutty twist.
- Cinnamon: The classic companion to apples, cinnamon infuses the galette with its warm, sweet, and comforting aroma. It’s an indispensable spice that truly defines the quintessential apple dessert experience. Consider adding a pinch of nutmeg or cardamom for an even more complex spice blend.
- Brown Butter: This is where we truly “up the ante” and elevate a simple apple galette into something extraordinary. Browning butter involves gently cooking it until the milk solids toast and turn a beautiful golden-brown, releasing a rich, nutty, and slightly caramelized aroma. This process transforms ordinary butter into a fragrant elixir that adds incredible depth and complexity to the galette, making every bite undeniably luxurious.
- Brown Sugar & Maple Syrup: These sweeteners provide a deep, caramel-like sweetness that enhances the natural flavor of the apples and complements the brown butter beautifully.
- Lemon Juice: A splash of fresh lemon juice is crucial for brightening the apple flavor and preventing the sliced apples from browning prematurely.
- All-Purpose Flour: Used in the walnut mixture to help absorb moisture and provide structure.
- Salt: Just a touch of salt brings out the sweetness of the apples and balances all the flavors, a secret ingredient in many sweet recipes.

Pro Tip!
Our Favorite Mandoline for Perfect Slices
Achieving consistently thin apple slices is key to a beautifully cooked galette. The Kyocera mandoline is our trusted kitchen companion for uniformly slicing fruits, vegetables, and everything in between. It makes quick work of preparing your apples for this recipe, ensuring even cooking and a professional presentation.
Simple Step-by-Step Instructions for Apple Galette
Creating this delicious brown butter apple galette is a straightforward process. Follow these detailed steps for a perfect result:
- Prepare Your Pie Crust: Begin by preheating your oven to 375ºF (190ºC) and lining a baking sheet with parchment paper. On a lightly floured surface, carefully roll out your store-bought pie crust into a 10-inch circle, aiming for a consistent thickness of about ⅛ of an inch. This ensures an even bake and a beautifully flaky crust. Transfer the rolled crust to a parchment-lined large plate or directly onto your prepared baking sheet and refrigerate for at least 15 minutes. This chilling step is crucial for preventing the crust from shrinking during baking and helps maintain its shape.
- Craft the Flavorful Walnut Filling: While your pie crust chills, prepare the rich walnut filling. In a food processor, combine the raw walnuts, all-purpose flour, 1 teaspoon of brown sugar, ½ teaspoon of ground cinnamon, and ¼ teaspoon of salt. Pulse these ingredients on a low setting until the walnuts are finely ground and the mixture resembles a coarse flour. Be careful not to over-process, as walnuts can quickly turn into butter. Next, with the food processor running on low, drizzle in 2 teaspoons of maple syrup and pulse just until combined. The mixture should be cohesive but not form a dough. Set this fragrant walnut filling aside. This layer not only adds flavor but also creates a barrier to prevent the apple juices from making the crust soggy.
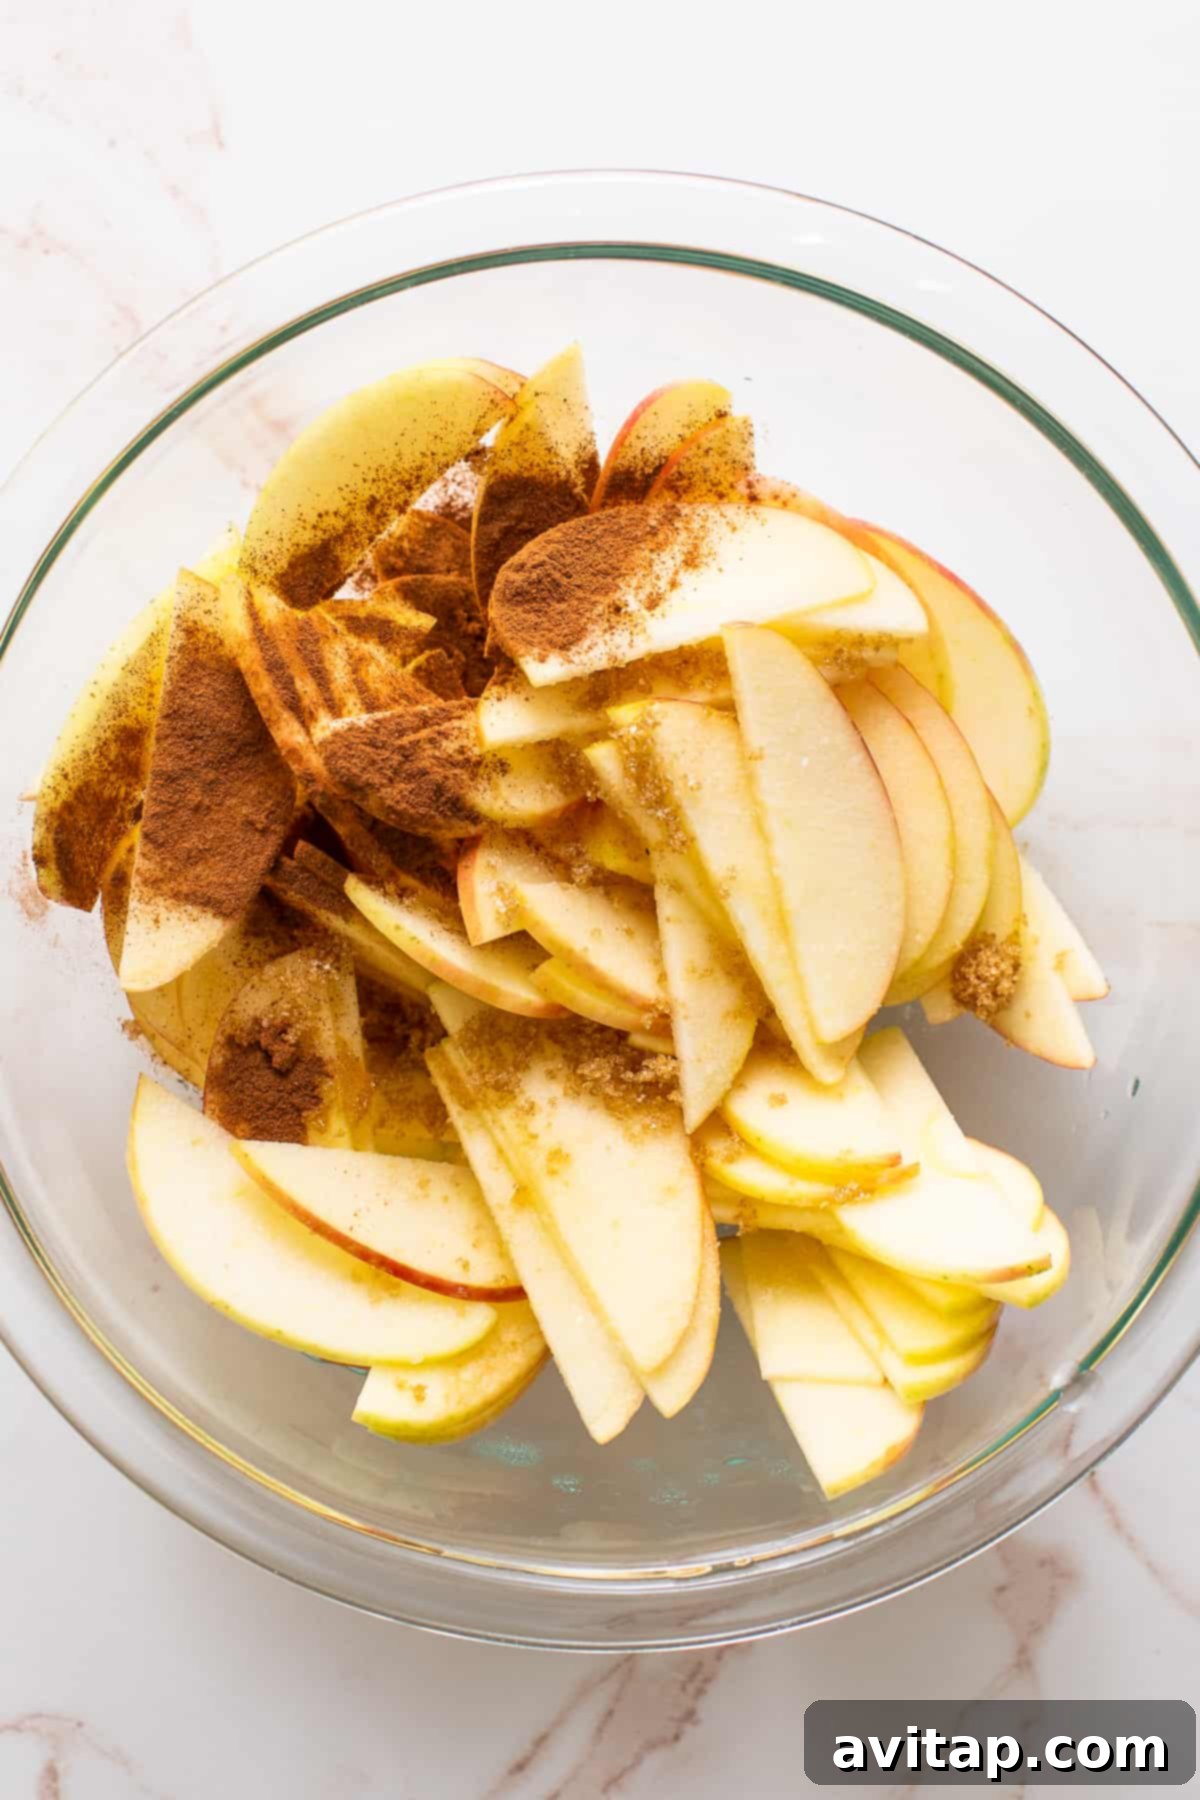
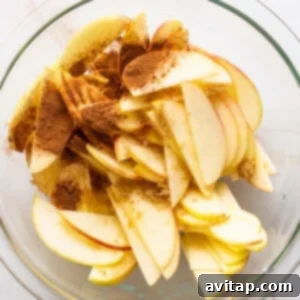
- Season the Apple Slices: Place your thinly sliced Honeycrisp apples into a large mixing bowl. Drizzle them with 1 tablespoon of fresh lemon juice – this not only brightens the apple flavor but also prevents them from browning. Sprinkle the remaining 1 teaspoon of brown sugar, ½ teaspoon of cinnamon, and ¼ teaspoon of salt over the apples. Gently toss the slices until they are evenly coated with the spices and lemon juice.
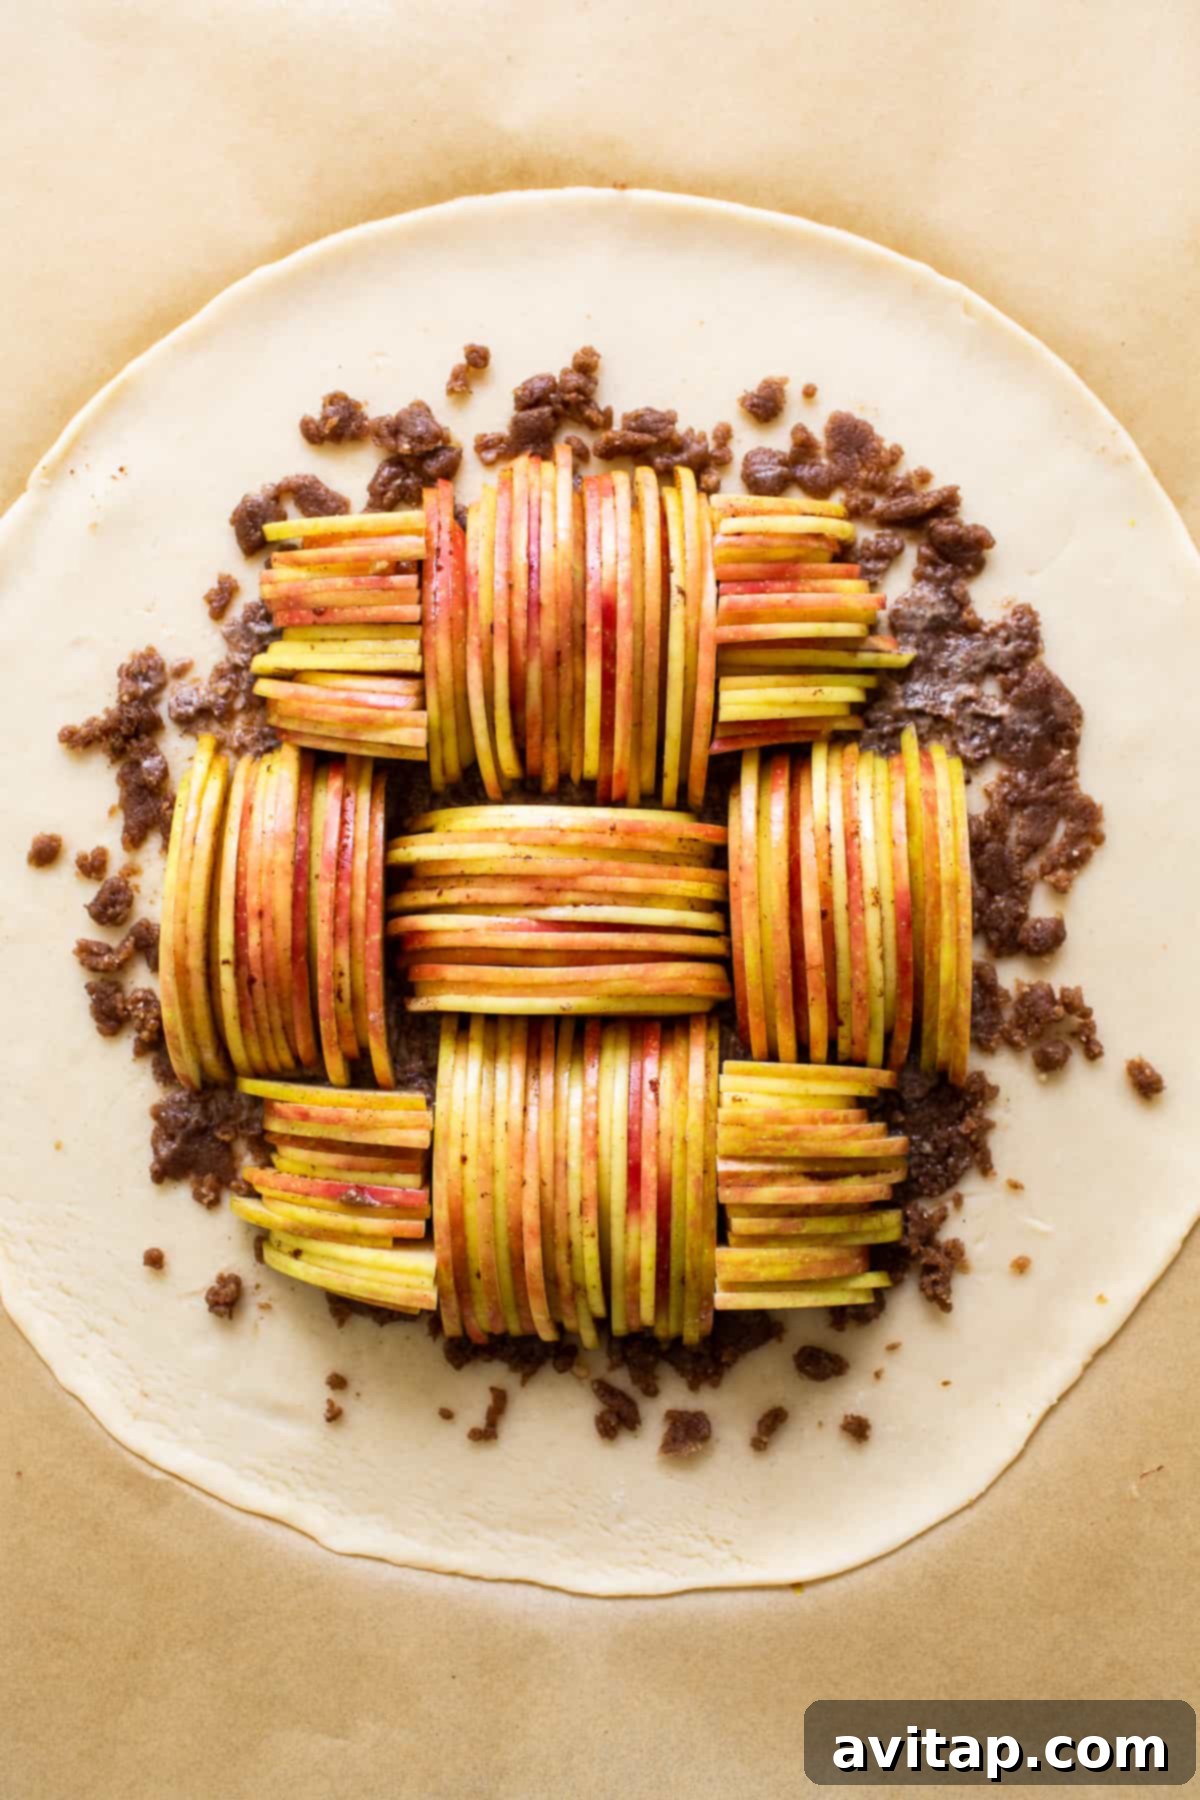
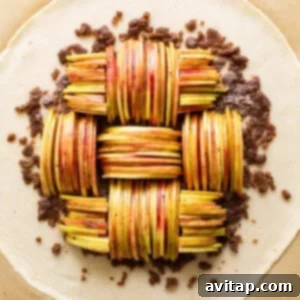
- Assemble Your Galette: Remove the chilled pie crust from the refrigerator. Carefully spread the prepared walnut filling evenly over the center of the pie crust, leaving a generous 1.5-inch border clean around the edges. This border will form your beautiful rustic crust. Now, artfully arrange the seasoned apple slices on top of the walnut mixture. Begin layering the apples in the middle of the pie crust, overlapping them neatly and moving outwards towards the clean edge of the crust. Feel free to get creative and make your own decorative design! Ensure the apples are only placed on the walnut mixture, leaving the crust border uncovered.
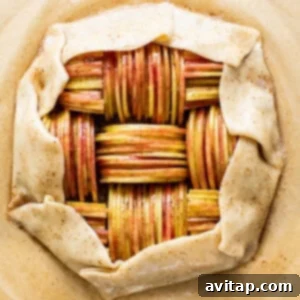
- Fold the Edges: Once all the apples are arranged, gently fold the exposed 1.5-inch border of the pie crust over the edges of the apple filling. Press the folds lightly to secure them, creating a charming, free-form crust. Don’t worry about perfection; the rustic look is part of a galette’s appeal.
- Prepare the Brown Butter Glaze: Place the 2 tablespoons of butter in a small, light-colored saucepan (a light-colored pan helps you see the color change). Turn the heat to medium-high to quickly melt the butter. Continue to cook, stirring occasionally, as the butter begins to foam. Watch closely as the milk solids at the bottom of the pan start to turn golden brown and emit a rich, nutty aroma. As soon as the butter reaches a deep amber color and smells fragrant, immediately remove it from the heat. The residual heat will continue to brown it slightly, so it’s better to err on the side of caution. Let it sit in the pan for a moment until all the butter has achieved that perfect browned hue.
- Brush & Bake to Golden Perfection: Using a pastry brush, generously brush the entire surface of your assembled apple galette, including both the arranged apples and the folded pie crust edges, with the warm brown butter. This step is essential for both flavor and to achieve that beautiful golden-brown finish. Carefully transfer the baking sheet with the galette to the preheated oven. Bake for 15 minutes. Then, turn the baking sheet 180 degrees in the oven to ensure even browning and continue baking for another 15 to 20 minutes, or until the pie crust is deeply golden brown and the apples are tender.
- Rest and Serve: Once baked, carefully remove the galette from the oven and let it rest on the baking sheet for at least 10 minutes before slicing and serving. This allows the juices to settle and the galette to firm up slightly, making it easier to cut.
More Irresistible Fall Desserts
Brown Butter Chai Rice Krispie Treats
Pumpkin Tiramisu (High-Protein Fall Dessert!)
Pumpkin Spice Protein Puppy Chow
Peanut Butter Chocolate Chip Protein Cinnamon Rolls (Small Batch)
Easy Homemade Cottage Cheese Donuts
Expert Tips for a Perfect Apple Galette
Achieving a bakery-quality apple galette is easier than you think with these expert tips:
- Don’t Skip the Lemon Juice: This isn’t just for flavor! Tossing your apple slices in fresh lemon juice is essential. It not only adds a bright, zesty note that cuts through the sweetness but also acts as an antioxidant, preventing your beautiful apples from oxidizing and turning an unappetizing brown before and during baking.
- The Power of the Walnut Mixture: The finely ground walnut mixture serves a dual purpose. Firstly, it infuses the galette with a lovely nutty flavor and a hint of texture. Secondly, and critically, it creates a protective barrier between the juicy apples and the pie crust. This ingenious layer absorbs excess moisture released by the apples during baking, ensuring your pie crust remains wonderfully crisp and flaky, never soggy.
- Mastering the Pie Crust: Whether you opt for a convenient store-bought crust or a lovingly homemade one, the key to success lies in its preparation. Ensure your pie crust is rolled out to a consistent 10-inch circle, with a thickness of approximately ⅛-inch. This precise thickness guarantees even baking and a perfectly golden, tender crust that is neither too thin nor too doughy.
- Chill Your Crust: After rolling, always chill your pie crust for at least 15 minutes. This allows the butter in the crust to firm up, which helps prevent shrinkage in the oven and maintains the galette’s free-form shape.
- Slice Apples Uniformly: For even cooking, aim for consistent apple slice thickness. A mandoline is excellent for this, but a sharp knife and careful technique work just as well. Uniform slices ensure every piece of apple cooks through perfectly at the same rate.
- Watch Your Brown Butter Closely: Browning butter can go from perfect to burnt in a matter of seconds. Use a light-colored pan and keep a close eye on it, stirring often. As soon as you smell that rich, nutty aroma and see golden-brown flecks, remove it from the heat immediately.
Delightful Serving Suggestions
This brown butter apple galette truly elevates any fall meal and is a fantastic dessert for gatherings. While it’s utterly delicious on its own, these serving suggestions will take it to the next level:
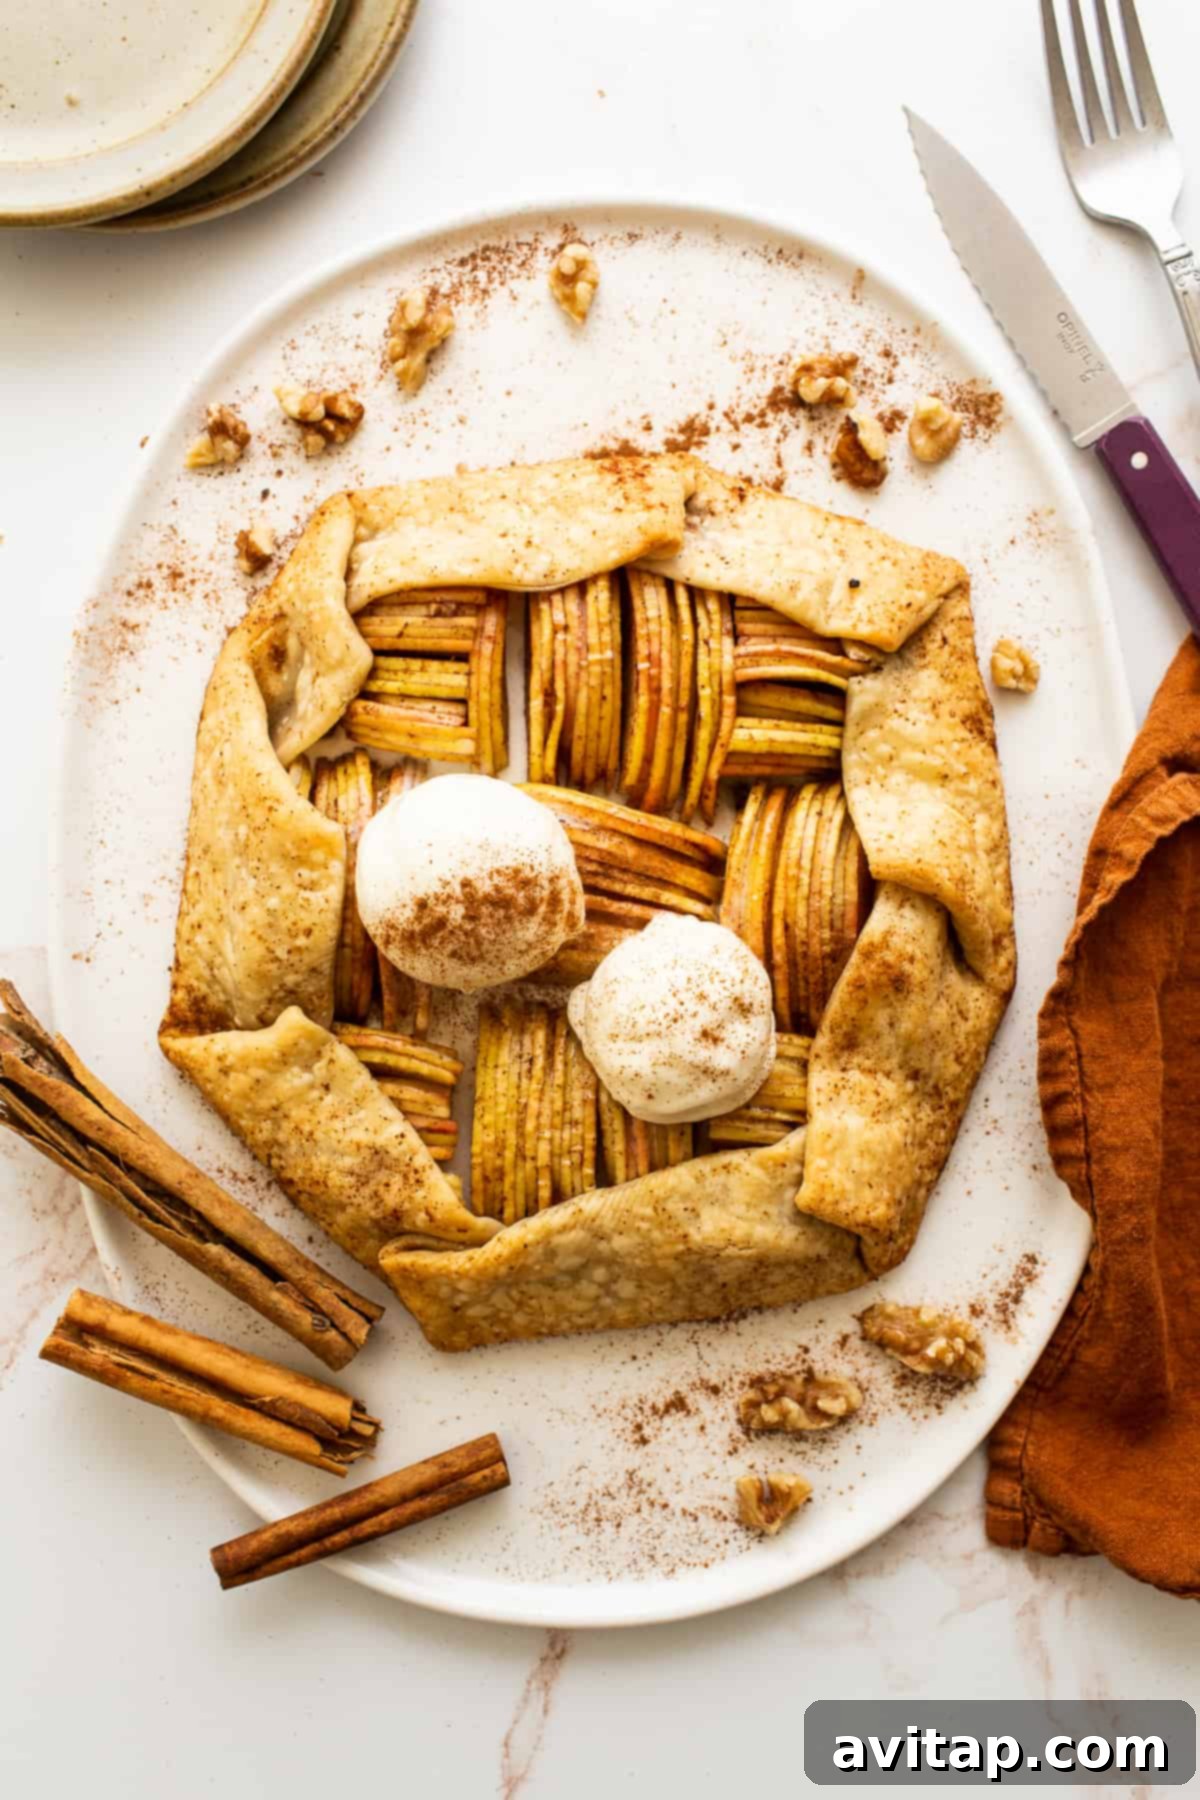
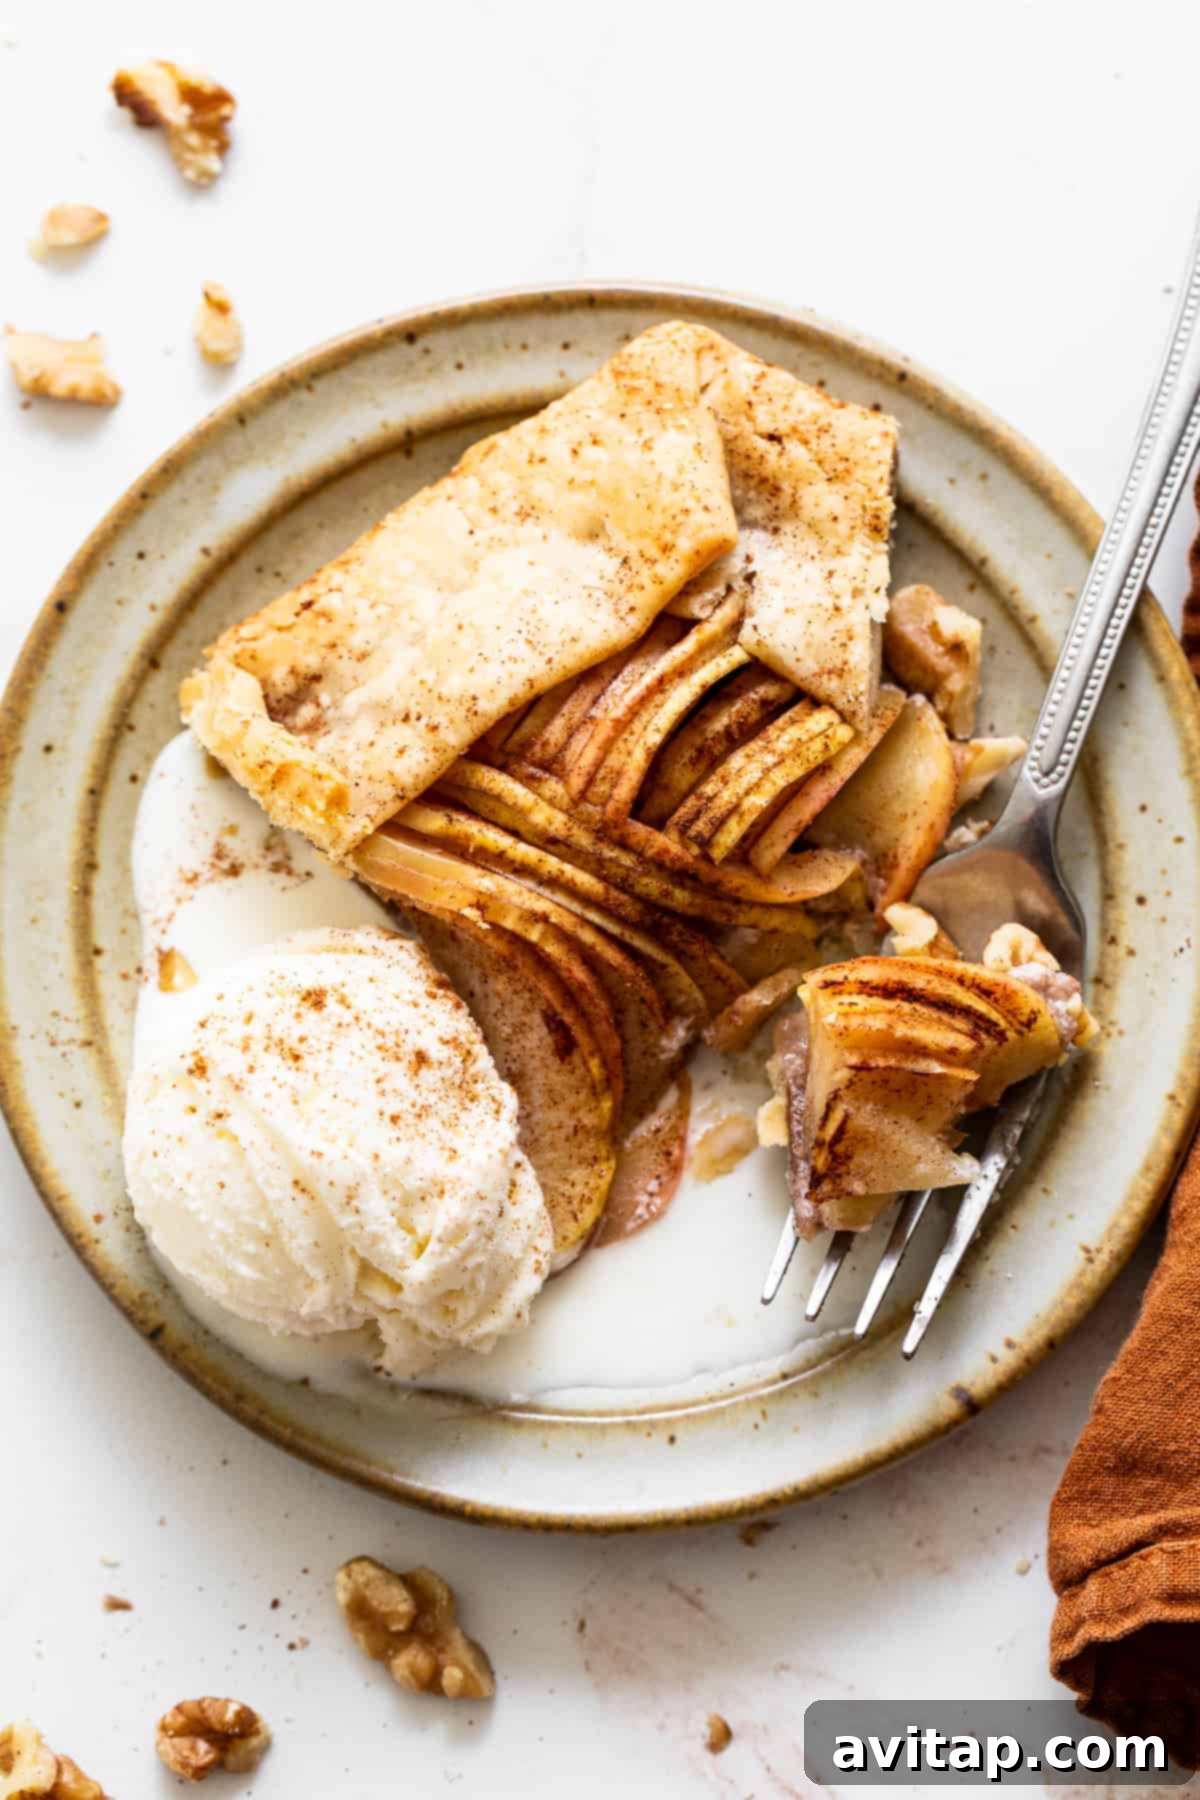
- À la Mode: The classic choice! A warm slice of apple galette paired with a generous scoop of high-quality vanilla bean ice cream is a match made in heaven. The cold, creamy ice cream perfectly contrasts with the warm, tender apples and flaky crust.
- Fresh Whipped Cream: For a lighter, airy topping, whip up our homemade whipped cream. Its delicate sweetness and fluffy texture complement the rich flavors of the galette beautifully. A dollop of cinnamon-infused whipped cream would also be spectacular.
- Luxurious Caramel Sauce: Drizzle your favorite store-bought or homemade caramel sauce over each slice for an extra layer of decadence. The sweet, buttery notes of caramel are a natural pairing with apples and brown butter, enhancing the dessert’s overall richness.
- Dust with Confectioners’ Sugar: For a simple yet elegant finish, a light dusting of confectioners’ sugar adds a touch of visual appeal and a subtle extra sweetness.
- A Sprinkle of Toasted Nuts: Enhance the existing nutty flavor by sprinkling a few extra toasted walnuts or pecans over the top just before serving.
Storage and Reheating Tips
To enjoy your delicious apple galette for longer, proper storage is key. Store any leftover galette in an airtight container at room temperature for up to 1 day, or in the refrigerator for up to 3 days. While it’s best enjoyed fresh out of the oven, it remains wonderfully flavorful for a few days.
To Reheat: For the best texture, we recommend reheating individual slices of your apple galette in a microwave for about 30-60 seconds on high, or in a toaster oven at 300°F (150°C) for 5-10 minutes, until warmed through and the crust regains some of its crispness. Avoid overheating, as this can make the apples mushy.
You can also freeze a baked galette! Once completely cooled, wrap it tightly in plastic wrap and then aluminum foil. It will keep in the freezer for up to 2-3 months. Thaw overnight in the refrigerator before reheating as directed above.
Frequently Asked Questions (FAQ)
Here are some common questions about making an apple galette:
- What is a galette? A galette is a rustic, free-form pastry that originates from France. Unlike a traditional pie, it’s baked without a pie dish, allowing the edges of the pastry to be simply folded over a fruit filling. Its informal, charming appearance is part of its appeal.
- Can I use other fruits for a galette? Absolutely! Galettes are incredibly versatile. You can use almost any seasonal fruit, such as pears, berries, peaches, plums, or a combination. Adjust the sugar and spices according to the fruit’s natural sweetness.
- Can I make the pie crust from scratch? Yes, you can! If you have a favorite homemade pie crust recipe, feel free to use it. Just ensure it’s rolled out to the specified 10-inch diameter and ⅛-inch thickness. Homemade crust will add another layer of deliciousness to your galette.
- How do I prevent a soggy bottom crust? The walnut mixture in this recipe is key to preventing a soggy crust. It acts as a barrier, absorbing excess moisture from the apples. Additionally, chilling the pie crust before baking helps firm up the butter, contributing to a flakier crust. Baking at the correct temperature also ensures the bottom crust cooks thoroughly.
- Can I prepare the galette ahead of time? You can prepare the pie crust and the walnut filling a day in advance. Store the rolled pie crust in the refrigerator (wrapped) and the walnut mixture in an airtight container. Assemble and bake the galette fresh on the day you plan to serve it for the best results.
- What’s the best way to slice apples for a galette? Thin, uniform slices (around 2mm or ⅛-inch) are ideal. A mandoline slicer makes this process quick and ensures consistency, which is important for even cooking and a beautiful presentation.
More of our Favorite…
Apple Dessert Recipes to Explore
- Classic Apple Crisp
- Elegant Apple Tart
- Easy Cinnamon Apple Bread
- Moist Apple Cake with Cream Cheese Frosting
- Sparkling Apple Cider Champagne Cocktail
Rating: 5 from 4 votes
Brown Butter Apple Galette
By: Lee Funke
Prep Time: 45 mins
Cook Time: 30 mins
Total Time: 1 hr 15 mins
Servings: 9
Pin Recipe
Print Recipe
Ingredients
- 1 pie crust, rolled into a 10-inch round (a Pillsbury pie crust was used here)
- ¼ cup raw walnuts
- 2 tablespoons all-purpose flour
- 2 teaspoons brown sugar, separated
- 1 teaspoon ground cinnamon, separated
- ½ teaspoon salt, separated
- 2 teaspoons maple syrup
- 2 Honeycrisp apples, thinly sliced with a mandoline (2mm setting recommended)
- 1 tablespoon fresh lemon juice
Brown Butter Glaze
- 2 tablespoons butter, browned
Instructions
- Preheat the oven to 375ºF (190°C) and line a baking sheet with parchment paper.
- Roll out your pie crust into a 10-inch circle that is about ⅛-inch thick and place it on a parchment-lined large plate or baking sheet. Place the pie crust in the fridge for 15 minutes to firm up.
- While the pie crust is firming up, place the walnuts, flour, 1 teaspoon brown sugar, ½ teaspoon cinnamon, and ¼ teaspoon salt into a food processor. Process the ingredients on low until the ingredients are combined and the walnuts turn into a flour-like consistency.
- Continue to process the mixture while drizzling 2 teaspoons of maple syrup into the food processor. Only process with the maple syrup until just combined; do not let the mixture turn into a dough. Set the walnut mixture aside.
- Place the thin apple slices into a large bowl and toss the apples with 1 tablespoon of lemon juice. Sprinkle 1 teaspoon brown sugar, ½ teaspoon of cinnamon, and ¼ teaspoon salt over the apples and toss the ingredients together to coat evenly.

- Remove the pie crust from the fridge and pour the walnut mixture into the middle of the pie crust. Spread the walnut mixture over the pie crust, but leave a 1.5-inch border clean at the edges.
- Next, begin layering the apples on top of the walnut mixture. Start in the middle of the pie crust and overlap the apples in layers, moving towards the edge of the pie crust. Only place the apples on the walnut mixture, stopping when you reach the clean edges of the pie crust.
- Gently fold the clean edges of the pie crust over the apples to create a beautiful, rustic crust. Set aside.
- Now, brown the butter. Place the butter in a small, light-colored saucepan. Turn the heat to medium-high to fully melt the butter. When the butter begins to caramelize and nutty brown flecks appear, turn the heat off and let it sit in the pan until all the butter has browned to a rich amber color.
- Brush the warm brown butter generously over the entire apple galette, including the pie crust and the apples, using a pastry brush.
- Place the galette into the preheated oven and bake for 15 minutes. Turn the pan around in the oven to ensure even browning, and bake for an additional 15 minutes, or until the pie crust is deeply golden brown and the apples are tender.
- Remove the galette from the oven and let it rest for at least 10 minutes on the baking sheet before slicing and serving.
Tips & Notes
- You can use a homemade pie crust or a store-bought pie crust. Just be sure it’s rolled out to about a 10-inch circle that is approximately ⅛-inch thick.
- Don’t skip the lemon juice. It adds brightness to the apples and helps keep your apples from turning brown.
- The walnut mixture is used for both flavor and to ensure the pie crust doesn’t turn out soggy by absorbing excess moisture.
Watch It
Nutrition
Calories: 165 kcal, Carbohydrates: 19 g, Protein: 2 g, Fat: 10 g, Fiber: 2 g, Sugar: 6 g
Nutrition information is automatically calculated and should only be used as an approximation.
Don’t forget to tag your posts on social media with the hashtag #fitfoodiefinds – we’d love to see your delicious creations!