

Prepare to master the art of making incredibly tender and juicy baby back ribs! This crowd-pleasing main dish is simpler to achieve than you might think, especially with our proven marinade and dry rub method. Whether you prefer the smoky char of the grill or the consistent heat of your oven, this recipe guarantees a delicious outcome every time. Get ready to impress your family and friends with fall-off-the-bone ribs that are bursting with flavor.
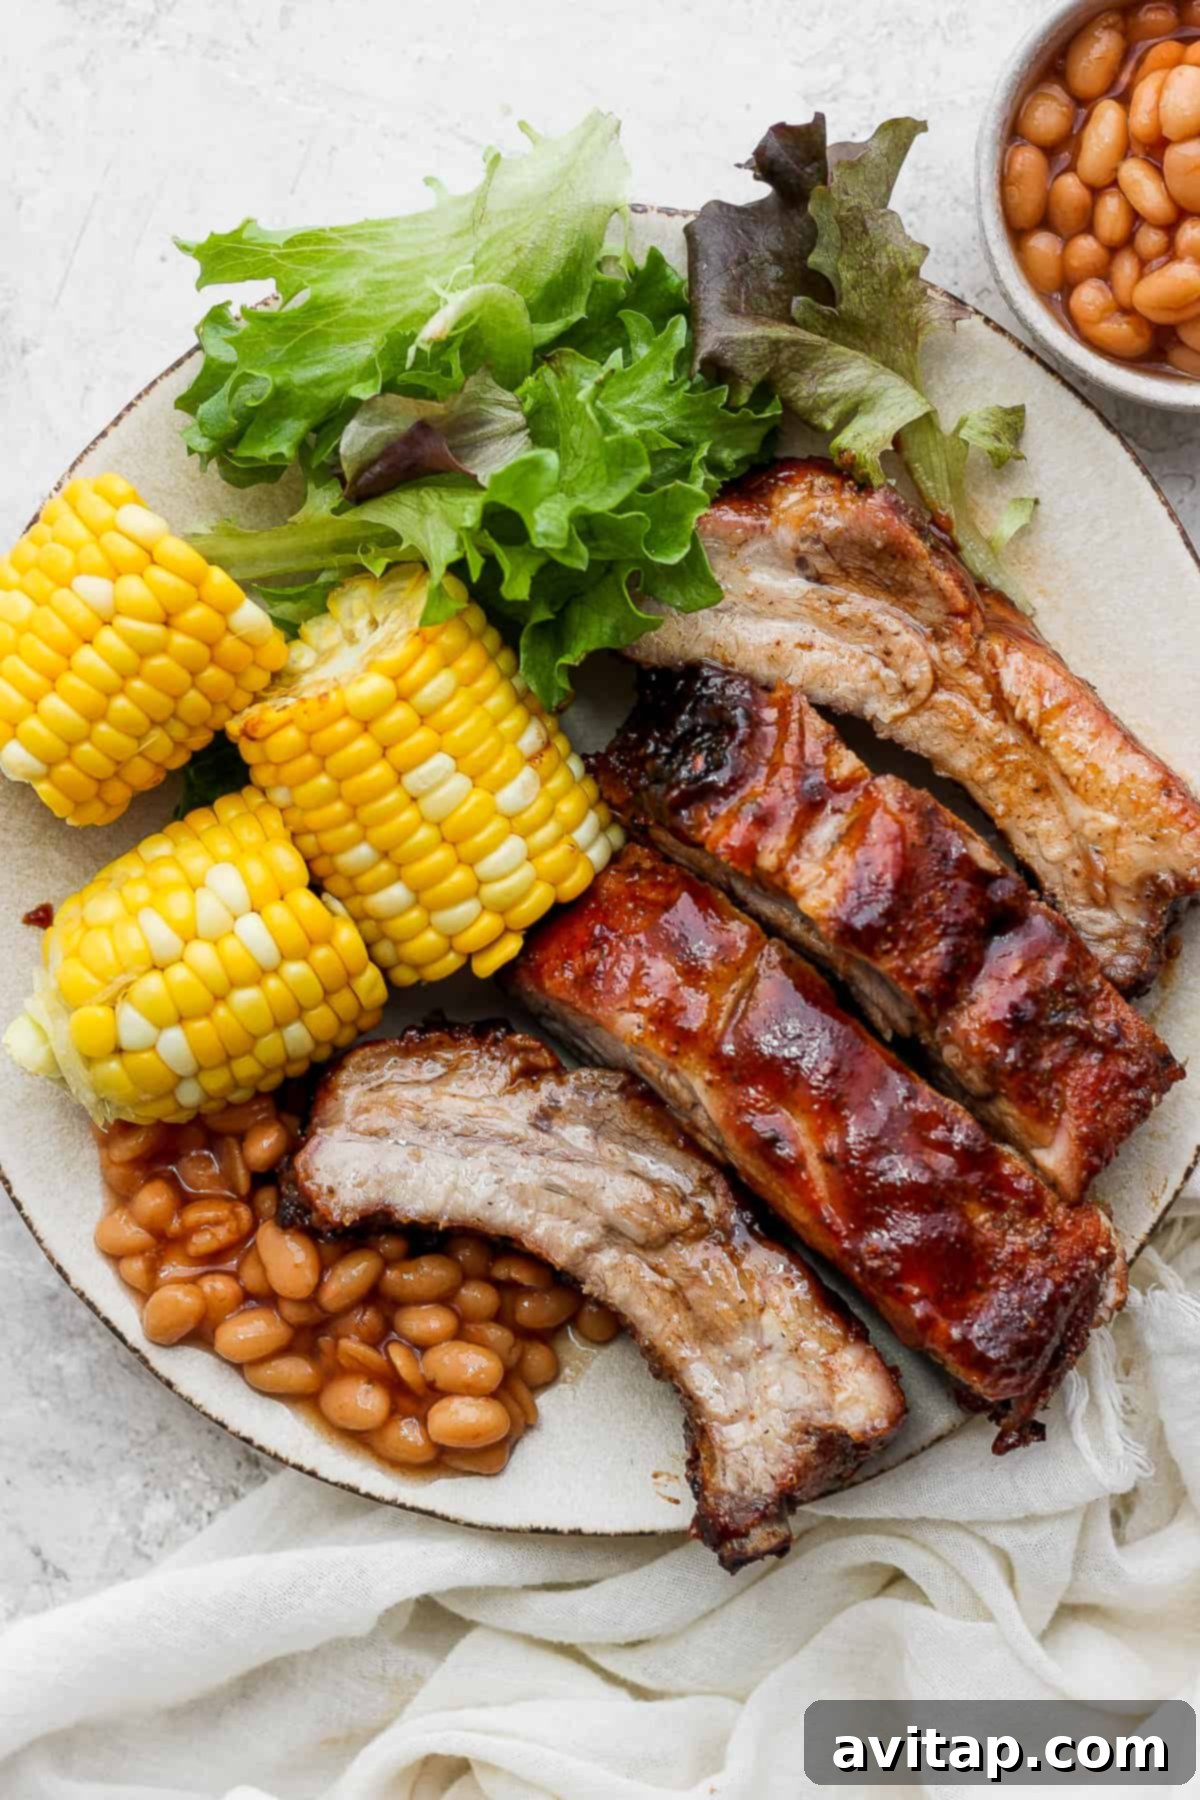
Your Ultimate Baby Back Ribs Recipe!
This isn’t just another ribs recipe; it’s your definitive guide to achieving barbecue perfection. Our method focuses on a “low and slow” cooking process, whether you’re utilizing the consistent heat of your oven or the dynamic environment of a grill. This gentle cooking approach ensures the meat becomes incredibly tender, easily pulling away from the bone. The magic truly happens when we finish the ribs at a higher temperature, creating that coveted crispy, caramelized crust that seals in all the amazing flavors.
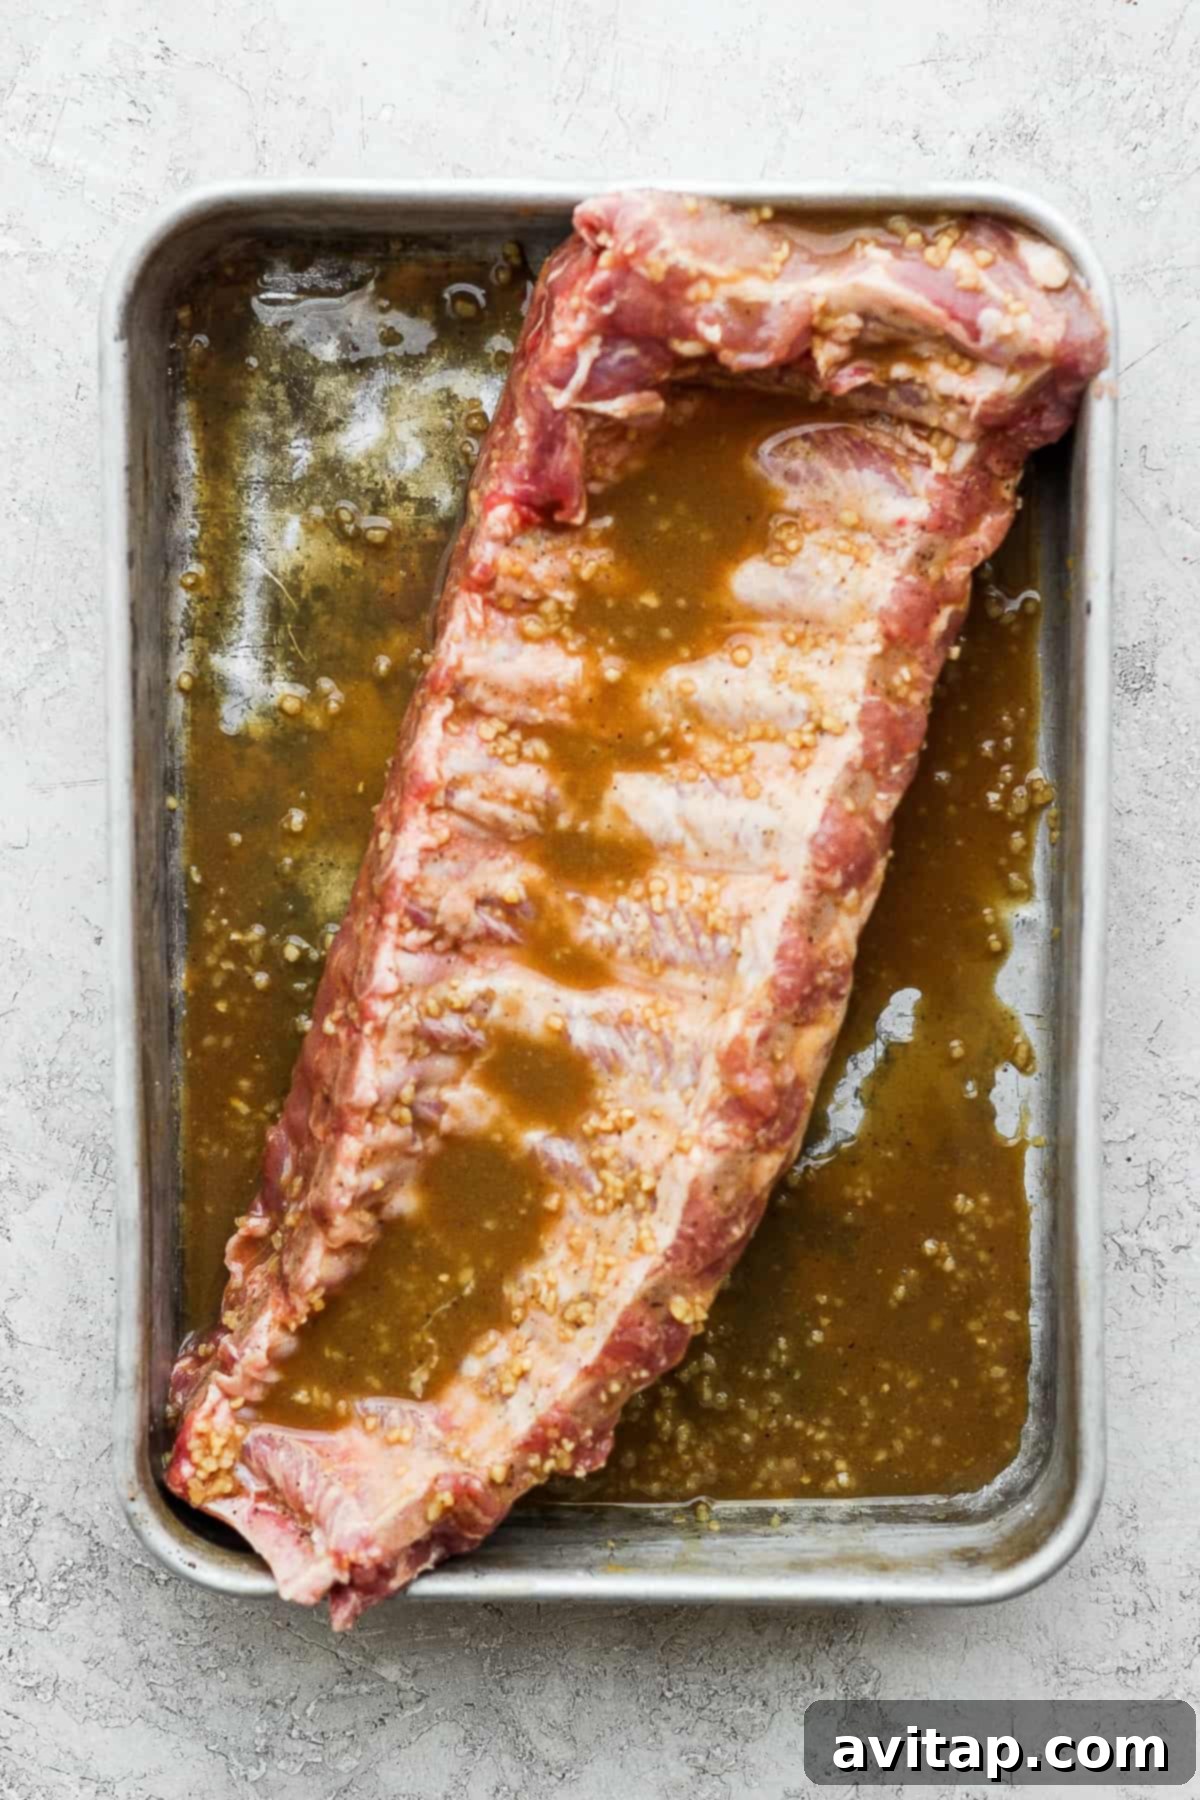
The secret to the profound taste of these baby back ribs lies in a two-pronged flavor attack: a sweet and tangy rib marinade, followed by a simple yet potent pork rib dry rub. Each layer contributes to a complex and irresistible profile that will have everyone reaching for more. The marinade penetrates deep into the meat, tenderizing it and infusing it with moisture, while the dry rub creates a flavorful bark that delivers incredible texture and taste.
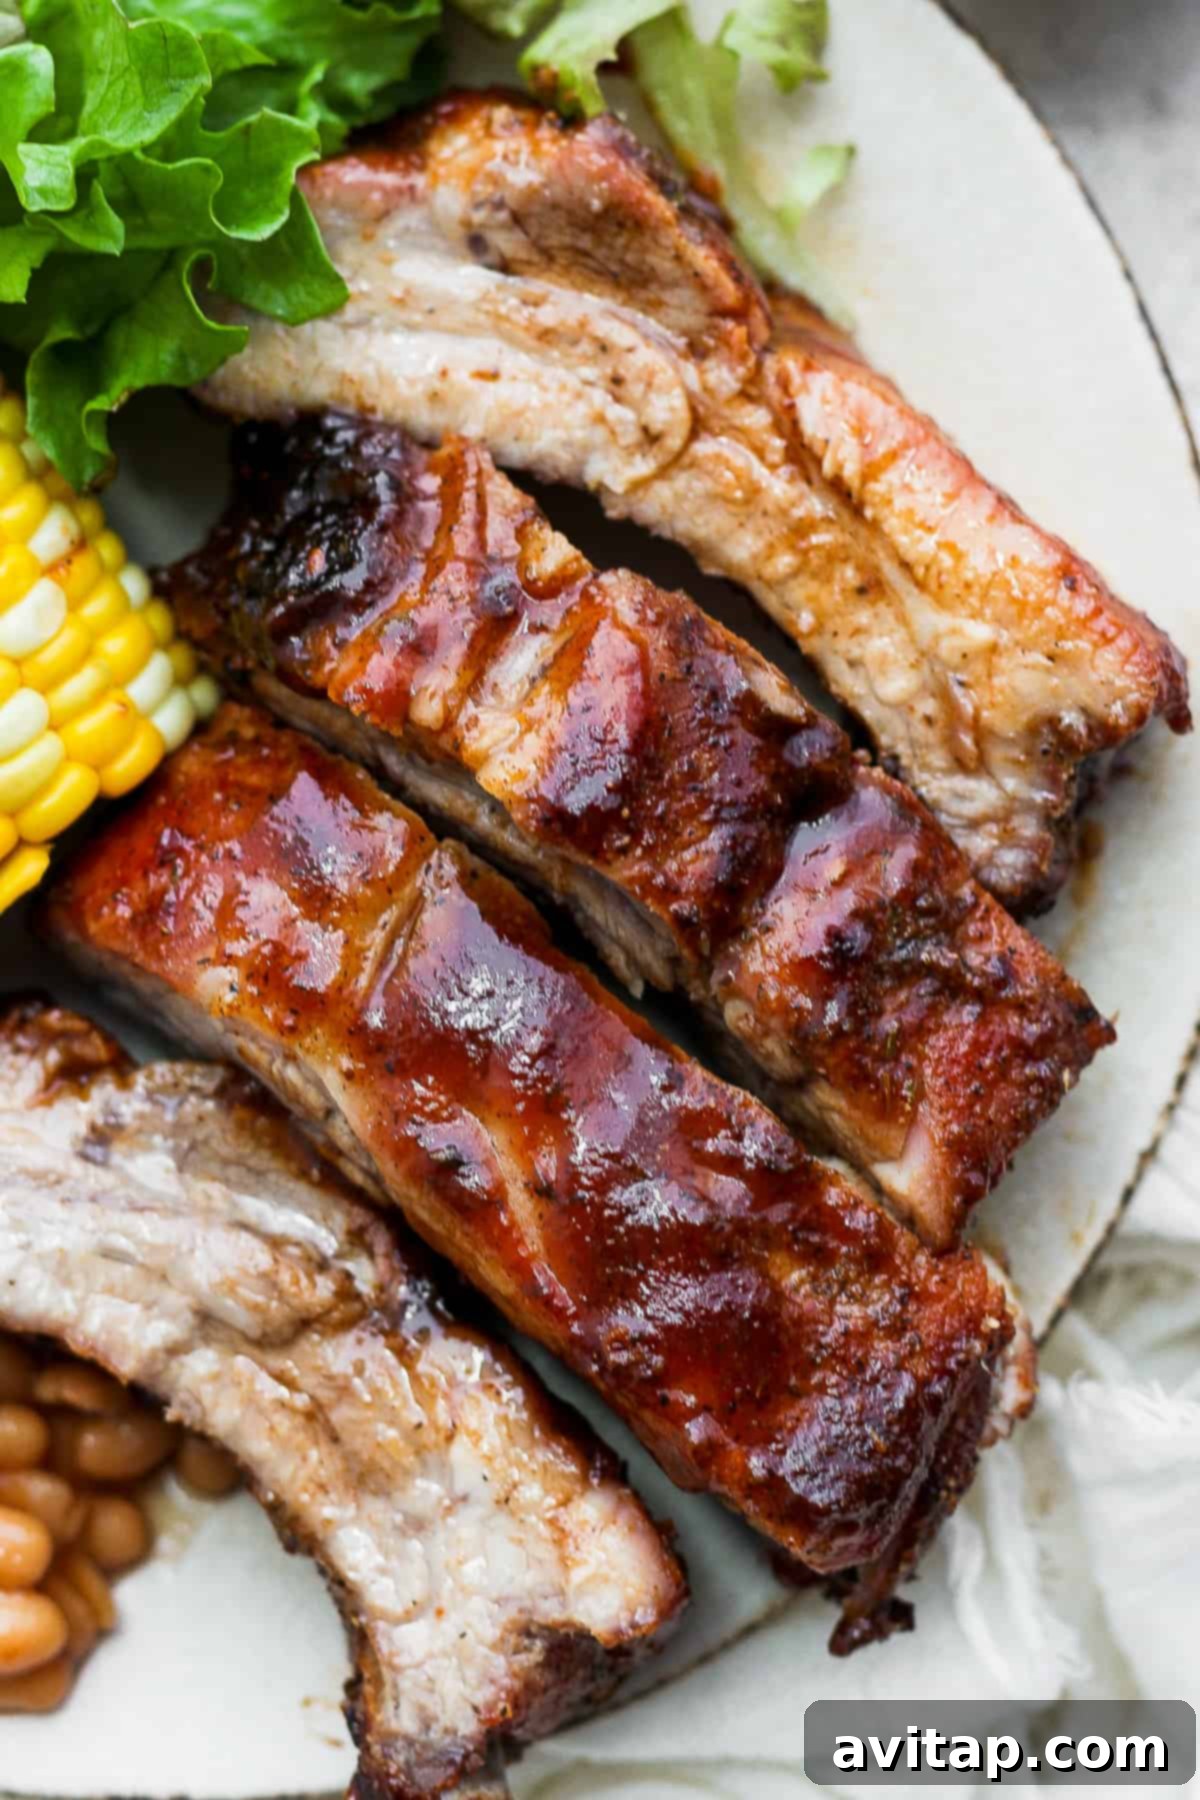
No rib meal is complete without the perfect accompaniment. These flavorful baby back ribs pair beautifully with an array of classic BBQ sides. Consider serving them with a refreshing red potato salad, charred and sweet grilled corn on the cob, or fluffy baked potatoes. For a touch of green, a crisp coleslaw or a simple garden salad makes a wonderful addition. Whatever your preference, these ribs are sure to be the star of your next meal!
Why You’ll Love This Baby Back Ribs Recipe!
Perfect for Gatherings: This baby back ribs recipe is designed to serve a crowd, making it an ideal choice for family dinners, backyard BBQs, or any social event. A single rack of ribs can typically feed 2-3 people, and the recipe can easily be scaled up to accommodate larger groups. Preparing a big batch of ribs allows for easy entertaining, letting you spend more time with your guests and less time fussing in the kitchen.
A Foolproof Cooking Method: We’ve refined this recipe to be a no-fail way to cook baby back ribs, ensuring succulent, tender results every single time. By combining a strategic marinade, a flavorful dry rub, and a precise cooking temperature sequence, we eliminate much of the guesswork. Even if you’re new to cooking ribs, our clear instructions will guide you to perfection, boosting your confidence in the kitchen.
Versatile Cooking Options: Enjoy the flexibility of preparing these incredible baby back ribs in either your oven or on the grill. This means you can achieve outstanding results regardless of the weather or your preferred cooking equipment. The oven method provides consistent, hands-off cooking, while the grill adds a desirable smoky depth and char that many barbecue enthusiasts crave. Both methods yield exceptionally tender and flavorful ribs.
What Exactly Are Baby Back Ribs?
Baby back ribs are a beloved cut of pork, renowned for their tenderness and lean meat. They originate from the upper portion of a pig’s rib cage, specifically from the area connected to the backbone, directly beneath the loin muscle. Each rack typically contains between 10 to 13 curved ribs.
The term “baby” in their name doesn’t refer to the age of the pig, but rather to their size compared to other pork rib cuts, like spare ribs. Baby back ribs are noticeably shorter and smaller, usually measuring about 3 to 6 inches long. They are also characterized by having more meat on the bone and less fat than spare ribs, making them a leaner, more delicate option that cooks relatively quickly. This combination of tenderness, flavor, and quicker cooking time makes them a popular choice for both home cooks and pitmasters alike.
Spare Ribs vs. Baby Back Ribs: Understanding the Differences
When it comes to pork ribs, spare ribs and baby back ribs are the two most popular choices, each offering a unique experience. While both are undeniably delicious, understanding their key differences can help you choose the right cut for your culinary goals and preferences.
- Size and Location: Spare ribs are significantly larger and meatier than baby back ribs. They are harvested from the lower portion of the pig’s rib cage, extending towards the belly. This cut includes parts of the breastbone and cartilage, making them flatter and straighter, often requiring trimming (St. Louis style) for a more uniform shape. Baby back ribs, as mentioned, are smaller, leaner, and come from the upper part of the rib cage, closer to the spine. Their curved shape is distinctive.
- Meat-to-Bone Ratio and Flavor Profile: Spare ribs contain more bone and a higher fat content, which contributes to a richer, more robust, and often smokier flavor, especially when cooked slowly over wood. The extra fat renders down during cooking, keeping the meat incredibly moist. Baby back ribs, being leaner, offer a more delicate and milder pork flavor. They have more meat between the bones and tend to be more uniformly tender throughout the rack.
- Cooking Time and Preparation: Due to their larger size, thicker bones, and higher fat content, spare ribs generally require a longer cooking time—typically 3-4 hours or more—to break down connective tissues and achieve optimal tenderness. Baby back ribs, being smaller and leaner, cook faster, usually in 2-3 hours in the oven or on the grill. Both cuts benefit from low and slow cooking, but baby backs are a great option when you’re looking for a slightly quicker path to delicious ribs.

Explore Different Cuts of Pork
Curious about where all the different cuts of pork originate on the pig? We’ve made it easy to understand! Delve into more details on everything pork and discover our favorite pork recipes, showcasing the versatility of this incredible meat.
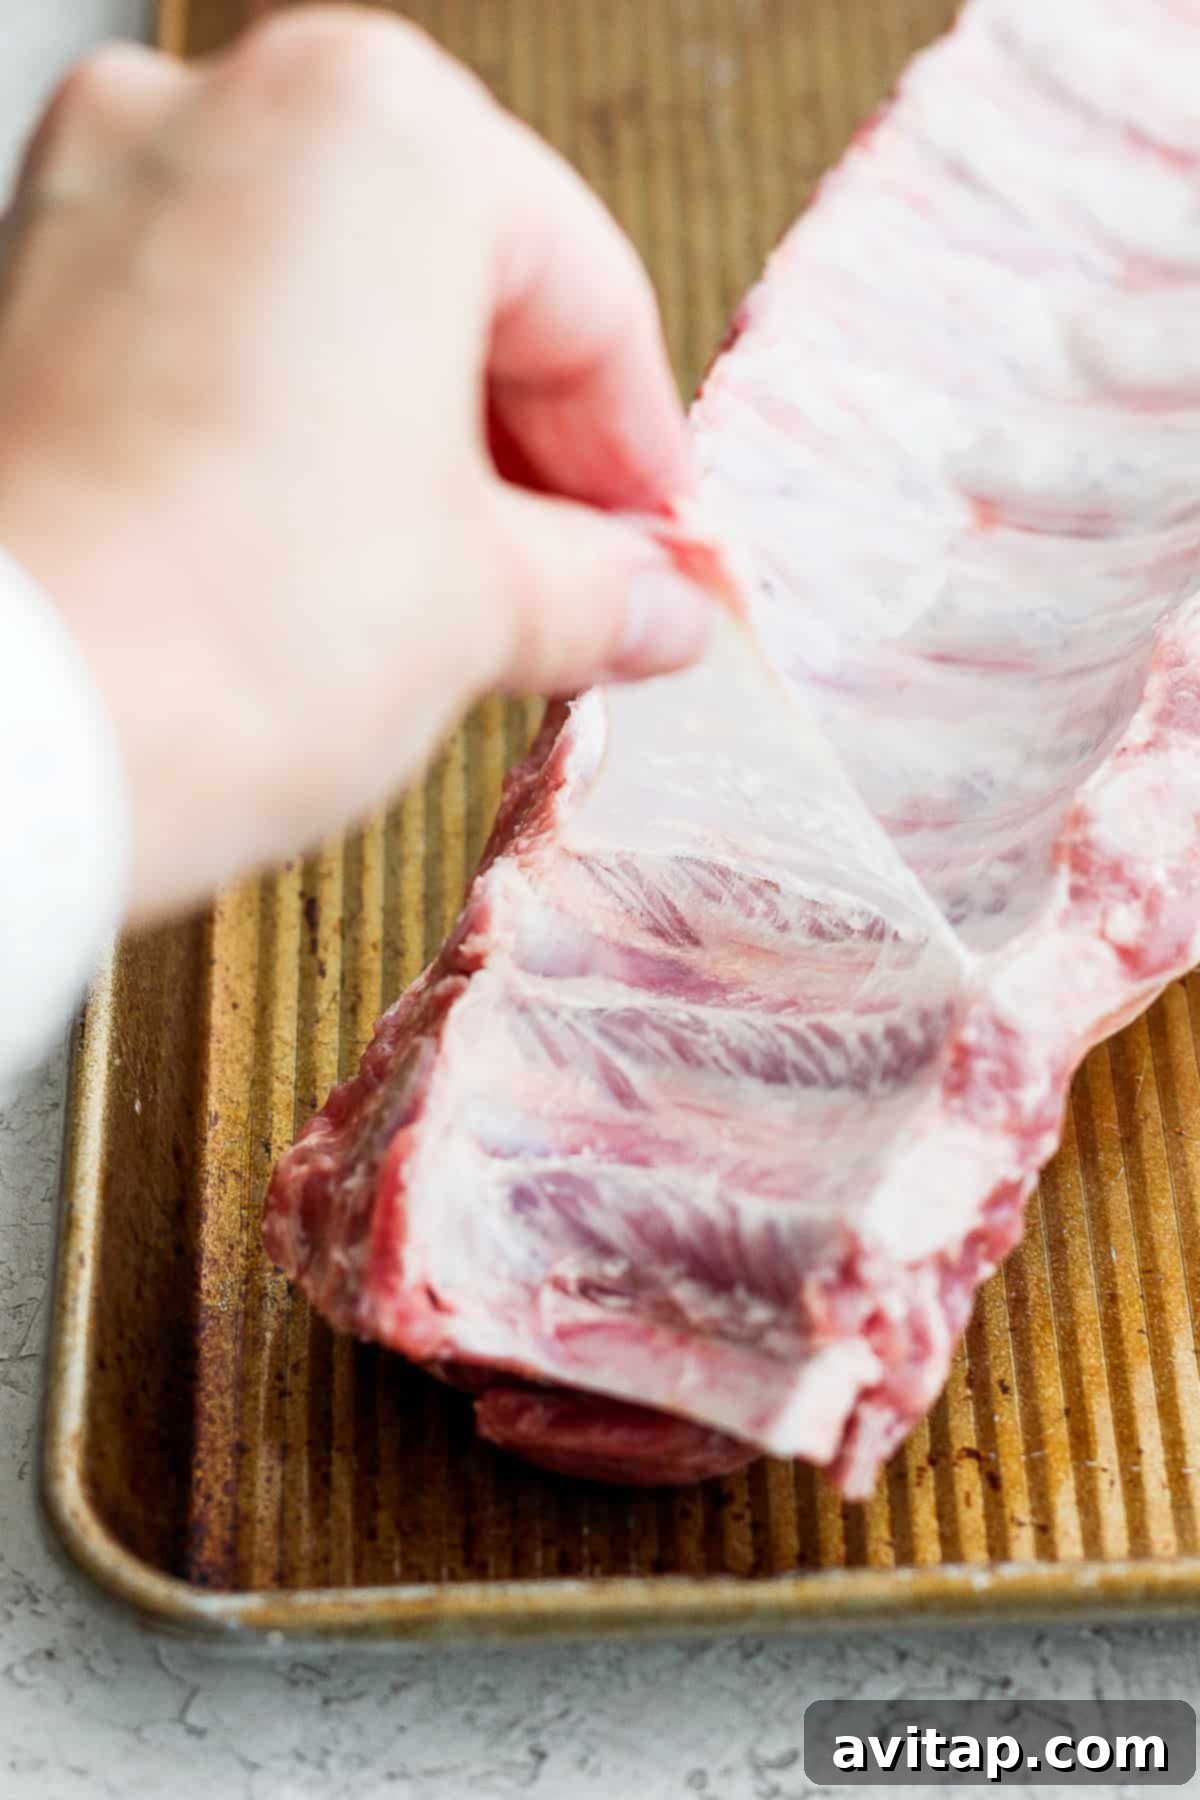
How to Effortlessly Remove the Membrane from Baby Back Ribs
One crucial step to achieving truly tender, fall-off-the-bone baby back ribs is removing the tough membrane found on the bone side of the rack. While some butchers may remove this silverskin for you, it’s a simple task to do at home and makes a significant difference in the final texture of your ribs. Leaving the membrane on can result in a chewier, less enjoyable rib and prevents your delicious marinades and rubs from fully penetrating the meat. Here’s a quick and easy guide:
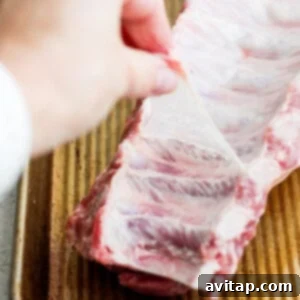
- Locate and Lift: Place the rack of ribs bone-side up on a clean cutting board. Look for a thin, slightly translucent membrane (the silverskin) covering the bones. Using a sharp paring knife or the tip of a spoon, carefully slide it under the membrane at one end of the rack, gently prying it up until you can get a good grip.
- Grip and Peel: Once you’ve lifted a small section of the membrane, use a paper towel to grab hold of it firmly. The paper towel helps provide a better grip, preventing your fingers from slipping. Slowly and steadily pull the membrane away from the bone, peeling it back across the entire rack. It might come off in one long strip, or in a few pieces.
- Discard and Prepare: After the membrane is completely removed, discard it. Your ribs are now ready for seasoning, marinating, and cooking, ensuring maximum tenderness and flavor absorption.
Grill Directions for Perfect Baby Back Ribs
Cooking baby back ribs on the grill imparts a beautiful smoky flavor and a delicious char that is hard to beat. Follow these detailed steps for grilled ribs that are tender, juicy, and perfectly caramelized:
- Preparation is Key: Ensure your ribs have been properly marinated for at least 1 hour, or ideally overnight, and the membrane has been removed. Bring the ribs to room temperature for about 15-30 minutes before grilling.
- Preheat Your Grill: Set up your grill for indirect heat. This typically means heating burners on one side of the grill while leaving the other side off (for gas grills) or arranging coals to one side (for charcoal grills). Preheat to a steady 300ºF (150ºC).
- Initial Slow Cook: Once the grill reaches 300ºF, place the seasoned ribs meat-side-down over the indirect heat section. Close the lid and let them cook undisturbed for 1 hour. This slow cooking allows the connective tissues to break down, making the ribs incredibly tender.
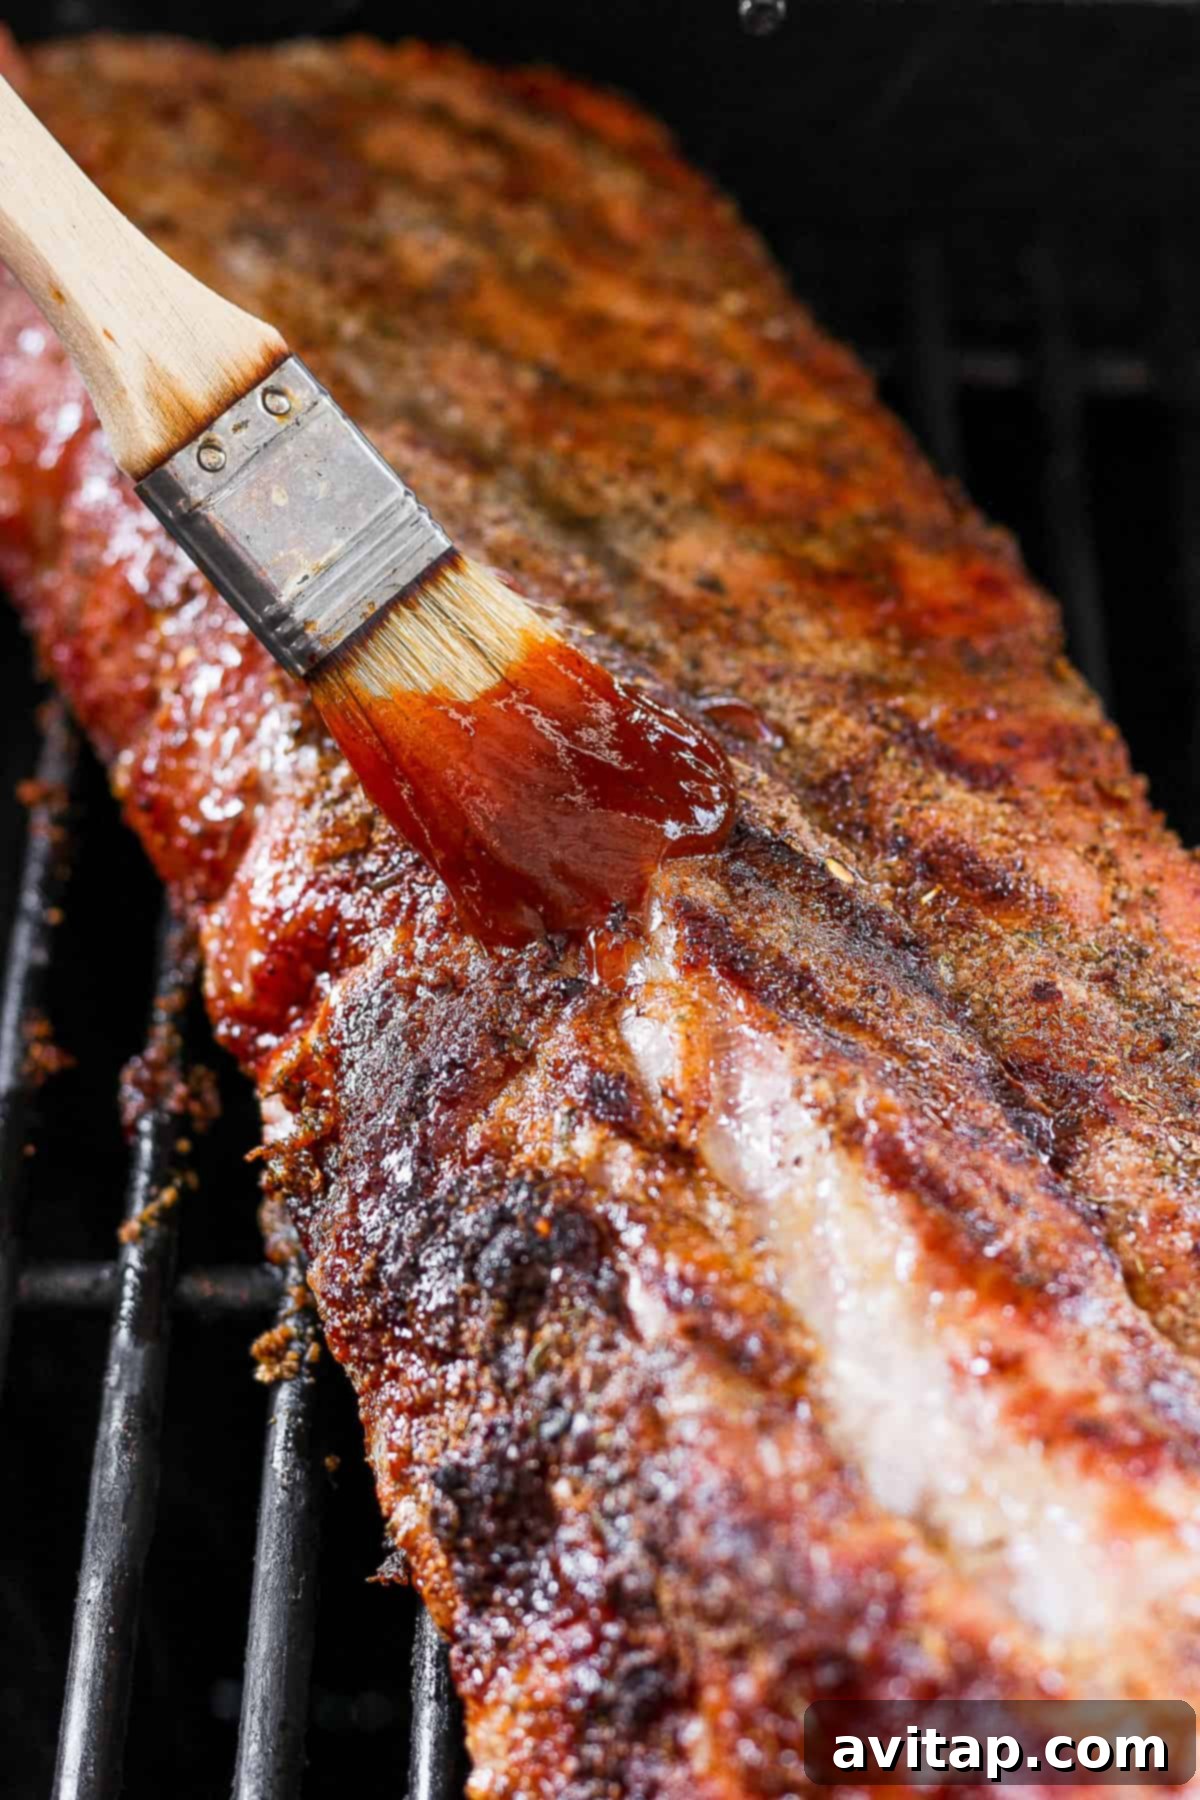
- Increase Heat & Sauce: After 1 hour, increase your grill’s temperature to 400ºF (200ºC). Move the ribs over the direct heat, ensuring they are now meat-side-up. Using a basting brush, generously coat the ribs with your favorite BBQ sauce.
- Final Caramelization: Grill the sauced ribs over direct heat for an additional 10-15 minutes, flipping them halfway through. Keep a close eye on them to prevent burning, as the sugar in the BBQ sauce can caramelize quickly. This step creates a beautiful, sticky, and flavorful crust.
- Rest and Serve: Once the internal temperature reaches 195ºF (90ºC) and the meat begins to pull away from the bone, remove the ribs from the grill. Let them rest tented with foil for 10 minutes before slicing and serving. This resting period allows the juices to redistribute, ensuring maximum juiciness.
Oven Directions for Tender Baby Back Ribs
Achieving succulent, tender baby back ribs without a grill is entirely possible, and the oven method is a fantastic, consistent way to do it. Here’s how to bake your ribs to perfection:
- Rib Preparation: Just like with grilling, ensure your ribs have been marinated for at least 1 hour (or overnight for best results) and the membrane has been removed. Allow the ribs to come to room temperature for 15-30 minutes before baking.
- Preheat and Prepare Pan: Preheat your oven to 300ºF (150ºC). While the oven preheats, place the seasoned ribs (meat-side-down) onto a sturdy baking sheet. For easy cleanup, you can line the baking sheet with aluminum foil.
- Slow Baking for Tenderness: Tightly cover the baking sheet containing the ribs with tin foil. This creates a steamy environment that helps tenderize the meat. Bake at 300ºF (150ºC) for 1 hour.
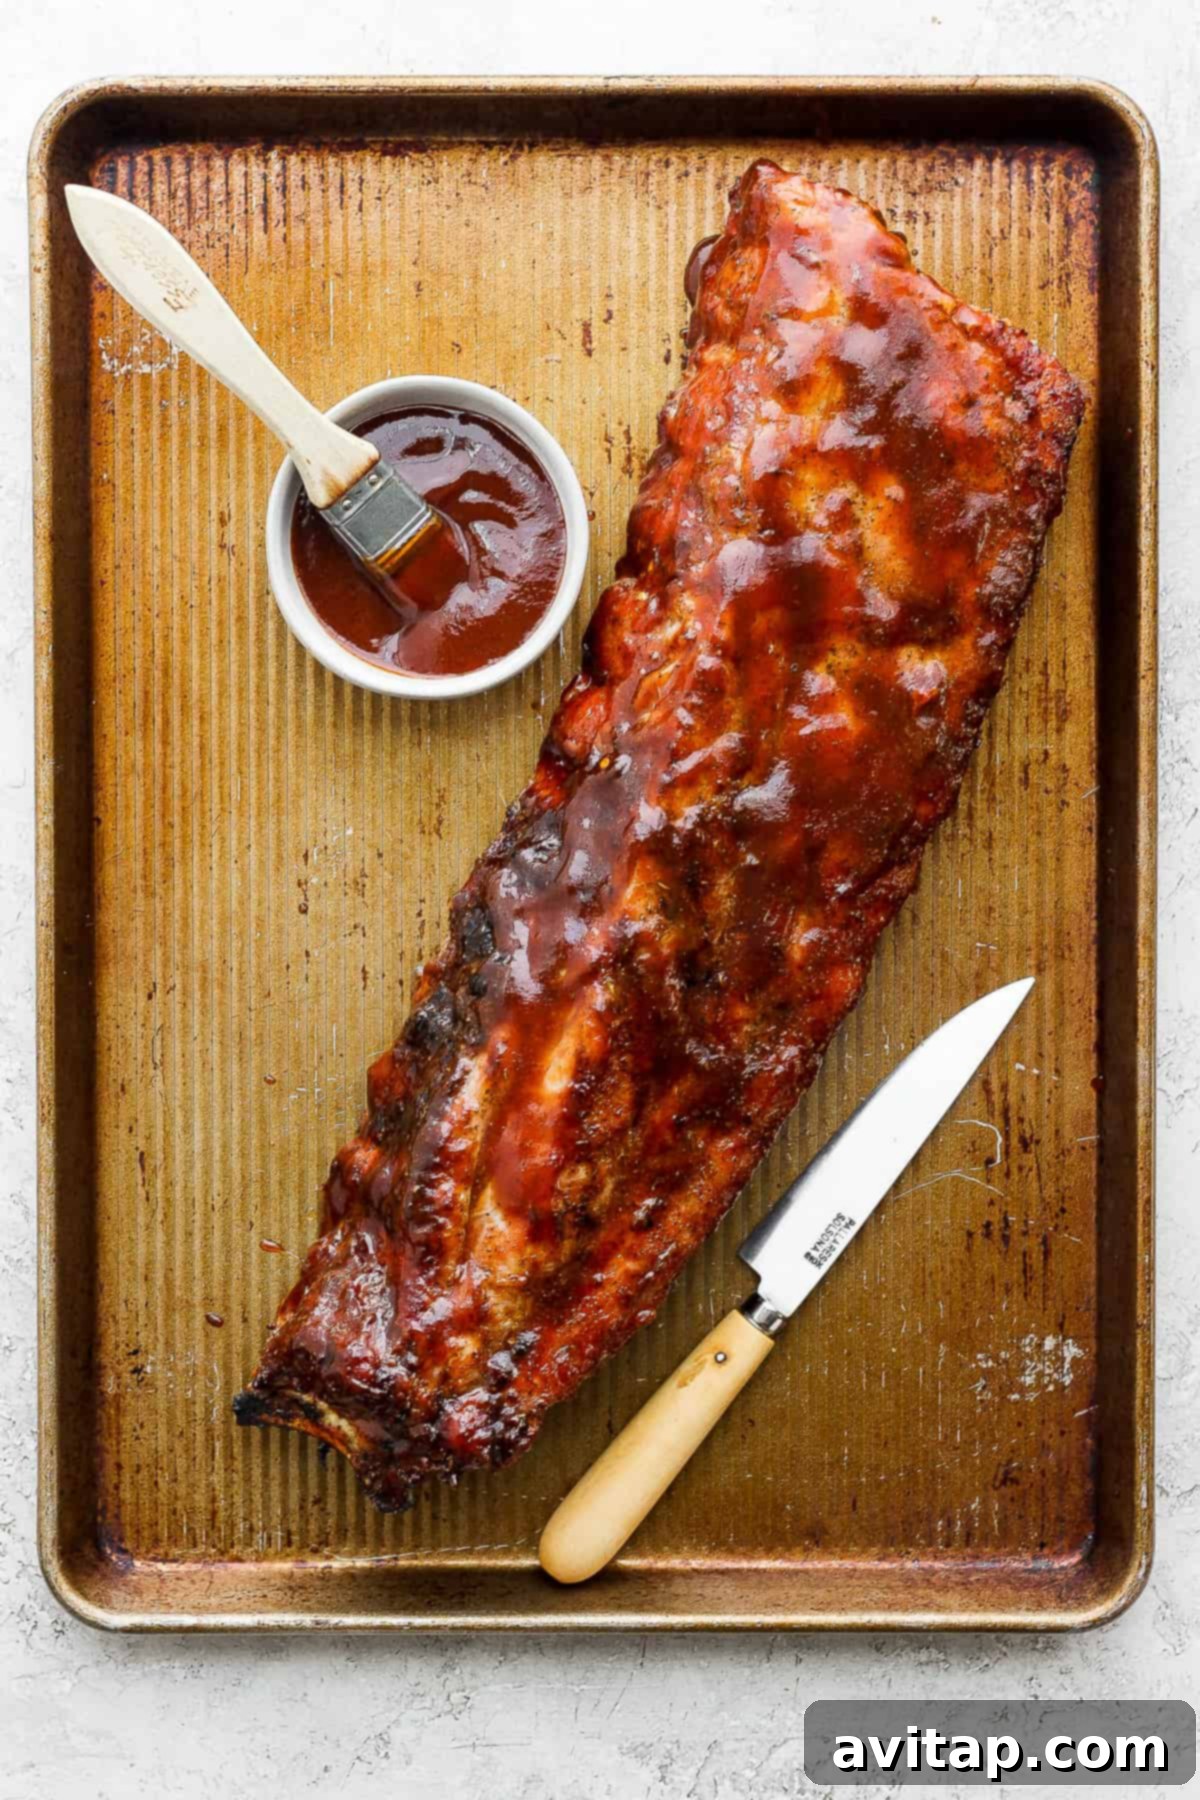
- Saucing and Finishing: After 1 hour, carefully remove the ribs from the oven. Discard the foil. Use a brush to generously coat both sides of the ribs with your chosen BBQ sauce.
- Caramelization Boost: Increase the oven temperature to 400ºF (200ºC). Place the sauced ribs back into the oven, uncovered, and cook for an additional 10-15 minutes. This higher heat will caramelize the BBQ sauce, creating a delicious, slightly crispy bark. Monitor closely to prevent burning.
- Rest Before Serving: Once the ribs have reached an internal temperature of 195ºF (90ºC) and the meat is visibly pulling back from the bone, remove them from the oven. Let the ribs rest for 10 minutes, lightly tented with foil, before slicing and serving. This crucial step ensures the ribs are as juicy as possible.
Achieving the Ideal Baby Back Ribs Internal Temperature
For truly tender, fall-off-the-bone baby back ribs, the ideal internal temperature is at least 195ºF (90ºC). While many cuts of meat are considered fully cooked at lower temperatures, ribs benefit from this higher temperature because it allows enough time for the tough connective tissues within the meat to break down into gelatin. This process is what transforms the ribs from tough to incredibly tender and juicy. Always use a reliable meat thermometer inserted into the thickest part of the meat, avoiding the bone, to accurately check doneness. You’ll also notice visual cues like the meat pulling away from the bone.
Top Tips for Perfect Baby Back Ribs
Achieving consistently amazing baby back ribs comes down to a few key techniques. Master these tips, and you’ll be serving up barbecue perfection every time:
- Always Remove the Membrane: This is arguably the most crucial step for tender ribs. The silverskin membrane on the bone-side of the ribs is tough and chewy, and if not removed, it creates a barrier that prevents your seasonings and marinades from fully penetrating the meat. Take a moment to follow our quick tutorial above for a noticeable improvement in texture.
- Marinate for Maximum Flavor and Tenderness: Marinating your ribs is a game-changer. Our sweet and tangy marinade not only infuses the meat with incredible flavor but also helps to tenderize it. The acids in the marinade work to break down tough fibers, resulting in a more succulent final product. For the best results, allow your ribs to marinate for at least 1 hour, or ideally, overnight in the refrigerator.
- Layer Flavor with a Dry Rub: After marinating, a generous application of a high-quality dry rub is essential. The dry rub creates a flavorful crust or “bark” on the exterior of the ribs, adding another dimension of taste and texture. It also helps to deepen the overall barbecue flavor. Don’t be shy – coat the ribs thoroughly for that perfect seasoned finish.
- Embrace the Low and Slow Method: The secret to truly tender ribs is patience. Cooking the ribs at a low temperature for an extended period allows the collagen in the meat to slowly transform into gelatin, yielding that desirable fall-off-the-bone texture. While the initial cook is low and slow, remember to crank up the temperature towards the end. This final burst of higher heat helps to crisp up the exterior and caramelize your BBQ sauce, creating an irresistible finish.
- Rest Your Ribs: Just like with steaks or roasts, allowing your ribs to rest after cooking is vital. After removing them from the oven or grill, loosely tent them with foil and let them sit for at least 10 minutes before slicing. This resting period allows the muscle fibers to relax and reabsorb the juices, ensuring your ribs are incredibly moist and flavorful when served.

Pro Tool
Thermoworks Thermapen
We can’t stress enough the importance of using a reliable meat thermometer when cooking any cut of meat, especially ribs. The Thermapen is our absolute go-to, delivering accurate and instant readings every single time, ensuring your ribs are cooked to perfection.
Storing and Reheating Your Delicious Baby Back Ribs
If you’re lucky enough to have any leftover baby back ribs (a rare occurrence!), proper storage is key to enjoying them later. Simply place the cooled ribs into an airtight container and store them in the refrigerator for up to 3-5 days. For longer storage, you can freeze individual rib portions wrapped tightly in plastic wrap and then placed in a freezer-safe bag or container for up to 3 months.
To reheat, thawed ribs can be warmed in the oven at 250-300°F (120-150°C) until heated through, often with a little extra BBQ sauce to keep them moist. You can also use a microwave for quicker reheating, though the texture might not be as good as oven-reheated ribs. Grilling leftovers briefly can also revive some of that delicious smoky char.
More of our Favorite…
More Delicious Pork Recipes
- Crispy Bacon Wrapped Chicken (Uses Pork Bacon!)
- Italian Grinder Sliders (Featuring Cured Pork Meats)
- Egg and Croissant Breakfast Casserole (Great with Pork Sausage)
- Our Best Pork Recipes Round-Up
Looking for more rib inspiration?
Essential Rib Recipes and Guides
- How to Cook Ribs in the Oven
- Mastering Grilled Ribs
- The Ultimate Rib Marinade Recipe
- Our Go-To Rib Dry Rub Recipe
- 24-Hour Sous Vide Ribs (For Extra Tenderness)
Tender Baby Back Ribs Recipe (Grill or Oven)
Lee Funke
1 hr 30 mins
1 hr 30 mins
3 hrs
8
Ingredients
- 2-3 lbs. bone-in baby back ribs, 1 rack of pork ribs
- 2 teaspoons kosher salt
- 2 teaspoons cracked black pepper
- 1/4 cup pork seasoning, we recommend our homemade pork rib rub or pork dry rub
- 1 cup bbq sauce
Rib Marinade
- ¼ cup maple syrup
- 2 tablespoons dijon mustard
- 3 teaspoons Worcestershire sauce
- 1 tablespoon apple cider vinegar
- 5 cloves garlic, minced
Instructions
-
First, prepare your baby back ribs. Remove the membrane from the ribs by sliding a knife under the membrane (which is a white film layer) on the backside of a rack of ribs. Pull the membrane off with your fingers.

-
Massage the kosher salt and pepper into the rib meat and set aside.
-
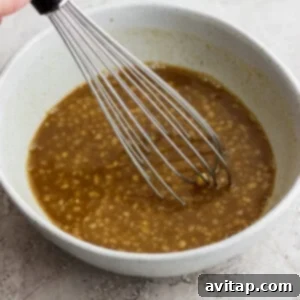
Make the rib marinade. Add all of the ingredients for the rib marinade into a bowl and whisk until combined.
-
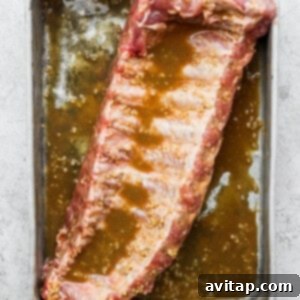
Transfer the ribs into a gallon-sized bag or a 9×13-inch pan. Pour the marinade over the ribs. Be sure the ribs are covered in marinade. Flip the ribs meat side down, cover, and refrigerate the ribs for at least 1 hour or overnight for more tender and flavorful ribs.
-
Preheat the grill or oven to 300ºF (150ºC).
-
Remove the ribs from the refrigerator and let the excess marinade drip from the ribs. Season the ribs with around 1/4 cup of the dry rub. Rub the spices into the ribs on both sides so that they’re completely covered.
-
Let the ribs sit at room temperature for at least 15 minutes.
-
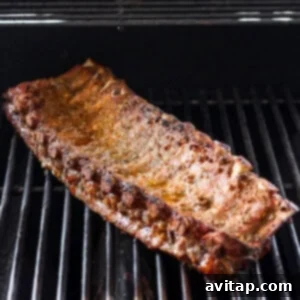
Grill Directions: Transfer the ribs onto the grill and cook meat-side-down, over indirect heat at 300ºF for 1 hour. Bring the temperature of the grill up to 400ºF. Move the ribs over to direct heat, making sure they are meat-side-up. Use a brush to coat the ribs with bbq sauce. Grill over direct heat for 10-15 minutes, flipping halfway through.
-
Oven Directions: Transfer the ribs onto a baking sheet meat-side-down and cover with tin foil. Bake at 300ºF for 1 hour. Remove the ribs from the oven and use a brush to coat the ribs with bbq sauce. Bring the temperature of the oven up to 400ºF and cook for 10-15 more minutes.
-
Remove the ribs from the grill or oven when the internal temperature reaches 195ºF (90ºC) but you can also tell that the ribs are done because they will start to expose the bone.
-
Let the ribs rest for 10 minutes and serve.
Tips & Notes
- Store any excess dry rub in an airtight container to use later for other pork or chicken dishes.
- The longer the ribs marinate, the more tender and flavorful they will be, so plan ahead for best results.
- You can use any type of bbq sauce that you’d like – sweet, spicy, or tangy – to customize the flavor.
- This recipe has been specifically tested with baby back ribs. Other rib types may require adjusted cooking times.
- If you prefer a more pronounced ‘crust’ on your ribs, feel free to add a bit more dry rub before the final grilling or baking stage.
Nutrition
Carbohydrates: 28 g,
Protein: 23 g,
Fat: 19 g,
Fiber: 1 g,
Sugar: 18 g
Nutrition information is automatically calculated and should only be used as an approximation.
💬
Love this recipe? Leave a comment below!
Don’t forget to tag your posts on social media with the hashtag #fitfoodiefinds – we’d love to see your delicious creations!
Photography by: The Wooden Skillet