
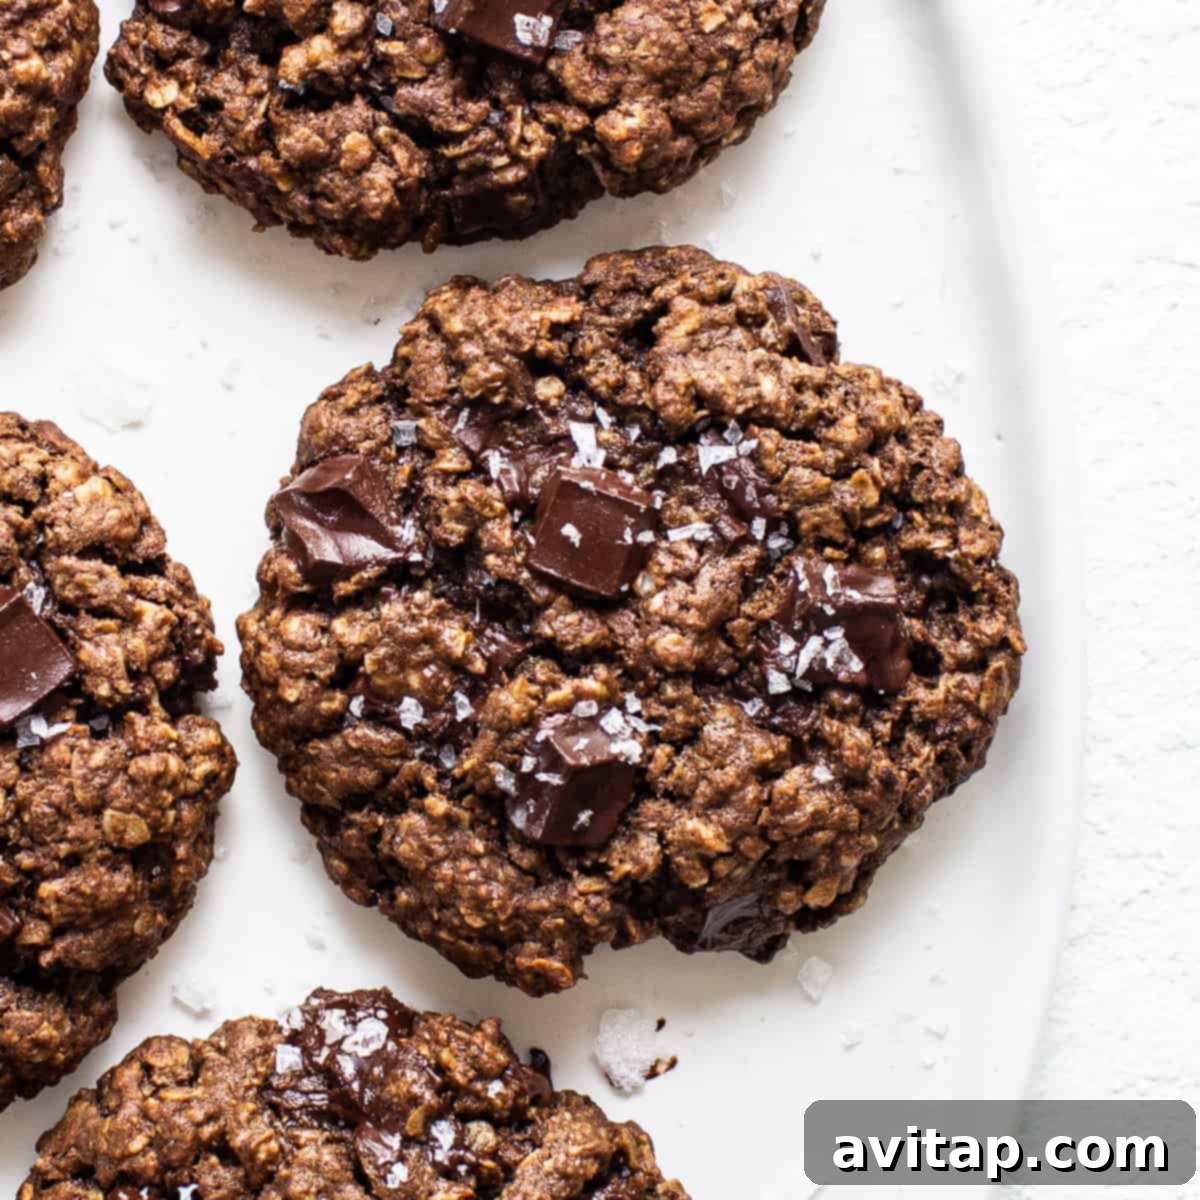
Irresistible Gluten-Free Chocolate Peanut Butter Oatmeal Cookies: Your New Favorite Quick & Easy Treat
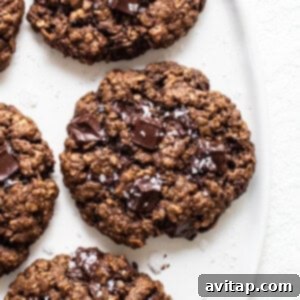
Prepare to fall in love with these Chocolate Peanut Butter Oatmeal Cookies! Combining the decadent richness of cocoa, the creamy goodness of all-natural peanut butter, and the wholesome chewiness of oats, these cookies are a true masterpiece. Not only are they incredibly delicious and satisfying, but they’re also a fantastic gluten-free option, perfect for anyone looking for a wholesome indulgence. Best of all? You can whip up a batch of these delightful treats in under 30 minutes, making them ideal for last-minute cravings or a quick dessert for the whole family.
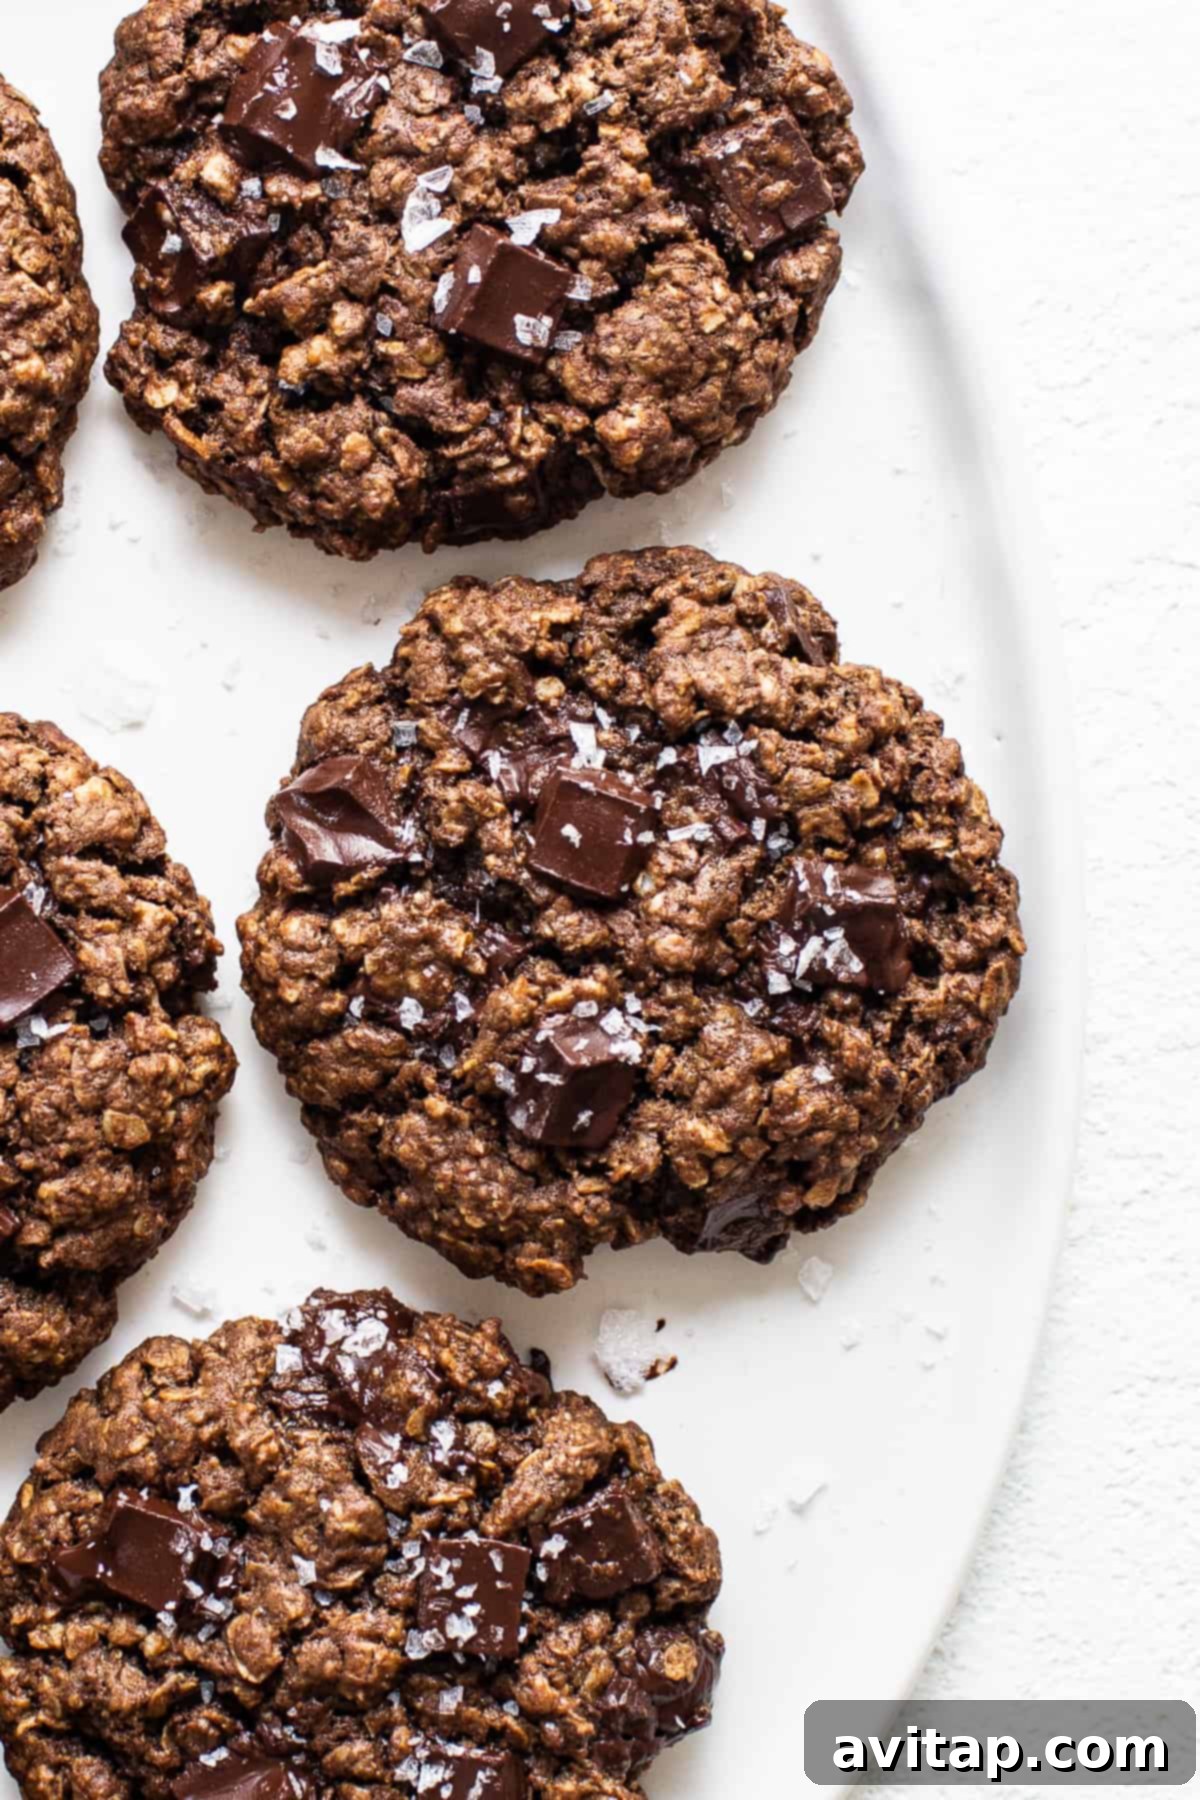
Why You’ll Adore These Chocolate Peanut Butter Oatmeal Cookies
If you’re already a fan of our beloved peanut butter oatmeal cookies or the famously chewy flourless monster cookies, then these chocolate peanut butter oatmeal cookies are destined to become your next obsession. We’ve taken the best elements of those popular recipes and infused them with a deep, rich chocolate flavor, creating a truly unique and irresistible cookie experience. Our commitment to perfection means this recipe has undergone extensive testing, ensuring every bite delivers that satisfying chewiness and perfect balance of sweet and savory.
What makes these gluten-free chocolate peanut butter oatmeal cookies stand out?
- Naturally Flourless & Gluten-Free: Crafted with a base of hearty oats and creamy peanut butter, these cookies are naturally gluten-free (just be sure to use certified GF oats to avoid cross-contamination) and wonderfully light yet satisfying.
- Incredibly Quick & Easy: From the moment you start mixing to pulling warm cookies from the oven, the entire process takes less than 30 minutes. This makes them a perfect solution for busy weeknights, spontaneous gatherings, or when a sudden sweet craving strikes.
- Perfect Chewy Texture: Unlike some gluten-free cookies that can be dry or crumbly, these boast a delightfully chewy interior with slightly crisp edges, a texture that holds up beautifully and melts in your mouth.
- Harmonious Flavor Combination: The timeless pairing of rich chocolate and savory peanut butter is elevated by the wholesome earthiness of oats, creating a deeply satisfying and perfectly balanced taste that appeals to everyone.
- Wholesome Ingredients: Made with all-natural peanut butter and whole grain oats, you can feel good about indulging in these delicious, homemade treats. They offer a healthier alternative without sacrificing flavor.
Key Ingredients for Your Perfect Chocolate Peanut Butter Oatmeal Cookies
The magic of these cookies lies in a few simple, high-quality ingredients that come together to create an explosion of flavor and texture. Understanding each component’s role will not only help you appreciate the recipe but also guide you in making informed substitutions if needed.
- All-Natural Creamy Peanut Butter: This is the cornerstone of our cookies, providing that signature rich, nutty flavor and a significant part of their moist, chewy texture. We highly recommend using an all-natural, “drippy” peanut butter, like Smucker’s, which requires stirring the oil back in. This type of peanut butter has a distinct consistency that is crucial for the dough’s structure and the final cookie’s delightful chew. Avoid highly processed, non-drippy brands as they often contain added sugars and hydrogenated oils that can significantly alter the texture, making the cookies less chewy and more cake-like.
- Premium Cocoa Powder: For that deep, luxurious chocolate flavor, good quality unsweetened cocoa powder is essential. It beautifully complements the peanut butter, adding a layer of sophisticated bitterness that balances the sweetness. Using unsweetened cocoa powder allows you to precisely control the overall sugar content of the cookies.
- Quick-Cooking Oats: These oats are absolutely key to achieving the perfect chewy texture without being overly dense or gritty. Unlike larger, old-fashioned rolled oats, quick-cooking oats break down slightly more during baking, contributing to a softer, more cohesive and tender cookie. If you’re strictly adhering to a gluten-free diet, always opt for certified gluten-free quick-cooking oats to prevent any potential cross-contamination.
- Semi-Sweet Chocolate Chunks: While cocoa powder provides the overall chocolate base, semi-sweet chocolate chunks are the delightful surprises nestled within each cookie. They melt into pockets of intense, gooey chocolate, offering a wonderful textural contrast and an extra burst of chocolatey goodness that elevates these treats from great to truly extraordinary.
- Light Brown Sugar & Maple Syrup: These sweeteners do more than just add sweetness; they also contribute significantly to the cookie’s moisture, tenderness, and signature chewiness. Brown sugar, with its natural molasses content, imparts a subtle caramel note and promotes softness, while pure maple syrup enhances the flavor profile and ensures the cookies remain tender and pliable.
- Melted Unsalted Butter: Butter brings richness, depth of flavor, and helps bind all the ingredients together smoothly. Melting it ensures an even distribution throughout the dough, contributing to a consistently moist cookie. For dairy-free options, be sure to consult our convenient swap suggestions below.
- Large Egg: The egg acts as a crucial binder, helping to hold all the delicious ingredients together and contributing to the cookie’s overall structure, stability, and tenderness.
- Vanilla Extract & Pinch of Salt: These might seem like minor additions, but they are powerful flavor enhancers. Pure vanilla extract adds a warm, inviting aroma and a subtle depth of flavor, while a pinch of salt is essential for balancing the sweetness and truly bringing out the full, complex flavors of both the chocolate and peanut butter.
- Baking Soda: This leavening agent plays a vital role in helping the cookies achieve a slight lift and a wonderfully tender crumb, ensuring they don’t become too dense or hard.
Customizing Your Batch: Easy Ingredient Swaps & Variations
One of the best things about these chocolate peanut butter oatmeal cookies is how incredibly adaptable they are. Whether you have specific dietary restrictions, are looking to use ingredients you already have on hand, or simply want to experiment with different flavors, these simple swaps will help you tailor the recipe to your liking without compromising on taste or that delightful chewy texture.
- Butter Alternatives (Dairy-Free): If you aim to make these cookies dairy-free, you have excellent options! Coconut oil works beautifully, often adding a subtle, pleasant tropical note to the cookies. Alternatively, a high-quality plant-based butter substitute can be used to ensure a similar rich flavor and creamy texture to traditional butter.
- Sweetener Choices: While light brown sugar and maple syrup provide the ideal balance and moisture, you can certainly experiment. Coconut sugar can be substituted for light brown sugar, offering a slightly less sweet, more caramel-like flavor. Granulated white sugar can also be used if that’s what’s available, though it might make the cookies a tad less moist. For maple syrup, honey offers a distinct floral sweetness, while agave syrup provides a neutral, slightly thinner alternative. Be mindful that these substitutions might slightly alter the final sweetness and moisture content.
- Oat Type (Quick vs. Rolled): We specifically call for quick-cooking oats because they contribute to a more cohesive dough and a consistently soft, chewy texture. However, if you prefer a chewier, more rustic cookie with a more pronounced oat presence, regular rolled oats (old-fashioned oats) can be used. Just be aware that using rolled oats might result in a slightly less cohesive dough and a denser cookie that doesn’t spread quite as much.
- Peanut Butter Substitutions (Nut Allergies): For those with peanut allergies or simply desiring a different flavor profile, sunflower seed butter (like SunButter) is an excellent, safe, and widely available alternative. Almond butter also works well, offering a slightly different nutty flavor that pairs wonderfully with chocolate. Ensure your chosen substitute has a similar creamy, drippy consistency to all-natural peanut butter for the best results.
- Cocoa Powder Variety: While standard unsweetened cocoa powder is great, if you prefer a darker chocolate flavor with a smoother, less acidic profile, Dutch-processed cocoa powder can be used. It reacts differently with baking soda, so ensure you understand the slight pH difference if you’re a seasoned baker.
- Different Chocolate Types: Don’t limit yourself to semi-sweet chocolate chunks! Dark chocolate chunks will provide a more intense, less sweet cocoa experience, perfect for serious chocolate lovers. Milk chocolate chips or chunks will yield a creamier, sweeter profile. White chocolate chips could also be a fun addition for a delightful sweet contrast.
A note on the oats: After extensive testing, we’ve found that quick-cooking oats are truly superior for this recipe. They absorb moisture more readily, which helps the cookies hold together better and consistently contributes to that signature soft and chewy texture we love. While rolled oats can be used, they tend to make the cookies a bit more crumbly and less uniformly textured, potentially requiring a slight adjustment in liquid.
Beyond the Basic: Exciting Flavor Variations to Explore
While these chocolate peanut butter oatmeal cookies are fantastic as they are, don’t hesitate to get creative with additional mix-ins and spices. These variations can transform your cookies into an even more personalized and exciting treat, perfect for any occasion or just to satisfy a unique craving.
- Nutty Additions: For an extra layer of crunch and rich nutty flavor, consider folding in a handful of finely chopped walnuts, pecans, or almonds into the dough. Toasting the nuts lightly in a dry pan before adding them can significantly enhance their aroma and taste.
- Explore Different Chocolates: Beyond semi-sweet, try dark chocolate chunks or even cacao nibs for a more intense, sophisticated cocoa experience. For a sweeter, creamier touch, switch to milk chocolate chips or chunks. For a delightful visual and taste contrast, you could even drizzle melted white chocolate over the cooled cookies!
- Warm Spice Infusion: A dash of cinnamon, nutmeg, or even a pinch of cardamom can add a comforting warmth and complexity to the cookie’s flavor profile, making them perfect for cooler months or a cozy evening. A tiny hint of cayenne pepper could even offer a subtle, intriguing kick for a “mexican hot chocolate” feel.
- Dried Fruit Delights: Add a chewy sweetness and vibrant flavor by mixing in dried fruits. Classic choices like raisins or dried cranberries offer a tangy counterpoint to the richness. Chopped dried apricots, cherries, or even finely diced figs could also be a delicious and unexpected addition, reminiscent of our popular kitchen sink cookies.
- Mini Marshmallows: For a delightful s’mores-inspired twist, gently fold in some mini marshmallows during the last minute of mixing the dough. They’ll create gooey, pockets of melted sweetness within the baked cookies.
- Toasted Coconut Flakes: Toasted coconut flakes can add a lovely textural element and a subtle tropical hint that pairs surprisingly well with both chocolate and peanut butter.
- Coffee Enhancement: A teaspoon of instant espresso powder mixed with the cocoa powder can deepen the chocolate flavor beautifully without making the cookies taste like coffee.
Important Reminder for Variations
Always remember to adjust the baking time and method slightly if you make significant substitutions or additions. Ingredients like extra liquids from certain syrups or the varying moisture content of dried fruits can alter the dough’s consistency. This might potentially require a few extra minutes of baking or a slight reduction if the dough becomes too wet. These simple adjustments ensure your customized cookies turn out perfectly every time, retaining that ideal chewy texture and delicious flavor profile!
Frequently Asked Questions (FAQs): Troubleshooting & Tips
Here are answers to some common questions to help ensure your chocolate peanut butter oatmeal cookies turn out perfectly every time:
Why are my cookies spreading too much or not enough?
Cookie spread is a common issue that can be influenced by several factors. If your cookies are spreading excessively, the dough might be too warm (especially if your kitchen is hot), or there could be too much fat or sugar in the mix. Refrigerating the dough for at least 15-30 minutes before baking can often help to firm up the fats and prevent over-spreading. Ensure your butter isn’t melted beyond what’s specified, and try to use ingredients at room temperature unless otherwise directed. Conversely, if they’re not spreading enough, it might be due to the dough being too cold or if you’ve slightly over-measured dry ingredients like oats or cocoa powder. Using the recommended quick-cooking oats also helps achieve consistent spread.
Do I need to use natural peanut butter for this recipe?
Yes, for the best results and to achieve the intended chewy texture, using all-natural, creamy peanut butter that requires stirring (where the oil separates at the top, like Smucker’s) is highly recommended. These “drippy” varieties have a specific oil-to-solids ratio that is crucial for the texture and consistency of these particular cookies. Brands like Jiff or Skippy, which are often hydrogenated and less oily or have added sugars, will yield a different, potentially drier, cakier, or tougher cookie texture that doesn’t quite match the desired chewiness and moistness.
What if I don’t have parchment paper?
While parchment paper is ideal for easy cleanup and preventing any sticking, it’s not strictly essential. You can lightly grease your baking sheet with butter or a non-stick cooking spray before placing the cookie dough. Alternatively, a silicone baking mat is an excellent reusable option that provides a superior non-stick surface and promotes wonderfully even baking without the need for additional grease.
Can I use old-fashioned oats instead of quick-cooking oats?
You can certainly use old-fashioned (rolled) oats as a substitute, but please be aware that it will slightly alter the cookie’s texture and appearance. Quick-cooking oats are generally preferred for this recipe because they break down more easily and contribute to a softer, more uniform chew and better binding within the dough. Old-fashioned oats will result in a chewier, more rustic cookie with a more pronounced oat texture. If you choose to use them, you might find the dough slightly less cohesive, but the cookies will still be delicious.
How do I know when my cookies are done baking?
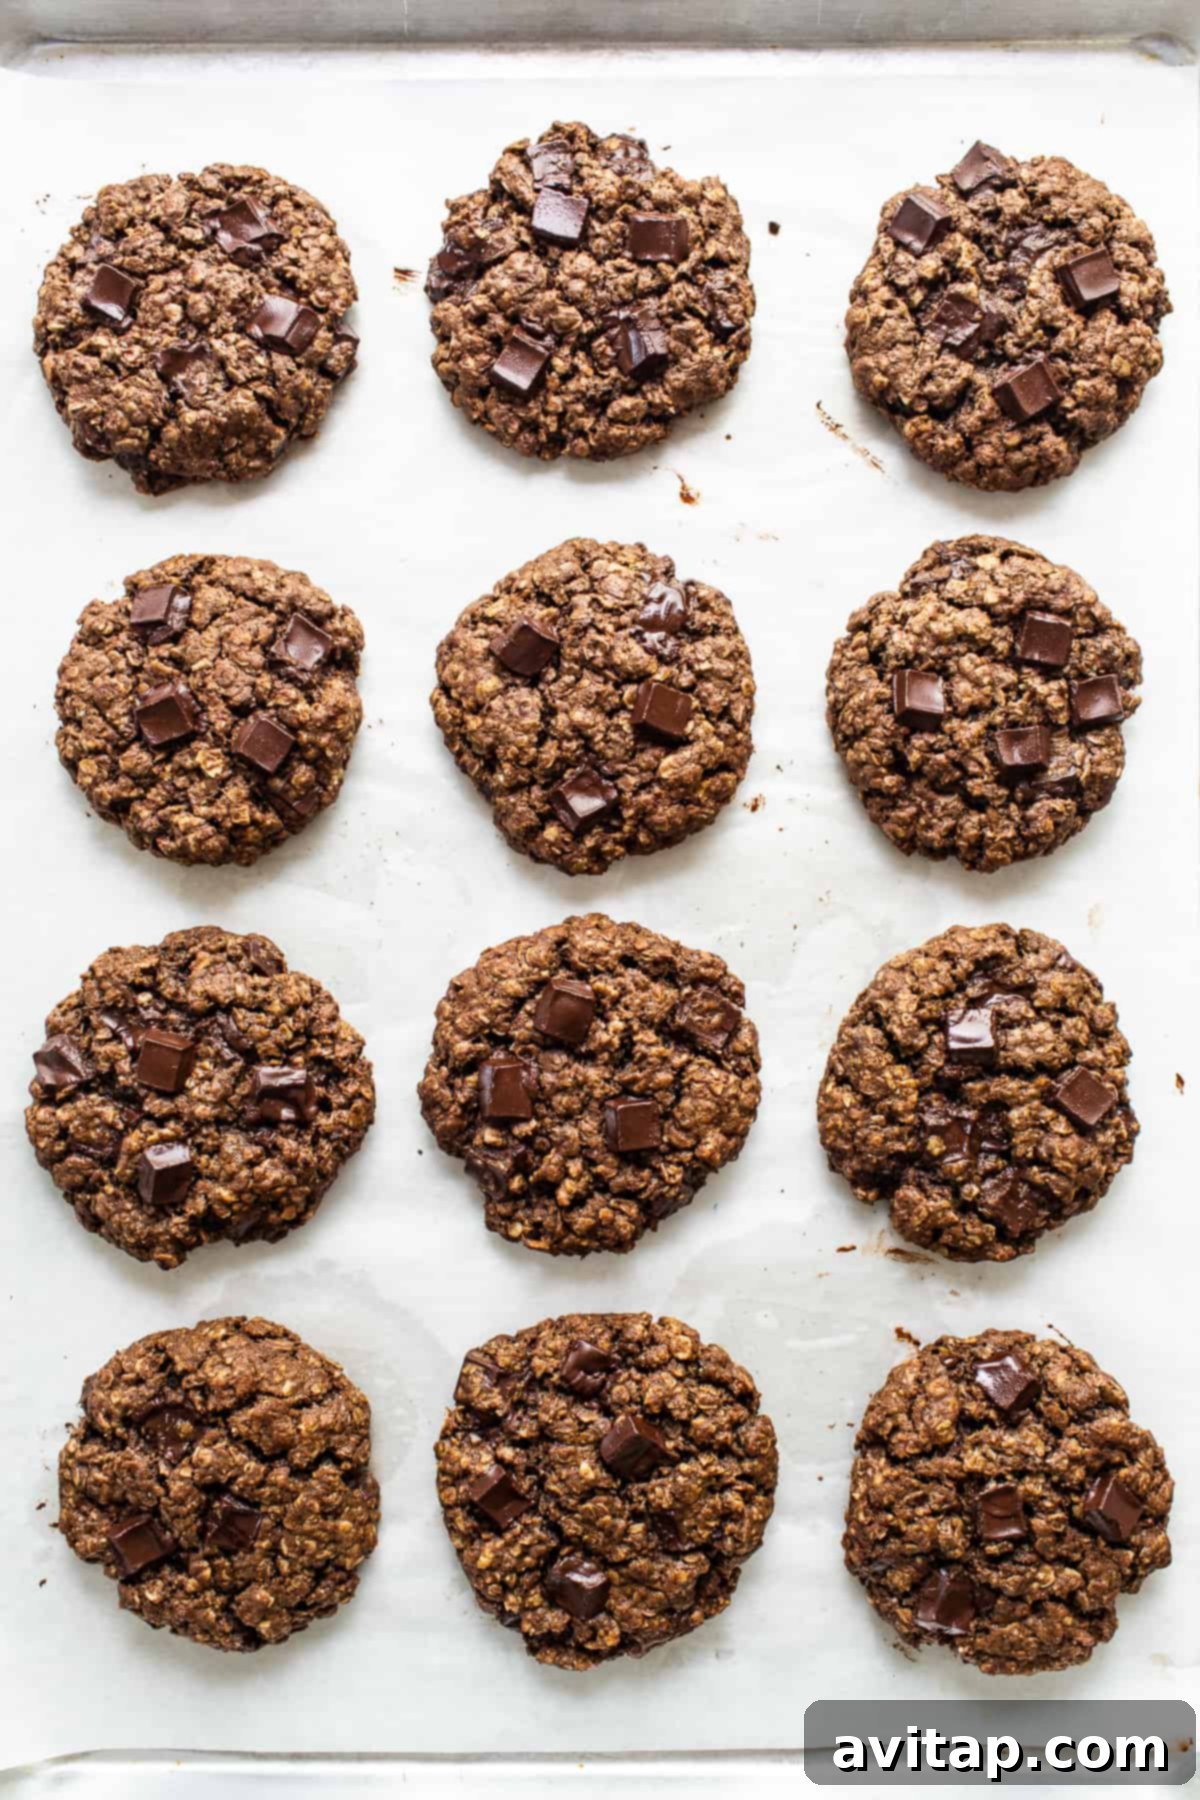
These cookies are typically done when the edges appear lightly golden and set, and the tops begin to show slight cracks. The center might still appear a little soft or slightly underbaked when you pull them from the oven, but this is exactly what you want! They will continue to firm up and set as they cool on the baking sheet and then on a wire rack. Overbaking can quickly lead to dry, crumbly cookies, so it’s always better to slightly underbake for that perfect, gooey, chewy center.
Keeping Them Fresh: Storage and Freezing Instructions
Ensuring your delicious chocolate peanut butter oatmeal cookies stay fresh and delightful for as long as possible is key to enjoying them at their best. Whether you plan to savor them within a week or save them for a future craving, proper storage makes all the difference.
Storing Baked Cookies
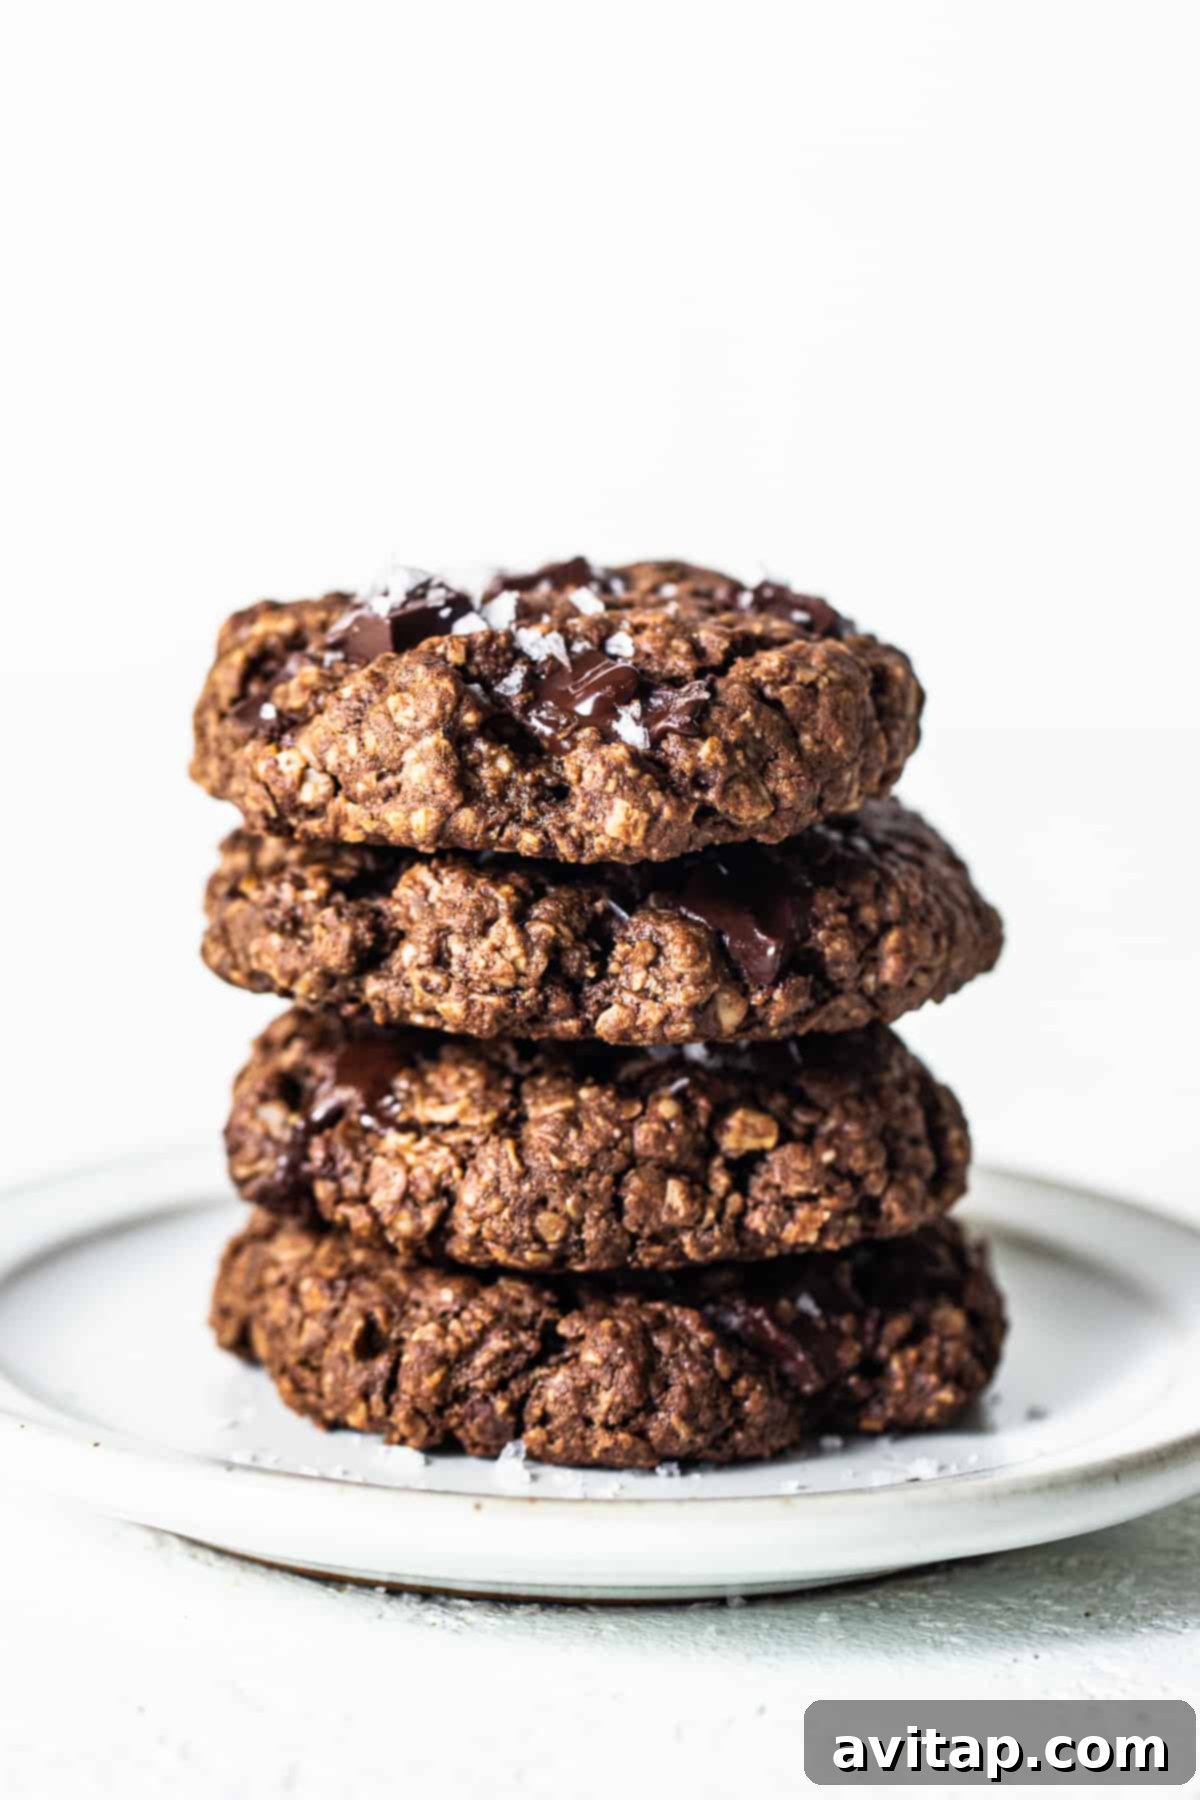
Once your Chocolate Peanut Butter Oatmeal Cookies have completely cooled to room temperature – this is crucial to prevent condensation and sogginess – transfer them to an airtight container. They will maintain their freshness, soft texture, and delightful flavor for up to one week when stored this way at room temperature. To prevent them from sticking together, especially if you’re stacking them, you can place a piece of parchment paper or wax paper between layers.
Freezer Directions for Long-Term Enjoyment
Freezing is an excellent option for extending the life of your cookies, offering flexibility whether you want to bake fresh treats anytime or simply have a convenient stash of ready-to-eat cookies.
- To Freeze Cookie Dough: For the ultimate convenience of fresh-baked cookies whenever a craving hits, you can freeze the unbaked dough. First, shape the cookie dough into individual balls, just as you would if you were about to bake them. Place these dough balls on a baking sheet lined with parchment paper, ensuring they don’t touch. Freeze for about 1-2 hours, or until the dough balls are solid. Once frozen, transfer the dough balls to a freezer-safe zip-top bag or an airtight container. Label with the date. Frozen dough can be stored for up to 3 months. When you’re ready to bake, you can place them directly on a prepared baking sheet from the freezer, typically adding an extra 2-4 minutes to the original baking time.
- To Freeze Baked Cookies: For ultimate grab-and-go convenience, freezing already-baked cookies is a fantastic solution. Allow your cookies to cool completely to room temperature before freezing. Arrange them in a single layer on a baking sheet and freeze until they are firm (this usually takes about 30 minutes to an hour). Once solid, transfer the frozen cookies to a gallon-size freezer-safe bag or an airtight container. Press out as much air as possible before sealing to prevent freezer burn and maintain freshness. These frozen delights can be enjoyed for up to 3 months. To serve, simply thaw them at room temperature for a few minutes, or warm slightly in the microwave for a wonderfully fresh-baked feel.
Serving Suggestions: Enhance Your Cookie Experience
These Chocolate Peanut Butter Oatmeal Cookies are undeniably delicious on their own, but they also pair wonderfully with a variety of beverages and desserts. Here are some inspiring ideas to elevate your cookie experience and make them a delightful part of any meal or snack.
- With a Nourishing Smoothie: Complement the rich, sweet cookies with a refreshing and protein-packed smoothie. The creamy texture of a fruit or green smoothie offers a delightful contrast to the chewy cookie, making for a balanced and satisfying snack or even a light meal.
- Alongside Frozen Yogurt or “Nice Cream”: For a cooling treat that’s perfect for warmer days, serve these cookies with a scoop of your favorite frozen yogurt or a homemade “nice cream” made from blended frozen bananas. The cold, creamy dessert provides a wonderful contrast to the warm, chewy cookie, creating a delightful hot-and-cold sensation.
- Brightening with a Fresh Fruit Salad: Pair the rich flavors of chocolate and peanut butter with a light and vibrant fruit salad. The natural sweetness and slight acidity of fresh berries, melon, or citrus fruits can beautifully cut through the richness of the cookies, offering a refreshing and perfectly balanced dessert option.
- The Classic Coffee Companion: There’s nothing quite like a warm, chewy cookie enjoyed with a freshly brewed cup of coffee. These cookies are a delightful accompaniment to a meticulously prepared pour-over coffee, a robust espresso, or a creamy latte. For a spiced twist, consider pairing them with an allergy-friendly chai tea latte for a truly comforting and aromatic experience.
- Milk’s Best Friend: For a simple yet undeniably classic pairing that appeals to all ages, a tall glass of cold milk (dairy or your favorite plant-based alternative) is always a winner. The milk acts as a refreshing counterpoint, enhancing and cleansing the palate between bites of the rich, chewy cookies.
- As Part of a Dessert Platter: For entertaining, include these cookies on a beautifully arranged dessert platter alongside other small treats like fresh berries, mixed nuts, and perhaps some dark chocolate squares for a varied and appealing spread that caters to different tastes.
Chocolate Peanut Butter Oatmeal Cookies Recipe
Experience the perfect blend of flavors and textures with these Chocolate Peanut Butter Oatmeal Cookies, where the richness of chocolate and creaminess of peanut butter are combined with hearty oats for a deliciously satisfying treat.
By: Emily Richter
Prep Time: 15 mins
Cook Time: 12 mins
Total Time: 27 mins
Servings: 12 cookies
Rating: 5 out of 5 stars from 18 votes
Print Recipe
Ingredients
- 1/4 cup melted unsalted butter
- 1/2 cup light brown sugar, packed
- 3 tablespoons maple syrup
- 1 large egg
- 1/2 cup all-natural, creamy peanut butter (we used Smucker’s, or a similar drippy variety)
- 1 teaspoon vanilla extract
- Pinch of salt
- 2 cups quick-cooking oats (use gluten-free if desired)
- 1/4 cup cocoa powder
- 1 teaspoon baking soda
- 1/2 cup semi-sweet chocolate chunks, plus more for topping
- Flakey sea salt, for garnish
Instructions
- Prepare Your Workspace: Begin by preheating your oven to 350ºF (175ºC). Line a baking sheet with parchment paper to prevent sticking and ensure easy cleanup.
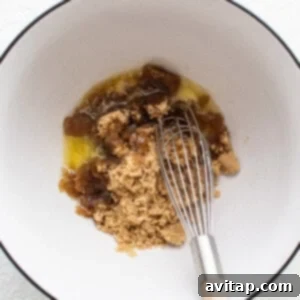
- Combine Wet Ingredients: In a large mixing bowl, combine the melted butter and light brown sugar. Mix thoroughly until there are no lumps; an electric mixer makes this quick and easy, but a hand whisk works just as well. Once smooth, incorporate the maple syrup, large egg, all-natural creamy peanut butter, and vanilla extract. Mix until all these wet ingredients are fully combined and creamy.
-

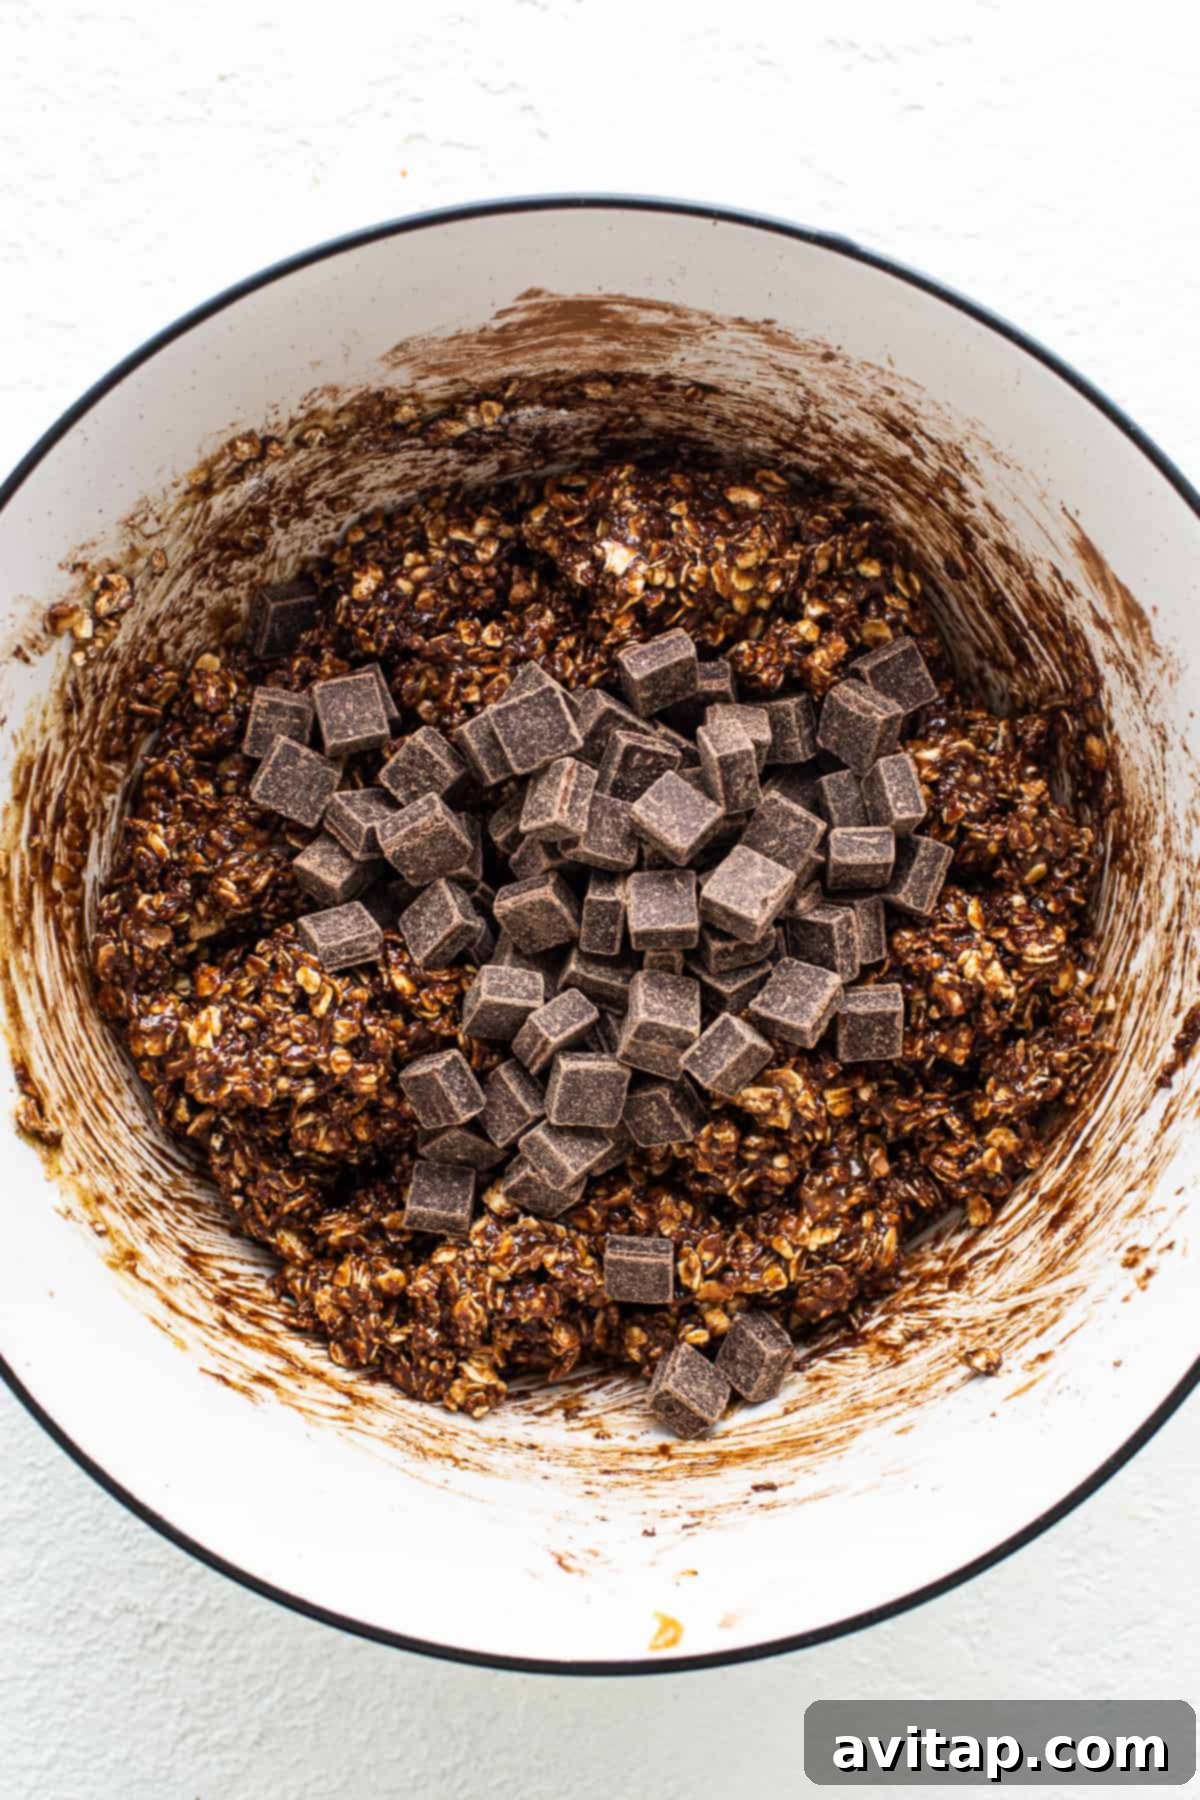
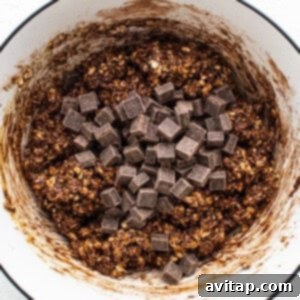
Add Dry Ingredients & Chocolate Chunks: To the wet mixture, add the pinch of salt, quick-cooking oats, cocoa powder, and baking soda. Mix until all the dry ingredients are just incorporated into the dough. Be careful not to overmix. Finally, gently fold in the 1/2 cup of semi-sweet chocolate chunks until they are evenly distributed throughout the dough.
-
Chill the Dough: For optimal texture and to prevent excessive spreading, refrigerate the cookie dough for at least 15 minutes. This chilling period allows the oats to absorb moisture and the fats to firm up, resulting in a more cohesive cookie.
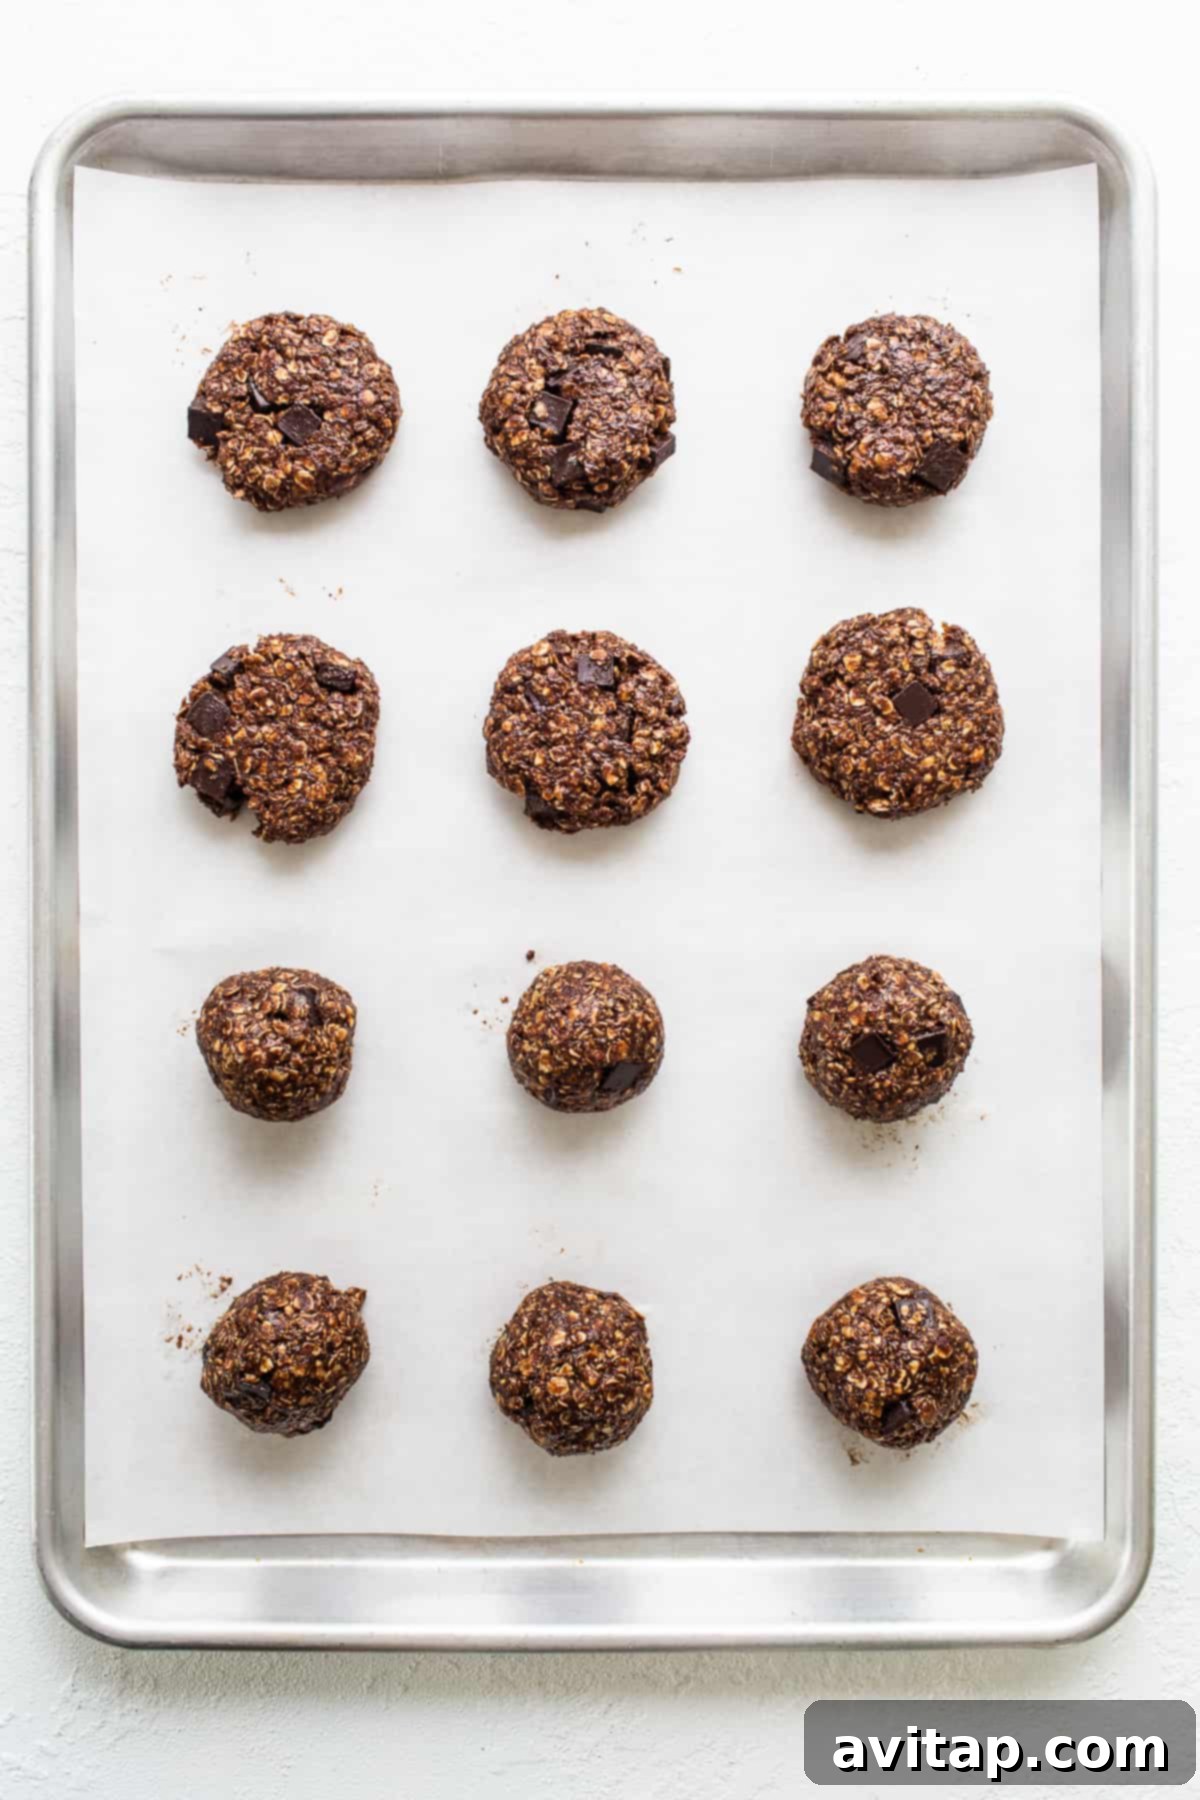
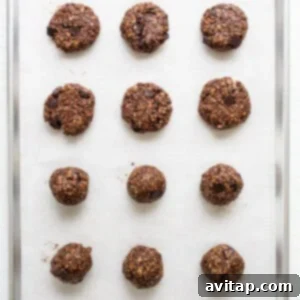
- Shape the Cookies: Scoop about 2 heaping tablespoons of chilled cookie dough per cookie. Roll the dough between your palms to form a ball. Place it onto the prepared baking sheet and gently press down on each dough ball to flatten it slightly into a cookie shape. The dough will feel a bit moist, which is perfectly normal; it contributes to the incredibly soft and chewy texture once baked. You should be able to fit 12 cookies on a standard baking sheet.
-
Optional Topping: If desired, gently press a few extra chocolate chunks onto the tops of the shaped cookie dough balls before baking for an even more appealing look and an extra burst of chocolatey goodness.
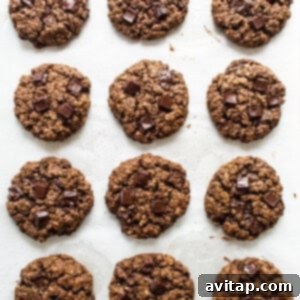
- Bake to Perfection: Bake the cookies in the preheated oven for 11-14 minutes, or until the edges are lightly set and the tops begin to show slight cracks. The centers might still look a little soft, but they will firm up as they cool. Avoid overbaking to retain their delightfully chewy texture.
-
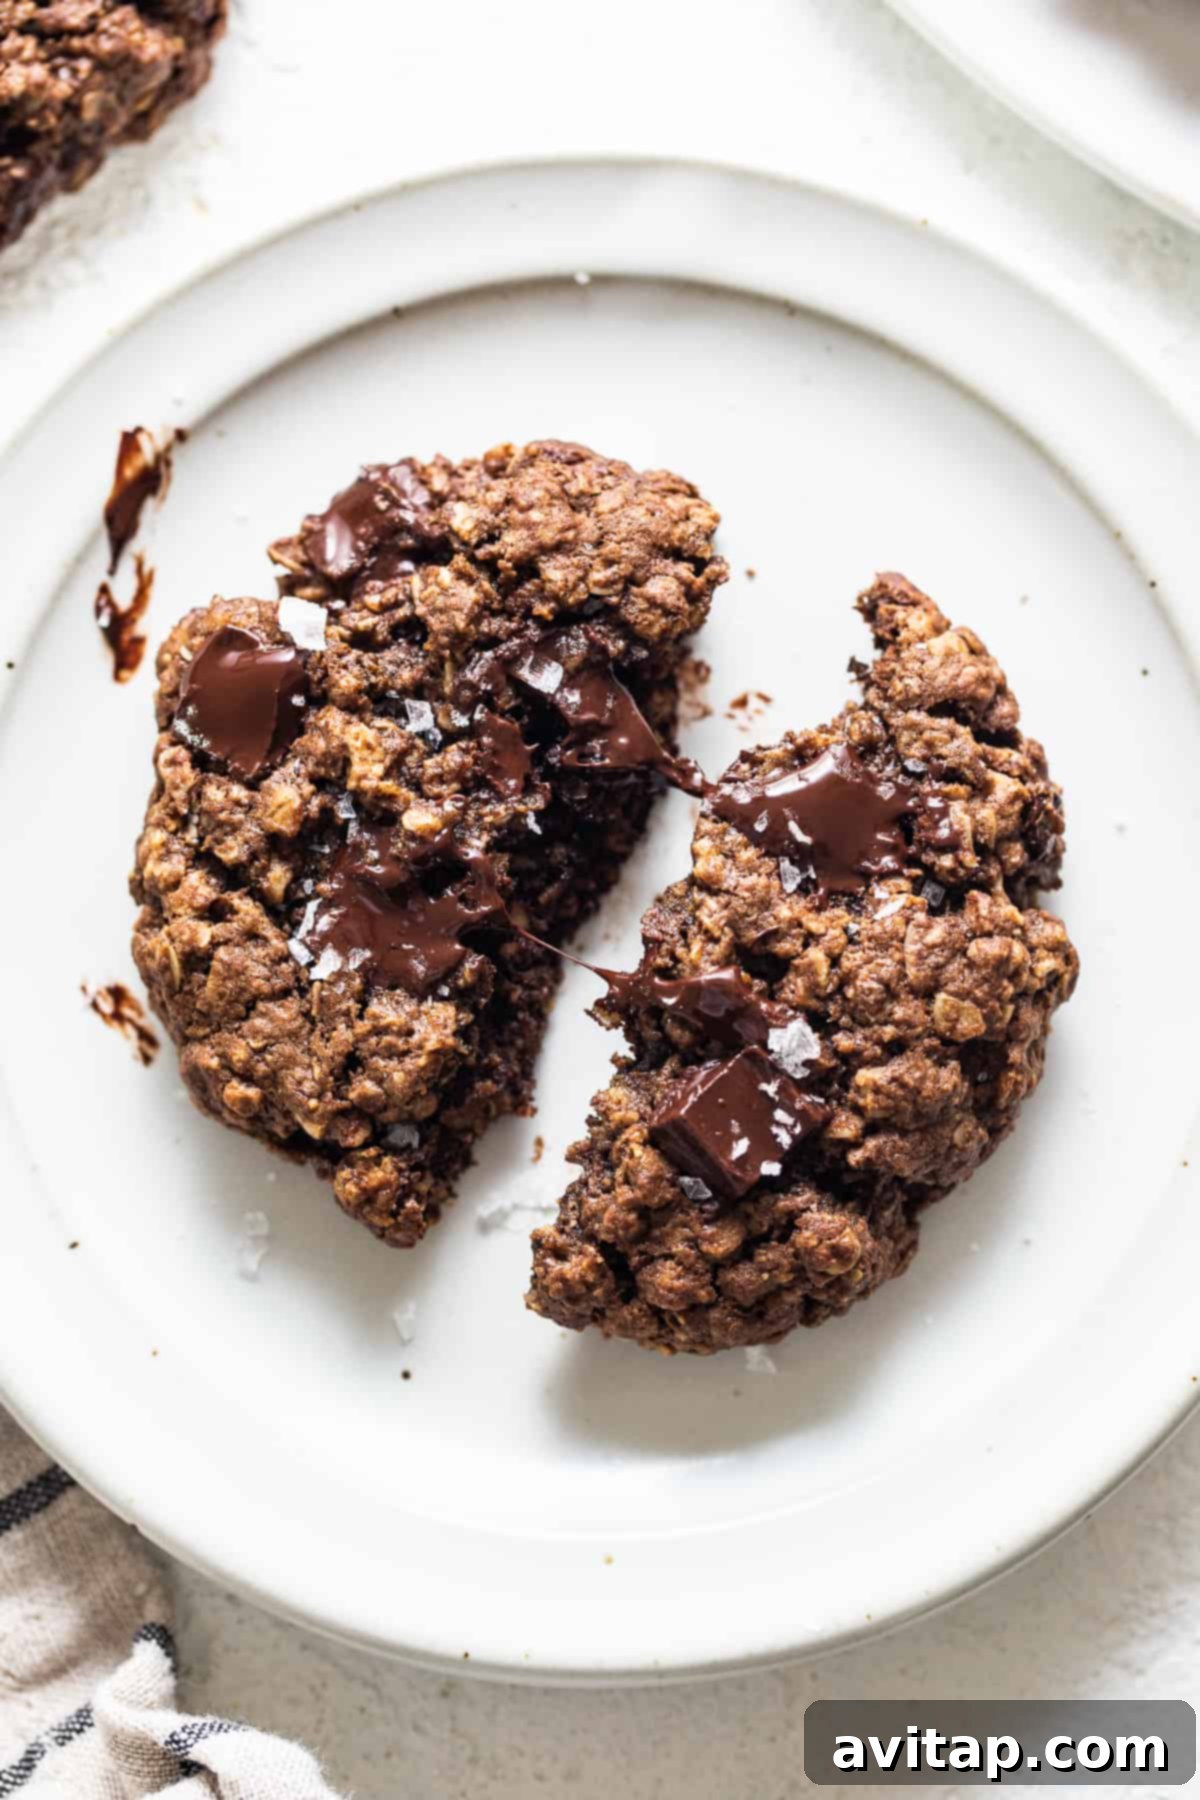
Cool & Garnish: Once baked, remove the cookies from the oven and let them cool on the baking sheet for a few moments (about 5 minutes) to set. Then, carefully transfer them to a wire rack to continue cooling for at least 20 minutes. This cooling period is crucial for them to firm up completely and achieve their ideal chewy texture. Just before serving, sprinkle with flakey sea salt for an enhanced flavor and a beautiful finish. Enjoy your homemade delights!
-
Tips & Notes for Success
- Peanut Butter Choice is Key: As emphasized, the consistency of your peanut butter significantly impacts the cookie’s final texture. For the best chewy outcome, use an all-natural, “drippy” style peanut butter where the oil naturally separates and needs to be stirred in. Avoid thicker, stabilized peanut butter brands like Jiff or Skippy, as their texture can lead to a cakier, less desirable cookie.
- Handling the Dough: The dough for these cookies will be a bit sticky and wet, and this is completely normal! This moistness contributes to their final incredibly soft and chewy texture. For easier handling when rolling the dough into balls, lightly moisten your hands. You may also find it helpful to wash your hands briefly between shaping a few balls to manage any stickiness effectively.
- Cookie Shape Preferences: If you prefer flatter cookies with crispier edges, gently press down on each dough ball before baking. If left as perfect spheres, they will bake into a slightly more dome-shaped cookie. Both methods yield delicious results, so choose what you prefer!
- Adjusting Bake Time for Size: If you decide to make smaller cookies (using less than the recommended 2 tablespoons of dough), remember to reduce your baking time by 1-2 minutes to prevent them from becoming overbaked and dry.
- Cooling is Crucial: Do not skip the cooling time! These cookies are delicate when warm and need ample time to firm up on both the baking sheet and then on a wire rack to achieve their ideal chewy texture and prevent crumbling. Patience will be rewarded!
Watch the Recipe Video
Want to see these delicious cookies come to life? Watch our step-by-step video guide below for visual instructions and tips!
Nutrition Information
Nutrition information is automatically calculated and should only be used as an approximation.
- Calories: 227 kcal
- Carbohydrates: 24 g
- Protein: 5 g
- Fat: 13 g
- Fiber: 2 g
- Sugar: 16 g
Loved this recipe? Don’t keep it to yourself! We’d be thrilled if you left a comment below to share your thoughts and experiences. Your feedback helps us grow and inspires other home bakers!
And when you whip up a batch, remember to tag your posts on social media with the hashtag #fitfoodiefinds. We absolutely love seeing your delicious creations and sharing them with our community!
Photography: All beautiful photos featured in this post are expertly taken by Ashley McGlaughlin from The Edible Perspective.