
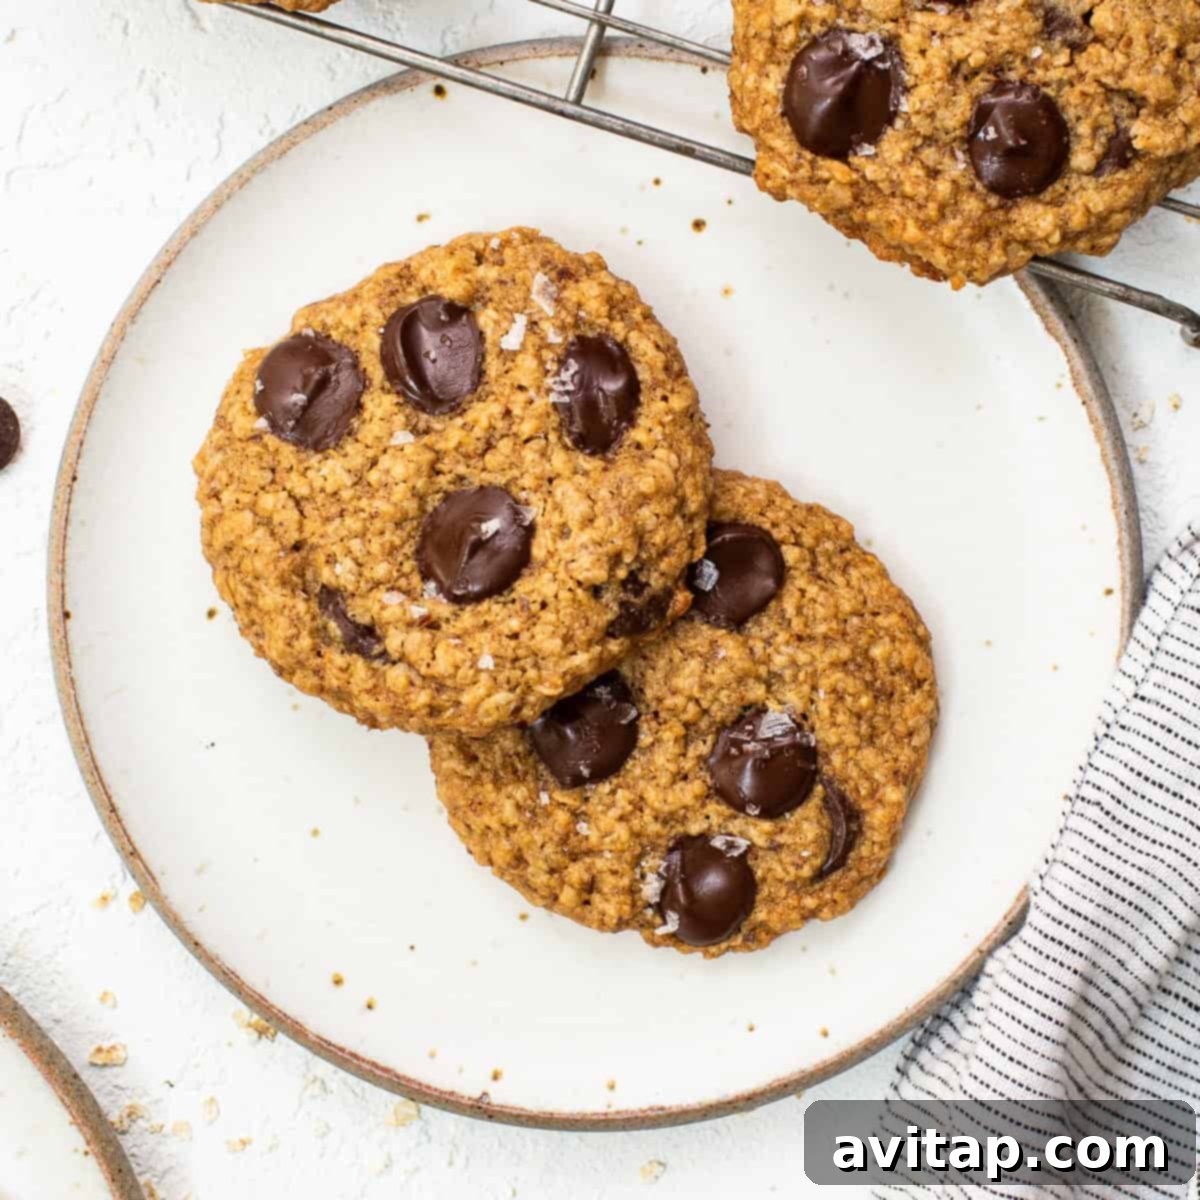
Welcome, nursing mamas, to the internet’s most delightful and effective lactation cookies recipe! These aren’t just any cookies; they are a thoughtfully crafted blend of natural ingredients designed to support your breastfeeding journey, packed with galactagogues like brewer’s yeast, flaxseed, and oats.
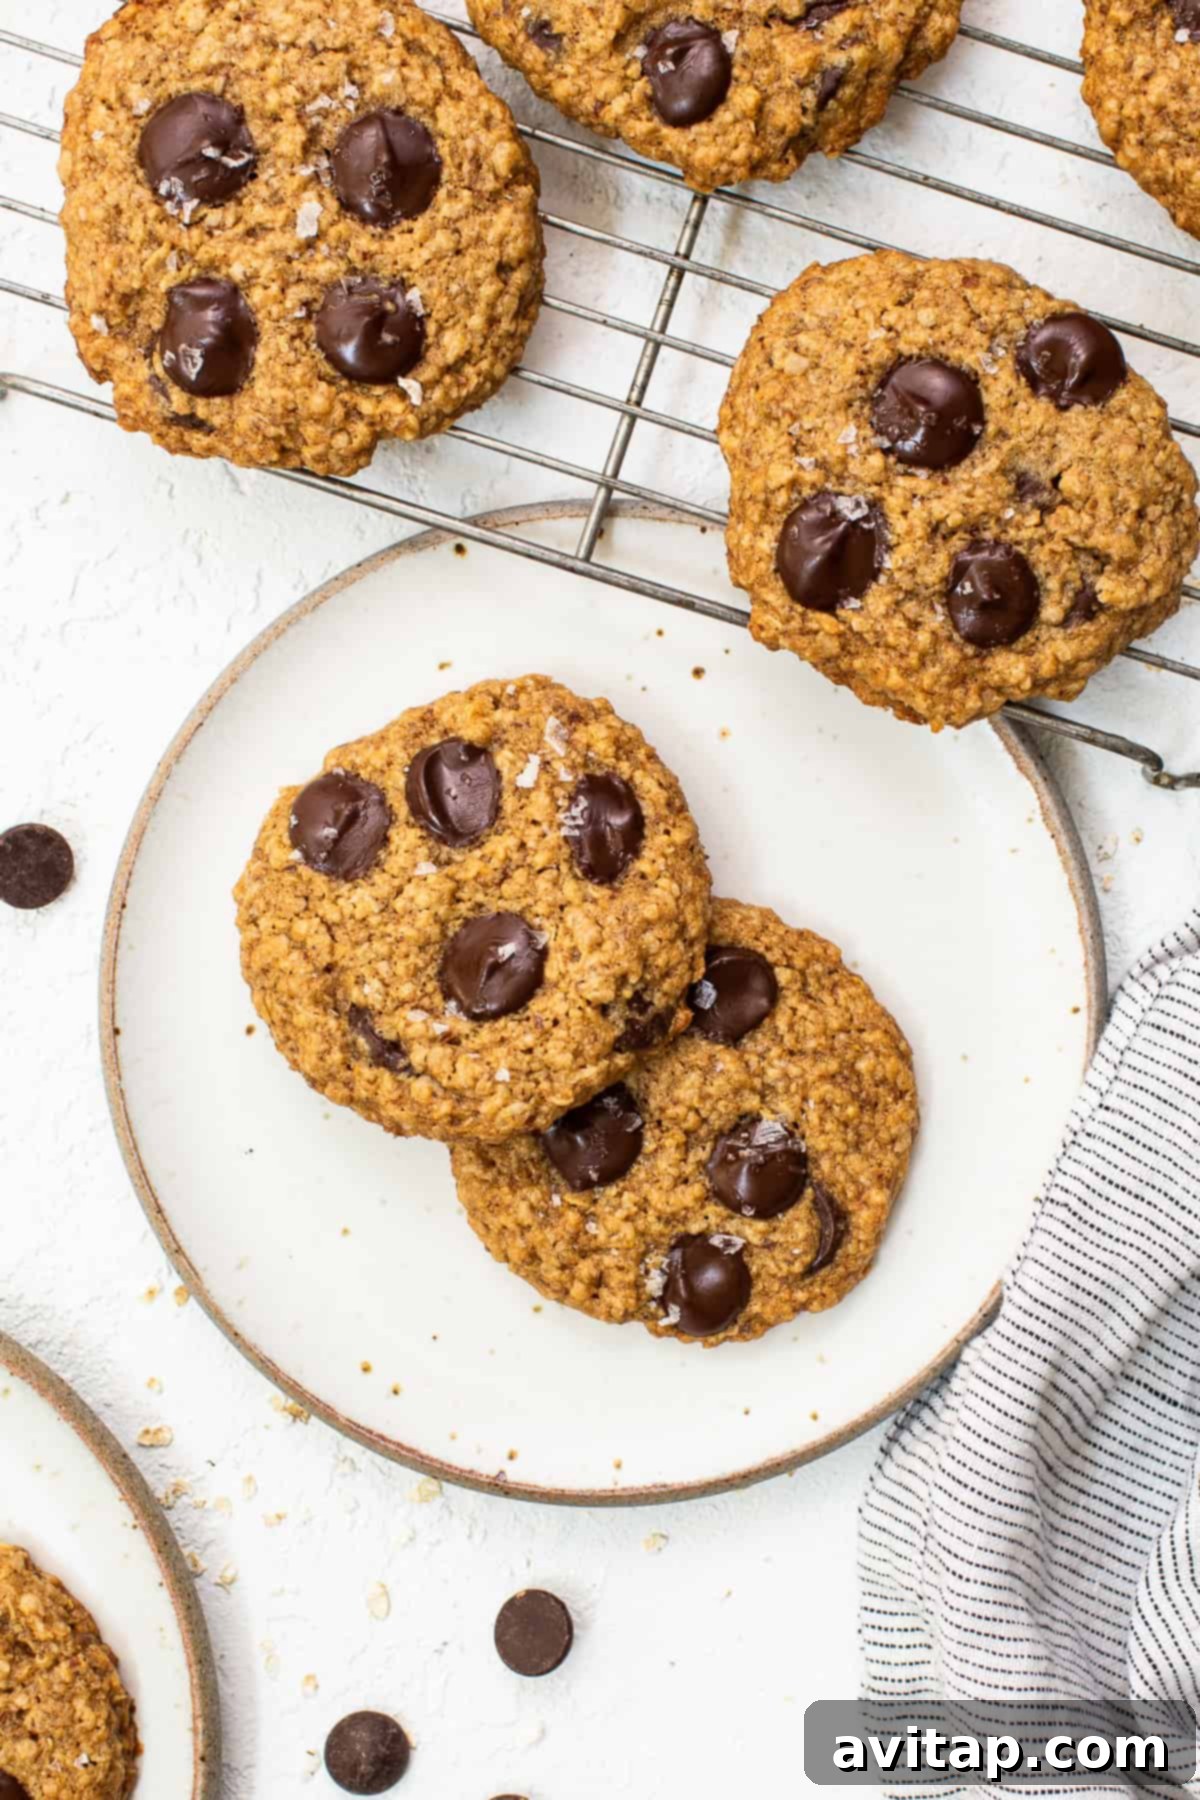
Delicious & Effective Lactation Cookies for Boosting Milk Supply
Whether you’re breastfeeding, exclusively pumping, combination feeding, or simply seeking a nutrient-dense and satisfying treat, this recipe is for you! We understand the demands on new mothers, and these chewy, flavorful oatmeal chocolate chip lactation cookies offer a convenient and enjoyable way to support your body’s needs. Every bite is a step towards feeling nourished and empowered, providing comfort and potential milk-boosting benefits during this special time.
What Exactly Are Lactation Cookies?
Lactation cookies are specially formulated cookies that incorporate specific ingredients known as galactagogues, which are believed to help increase breast milk supply. Beyond their potential to support milk production, these cookies are rich in vital nutrients that are crucial for a nursing parent’s overall health and energy levels. During the demanding period of producing breastmilk, your body works tirelessly, making it essential to fuel it with nutrient-dense foods. Ingredients like oats, brewer’s yeast, and flaxseed meal are not only delicious but also provide sustained energy and support for milk synthesis, ensuring both you and your baby thrive.
Why You’ll Adore These Lactation Cookies!
Nutrient-Dense Powerhouse: These lactation cookies are more than just a sweet treat; they’re packed with nourishing ingredients specifically chosen to support breastfeeding. Brewer’s yeast provides essential B vitamins, protein, and chromium, vital for energy and metabolism. Flaxseed meal is an excellent source of omega-3 fatty acids, crucial for both maternal and infant brain development, and also contains phytoestrogens that may influence milk supply. Oats are renowned for their iron content and fiber, aiding digestion and providing sustained energy.
Perfect for Meal Prep & Busy Schedules: The early days of motherhood are a whirlwind, leaving little time for elaborate meal preparation. This lactation cookie recipe is incredibly adaptable for batch baking. You can easily double, triple, or even quadruple the recipe to create a generous supply. Store them in your freezer, and you’ll always have a nutritious, ready-to-eat snack on hand – an absolute lifesaver for busy new moms or a thoughtful gift for a friend on their breastfeeding journey.
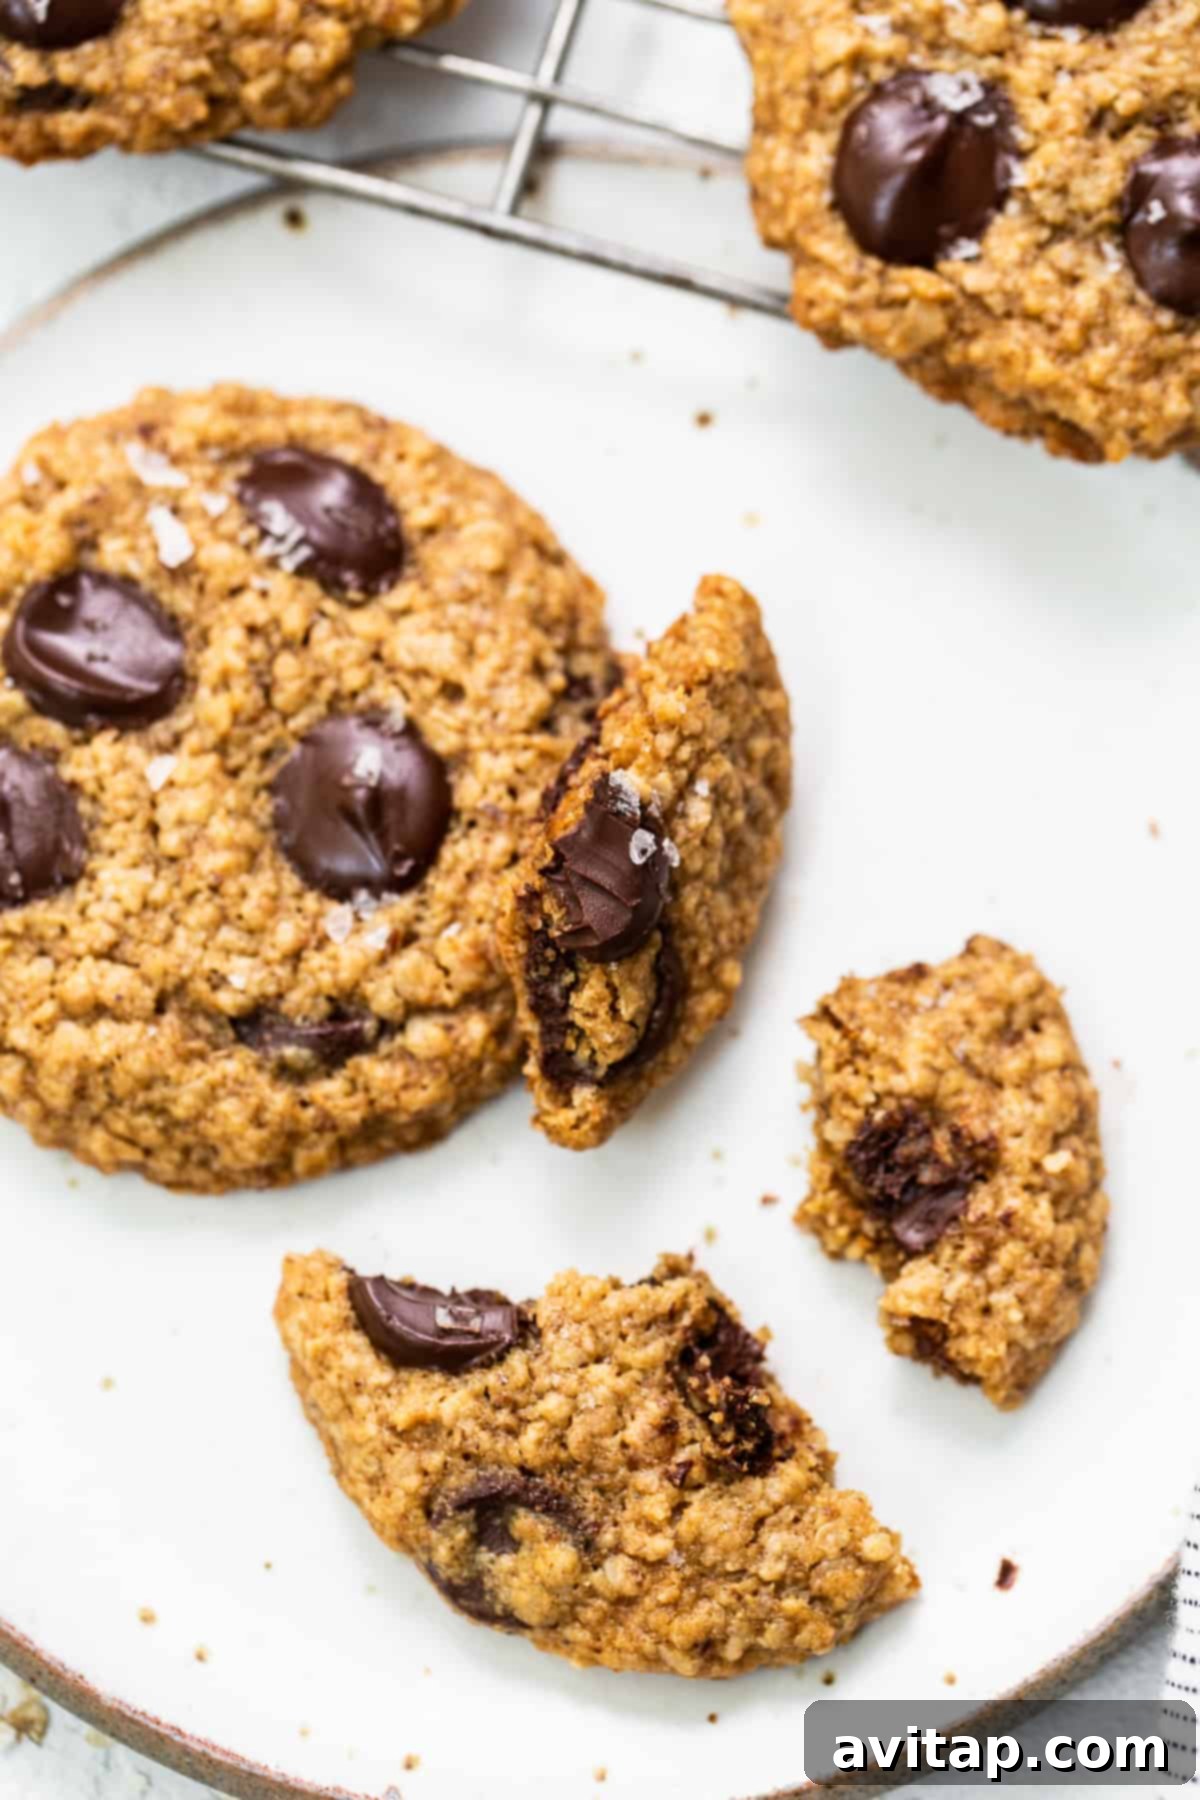
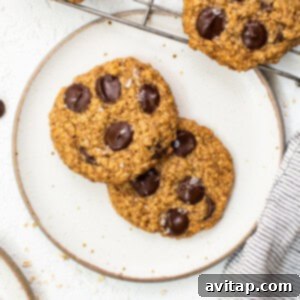
Chewy, Flavorful & Truly Delicious: Forget dense, dry, and bland lactation cookies! We believe that functional food should also be enjoyable. Our recipe delivers a perfectly chewy texture combined with a rich, satisfying flavor that will make these your go-to snack. They’re the ideal companion for those late-night nursing sessions or a quick energy boost during the day, proving that supporting milk supply can be a truly delicious experience.
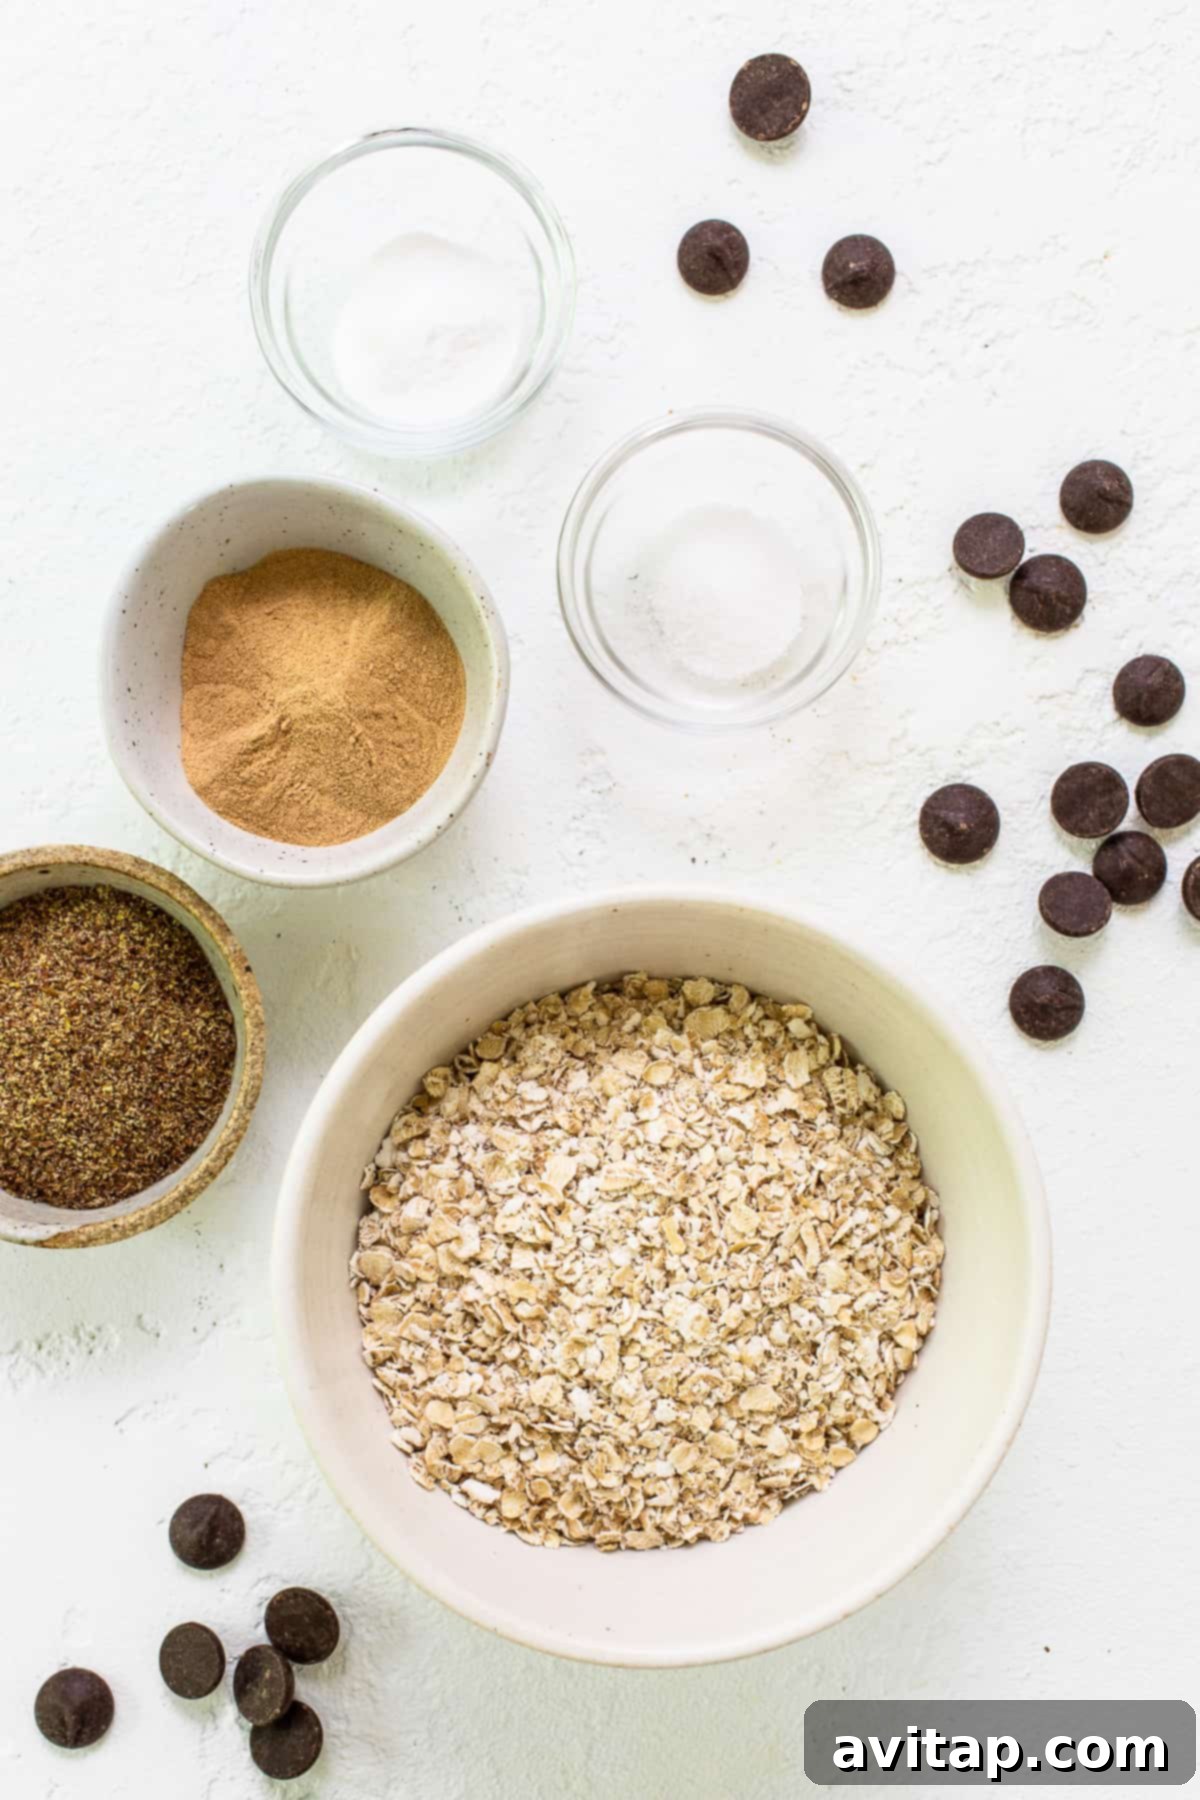
Essential Ingredients for Your Lactation Cookies
Crafting these beneficial cookies requires a blend of standard baking staples and specific galactagogues. Each ingredient plays a role in creating a delicious cookie that also supports your body.
- Quick-cooking oats: A fantastic source of iron, fiber, and whole grains, which are excellent for energy and digestion.
- Flaxseed meal: Rich in omega-3 fatty acids and phytoestrogens, both thought to aid milk production.
- Brewer’s yeast: A powerful galactagogue, high in B vitamins, protein, and minerals, which can help boost energy and milk supply.
- Light brown sugar: Adds moisture and a rich, caramel-like sweetness.
- Maple syrup: A natural sweetener that contributes to the chewy texture and distinct flavor.
- Vanilla extract: Enhances the overall flavor profile, adding warmth and depth.
- Egg: Acts as a binder, contributing to the cookie’s structure and richness.
- All-natural peanut butter: Adds healthy fats, protein, and a wonderful flavor, while keeping the cookies moist.
- Unsalted butter: Provides richness and helps achieve that perfect chewy texture.
- Dark chocolate chips: A delicious addition that offers antioxidants and a comforting sweetness.
- Baking soda: The leavening agent that helps the cookies rise slightly and spread.
- Sea salt: Balances the sweetness and enhances all the other flavors.
Smart Ingredient Swaps & Substitutions
Life as a new parent is all about flexibility! We understand that you might not always have every ingredient on hand, or you might have dietary preferences. Here are some smart substitutions to ensure you can still enjoy these delicious lactation cookies:
Nut Butter Alternatives: While creamy, all-natural peanut butter provides a wonderful base, you can certainly experiment with other drippy nut butters. Almond butter or cashew butter are excellent alternatives that will yield a similar texture and contribute their own unique flavor notes. Ensure they are natural and do not contain excessive added sugars or oils.
Egg Substitutes: We’ve found the egg to be integral to the texture of these cookies, creating a delightful chewiness. While we haven’t extensively tested egg-free versions, a flax egg (1 tablespoon ground flaxseed meal mixed with 3 tablespoons water, allowed to sit for 5-10 minutes until gel-like) is often a successful substitute in similar recipes. If you try this, please share your results!
Sugar Options: If light brown sugar isn’t available, other dark granular sugars like coconut sugar can be used as a 1:1 substitute. These alternatives will still provide the depth of flavor and moisture needed for these cookies.
Oat Varieties: This recipe works beautifully with both quick-cooking oats and rolled oats (also known as old-fashioned oats). Quick-cooking oats tend to create a softer, more uniform texture, which we personally prefer, but rolled oats will give a chewier cookie with more discernible oat texture. Choose whichever you enjoy most!
Butter Alternatives: Unsalted butter contributes significantly to the rich flavor and tender texture of these cookies. While we haven’t tested other fats like coconut oil or vegan butter extensively in this specific recipe, they might work. Be aware that substituting butter could alter the flavor and texture profile. If you’re looking for a dairy-free option, ensure your chosen alternative melts similarly to butter.
Step-by-Step Guide: How to Make Lactation Cookies
Making these delicious lactation cookies is straightforward and rewarding. Follow these simple steps for a perfect batch every time:
Step 1: Combine Wet Ingredients
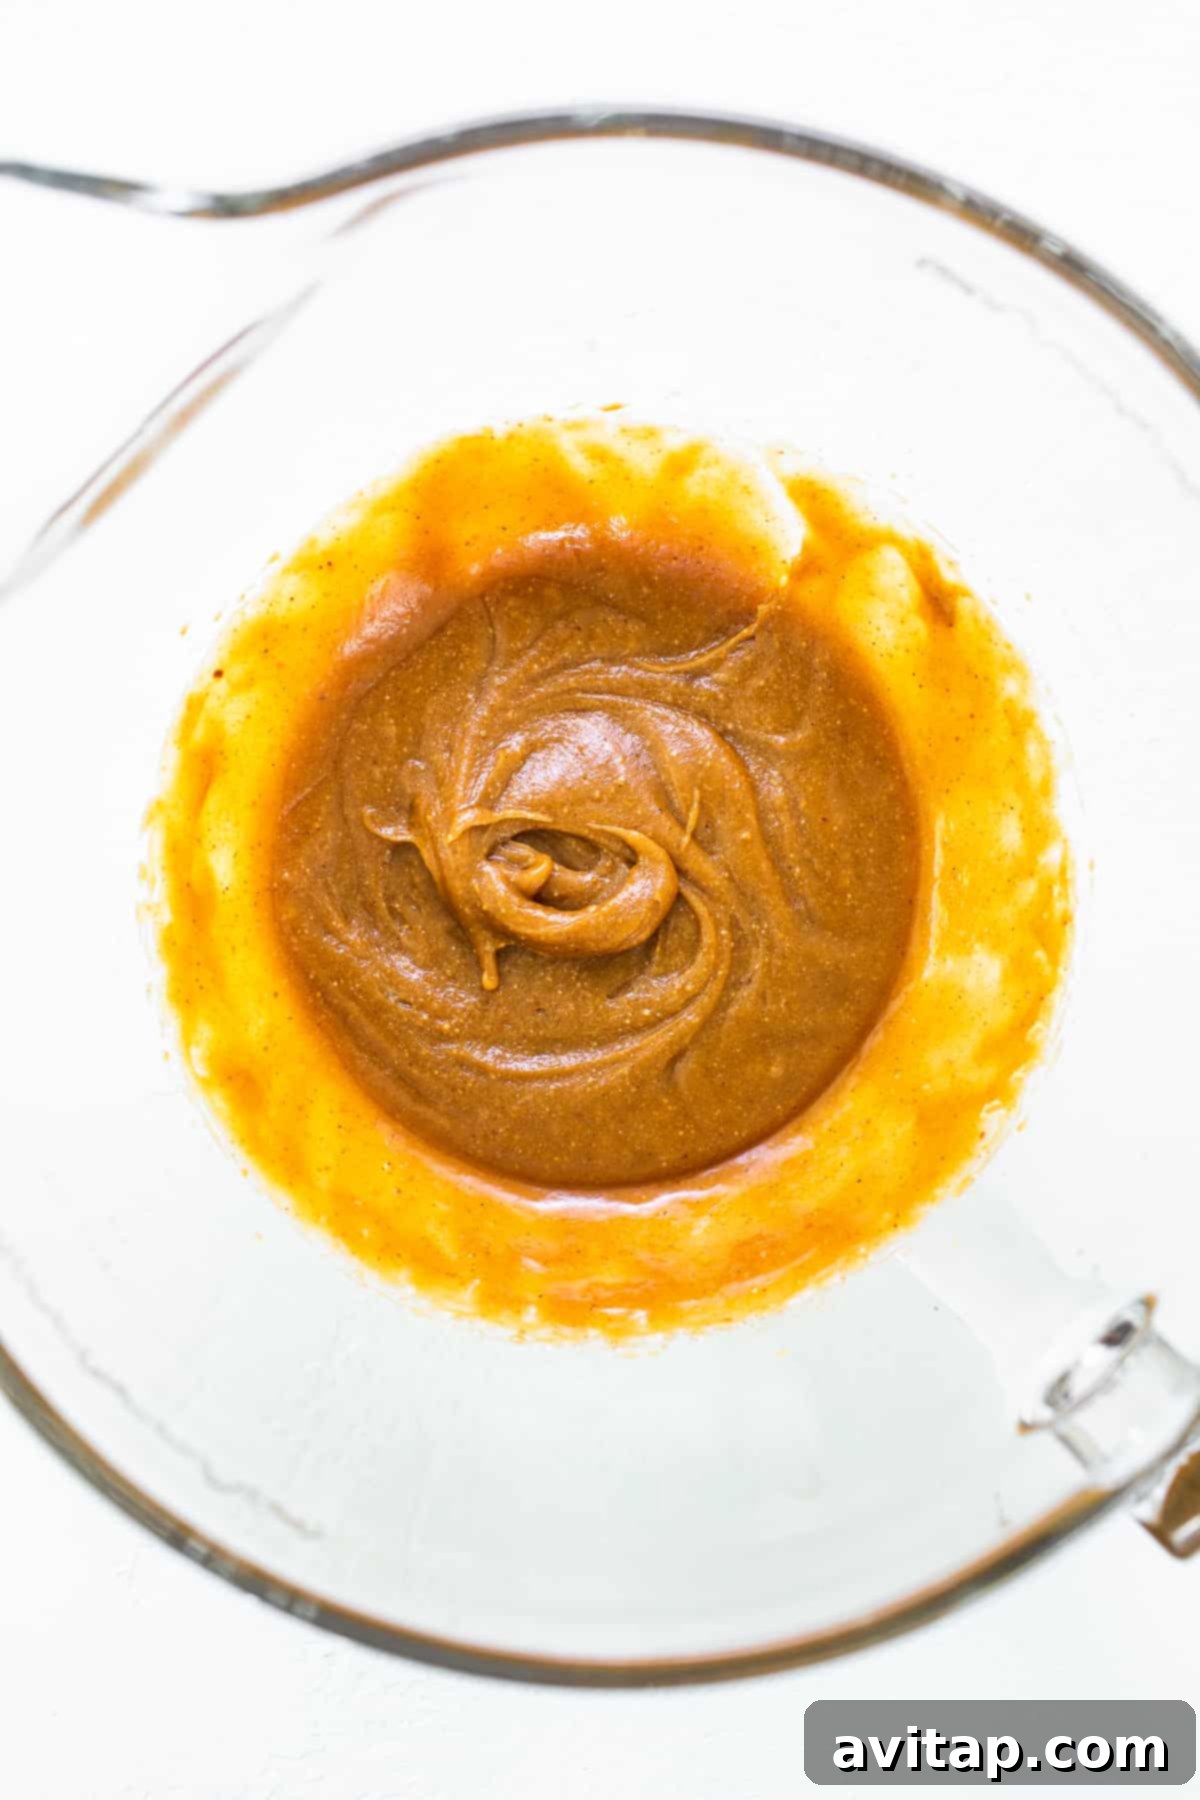
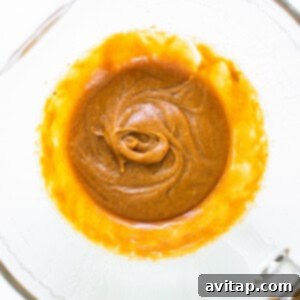
In a large mixing bowl, begin by creaming together the softened unsalted butter, light brown sugar, maple syrup, and vanilla extract. Beat these ingredients until the mixture is light, fluffy, and well combined. You can use an electric mixer for ease, or a sturdy whisk and a bit of arm power will do the trick. Next, add the large egg and creamy peanut butter to this mixture. Continue mixing until all the wet ingredients are thoroughly incorporated and smooth.
Step 2: Incorporate Dry Ingredients
Once your wet ingredients are perfectly blended, it’s time to add the dry components. Gradually add the quick-cooking oats, flaxseed meal, brewer’s yeast, baking soda, and sea salt to the bowl. Mix on a low speed or by hand until everything is just combined, being careful not to overmix. Finally, fold in the dark chocolate chips until they are evenly distributed throughout the dough.
Step 3: Form Cookie Dough Balls
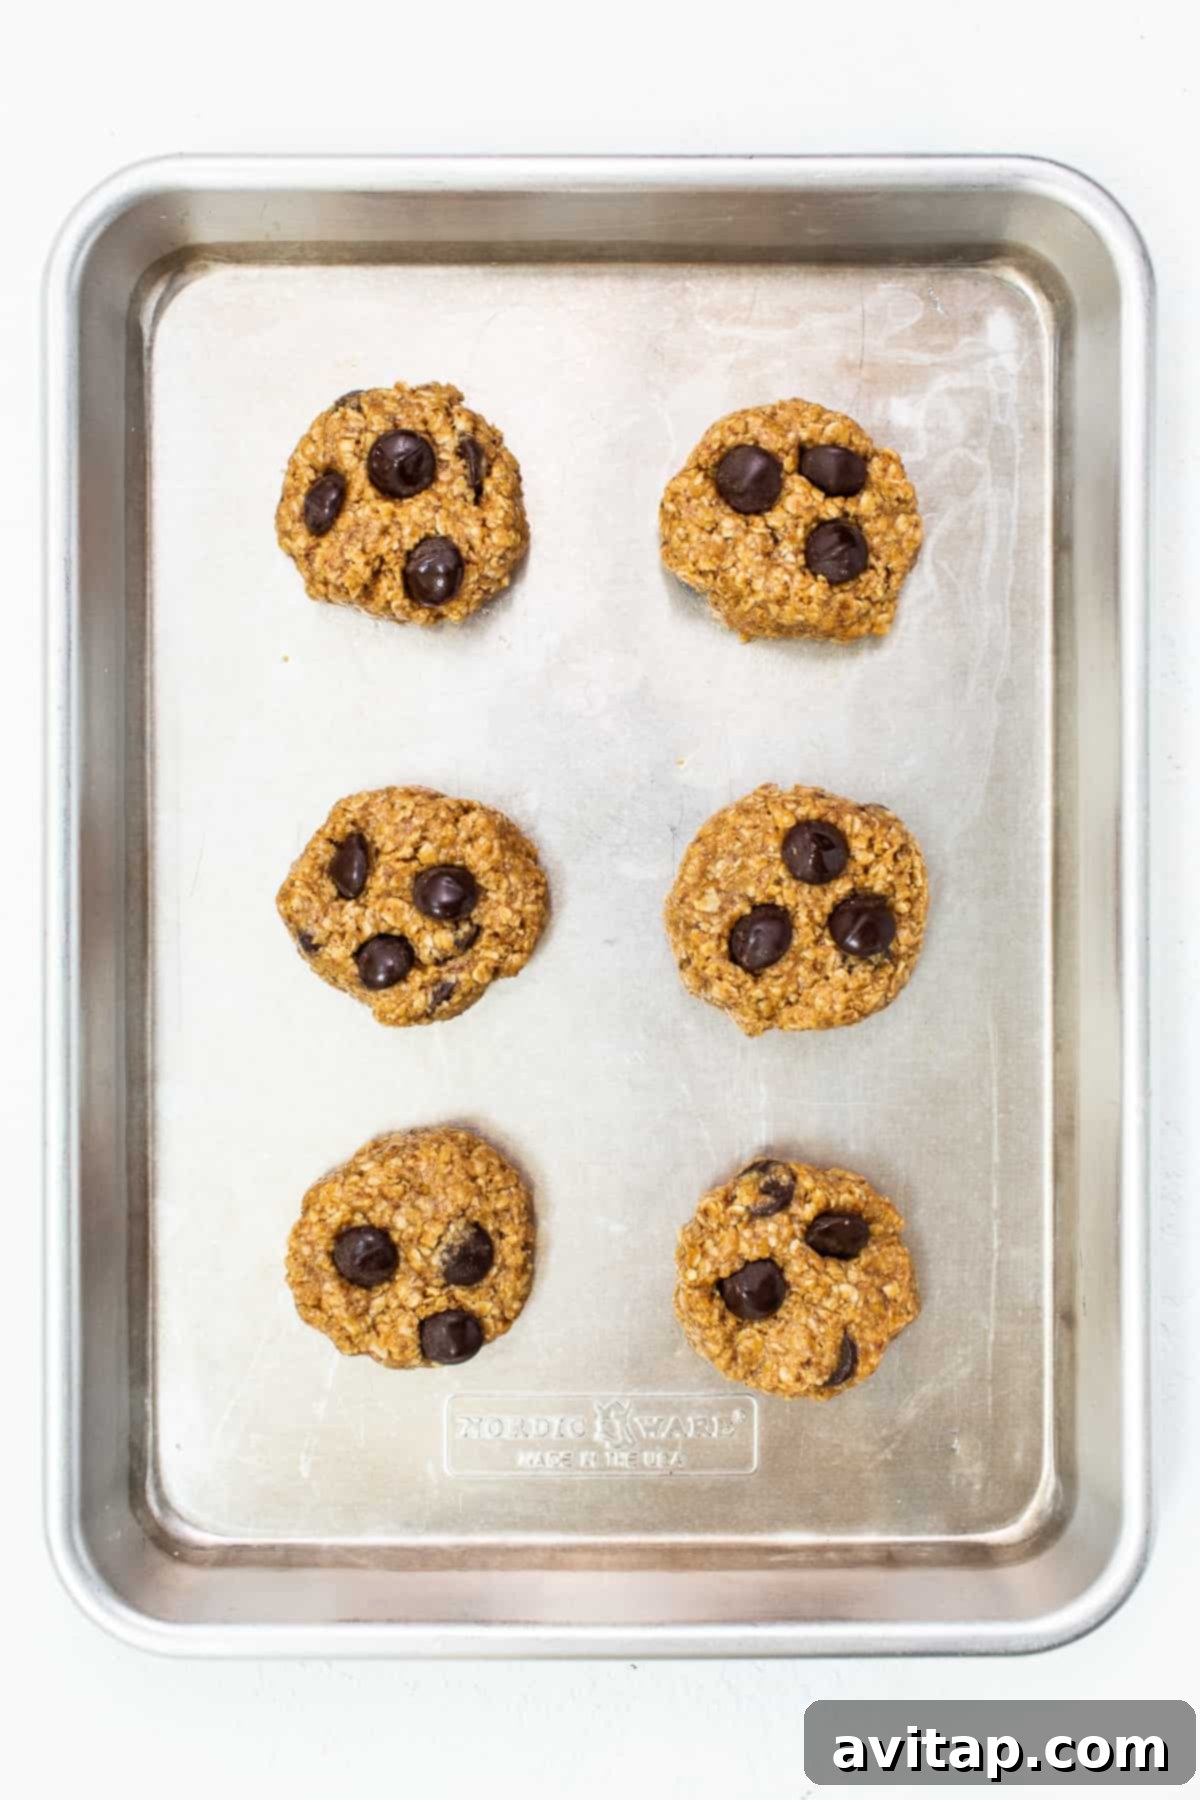
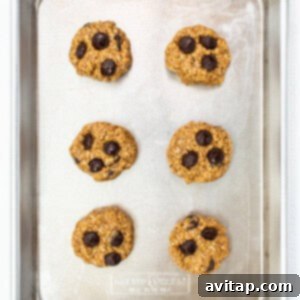
Take about 2 tablespoons of the prepared cookie dough and gently roll it between your palms to form a smooth ball. Place the dough ball onto a prepared baking sheet (lined with parchment paper or sprayed with nonstick spray). Lightly press down on each ball with the back of a spoon or your palm to create a flattened disc shape – this ensures your cookies spread beautifully during baking. For an extra touch of flavor and visual appeal, sprinkle a pinch of sea salt on top of each cookie. Repeat this process, spacing the cookies evenly on the baking sheet, typically fitting about 6 cookies per standard sheet.
Step 4: Bake & Enjoy!
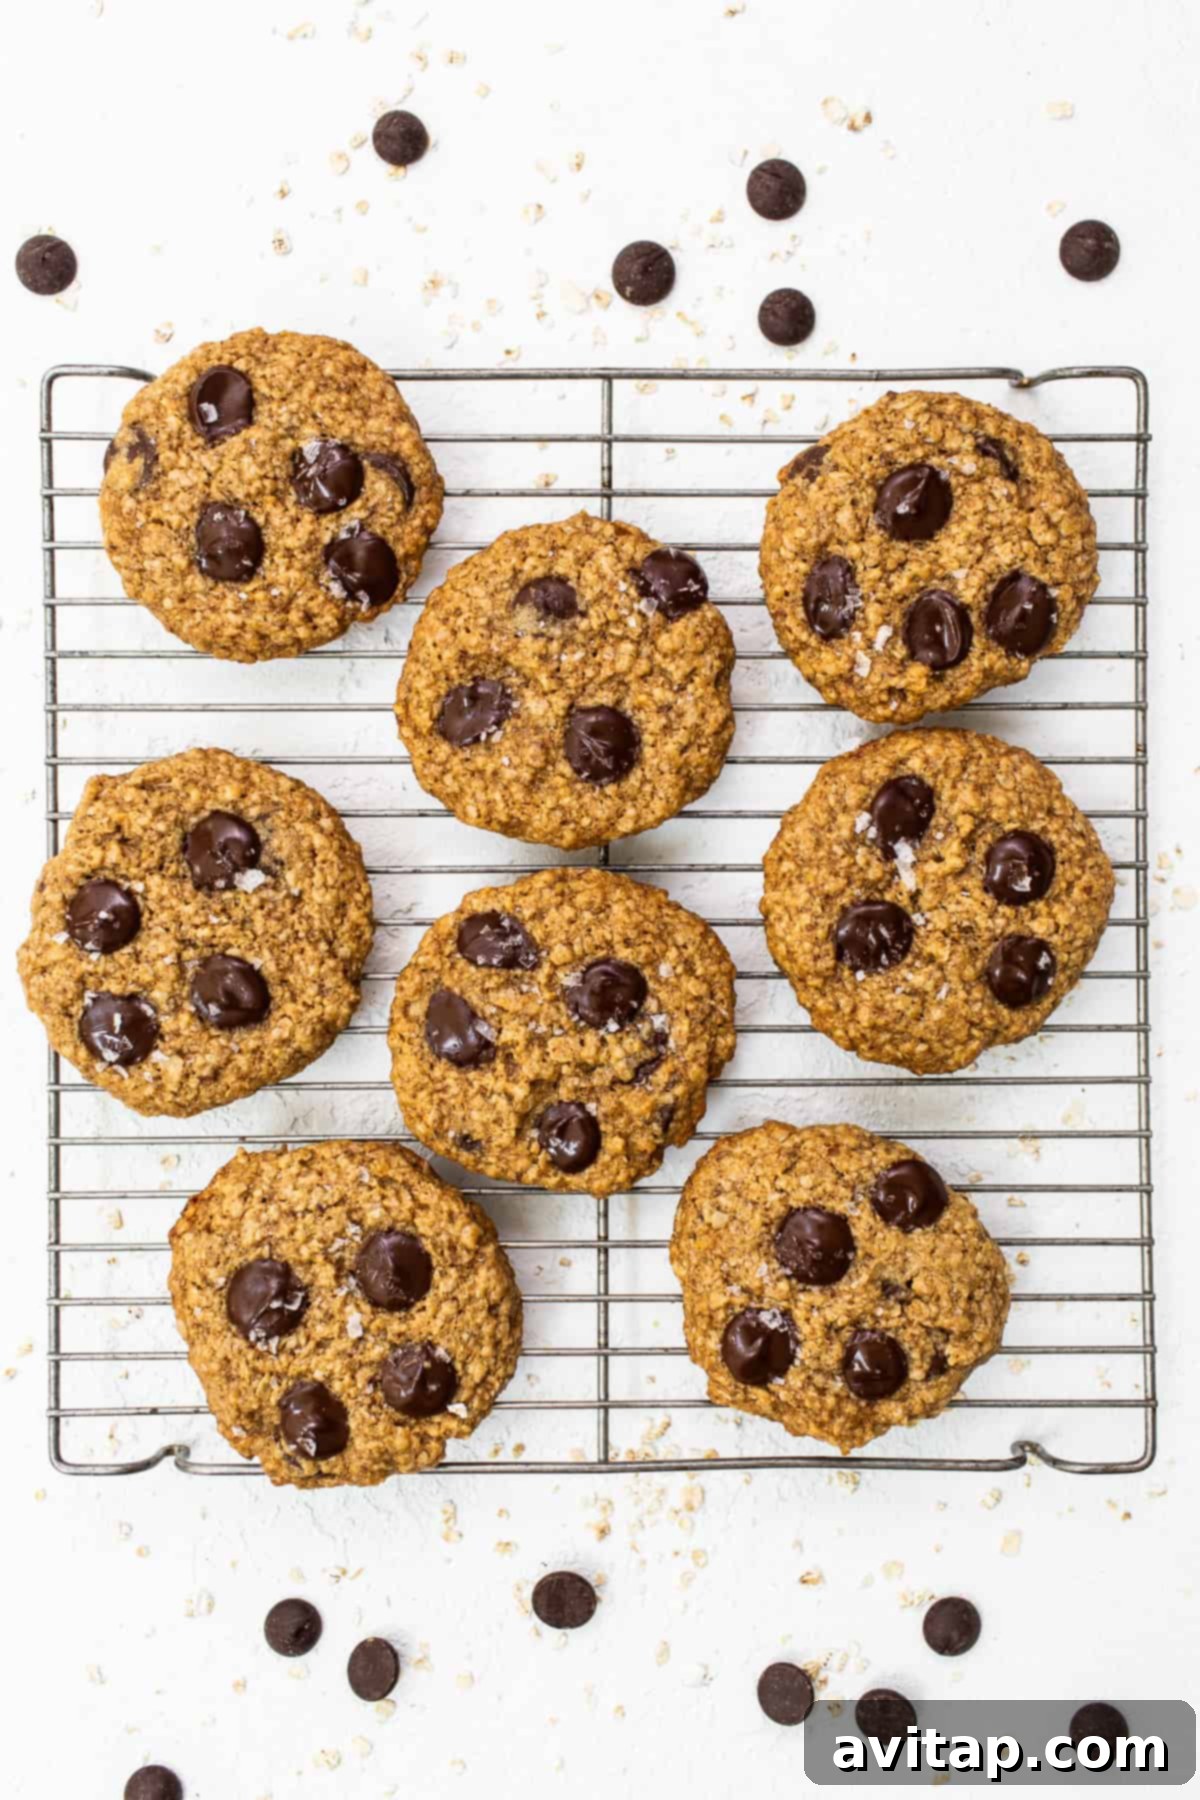
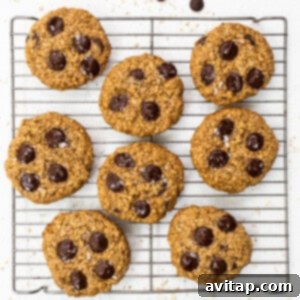
Preheat your oven to 350ºF (175ºC). Bake the cookies for approximately 11-14 minutes, or until the edges are lightly golden brown and the centers are just set. Keep a close eye on them to prevent overbaking, as this can lead to dry cookies. Once baked, remove the cookies from the oven and let them cool on the baking sheet for a few minutes. This initial cooling helps them firm up slightly before you carefully transfer them to a wire rack to cool completely. Allow at least 20 minutes for full cooling before indulging for the best texture.
Top Tips for Perfect Lactation Cookies
Dealing with Wet Cookie Dough: The dough for these cookies can sometimes be a bit on the softer side, especially if your peanut butter is very runny. If your cookie dough feels too wet or sticky to easily form into balls, simply place the mixing bowl, covered, into the refrigerator for about 30 minutes. This chilling time will help the dough firm up, making it much easier to handle and shape.
Hand Preparation for Rolling: Due to the delightful stickiness of this dough, we recommend slightly moistening your hands with a little water before you start rolling the cookie dough into balls. This helps prevent the dough from sticking excessively to your hands. Keep a small bowl of water nearby and wash or re-moisten your hands as needed between forming batches of cookies.
Flattening Before Baking is Key: These lactation cookies will spread only minimally in the oven. To ensure you get beautifully flat and evenly baked cookies rather than dome-shaped ones, it’s crucial to gently press down on each cookie dough ball before baking. Use the palm of your hand or the back of a spoon to create a slightly flattened disc shape on the baking sheet. This also helps ensure a uniform thickness for even cooking.
Don’t Overbake: For the ultimate chewy texture, be mindful of baking time. Pull the cookies from the oven when the edges are just set and lightly golden, and the centers still look slightly soft. They will continue to cook slightly on the hot baking sheet as they cool, achieving that perfect balance of softness and chewiness.
Uniform Cookie Size: For consistent baking and appearance, use a cookie scoop (about 2 tablespoons) to portion out the dough. This ensures all your cookies are roughly the same size and will bake evenly.
Lactation Cookies FAQs
Lactation cookies are cookies formulated with specific ingredients known as galactagogues (such as oats, brewer’s yeast, and flaxseed meal) believed to help support and potentially increase breast milk supply. They work by incorporating these ingredients, which are thought to have properties that can stimulate milk production or provide essential nutrients that support a nursing parent’s overall health, which in turn can positively affect milk supply. Beyond their functional benefits, they also offer a convenient and delicious way for breastfeeding parents to consume nutrient-dense foods.
While many recipes exist, the three most commonly recognized and effective ingredients in lactation cookies are brewer’s yeast, flaxseed meal, and oats. Brewer’s yeast is rich in B vitamins, iron, and protein. Flaxseed meal provides omega-3 fatty acids and phytoestrogens. Oats offer iron, fiber, and whole grains. These ingredients are individually lauded for their potential to act as galactagogues and support overall maternal nutrition during breastfeeding.
Absolutely! Lactation cookies are simply nutrient-dense and delicious treats. There are no ingredients in them that would be harmful to non-breastfeeding individuals. In fact, many people enjoy them for their wholesome ingredients like oats, flaxseed, and natural sweeteners. They make a great healthy snack for anyone looking for an energy boost or a satisfying sweet treat.
There’s no strict rule, as individual responses vary. Many nursing parents find that eating one to two cookies a day is sufficient to notice a difference. It’s important to remember that lactation cookies are a supplement to a healthy, balanced diet and adequate hydration, not a replacement. Listen to your body and adjust consumption as needed.
You can start enjoying lactation cookies whenever you feel the need for extra milk supply support or simply a nourishing snack. Some mothers begin eating them a few days postpartum, while others introduce them later in their breastfeeding journey if they notice a dip in supply. Always consult with a lactation consultant or healthcare provider if you have concerns about your milk supply.
Storage Guidelines for Freshness
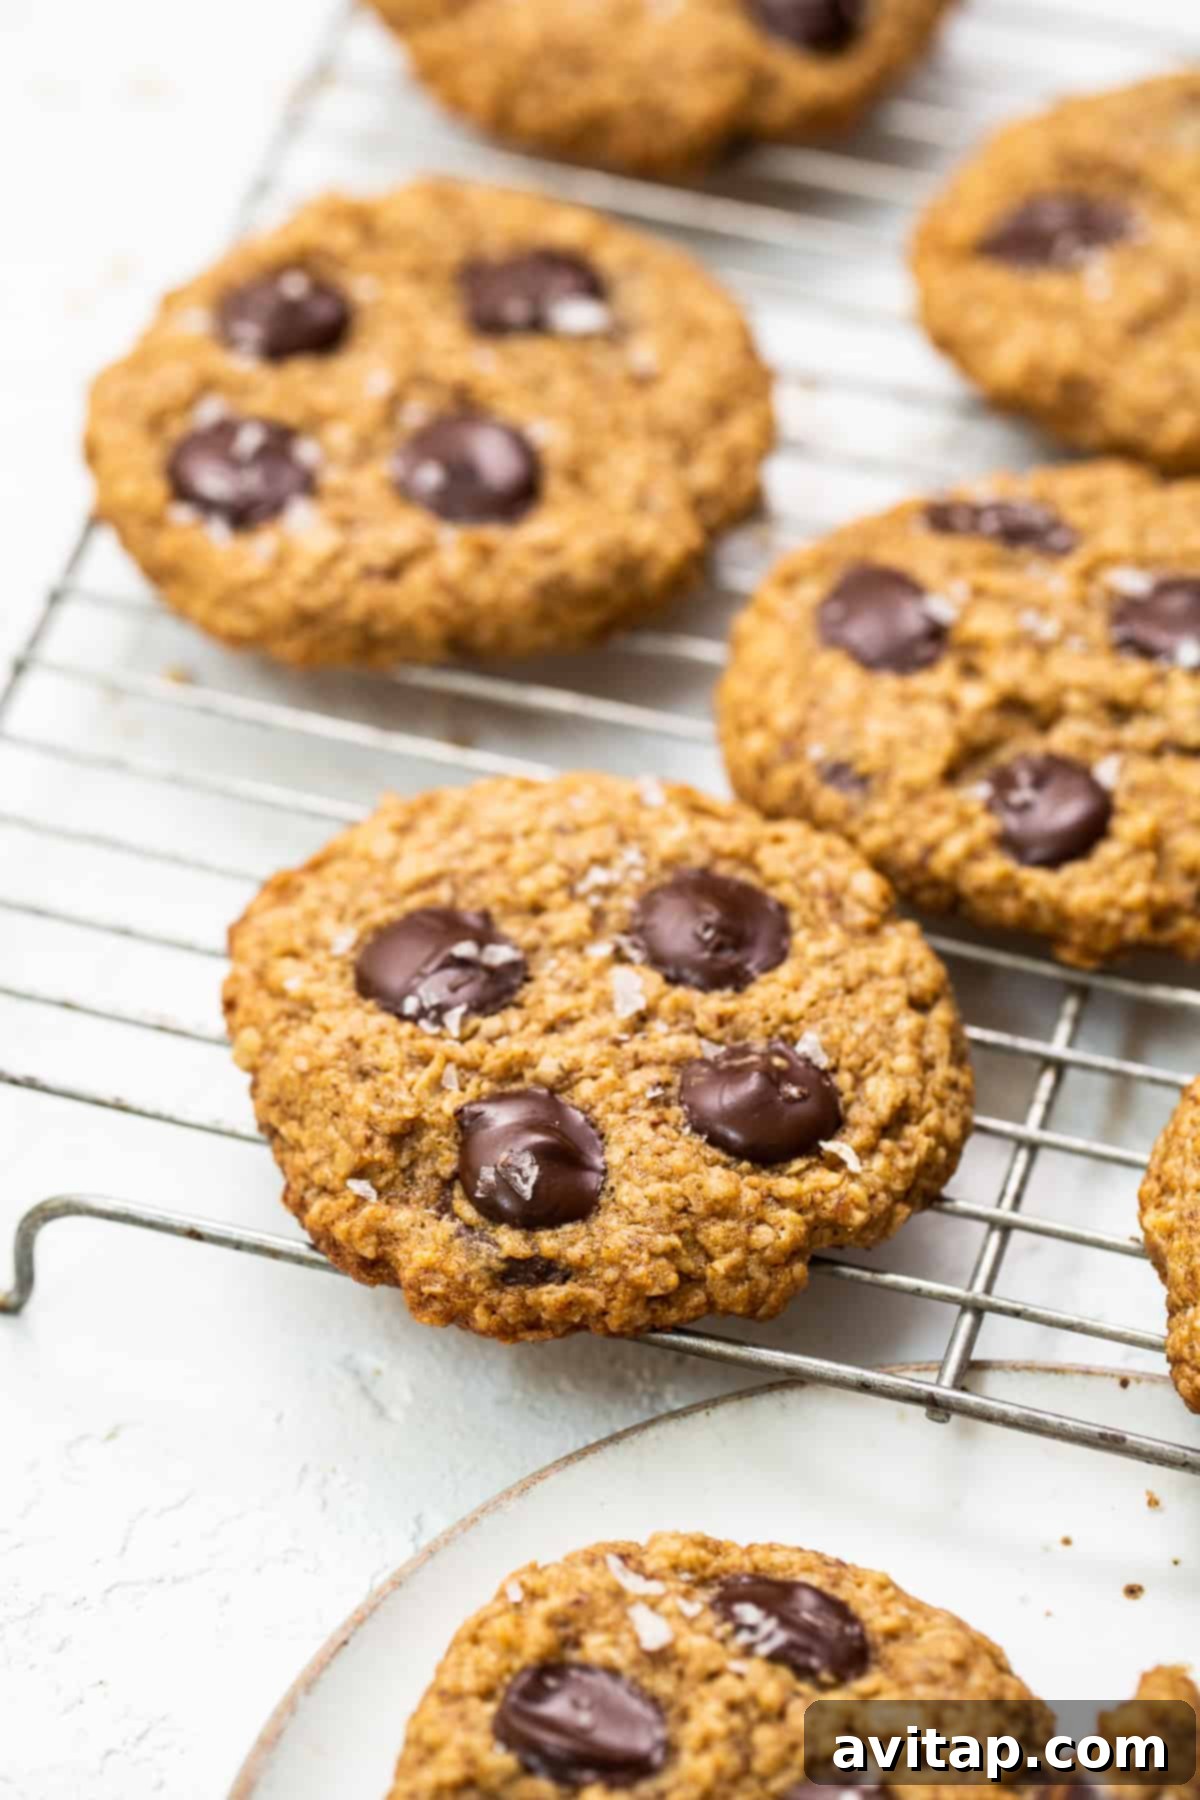
To keep your lactation cookies fresh and delicious, allow them to cool completely on a wire rack first. Once thoroughly cooled, transfer the cookies into an airtight container. Store this container in a cool, dark place, such as a pantry or countertop, where they will maintain their quality for up to 5 days. For longer enjoyment, consider freezing them!
Freezer Instructions for Long-Lasting Supply
Freezing these lactation cookies is an excellent way to ensure you always have a convenient, milk-boosting snack readily available. Once the cookies have cooled completely, arrange them in a single layer on a baking sheet and flash freeze for about 30 minutes until solid. Then, transfer the frozen cookies into a freezer-safe gallon-size bag or an airtight container. Make sure to remove as much air as possible from the bag before sealing to prevent freezer burn. Properly frozen, these cookies will stay fresh and delicious for up to 3 months. Simply thaw at room temperature for a quick and easy snack.
Pro Tip for Busy Moms: When you’re making a batch, why not make it a double or even triple? Having a freezer stash of these wholesome lactation cookies is a game-changer for any nursing mama. It provides effortless nourishment and a comforting treat throughout the demanding yet beautiful breastfeeding journey, whenever hunger strikes.
More Wholesome & Delicious
Oatmeal Cookie Recipes You’ll Love
- Healthy Oatmeal Chocolate Chip Cookies
- No-Bake Chocolate Oatmeal Cookies
- Iced Oatmeal Cookies
- Classic Oatmeal Raisin Cookies
- Peanut Butter Oatmeal Cookies
Lactation Cookies Recipe
Ingredients
- 1/4 cup melted unsalted butter
- 1/2 cup light brown sugar, packed
- 2 tablespoons maple syrup
- 1 teaspoon vanilla extract
- 1 large egg
- 1/2 cup creamy, all-natural peanut butter
- 2 cups quick-cooking oats, gluten-free if desired
- 2 tablespoons flaxseed meal
- 2 tablespoons brewer’s yeast
- 1 teaspoon baking soda
- 1/2 teaspoon salt
- 1/2 cup dark chocolate chips
- Sea salt, for garnish (optional)
Instructions
- First, preheat your oven to 350ºF (175ºC). Lightly grease a baking sheet with nonstick cooking spray or line it with parchment paper. Set aside.
- In a large mixing bowl, cream together the melted butter, light brown sugar, maple syrup, and vanilla extract until light and fluffy. Then, add the egg and peanut butter, mixing until thoroughly combined and smooth.

- Next, add the oats, flaxseed meal, brewer’s yeast, baking soda, and salt to the bowl. Mix until just combined. Fold in the chocolate chips until evenly distributed. The dough should have a consistency similar to regular cookie dough, though it might be a bit soft.
- Scoop about 2 tablespoons of dough for each cookie. Gently roll it into a ball between your slightly moistened hands. Place the dough ball onto the prepared baking sheet and slightly press down with your palm to form a cookie shape. The batter will feel a bit moist, but this contributes to the soft and chewy final result! Sprinkle the tops with a little sea salt, if desired.
- Repeat the process until you have about 6 cookies spaced evenly on your baking sheet.
- Bake the cookies in the preheated oven for 11-14 minutes, or until the edges begin to turn golden brown and the centers are just set.
- Remove the cookies from the oven and let them cool on the baking sheet for a couple of minutes before carefully transferring them to a wire rack. Allow them to cool completely for at least 20 minutes to fully firm up and reach their ideal chewy texture.
Tips & Notes
- If your cookie dough feels too wet to form into balls, place the dough in the fridge for 30 minutes to firm it up.
- For perfectly flat, evenly-baked cookies, gently press down on the cookie dough balls before baking, as they will only spread minimally.
- To make rolling easier, slightly moisten your hands before handling the sticky dough and wash your hands as needed between forming cookies.
Nutrition Information (per serving)
Carbohydrates: 18 g,
Protein: 5 g,
Fat: 10 g,
Fiber: 2 g,
Sugar: 11 g
Nutrition information is an approximation and can vary based on specific ingredients and preparation methods.
Love this recipe? Leave a comment below!
Don’t forget to tag your creations on social media with the hashtag #fitfoodiefinds – we’d love to see what you’re baking!
Photography Credit: All beautiful photos in this post were captured by Ashley McGlaughlin from The Edible Perspective.