
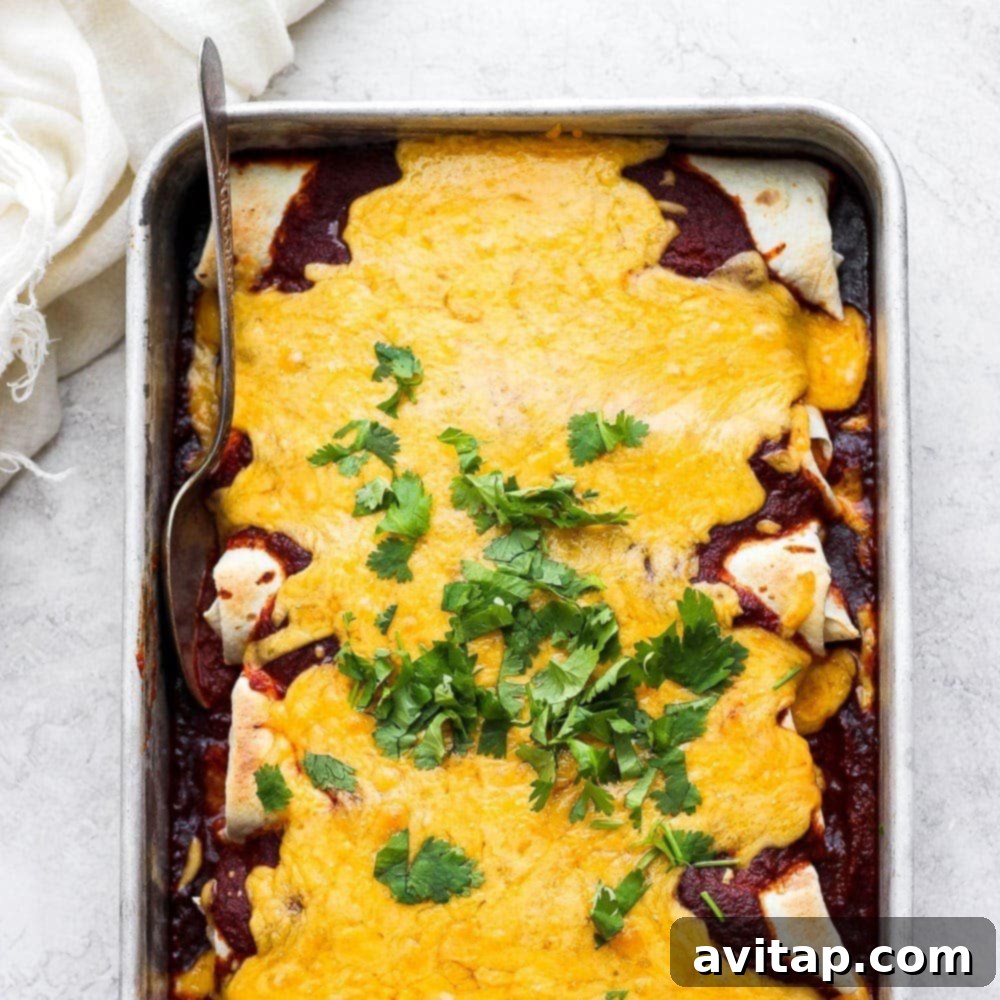
Effortless Rotisserie Chicken Enchiladas: Your Go-To Weeknight Meal
Say goodbye to lengthy dinner prep and hello to flavor-packed perfection with these incredible Rotisserie Chicken Enchiladas! They’re the ultimate shortcut to a delicious meal, brimming with tender shredded chicken, a colorful medley of fresh vegetables, hearty beans, and generously topped with a rich, homemade enchilada sauce that will make your taste buds sing.
Are you constantly searching for brilliant ways to utilize leftover rotisserie chicken? Look no further! Not only are we diving deep into this fantastic enchilada recipe, but we’ll also share a treasure trove of other creative ideas to transform that succulent bird into exciting new dishes.
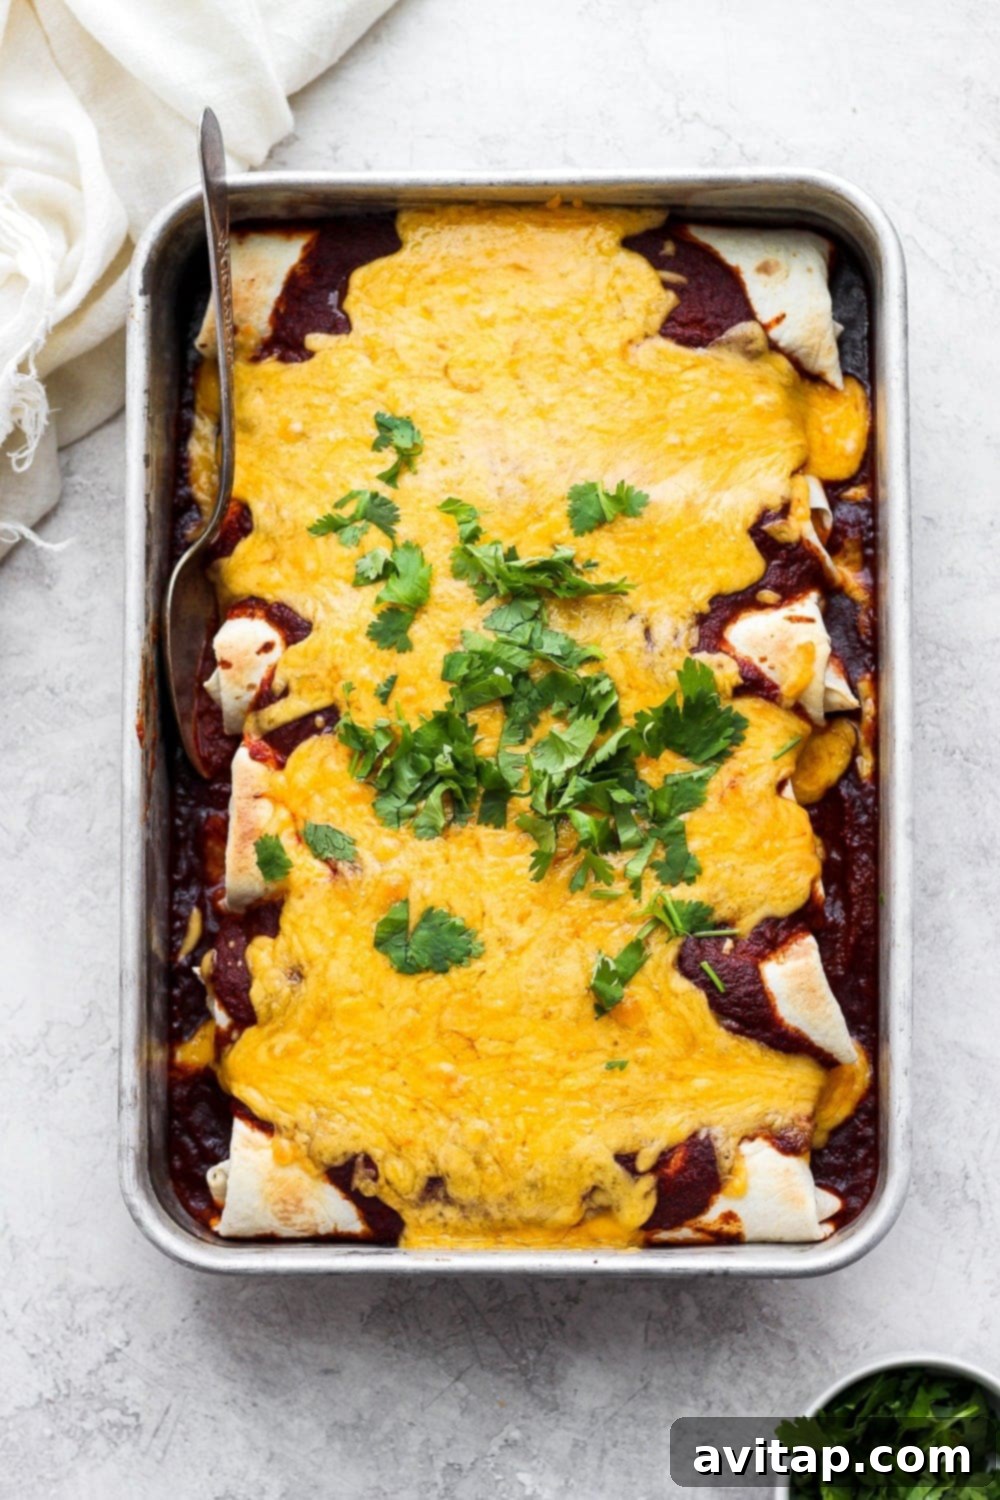
This recipe consistently ranks as one of my absolute favorites when it comes to reinventing shredded chicken, especially when I have leftover rotisserie chicken on hand. It’s an incredibly simple yet satisfying way to ensure no delicious morsel goes to waste. The beauty of these enchiladas lies in their simplicity, their saucy and cheesy goodness, and their almost foolproof execution. Whether you’re a seasoned chef or a kitchen novice, you’ll find joy in bringing this dish to life.
Why Rotisserie Chicken Enchiladas Are a Weeknight Hero
The eternal dinner dilemma often begins with, “What should we make tonight?” and more often than not, the answer is a shrug. But when the suggestion for enchiladas came up, a lightbulb moment occurred! Enchiladas, while undeniably delicious, can sometimes feel like a labor-intensive affair, from perfectly cooking the chicken to simmering a complex sauce. However, the secret weapon here is a store-bought rotisserie chicken. It instantly transforms a potentially daunting task into a quick and easy culinary adventure.
A ready-to-use rotisserie chicken means half the work is already done. Its pre-cooked, seasoned, and tender meat provides an unparalleled depth of flavor that elevates your enchiladas without any extra effort. This convenience makes it an ideal choice for busy weeknights, allowing you to whip up a comforting, homemade meal in a fraction of the time.
Key Ingredients for Your Enchilada Masterpiece
Crafting the perfect rotisserie chicken enchiladas starts with a selection of fresh, flavorful ingredients. Here’s what you’ll need to create this amazing dish:
- Rotisserie Chicken: The undisputed star of this dish! A 1.5 to 2 lb. rotisserie chicken provides the perfect amount of pre-cooked, flavorful meat, eliminating the need for any additional chicken preparation. It’s your ultimate time-saver.
- Enchilada Sauce: While store-bought options are available, we wholeheartedly recommend our homemade enchilada sauce. Its rich, authentic flavor truly makes all the difference and it’s surprisingly simple to prepare.
- Pinto Beans: These add a wonderful creamy texture and a significant boost of plant-based protein, making your enchiladas even more satisfying and nutritious.
- Bell Pepper: We love incorporating vibrant vegetables into every meal, and bell peppers are a fantastic choice. They add natural sweetness, a delightful crunch, and a burst of color to the filling.
- Shredded Cheese: A generous layer of melted cheese is essential for any good enchilada. Feel free to use your favorite shredded cheddar, Monterey Jack, or a Mexican blend for optimal cheesiness.
- Tortillas: The foundation of your enchiladas! We highly recommend using large flour tortillas for their flexibility, durability, and soft texture, which helps them hold together beautifully during baking.
Crafting Your Rotisserie Chicken Enchiladas: A Step-by-Step Guide
Get ready for a delicious, veggie-packed meal that comes together in roughly 30 minutes. This recipe is a true win-win: minimal effort for maximum flavor!
1. Prepare Your Rotisserie Chicken
One of the many perks of using a rotisserie chicken is the delightful blend of both succulent white meat and flavorful dark meat. While white meat is lean, the dark meat is where much of the rich, savory flavor resides. To prepare, simply use two forks to easily shred the entire rotisserie chicken. You can remove the skin if you prefer, but don’t toss it! It’s incredibly flavorful and can be enjoyed as a chef’s treat. Carefully remove any bones and the carcass, and your chicken is ready to be incorporated into the filling.
Pro Tip: Don’t have a rotisserie chicken? No problem! If you have chicken breasts or thighs on hand, simply bake or boil them until cooked through, then shred them using two forks. For an even easier method, try making shredded chicken in your slow cooker – it’s a hands-off way to achieve perfectly tender results.
2. Create the Flavorful Enchilada Filling
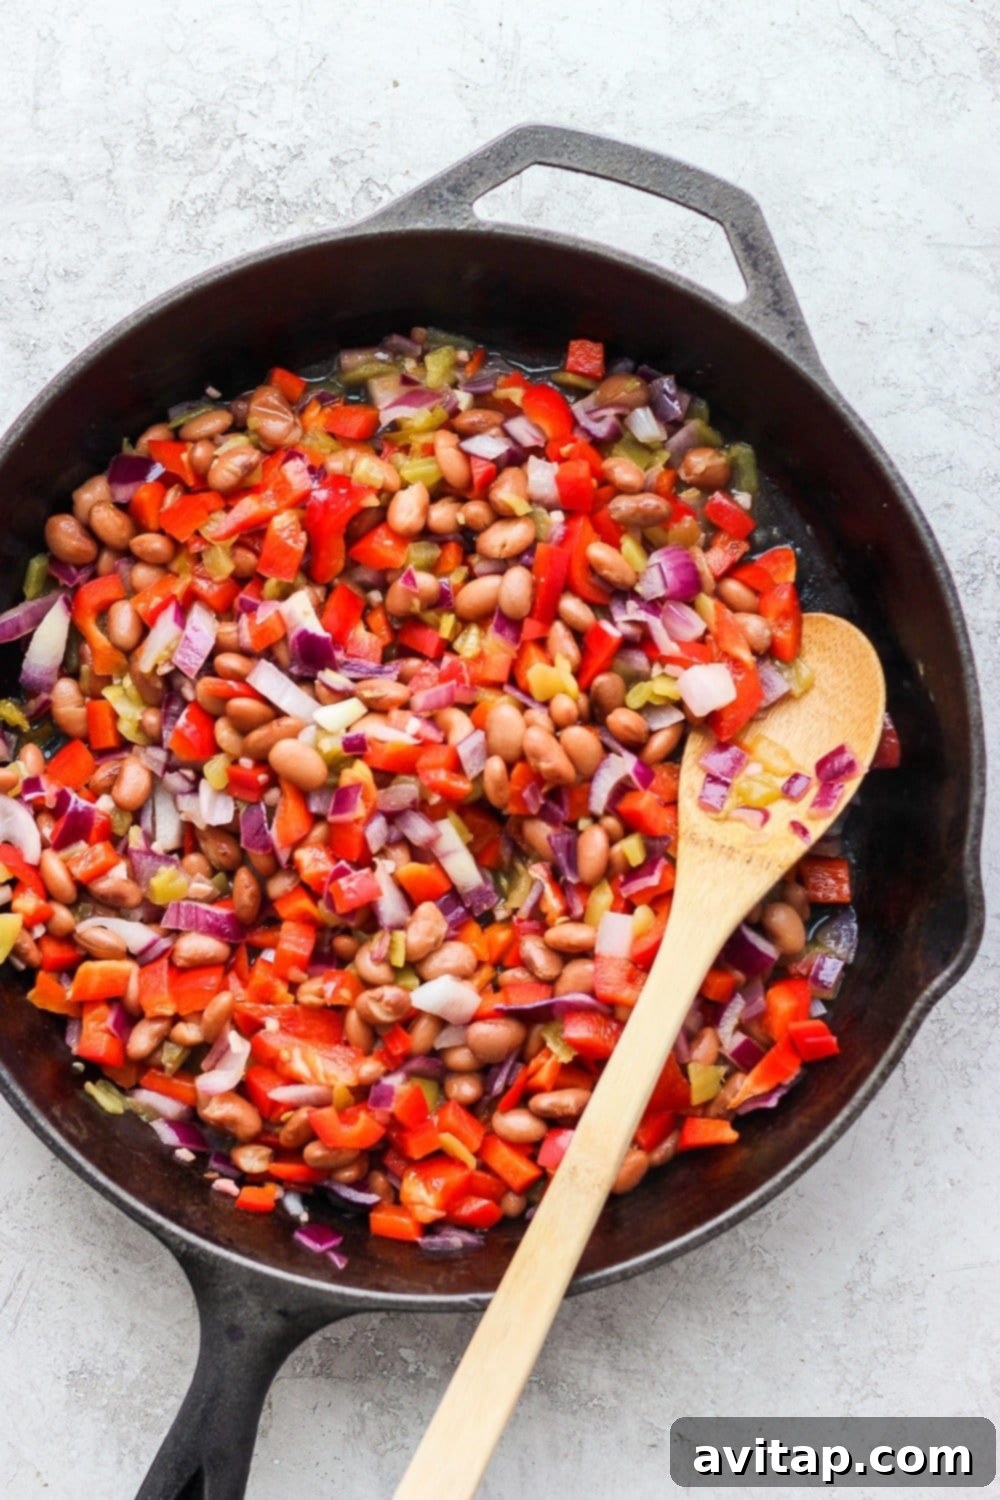
This enchilada filling is nothing short of magical, brimming with vibrant vegetables and hearty beans that create a delicious texture and add nutritional value. Here’s what goes into our fantastic filling:
- Red bell pepper, finely diced
- Purple onion, finely diced
- Pinto beans, drained and rinsed
- Canned green chiles
Feel empowered to customize this filling to your liking. Swap out the red bell pepper for green, yellow, or orange. Use white or yellow onions instead of purple, or experiment with black beans or kidney beans in place of pinto beans. The possibilities are endless!
The filling requires a touch of sautéing to soften the vegetables and meld the flavors. Heat a large skillet over medium-high heat, add a splash of olive oil, and sauté the diced onion and minced garlic for 2-3 minutes until fragrant. Then, incorporate the bell pepper, pinto beans, and green chiles, cooking for another 2-3 minutes until the vegetables are slightly tender-crisp. This entire process takes no more than 10 minutes, ensuring your filling is perfectly prepped and ready.
3. Expertly Roll Your Enchiladas
With your chicken shredded and your flavorful filling prepared, it’s time for the satisfying task of rolling the enchiladas. This recipe typically yields around 6 to 8 generously sized enchiladas, depending on your tortilla size and how full you make them.
For optimal results, we almost always recommend using large flour tortillas, especially for any burrito-like recipe. Flour tortillas are wonderfully flexible, making them easy to roll without tearing, and they maintain an excellent texture when baked, holding all that delicious filling securely.
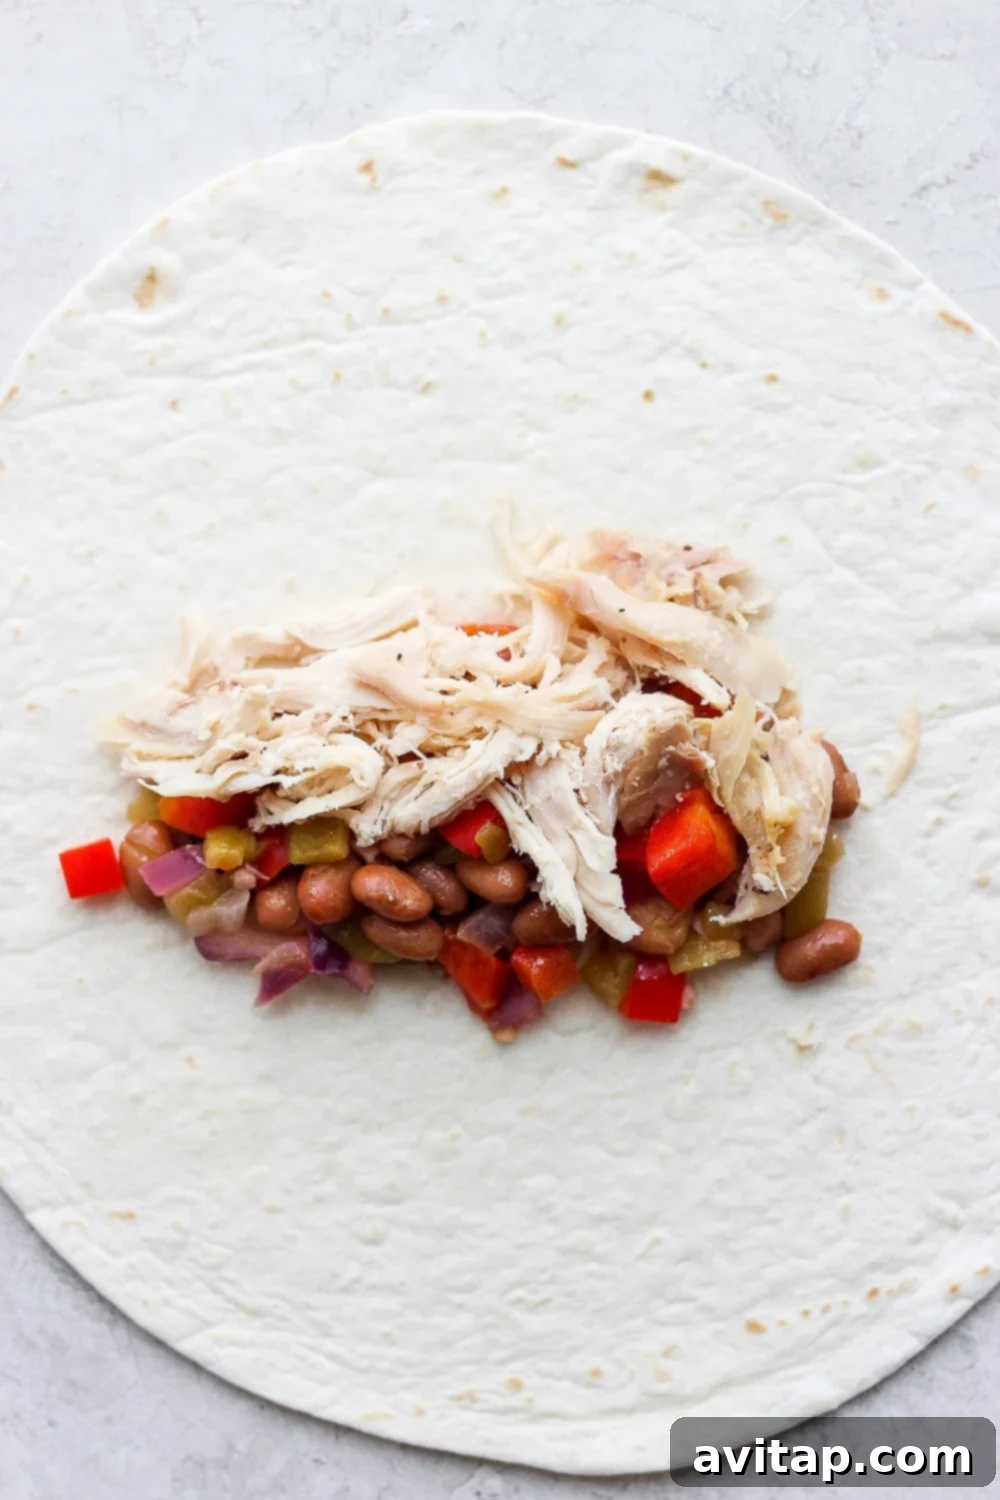
To assemble, scoop about 1/3 cup of the enchilada filling and approximately 1/3 cup of the shredded chicken onto the center of each tortilla. Don’t overfill! Then, fold the short ends of the tortilla inward, and tightly roll it up from one long side to the other. Place each rolled enchilada seam-side down in your prepared baking dish.
4. Drench in Sauce and Top with Cheese
The sauce is paramount to a truly authentic and delicious enchilada experience. We highly recommend our stellar homemade enchilada sauce. Why? Because it’s incredibly simple to whip up – primarily tomato sauce, a blend of spices, and a bit of water – yielding a rich, deeply flavored sauce that far surpasses most store-bought varieties. You’ll need a total of about 3 cups for this recipe.
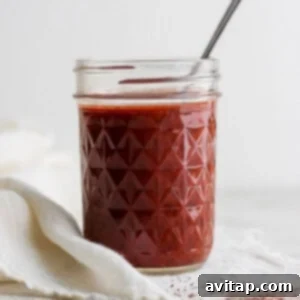
Homemade
Enchilada Sauce
Whip up a batch (or even a double batch!) of this incredibly flavorful homemade enchilada sauce. It stores beautifully in the refrigerator, making it perfect for whenever those enchilada cravings strike during the week!
If time is of the essence or you simply prefer the convenience, opting for a quality store-bought enchilada sauce is perfectly acceptable. Here are some of our top recommendations for excellent store-bought options:
- Frontera Red Chile Enchilada Sauce
- 365 Organic Red Enchilada Sauce
- Old El Paso Red Enchilada Sauce
To assemble, pour half of your chosen enchilada sauce evenly over the bottom of your baking dish. Arrange your tightly rolled enchiladas snugly on top of the sauce, ensuring they fit well. Then, generously pour the remaining enchilada sauce over the enchiladas, spreading it out evenly to coat each one. Finally, it’s time for the glorious cheese layer! We adore freshly shredded cheddar cheese for its melting quality and robust flavor, but Colby Jack or a Mexican cheddar blend are also fantastic choices that will create a wonderfully bubbly, golden crust.
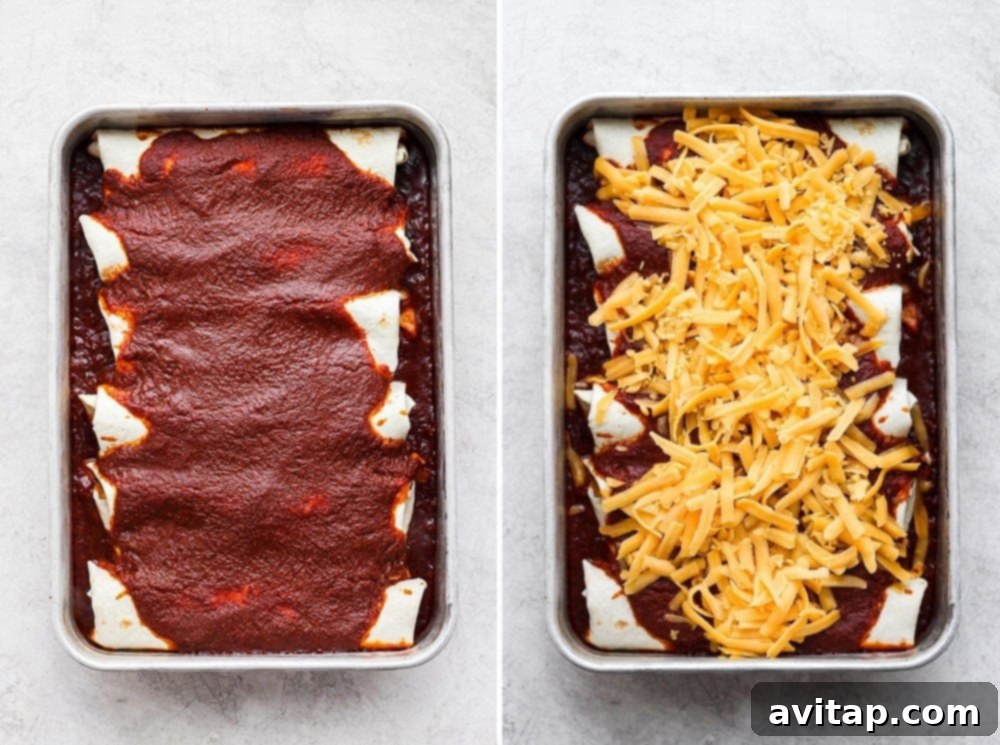
5. Bake to Perfection and Serve
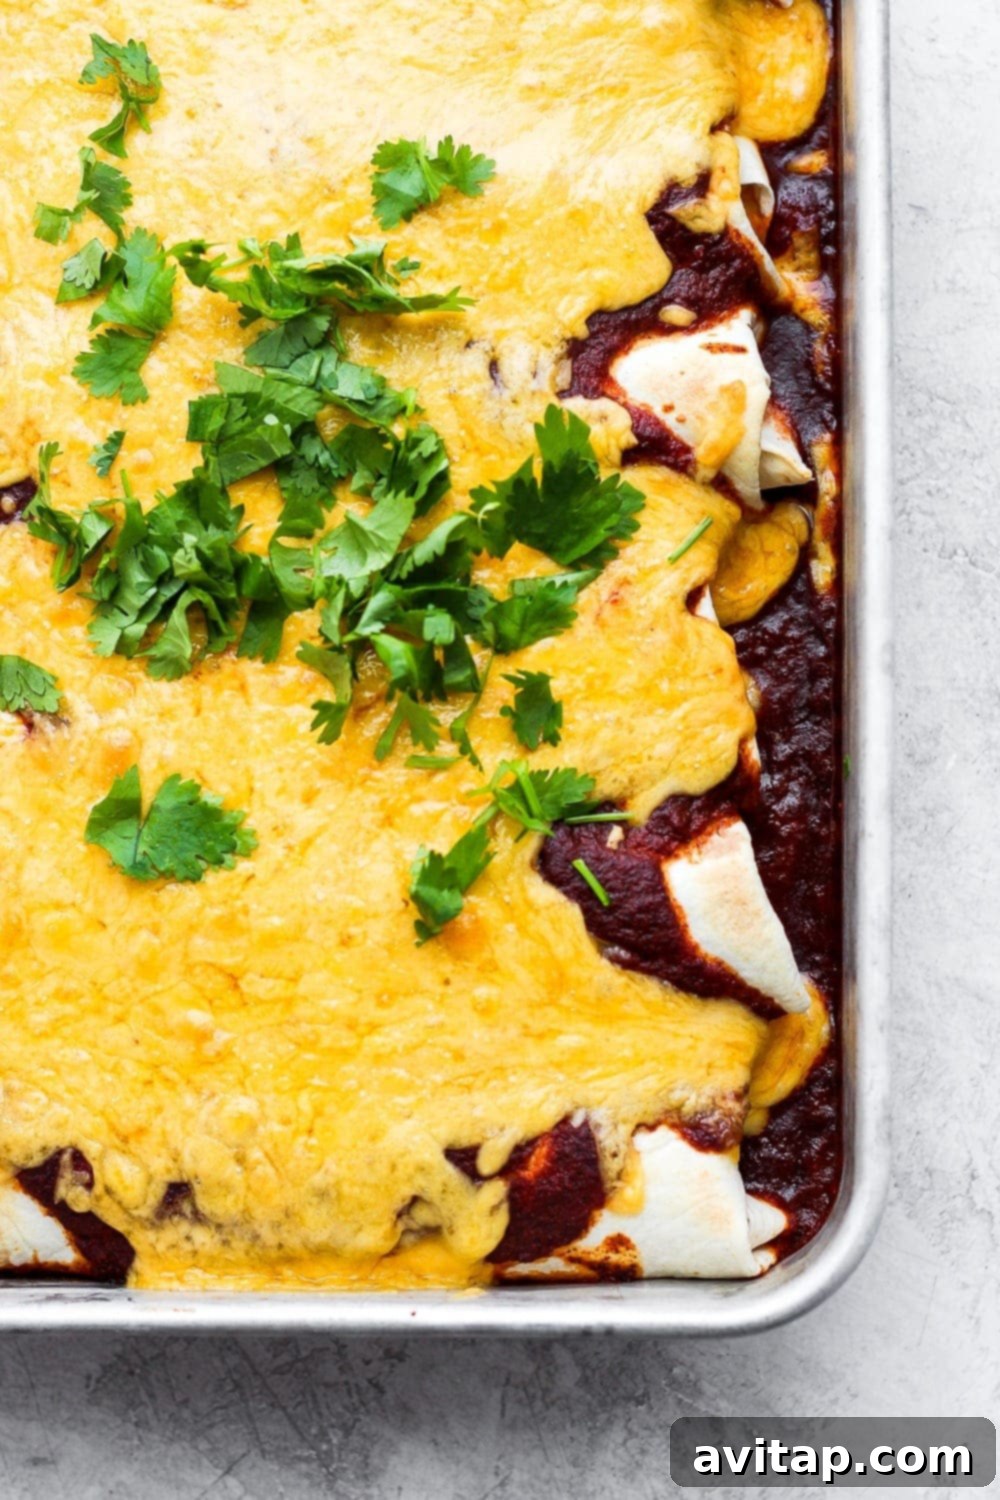
Bake your enchiladas in a preheated oven at 350ºF (175ºC) for approximately 20 minutes. Since all the components are already cooked, the primary goal during baking is to ensure the enchiladas are thoroughly heated through and the flavors have a chance to meld beautifully. After 20 minutes, consider adding the cheese and baking for an additional 5 minutes until it’s perfectly melted and bubbly. This creates that irresistible golden-brown crust.
Serve these amazing enchiladas immediately, allowing everyone to customize their plate with favorite toppings. Fresh cilantro, a dollop of creamy Greek yogurt (or sour cream), and a dash of hot sauce are classic choices that elevate the experience. Consider serving with a side of Mexican rice or a simple green salad for a complete and satisfying meal.
Storage and Reheating Tips
Storing Leftover Enchiladas
If you’re lucky enough to have leftovers (though we doubt there will be many!), store them in an airtight container in the refrigerator. They will remain fresh and delicious for up to 5 days, making them perfect for meal prep or quick lunches.
Reheating Your Enchiladas
To enjoy your enchiladas again, you have a couple of convenient reheating options:
- Microwave: For a quick reheat, place individual portions in the microwave and heat on high for about 90 seconds, or until warmed through.
- Oven: For a crispier texture reminiscent of freshly baked, reheat your enchiladas in the oven at 350ºF (175ºC) for 15-20 minutes, or until bubbling and hot in the center. Cover with foil to prevent drying out, then uncover for the last few minutes if you want to crisp up the cheese.
More Incredible Leftover Rotisserie Chicken Recipes
A rotisserie chicken is a versatile kitchen staple, and beyond enchiladas, there are countless ways to transform it into another mouthwatering meal. Here are some of our other favorite ways to use up leftover shredded chicken:
- Rotisserie Chicken Cobb Salad: This is a vibrant, protein-packed, and veggie-filled salad that makes for a fantastic lunch or light dinner. Using rotisserie chicken means less cooking and more enjoying!
- BBQ Pulled Chicken: Skip the slow cooker step and simply toss your shredded rotisserie chicken with your favorite BBQ sauce. Heat it through, and you have instant, delicious pulled chicken sandwiches or tacos.
- Healthy Chicken Salad Recipes: Replace the cooked chicken breast in any of our four healthy chicken salad recipes with shredded rotisserie chicken for a quick and flavorful base. Serve on bread, in lettuce wraps, or with crackers.
- Teriyaki Chicken: Forget the crockpot! Simply coat your shredded rotisserie chicken in a rich teriyaki sauce and simmer for a few minutes. Serve over rice with steamed vegetables for a lightning-fast Asian-inspired meal.
Rotisserie Chicken Enchiladas
Looking for a quick, delicious, and easy way to use leftover rotisserie chicken? These 30-minute Rotisserie Chicken Enchiladas are packed with a flavorful veggie and bean filling, topped with your choice of homemade or store-bought enchilada sauce, and baked to cheesy perfection. A perfect weeknight meal!
By: Lee Funke
Prep Time: 10 mins
Cook Time: 20 mins
Total Time: 30 mins
Servings: 6
Ingredients
Enchilada Sauce
- 30 oz. canned tomato sauce
- 2/3 cup water
- 3 tablespoons chili powder
- 1 tablespoon garlic powder
- 1 tablespoon ground cumin
- 2 tablespoons Franks RedHot Sauce (or more, to taste)
- 1/4 teaspoon salt
Enchilada Filling
- 1.5-2 lb. rotisserie chicken, deboned and shredded (cold or warm, it doesn’t matter!)
- 2 tablespoons olive oil
- 2 teaspoons minced garlic
- 1 small purple onion, finely diced
- 1 large red bell pepper, finely diced
- 1 15-oz. can pinto beans, drained and rinsed
- 1 4-oz. can of green chiles
Other Ingredients
- 6-8 large flour tortillas
- 1/2 cup shredded cheddar cheese (or more, to taste)
- Optional toppings: lime juice, fresh cilantro, sliced avocado, Greek yogurt/sour cream
Instructions
- First, preheat your oven to 350ºF (175ºC). Lightly grease a 9×13-inch casserole dish with nonstick cooking spray and set it aside.
- Next, prepare your homemade enchilada sauce. Combine all ingredients for the enchilada sauce (tomato sauce, water, chili powder, garlic powder, ground cumin, Franks, salt) in a medium pot. Whisk well to combine. Bring the mixture to a boil over high heat.
- Once boiling, reduce the heat to low and allow the sauce to gently simmer for 10 minutes. During this time, the sauce should slightly thicken and develop a beautiful glossy sheen. Remove from heat and set aside.
- While the sauce is simmering, prepare the rotisserie chicken. Carefully remove all meat from the bones and shred it using two forks. Set the shredded chicken aside.
- Prepare the enchilada filling. Heat a large skillet over medium-high heat. Add the olive oil to the hot skillet.
- When the olive oil is shimmering and fragrant, add the minced garlic and finely diced red onion to the skillet. Sauté for 2-3 minutes until the onion begins to soften and become translucent. Then, add the finely diced red bell pepper, drained and rinsed pinto beans, and canned green chiles. Continue to cook for an additional 2-3 minutes, stirring occasionally, until the vegetables are tender-crisp. Remove the skillet from the heat.
- Now, it’s time to assemble your enchiladas. Pour half of the prepared enchilada sauce evenly onto the bottom of your greased 9×13-inch casserole dish.
- To make each enchilada, scoop approximately 1/3 cup of the cooked vegetable and bean filling onto the center of a flour tortilla. Follow with about 1/3 cup of the shredded rotisserie chicken. Fold the short ends of the tortilla inward, then tightly roll the tortilla from one long side to the other to create a neat enchilada.
- Place the rolled enchilada, seam-side down, into the casserole dish. Repeat this process until you have filled the dish with 6 to 8 enchiladas, depending on their size and how snugly they fit.
- Pour the remaining enchilada sauce evenly over the top of the assembled enchiladas, ensuring each one is generously coated.
- Bake in the preheated oven at 350ºF (175ºC) for 20 minutes. After 20 minutes, remove the dish from the oven and sprinkle the shredded cheese generously over the top. Return the dish to the oven and bake for an additional 5 minutes, or until the cheese is beautifully melted and bubbly.
- Carefully remove the enchiladas from the oven. For an extra burst of freshness, garnish with a squeeze of fresh lime juice, a sprinkle of chopped fresh cilantro, and slices of creamy avocado. Serve immediately and enjoy your delicious homemade meal!
Tips & Notes
- Enchilada Sauce: For ultimate convenience, you can certainly use 3 cups of your favorite high-quality store-bought enchilada sauce as an alternative to our homemade recipe.
- While this recipe can yield 6-8 enchiladas, the provided nutrition information is calculated based on 6 servings. Adjust accordingly if making more or fewer.
- Make Ahead: You can assemble the enchiladas (without baking) and store them covered in the refrigerator for up to 24 hours. Add the cheese just before baking.
- Freezing: For future meals, assemble the enchiladas in a freezer-safe dish (without baking). Cover tightly with plastic wrap and then foil. Freeze for up to 3 months. To bake from frozen, remove foil and plastic, cover with new foil, and bake at 375°F (190°C) for 45-60 minutes, then uncover, add cheese, and bake for another 10-15 minutes until hot and bubbly.
Nutrition
Calories: 595 kcal, Carbohydrates: 73 g, Protein: 48 g, Fat: 17 g, Fiber: 8 g, Sugar: 12 g
Nutrition information is automatically calculated and should be used as an approximation.
Love this recipe? Leave a comment below!
Don’t forget to tag your delicious creations on social media with the hashtag #fitfoodiefinds – we’d absolutely love to see what you’re cooking up!
Photography by: The Wooden Skillet