
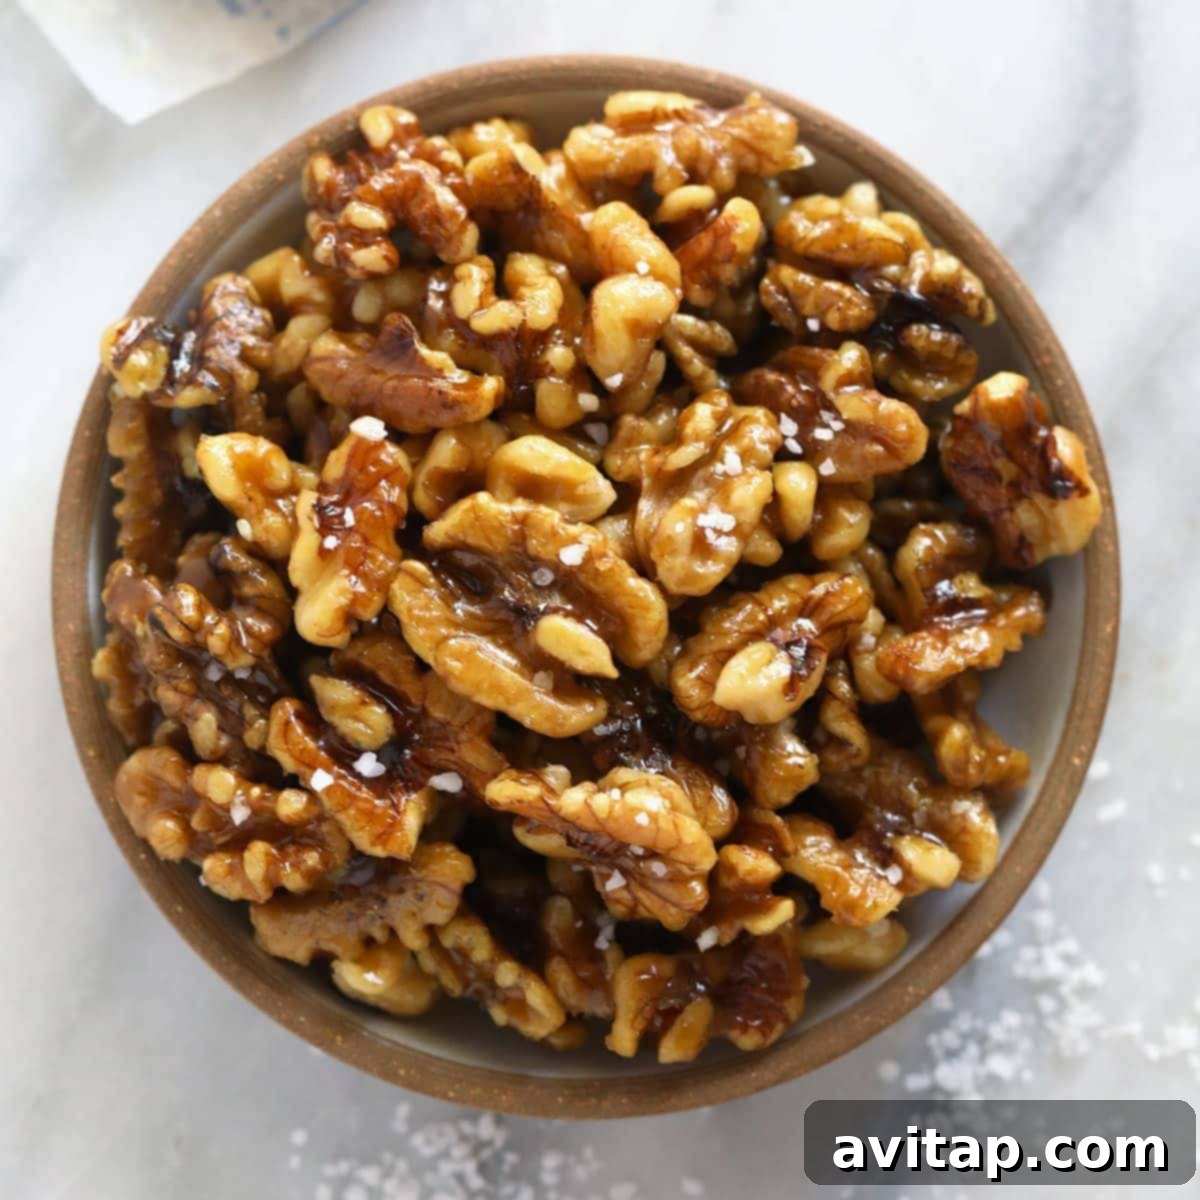
Unlock the secret to perfectly crunchy, delightfully sweet, and subtly salty candied walnuts with this incredibly simple recipe. In just 10 minutes, using only 4 pantry staples, you can create a batch of these irresistible nuts that are a must-have for any occasion.
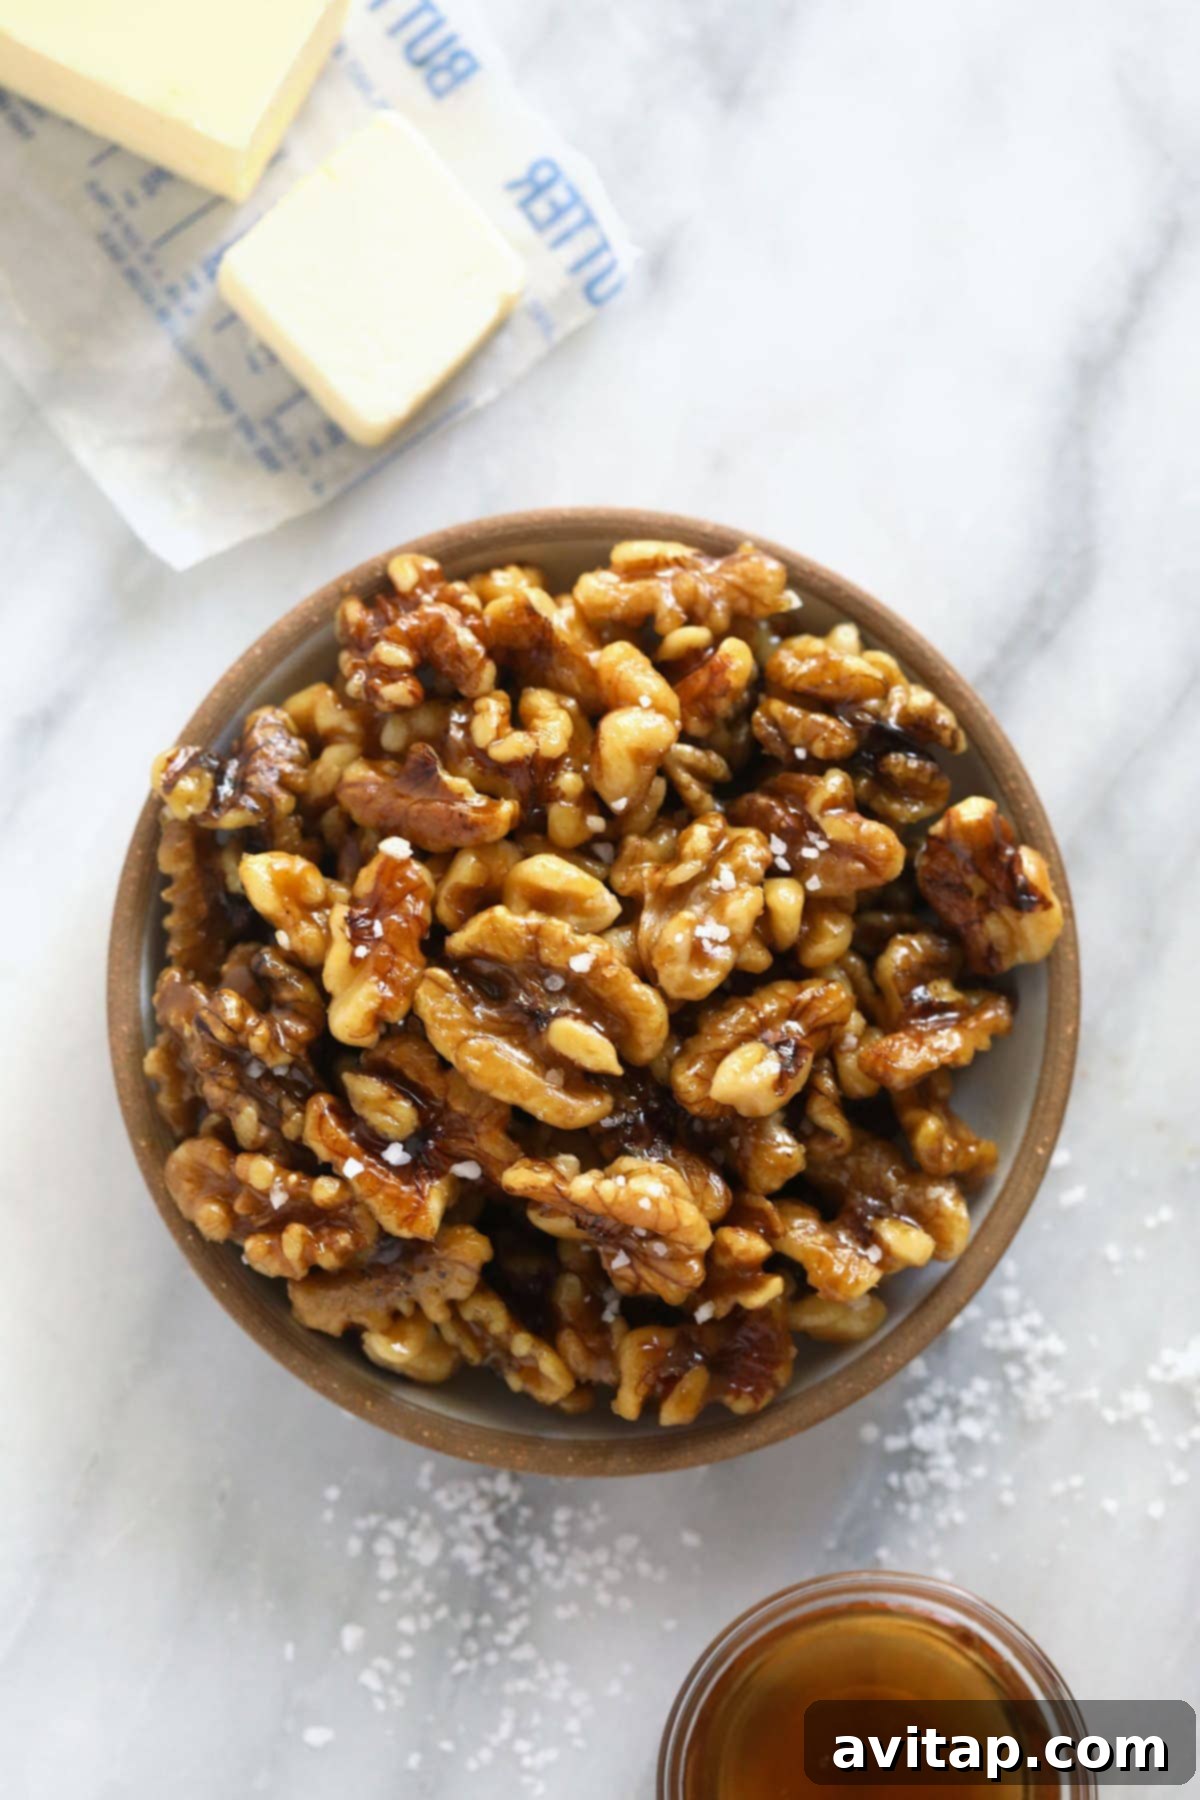
If you’re someone who believes a little crunch elevates every dish, then these homemade candied walnuts are about to become your new kitchen obsession. Forget complicated baking methods; our stovetop technique gets you from raw walnuts to perfectly glazed goodness in a mere 10 minutes. Crafted with just walnuts, butter, pure maple syrup, and a pinch of salt, these delectable nuts instantly transform salads, yogurts, or simply make for an addictive grab-and-go snack.
Why Stovetop Candied Walnuts Are a Game-Changer
While many candied nut recipes call for oven roasting, we’ve perfected a stovetop shortcut that’s not only faster but also delivers an incredibly consistent, crisp candy coating. We’ve experimented with various sweeteners – from classic white sugar to rich brown sugar – but pure maple syrup truly emerged as the star. It infuses the walnuts with a deep, natural sweetness and a hint of caramel, creating a flavor profile that rivals, if not surpasses, traditional roasted versions. This method is exceptionally beginner-friendly, making it an ideal recipe for those new to the kitchen to try their hand at creating something truly impressive.
Beyond their ease and speed, these quick candied walnuts offer endless possibilities for customization and enjoyment. Whether you’re looking for a gourmet salad embellishment, a wholesome snack, or a thoughtful homemade gift, these nuts are incredibly versatile. Let’s dive into what makes them so special and how you can put your own unique spin on this delightful treat!
Featured Comment
“Super easy to make and delicious! We used them on top of a kale salad!” – Kendra
Essential Ingredients for Perfect Candied Walnuts
You’ll be amazed that only 4 simple ingredients are all you need to create these homemade candied walnuts. Chances are, you already have most, if not all, of them in your pantry!
- Walnuts: The star of our show! For best results, use raw (unroasted, unsalted) walnut halves or pieces. Raw walnuts absorb the sweet coating better and develop a richer flavor as they candy. Look for fresh, plump walnuts for the best texture and taste.
- Butter: This is crucial for developing that rich, caramel-like flavor and helping the maple syrup adhere to the nuts. Unsalted butter allows you to control the final saltiness. A good quality butter will truly shine through in the final product.
- Maple Syrup: Our preferred sweetener, maple syrup delivers a nuanced sweetness with delightful caramel undertones that artificial sugars simply can’t replicate. Ensure you’re using pure maple syrup, not pancake syrup, for the best flavor and candying consistency.
- Sea Salt: A generous sprinkle of coarse sea salt is key to balancing the sweetness of the maple syrup, creating that irresistible sweet and salty combination that keeps you coming back for more. Don’t skip this!
Creative Variations & Substitutions for Candied Walnuts
One of the best things about this recipe is how easily it can be adapted to suit your taste or dietary needs. Here are a few fun ways to customize your candied nuts:
- Different Nuts: Don’t limit yourself to walnuts! This recipe works beautifully with other raw nuts. Try the same amount of raw pecans for a butterier flavor, or use cashews for a creamier, softer crunch. Almonds or even mixed nuts could also be a delicious experiment.
- Vegan Option: For a dairy-free or vegan version, simply swap the unsalted butter with an equal amount of high-quality coconut oil. The coconut oil will melt similarly and create a lovely coating. Just be mindful that it might reach the candying stage a little faster than butter.
- Alternative Sweeteners: While maple syrup is our top pick, you can certainly experiment with others. Honey will give the walnuts a slightly different floral note, while molasses will add a deeper, richer, almost gingerbread-like flavor. Adjust amounts to taste, as these can be sweeter or more intense.
- Spice It Up: A pinch of spice can transform these nuts. Sprinkle in a little ground cinnamon for a warm, comforting twist. Other cozy spices like nutmeg, cardamom, or a pumpkin pie spice blend would also be fantastic, especially during the fall and winter months.
- Add a Kick: For those who love a bit of heat, a tiny pinch of cayenne pepper or smoked paprika can add an unexpected and delightful zing, creating a sweet and spicy candied nut that’s truly addictive.
- Citrus Zest: A bit of orange or lemon zest grated into the mixture towards the end of cooking can add a bright, fresh counterpoint to the sweetness.
Frequently Asked Questions About Candied Walnuts
Absolutely not! This recipe is designed for maximum convenience. You can place the raw walnuts directly into the skillet; no pre-soaking is required. This saves you time and ensures a quicker path to your delicious candied treat.
Some form of fat is essential for these candied walnuts to achieve their characteristic texture and flavor. The butter helps create that wonderful caramel coating. However, if you’re looking for a vegan alternative or simply prefer not to use butter, coconut oil is an excellent substitute. Just remember to keep a close eye on the nuts as they cook, as coconut oil may cause them to “candy” slightly faster than butter.
Yes, you absolutely can! If you’re preparing for a gathering or just want extra to snack on, doubling the recipe is simple. The main consideration is ensuring your skillet is large enough to accommodate 4 cups of nuts without overcrowding. If your skillet isn’t spacious enough, consider making two individual batches. Since these nuts only take about 5 minutes to candy on the stovetop, making separate batches adds very little extra time.
Proper Storage for Your Candied Walnuts
To maintain their optimal crunch and flavor, proper storage is key. Once your candied walnuts are completely cool to the touch – which is very important to prevent condensation – transfer them to an airtight container. Store them in a cool, dark place, such as your pantry, for up to 1 week. This keeps them fresh, crisp, and ready to enjoy whenever a craving strikes.
Freezing Candied Walnuts for Longer Freshness
Want to extend the life of your candied walnuts or prepare a large batch in advance? Freezing is an excellent option! After the walnuts have cooled completely to room temperature, transfer them to a freezer-safe container or a heavy-duty freezer bag. They can be frozen for up to 3 months without losing their delightful texture or taste.
When you’re ready to enjoy them, simply take them out of the freezer. They thaw remarkably quickly at room temperature. In fact, we often enjoy them directly from the freezer as a refreshing and crunchy midday snack – they’re surprisingly delicious cold!
More of our Favorite…
Quick and Easy Snack Inspiration
If you love simple, delicious snacks, you’ll definitely want to try these other fan favorites:
- Maple Roasted Pecans: Another wonderfully sweet and crunchy nut recipe.
- Maple Sesame Roasted Cashews: A delightful combination of sweet and savory.
- Chocolate Peanut Butter Granola: Perfect for breakfast or a hearty snack.
- Fruit and Yogurt Parfait: A fresh, light, and customizable treat.
- No-Bake Peanut Butter Oat Cups: Quick, easy, and satisfying.
Delightful Serving Suggestions for Candied Walnuts
The versatility of candied walnuts makes them a fantastic addition to countless dishes, elevating both sweet and savory profiles. Here are some of our favorite ways to enjoy them:
- On-the-Go Snack: Simply grab a handful! They’re perfect for a quick energy boost during a busy day.
- Elevate Your Salads: This is perhaps their most classic use. Sprinkle chopped or whole candied walnuts over your favorite green salads, especially those featuring apples, goat cheese, cranberries, or a vinaigrette dressing. The sweet crunch provides a wonderful textural contrast.
- Breakfast Boost: Add them to your morning routine! Sprinkle over oatmeal, yogurt parfaits, or even cold cereal for an extra layer of flavor and crunch.
- Dessert Topping: Transform simple desserts into something special. Crush them and sprinkle over ice cream, pudding, fruit crisps, or even a classic cheesecake.
- Baking & Pastries: Fold chopped candied walnuts into muffin batter, cookie dough, or even banana bread for added texture and a sweet surprise.
- Cheese Boards & Charcuterie: Candied walnuts are a sophisticated addition to any cheese board. Their sweetness pairs beautifully with sharp cheeses, cured meats, and fresh fruits.
- Holiday Platters: During festive seasons, they make a wonderful addition to snack mixes or holiday gift baskets.
Homemade Gift Idea: Looking for a thoughtful, easy, and delicious gift? Make a generous batch of these candied walnuts! Once completely cooled, transfer them to a beautiful airtight jar or bag, tie with a festive ribbon, and you have a charming homemade gift ready in mere minutes. Perfect for holidays, housewarmings, or just because!
Easy Candied Walnuts
Linley Hanson
5 minutes
5 minutes
10 minutes
6
Ingredients
- 2 cups whole walnuts*, raw (unroasted, unsalted)
- 1 tablespoon unsalted butter
- 1/4 cup maple syrup
- 1/4 teaspoon coarse sea salt
Instructions
-
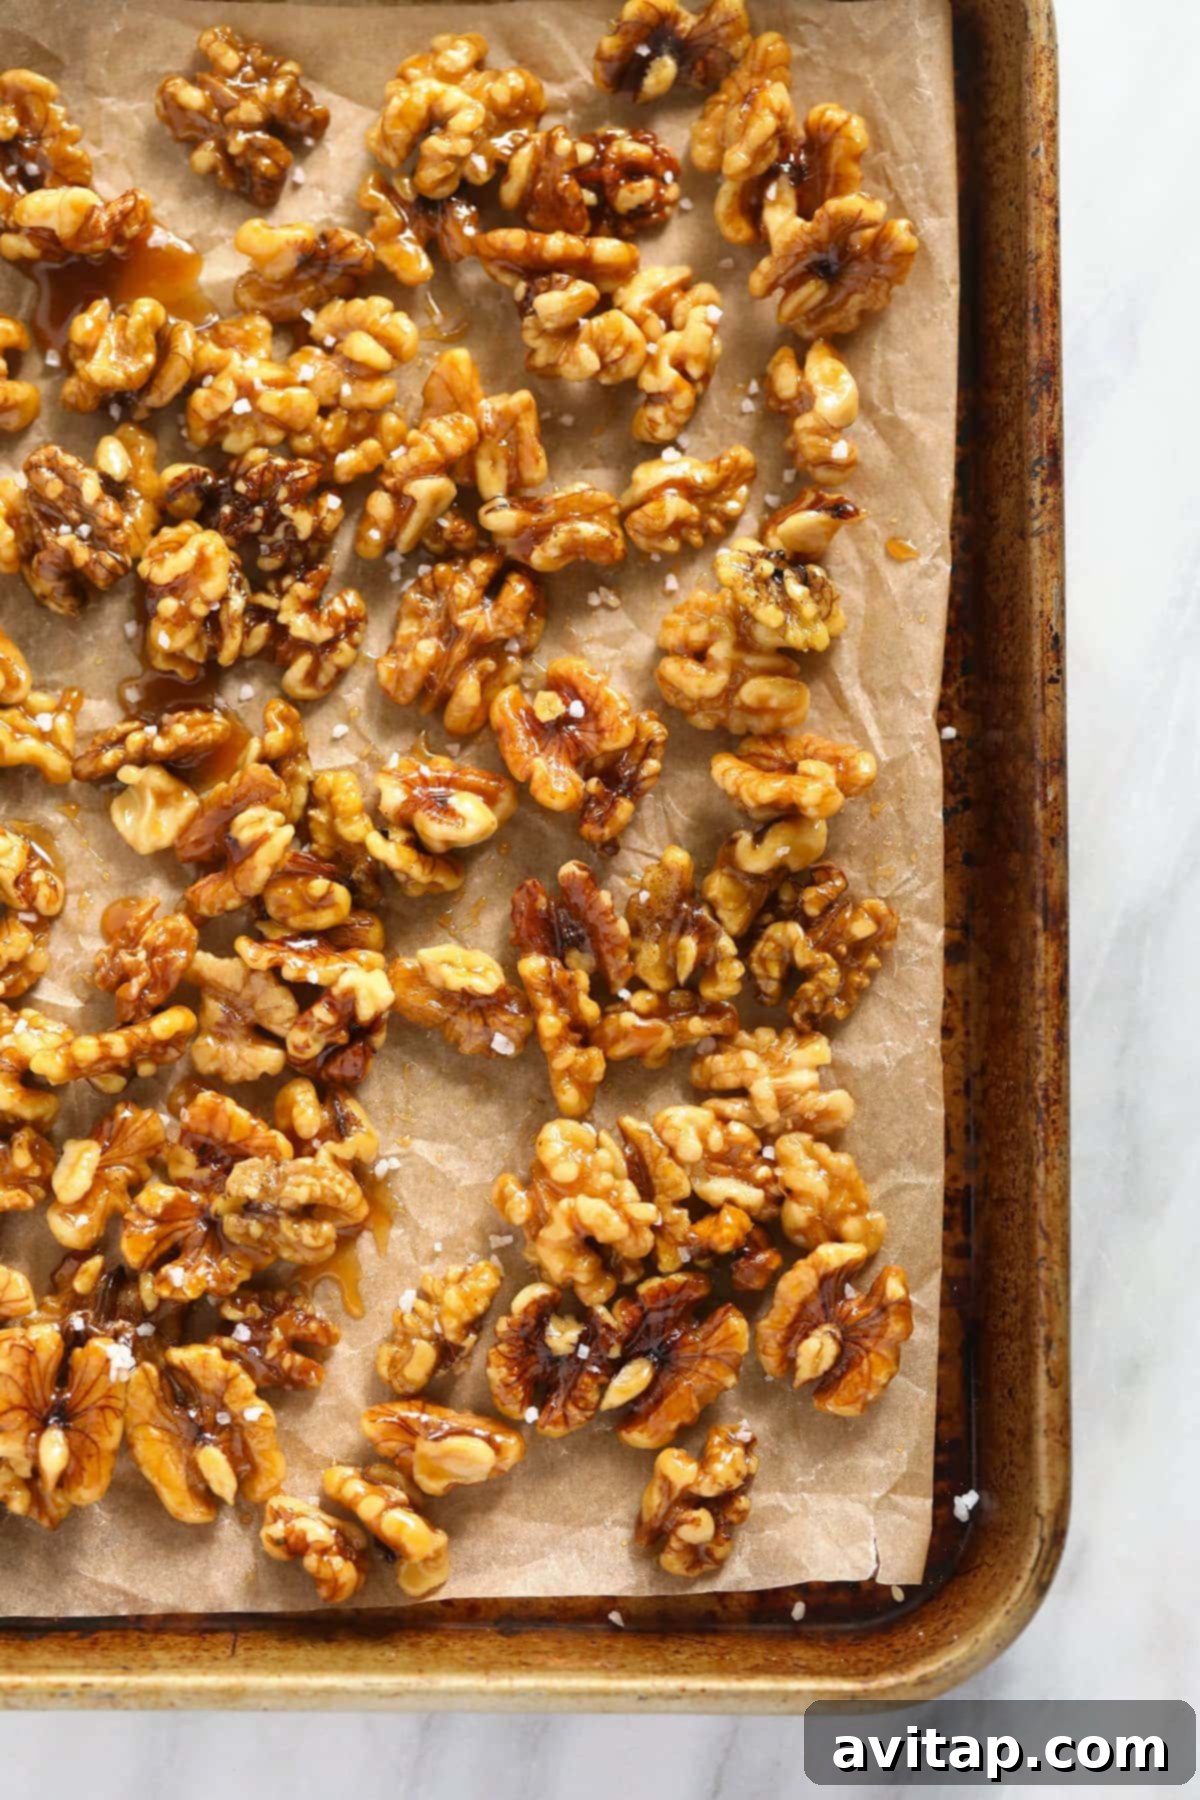
Prepare your cooling station by lining a baking sheet or a large plate with parchment paper. This prevents the candied walnuts from sticking and makes for easy cleanup. Set this aside for later.
-
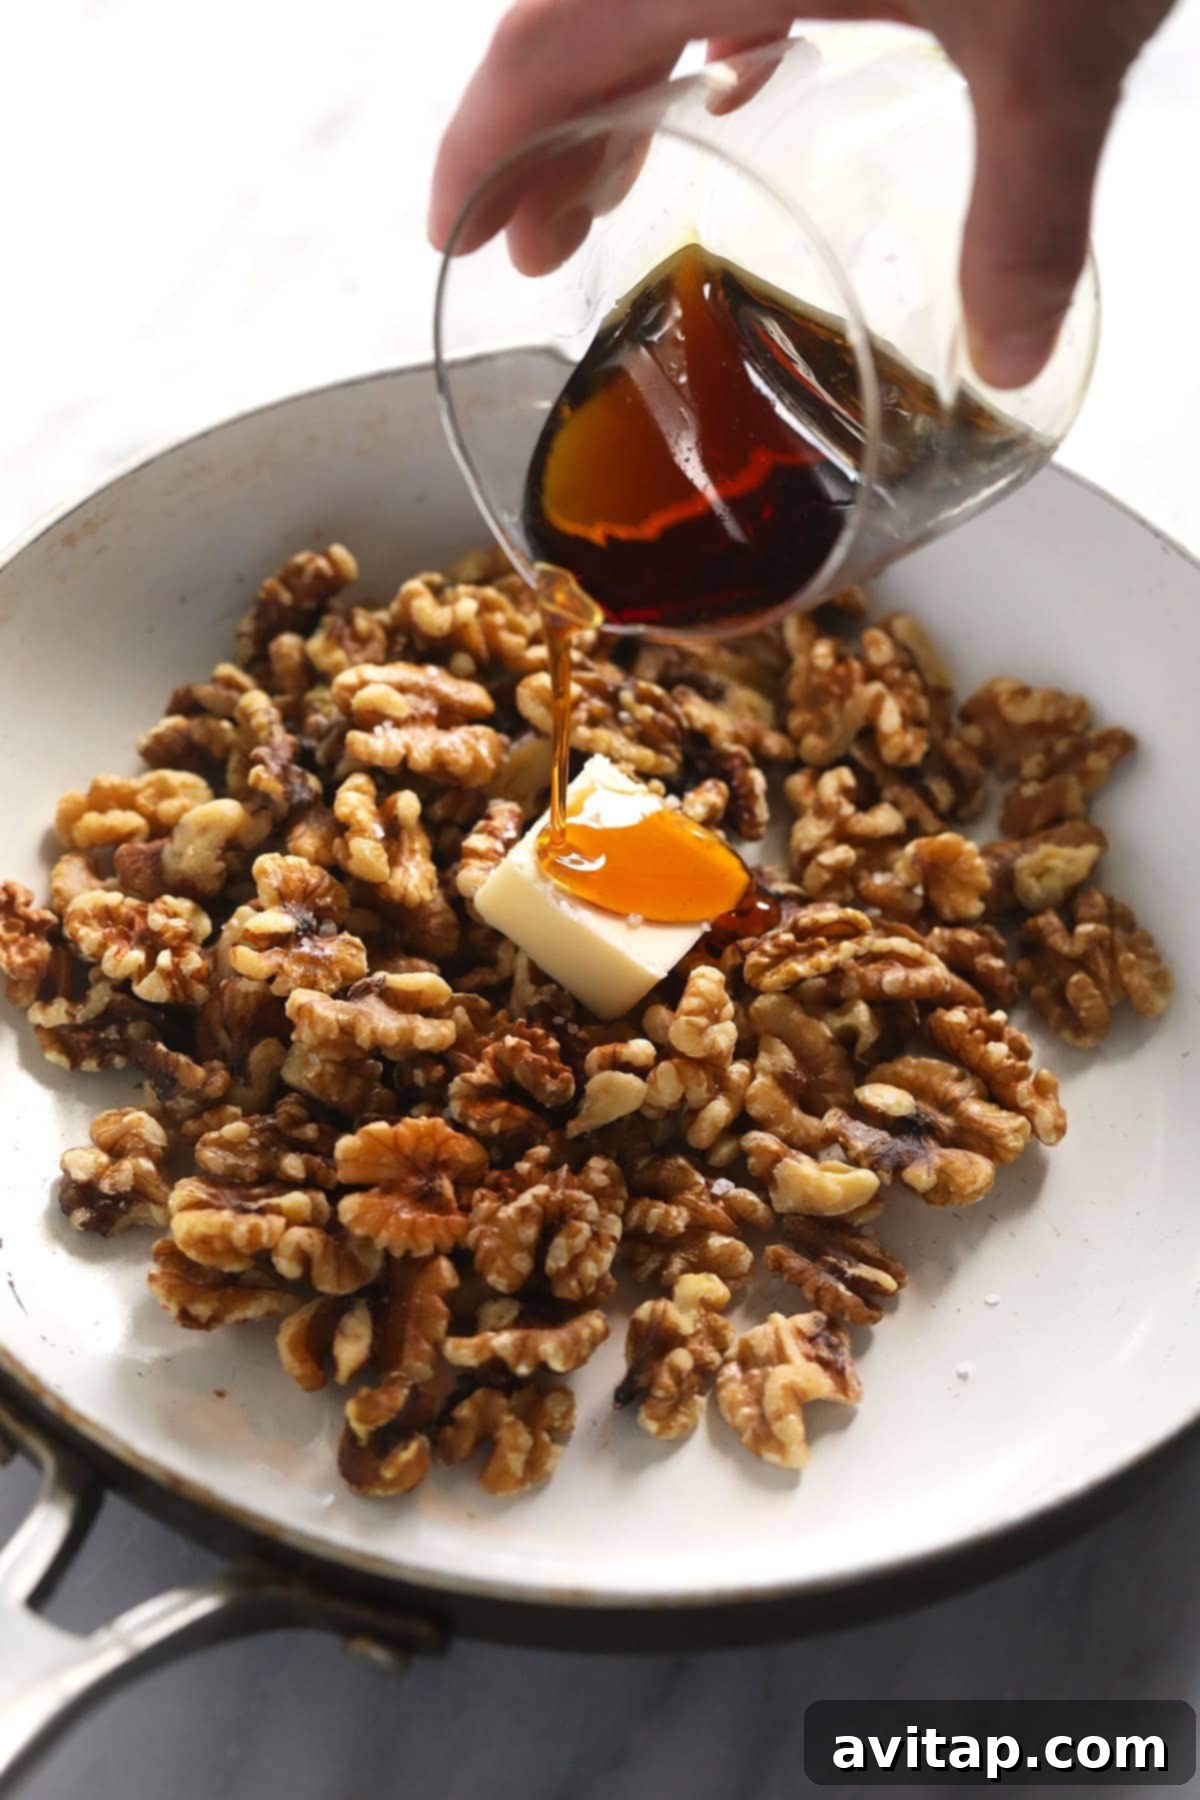
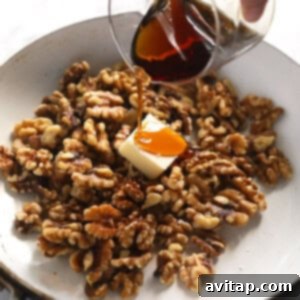
In a large, sturdy skillet, combine the raw walnuts, unsalted butter, and maple syrup. Place the skillet over high heat. Bring the butter and maple syrup mixture to a rolling boil, ensuring everything is well combined.

-
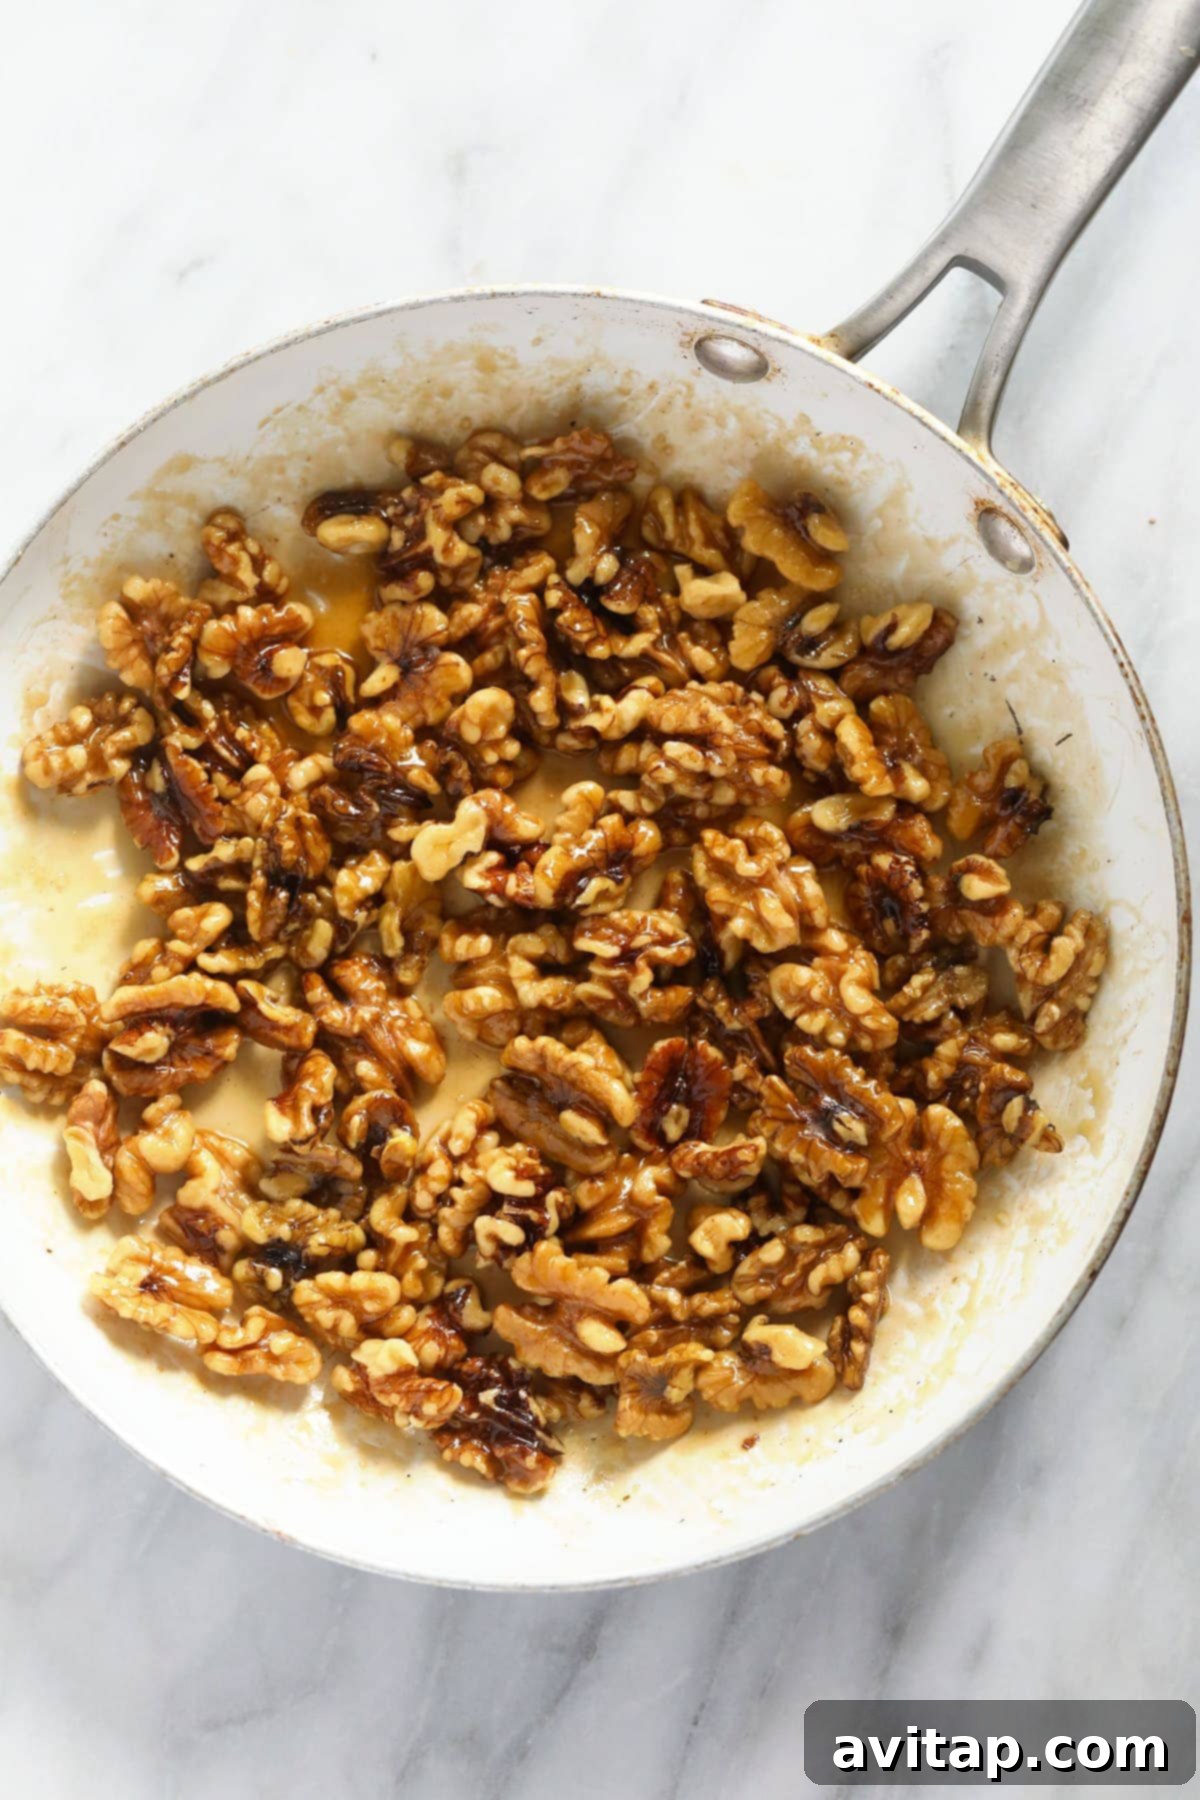
Once boiling, reduce the heat immediately to low. Stir continuously, making sure all the walnuts are thoroughly coated in the bubbling maple syrup and butter mixture. Let the walnuts simmer gently over low heat for approximately 2 minutes, allowing the syrup to thicken and adhere.
-
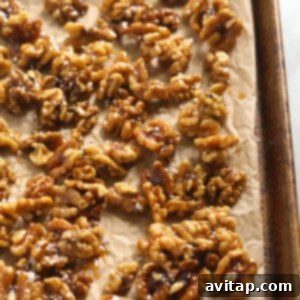
Promptly remove the pan from the heat. Carefully pour the hot candied walnuts onto the prepared parchment paper. Using a spatula, quickly spread them out into a single layer, ensuring they are not touching each other. This is crucial for individual cooling and preventing them from clumping. Immediately sprinkle with coarse sea salt for that perfect sweet and salty balance.
-
For the quickest setting, place the baking sheet with the walnuts in the refrigerator. Allow them to cool completely for about 5 minutes. They will crisp up beautifully as they chill. Once cool, they are ready to enjoy!
Tips & Notes
- Storage: To keep your candied walnuts fresh and crunchy, transfer them to an airtight container once they are completely cooled. Store in a cool, dark place for up to 1 week.
- Freezing Instructions: For longer storage, allow the walnuts to cool fully to room temperature. Then, transfer them to a freezer-safe container or bag and freeze for up to 3 months. Enjoy directly from the freezer or let them thaw quickly.
- Nut Alternatives: While walnuts are fantastic, feel free to use the same amount of whole, raw pecans for a similar delicious result. Cashews are another excellent choice for a different texture.
- Prevent Sticking: Ensure you spread the walnuts out individually on parchment paper immediately after removing them from the heat to prevent them from clumping together as they cool.
- Heat Control: The key to stovetop candying is careful heat management. Start high to bring to a boil, then reduce to low to simmer and coat. Don’t leave them unattended!
Nutrition
Carbohydrates: 12 g,
Protein: 4 g,
Fat: 19 g,
Fiber: 2 g,
Sugar: 9 g
Nutrition information is automatically calculated, so should only be used as an approximation.
🍽️
Love this recipe? Share your thoughts below!
Don’t forget to tag your posts on social media with the hashtag #fitfoodiefinds – we’d love to see what you’re creating!