
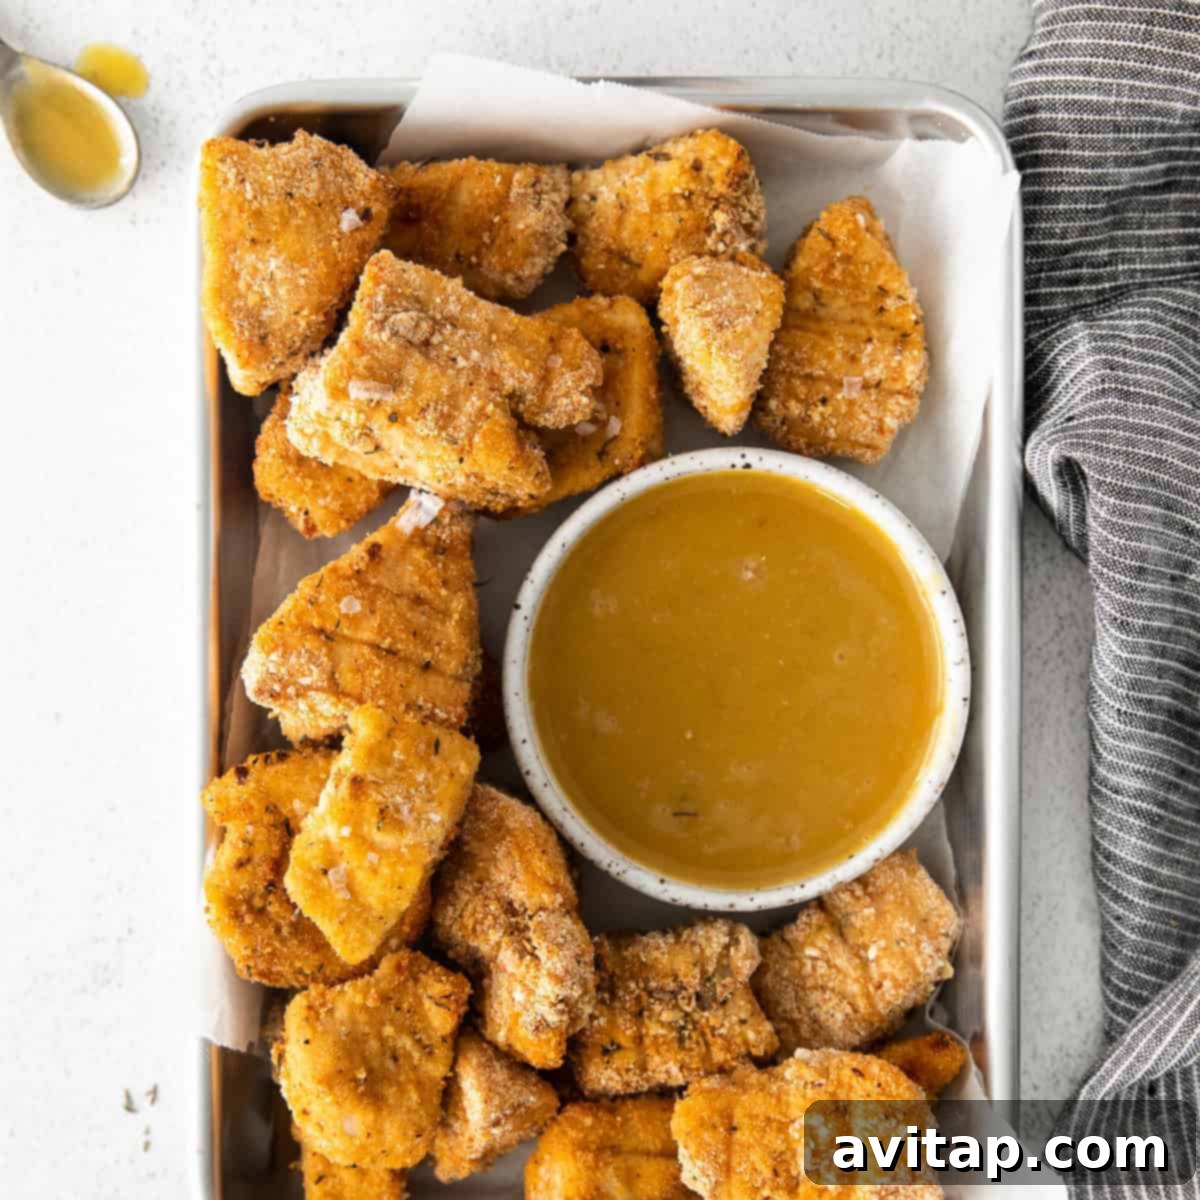
Get ready to ditch the drive-thru and create your own batch of incredibly crispy, deliciously simple, homemade chicken nuggets right in your kitchen. Made with tender chicken breast, a savory breadcrumb coating, and a blend of aromatic spices, these nuggets are baked to golden perfection, offering a healthier twist on a classic favorite.
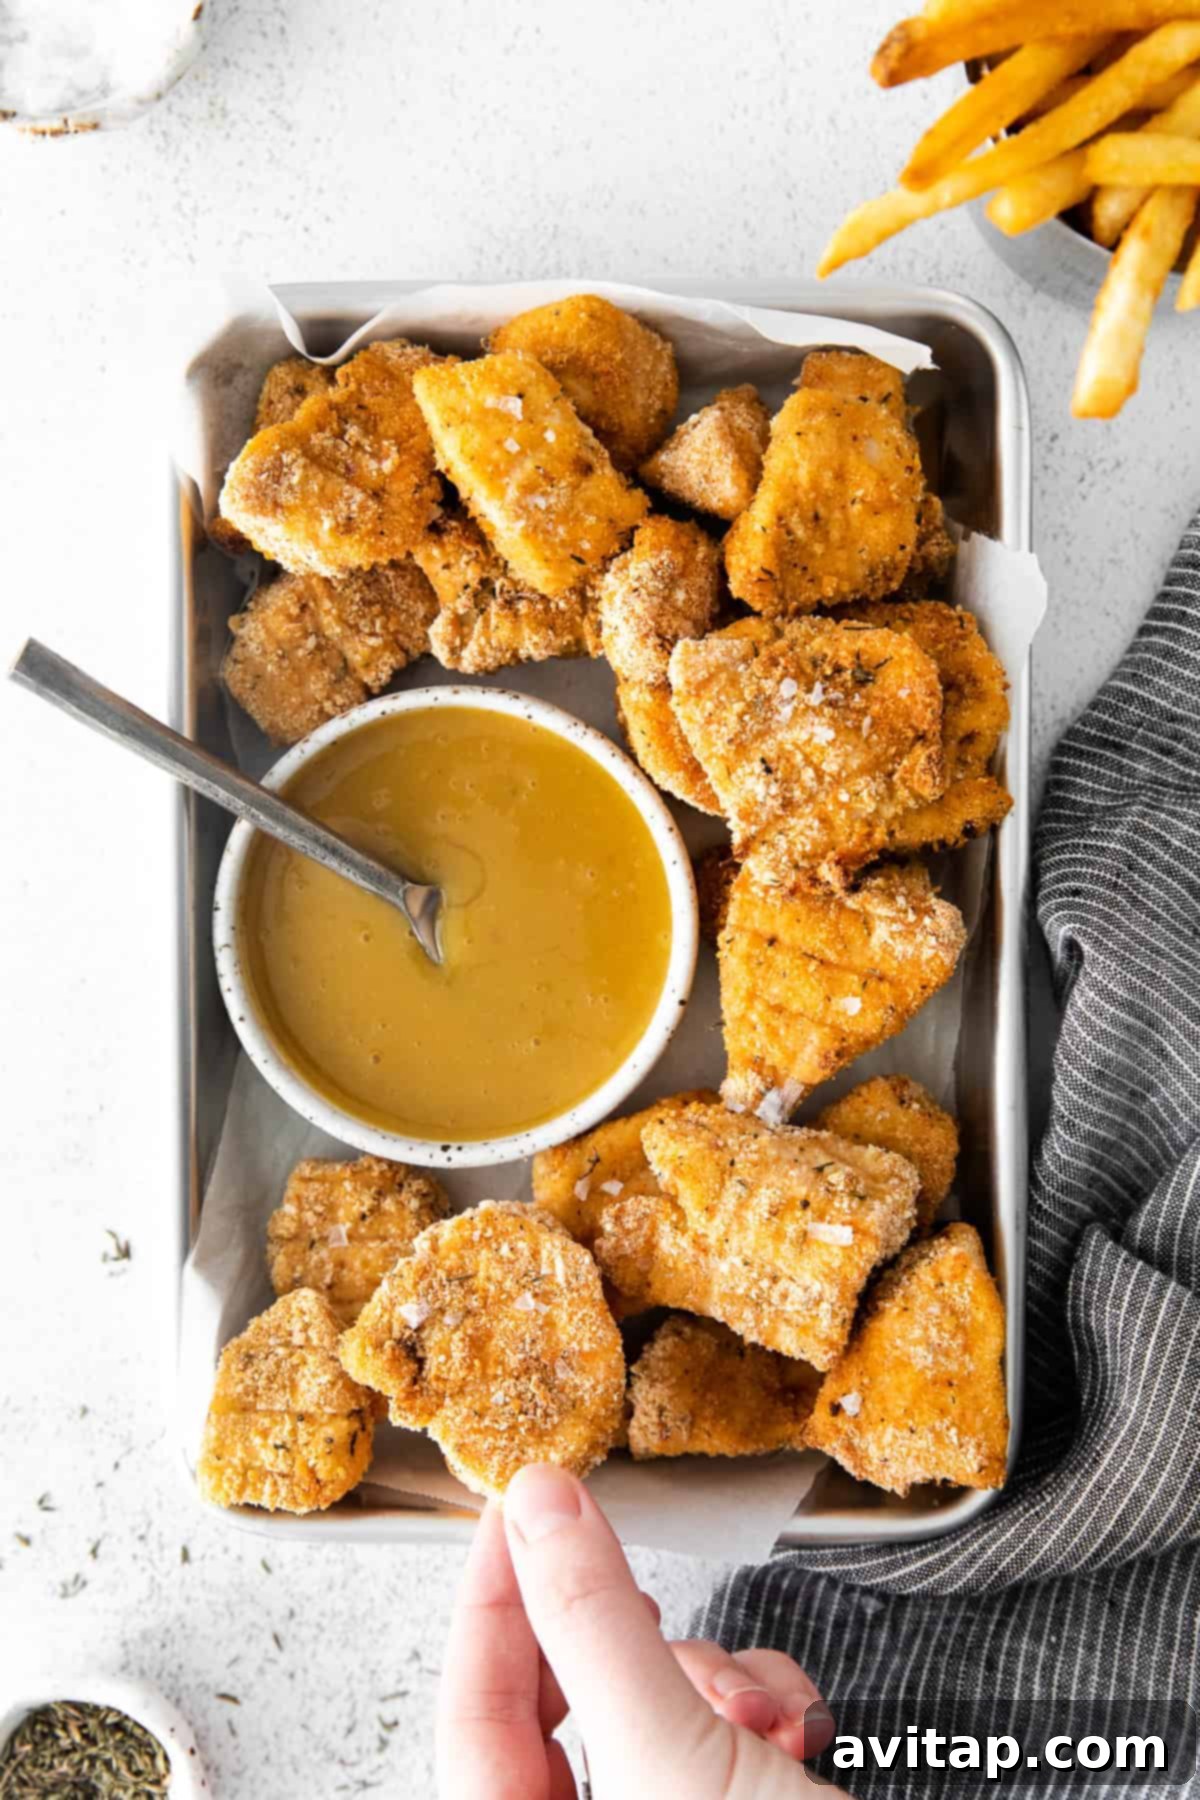
The Best Baked Chicken Nuggets You’ll Ever Make
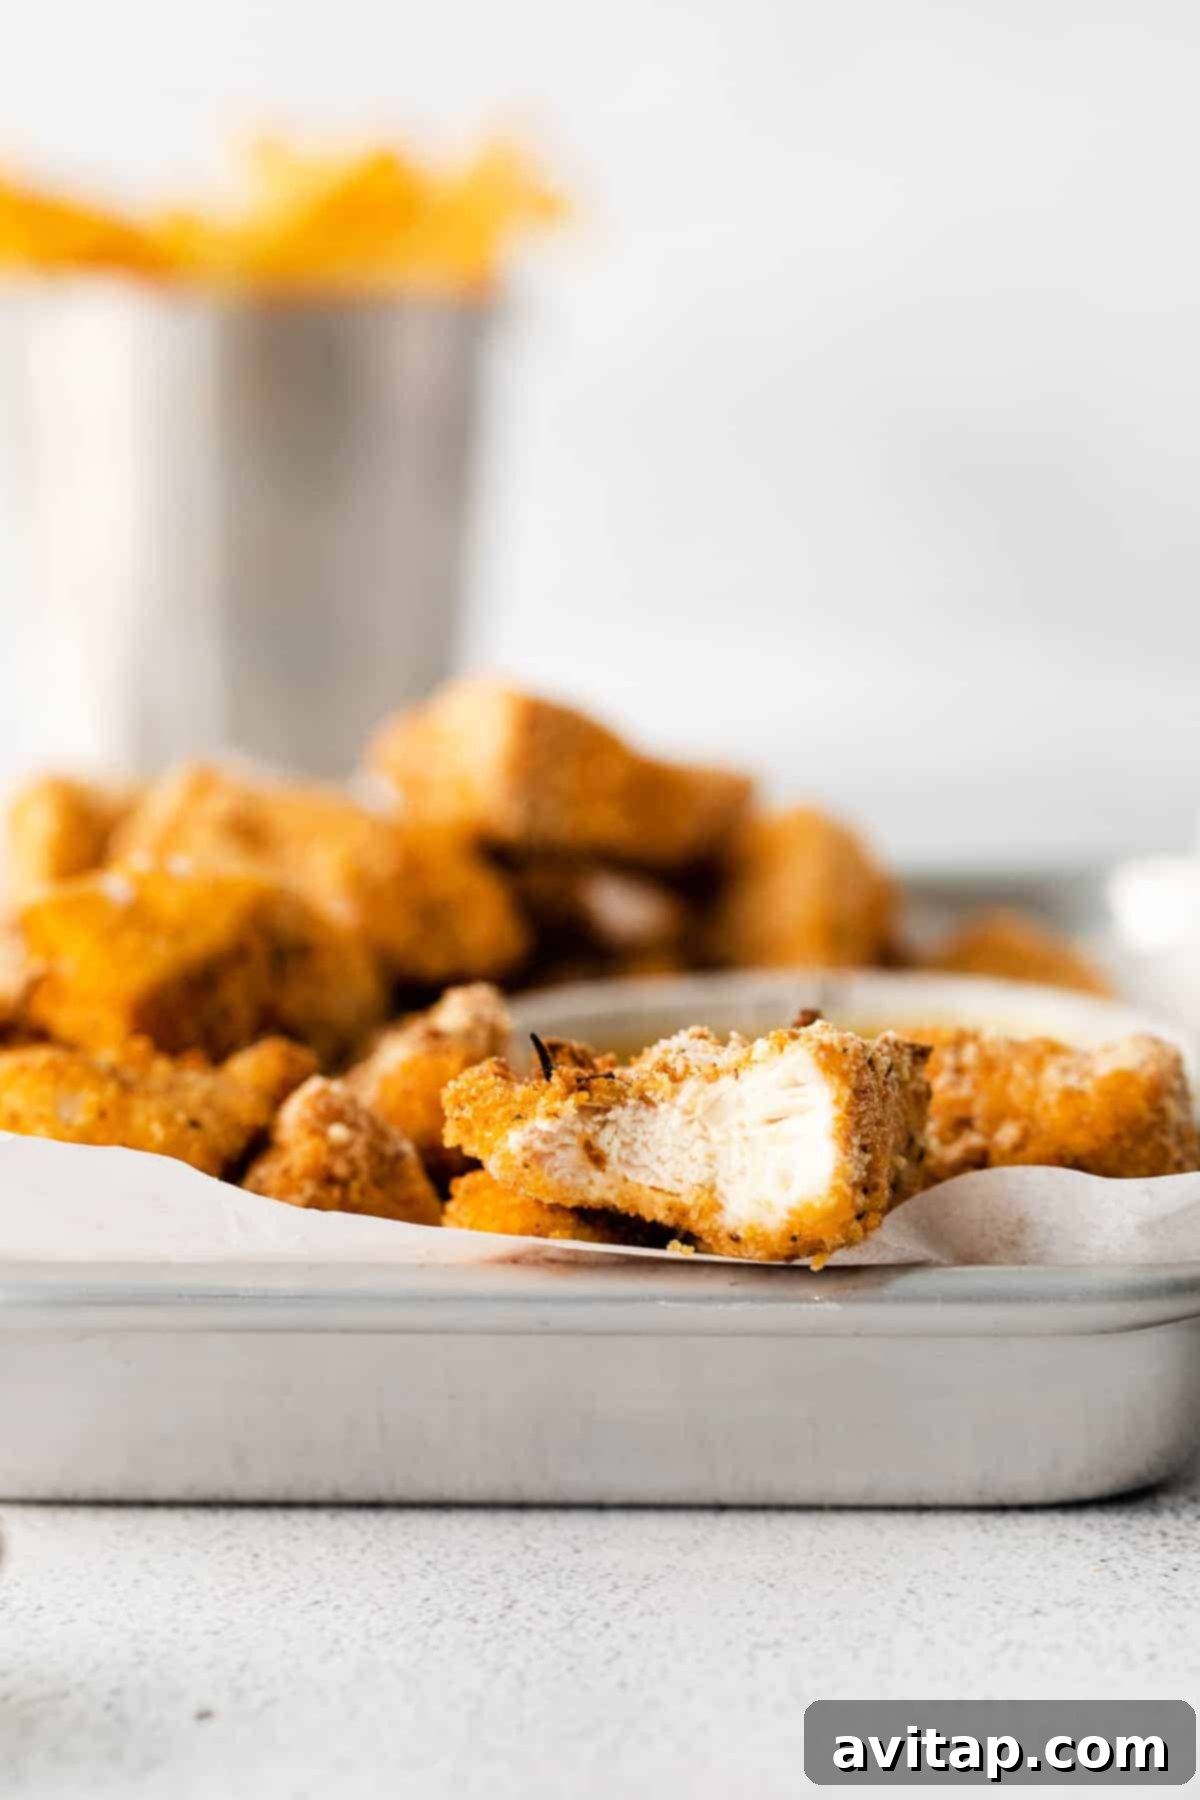
For many of us, chicken nuggets hold a special place in our hearts (and stomachs!) – a nostalgic comfort food that brings back childhood memories. While fast-food versions are convenient, nothing beats the fresh taste and peace of mind that comes with homemade. Today, we’re sharing a fantastic recipe for oven-baked chicken nuggets that rival any restaurant offering, but with the added benefits of being healthier, customizable, and incredibly easy to make. Forget about deep-frying; our method ensures ultimate crispiness with minimal oil, making these oven-baked chicken tenders (or nuggets!) a guilt-free indulgence.
Why You’ll Love This Homemade Chicken Nugget Recipe
- Quick & Easy: Ready in just 30 minutes, perfect for busy weeknights.
- Effortless to Freeze: Prepare a larger batch and freeze for future quick meals.
- Kid-Friendly Favorite: A guaranteed hit with children and picky eaters alike.
- High-Protein Goodness: A satisfying meal that keeps you full and fueled.
- Healthier Alternative: Baked, not fried, reducing unhealthy fats without sacrificing flavor or crunch.
- Fully Customizable: Easily adjust spices and coatings to suit your taste.
Essential Kitchen Tools for Perfect Homemade Nuggets
You don’t need fancy gadgets like an air fryer or Instant Pot for this recipe (though we’ll touch on air frying later!). Our baked chicken nuggets come together with just a few standard kitchen essentials:
- Baking Sheet: A sturdy sheet pan is crucial for even baking and catching any drips.
- Wire Rack: Absolutely essential for achieving that signature crispy exterior all around the nuggets. It elevates the chicken, allowing hot air to circulate underneath and preventing sogginess.
- Shallow Bowls or Dishes: Two bowls for your egg wash and breadcrumb mixture make the dredging process clean and efficient.
- Sharp Knife & Cutting Board: For safely preparing your chicken breast into uniform nugget-sized pieces.
- Whisk or Fork: For whisking the eggs and mixing the breadcrumb coating.
- Meat Thermometer: The most reliable way to ensure your chicken is cooked through to a safe internal temperature of 165°F (74°C).
Key Ingredients for Crispy Homemade Chicken Nuggets
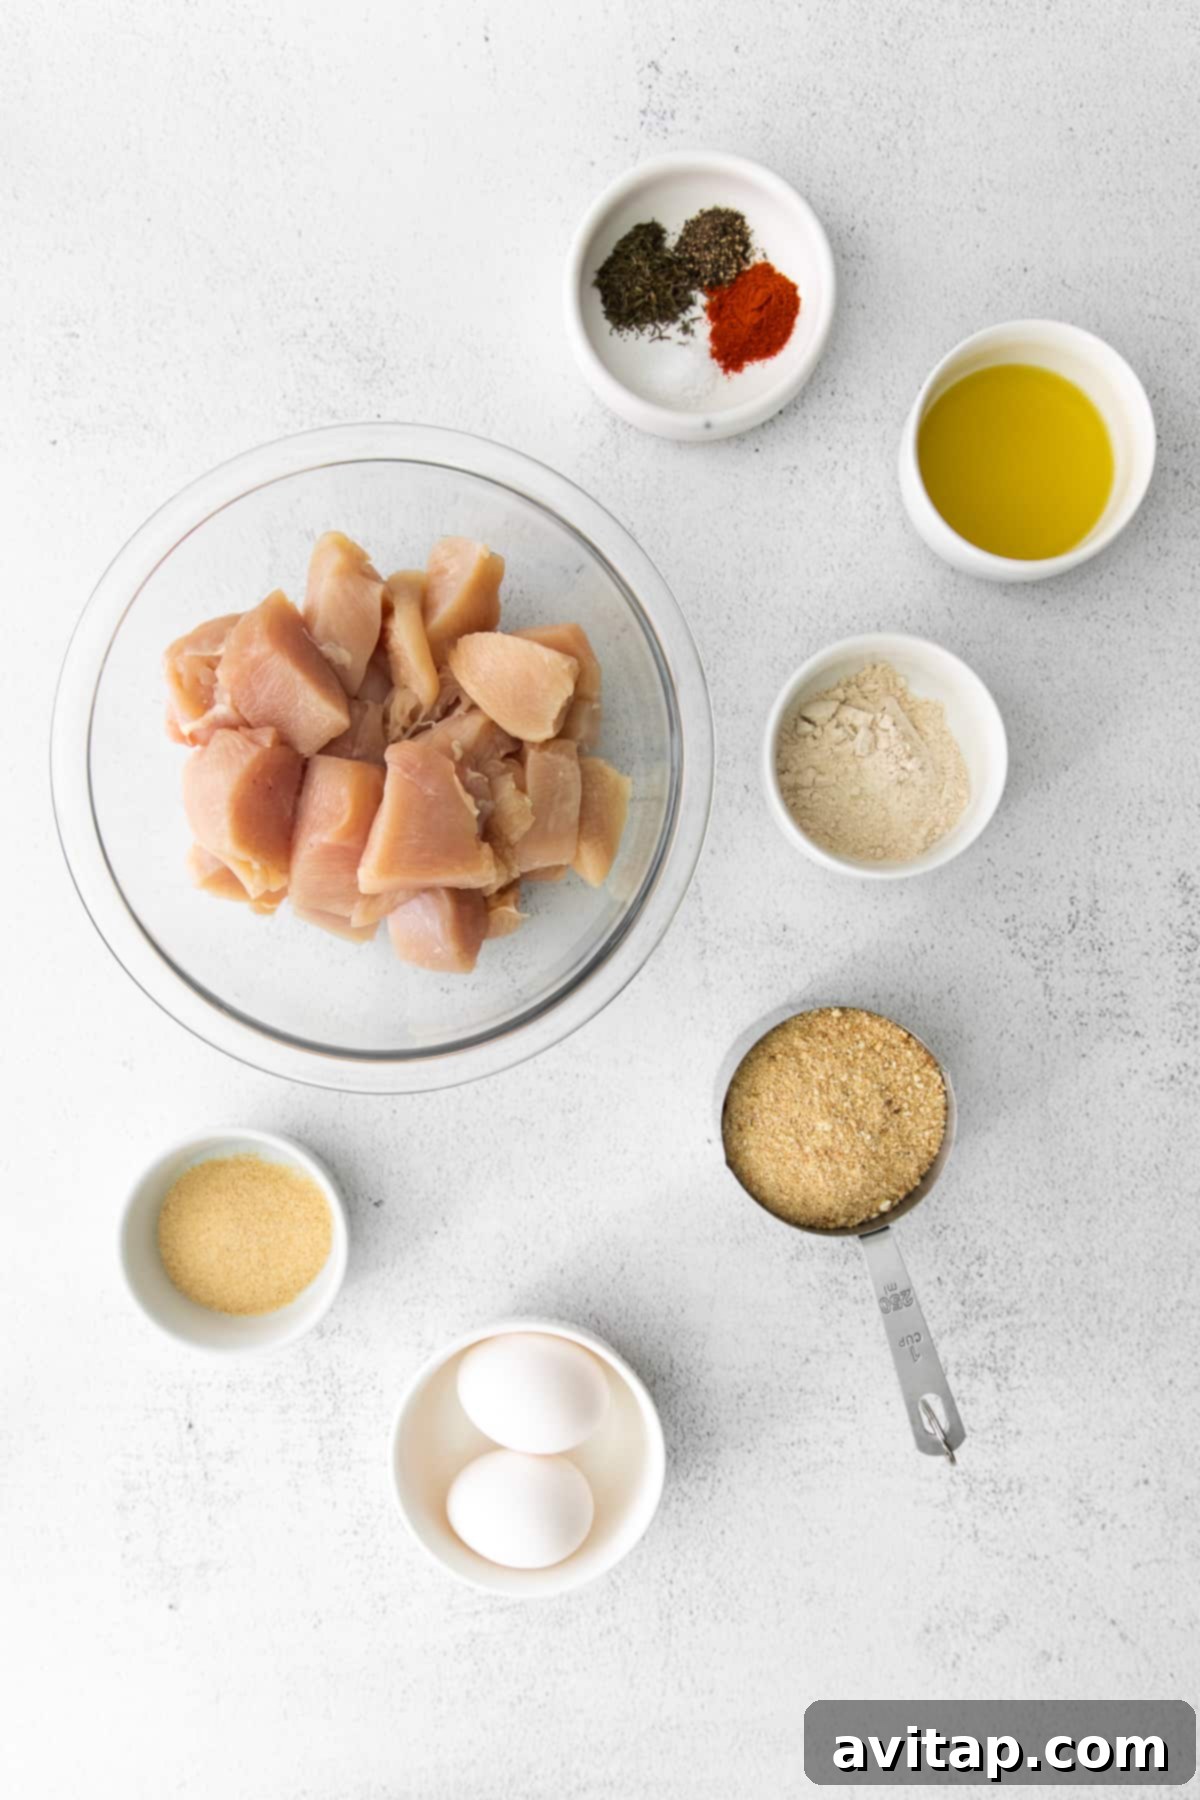
Crafting the perfect homemade chicken nugget starts with quality ingredients. Here’s what you’ll need, along with tips for best results:
- Boneless, Skinless Chicken Breast: We recommend using white meat chicken breast for its lean texture and ability to cut into consistent nugget shapes. Aim for 1 to 1.5 pounds. Ensure it’s boneless and skinless for easy preparation and a tender bite.
- Breadcrumbs: The key to that golden, crispy coating! You have several options:
- Plain Breadcrumbs: A classic choice for a neutral base.
- Whole Wheat Breadcrumbs: A slightly healthier option that adds a nutty flavor.
- Gluten-Free Breadcrumbs: Easily adapt this recipe for dietary needs.
- Panko Breadcrumbs: For an extra-crispy, lighter texture, Panko is an excellent choice.
- Italian-Flavored Breadcrumbs: If you love an herby kick, these can simplify your spice blend.
- Eggs: Used as an egg wash, the eggs act as a binder, helping the breadcrumb mixture adhere perfectly to the chicken. Two large eggs are usually sufficient for this recipe.
- Flour (Optional, but Recommended for Adhesion): A couple of tablespoons of white whole wheat flour (or all-purpose flour) mixed with the breadcrumbs helps create an even thicker, more durable coating that locks in moisture.
- Olive Oil: A light drizzle of olive oil over the coated nuggets before baking is essential for achieving that desirable golden-brown color and irresistible crispiness. Don’t skip this step!
- Flavorful Spices: Our core blend includes:
- Garlic Powder: For a pungent, savory depth.
- Dried Thyme: Adds a subtle, earthy, aromatic note.
- Paprika: Provides a hint of color and mild, sweet pepper flavor.
- Salt & Black Pepper: Essential for seasoning the chicken and enhancing all other flavors.
Feel free to adjust these or add others based on your preference!
Make Them Spicy! Customizing Your Chicken Nuggets
Craving a little heat? It’s incredibly easy to infuse your homemade chicken nuggets with a fiery kick. Simply add a pinch (or more!) of these ingredients to your breadcrumb mixture:
- Red Pepper Flakes: For visible flecks of heat and a sharp spicy punch.
- Smoked Paprika: Adds a smoky depth alongside its mild heat, perfect for a robust flavor.
- Cayenne Pepper: A classic choice for adding a more intense, straightforward heat.
- Chili Powder: Offers a complex, savory, and moderate spice.
- A Dash of Hot Sauce: For a different kind of heat and tang, you can even add a few drops to your egg wash!
How to Make Baked Chicken Nuggets – The Ultimate Rundown
Follow these simple steps to create perfectly crispy, golden-brown baked chicken nuggets:
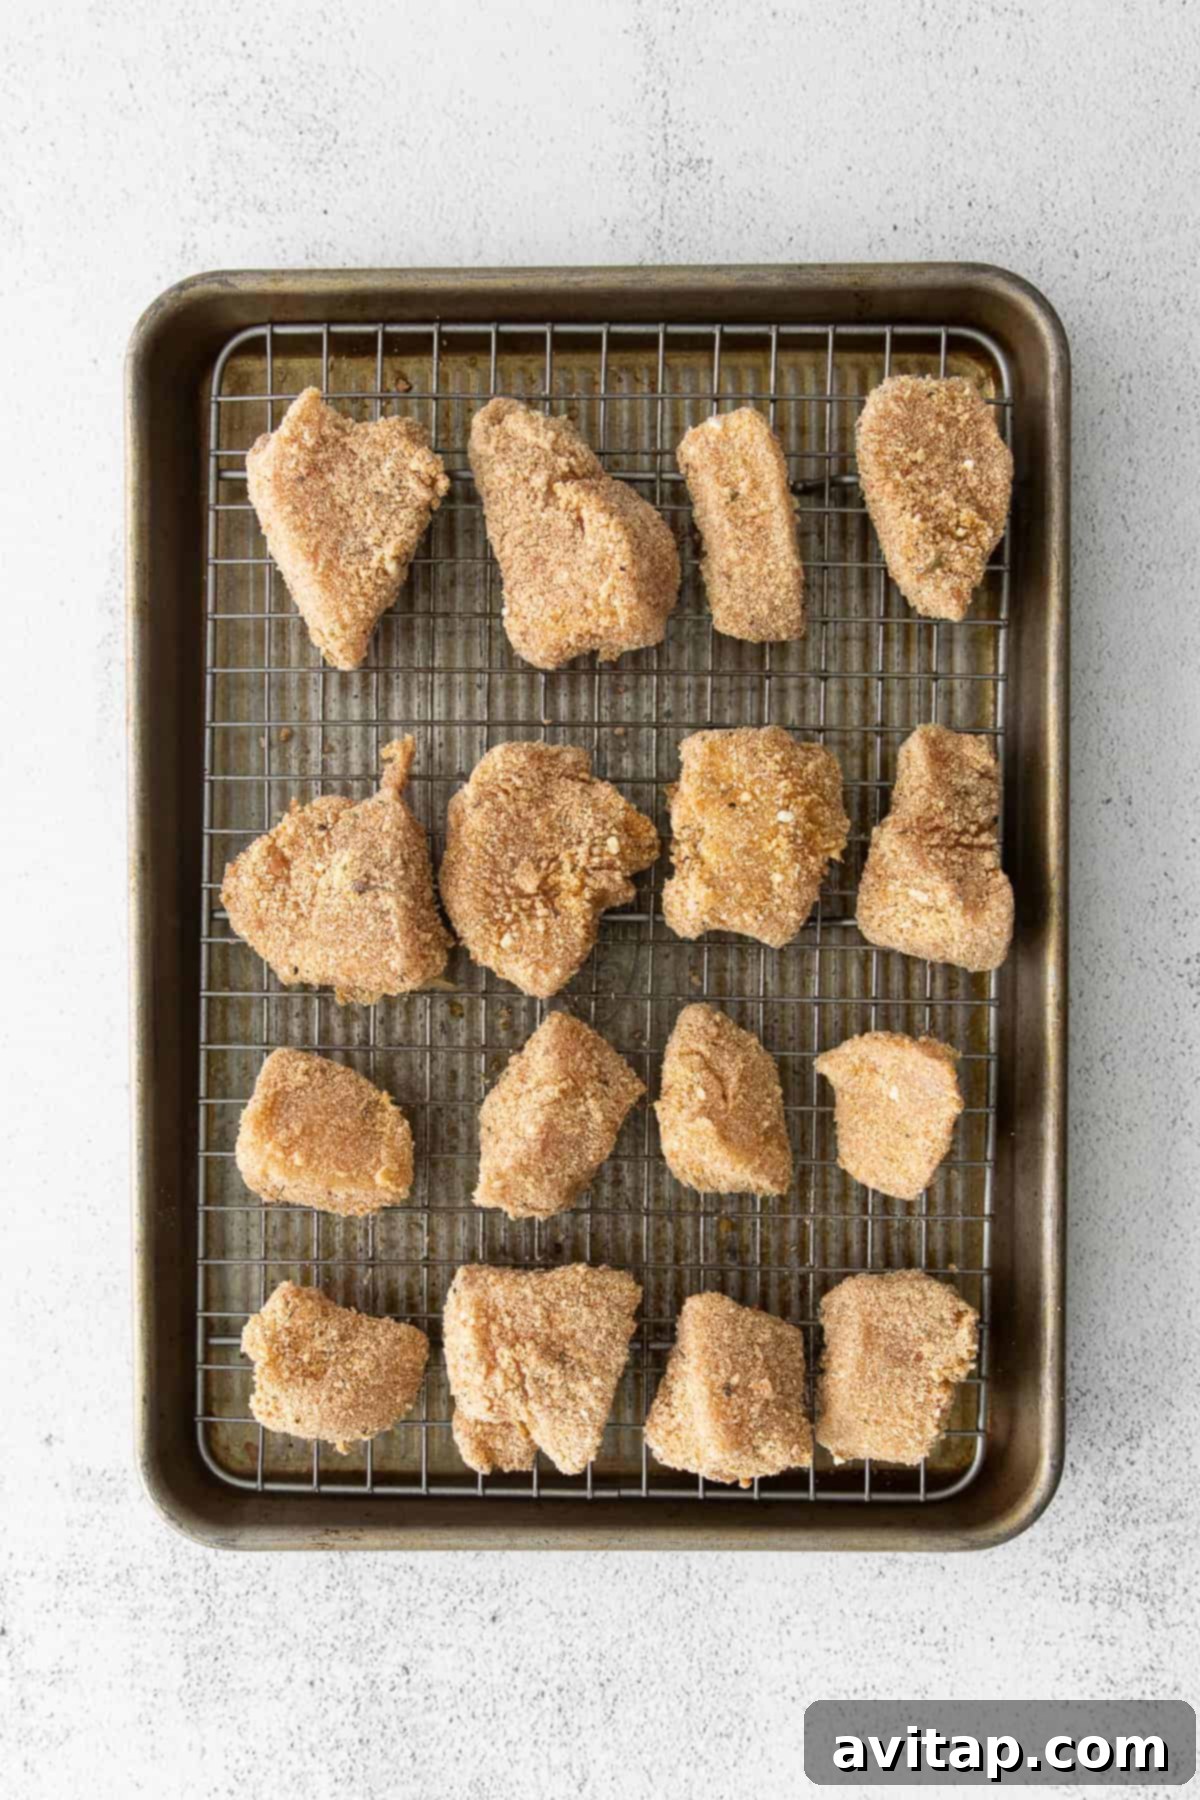
- Preheat & Prepare: Preheat your oven to 400ºF (200ºC). Place a wire rack on top of a baking sheet. Lightly spray the wire rack with non-stick cooking spray or brush with a little olive oil to prevent sticking. This setup is key for crispiness!
- Cut the Chicken: Slice your boneless, skinless chicken breasts into uniform 1-inch “nuggets.” Consistency in size ensures even cooking. Pat the chicken pieces dry with paper towels to help the coating stick better.
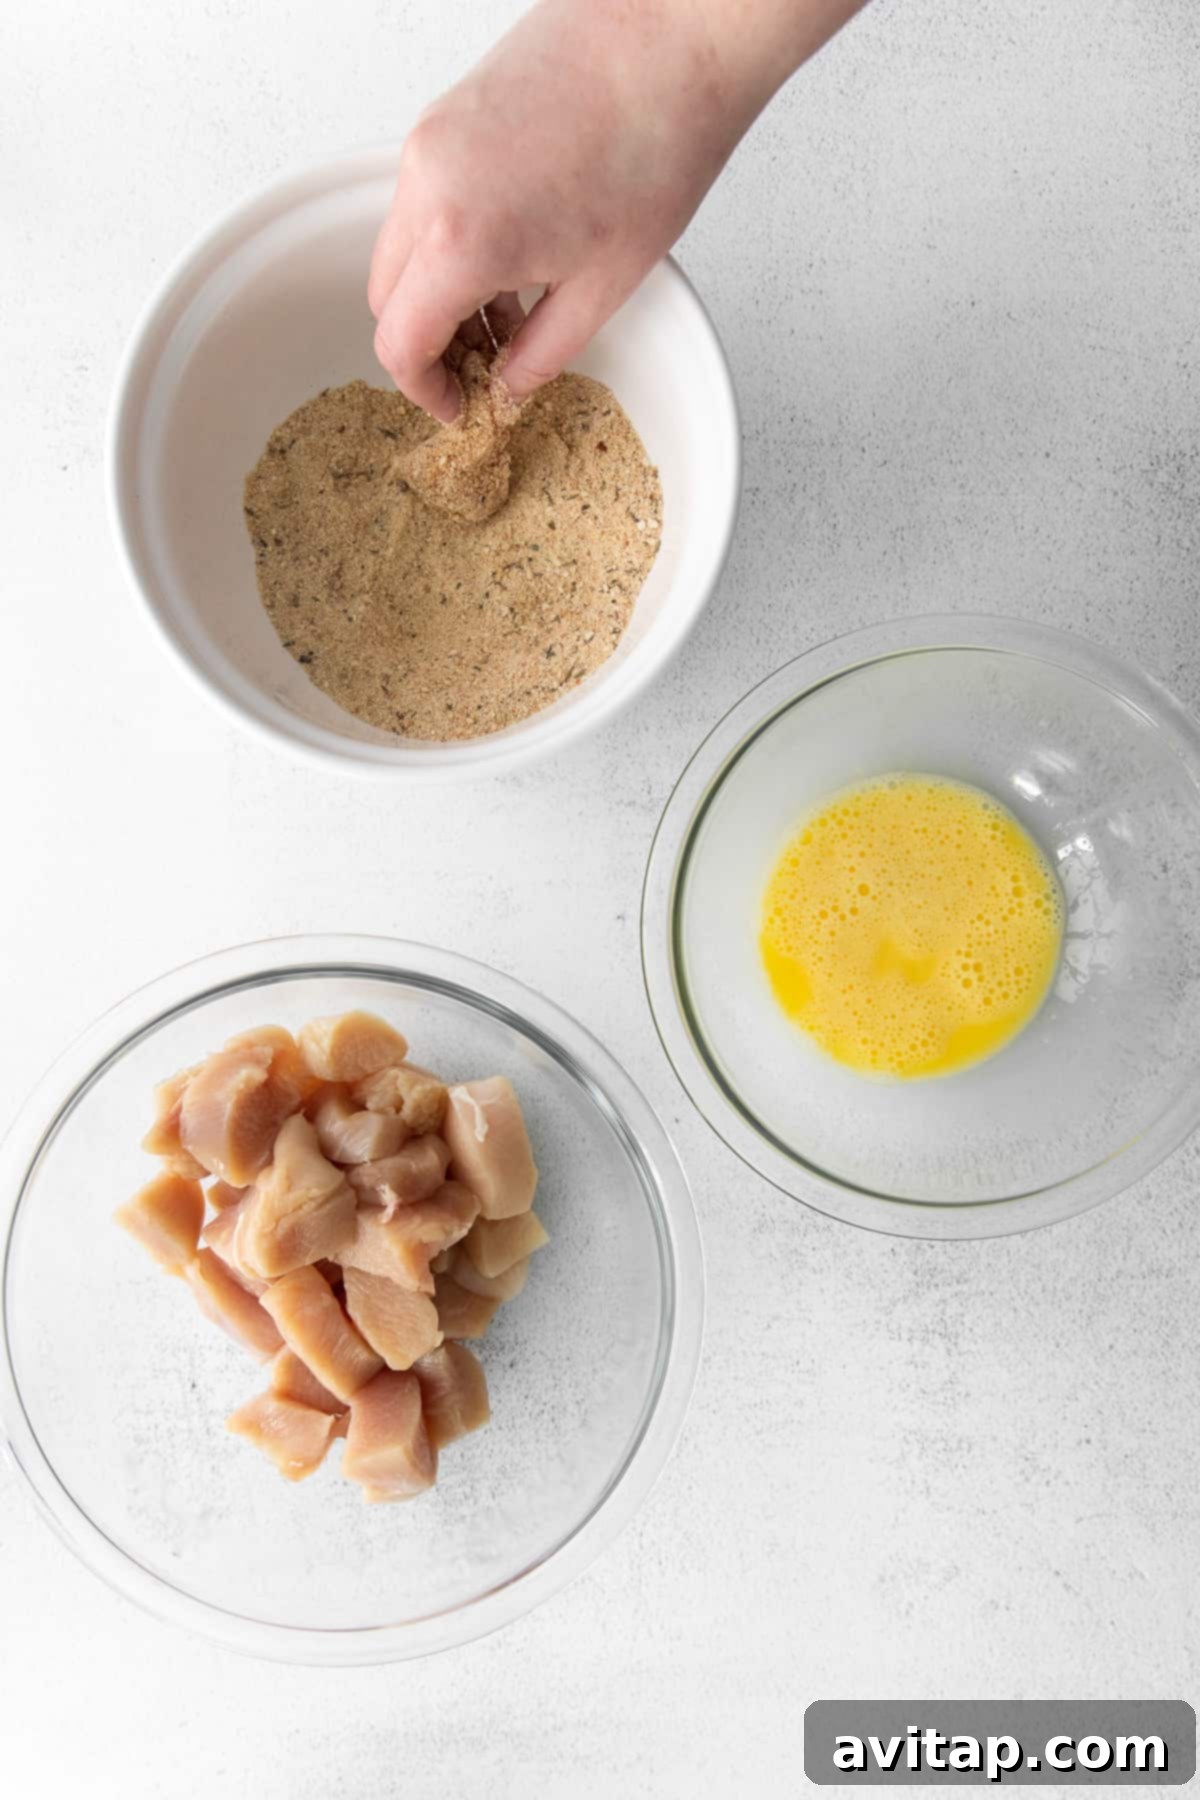
- Prepare Dry Mixture: In a large, shallow bowl, combine the breadcrumbs, flour, garlic powder, dried thyme, paprika, salt, and black pepper. Stir well until all the spices are evenly distributed throughout the breadcrumbs.
- Prepare Wet Mixture: In a separate shallow bowl, crack the two large eggs and whisk them thoroughly until the yolks and whites are completely combined, creating your egg wash.
- Coat the Chicken: This is where the magic happens! Dip each chicken nugget into the egg wash, ensuring it’s fully coated. Let any excess egg drip off. Then, immediately transfer the egg-washed nugget to the breadcrumb mixture. Gently press and turn the nugget to ensure it’s completely covered with the breadcrumbs on all sides. Repeat this process one nugget at a time to prevent the coating from becoming soggy.
- Arrange on Rack: Carefully place the coated chicken nuggets in a single layer on the prepared wire rack. Make sure there’s a little space between each nugget for optimal air circulation during baking.
- Drizzle with Olive Oil: Lightly drizzle or spray the tops of the arranged chicken nuggets with olive oil. This is crucial for achieving a beautiful golden color and an extra-crispy crust.
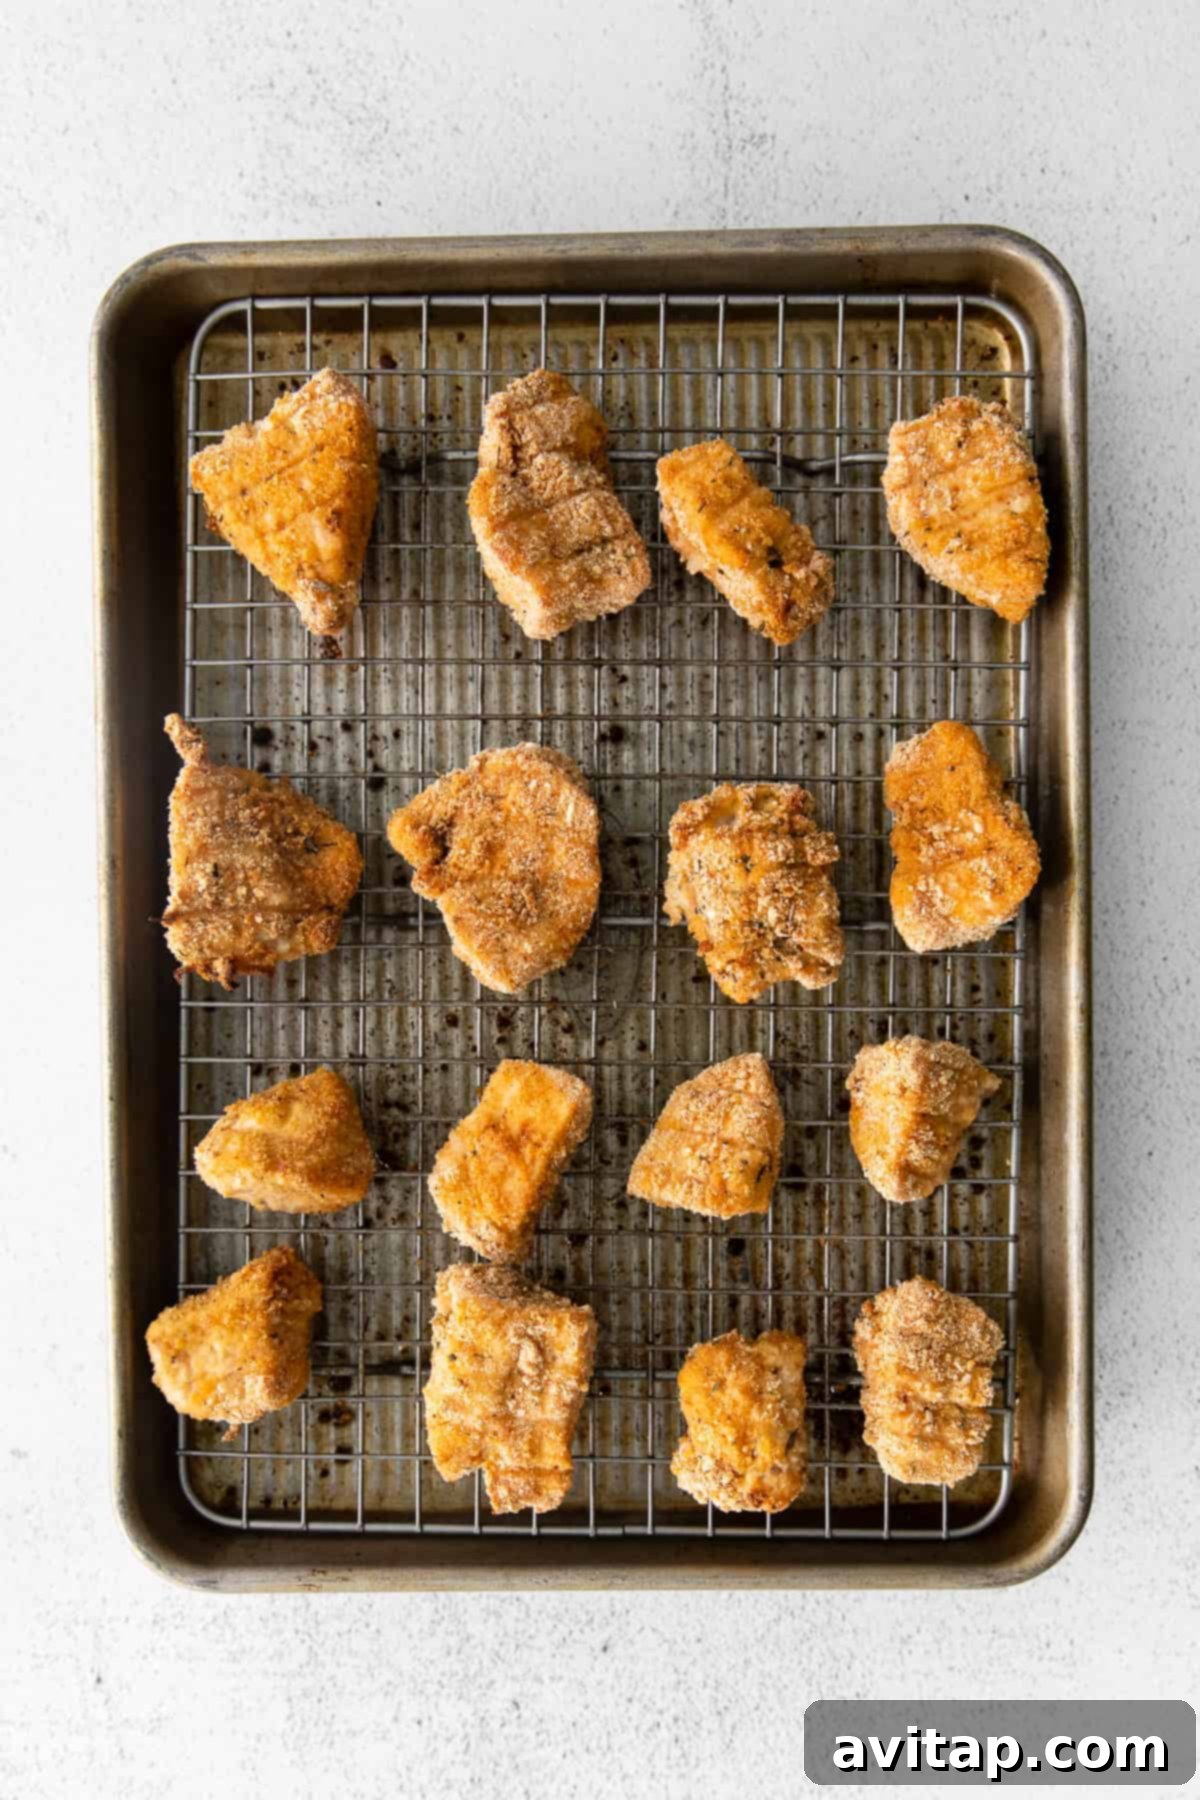
- Bake to Perfection: Bake the chicken nuggets in the preheated oven for 14-16 minutes. For even cooking and crispiness, flip the nuggets halfway through (around the 7-8 minute mark). Cook until they reach an internal temperature of 165ºF (74°C) using a meat thermometer.
- Optional Broil for Extra Crisp: For an even crispier, golden-brown finish, you can briefly broil the nuggets. After baking, switch your oven to broil setting and broil for 1-2 minutes, watching carefully to prevent burning.
- Serve & Enjoy: Remove the nuggets from the oven and let them cool for a minute or two before serving. They are best enjoyed hot with your favorite dipping sauces!
Do I have to use a wire rack for baking?
Yes, unequivocally, always use a wire rack when making homemade chicken nuggets! This is the most crucial step for achieving that ultimate crispy texture. The wire rack elevates the chicken off the baking sheet, allowing hot air to circulate freely around all sides of each nugget. Without it, the bottom of your nuggets would sit directly on the hot pan, steaming and becoming soggy instead of crisping up. It’s a game-changer for baked chicken nuggets!
Can I cook these in an air fryer instead?
Absolutely! These homemade chicken nuggets are perfectly suited for the air fryer, offering an even faster route to crispiness. Here’s how:
- Prepare the Air Fryer: Lightly spray the basket of your air fryer with nonstick cooking spray.
- Arrange in Batches: Place the breadcrumb-coated chicken nuggets in a single layer on the bottom of the air fryer basket. Ensure they are not touching, as overcrowding will prevent them from crisping properly. You’ll likely need to cook in batches.
- Air Fry: Air fry at 400ºF (200ºC) for 4 minutes. Then, flip the nuggets over and continue to air fry for an additional 1-3 minutes, or until they are golden brown and cooked through to an internal temperature of 165ºF (74°C). Cooking times can vary slightly depending on your air fryer model.
Top Tips to Get Perfect Crispy Chicken Nuggets Every Time
Achieving restaurant-quality crispiness at home is easier than you think. Keep these expert tips in mind for the best results:
- Uniform Sizing Matters: Cut your chicken breasts into pieces of similar thickness and size (about 1-inch nuggets). This ensures that all nuggets cook evenly and are done at the same time, preventing some from being undercooked or overcooked.
- Always Use a Wire Rack: As mentioned, this is non-negotiable for crispy results. Without it, the bottom of your nuggets will steam and turn soft. The rack allows hot air to circulate completely around each piece, resulting in a crunchy, golden exterior.
- Drizzle with Oil, Don’t Just Spray: While cooking spray can be used, we’ve found that a light drizzle of olive oil (or another neutral oil like avocado oil) over the coated nuggets yields a superior crispiness and a richer golden-brown color. The oil helps to fry the breadcrumbs in the oven.
- Don’t Overcrowd the Pan: Give your nuggets space! Arranging them in a single layer with a slight gap between each piece on the wire rack is crucial. Overcrowding lowers the pan’s temperature and traps steam, leading to soggy, not crispy, nuggets. If necessary, bake in batches.
- Pat Chicken Dry: Before coating, thoroughly pat your chicken pieces dry with paper towels. Excess moisture on the chicken prevents the egg wash and breadcrumbs from adhering properly, leading to a patchy or less crispy coating.
- Preheat Your Oven and Rack: Ensure your oven is fully preheated to the specified temperature. You can even place the empty wire rack in the oven for a few minutes while it preheats. A hot surface helps initiate crisping immediately upon contact.
- Monitor Internal Temperature: Always use a meat thermometer to check that your chicken nuggets reach an internal temperature of 165°F (74°C) to ensure they are safe to eat and perfectly cooked.
Delicious Serving Suggestions for Your Homemade Nuggets
Homemade chicken nuggets are incredibly versatile and pair wonderfully with a variety of sides, making them a complete and satisfying meal. Here are some of our favorite ideas:
Pair with These Sides
Crispy Baked Sweet Potato Fries
Healthy Salad Ideas
Oven Baked Potato Wedges
Oven Roasted Asparagus
Easy Honey Mustard Dressing
- Classic Fries: Whether they’re crispy sweet potato fries, oven-baked potato wedges, or classic French fries, they’re always a winning combination.
- Fresh Salads: A light, vibrant side salad (like a simple garden salad or a more elaborate quinoa salad) provides a refreshing contrast to the rich nuggets.
- Roasted Vegetables: Green beans, broccoli, or asparagus roasted alongside the nuggets add an easy, healthy component.
- Macaroni and Cheese: For the ultimate comfort meal, serve your nuggets with creamy, cheesy mac and cheese.
- Rice or Quinoa: A simple bed of steamed rice or fluffy quinoa can absorb any delicious dipping sauce and make for a filling meal.
Irresistible Dipping Sauce Ideas
Chicken nuggets just aren’t complete without the perfect dipping sauce! Elevate your homemade nuggets with these delicious options, or explore other homemade sauce recipes:
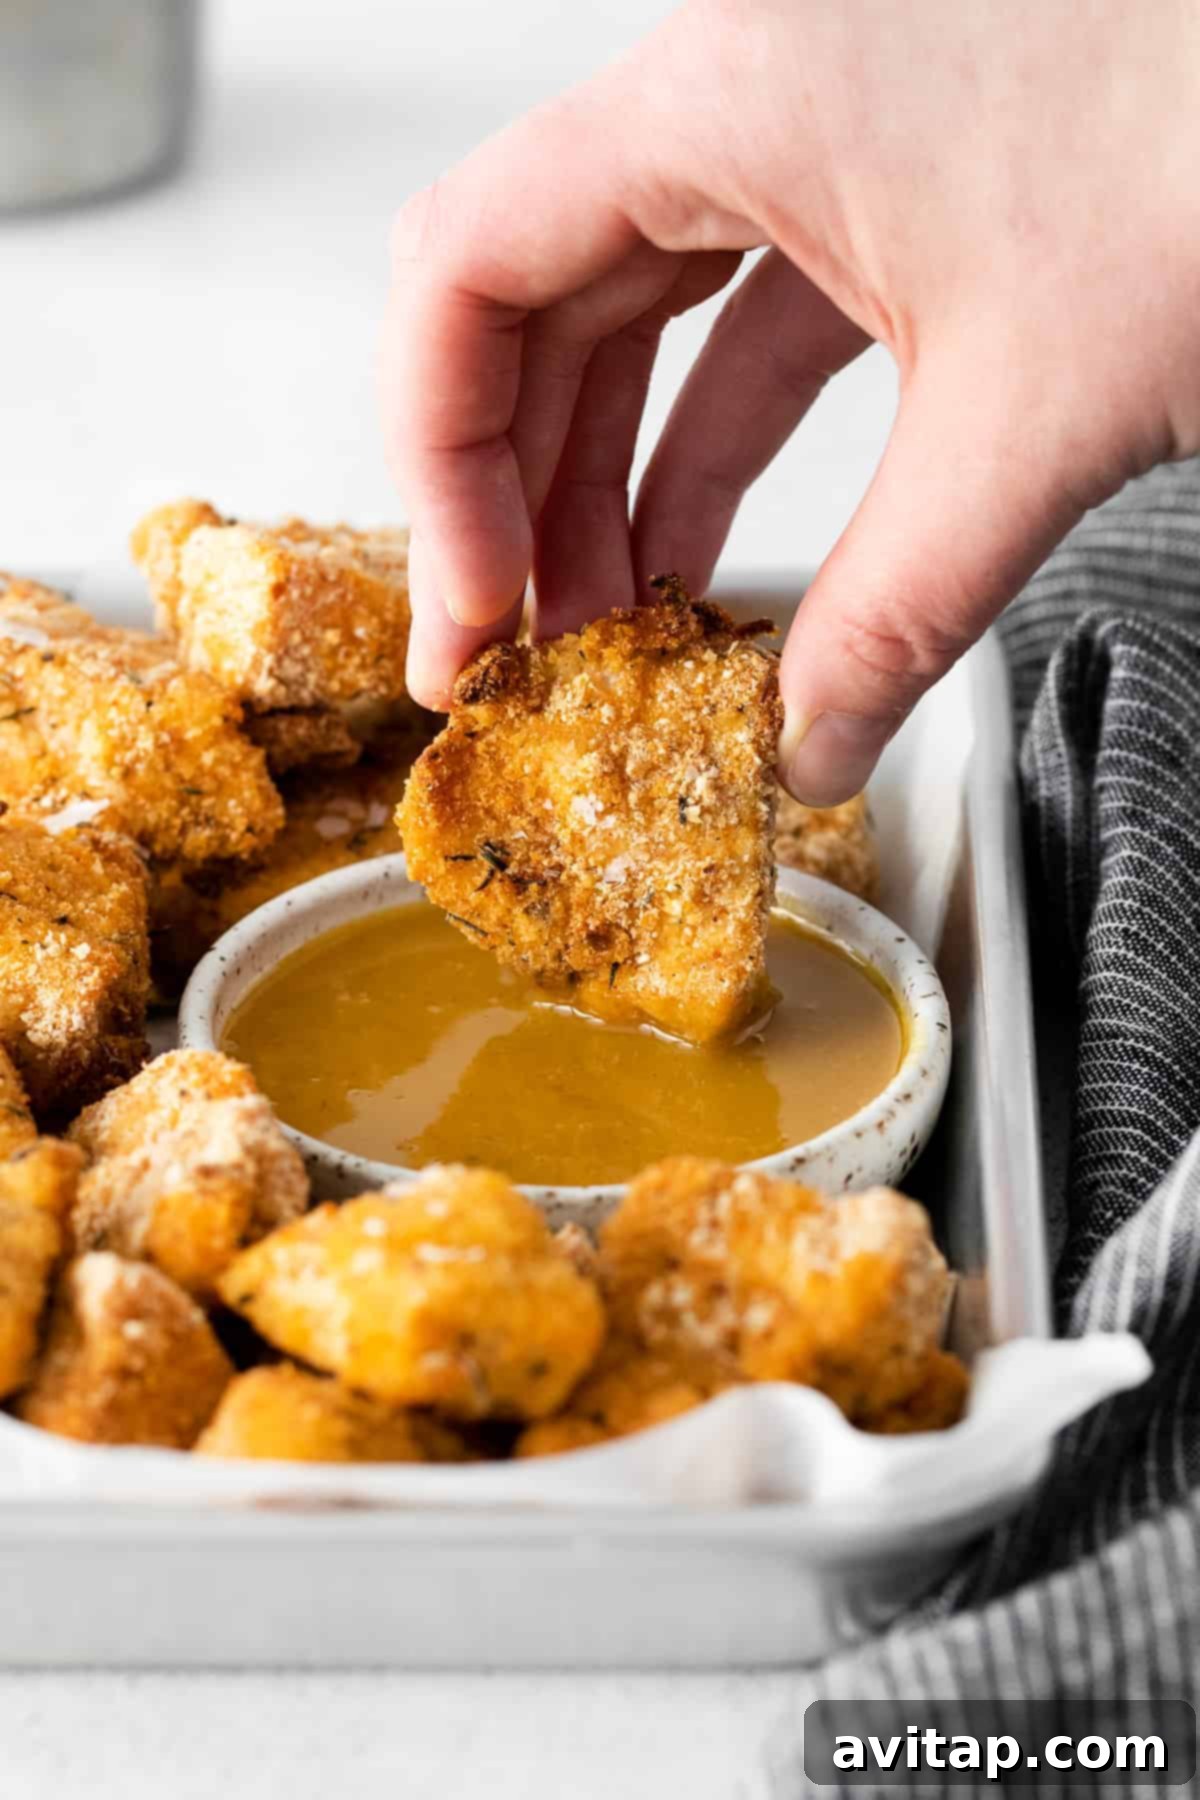
- Honey Mustard: The sweet and tangy classic, perfect for both kids and adults.
- BBQ Sauce: A smoky, sweet, and savory favorite that complements chicken beautifully.
- Ranch Dressing: Creamy, herby, and wonderfully cooling – a universal crowd-pleaser.
- Ketchup: Sometimes, you just can’t beat the simple joy of ketchup!
- Sweet & Sour Sauce: For a take-out inspired flavor, a good sweet and sour sauce adds a zesty kick.
- Sriracha Mayo: Mix mayonnaise with a dash of sriracha for a creamy, spicy dip.
Don’t forget classic combinations like ketchup and honey, which remain personal favorites for many!
Storage and Reheating Homemade Chicken Nuggets
Homemade chicken nuggets are fantastic for meal prep! Here’s how to store leftovers and enjoy them later:
- Refrigeration: Allow any leftover baked chicken nuggets to cool completely to room temperature. Transfer them to an airtight container and store in the refrigerator for up to 3-5 days.
- Reheating: For best results, reheat refrigerated nuggets in the oven or air fryer until warmed through and crispy again. A microwave can heat them, but they may lose their crisp texture.
Can I Freeze Homemade Chicken Nuggets?
Yes, these chicken nuggets are incredibly freezer-friendly, making them perfect for batch cooking and quick meals on demand!
- Cool Completely: After baking, ensure the chicken nuggets have cooled completely to room temperature. This prevents ice crystals from forming.
- Flash Freeze: Arrange the cooled nuggets in a single layer on a baking sheet lined with parchment paper. Place the baking sheet in the freezer for about 1-2 hours, or until the nuggets are solid. This prevents them from sticking together.
- Transfer & Store: Once flash-frozen, transfer the solid nuggets into an airtight freezer-safe container or a gallon-size freezer bag. Remove as much air as possible to prevent freezer burn.
- Freeze Duration: Store in the freezer for up to 3 months.
- Reheating from Frozen: To reheat, bake the frozen nuggets directly in a preheated oven at 375°F (190°C) for 15-20 minutes, or air fry at 375°F (190°C) for 8-12 minutes, flipping halfway through, until hot and crispy. No need to thaw!
Quick Tip: Meal Prep Made Easy!
This recipe is ideal for meal prepping! Easily double or triple the ingredients to make a large batch of chicken nuggets. Follow the freezing instructions above, and you’ll have a convenient, high-protein meal solution ready to go on busy weeknights or when unexpected cravings strike. Having a stash of homemade nuggets in the freezer means healthy, delicious food is always within reach!
Frequently Asked Questions (FAQ)
- Can I use ground chicken instead of chicken breast?
- While you can, chicken breast is preferred for its texture and ability to hold shape better as nuggets. Ground chicken will create a softer, less “nugget-like” texture, similar to a mini chicken patty.
- How do I make these gluten-free?
- Simply substitute regular breadcrumbs with your favorite gluten-free breadcrumbs and use a gluten-free all-purpose flour blend in place of white whole wheat flour.
- Can I prepare the chicken nuggets ahead of time?
- Yes, you can coat the chicken nuggets and store them in a single layer on a parchment-lined baking sheet in the refrigerator for up to 1-2 hours before baking. For longer storage, it’s best to cook them first and then refrigerate or freeze as directed.
- What if I don’t have a wire rack?
- If you absolutely don’t have a wire rack, you can bake them directly on parchment-lined baking sheet. However, be aware that the bottoms will likely be less crispy. Flipping them more frequently can help.
Discover More of Our Favorite…
More Delicious Chicken Recipes
If you loved these homemade chicken nuggets, be sure to check out some of our other fantastic chicken recipes:
- Baked Chicken Tenders
- Air Fryer Chicken Tenders
- Coconut-Crusted Chicken Fingers with Rosemary Garlic Potato Wedges
These recipes offer more ways to enjoy healthy, flavorful chicken in your home!
Homemade Chicken Nuggets Recipe
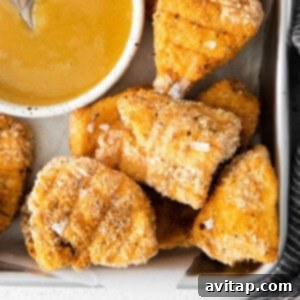
These homemade chicken nuggets are crafted with tender chicken breast, coated in a seasoned egg wash and flavorful breadcrumb topping. Baked on a wire rack, they achieve the ultimate golden-brown, irresistibly crispy texture, making them a perfect, healthier alternative to your favorite fast-food treat.
By: Lee Funke
Prep Time: 10 mins
Cook Time: 16 mins
Total Time: 26 mins
Yields: 4 servings
Ingredients
- 1 – 1.5 lbs. boneless, skinless chicken breasts
- 1 cup plain breadcrumbs (or whole wheat, gluten-free, or Panko breadcrumbs)
- 2 tablespoons white whole wheat flour (or all-purpose flour)
- 1 tablespoon garlic powder
- 1 teaspoon dried thyme
- ½ teaspoon paprika
- ½ teaspoon salt
- ½ teaspoon black pepper
- 2 large eggs
- 1 tablespoon olive oil
Instructions
- Preheat the oven to 400ºF (200ºC). Place a metal wire rack on top of a baking sheet and lightly spray the rack with non-stick cooking spray or brush with a little olive oil. Set aside.
- Prepare the chicken breasts by cutting them into uniform 1-inch “nuggets.” Pat dry with paper towels.
- In a large, shallow bowl, combine the breadcrumbs, flour, garlic powder, paprika, dried thyme, salt, and pepper. Stir everything together until thoroughly combined.
- Crack the two large eggs into a separate shallow bowl and whisk them until fully combined to create an egg wash.
- Dip each chicken nugget into the egg wash, ensuring it’s completely coated. Let any excess egg drip off. Then, transfer the nugget to the breadcrumb mixture, pressing and turning to ensure each side is fully coated. It’s easiest to do this one at a time for thorough coverage.
- Arrange the coated chicken nuggets in a single layer on the prepared wire rack on the baking sheet, ensuring there’s space between each piece.
- Lightly drizzle the chicken nuggets with olive oil, ensuring an even coat for ultimate crispiness.
- Bake the chicken for 14-16 minutes, flipping the nuggets halfway through (around the 7-8 minute mark). Cook until the internal temperature reaches 165ºF (74°C).
- For an extra golden and crispy finish, turn the oven to broil and broil the chicken nuggets for 1-2 minutes, watching carefully to prevent burning.
- Remove from the oven and let cool slightly before serving. Enjoy immediately with honey mustard, BBQ sauce, ketchup, or your favorite dipping sauce.
Tips & Notes
- Nutrition information was calculated using 1.5 lbs. chicken breast and serves 4 people. This is an approximation.
- Ensure chicken pieces are uniform for even cooking.
- Using a wire rack is crucial for achieving crispy bottoms.
- Drizzling with olive oil significantly enhances browning and crispiness.
Nutrition (per serving, approximate)
- Calories: 234 kcal
- Carbohydrates: 14 g
- Protein: 31 g
- Fat: 6 g
- Fiber: 2 g
- Sugar: 1 g
Nutrition information is automatically calculated and should only be used as an approximation. Values may vary based on specific ingredients and preparation methods.
⭐
Love this recipe? Leave a comment below!
We absolutely love seeing your culinary creations! Don’t forget to tag your posts on social media with the hashtag #fitfoodiefinds – we’d love to see your delicious homemade chicken nuggets!