
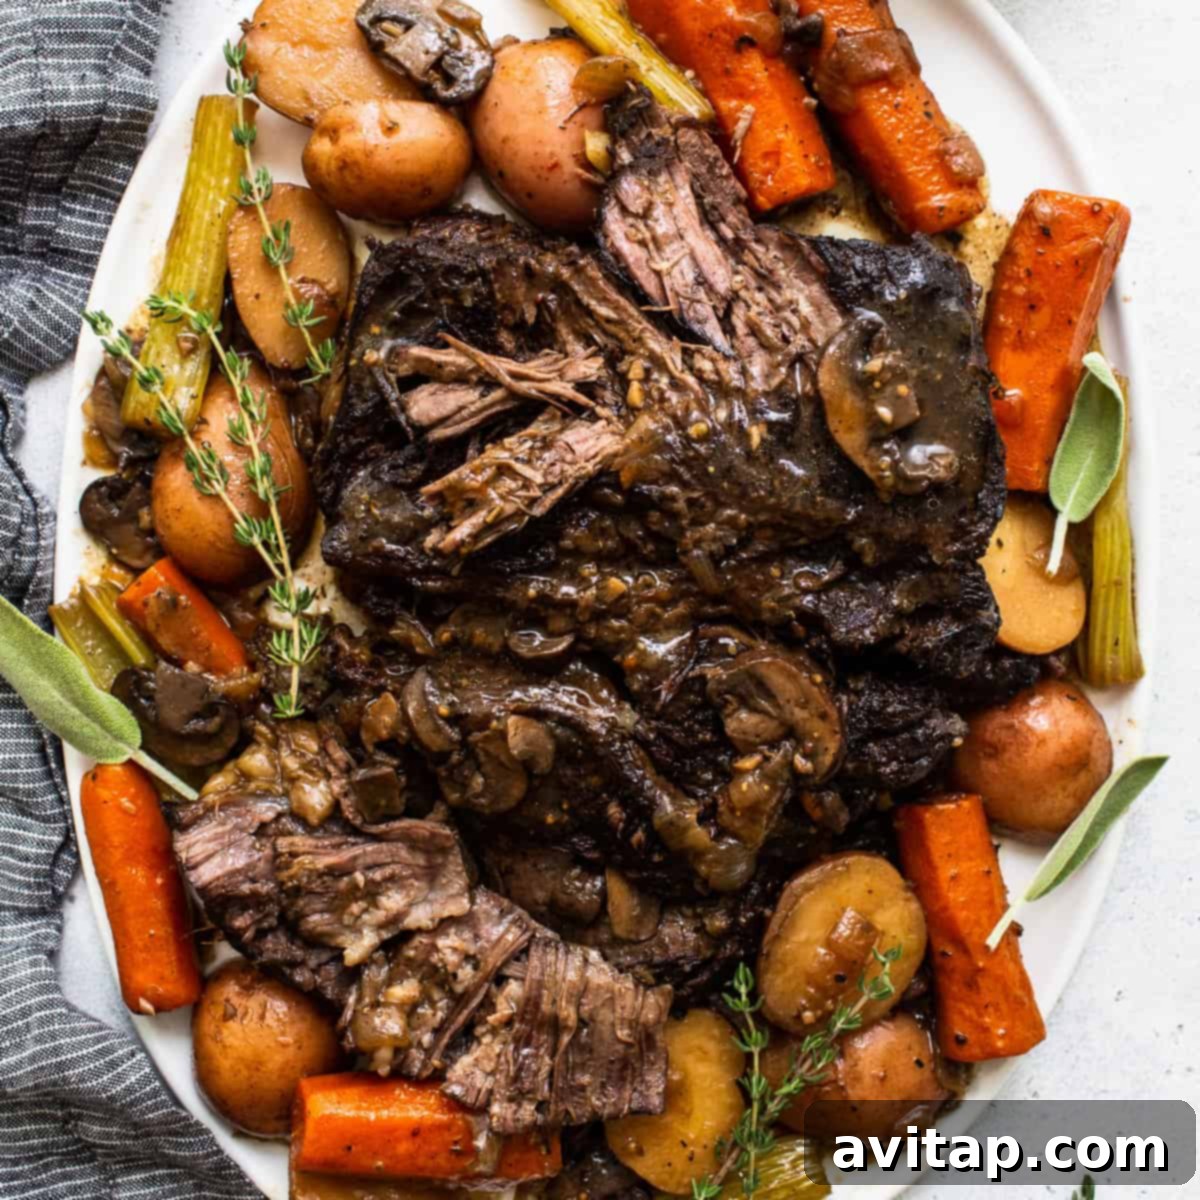
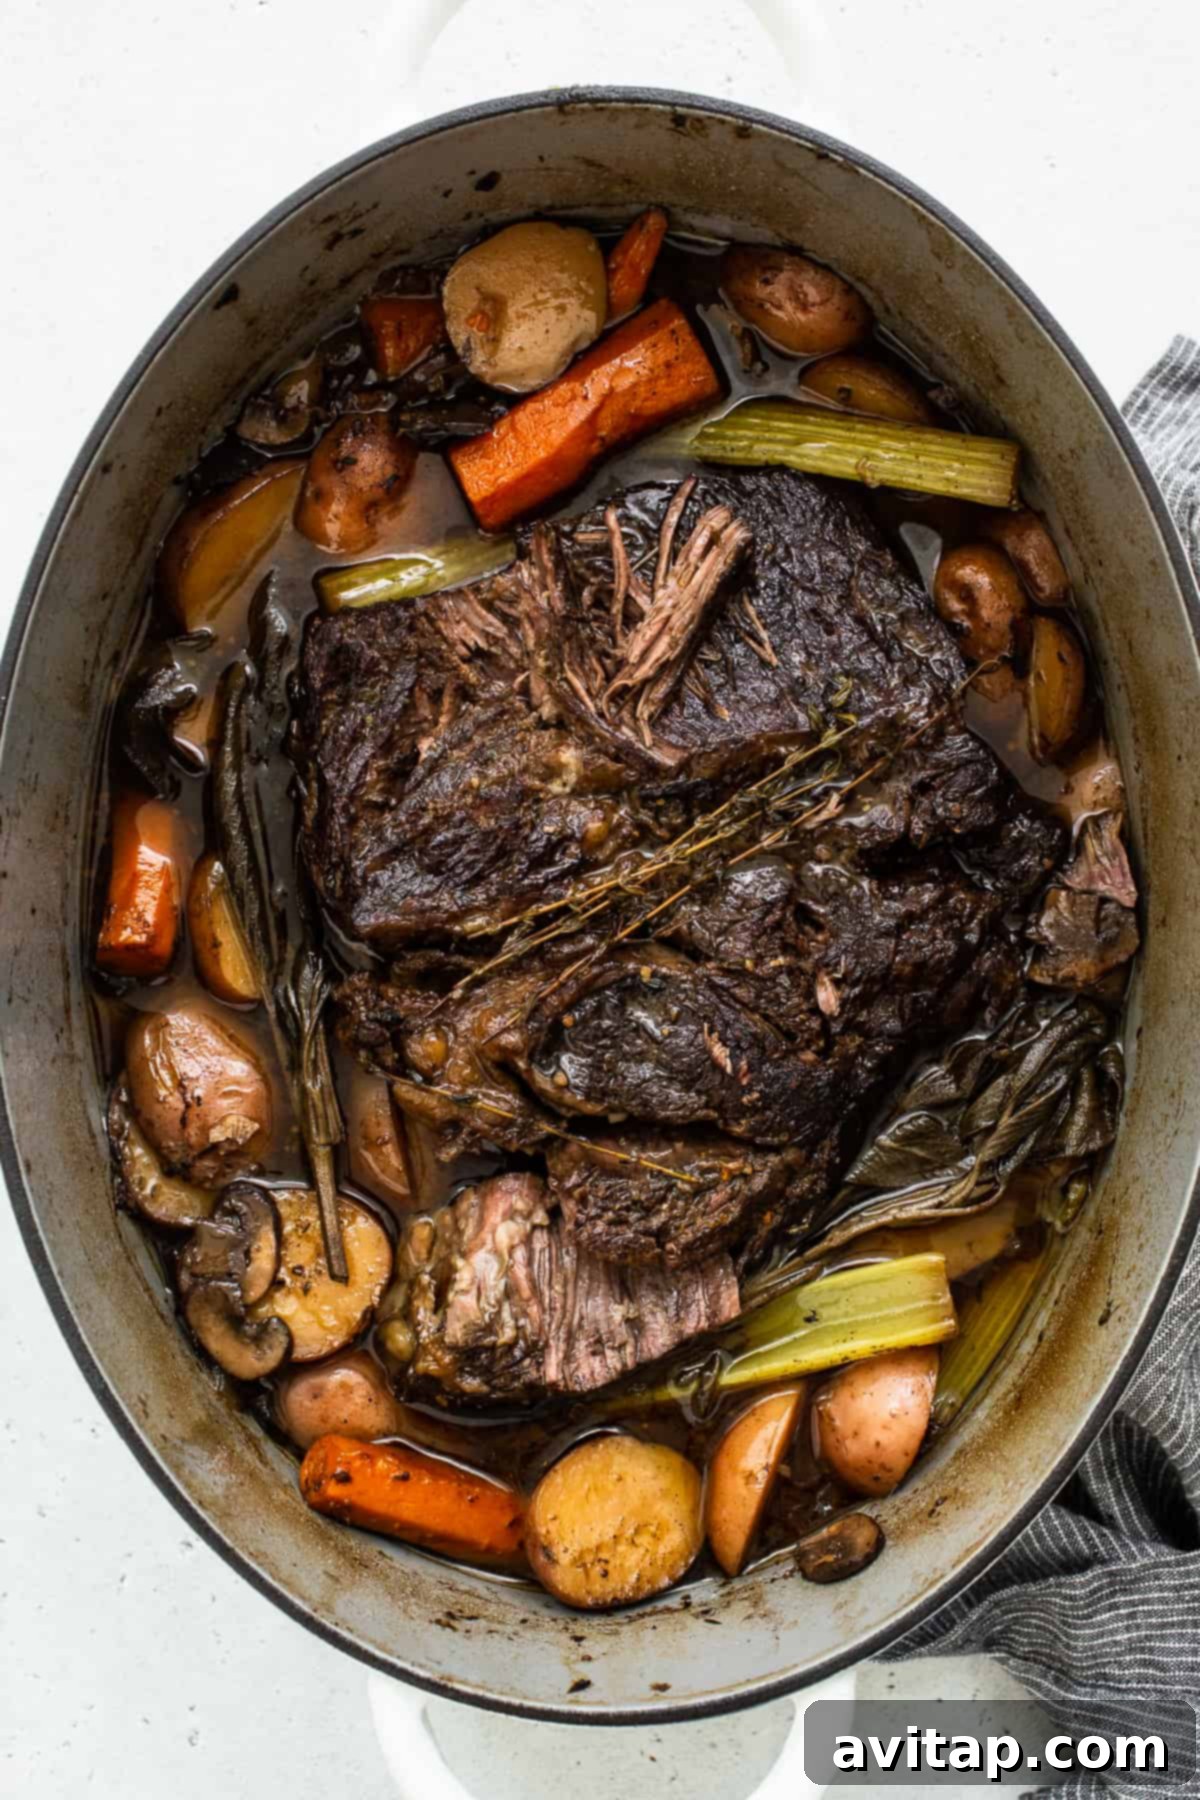
Prepare to elevate your dinner game with this truly exceptional Dutch oven pot roast. Imagine a succulent, fall-apart tender chuck roast, perfectly complemented by a medley of garden-fresh root vegetables, all swimming in an irresistibly rich and savory gravy. This isn’t just a meal; it’s a heartwarming culinary experience that promises to become a staple in your home. Our method ensures every bite is bursting with flavor, starting with a crucial searing step and finishing with a slow braise in aromatic broth until the beef is impossibly tender.
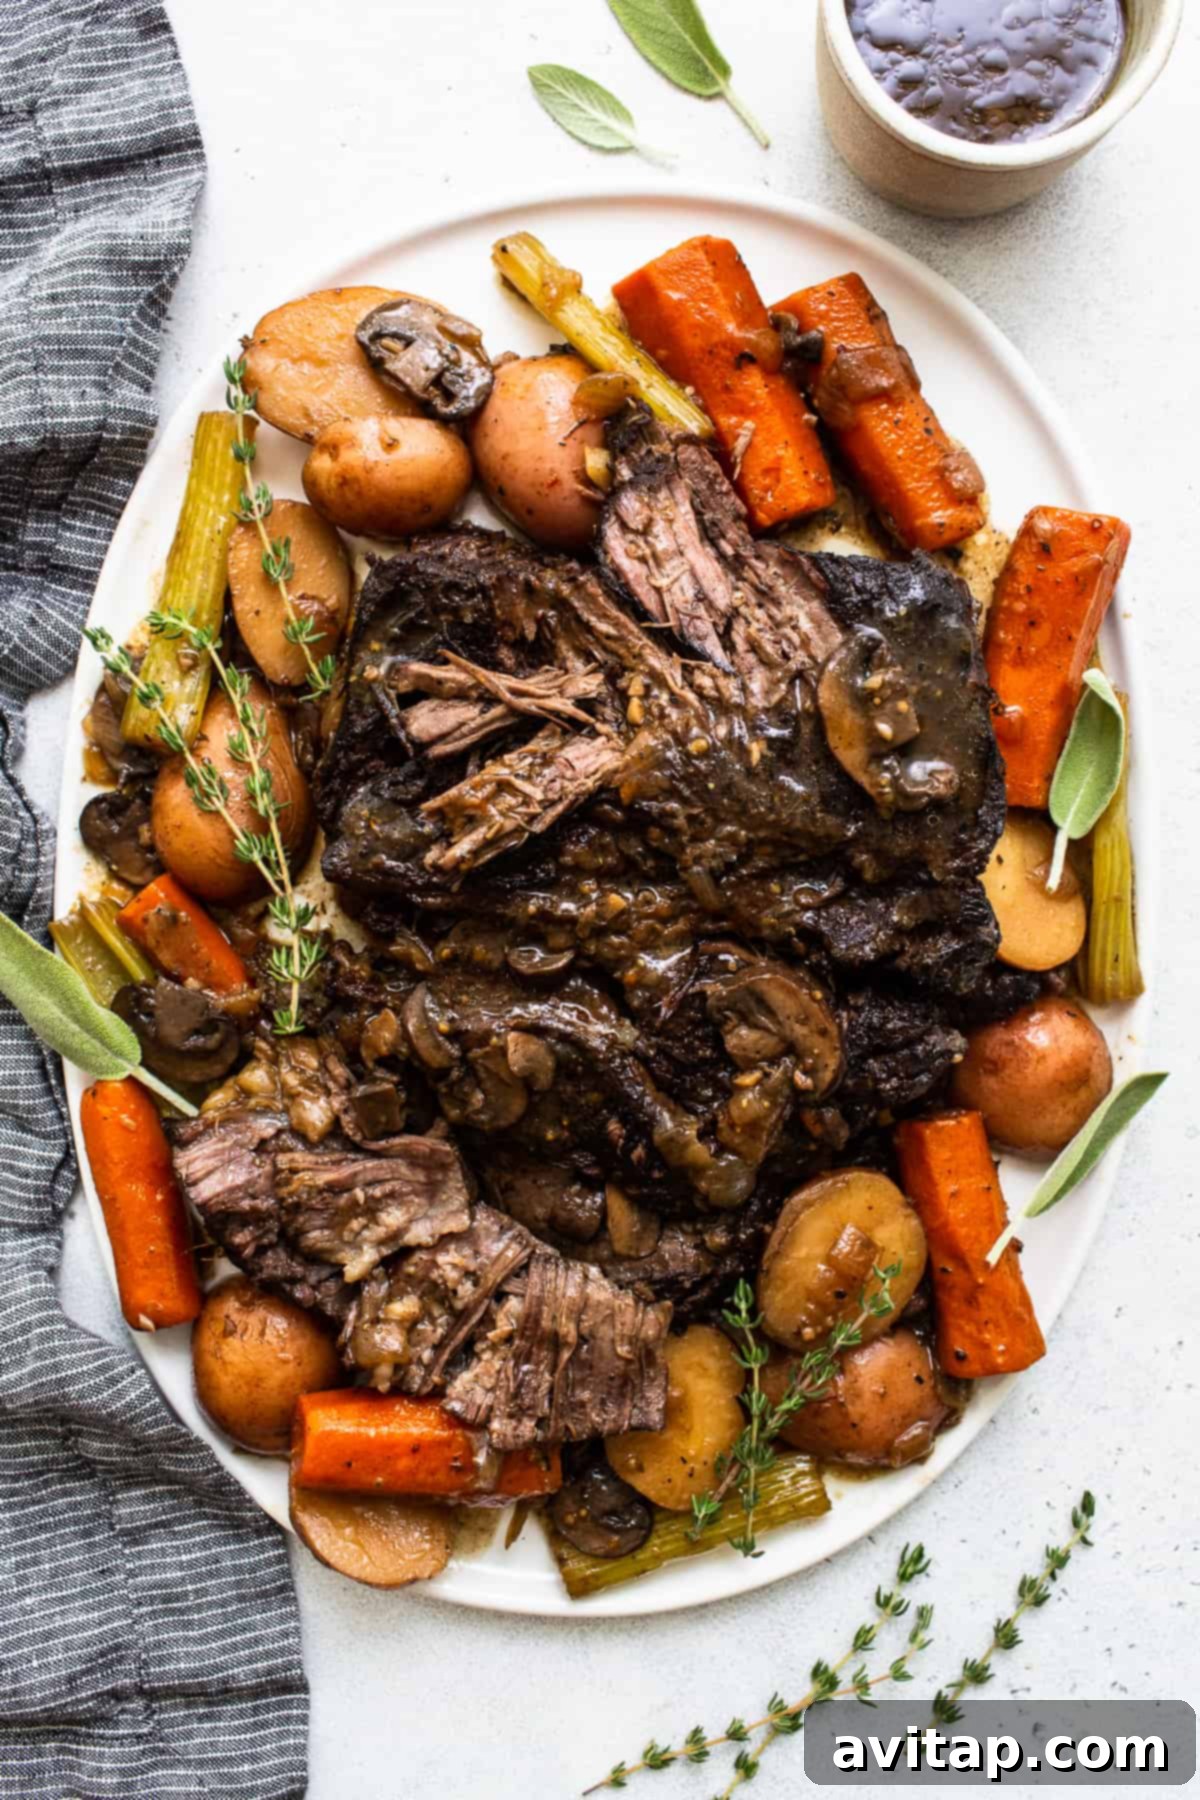
Mastering the Midwestern Classic: Our Signature Pot Roast
There’s something uniquely comforting about a classic pot roast, a dish revered across the Midwest and beyond. If a recipe features “roast” in its name, you can bet we’ve perfected it, and our Dutch oven pot roast stands out as a true triumph. Initially published in 2022, this beloved recipe underwent a revisit in 2025, confirming its status as a timeless favorite. The secret to its undeniable deliciousness lies in two key elements: our custom spice blend and the slow-braising technique.
- The Irresistible Pot Roast Seasoning: Our homemade blend is the heart of this recipe’s flavor. It’s built on a foundation of aromatic garlic and onion powder, perfectly balanced with a touch of brown sugar and other smoky ingredients. This seasoning creates a deeply flavorful crust during the initial searing, locking in moisture and building complex layers of taste that permeate the entire roast.
- The Art of Braising: Braising our beef pot roast in a Dutch oven within the oven is a game-changer. This low-and-slow cooking method ensures the meat breaks down beautifully, achieving an incredible tenderness that simply melts in your mouth. An added benefit? The vegetables cook alongside the meat, absorbing all the rich flavors from the braising liquid. Remember, always sear your meat thoroughly on all sides before braising; this crucial step kick-starts the cooking process and develops a depth of flavor that can’t be achieved otherwise.
Understanding the Difference: Pot Roast vs. Chuck Roast
While often used interchangeably, “pot roast” and “chuck roast” refer to different aspects of this beloved dish. A **chuck roast** specifically denotes a cut of beef taken from the steer’s shoulder, known for its marbling and connective tissue, which makes it ideal for slow cooking. On the other hand, a **pot roast** isn’t a particular cut of meat at all; rather, it describes the cooking method. It’s the process of slowly braising a less tender cut of beef in liquid (such as beef stock, wine, or even water) until it becomes incredibly juicy and tender.
Many cuts can be transformed into a delectable pot roast, including brisket, bottom round, or even short ribs. However, chuck roast remains the most popular choice due to its balance of fat and collagen, which breaks down wonderfully during long cooking times, yielding that characteristic fall-apart texture. Whether prepared in an Instant Pot, a slow cooker, or, our preferred method, a Dutch oven, the result is always a rich, succulent roast that exemplifies ultimate comfort food. The transformation of a tough cut into a tender masterpiece through patient cooking is what makes pot roast such a rewarding dish.
Crafting the Perfect Dutch Oven Pot Roast: A Step-by-Step Guide
Step 1: Expertly Season Your Chuck Roast
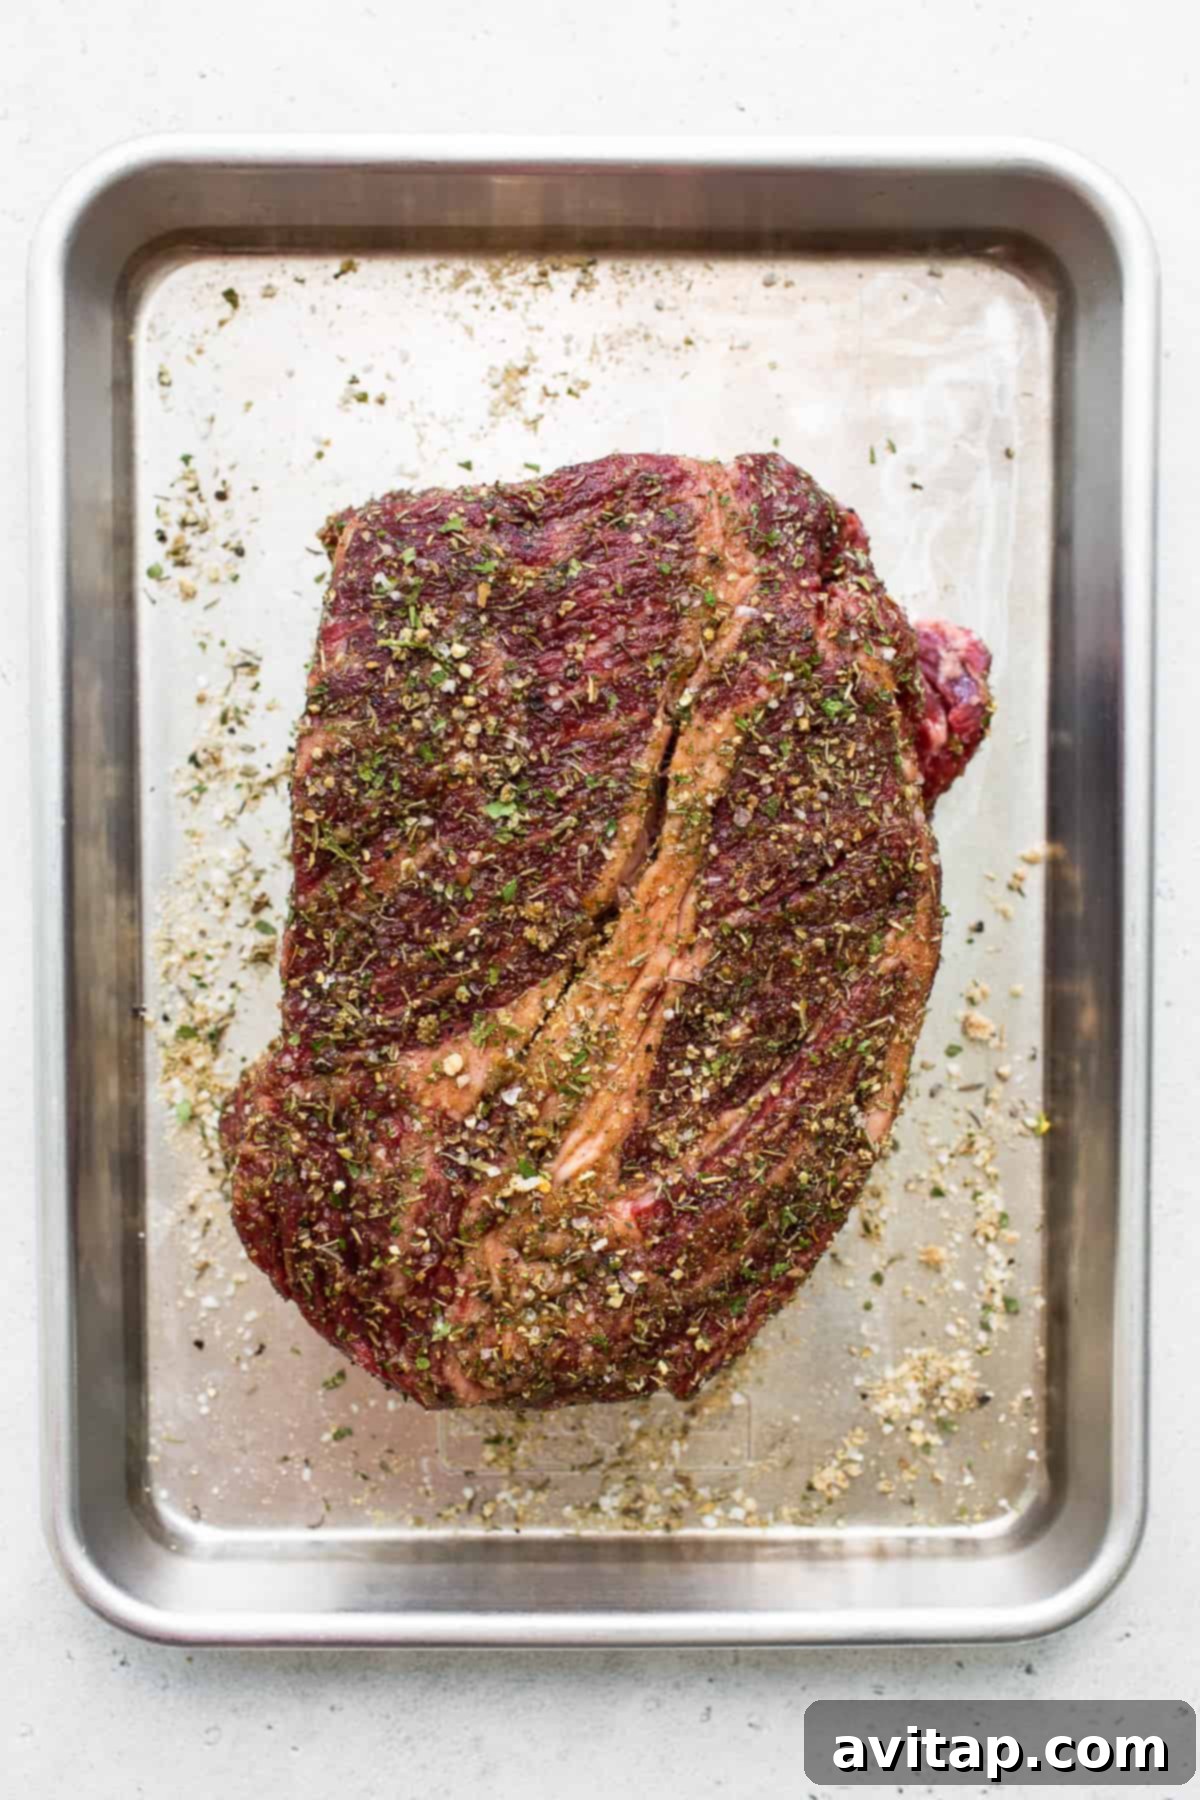
Begin by preparing your homemade pot roast seasoning blend. In a small bowl, thoroughly mix all the spice ingredients. Once combined, generously sprinkle this aromatic seasoning over your chuck roast. Take your time to massage the spices into every surface of the meat using your hands, ensuring it’s completely coated. This step is crucial for building deep flavor and a beautiful crust. Allow the seasoned roast to rest for at least 30 minutes at room temperature; this gives the salt time to penetrate the meat and helps tenderize it.
Step 2: Preheat Your Oven and Sear the Meat
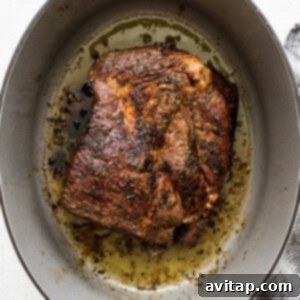
Preheat your oven to 300°F (150°C). While the oven heats, place a large Dutch oven with a lid over medium-high heat on your stovetop. Add the olive oil, allowing it to heat until it shimmers and is fragrant. Carefully place the seasoned chuck roast into the hot oil and sear it intensely on all sides for 3-4 minutes per side. You’re looking for a rich, golden-brown crust. This searing step, known as the Maillard reaction, creates incredible flavor and texture. Once beautifully browned, remove the roast from the Dutch oven and set it aside on a plate.
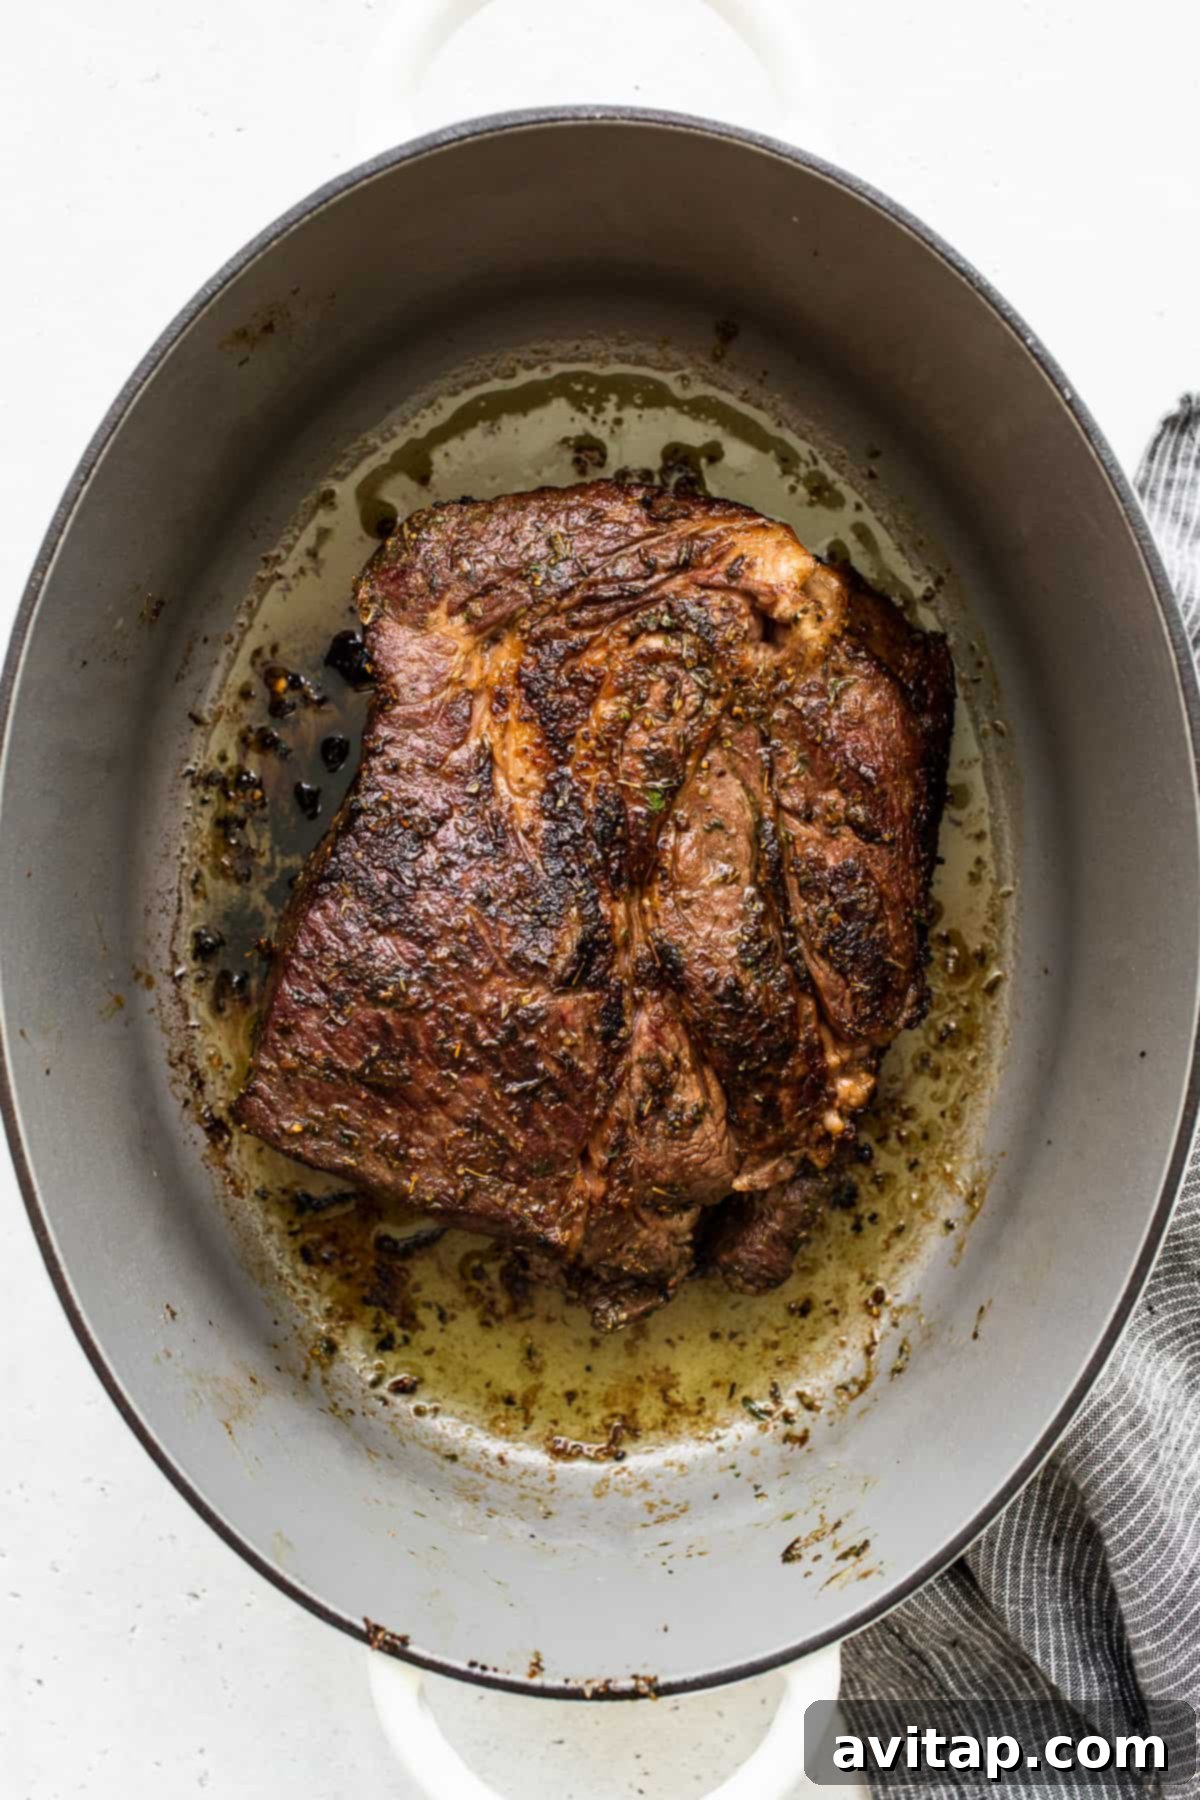
Step 3: Deglaze the Pot for Maximum Flavor
With the roast removed, pour the red wine into the hot Dutch oven. Immediately use a wooden spoon or spatula to scrape up all the delicious brown bits (fond) stuck to the bottom of the pot. This process is called deglazing. Those browned bits are packed with intense flavor, and by releasing them into the liquid, you’re building the foundation for an incredibly rich gravy. Deglazing is also essential for preventing anything from burning during the long braising process, ensuring a smooth, flavorful sauce. We recommend using red wine for its depth, but beef broth can also be used if preferred.
What is deglazing? Deglazing is the technique of adding liquid to a hot pan to dissolve the caramelized food bits (fond) stuck to the bottom after searing meat or sautéing vegetables. This not only prevents burning but also captures incredible flavor, which then becomes part of your sauce or braising liquid. For this pot roast, we use red wine, beef broth, and Worcestershire sauce to create a complex, flavorful base.
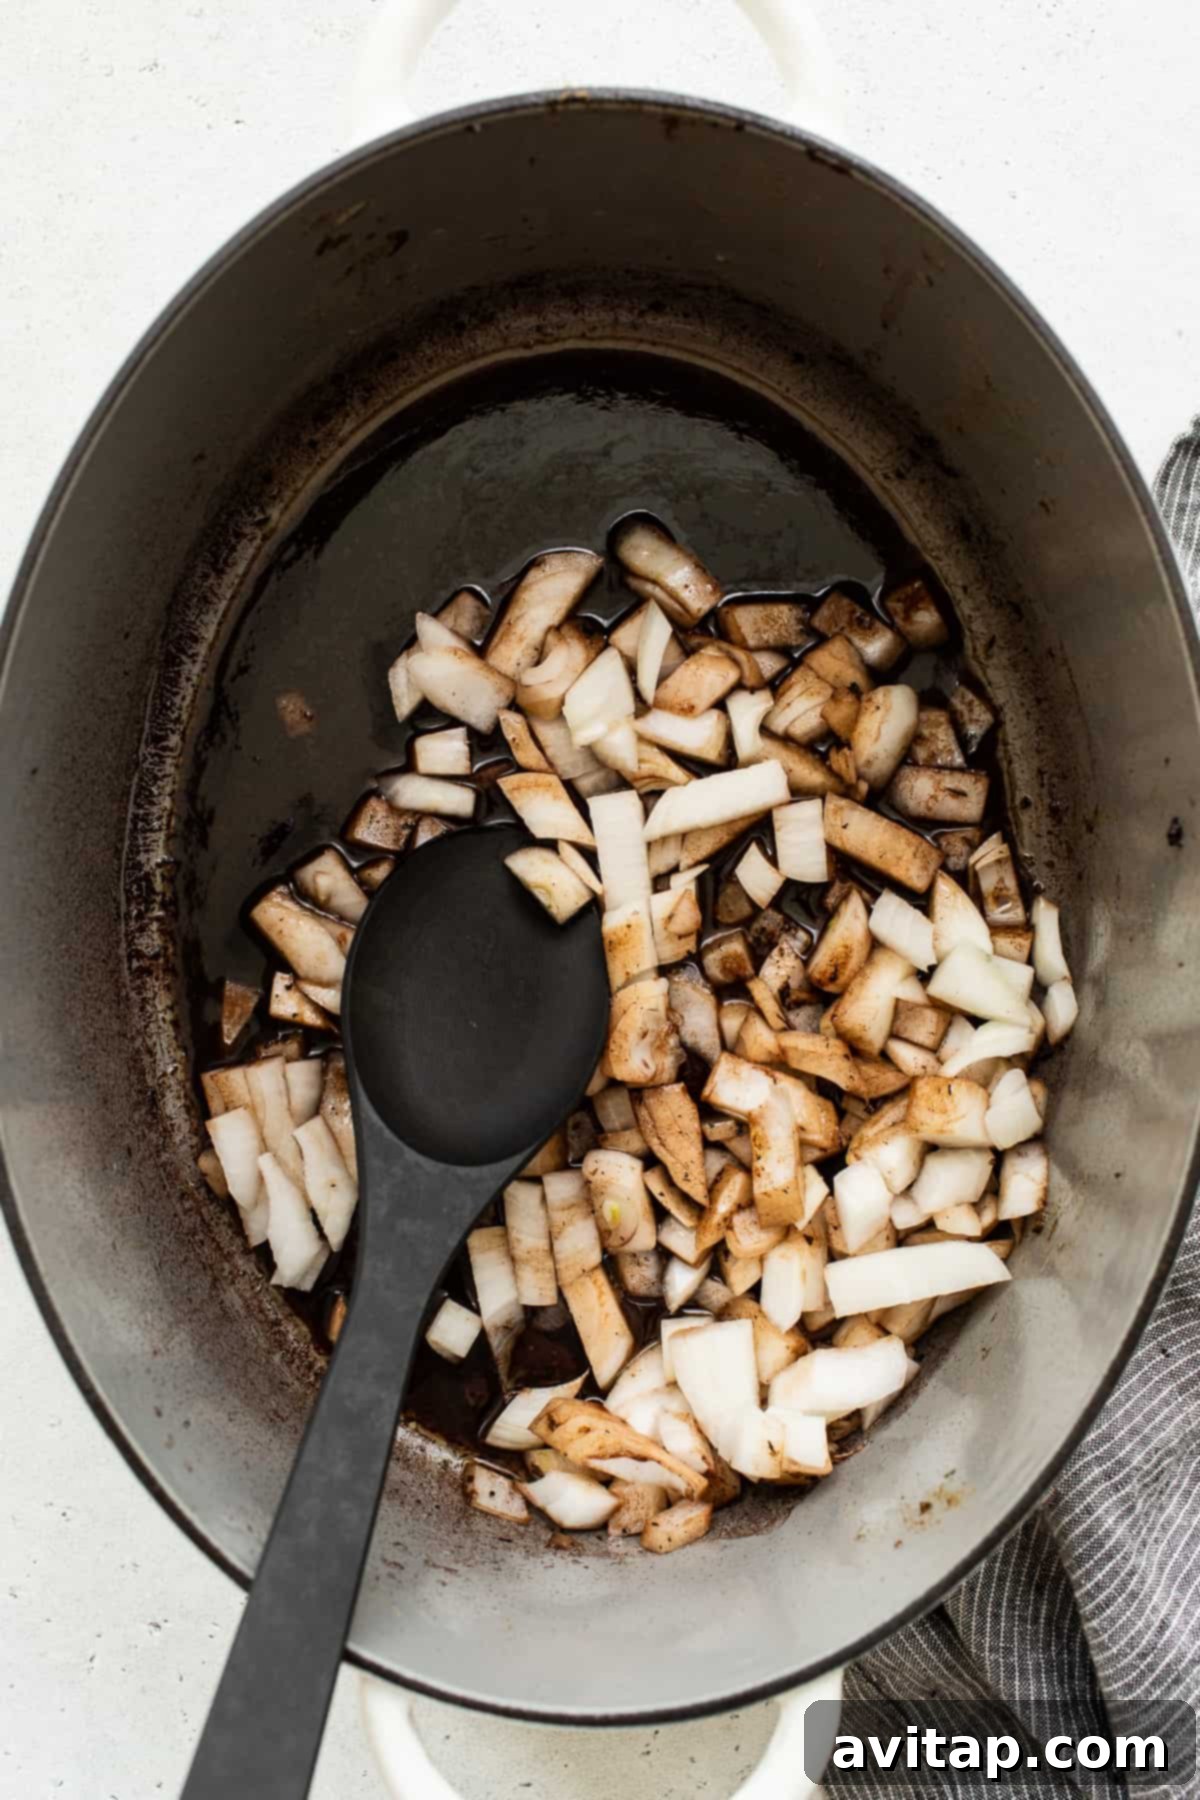
Step 4: Sauté Your Aromatic Vegetables
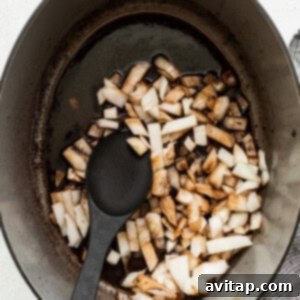
Next, add the diced onion to the deglazed pot, season with a pinch of salt, and sauté for 2-3 minutes until softened and translucent. Then, add the minced garlic and cook for an additional minute until fragrant. Be careful not to burn the garlic, as it can turn bitter. After the aromatics are ready, incorporate the carrots, celery, and potatoes. Stir everything together, allowing the vegetables to cook for 4-5 minutes. This light sauté helps to build their flavor before the long braise.
Pro tip: For even cooking and presentation, ensure your vegetables are sliced or chopped into roughly similar sizes. This consistency guarantees that all your veggies reach the perfect doneness simultaneously, preventing some from becoming mushy while others remain undercooked.
Step 5: Assemble the Braising Liquid and Begin Roasting
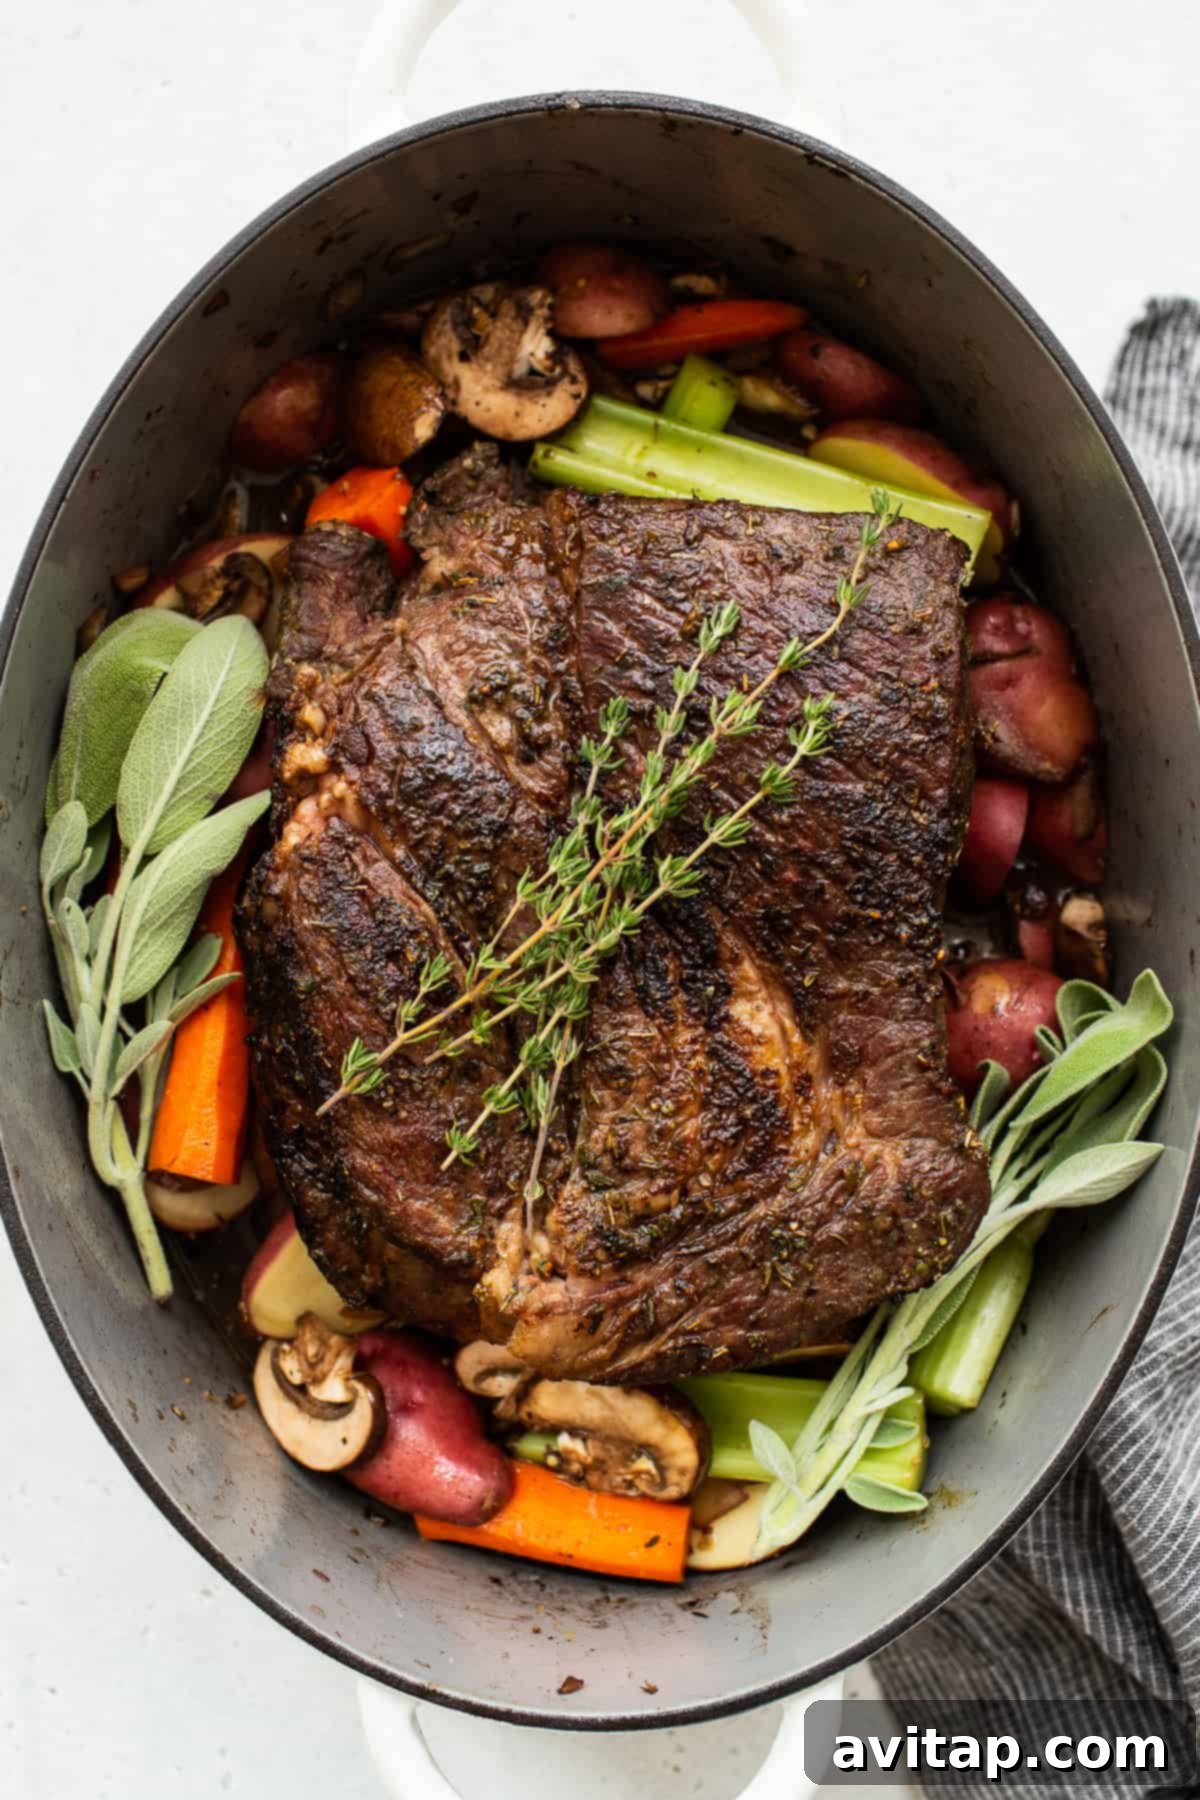
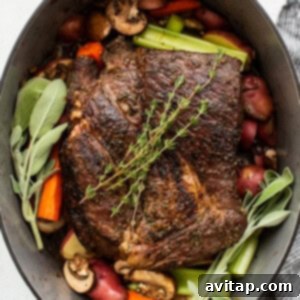
In a separate bowl, whisk together the beef broth, stone ground mustard, and Worcestershire sauce until well combined. This flavorful liquid will become the braising medium. Pour this mixture evenly over the sautéed vegetables in the Dutch oven. Carefully nestle your seared chuck roast back into the pot, placing it on top of the vegetables. Scatter fresh herbs, such as thyme and sage sprigs, over the roast and veggies; these will infuse the dish with wonderful botanical notes.
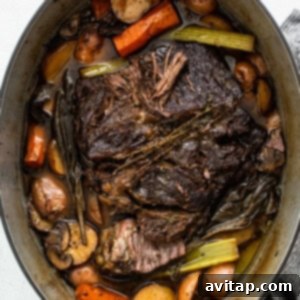
Cover your Dutch oven tightly with its lid and transfer it to the preheated oven. Bake for 3-4 hours, or until the roast is incredibly tender and easily pulls apart with a fork. After approximately two hours of cooking, gently flip the roast to ensure both sides have ample opportunity to absorb the rich braising liquid and cook evenly. Patience is key for this step – the longer and slower it cooks, the more tender and flavorful your pot roast will be.
How do you know your pot roast is done? A perfectly cooked pot roast will be exceptionally tender and effortlessly shreddable. If it still offers resistance when tested with a fork, it simply needs more time. Resist the urge to rush it; continued low and slow cooking is what transforms tough connective tissues into gelatin, resulting in that coveted melt-in-your-mouth texture.
Size & Cook Time: Please note that the exact cook time in your Dutch oven may vary. Smaller roasts (under 2.5 lbs) might finish slightly quicker, while larger cuts will require additional time to reach optimal tenderness.

Try it!
Thermoworks Thermapen
For consistently perfect results with any cut of meat, a reliable meat thermometer is indispensable. The Thermapen is our top recommendation, known for its speed and accuracy every time.
Step 6: Crafting the Perfect Gravy
Once your pot roast has finished its long bake and is irresistibly tender, carefully remove the meat and vegetables from the Dutch oven and set them aside. Discard the herb stems from the braising liquid. To thicken the sauce into a rich gravy, add 2-3 teaspoons of cornstarch directly into the hot liquid in the pot. Whisk vigorously until the cornstarch is fully dissolved and the gravy begins to thicken, which should happen within a few minutes if the liquid is still hot. If the liquid has cooled significantly, return the Dutch oven to the stovetop and bring the liquid to a boil over high heat before whisking in the cornstarch. This ensures proper thickening. Once the gravy reaches your desired consistency, return the tender roast and vegetables to the pot, coating them in the luscious sauce, ready for shredding and serving.
Pro tip: Always ensure your braising liquid is hot before adding cornstarch. Cold liquid can cause the cornstarch to clump, resulting in a lumpy gravy. If in doubt, bring the liquid to a gentle boil on the stovetop before incorporating the thickener.
Step 7: Shred and Savor Your Pot Roast!
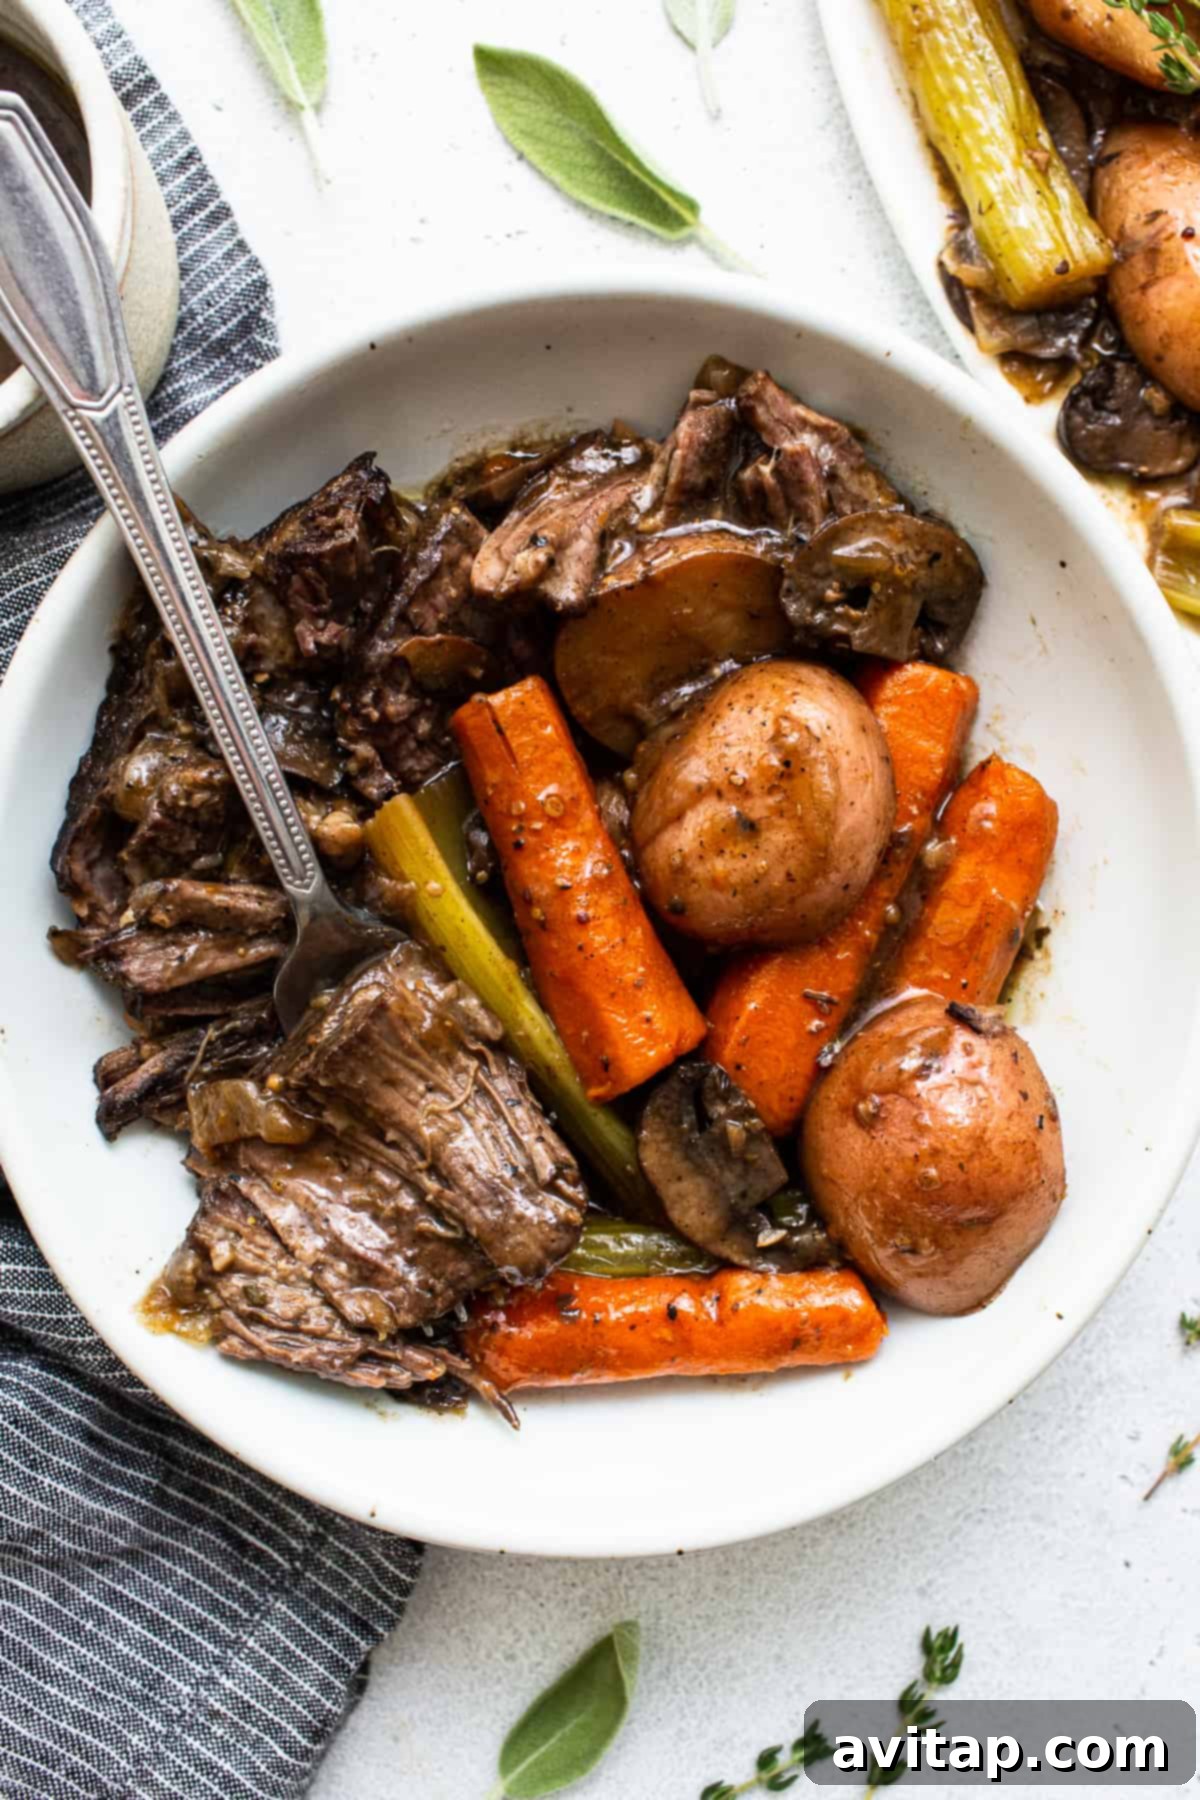
Now that your vegetables are perfectly cooked, your gravy is wonderfully rich, and your meat is fall-apart tender, it’s time for the final, satisfying step: shredding the beef. Using two forks, gently pull the pot roast apart into large, rustic chunks. We love to generously drizzle some of that flavorful homemade gravy over the shredded beef to keep it incredibly moist and juicy. This ensures every bite is as tender and flavorful as possible.
Pro tip: For the best texture and taste, remember to discard any large chunks of fat before serving. While some fat adds flavor during cooking, removing excess ensures a more enjoyable eating experience.
ENJOY your classic pot roast recipe – a true masterpiece of comfort food!
Storing Your Delicious Beef Pot Roast
Proper storage is key to enjoying your pot roast leftovers. Allow the pot roast to cool completely before transferring it to an airtight container. When stored in the refrigerator, it will remain fresh and flavorful for up to 5 days. For longer preservation, your pot roast can be frozen for up to 3 months in a freezer-safe, airtight container. Freezing individual portions can be a convenient way to have a comforting meal ready for busy weeknights.
Reheating Your Pot Roast for Continued Enjoyment
To reheat your pot roast and maintain its tenderness, we recommend using the oven. Place your leftover pot roast and vegetables in an oven-safe dish, ensuring it’s covered tightly to prevent drying out. Reheat at a gentle 325°F (160°C) for 10-15 minutes, or until it’s thoroughly warmed through. If you prefer the stovetop method, place the pot roast and vegetables in a heated pan with a splash of olive oil or extra broth, and sauté over medium heat until warm. Avoid high heat, which can toughen the meat.
Great Jones
The Dutchess
This is undeniably my favorite Dutch oven. Its 6.75-quart capacity, high-quality enameled cast iron construction, and gorgeous design make it perfect for braising and slow cooking, proving to be both functional and a beautiful addition to any kitchen.
Frequently Asked Questions About Dutch Oven Pot Roast
Your pot roast will reach its signature fall-apart tenderness when it achieves an internal temperature between 190-195°F (88-90°C). At this specific temperature range, the tough collagen and connective tissues within the meat undergo a magical transformation, breaking down into succulent gelatin, which is what gives the roast that incredibly moist, melt-in-your-mouth texture.
While several cuts work well for braising, we consistently find that boneless chuck roast is the absolute best beef cut for achieving a perfect pot roast. Its excellent marbling and rich connective tissue are ideal for slow cooking. Other great alternatives include shoulder steak, chuck shoulder, chuck seven-bone roast, beef chuck arm roast, and brisket, all of which will yield delicious results.
While technically optional, skipping the searing step can result in a pot roast that tastes noticeably flatter and lacks depth. Searing is crucial because it initiates the Maillard reaction, a chemical process that creates hundreds of new flavor compounds and a beautiful crust on the meat’s surface. This browning significantly enhances the overall taste, texture, and aroma, making your pot roast far more complex and satisfying.
Yes, it is possible to overcook pot roast, though it’s less common with slow-cooking methods. You’ll know if your pot roast is overcooked if the meat becomes stringy and dry rather than juicy and tender. To prevent this, always ensure there’s sufficient braising liquid in the pot throughout the cooking process. Aim to conclude cooking when the meat reaches an internal temperature of 190-195°F (88-90°C). For smaller roasts under 3 pounds, begin checking for doneness after two hours, and for larger roasts, start checking after three hours.
Absolutely! Pot roast is incredibly versatile. Feel free to add other hearty root vegetables like parsnips, rutabagas, or sweet potatoes. Green beans or peas can be added during the last 30-60 minutes of cooking for a fresh touch. Ensure any added vegetables are cut to a similar size to the original veggies for even cooking.
A classic pot roast pairs beautifully with a variety of sides. Creamy mashed potatoes are a quintessential choice, perfect for soaking up the rich gravy. Crusty bread is another excellent option for the same reason. For a lighter touch, consider a simple green salad or roasted asparagus. The included root vegetables already make it a complete meal, but these additions can elevate the experience.
More of our Favorite…
Hearty & Delicious Roast Recipes
- The Ultimate Baked Pork Roast
- Flavorful Instant Pot Pot Roast
- Aromatic Herby Whole Roasted Chicken
- Tender Slow Roasted Pork Shoulder
★
★
★
★
Classic Dutch Oven Pot Roast Recipe
Ingredients
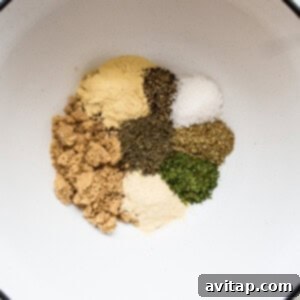
Pot Roast Seasoning
- 1/4 cup brown sugar
- 2 tablespoons garlic powder
- 1.5 tablespoons onion powder
- 2 teaspoons dried oregano
- 2 teaspoons dried thyme
- 2 teaspoons dried parsley
- 1.5 tablespoons coarse salt
- 2 teaspoons pepper
Other Ingredients
- 2.5-4 lbs. boneless chuck roast, not chuck steak
- ⅓ – ½ cup pot roast seasoning, depending on how big the roast is
- 3 tablespoons olive oil
- ½ cup red wine, we used cabernet
- 1 large white onion, diced
- 5 cloves garlic, minced
- ½ teaspoon salt
- 5 large carrots, peeled and cut into thirds
- 3 celery stalks, cut into thirds
- 2 lbs. baby potatoes, cut in half
- 8 oz. bella mushrooms, sliced
- 2 cups beef broth
- 1 tablespoon stone ground mustard
- 1 tablespoon Worcestershire sauce
- 5 sprigs fresh thyme
- 2 sprigs fresh sage
Instructions
-
Mix all of the ingredients for the pot roast seasoning in a small bowl. Remove the chuck roast from the packaging and generously sprinkle the seasoning over the pot roast. Massage the seasoning into the roast with your hands, ensuring the entire roast is completely coated. Let the seasoned roast sit for at least 30 minutes at room temperature.

-
Preheat your oven to 300ºF (150°C).
-
Heat a large Dutch oven with a lid over medium-high heat on your stovetop. Add the olive oil. Once the olive oil is shimmering and fragrant, carefully add the seasoned roast and sear it for 3-4 minutes on each side until a rich, golden-brown crust forms. Remove the roast from the Dutch oven and set it aside.
-
Deglaze the Dutch oven by pouring in the red wine and using a spatula to scrape all the delicious brown bits from the bottom. Add the diced onion to the wine and season with salt. Sauté the onion for 2-3 minutes until softened. Then, add the minced garlic and cook for another 1 minute until fragrant.
-
Add the carrots, celery, and potatoes to the Dutch oven and stir all the ingredients together, ensuring they are well combined. Let the vegetables cook for 4-5 minutes, lightly softening them before braising.
-
In a separate bowl, whisk together the beef broth, stone ground mustard, and Worcestershire sauce. Pour this flavorful liquid over the vegetables in the Dutch oven. Carefully place the fresh herbs and the seared roast back on top of the vegetables.
-
Cover the Dutch oven tightly with its lid and transfer it to the preheated oven. Bake for 3-4 hours, or until the roast is incredibly tender and easily falls apart with a fork. Flip the roast after approximately 2 hours to ensure both sides roast evenly in the flavorful cooking liquid. Continue to cook until your pot roast is truly fall-off-the-bone tender. The exact cooking time will vary depending on the size of your roast and the calibration of your oven.
-
Once cooked, remove the Dutch oven from the oven and let the roast rest, still covered, for 10 minutes. Discard the herb stems before serving. Enjoy immediately.
-
Remove the cooked roast and vegetables from the Dutch oven and set them aside. Discard any remaining herb stems. To create a rich gravy, add 2-3 teaspoons of cornstarch to the hot braising liquid in the pot. Whisk the cornstarch into the liquid until it thickens, which should happen within a few minutes if the liquid is still hot. If the cooking liquid has cooled, bring it to a boil over high heat on the stovetop before whisking in the cornstarch.
-
Return the tender roast and vegetables to the pot, coating them in the freshly made gravy. Shred the beef with two forks and serve immediately.
Tips & Notes
- For our recipe, we used a 2.5-lb. chuck roast and approximately ⅓ cup of our homemade pot roast seasoning. Adjust the amount of seasoning as needed to fully coat your entire roast. Any leftover seasoning can be stored in an airtight container for future use.
- The total time your roast spends in the oven can vary based on your specific oven and the size of your meat. The most important indicator of doneness is tenderness. If your meat still feels tough, continue cooking it patiently until it reaches that desirable fall-apart texture.
Nutrition
Nutrition information is automatically calculated, so should only be used as an approximation.
Love this recipe? Leave a comment below!
Don’t forget to tag your posts on social media with the hashtag #fitfoodiefinds – we’d absolutely love to see your delicious creations!