
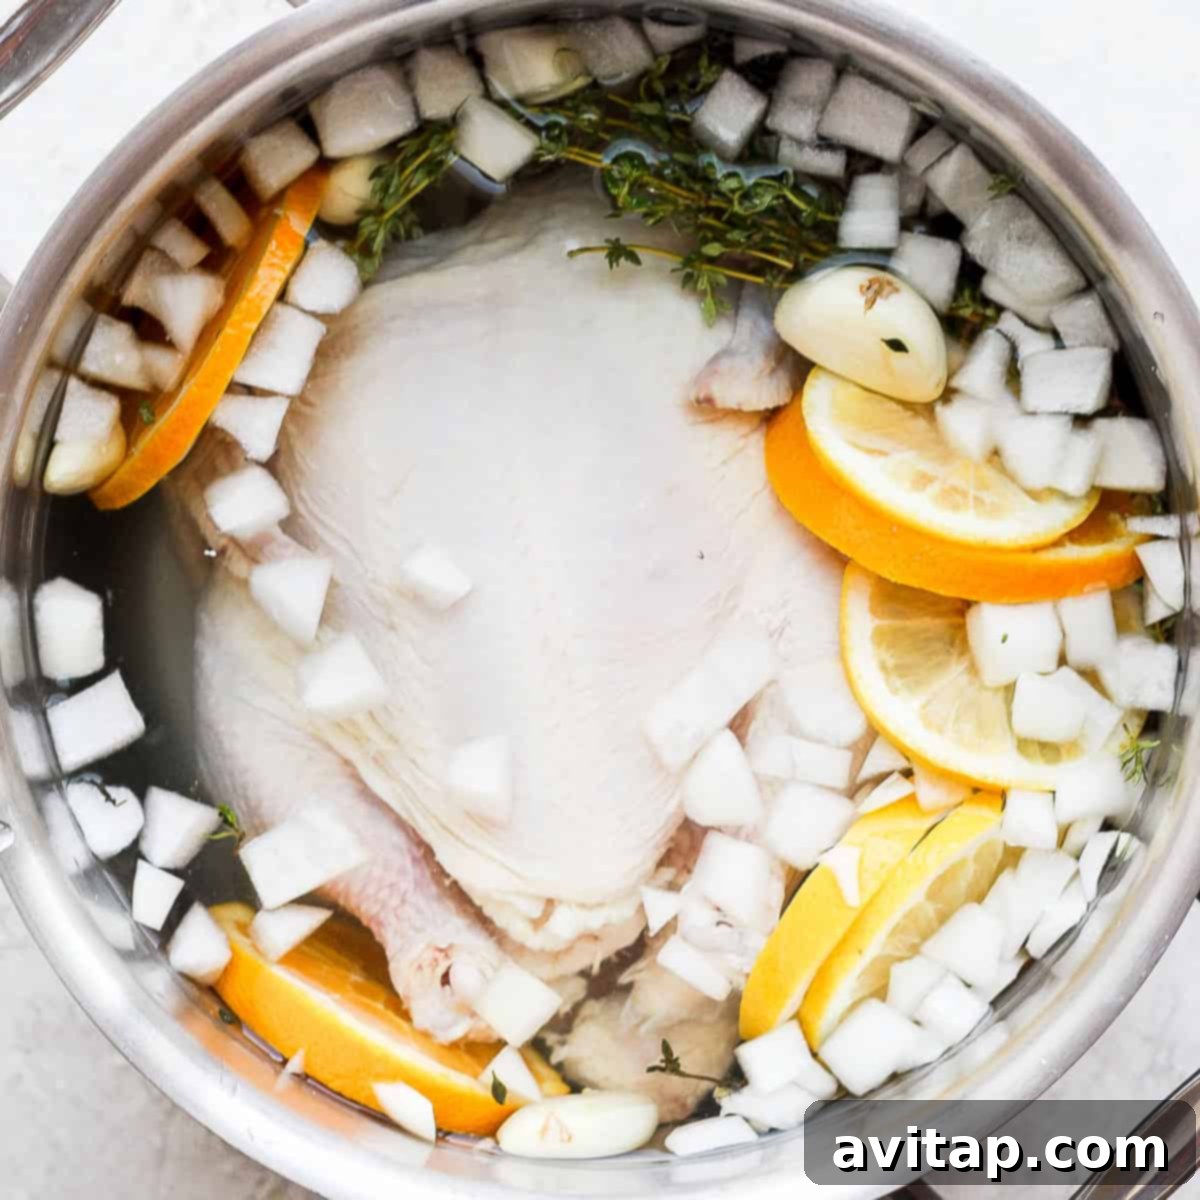
Unlock the secret to a truly unforgettable meal with our simple yet classic whole chicken brine. This tried-and-true recipe is designed to transform any whole chicken into the juiciest, most delicious poultry you’ve ever tasted, ensuring tender, succulent results every single time.
While we frequently use this incredible chicken brine to prepare our grilled spatchcock chicken, its versatility knows no bounds. Feel free to apply it to our smoked whole chicken or achieve restaurant-quality tenderness with oven roasted spatchcock chicken. No matter your preferred cooking method, brining lays the foundation for an exceptional dish.
Mastering Our Signature Whole Chicken Brine
The term “chicken brine” might sound daunting to some home cooks, but rest assured, the process of creating a simple yet effective brine for your whole chicken is remarkably easy. Don’t let culinary jargon intimidate you; with a few basic tools and the right bird, you’ll be well on your way to poultry perfection. This guide will demystify brining, turning a seemingly complex technique into an accessible step that guarantees superior results for any grilled whole chicken recipe or other cooking methods.
Why Brine a Chicken? The Science Behind Succulence
Brining is more than just soaking meat in saltwater; it’s a culinary technique rooted in science that significantly enhances the eating experience of poultry. We enthusiastically advocate for brining chicken, especially when preparing a whole bird, for three compelling reasons that elevate your dish from good to extraordinary:
- Unrivaled Flavor Infusion: Brining is essentially an intensive flavor bath. The salt in the brine, along with any added aromatics like herbs, garlic, and citrus, permeates the meat. This process infuses the chicken with a deep, savory deliciousness that goes far beyond surface seasoning. It’s a foundational flavor layer that ensures every bite is rich and satisfying.
- Exceptional Texture Transformation: The salt in the brine initiates a process called denaturation, where the protein strands in the chicken meat begin to unwind and relax. This breakdown of tough muscle fibers results in an incredibly smooth, tender texture. When you bite into a brined chicken, you’ll notice a remarkable difference – it’s less chewy and far more pleasurable.
- Maximized Moisture Retention: This is arguably the most crucial benefit. Through osmosis, the salt in the brine helps the chicken’s muscle cells absorb and retain more liquid. As the chicken cooks, whether it’s grilled, roasted, or smoked, it naturally loses some moisture. However, a brined chicken starts with a higher moisture content, meaning it can withstand the cooking process without drying out. The result is consistently juicy meat, even the notoriously lean breast, ensuring a truly delicious and moist outcome.
It’s worth noting that brining is particularly beneficial for leaner cuts of meat, such as chicken, turkey, or pork chops. These meats have a lower fat content, which makes them more prone to drying out during cooking. Brining genuinely makes a profound difference, ensuring these lean cuts emerge from the oven or grill wonderfully moist and flavorful.
Explore More Delicious Chicken Recipes
Creamy Chicken Mushroom Pasta (Ready in 30 Minutes!)
Creamy Marry Me Chicken Soup (With Ground Chicken)
Chicken Parmesan Meatball Skillet (Easy One-Pan Dinner)
Air Fryer Sweet and Sour Chicken
Crispy Bacon Wrapped Chicken
Understanding Dry Brine vs. Wet Brine
When it comes to brining, you’ll encounter two primary methods: wet brining and dry brining. Our specific chicken brine recipe, featuring water as a key ingredient, is an example of a wet brine. This method involves submerging the meat in a solution of salt, water, and various aromatics.
In contrast, a dry brine relies solely on salt applied directly to the surface of the meat. Instead of introducing external moisture, a dry brine draws out the meat’s natural juices. The salt then dissolves in these juices, forming a concentrated brine that is reabsorbed by the meat. Both methods achieve similar goals of enhanced flavor and moisture, but a wet brine generally infuses more liquid into the meat, while a dry brine often results in a crispier skin due to the lack of external moisture.
Essential Chicken Brine Ingredients
Our classic whole chicken brine combines simple, fresh ingredients to create a powerful flavor enhancer. Each component plays a vital role in tenderizing and seasoning your poultry:
- Water: The base of our wet brine, ensuring the salt and flavors are evenly distributed and absorbed by the chicken.
- Kosher Salt: Crucial for its ability to penetrate the meat, tenderize proteins, and enhance moisture retention. We recommend kosher salt for its larger crystal size, which makes it easier to measure and control salinity compared to table salt.
- Smashed Garlic Cloves: Infuse a robust, aromatic depth that complements chicken beautifully. Smashing them releases their essential oils more effectively.
- Chopped White Onion: Adds a foundational layer of savory, sweet, and pungent flavor to the brine, enriching the overall taste profile.
- Sliced Oranges: Contribute a bright, citrusy note and a hint of sweetness, balancing the savory elements and adding complexity.
- Sliced Lemons: Provide essential acidity and a zesty tang, helping to break down fibers and brighten the chicken’s flavor.
- Sprigs Fresh Thyme: Offer an earthy, peppery, and slightly floral aroma that is a classic pairing with poultry, imparting a fresh herbaceousness.
- Whole Chicken: The star of the show! This recipe is formulated for a 4 lb. bird, ensuring perfect coverage and absorption.
Selecting the Perfect Whole Chicken for Brining
This particular chicken brine recipe is meticulously designed for a 4 lb. whole chicken. It’s crucial that your chicken is thawed before brining to allow for proper liquid absorption. When choosing your bird, consider the size carefully. If you opt for a larger chicken, remember that the entire bird must be fully submerged in the brine solution. To achieve this, you may need to double the brine recipe ingredients to ensure you have enough liquid to completely cover a bigger bird, guaranteeing even brining and optimal results.
Step-by-Step Guide: How to Brine a Whole Chicken
Brining a whole chicken is an incredibly straightforward process, and the minimal extra effort it requires is undeniably worth it for the remarkably juicy and flavorful results. Follow these simple steps to prepare an easy and effective brine for your whole chicken:
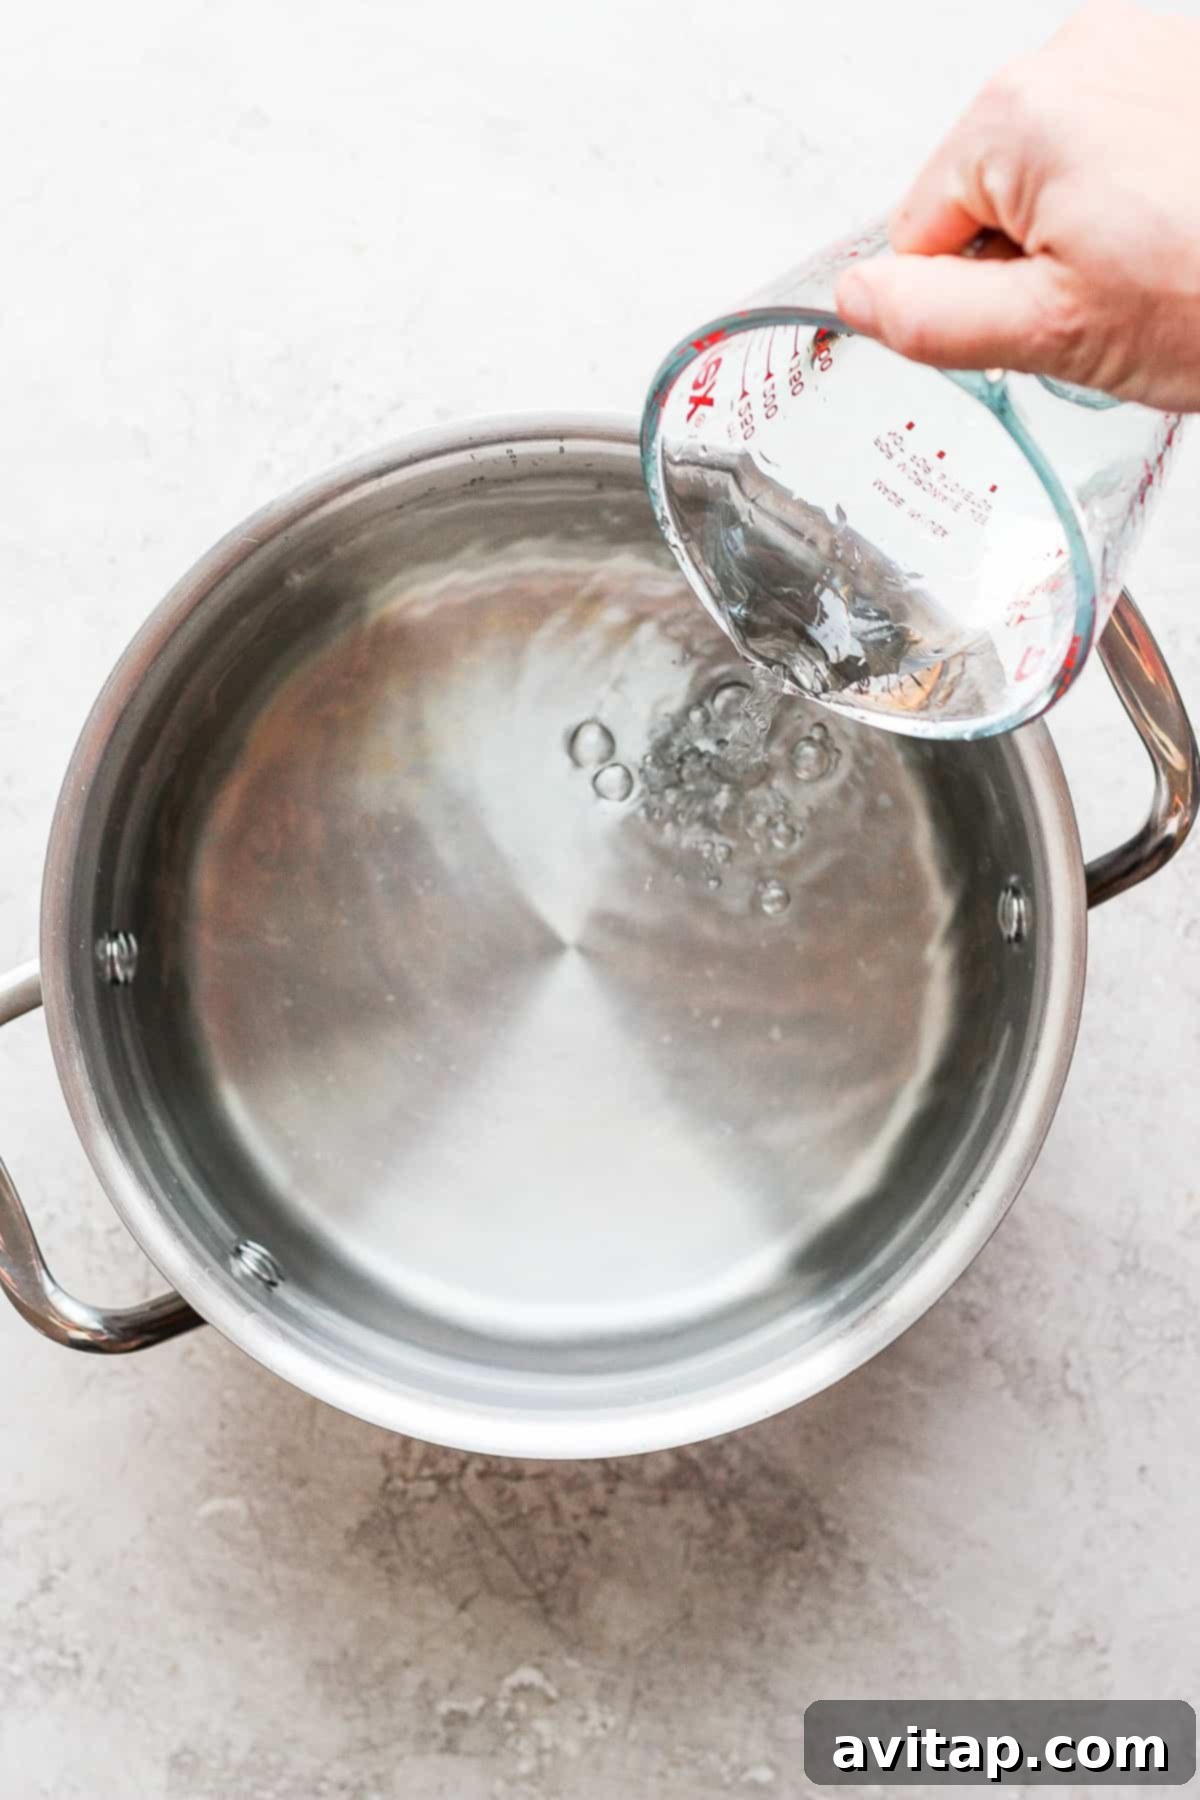
- Prepare the Base Liquid: Begin by filling a large pot, bucket, or brine bag with 9 cups of water. This vessel should be large enough to comfortably hold your whole chicken and the brine.
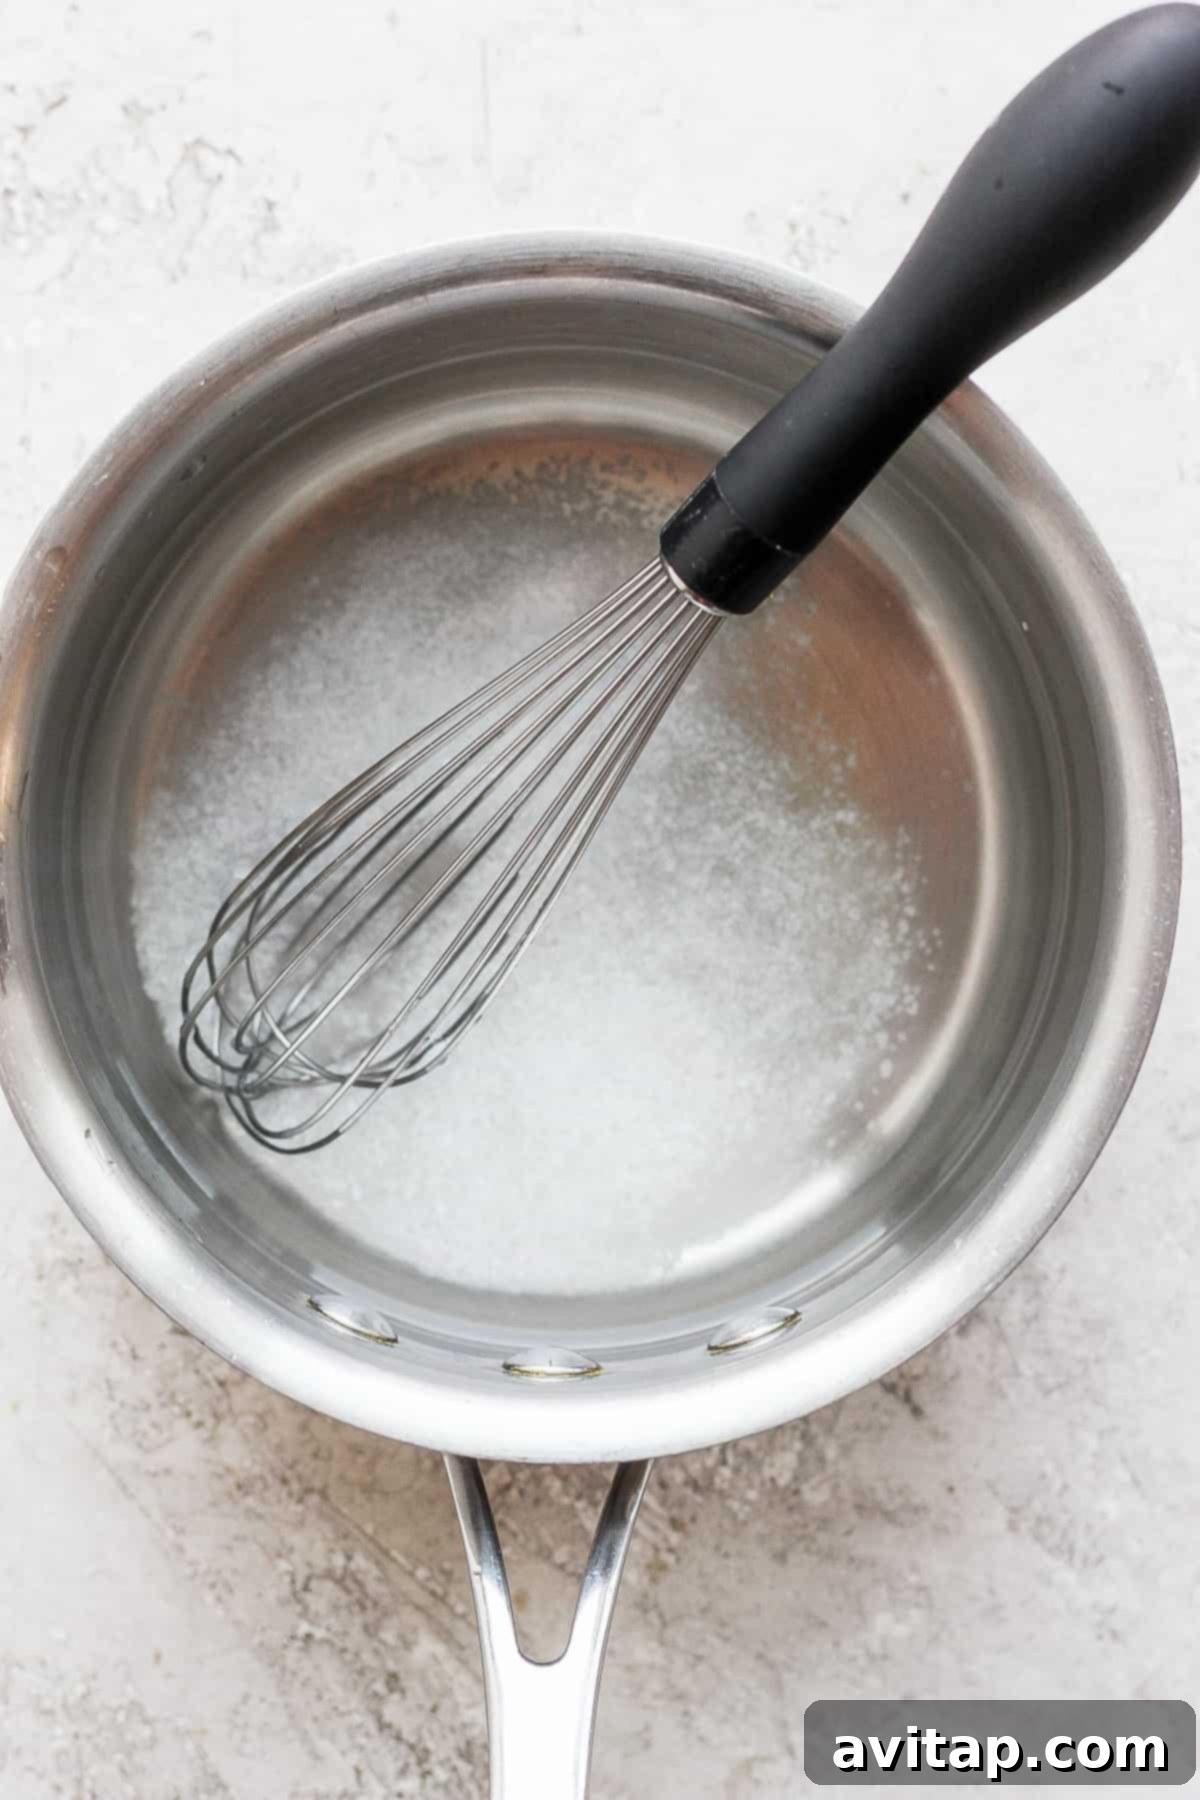
- Create the Salt Solution: Remove 1 cup of water from the large pot and transfer it to a separate saucepan. Add the recommended amount of kosher salt to this saucepan.
- Dissolve the Salt: Heat the water and salt mixture over medium heat, whisking continuously until the salt is completely dissolved. It’s important not to bring this solution to a boil; you simply want the salt to fully integrate. Once dissolved, remove the saucepan from the heat.
- Combine & Cool: Carefully pour the warm, salted water back into the large pot with the remaining 8 cups of water. Whisk everything together to ensure an even distribution of salt. Allow this mixture to cool completely to room temperature before proceeding. This is a critical step to prevent cooking the chicken.
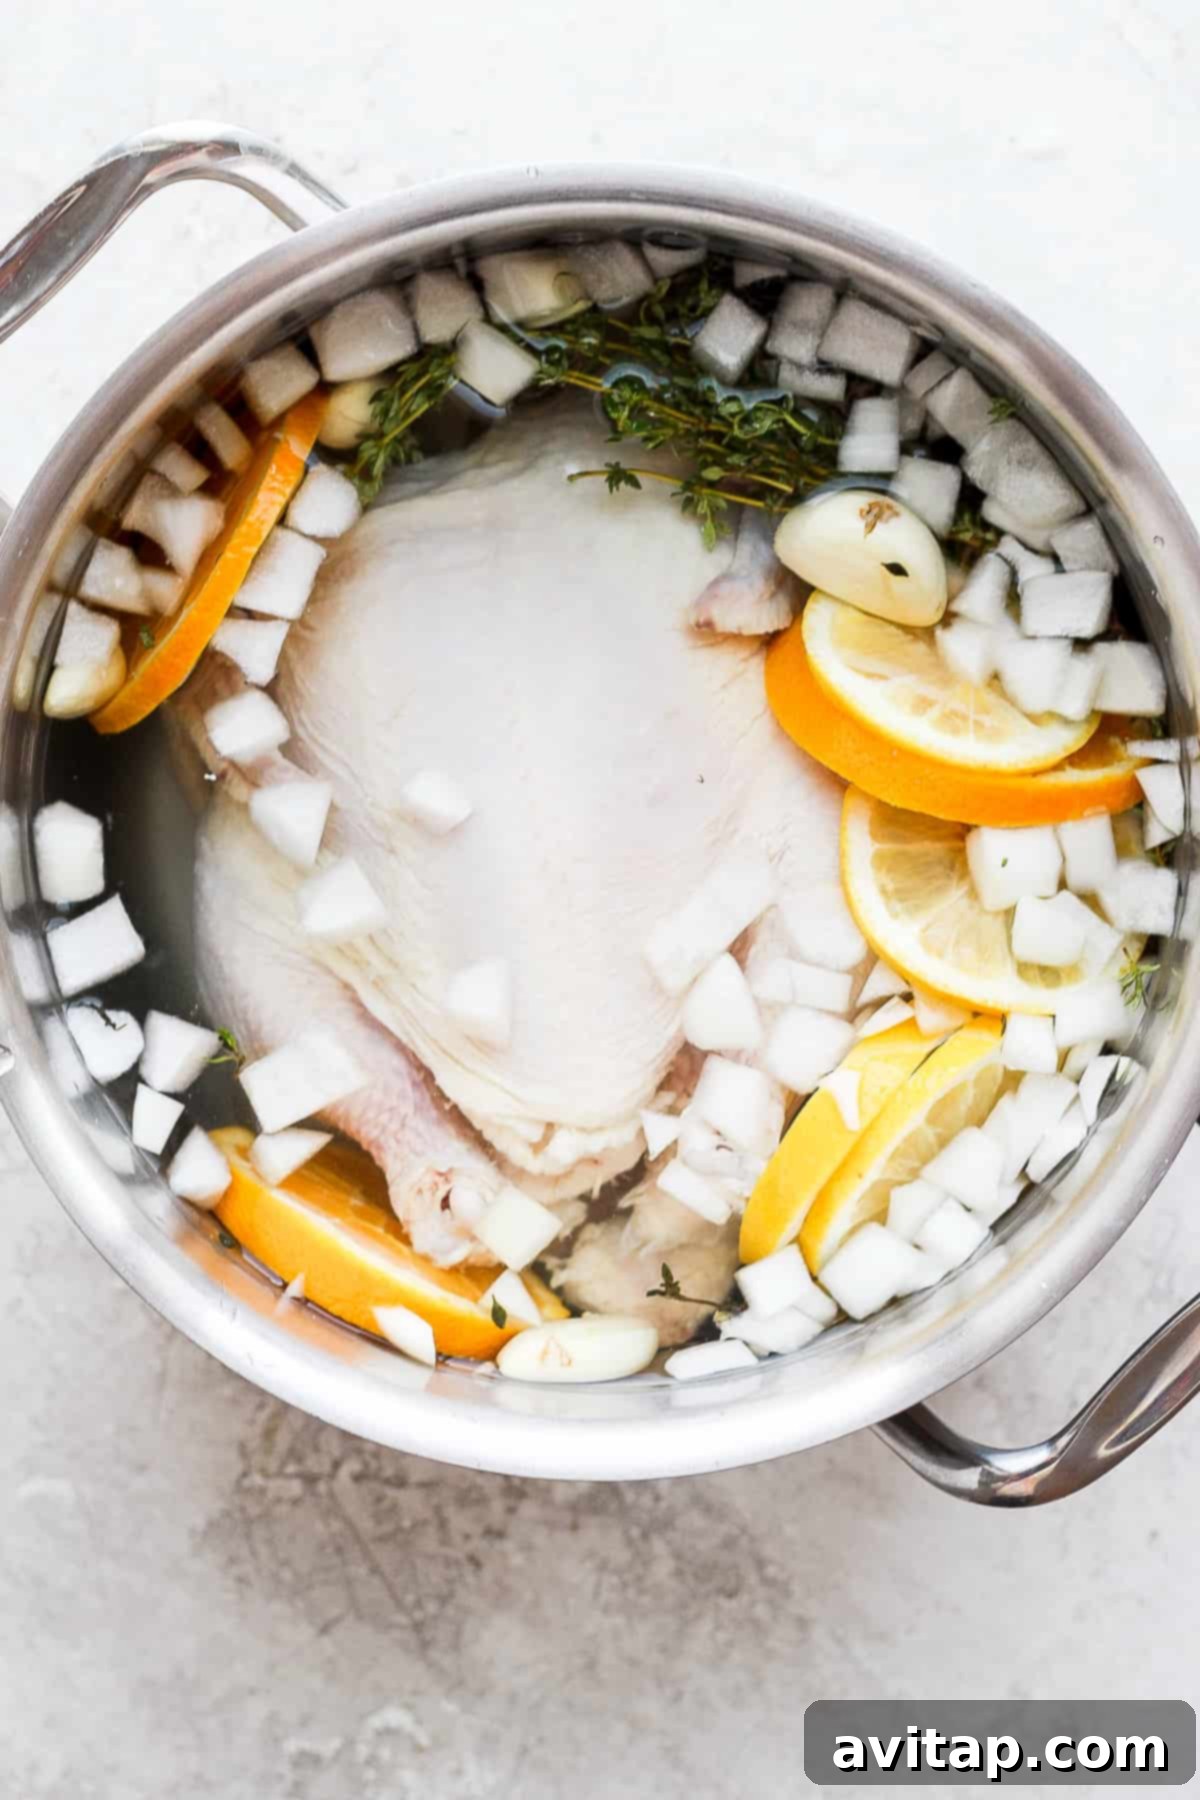
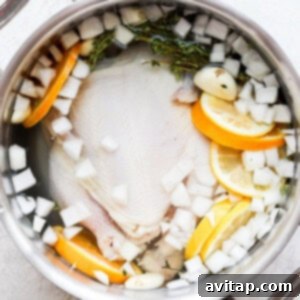
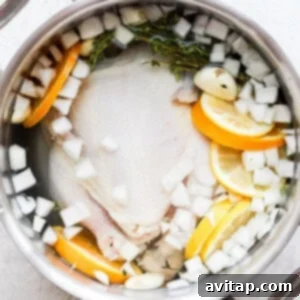
- Infuse with Aromatics: Once the brine has cooled, add the smashed garlic cloves, chopped white onion, sliced orange, sliced lemon, and fresh thyme sprigs to the pot. Stir gently to combine these aromatic ingredients.
- Submerge the Chicken: Finally, carefully place your whole chicken into the pot, ensuring it is completely submerged in the brine solution. If necessary, you can use a plate or a smaller bowl to weigh it down slightly to keep it fully immersed.
- Refrigerate for Brining: Cover the pot and place it in the refrigerator for a minimum of 12 hours, or ideally, overnight. This extended time allows the brine to work its magic, infusing the chicken with flavor and moisture.


Ready to cook?
Grilled Whole Chicken
After you’ve successfully brined your chicken, the next step is to grill it to perfection! Discover our detailed guide on how to grill a whole chicken for an irresistibly crispy skin and juicy interior.
Common Questions About Chicken Brining
Brining is a game-changer because it addresses three key aspects of poultry cooking: moisture, flavor, and tenderness. It dramatically increases the chicken’s moisture retention, making it incredibly juicy. Simultaneously, the brine infuses the meat with a rich, savory flavor, and the salt helps to break down muscle fibers, resulting in a wonderfully tender texture.
Surprisingly, no! While salt is a primary component of brine, the goal isn’t to make the chicken taste salty. Instead, the salt works through osmosis, causing the muscle fibers to absorb liquid and relax. This process prevents the chicken from drying out and creates a more tender texture, rather than imparting an overpowering salty taste. When done correctly, the result is perfectly seasoned, not excessively salty, meat.
Absolutely! Brining significantly enhances the tenderness of chicken. The salt solution helps to denature proteins in the meat, effectively breaking down tougher muscle fibers. This breakdown results in meat that is noticeably softer and more pleasant to chew. Coupled with the flavor infusion and moisture retention, brining truly transforms the chicken into a succulent, tender delight.
For a whole chicken, a brining period of 10 to 12 hours is generally ideal. Brining overnight in the refrigerator is often the most convenient option. While you can brine for slightly longer (up to 24 hours for very large birds), exceeding this can sometimes lead to a slightly mushy texture, so it’s best to stick within the recommended timeframe.
Yes, it’s highly recommended to thoroughly rinse the brined chicken under cold running water for a few minutes. This helps to wash off any excess salt from the surface, preventing the skin from becoming too salty during cooking. After rinsing, pat the chicken completely dry with paper towels. A dry surface is key to achieving crispy skin, especially if you plan to roast or grill.
Proper Storage for Brined Chicken
Ensuring food safety is paramount when brining chicken. It is absolutely essential to store your chicken in the brine inside the refrigerator throughout the entire brining period. Keeping the chicken at a consistent chilled temperature (below 40°F or 4°C) in the refrigerator will ensure that it remains safe and prevents the growth of harmful bacteria. Always keep the container covered to avoid cross-contamination with other foods in your fridge.

More of our Favorite…
Mouthwatering Chicken Recipes
- Best Crispy Chicken Thighs
- Grilled Whole Chicken
- Crispy Sous Vide Chicken Thighs
- Most Flavorful Chicken and Rice
Easy & Flavorful Whole Chicken Brine
Print Recipe
Ingredients
- 9 cups water
- 1/2 cup kosher salt
- 4 cloves garlic, smashed
- 1 small white onion, chopped
- ½ orange, thinly sliced
- ½ lemon, thinly sliced
- 5 sprigs fresh thyme
- 4 lb. whole chicken, thawed
Instructions
-
To begin brining, fill a large gallon-sized pot or container with 9 cups of water.

-
Remove 1 cup of water from the large pot and place it in a saucepan with the kosher salt. Heat this mixture over medium heat, whisking until the salt has completely dissolved. Do not allow it to boil. Once dissolved, remove from heat. Pour the salted water back into the large pot and whisk thoroughly to combine. Let it cool completely.
-
Next, add the smashed garlic, chopped onion, orange slices, lemon slices, and fresh thyme sprigs to the pot. Stir to mix these aromatics evenly throughout the brine. Finally, carefully add the whole chicken to the pot, ensuring it is fully submerged in the liquid.
-
Cover the pot and place it in the refrigerator for 12 hours, or ideally, overnight, to allow the chicken to fully absorb the flavors and moisture.

Nutrition
Nutrition information is automatically calculated, so should only be used as an approximation and may vary based on specific ingredients used.
Enjoyed this recipe? Leave a comment below!
Don’t forget to tag your culinary creations on social media with the hashtag #fitfoodiefinds – we’d absolutely love to see what you’re cooking up!