
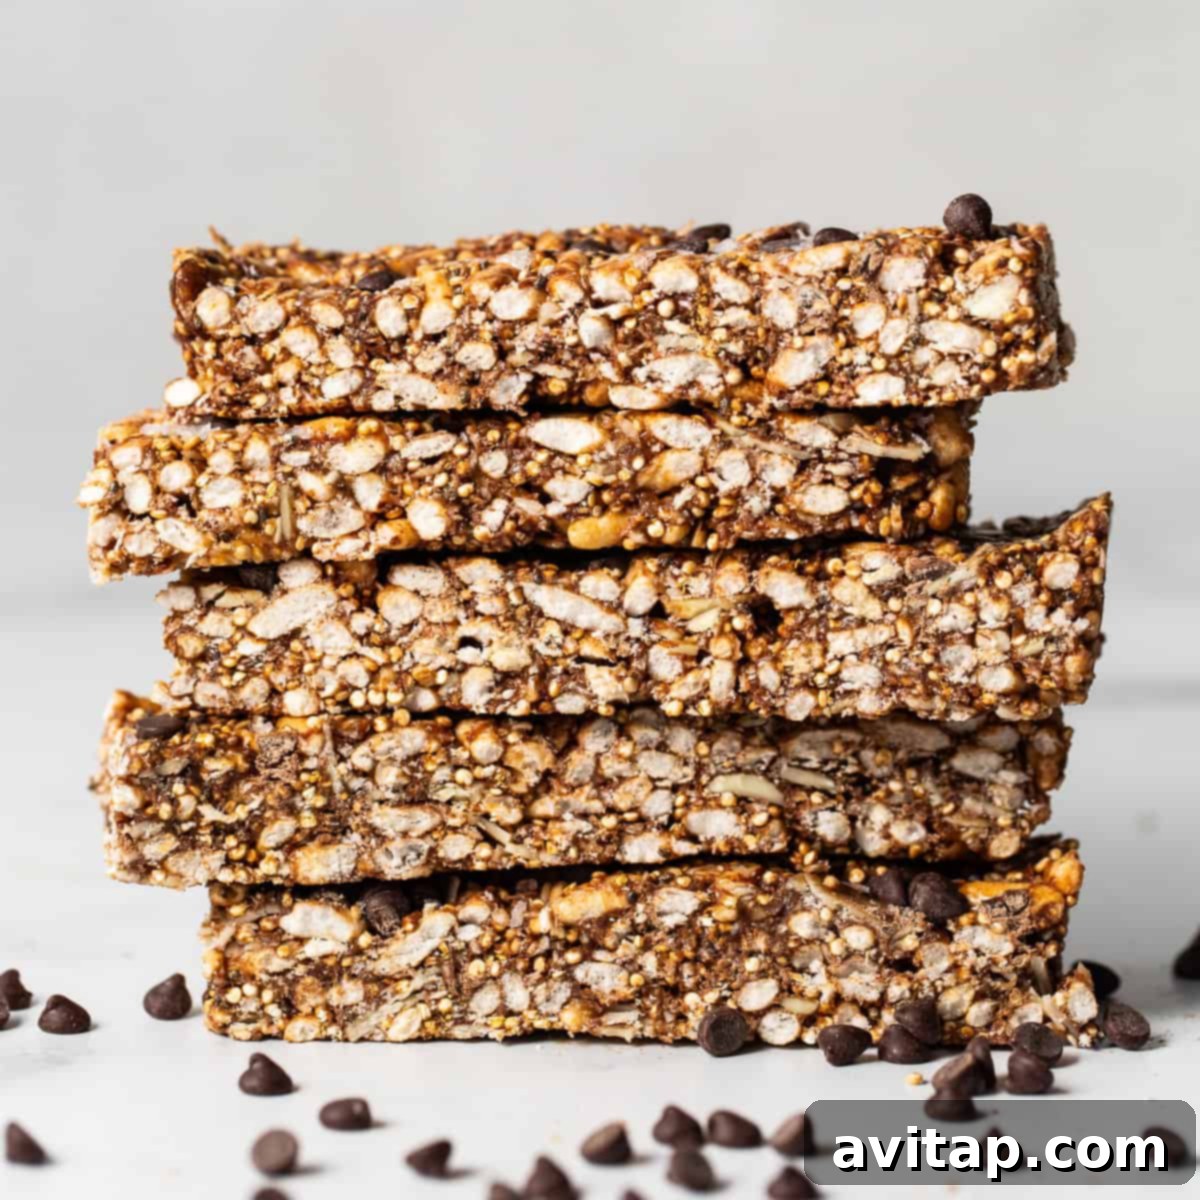
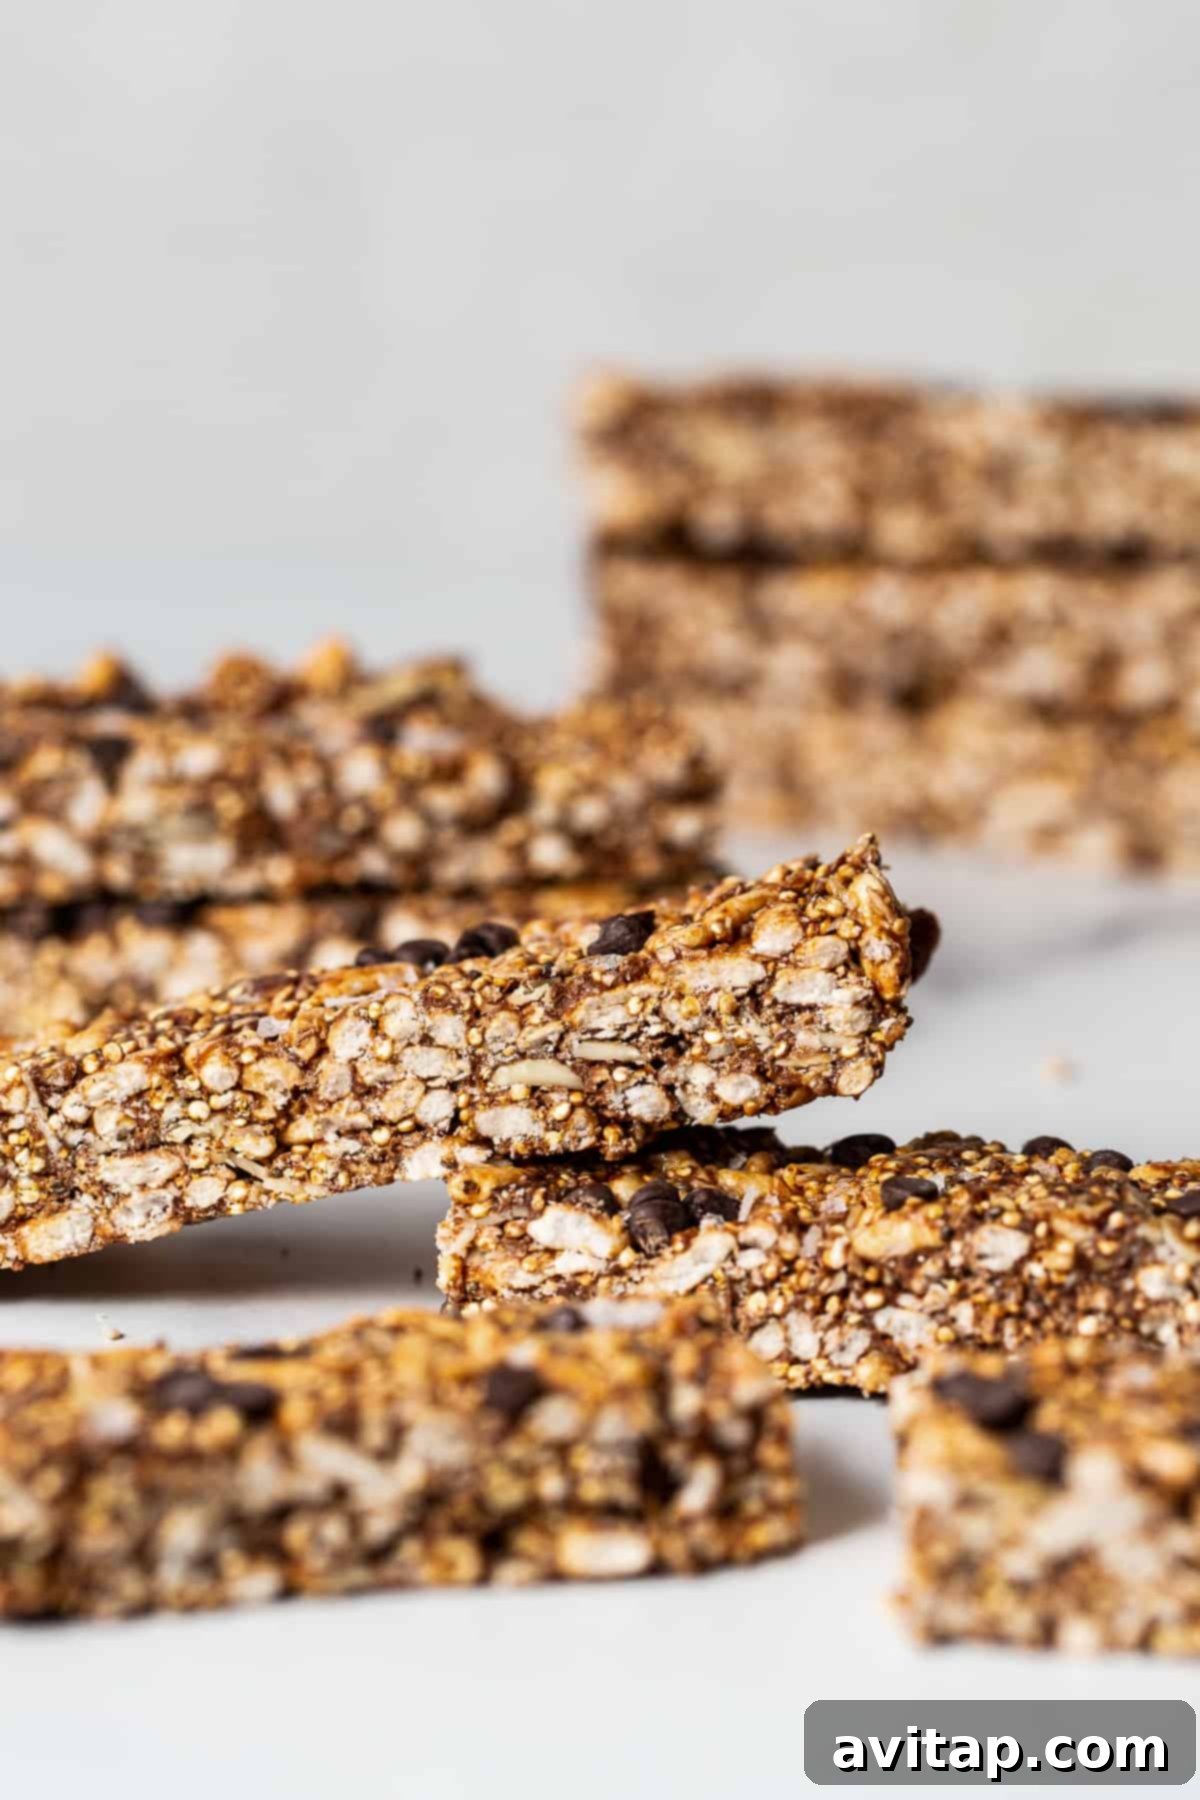
Are you searching for the perfect grab-and-go snack that’s both incredibly delicious and genuinely good for you? Look no further! These irresistible nut and coconut bars are a game-changer. Imagine a delightful blend of seeds, nuts, and coconut, all brought together with a hint of chocolatey sweetness. They’re not just tasty; they’re also packed with fiber, making them an excellent choice to keep you full and energized throughout the day. Whip up a batch today and keep them stashed in your freezer for convenient, healthy snacking anytime you need it.
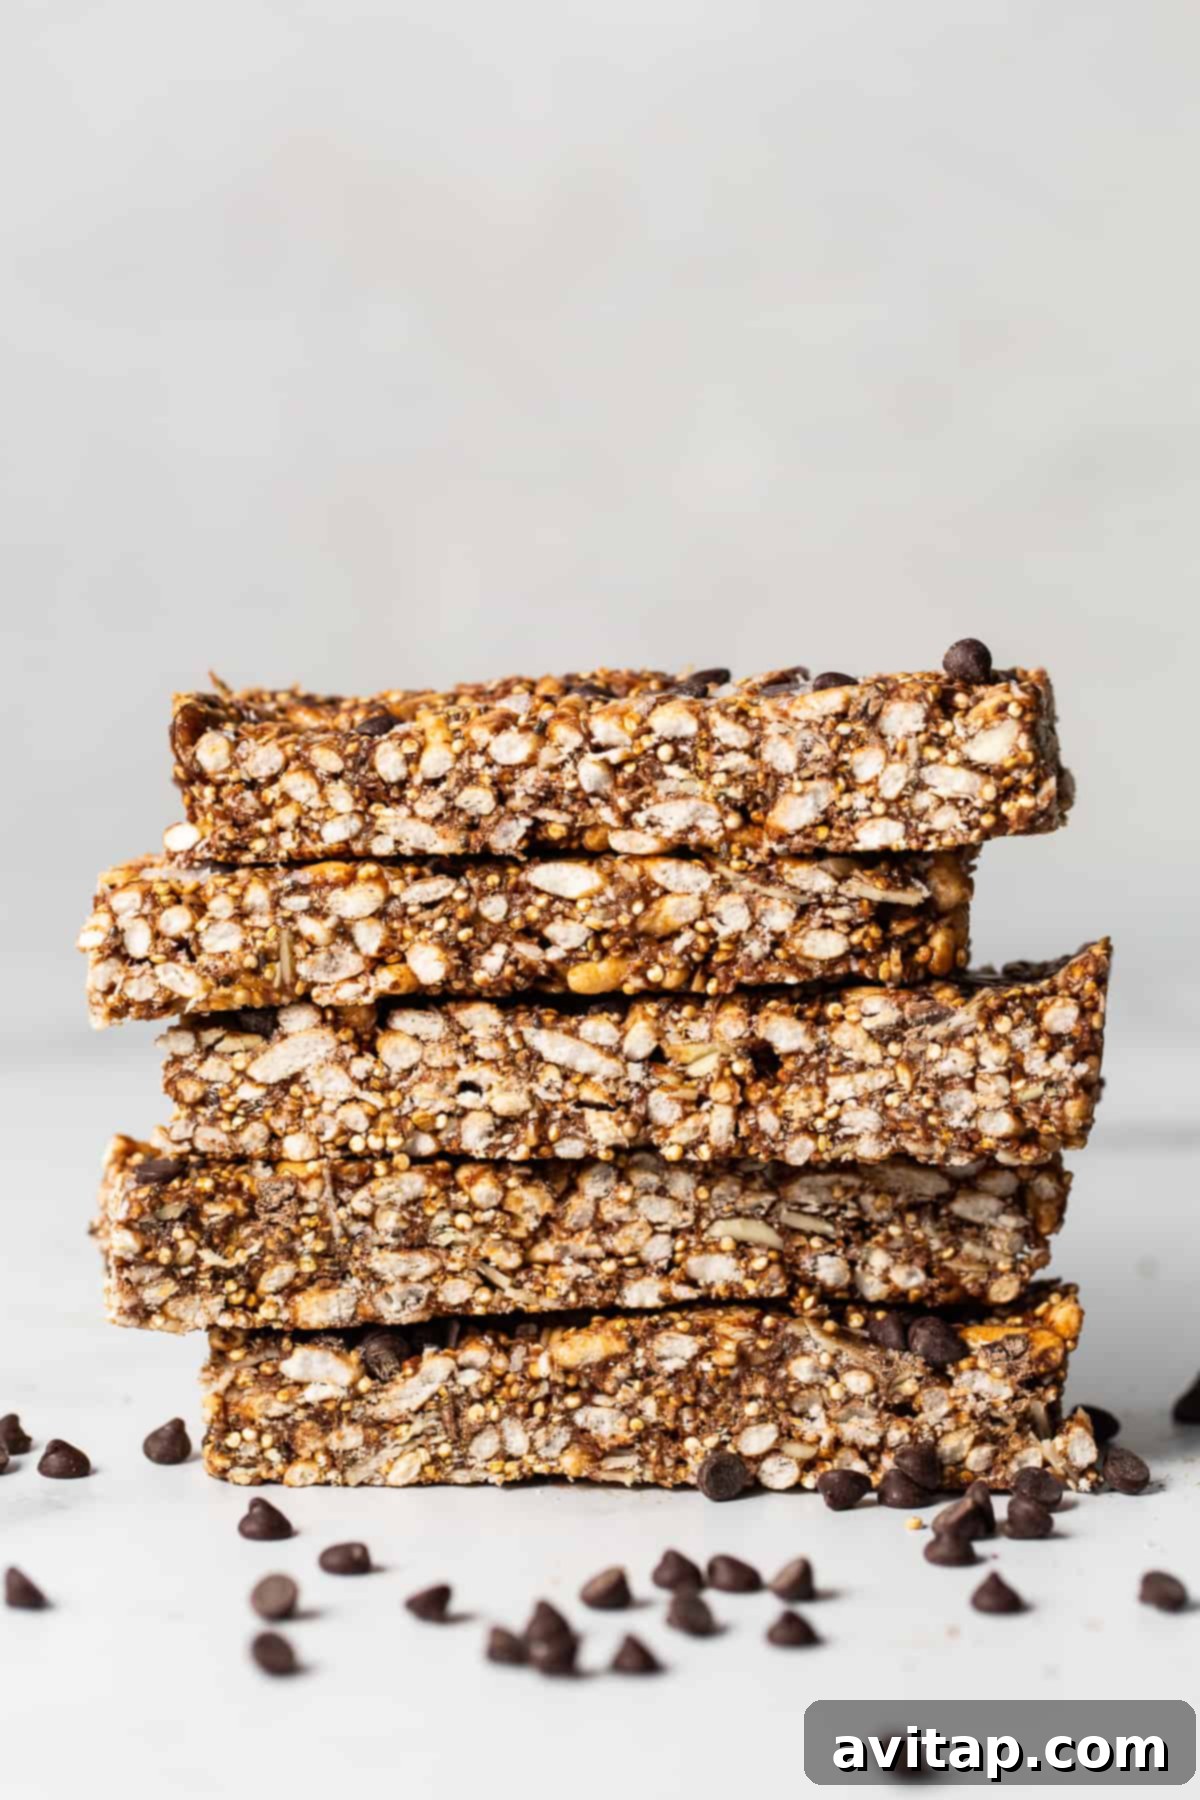
Effortlessly Delicious: Easy Homemade Nut and Coconut Bars
Forget those often-overpriced and additive-laden store-bought granola bars. Our homemade crunchy nut and coconut bars offer a superior alternative that you can feel great about eating. Crafted with wholesome ingredients, these bars boast a uniquely satisfying texture and a flavor profile that will make them an instant favorite. They’re not just a tasty treat; they’re a convenient and healthy snack to keep on hand in your freezer, ready to fuel your busiest days. Beyond their incredible taste, these bars are brimming with dietary fiber, contributing to a balanced diet and sustained energy.
Why You’ll Adore These Fiber-Rich Snack Bars
There are countless reasons to fall in love with these homemade nut and coconut bars, making them a staple in your healthy snack rotation:
- Unforgettable Texture: Prepare for an explosion of textures! These bars are packed with a satisfying mix of seedy crunch, chewy coconut, and soft chocolate chips that create an incredibly addictive mouthfeel.
- Naturally Sweetened Goodness: We rely on the natural sweetness of honey and brown rice syrup, avoiding refined sugars to give you a wholesome treat that satisfies your cravings without the guilt.
- Effortless Customization: This recipe is wonderfully flexible! Easily swap in your favorite nuts like pecans or walnuts, or experiment with different grains. The possibilities are endless, allowing you to tailor them to your preference or what you have in your pantry.
- Chocolate Bliss: Let’s be honest, everything is better with a touch of chocolate! Mini chocolate chips melt seamlessly into the mixture, creating pockets of delightful cocoa flavor in every bite.
- Packed with Fiber: Thanks to ingredients like quinoa, chia seeds, and whole grains, these bars are a fantastic source of dietary fiber, promoting digestive health and helping you feel fuller for longer.
- Freezer-Friendly Convenience: Make a big batch and store them in the freezer. They’re perfect for meal prep, ensuring you always have a healthy, homemade snack ready when hunger strikes.
Crafting Your Bars: Essential and Customizable Ingredients
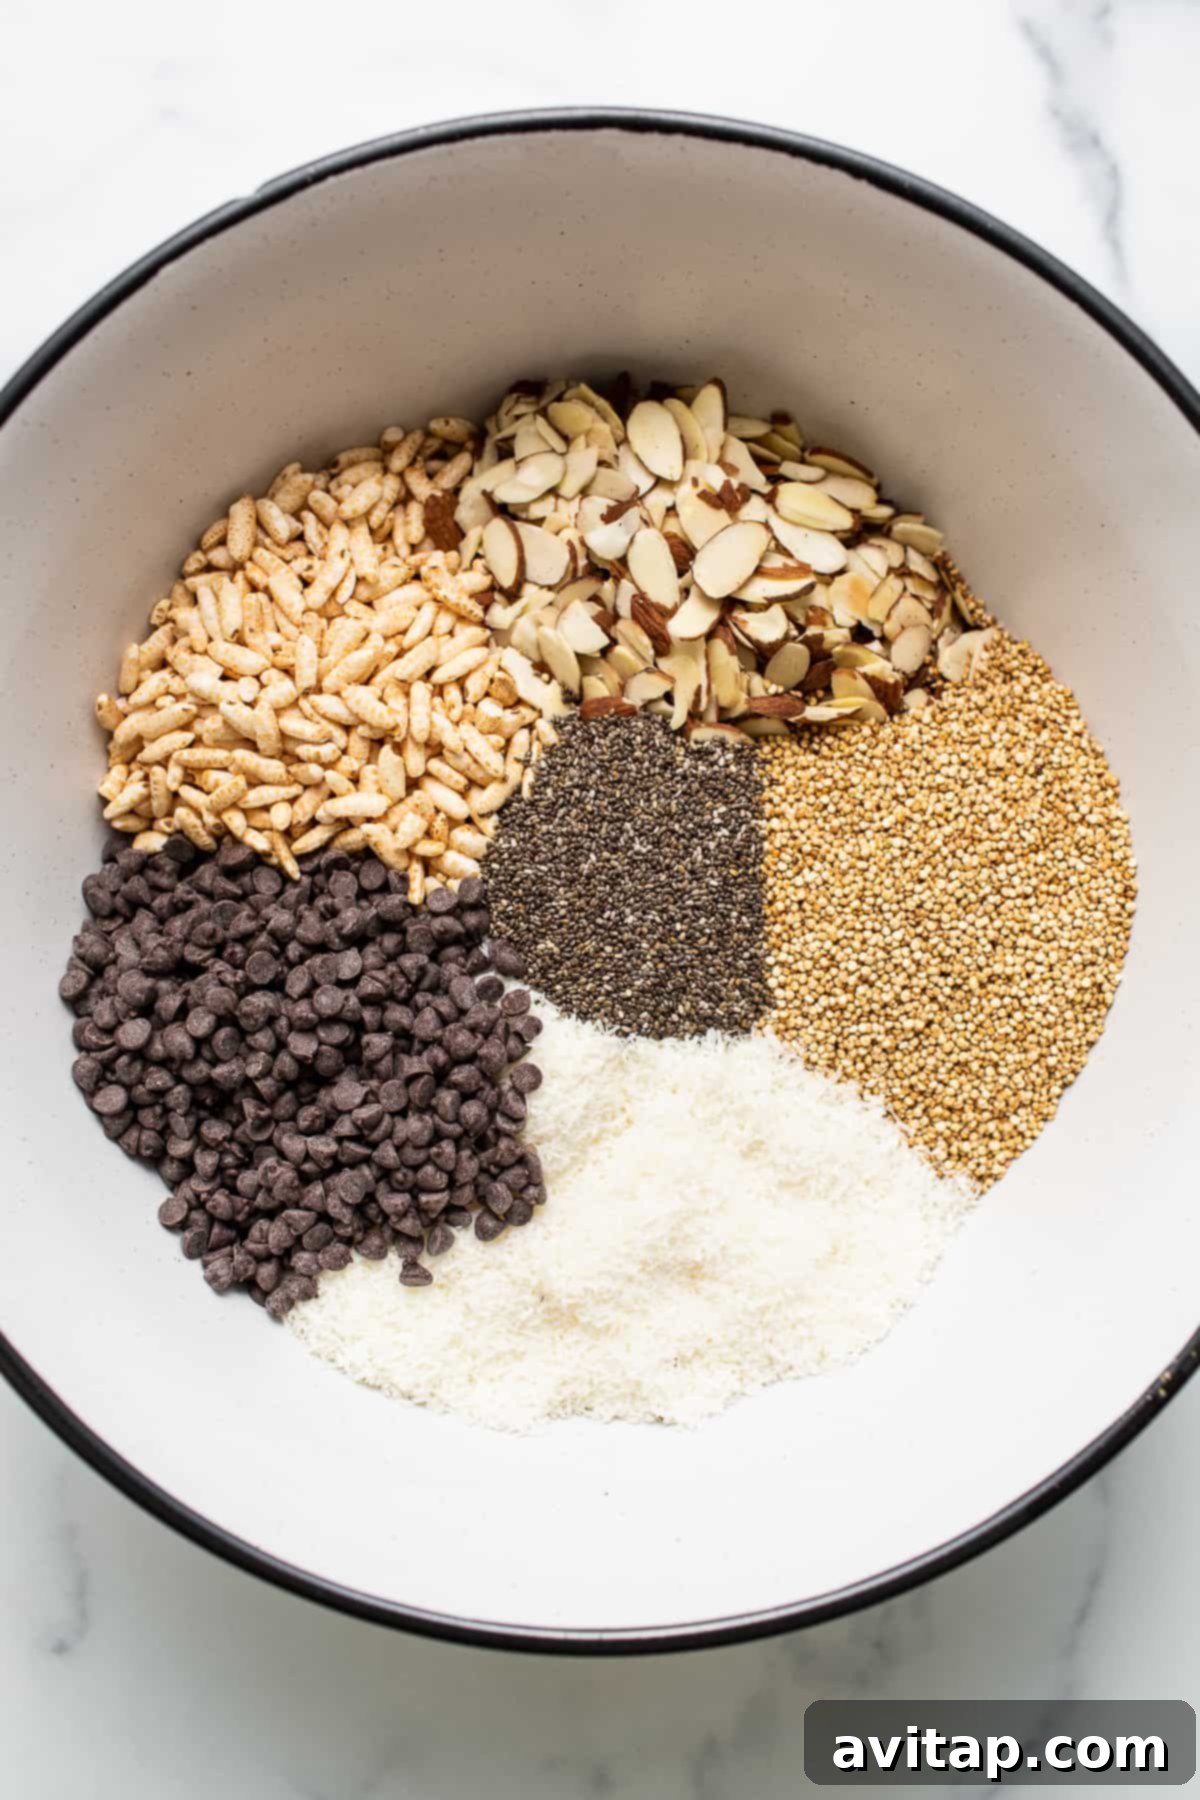
Our nut and coconut bars are built on a foundation of diverse grains, hearty nuts, and delightful chocolate chips, creating a harmonious balance of flavor and nutrition. While we’ve perfected this combination, the beauty of homemade snacks lies in their adaptability. Feel empowered to experiment with substitutions to best suit your taste preferences or dietary needs. For instance, if almonds aren’t your favorite, feel free to swap them for pecans, walnuts, or even a blend of mixed nuts. Similarly, while we love cashew butter for its creamy texture and mild flavor, almond butter or peanut butter work beautifully as alternatives, each adding its unique depth.
- White Quinoa: Adds a subtle earthiness and a delightful, slightly popped crunch after toasting. It’s also a complete protein source.
- Puffed Brown Rice: Contributes a light, airy crispness that makes these bars incredibly satisfying.
- Sliced Almonds: Provide a pleasant crunch and nutty flavor. You can also use chopped pecans, walnuts, or even sunflower seeds for a nut-free option.
- Unsweetened, Shredded Coconut: Offers a tropical sweetness and chewiness without added sugars. If you prefer a stronger coconut flavor, gently toast it before mixing.
- Chia Seeds: A powerhouse of omega-3 fatty acids and fiber, these tiny seeds also help bind the bars together.
- Mini Chocolate Chips: Essential for that perfect touch of sweetness and indulgence. Mini chips ensure chocolate in every bite!
- Brown Rice Syrup: A natural sweetener that provides excellent binding properties and a mild, caramel-like flavor.
- Honey: Another natural sweetener that complements the other flavors and adds to the bars’ chewiness and binding.
- Cashew Butter: Creates a creamy, rich base for the binding sauce. Almond butter or peanut butter can be used for different flavor profiles.
- Vanilla Extract: Enhances all the sweet flavors and adds a warm, comforting aroma.
- Coarse Salt: A pinch of salt balances the sweetness and brings out the full depth of flavor in the nuts and chocolate.
Effortless Preparation: Step-by-Step Instructions for Your Nut and Coconut Bars
Creating these delightful snack bars is surprisingly simple, requiring minimal fuss for maximum reward. Follow these straightforward steps to achieve perfectly crunchy, chewy, and chocolatey bars every time.
- Prepare Your Pan: Begin by lining a 9×13-inch baking dish with parchment paper, allowing some overhang on the sides. This thoughtful step will make it incredibly easy to lift the set bars out of the pan later for clean slicing. Set this prepared pan aside.
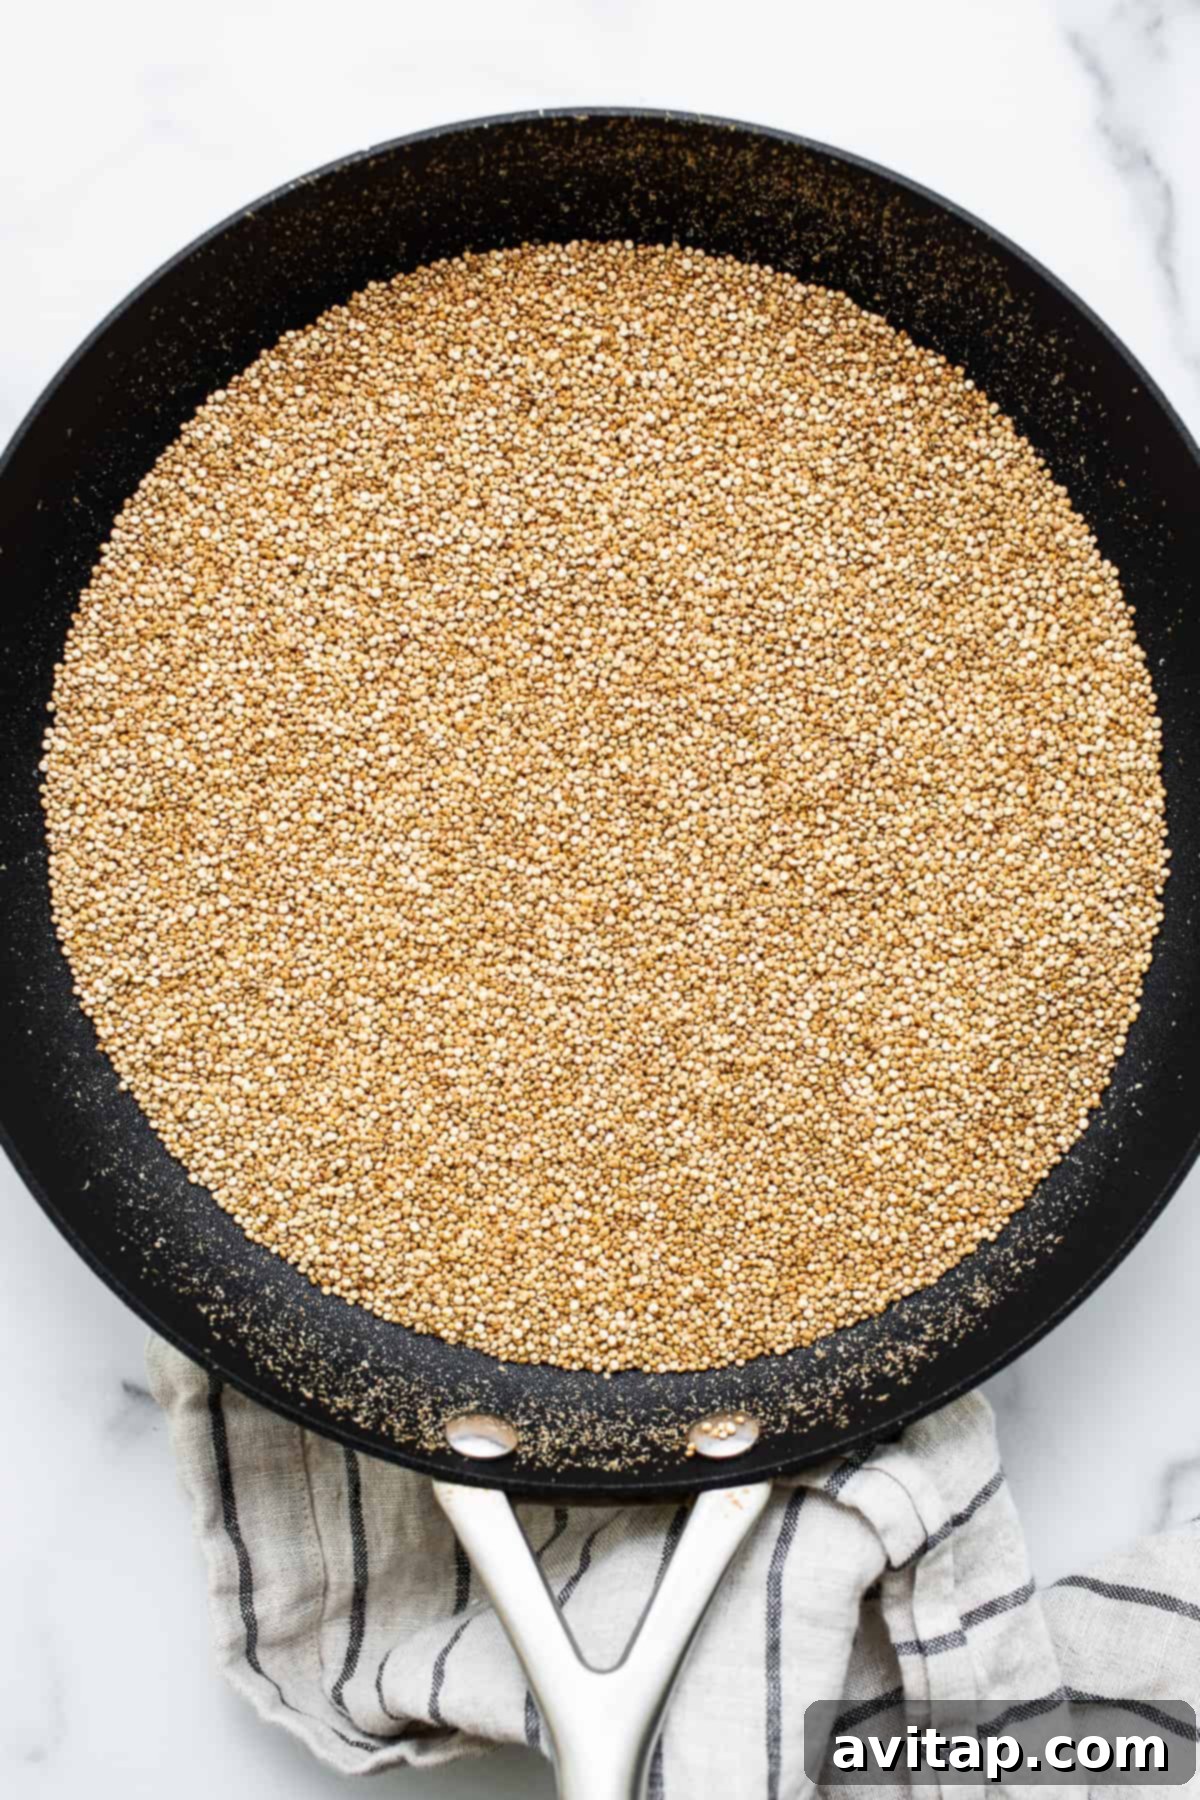
- Perfectly Puff the Quinoa: Heat a large, dry skillet over medium-high heat. Once the skillet is adequately hot (a drop of water should sizzle instantly), add the white quinoa. Stir the quinoa gently and continuously. You’ll soon hear subtle snapping or popping noises, and the quinoa will begin to turn a light golden brown. This “puffing” process enhances its texture and flavor. Immediately remove the skillet from the heat to prevent any burning. Transfer the perfectly puffed quinoa to a large mixing bowl.
- Combine Dry Ingredients: Into the bowl with your puffed quinoa, add the puffed brown rice, sliced almonds, unsweetened shredded coconut, chia seeds, and mini chocolate chips. Toss all these ingredients together thoroughly until they are well combined. This ensures an even distribution of all the wonderful textures and flavors. Set this dry mixture aside.
- Craft the Binding Sauce: In a small saucepan over medium heat, combine the brown rice syrup, honey, creamy cashew butter, vanilla extract, and coarse salt. Whisk these ingredients consistently until they melt together and form a smooth, uniform sauce. Bring the mixture to a gentle simmer for about 1-2 minutes, then remove from heat. This step is crucial for creating the sticky base that holds your bars together.
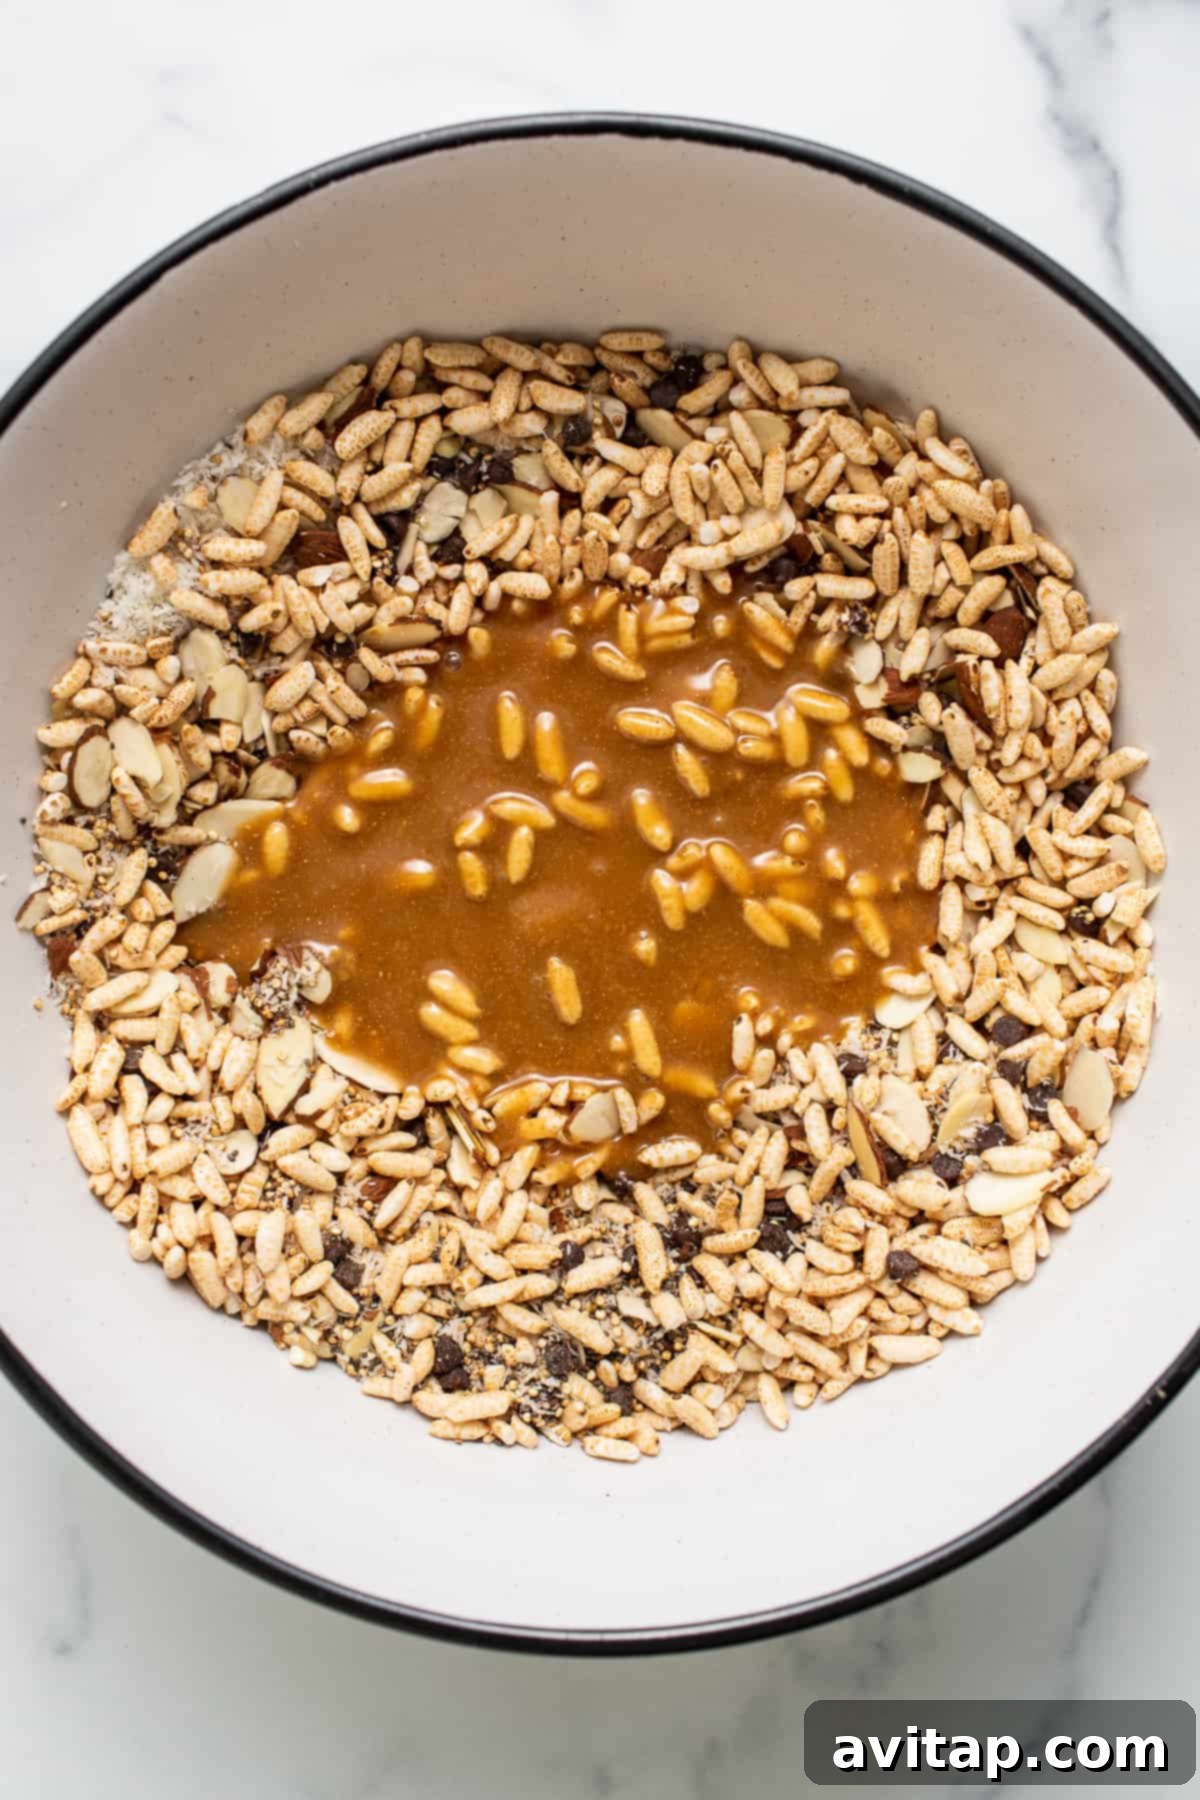
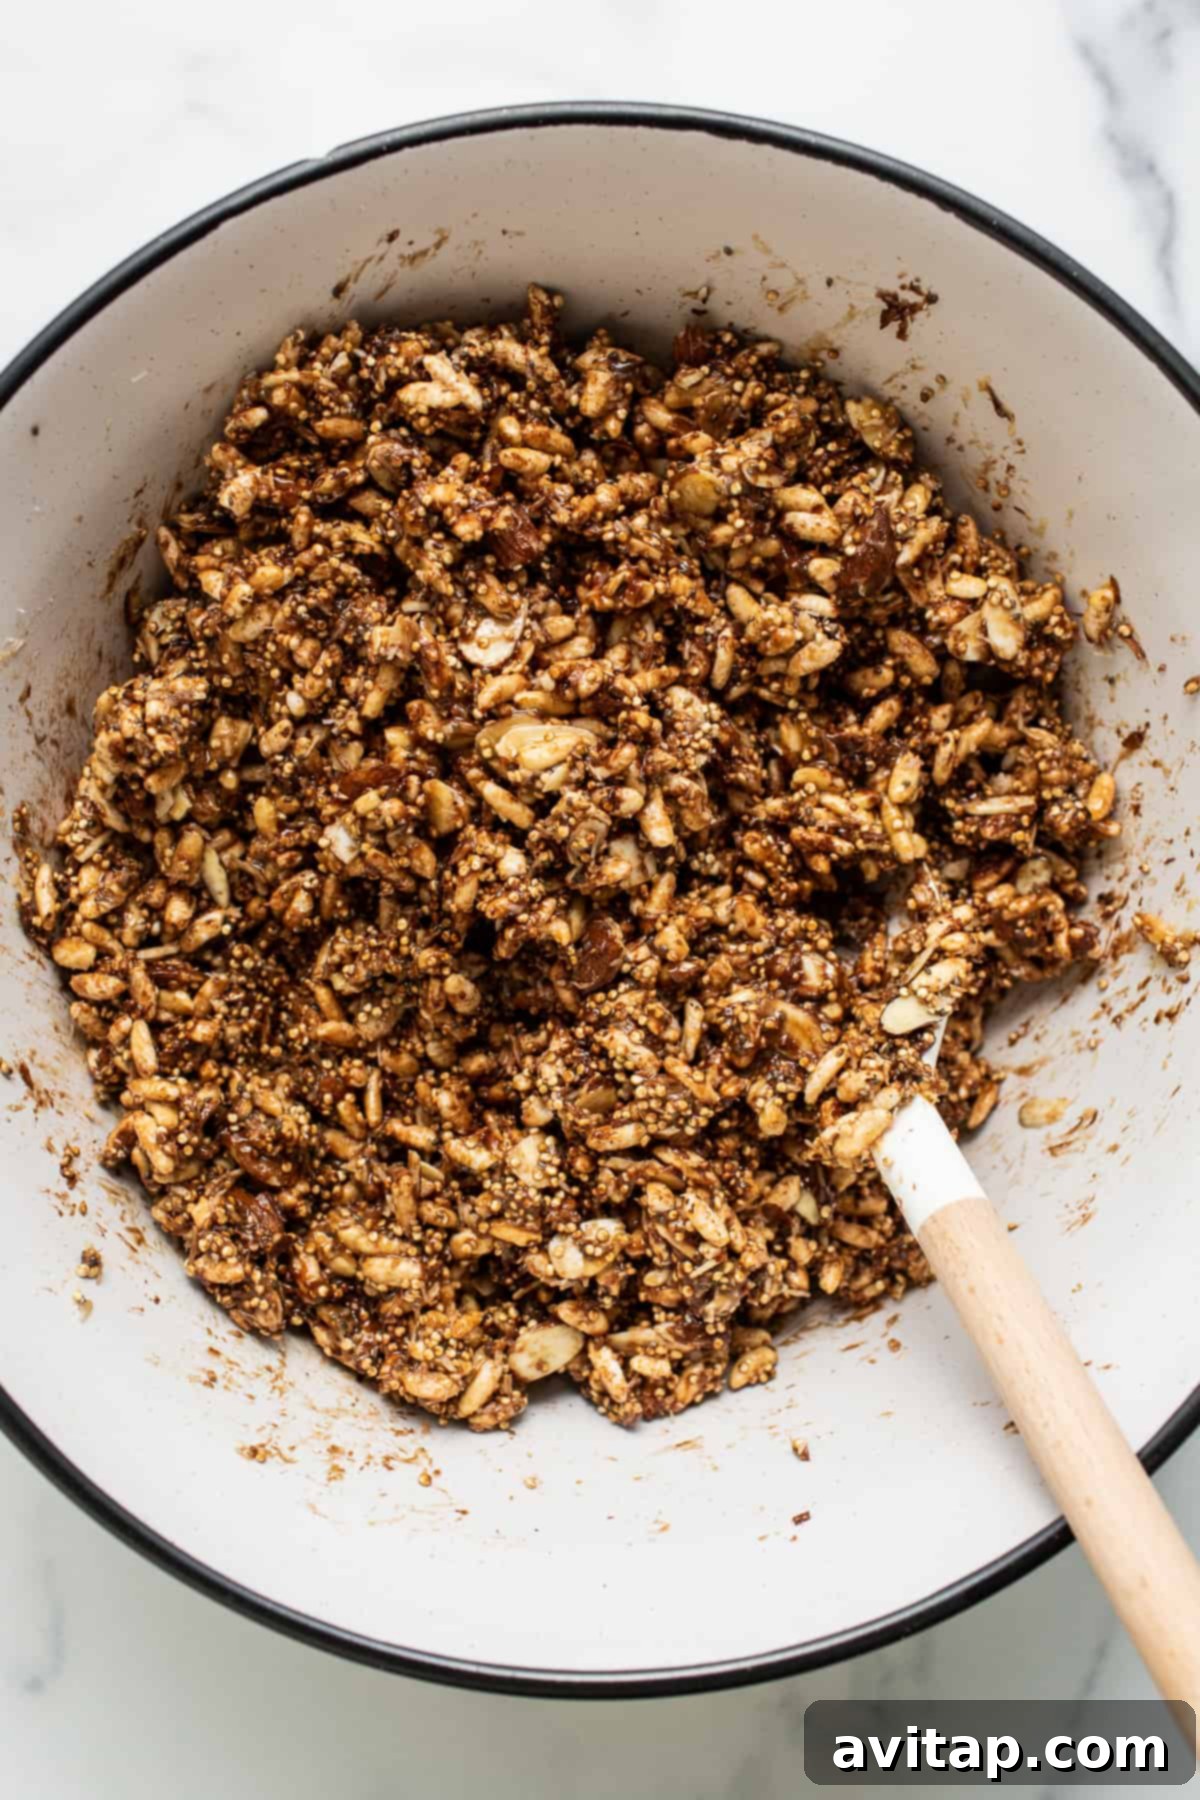
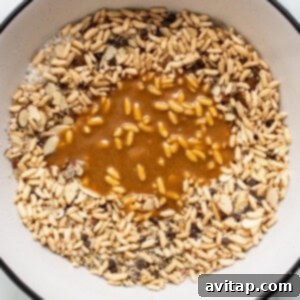
- Marry Wet and Dry: Pour the warm, smooth brown rice syrup mixture directly over the combined quinoa and other dry ingredients in the large mixing bowl. Using a sturdy spatula, fold and stir everything together until all the dry components are thoroughly coated. As you mix, some of the mini chocolate chips will naturally melt, beautifully integrating their chocolatey goodness throughout the entire mixture, creating a rich, chocolate-infused binding.
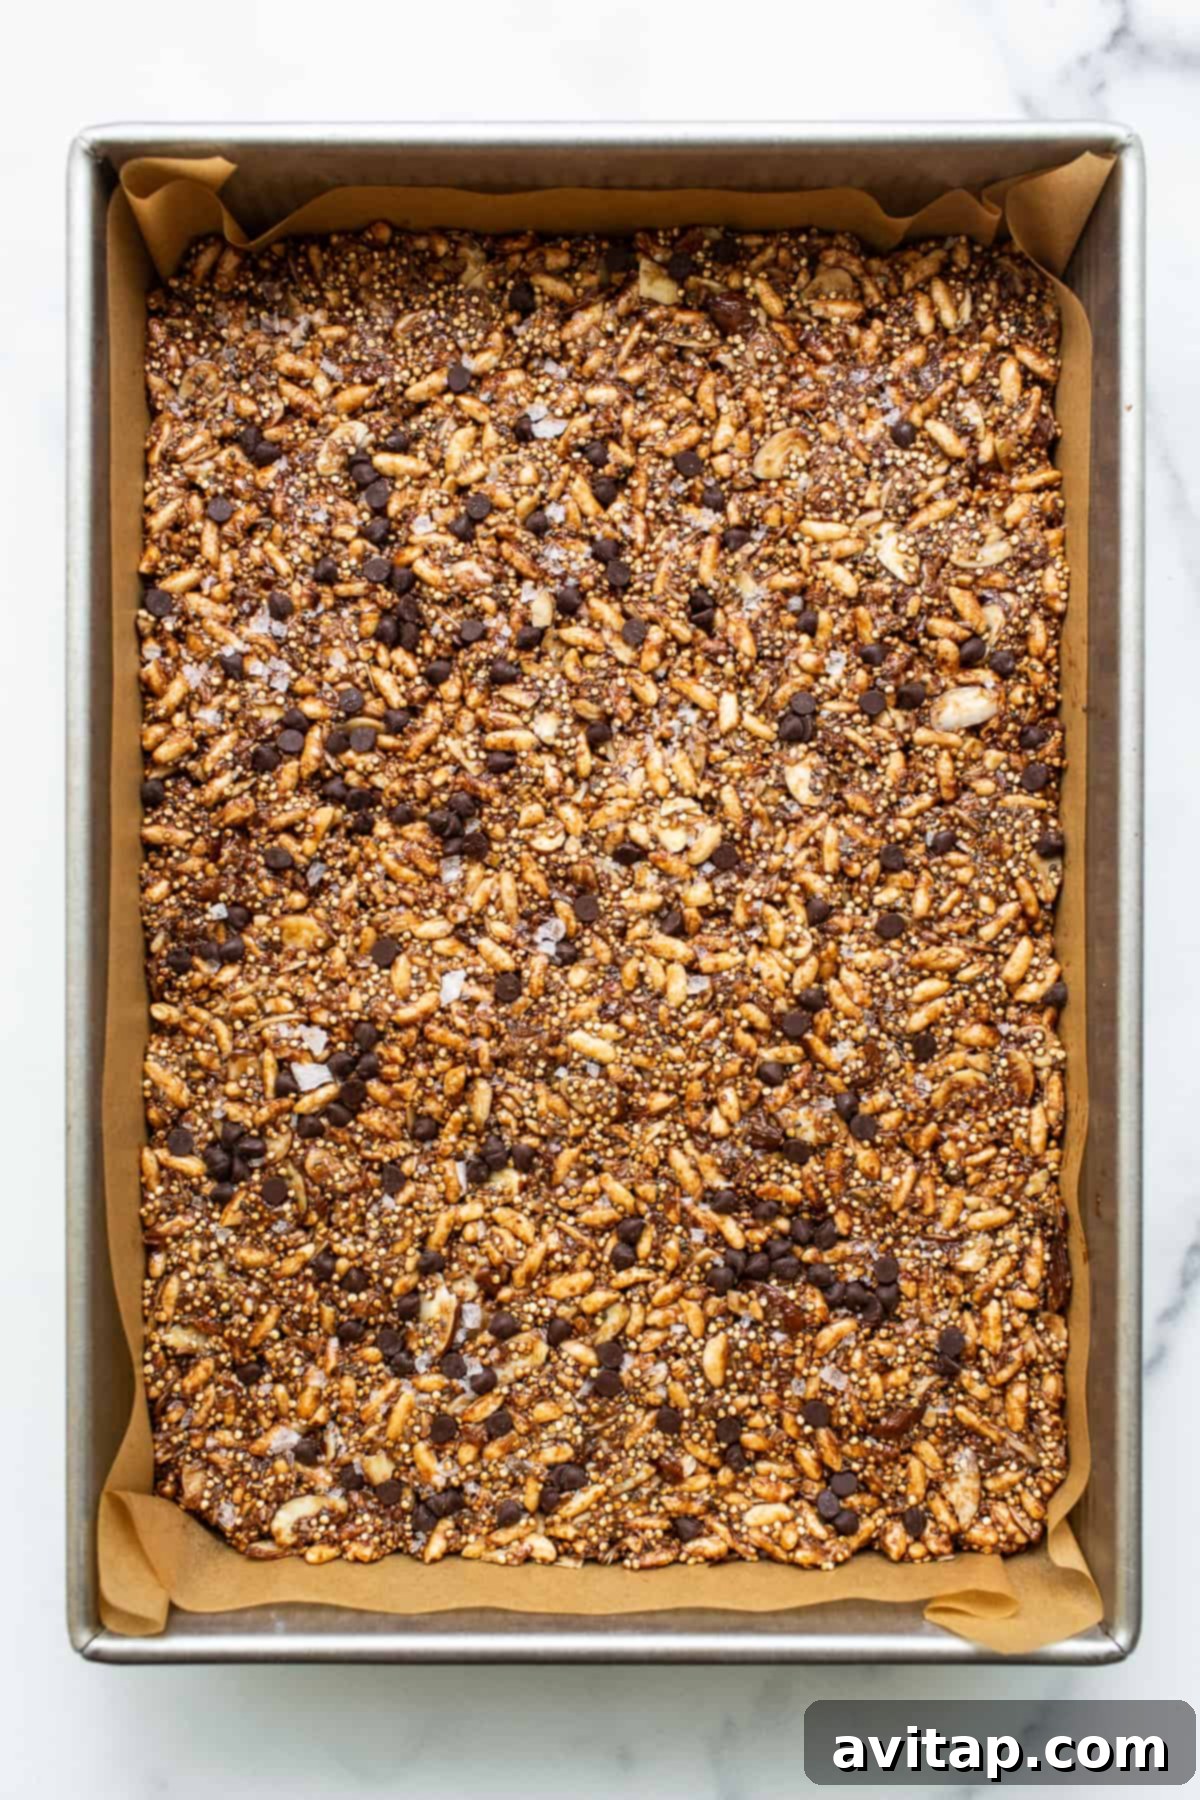
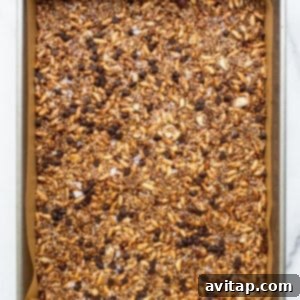
- Press and Freeze: Carefully transfer the entire mixture into your prepared 9×13-inch pan. Using the back of a spatula, a piece of parchment paper, or even your hands (lightly dampened to prevent sticking), press the mixture down firmly and evenly into the bottom of the pan. Ensure it’s compressed tightly from edge to edge; this compaction is key for bars that hold their shape. For an extra touch, sprinkle additional mini chocolate chips and coarse salt on top before pressing them lightly into the surface.
- Chill to Perfection: Place the pan in the freezer for at least 1 hour. This chilling period is essential for the bars to set completely, ensuring they become firm enough to slice cleanly without crumbling.
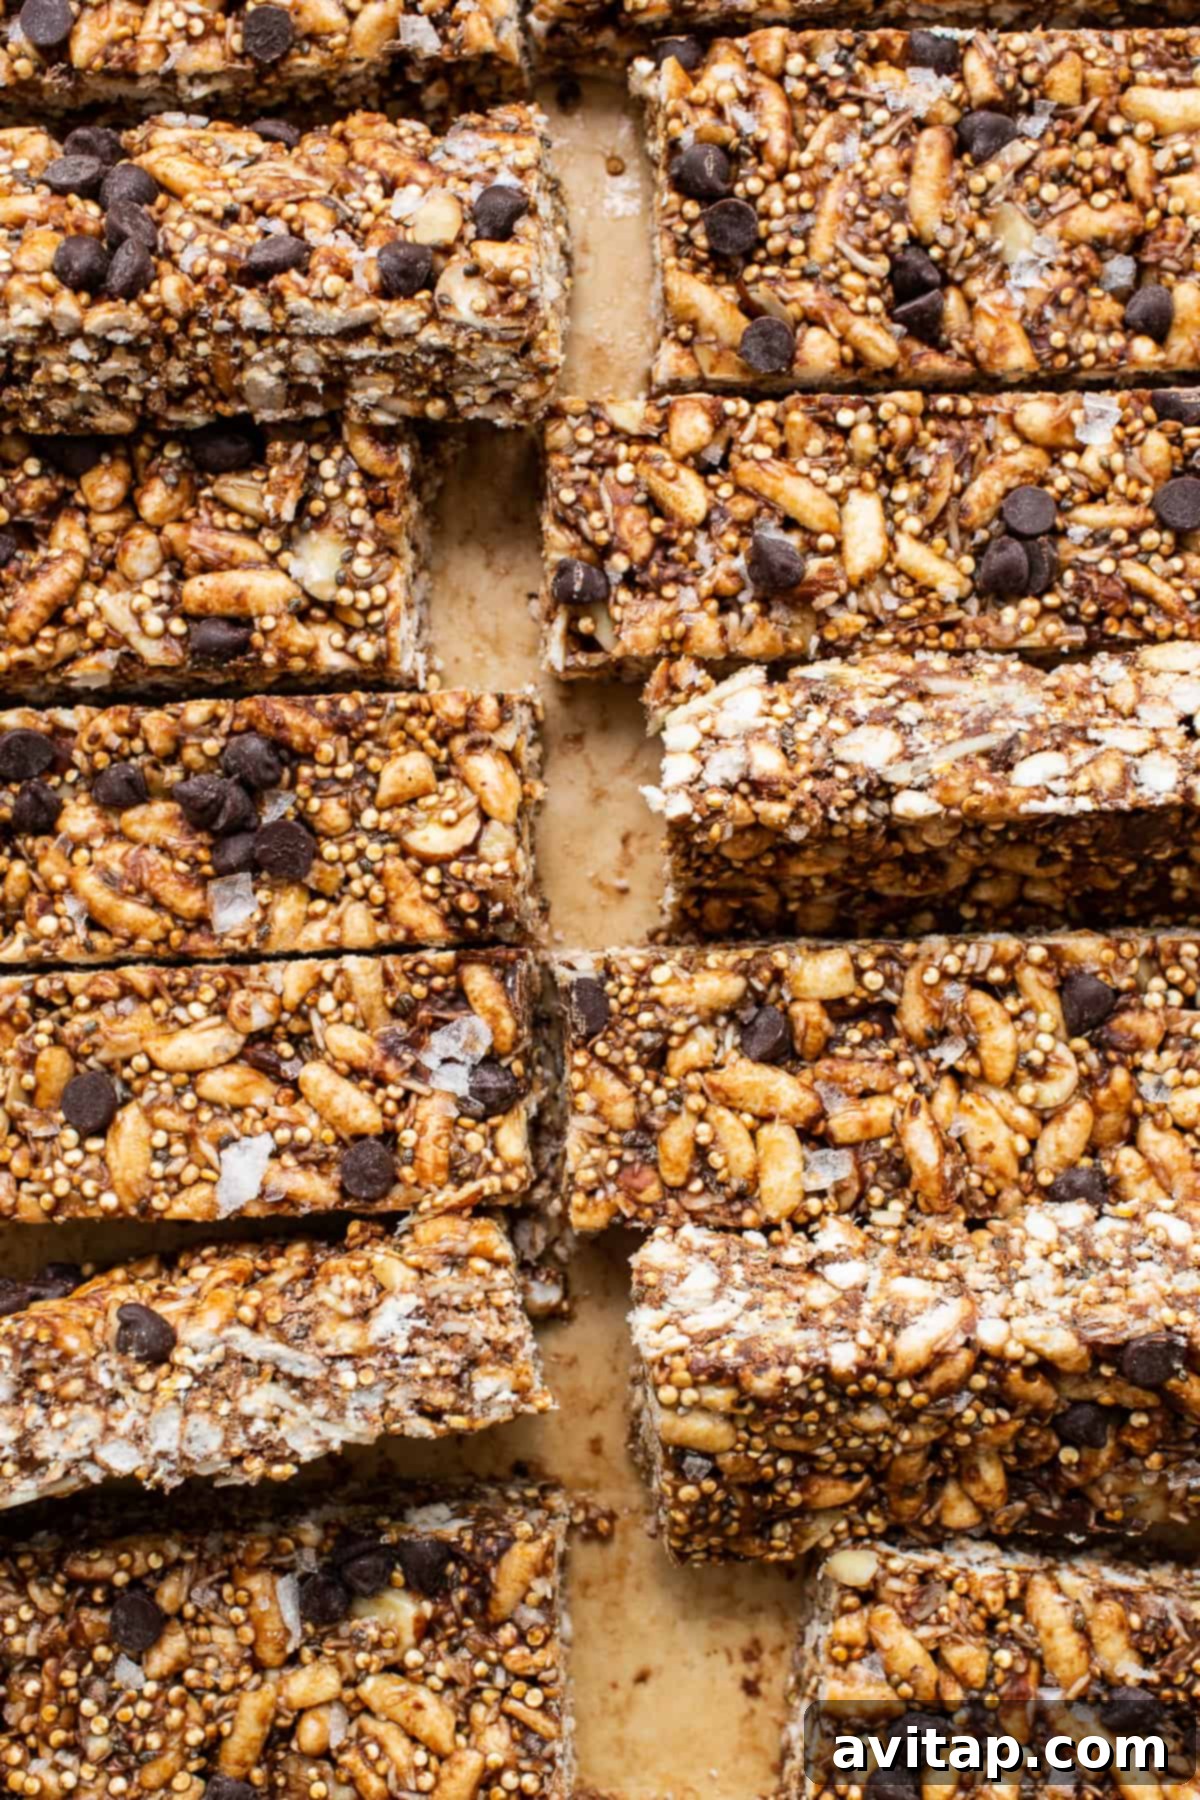
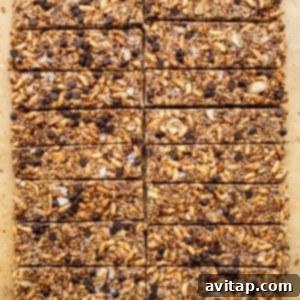
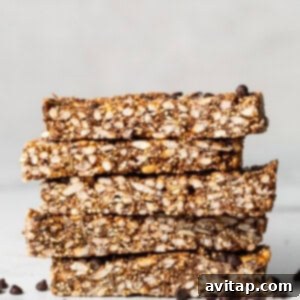
- Slice and Store: Once thoroughly set, remove the pan from the freezer. Use the parchment paper overhang to gently lift the entire block of bars out of the pan and onto a large cutting board. With a sharp knife, cut the bars into your desired shapes – rectangles, squares, or even smaller bite-sized pieces. Immediately transfer the sliced bars to an airtight container or freezer-safe bag. Store them in the freezer for optimal freshness and texture, ready for a quick snack whenever you desire.
Mastering Puffed Quinoa: A Quick Guide
Puffing quinoa at home is a simple yet rewarding technique that adds a unique texture to these bars. It’s important to note that homemade puffed quinoa typically looks more toasted and less uniformly “puffed” than the commercially processed variety, which often resembles puffed rice. When you add quinoa to the hot skillet, you’ll start to hear distinctive popping sounds – this is your cue! The grains will subtly expand into small, airy pieces and take on a light golden-brown hue. The key is constant movement and quick removal from heat to avoid burning, ensuring a delicate crunch rather than a bitter taste.
Expert Tips for Perfect Nut and Coconut Bars Every Time
Achieving the perfect nut and coconut bar is easy with a few insider tips. These suggestions will help you elevate your homemade snack bars, ensuring they are as delicious and visually appealing as possible.
- Patience is Key for Setting: Do not rush the setting process! It’s absolutely crucial to let your bars chill completely in the freezer for at least one hour (or longer if needed) before attempting to slice them. If you try to cut them too soon, the mixture will be too soft and may fall apart, resulting in crumbles instead of neatly formed bars.
- Elevate with Toppings: Take your bars to the next level by adding a generous sprinkle of extra mini chocolate chips and a dash of coarse salt on top just before you press the mixture into the pan. This simple step adds a beautiful visual appeal, an extra burst of chocolatey flavor, and a delightful salty contrast that truly enhances each bite. The salt beautifully cuts through the sweetness.
- Customize Your Slice: You have complete creative control over the size and shape of your bars. Whether you prefer classic rectangles, perfectly portioned squares, or even adorable bite-sized pieces for quick energy boosts, simply use a sharp knife to cut them as desired. Consider how you’ll be eating them – a large bar for breakfast or small squares for a hiking snack!
- Texture Variations: For an even chewier bar, lightly toast your shredded coconut in a dry skillet before adding it to the mixture. If you desire a firmer, almost candy-like bar, you can slightly increase the amount of brown rice syrup, as its binding properties are very strong.
- Nut Butter Nuances: Different nut butters will impart distinct flavors. Peanut butter will give a classic, robust taste, while almond butter offers a milder, slightly sweeter profile. SunButter is an excellent option for a nut-free version, providing a unique, earthy flavor.
- Keep Ingredients Fresh: Ensure your nuts, seeds, and shredded coconut are fresh for the best flavor. Stale ingredients can impart an off-taste. Storing these items in the freezer can help prolong their freshness.

Make It Easy
Print Your Own Kitchen Conversions
Keep common kitchen conversions like tablespoons to teaspoons and Fahrenheit to Celsius easily accessible with our printable kitchen conversions chart. A handy tool for every home cook!
Storage & Freezing: Keeping Your Bars Fresh Longer
One of the many benefits of these homemade nut and coconut bars is their excellent freezer-friendly nature, making them ideal for meal prepping or simply having a healthy snack on standby. Proper storage ensures they retain their delicious flavor and perfect texture for weeks, even months.
Once you’ve sliced your bars into your preferred shapes, it’s crucial to transfer them immediately into an airtight container or a heavy-duty freezer bag. Storing them individually wrapped in parchment paper or wax paper before placing them in the container can prevent them from sticking together, making it even easier to grab just one when you need it. You can store these delightful bars in the freezer for up to 3 months. When you’re ready to enjoy one, simply take it out of the freezer and let it thaw for a few minutes at room temperature, or enjoy it chilled for a firmer bite. They also hold up well in the refrigerator for about 1-2 weeks, though the freezer is recommended for longer-term storage to maintain their optimal texture.
Explore More Delicious Bar Recipes
Brown Butter Chai Rice Krispie Treats
Protein S’mores Brownies
Easy Cottage Cheese Protein Fruit Pizza
Strawberries and Cream Rice Krispie Treats
Banana Bread Brownies
More of our Favorite…
More Irresistible Granola Bar & Energy Bite Recipes
If you’ve loved these nut and coconut bars, you’re in for a treat! Our collection of homemade granola and energy bars offers even more delicious ways to enjoy healthy, convenient snacks. From no-bake wonders to fiber-packed delights, there’s something for every palate.
- No Bake Peanut Butter Bars
- Classic Homemade Granola Bars
- Healthy Banana Oatmeal Bars
- No Bake Chocolate Coconut Energy Bars
Nut and Coconut Bars
These nut and coconut bars are crunchy, chocolatey, and the perfect high-fiber snack for any day of the week. They’re quick to prepare and incredibly satisfying!
By: Linley Hanson
Pin
Ingredients
- 1 cup white quinoa
- 3 cups puffed brown rice
- 1 cup sliced almonds
- 1 cup unsweetened, shredded coconut
- 2 tablespoons chia seeds
- ½ cup mini chocolate chips, +more for topping
- ½ cup brown rice syrup
- ½ cup honey
- ⅓ cup creamy cashew butter
- 3 teaspoons vanilla extract
- ½ teaspoon coarse salt, + more for topping
Instructions
- Line a 9×13-inch pan with parchment paper and set it aside.
- Heat a large skillet over medium/high heat. When the skillet is hot, add the quinoa to the skillet. Gently move the quinoa around the skillet until it begins to make a snapping noise and starts to turn a golden brown. Remove the pan from heat and pour the quinoa into a large mixing bowl.

- Add the puffed rice, almonds, coconut, chia seeds, and chocolate chips to the mixing bowl with the quinoa and toss to combine thoroughly.
- Next, heat a small saucepan over medium heat and add the brown rice syrup, honey, cashew butter, vanilla extract, and salt. Whisk to combine until all ingredients are melted together and smooth. Bring the mixture to a gentle simmer, then remove from heat.
- Pour the brown rice syrup mixture over the puffed rice and other dry ingredients. Stir the ingredients together until thoroughly combined. Some of the mini chocolate chips will melt, creating a chocolate-infused sauce.
- Pour the mixture into the lined 9×13-inch pan and press the mixture down firmly and evenly with a spatula or your hands. Sprinkle extra mini chocolate chips and coarse salt over the top and press them into the bars.
- Place the pan in the freezer for about 1 hour to set completely. Remove the pan from the freezer and lift the sides of the parchment paper so the bars come out of the pan.
- Place the set bars on a large cutting board and cut them into rectangles or squares of your desired size.
- Transfer the sliced bars into an airtight bag or container and store them in the refrigerator or freezer for later enjoyment.
Tips & Notes
- You can easily substitute the cashew butter for almond butter or peanut butter, or even a seed butter for a nut-free option.
- For an extra layer of flavor, lightly toast the shredded coconut in a dry skillet for a few minutes until golden before adding it to the mixture.
- If you prefer a softer bar, you can store them in the refrigerator. For maximum crunch and longevity, keep them in the freezer.
Nutrition
Calories: 220 kcal, Carbohydrates: 34 g, Protein: 5 g, Fat: 8 g, Fiber: 2 g, Sugar: 19 g
Nutrition information is automatically calculated, so should only be used as an approximation.

Love this recipe? Leave a comment below!
Don’t forget to tag your posts on social media with the hashtag #fitfoodiefinds, we’d love to see what you’re up to!
Photography: Photos featured in this post are courtesy of Ashley McGlaughlin from The Edible Perspective, capturing the delicious essence of these bars.