
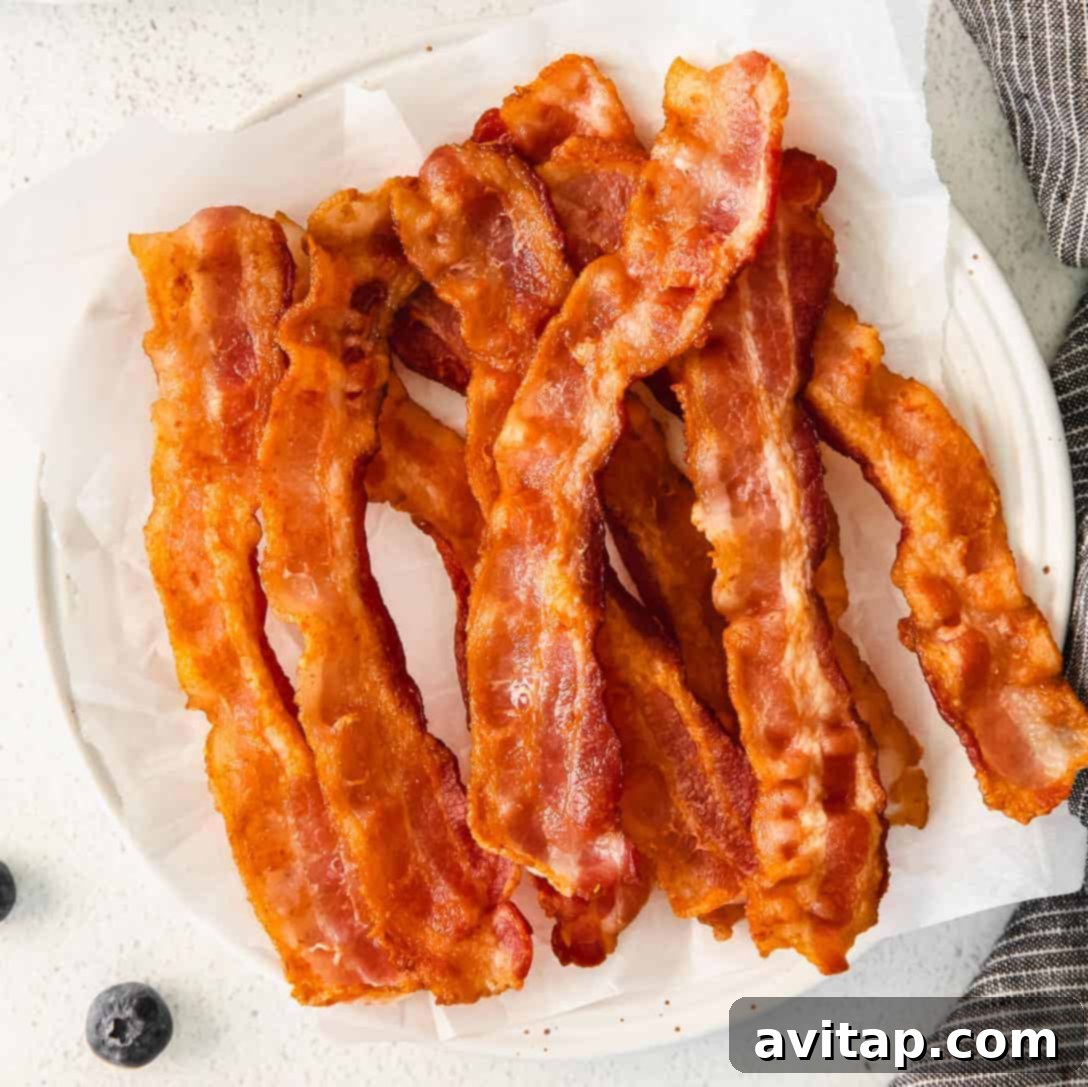
There’s something uniquely comforting and undeniably delicious about sizzling bacon. For many, stovetop bacon is the classic, nostalgic method – the very first way we learn to transform simple strips of pork into golden, crispy perfection. It’s the aroma that fills the kitchen, the sound of crackling fat, and the promise of a truly satisfying meal. Growing up, this was the only method my parents used, and helping my mom on Sunday mornings quickly turned me into a stovetop bacon expert.
Today, we’re sharing all our secrets to mastering this fundamental cooking skill. Whether you crave tender-chewy bacon or ultra-crispy strips, this guide will show you **how to cook bacon on the stove** for a quick, reliable, and absolutely delicious result every single time. Prepare to elevate your breakfast game!
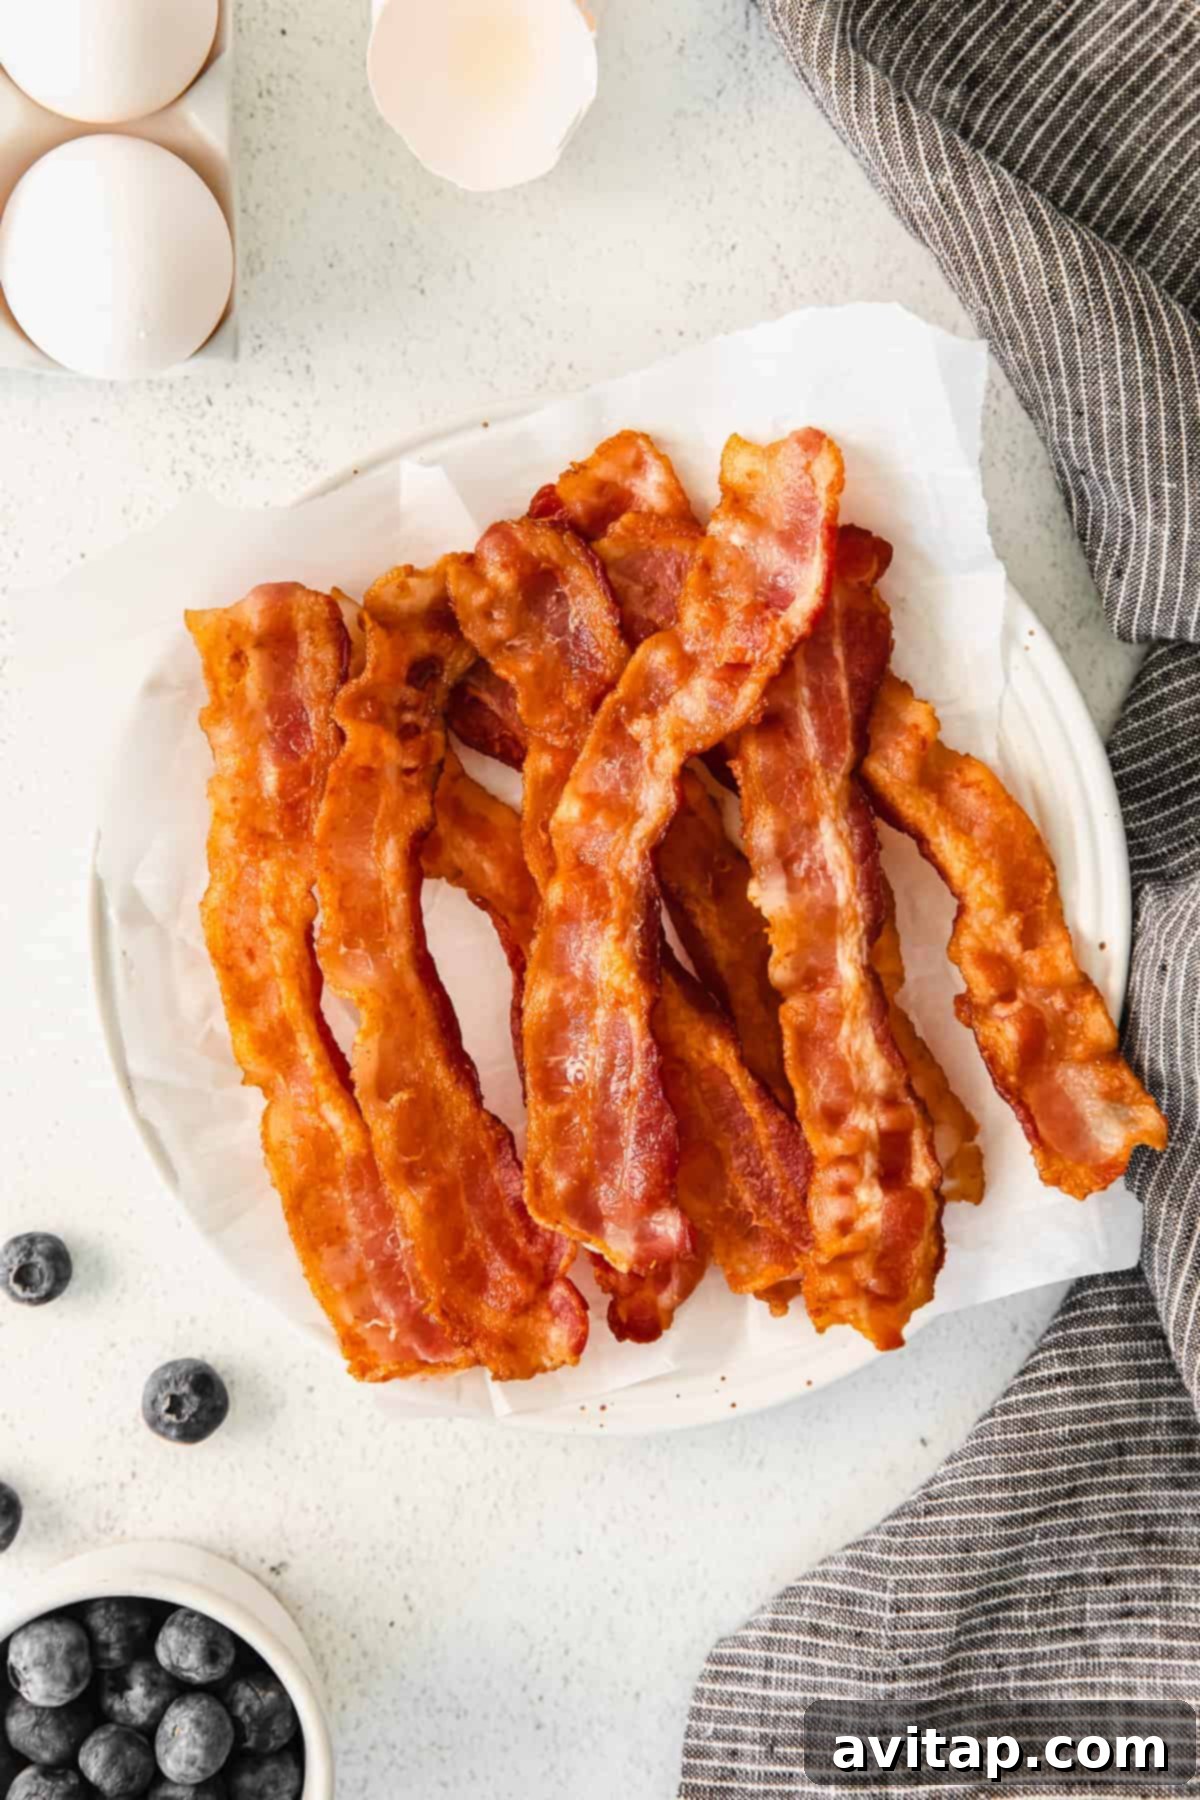
Good morning, bacon enthusiasts! If there’s one thing that completes a breakfast spread, it’s a generous serving of perfectly cooked bacon. Imagine it: alongside fluffy scrambled eggs and a stack of golden pancakes. Absolutely nothing beats it. While our oven-baked bacon tutorial offers a super simple approach with easy cleanup, the stovetop method remains a timeless favorite for its speed and the unparalleled crispiness it delivers. Yes, it might require a bit more attention and cleanup, but the results — those irresistibly crispy edges and rich flavor — are well worth the effort.
Essential Ingredients and Tools for Stovetop Bacon Success
Achieving perfectly pan-fried bacon is surprisingly simple, requiring just one key ingredient and a few basic kitchen tools. Here’s everything you’ll need to get started on your journey to deliciousness.
Bacon Selection: The Star Ingredient
Naturally, the only essential ingredient for this recipe is bacon itself! While you can technically cook any variety of bacon on the stove – including pork, turkey, thin-cut, or thick-cut – **we highly recommend opting for regular-cut pork bacon** for the best balance of flavor, texture, and ease of cooking. Regular-cut bacon cooks more evenly and crisps up beautifully without burning too quickly.
For an exceptional culinary experience, invest in high-quality, organic bacon whenever possible. Premium bacon not only tastes superior but also tends to render its fat more consistently, leading to a better overall cooking process and a more flavorful final product. You’ll notice the difference in every bite.
Our Top Pick: Favorite Bacon for Pan Frying
When it comes to cooking bacon on the stovetop, our absolute go-to is Applegate’s Hickory Smoked Uncured Sunday Bacon. We consistently find that its regular thickness cooks up wonderfully, providing that ideal balance of chewiness and crispiness that makes for truly satisfying bacon. It’s a choice that delivers excellent results every time.

Frying Pan: The Right Cookware Makes a Difference
A good quality frying pan is crucial for achieving perfectly cooked bacon. While a basic skillet will certainly get the job done, the type of pan you choose can influence both your cooking experience and the final texture of your bacon. In our photos, we’re showcasing our favorite nonstick pan, the Always Pan. Its nonstick surface is a game-changer for effortless cooking and incredibly easy cleanup, which is always a bonus when dealing with bacon grease.
However, a cast iron pan is also an excellent choice, and one we’ve used countless times. Cast iron is known for its superior heat retention and even heat distribution, which can lead to beautifully consistent browning. Plus, cast iron pans develop a fantastic nonstick seasoning over time, especially when regularly used with flavorful bacon grease.
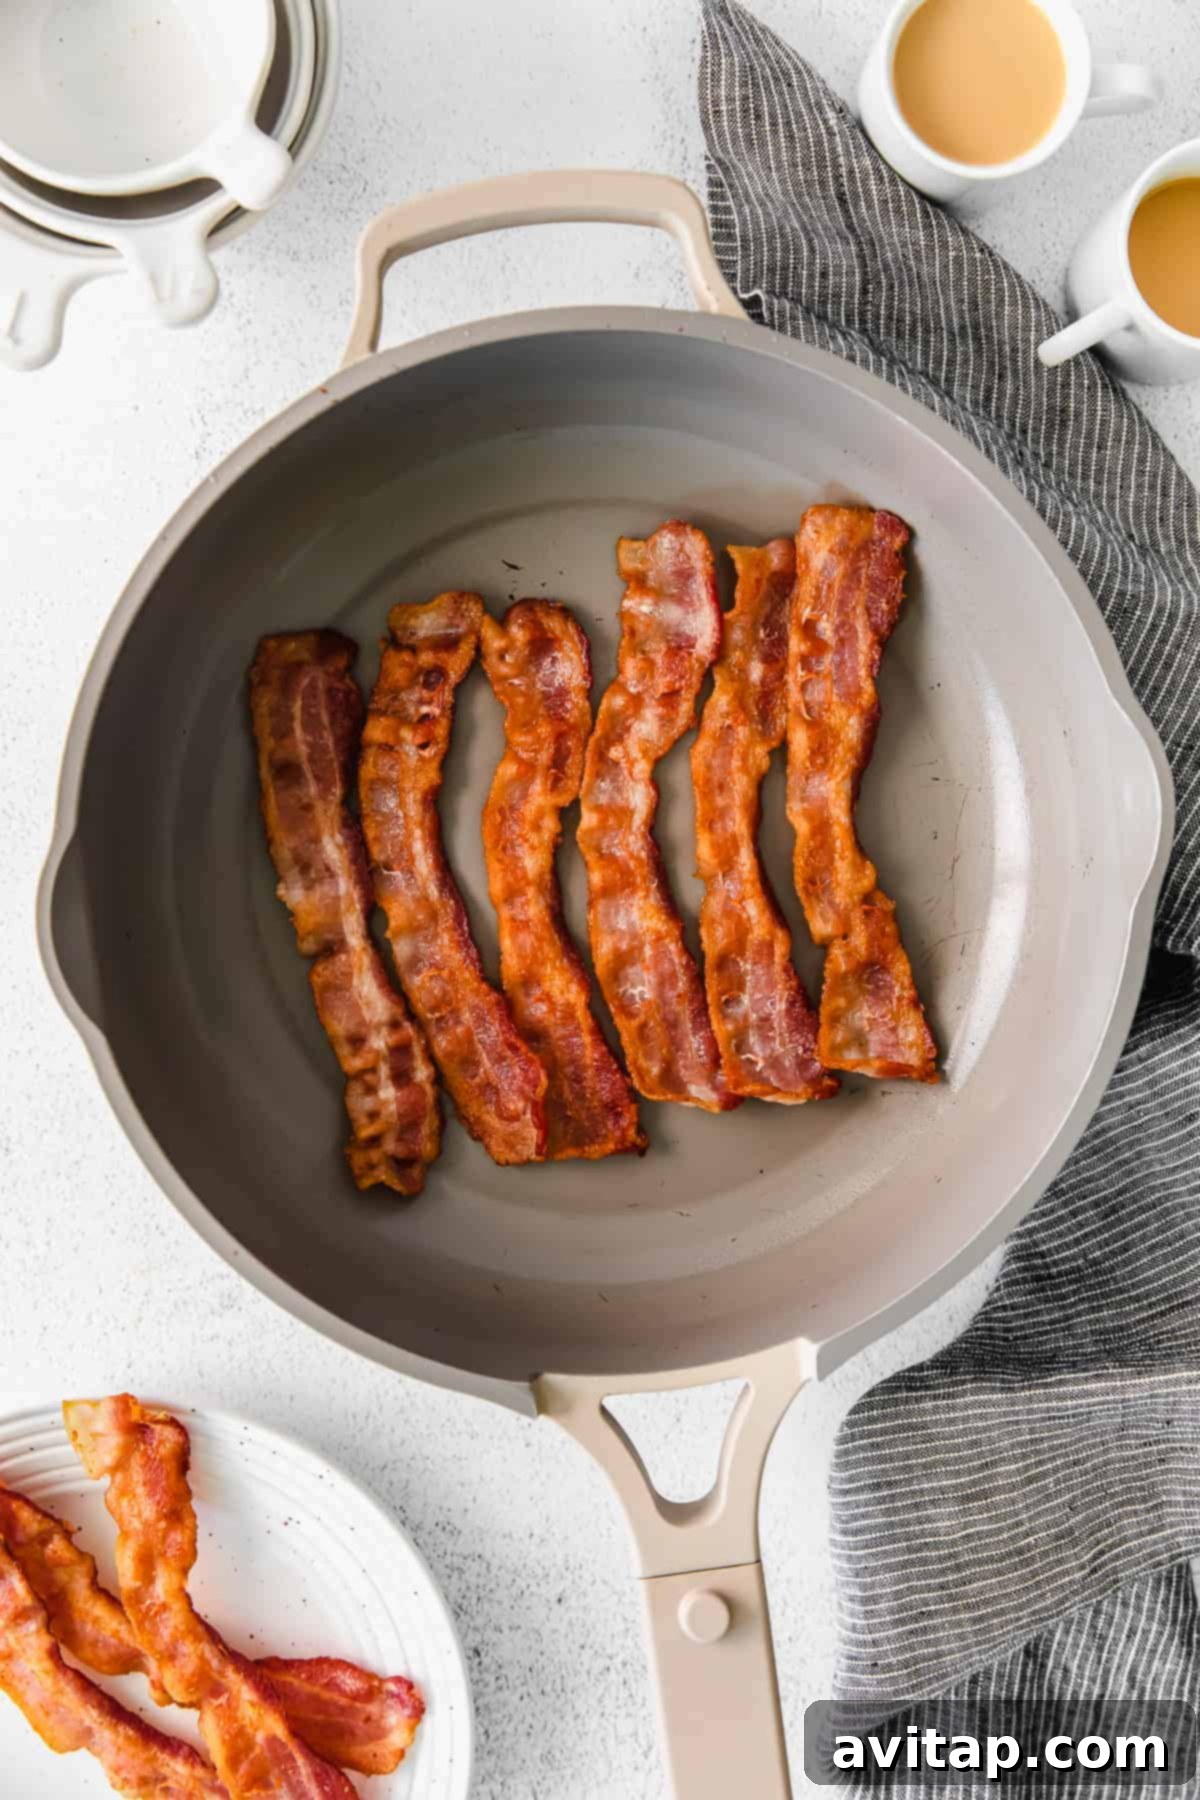
For best results, select a pan large enough to accommodate 5-6 strips of bacon without overlapping. This ensures even cooking and prevents the bacon from steaming instead of frying.

Our Recommendation!
The Always Pan
The Always Pan is a versatile nonstick pan perfect for sautéing, steaming, frying, and simmering. We highly recommend it for its quality and ease of use, especially for making the best stovetop bacon.
Paper Towel-Lined Plate: For the Perfect Finish
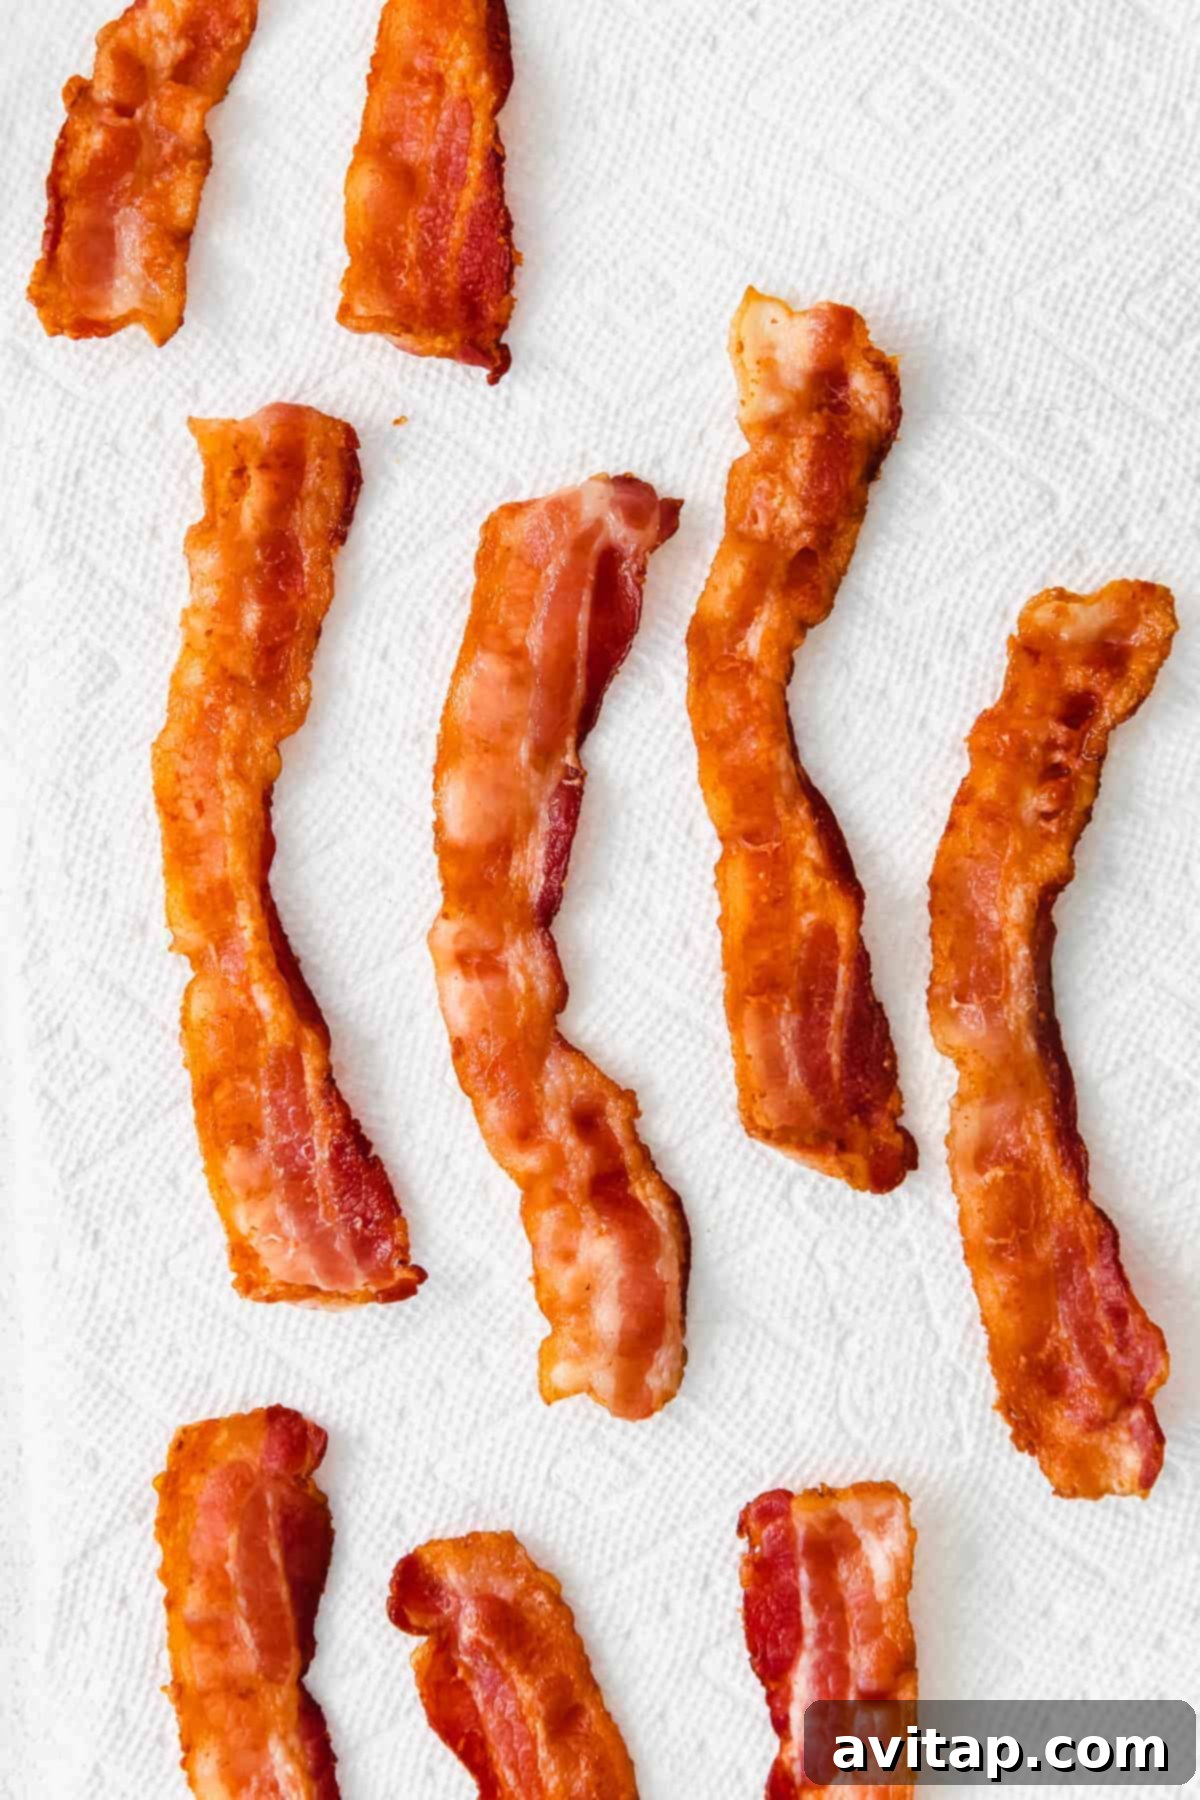
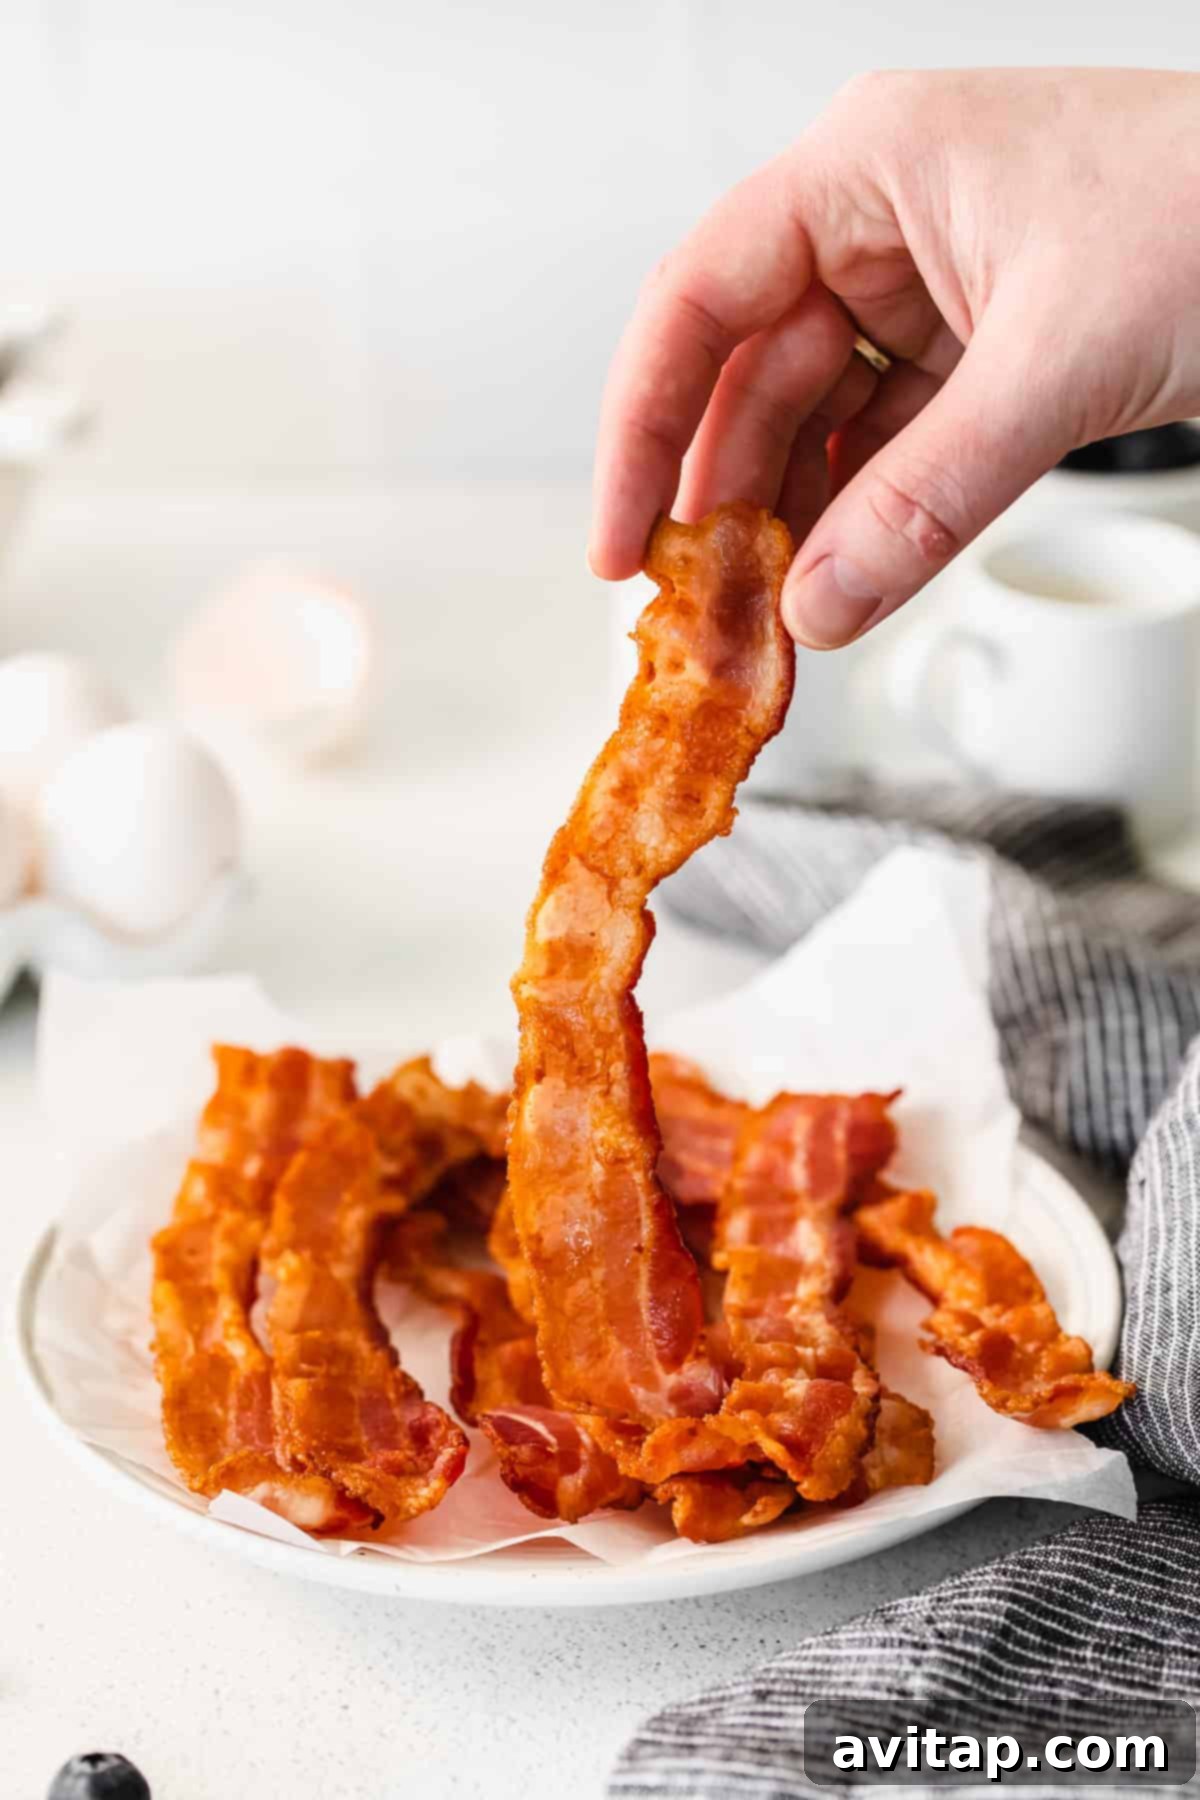
A simple paper towel-lined plate is an indispensable tool in your bacon-cooking arsenal. After cooking, transferring the hot bacon to this prepared plate allows any excess grease to be absorbed, preventing your bacon from becoming soggy. This crucial step helps the bacon maintain its crispiness and ensures a more enjoyable texture.
Alternatively, for even crispier results and better airflow, you can place a wire rack over a baking sheet, then line the rack with paper towels. This setup allows the bacon to drain grease from all sides.
How to Cook Bacon 🥓 on the Stove: A Step-by-Step Guide for Crispy Perfection
Follow these simple steps to achieve perfectly cooked stovetop bacon, tailored to your preferred level of crispiness.
- Preheat Your Skillet Properly: Begin by placing a large nonstick or cast iron skillet over medium to medium-high heat. Allow the pan to preheat for a few minutes. A properly preheated pan is key to rendering the fat slowly and achieving even crispiness. If the pan isn’t hot enough, the bacon might steam; too hot, and it could burn before becoming crisp.
- Lay Bacon in a Single Layer: Carefully place 5-6 pieces of bacon into the preheated pan, ensuring they do not overlap. Cooking bacon in a single layer is crucial for even cooking and optimal crispiness. If your pan isn’t large enough, cook in batches. Overcrowding the pan will lower its temperature, causing the bacon to steam and become rubbery instead of frying.
- Initial Cook Time: Cook the bacon on the first side. For perfectly cooked bacon that’s neither too rubbery nor overly crispy, aim for 4-5 minutes. For those who prefer a slightly chewier, more flexible piece of bacon, cook for 2-3 minutes. If you’re a fan of super crispy bacon that shatters with every bite, extend this initial cooking time to 5-6 minutes. Watch closely for the edges to start browning and the fat to render.
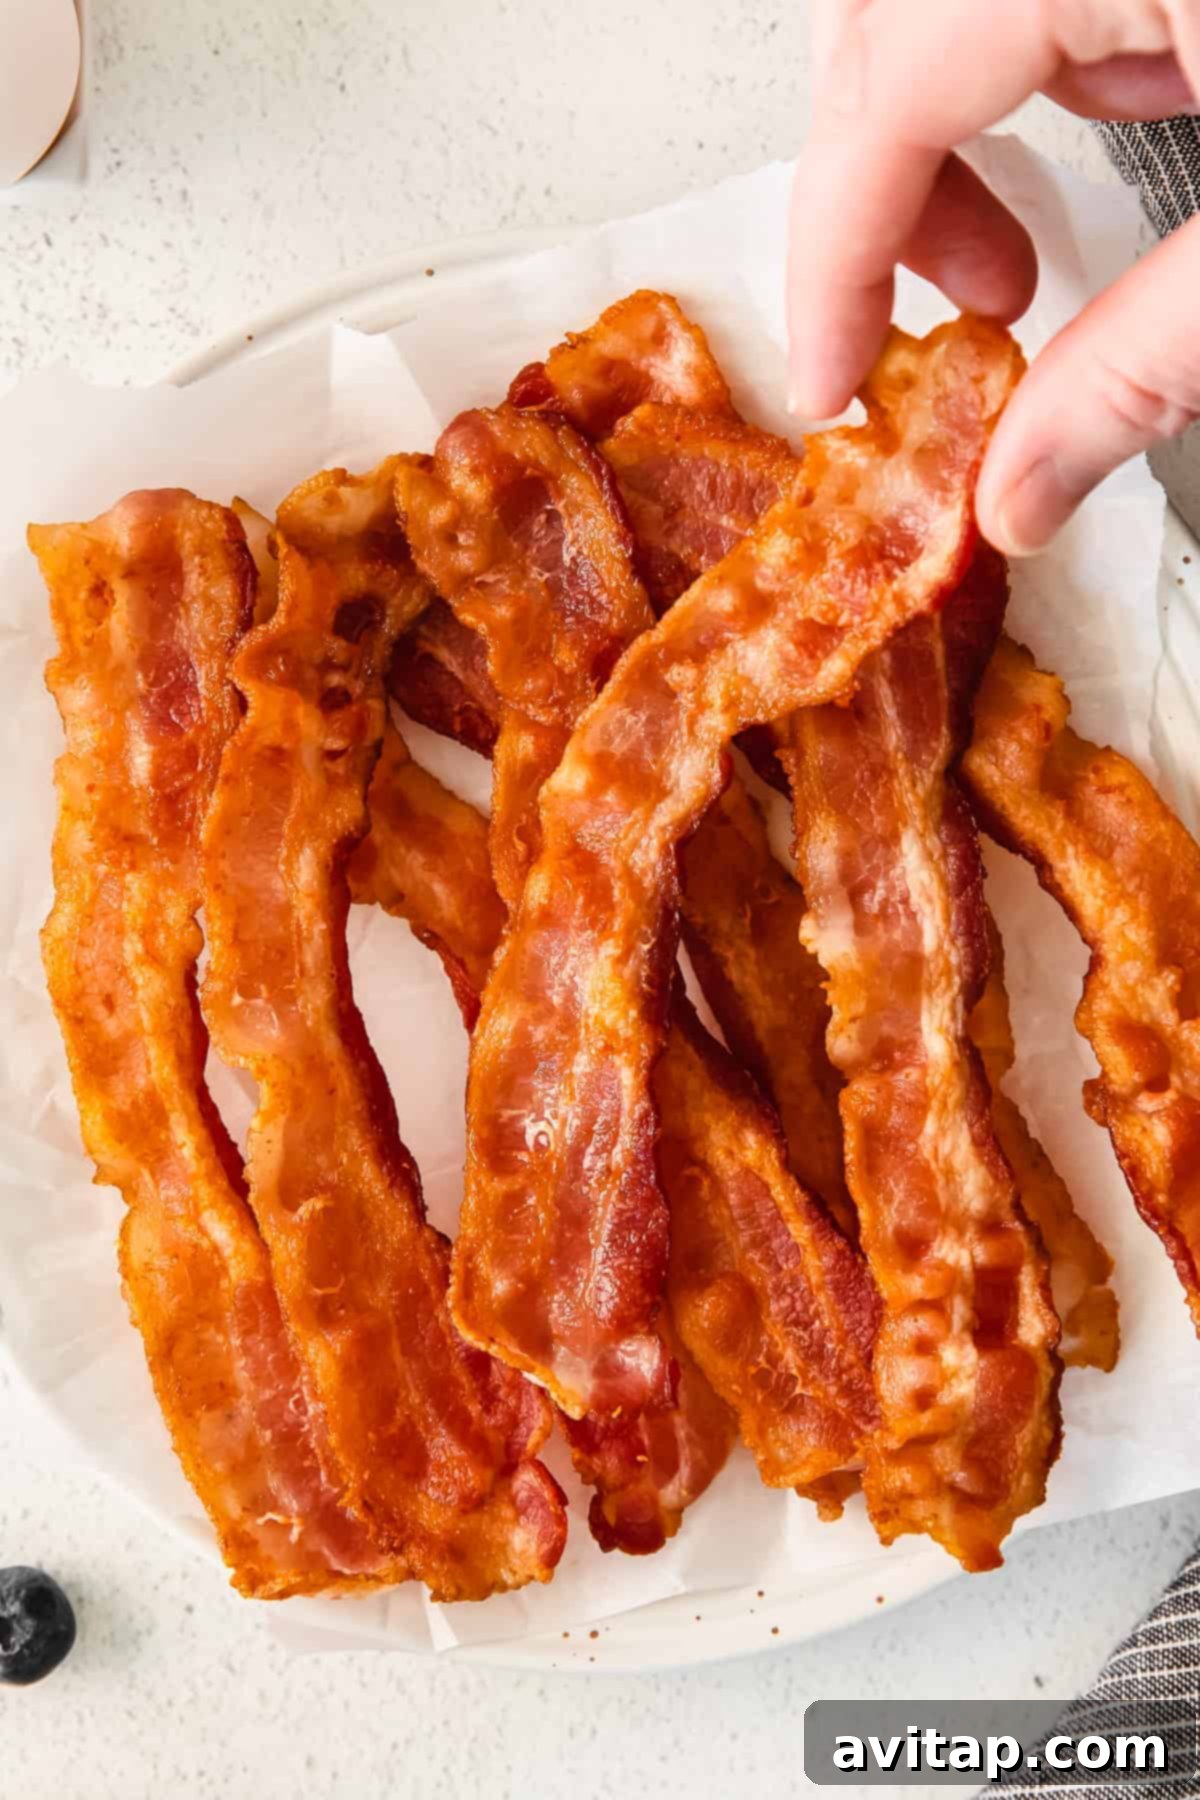
- Flip and Finish: Using tongs, carefully flip each piece of bacon. Continue to cook for approximately 4-5 more minutes, or until the bacon reaches your desired texture and color. It should feel firm to the touch and develop a rich, dark golden-brown hue. Be attentive during this stage, as bacon can go from perfectly crisp to burnt very quickly.
- Rest and Drain: Once cooked to your liking, transfer the bacon from the pan to your prepared paper towel-lined plate. Allow it to rest for at least 5 minutes. This allows any excess grease to drain away, ensuring maximum crispiness and a less greasy eating experience.
- Repeat for All Bacon: If you’re cooking more than one batch, repeat the process. You may need to carefully pour out some of the rendered bacon grease between batches to prevent the pan from becoming too full or the remaining grease from burning.
Maximizing Flavor: What to Do with Leftover Bacon Grease
Don’t let that liquid gold go to waste! Leftover bacon grease is a treasure trove of flavor that can elevate countless dishes. We highly recommend transferring your bacon grease into a heat-safe Mason jar or other airtight container while it’s still warm and liquid. Allow it to cool completely before sealing and storing it in the refrigerator. A crucial warning: **never pour hot bacon grease down your sink drain**, as it will solidify and clog your pipes.
Once cooled and solidified, bacon grease can be used in place of butter or oil in a myriad of baked goods and savory recipes, imparting a wonderfully smoky and rich flavor. It adds depth to everything it touches. Try this culinary secret in any of the following:
- Sautéing vegetables like green beans or collard greens.
- Frying breakfast potatoes for an unforgettable side.
- Adding a spoonful to your chicken and rice for extra richness.
- Making the most flavorful scrambled eggs you’ve ever tasted.
- Roasting red potatoes for a crispy, savory side dish.
- Baking cornbread for a uniquely savory twist.
Stored properly in the refrigerator, bacon grease can last for several months, ready to infuse your cooking with its delicious character.
Perfect Pairings: Serving Suggestions for Your Stovetop Bacon
Once you’ve mastered the art of stovetop bacon, it’s time to create a truly memorable meal. Bacon is incredibly versatile and pairs beautifully with a wide array of breakfast, brunch, and even dinner dishes. Here are some of our favorite ways to enjoy it:
The Best Breakfast Potatoes: Elevate your breakfast with these incredible potatoes. Perfectly cooked until tender on the inside and irresistibly crunchy on the outside, they are the ideal savory complement to your crispy bacon. Make a big batch and watch them disappear!
Perfect Hard-Boiled Eggs: Achieve perfectly cooked hard-boiled eggs every single time with our foolproof method. Whether you prefer a jammy yolk or a firm center, these eggs are a healthy and delicious companion to the rich flavor of bacon.
Effortless Sheet-Pan Pancakes: Simplify breakfast for a crowd with this ingenious Sheet Pan Pancakes recipe. Instead of the endless cycle of pouring and flipping, bake your pancake batter in a single sheet pan for a hands-off, easy-to-serve breakfast that’s perfect alongside your stovetop bacon.
Beyond these breakfast staples, don’t hesitate to incorporate your delicious bacon into sandwiches, salads, crumbled over soups, or even as a savory topping for baked goods like maple bacon doughnuts. The possibilities are endless!
Serving a Crowd? Master the Curly Bacon Method for Batch Cooking!
If you’re hosting a brunch or simply need to cook a large quantity of bacon in a short amount of time, our “Curly Bacon” method is a game-changer. This secret trick allows you to cook an entire pound of bacon at once, quickly and efficiently, yielding delightful, irregular, and perfectly crispy bacon bits or pieces.
- Prepare Your Plate: Line a large plate with a piece of paper towel to absorb excess grease after cooking. Set this aside.
- Preheat Your Skillet: Place a large skillet pan over medium to medium-high heat. Ensure it’s adequately hot before adding the bacon.
- Add All Bacon at Once: Separate 1 pound of regular-cut bacon strips. Crucially, place **all** the slices into the hot skillet at the same time. Don’t worry if the bacon slices overlap or fold over each other; this method is designed for batch cooking where uniformity isn’t the primary goal.
- Sauté and Stir: As the bacon begins to cook, use a wooden spoon or a spatula to stir and break up the slices constantly. This continuous stirring is key to ensuring even cooking and allowing the bacon to curl and crisp up into smaller, bite-sized pieces. Cook for 10-15 minutes, depending on your preferred level of crispiness. The bacon will naturally begin to curl as it renders fat and cooks.
- Drain and Serve: Once the bacon reaches your desired crispiness, carefully transfer the cooked curly bacon onto your paper towel-lined plate to drain.
- Enjoy: Serve these crispy bacon bits as a topping for salads, in sandwiches, or simply enjoy them on their own or alongside your favorite breakfast dishes. This method is also excellent for making bacon bits for future use!
Bacon Storage and Reheating Tips
Cooked bacon is a fantastic item to have on hand for quick meals throughout the week. Proper storage ensures it stays fresh and delicious.
First, allow your cooked bacon to cool completely at room temperature. Once cooled, transfer the bacon into an airtight container. Store it in the refrigerator for up to 5 days. For longer storage, cooked bacon can be frozen for up to 1 month.
To reheat bacon: There are several excellent methods, depending on your preference:
- Stovetop: For maximum crispiness, reheat bacon in a dry skillet over medium heat for 2-3 minutes per side, or until warmed through and re-crisped.
- Microwave: For a quick reheat, place bacon on a paper towel-lined plate and microwave on high for 30-60 seconds, or until hot. Be aware this method might not restore full crispiness.
- Oven/Toaster Oven: For a good balance of speed and crispiness, place bacon on a baking sheet and reheat in a preheated oven at 350°F (175°C) for 5-7 minutes, or until desired crispiness is achieved.
- Air Fryer: For surprisingly crispy results, arrange bacon in a single layer in your air fryer basket and air fry at 350°F (175°C) for 3-5 minutes, shaking the basket halfway through.
MORE DELICIOUS RECIPES…
How to Cook Bacon – Every Way Imaginable!
Bacon is a versatile ingredient, and there are many fantastic ways to cook it to perfection. Explore our other comprehensive guides:
- Air Fryer Bacon: Achieve ultra-crispy results with less mess using your air fryer.
- How to Cook Bacon on the Stove: The classic method for perfectly pan-fried strips (you’re already here!).
- Microwave Bacon: For the quickest and easiest bacon when you’re short on time.
- How to Cook Bacon in the Oven: A hands-off method perfect for cooking large batches with minimal cleanup.
4.2 out of 5 stars based on 6 votes
How to Cook Bacon (Stovetop)
Learn how to cook bacon with this easy stovetop bacon tutorial. You only need 1 ingredient (bacon!) and less than 15 minutes for perfectly crispy results.
Pin
Ingredients
- 1 lb. regular cut bacon*
Instructions
- Line a large plate with a piece of paper towel. Set aside.
- Heat a large skillet pan over medium/high heat.
- Lay 5 or 6 pieces of bacon into the pan (or more if your pan allows). Be sure the bacon does not overlap in the pan. The bacon will cook more consistently if they do not overlap.
- Cook the bacon for 4-5 minutes on each side for a perfectly cooked piece of bacon (not too rubbery and not too crispy).
For a rubbery piece of bacon, cook for 2-3 minutes on each side.
For a crispy piece of bacon, cook for 5-6 minutes on each side. Repeat until all of the bacon is cooked. You may have to wipe out the skillet in between batches to avoid burning bits and excess grease. - Place the cooked bacon on the lined plate to drain.
- Enjoy alone or with other breakfast favorites.
Tips & Notes
- If you are using thin or thick-cut bacon, make sure to adjust your cook-time so that you do not burn your bacon. Thin-cut will cook faster, thick-cut will take longer.
- Consider using a splatter screen to minimize mess, especially if cooking multiple batches.
- For very even cooking, you can start bacon in a cold pan, then turn the heat to medium. This renders the fat more slowly.
Watch It
Learn how to cook bacon on the stove for a quick, no-fail way to make bacon! Your morning bacon will come out perfectly every time.
Nutrition
Calories: 265 kcal, Carbohydrates: 1 g, Protein: 19 g, Fat: 20 g, Fiber: 0 g, Sugar: 0 g
Nutrition information is automatically calculated and should be used as an approximation.
Love this recipe? Leave a comment below!
Don’t forget to tag your posts on social media with the hashtag #fitfoodiefinds, we’d love to see what you’re up to!