
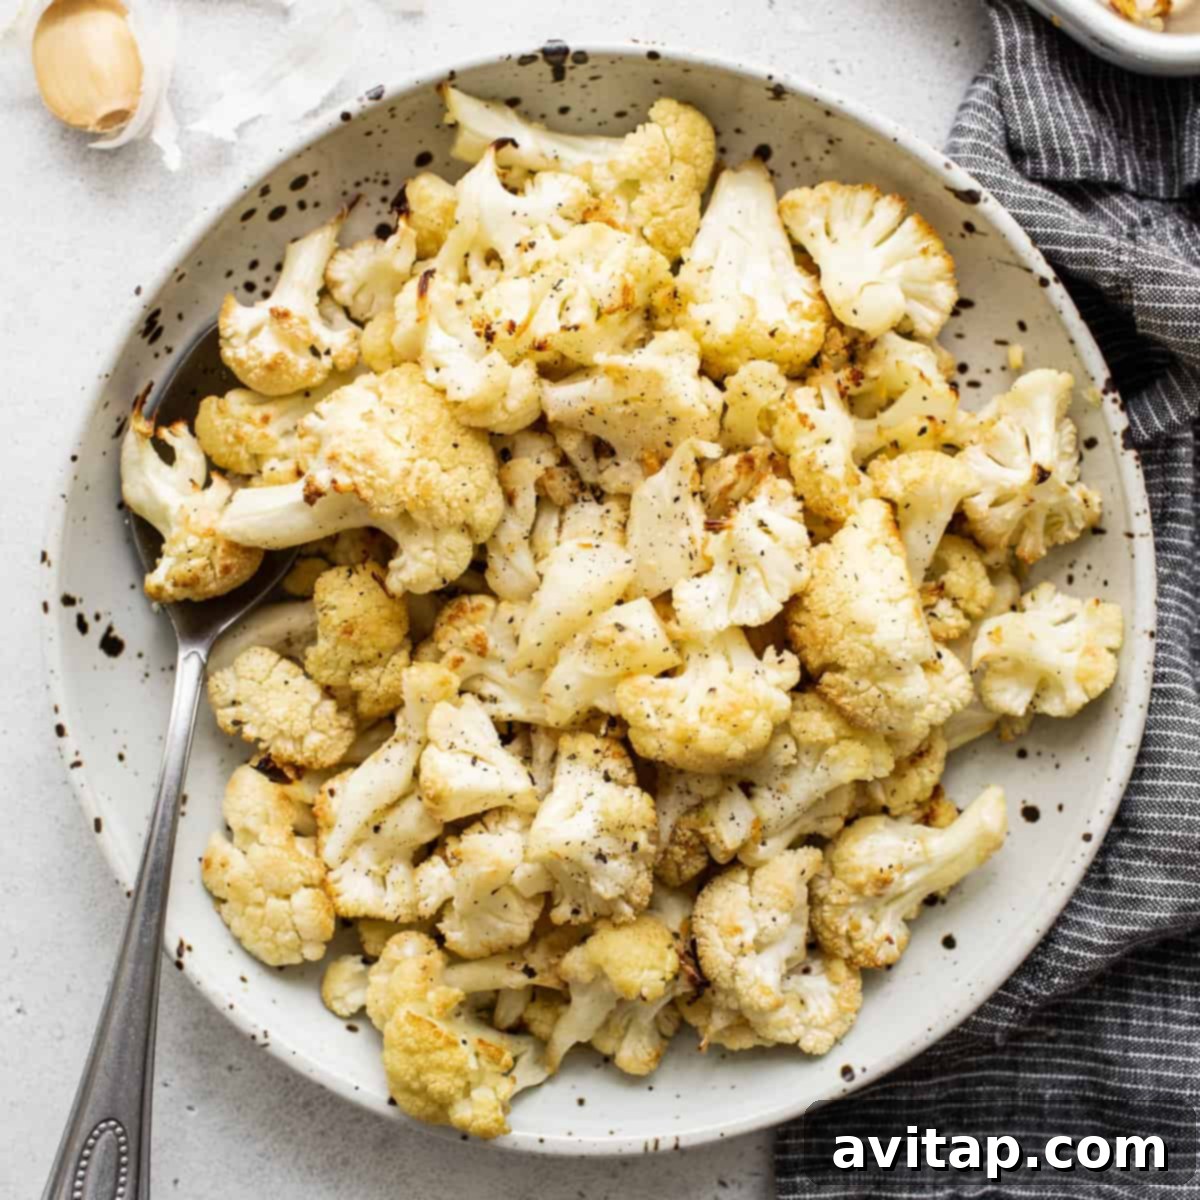
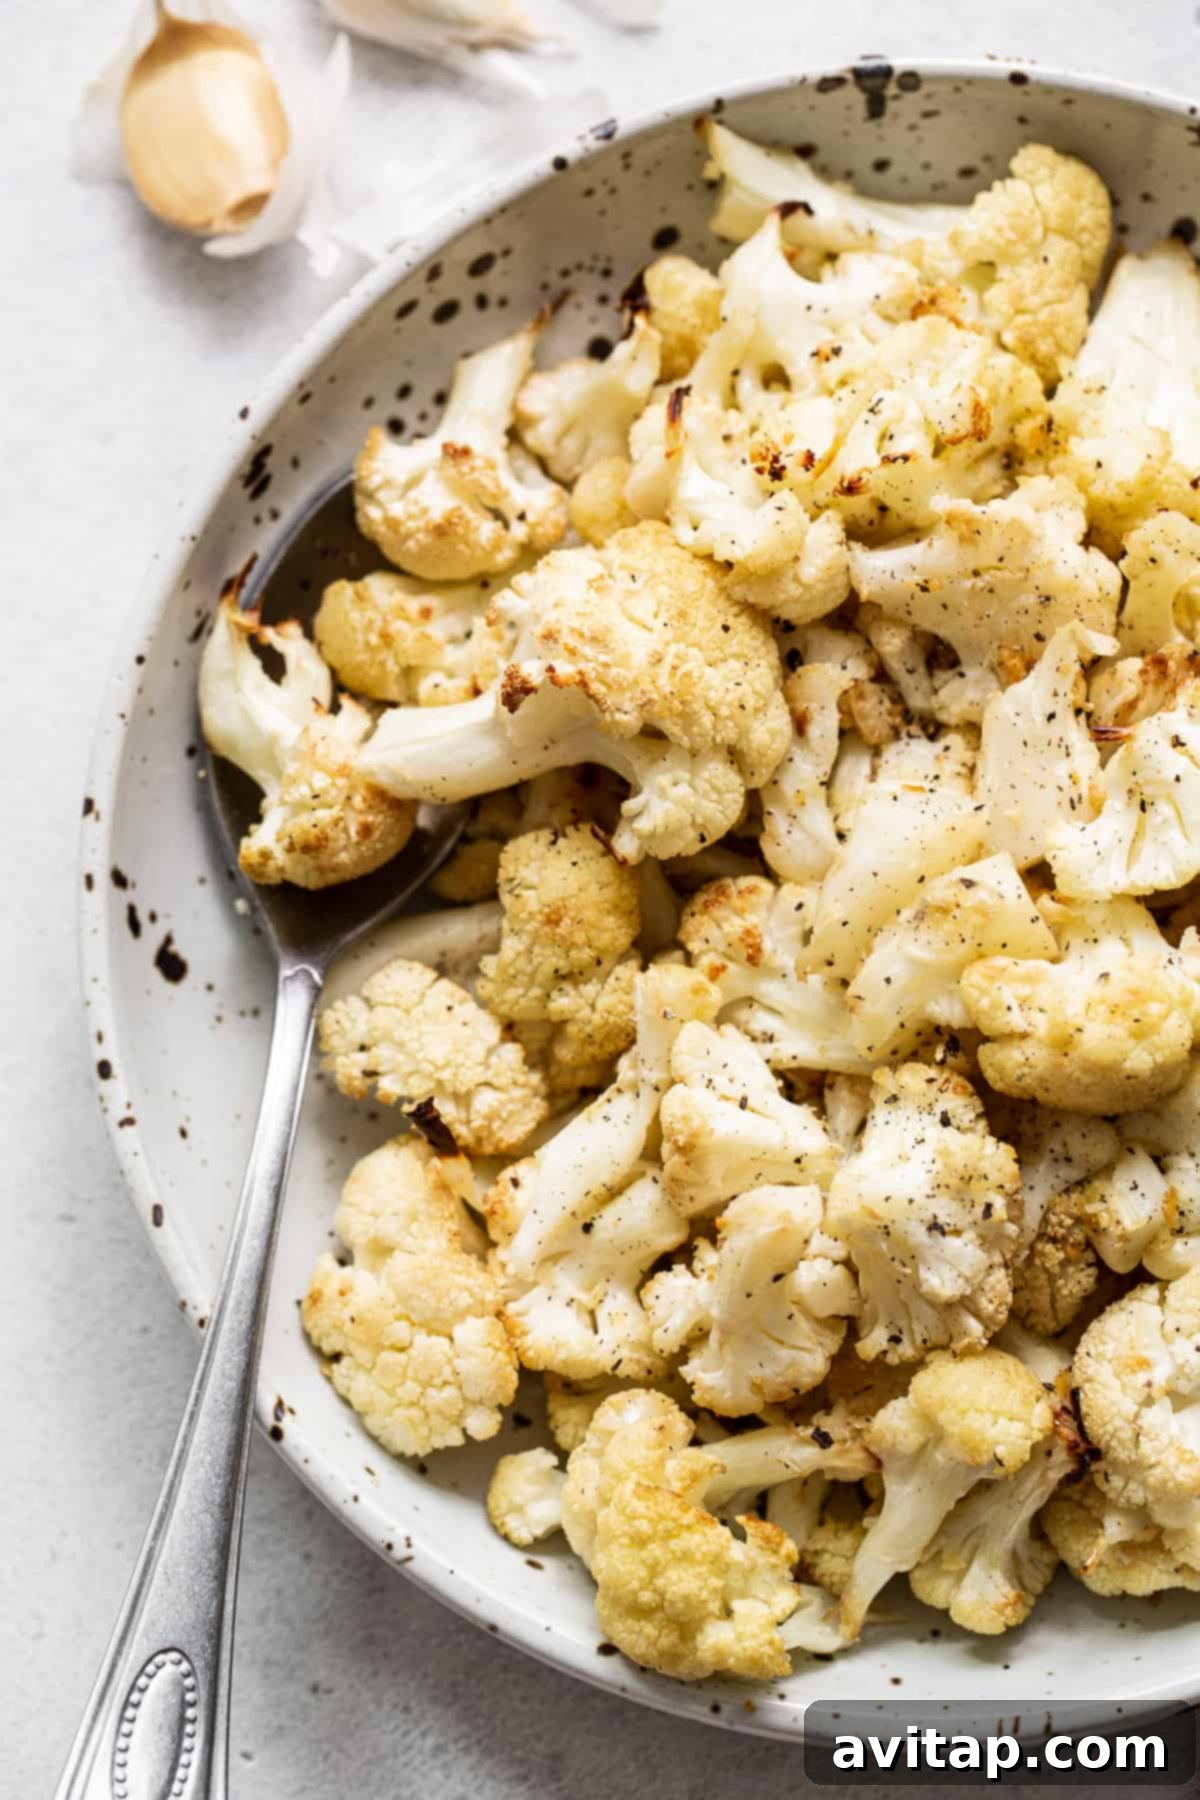
Transform your everyday meals with this incredibly simple and intensely flavorful Garlic Roasted Cauliflower. It’s the ultimate healthy side dish, perfect for any occasion, and remarkably ready to serve in just 45 minutes from start to finish. This recipe elevates humble cauliflower into a culinary delight, boasting beautifully caramelized, crispy edges and tender insides, all infused with rich, aromatic garlic.
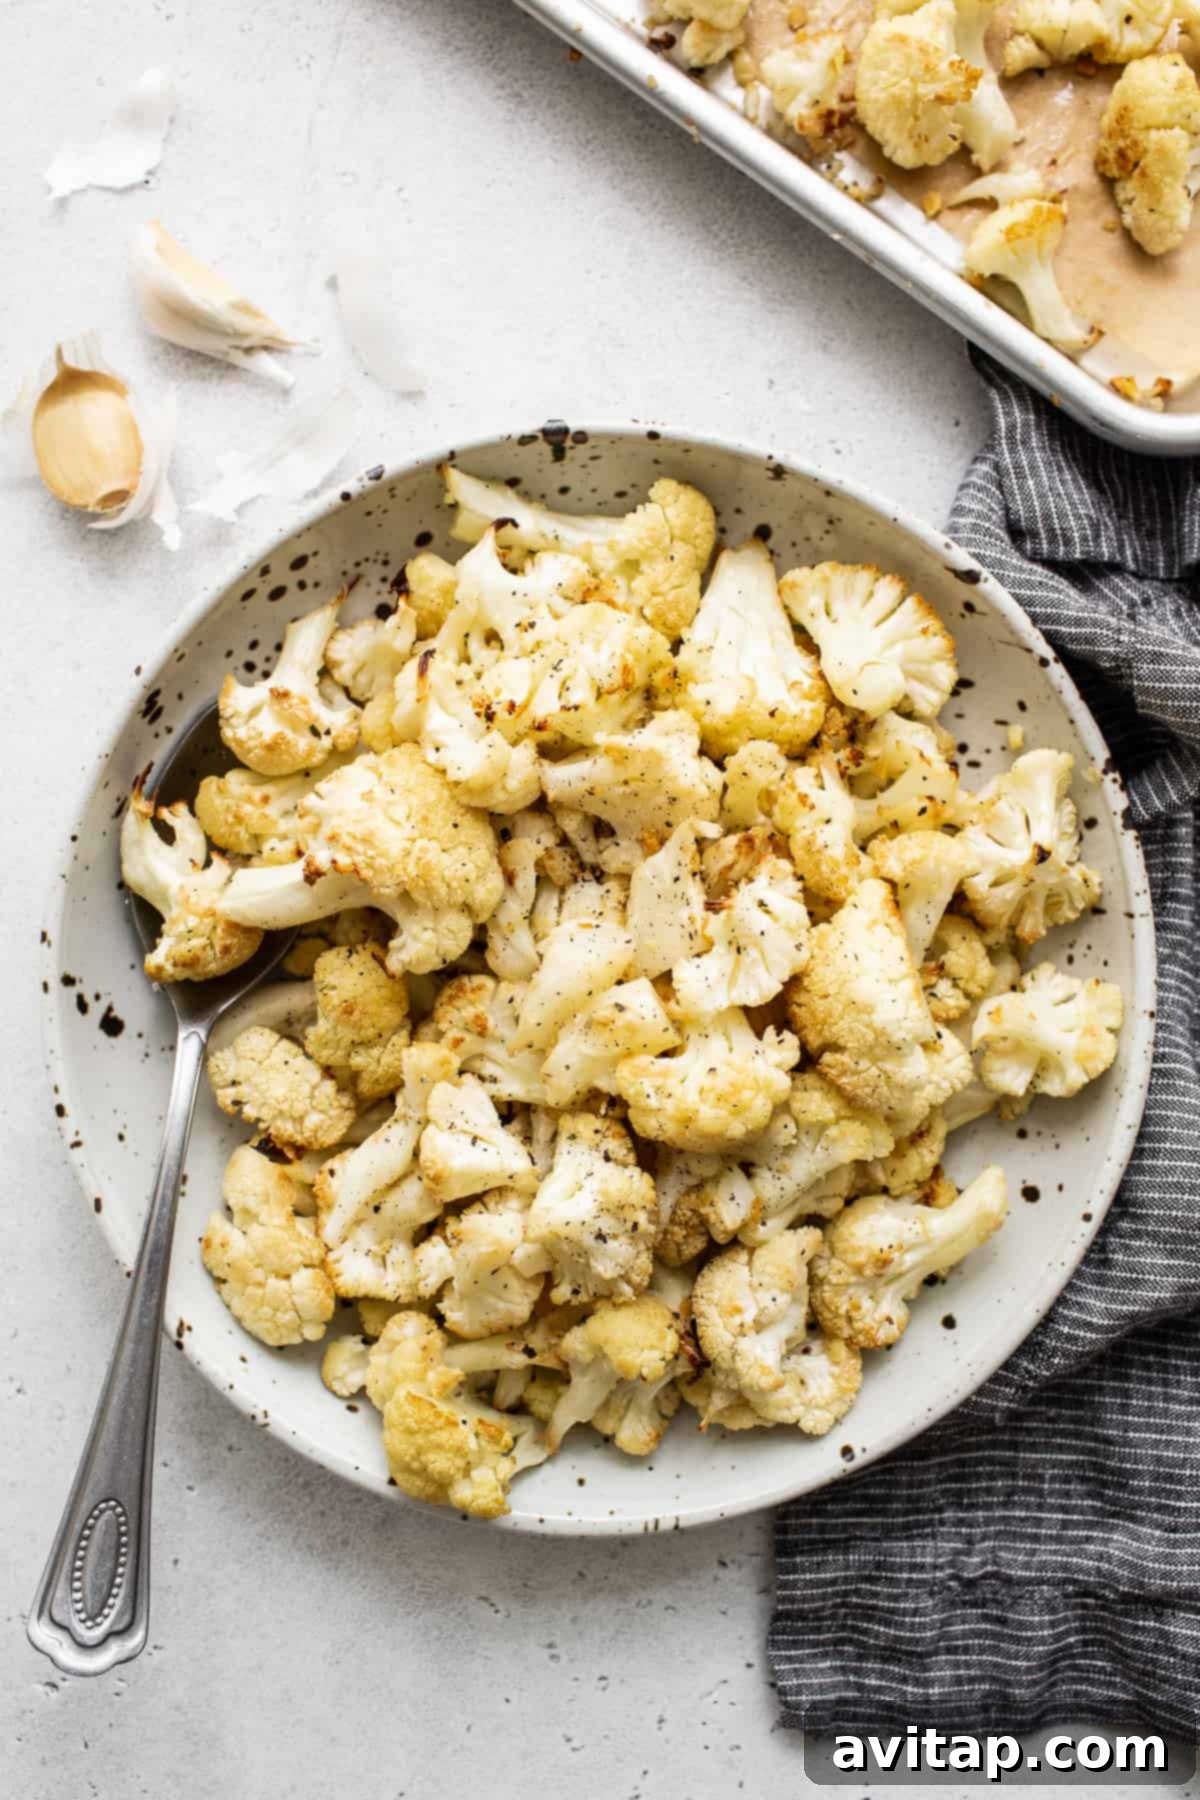
Perfect Garlic Roasted Cauliflower: Your Go-To Healthy Side Dish
Embark on a culinary journey to create the most delicious and effortlessly prepared garlic roasted cauliflower. This recipe is not only incredibly easy but also remarkably flavorful, making it an ideal accompaniment to virtually any main course. Forget bland, steamed vegetables; in this comprehensive guide, we’ll walk you through the precise steps to achieve perfectly roasted cauliflower, using just a handful of fresh ingredients to unlock its full potential. Get ready to discover a new family favorite that’s both nutritious and utterly satisfying.
Why You’ll Fall in Love with This Roasted Cauliflower Recipe
Quick & Convenient: Ready in Under an Hour
Speed and Simplicity: In today’s busy world, a quick and delicious meal is a treasure. This garlic roasted cauliflower shines brightly, requiring minimal hands-on prep time and baking to perfection in just 30-40 minutes. From your cutting board to your dinner plate, you can have a gourmet-tasting side dish ready in approximately 45 minutes, making it perfect for bustling weeknight dinners or last-minute entertaining without compromising on flavor or health.
The Ultimate Versatile Side Dish
A Culinary Chameleon: Are you constantly searching for a healthy, vegetable-packed side that effortlessly complements any meal? Look no further. Whether paired with grilled chicken, flaky baked salmon, a hearty steak, or as a vibrant component of a vegetarian spread, this garlic roasted cauliflower enhances every dish. Its savory flavor profile and satisfying, tender-crisp texture make it a universal crowd-pleaser that fits seamlessly into various cuisines and dining preferences.
Achieve Irresistibly Crispy Florets
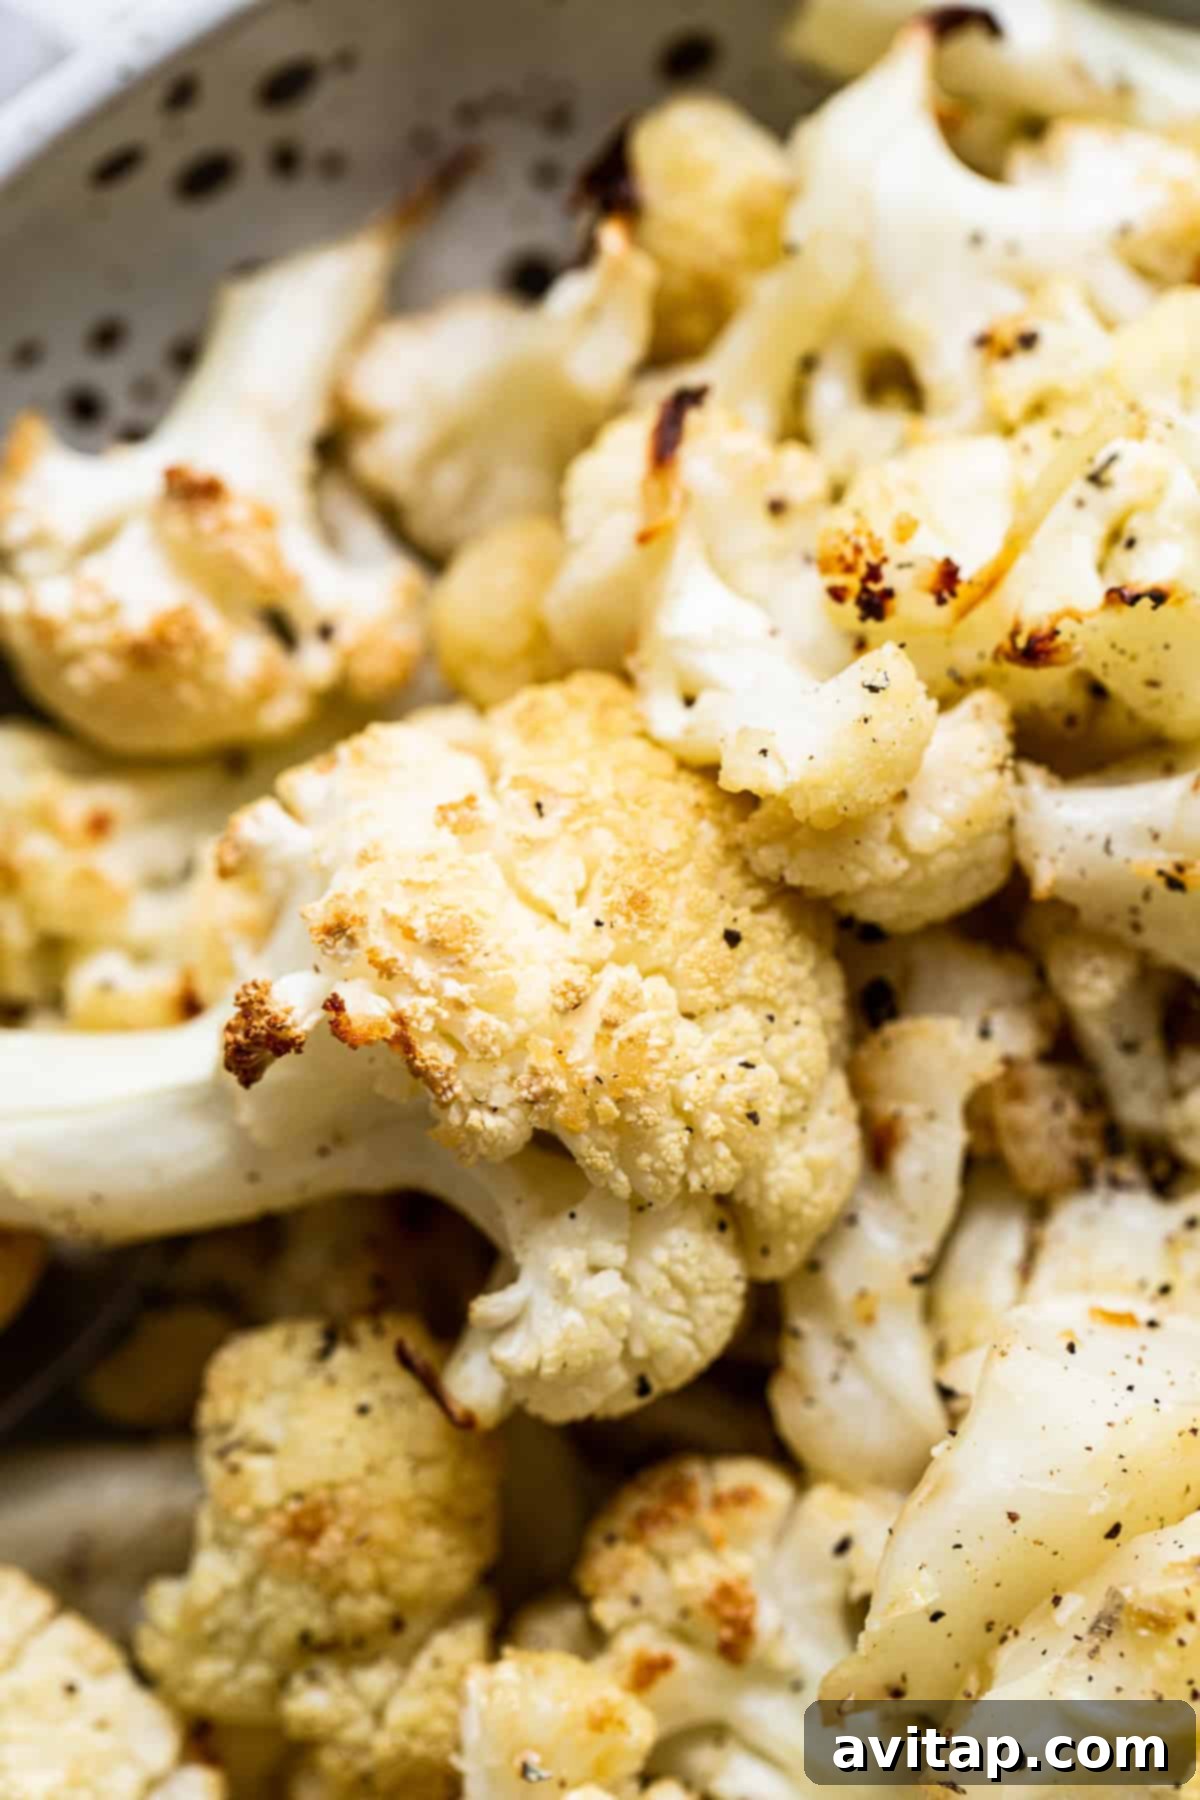
Crispy Perfection Guaranteed: If you adore vegetables with a delightful crunch, this recipe is designed specifically for you. We’ll share the simple yet effective secrets to achieving beautifully caramelized edges and tender, never mushy, interiors. For those who crave an extra-crispy finish, a quick broil at the very end of the roasting process transforms the florets into golden, crunchy bites that are simply irresistible. Get ready for a truly satisfying texture sensation!
Nutritious & Wholesome for Everyone
Health Benefits Galore: Cauliflower is a nutritional powerhouse, celebrated for being rich in essential vitamins C and K, abundant fiber, and powerful antioxidants. Roasting it with heart-healthy olive oil and fresh garlic not only enhances its already delicious flavor but also helps to retain its valuable nutrients. This dish is naturally gluten-free, low-carb, and easily adaptable for vegan and ketogenic diets, making it an excellent and guilt-free choice for a wide variety of healthy eating plans and dietary needs.
Minimal Ingredients, Maximum Flavor Impact
Effortless Flavor Development: You’ll be genuinely amazed at how much profound flavor can be coaxed from just a few pantry staples. Fresh garlic, good quality extra virgin olive oil, and simple seasonings like coarse sea salt and freshly ground black pepper are all it takes to create a side dish that tastes far more complex and sophisticated than its humble ingredient list suggests. This inherent simplicity ensures that the natural, earthy sweetness of the cauliflower truly shines through, creating a truly memorable experience.
Essential Ingredients for the Best Roasted Garlic Cauliflower
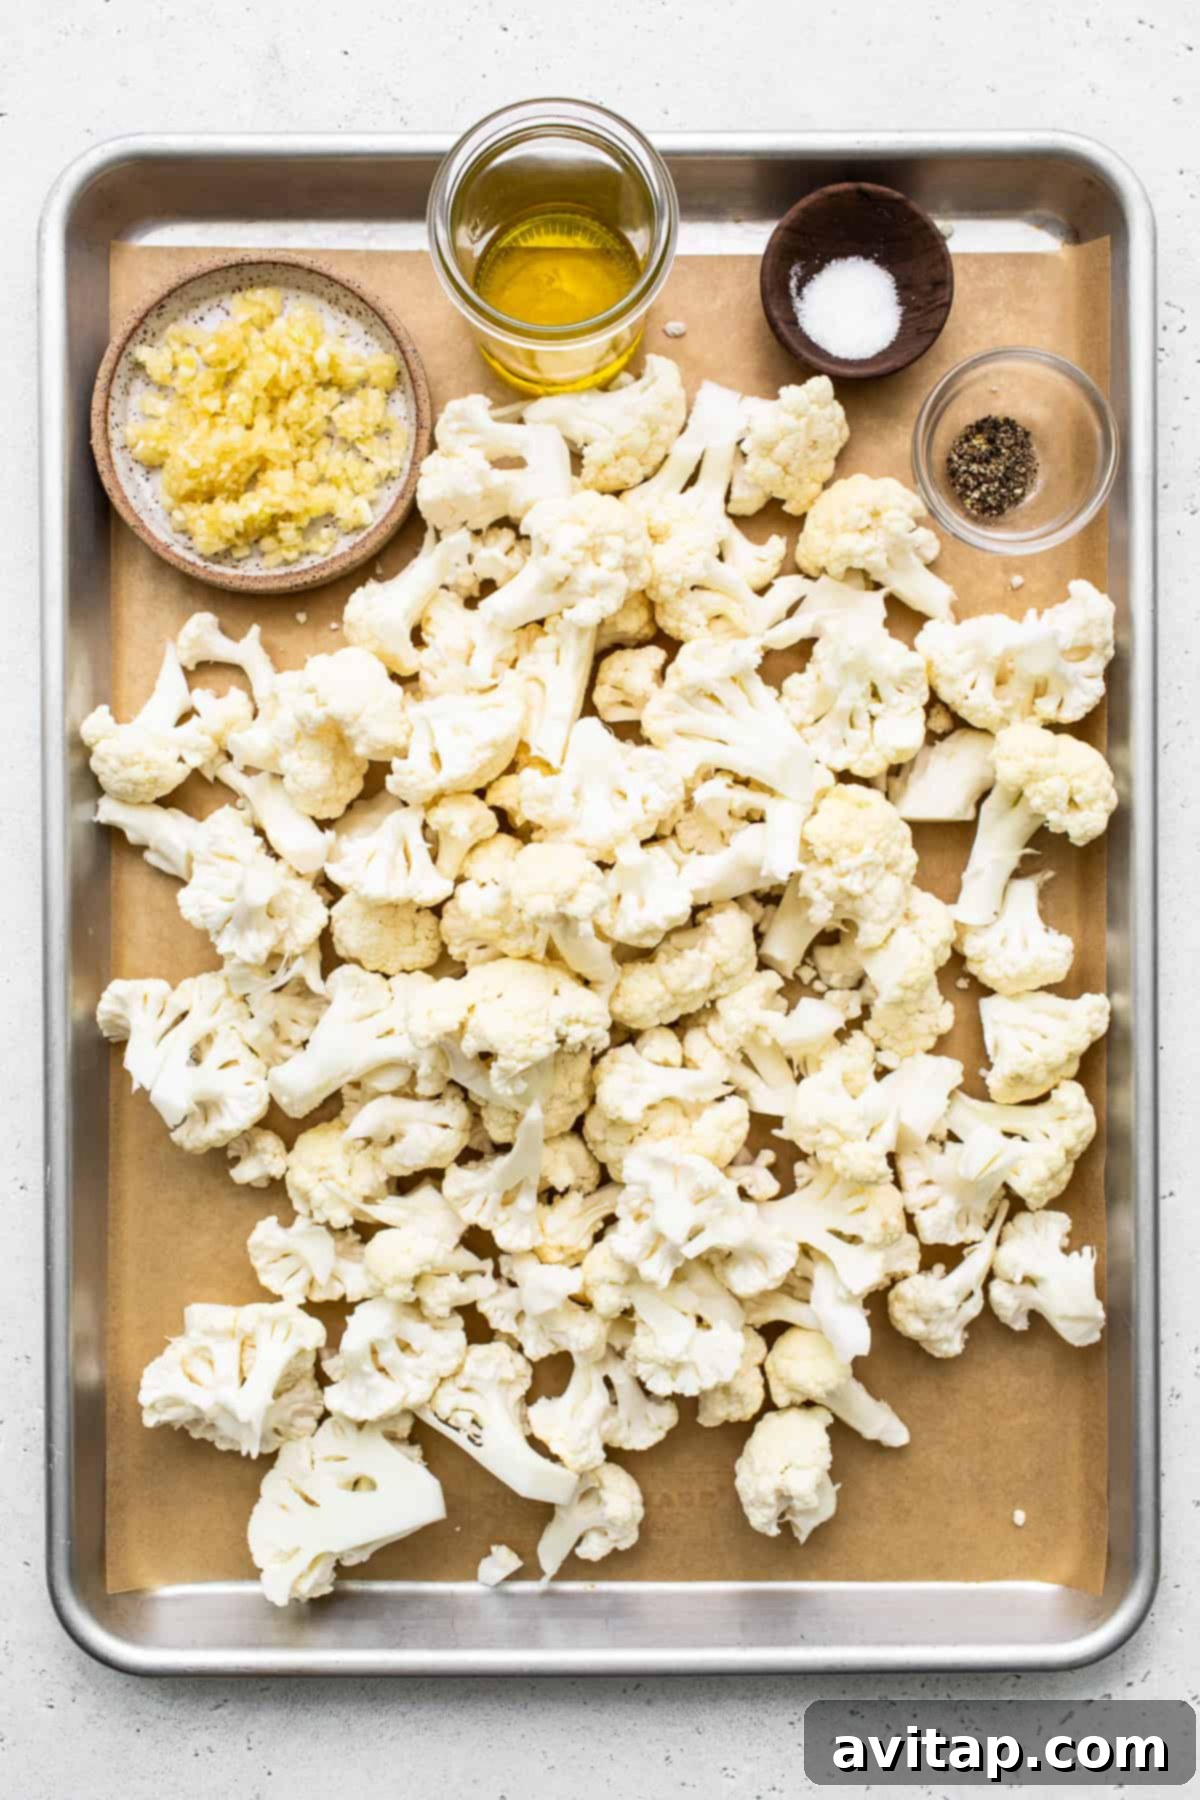
Crafting this incredibly flavorful and easy roasted cauliflower requires only five core ingredients. The secret to its success lies in selecting fresh, high-quality components and understanding how each contributes to the final delicious outcome:
- Cauliflower Florets: Start with one large, firm head of fresh cauliflower. Look for dense, creamy white or off-white florets without any significant brown spots. Once cleaned, carefully cut or break it into bite-sized florets. The goal is to achieve pieces of roughly equal size, which is absolutely crucial for ensuring that every piece cooks evenly and reaches that perfect tender-crisp texture throughout the batch.
- Extra Virgin Olive Oil: This is more than just a coating agent; it’s a flavor enhancer. We highly recommend using good quality extra virgin olive oil for its robust, fruity flavor and its ability to withstand high roasting temperatures. It not only helps the cauliflower crisp up beautifully by conducting heat but also provides a wonderful, rich base for the garlic and other seasonings to cling to, locking in moisture and flavor.
- Fresh Garlic Cloves: Six cloves, ideally pressed or finely minced, are the heart of this dish, delivering that robust, pungent, and irresistibly aromatic garlic flavor. Using fresh garlic is absolutely essential here; please avoid garlic powder if at all possible, as it simply will not yield the same vibrant, deep, and fresh taste that makes this dish so special.
- Coarse Sea Salt: A good quality coarse sea salt is vital for bringing out and enhancing the natural, earthy sweetness of the cauliflower and the sharpness of the garlic. Use about half a teaspoon as a starting point, but always feel free to adjust the quantity to suit your personal taste preferences.
- Freshly Ground Black Pepper: Freshly ground black pepper adds a subtle, yet essential, spicy kick and aromatic depth that beautifully complements the other ingredients. A quarter teaspoon is a good starting point, but like salt, it can be adjusted to your liking to add that perfect finishing touch of warmth and spice.
These simple, yet powerful, ingredients combine synergistically to create a side dish that is far greater than the sum of its parts. Don’t underestimate the power of fresh produce and quality kitchen staples in transforming a basic vegetable into something truly extraordinary.
Step-by-Step Guide: How to Make Perfectly Roasted Garlic Cauliflower
Achieving golden-brown, tender-crisp roasted cauliflower is incredibly straightforward with these easy-to-follow steps. Paying close attention to each stage ensures the best, most delicious results every single time.
Step 1: Prep & Season Your Cauliflower Florets Thoroughly
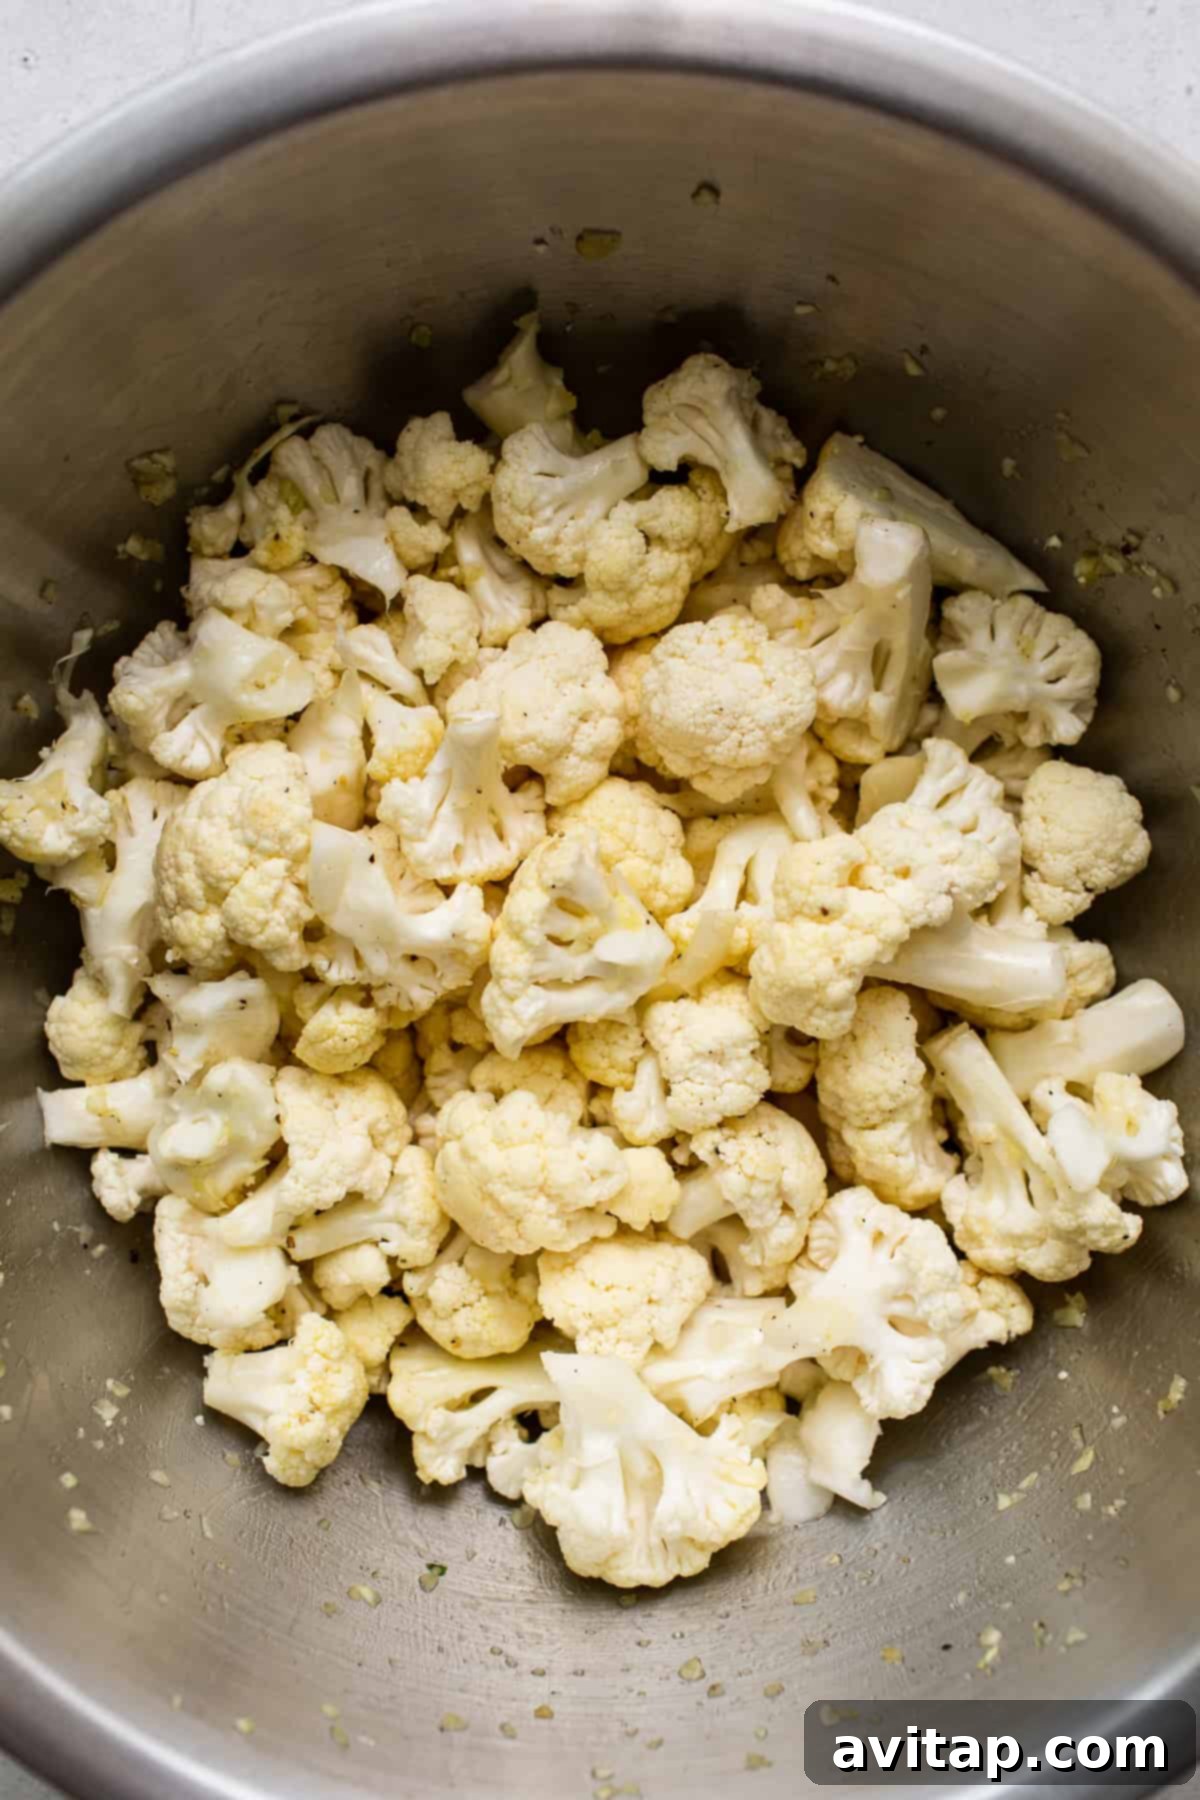
Begin by preheating your oven to a robust 400ºF (200ºC). While the oven heats, take a large baking sheet and line it generously with parchment paper. This vital step prevents sticking and makes cleanup an absolute breeze. Next, take your cauliflower florets – ideally, you’ve washed them and thoroughly dried them (remember, any excess moisture can lead to steaming instead of roasting, hindering that desired crispness). Place these clean, dry, and uniformly sized florets into a spacious mixing bowl. Drizzle generously with your chosen olive oil, then add your freshly pressed or finely minced garlic, coarse sea salt, and freshly ground black pepper. Now, get your hands in there! Gently yet thoroughly massage the cauliflower florets, ensuring every single piece is coated evenly with the oil and spices. This crucial step guarantees maximum flavor absorption in every bite and promotes uniform browning during roasting.
Step 2: Transfer to Baking Sheet for Optimal Roasting Space
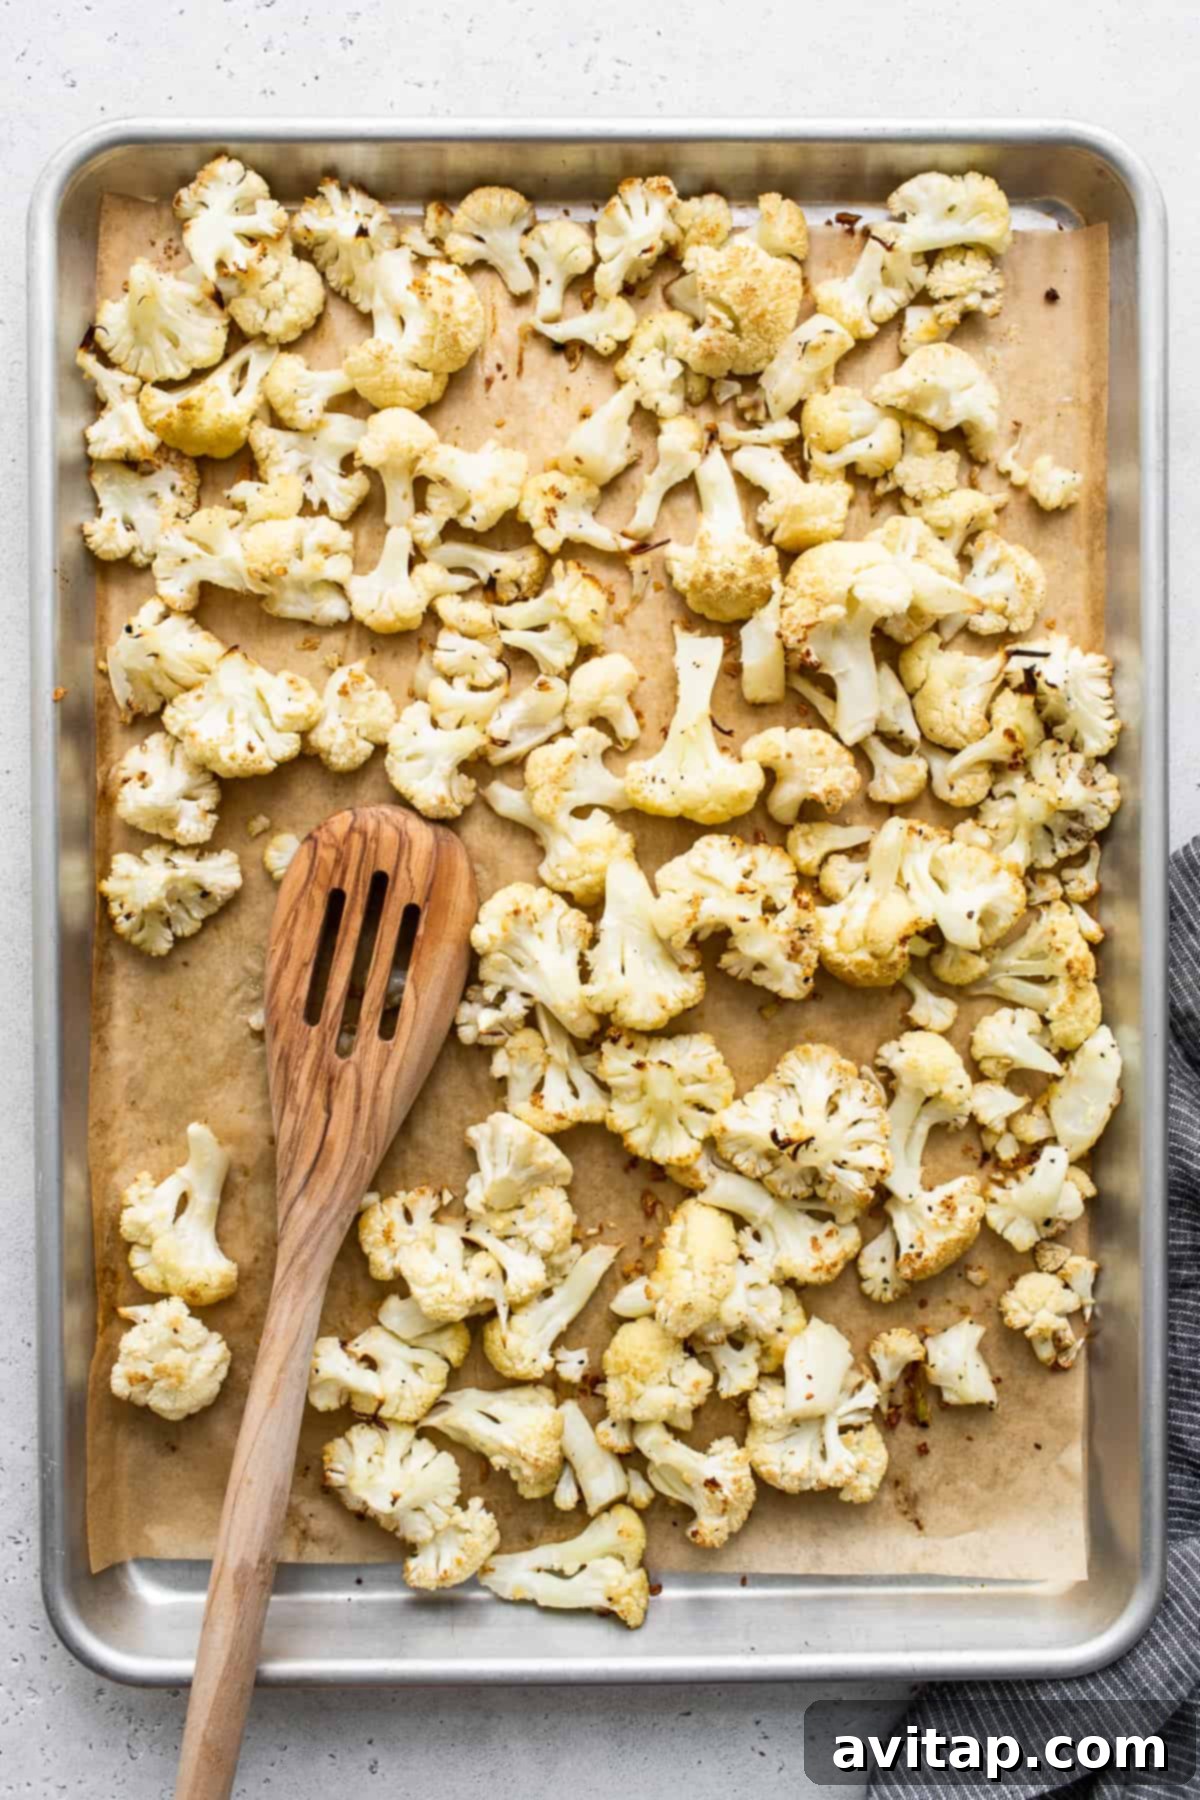
Once your cauliflower is perfectly seasoned, carefully transfer the florets from the bowl onto your prepared parchment-lined baking sheet. Be meticulous here: use a spatula to scrape every last bit of fragrant garlic and seasoned oil from the bowl onto the sheet – you absolutely don’t want to waste any of that delicious, aromatic flavor! Critically, spread the cauliflower out in a single, even layer across the baking sheet. It is paramount to avoid overcrowding the pan at all costs. If the florets are piled on top of each other, they will release moisture and effectively steam instead of roast, leading to disappointingly mushy results rather than the desired crispy exterior. If necessary, don’t hesitate to use two baking sheets to ensure each floret has ample space to breathe and brown beautifully.
Step 3: Roast to Golden Perfection, Toss, & Enjoy!
Slide the baking sheet into your preheated 400ºF (200ºC) oven. Roast for an initial 15 minutes. At this point, carefully remove the sheet from the oven and, using a sturdy spatula or a pair of tongs, gently toss and redistribute the cauliflower florets. This simple yet effective action ensures even cooking and promotes consistent browning on all sides, preventing one side from getting too dark while the other remains pale. Return the baking sheet to the oven and continue roasting for another 15-25 minutes, or until the cauliflower is beautifully golden brown, wonderfully tender on the inside, and delightfully crispy on the edges. The total roasting time will typically be between 30-40 minutes, but always keep a watchful eye on it as oven temperatures and cauliflower moisture content can vary. Once it reaches your desired level of crispness and tenderness, remove from the oven and serve immediately for the best experience!
Mastering the Temperature: The Secret to Perfect Oven Roasted Cauliflower
When it comes to roasting cauliflower, understanding and utilizing the right temperature is your ultimate secret weapon. A higher temperature is your best friend here, and for good reason. It’s the “secret sauce” for achieving that perfect textural balance: beautifully caramelized exteriors with a delightful crunch, and interiors that are wonderfully tender without ever turning mushy. High heat vigorously encourages the Maillard reaction – the chemical process responsible for that irresistible golden-brown color, complex savory flavors, and the tantalizing aroma that makes roasted vegetables so appealing.
While we find that a consistent 400ºF (200ºC) delivers optimal results for a satisfying al dente texture that retains a pleasant bite, we understand that individual preferences for cauliflower tenderness can vary. To accommodate different tastes, here are a few options for roasting temperatures and their corresponding estimated times, allowing you to customize your cauliflower to your precise preferred tenderness level:
- 400ºF (200ºC) for 30-40 minutes: This is our top recommendation for perfectly crispy edges and tender-crisp centers. This temperature ensures rapid browning and that coveted “snap” when you bite into it. Remember to toss halfway through for even cooking!
- 375ºF (190ºC) for 35-45 minutes: A slightly longer bake time at this temperature will still result in good browning, but with a somewhat softer overall texture for those who prefer a less firm bite.
- 350ºF (175ºC) for 40-50 minutes: For individuals who prefer their cauliflower significantly softer, almost melt-in-your-mouth, with less emphasis on a crispy exterior. This temperature yields a more gentle roast.
No matter which temperature you ultimately choose, always remember the golden rule: toss the cauliflower florets halfway through the cooking process. This simple, yet crucial, action ensures even exposure to the oven’s heat and promotes uniform browning across all pieces, guaranteeing a superior result every time.
Top Tips for Flawless Garlic Roasted Cauliflower Every Time
Unlock the secrets to consistently perfect roasted cauliflower with these expert tips and tricks, ensuring your dish is always a showstopper:
- Understand Oven Variations: It’s crucial to remember that actual bake time can vary significantly from what’s stated in any recipe. Factors such as the inherent moisture content of your cauliflower, the specific calibration and hot spots of your individual oven, and even the type and material of the baking sheet you use can influence the cooking duration. Always treat the suggested times as a guide and keep a watchful eye on your cauliflower, especially towards the end of the cooking window, checking for color and tenderness.
- For Unforgettable Crispy Cauliflower: If your heart truly desires extra-crispy, almost delightfully charred edges, embrace your oven’s broiler. After the main roasting time is complete, carefully switch your oven to a high broil setting. Position the baking sheet closer to the broiler element (but maintain a safe distance to prevent immediate burning) and broil for just 3-5 minutes. This step requires your undivided attention – broilers can quickly turn golden to burnt in a matter of seconds. Remove once it reaches your desired level of glorious crispiness.
- Dry Florets are the Golden Rule: Before you even think about seasoning, ensure your cauliflower florets are meticulously and thoroughly dry. Excess moisture clinging to the florets will create steam in the oven, which directly prevents proper caramelization and the development of that coveted crisp texture. A quick spin in a salad spinner or a diligent pat-down with a clean kitchen towel or paper towels works wonders in eliminating this moisture.
- Don’t Overcrowd the Pan: This is arguably the most critical tip for achieving truly crispy roasted vegetables. Give your cauliflower florets ample breathing room on the baking sheet. If they are packed too closely together, they will release steam, and with nowhere for that steam to escape, the cauliflower will regrettably steam itself rather than roast, resulting in a soft, unappealingly mushy texture. When in doubt, always opt to use two baking sheets to give them enough space to crisp up beautifully.
- Cut Evenly Sized Florets: For a consistently cooked dish, uniformity in the size of your florets is key. This ensures that all pieces cook at roughly the same rate, preventing the frustration of having some pieces undercooked and hard while others are overcooked or burnt. Aim for bite-sized pieces that are easy to eat and cook through simultaneously.
- Embrace Fresh Garlic: While convenient, pre-minced garlic or garlic powder simply doesn’t compare to the pungent, vibrant, and aromatic flavor of freshly minced or pressed garlic. Taking the extra moment to use fresh garlic makes a significant and noticeable difference in the overall taste profile and quality of this dish.
- Preheat Your Oven Fully: Placing your seasoned cauliflower into a properly preheated oven ensures that the cooking process begins immediately and evenly, helping to achieve that initial crispness faster and promoting consistent roasting from the start. Never rush this important initial step.
Frequently Asked Questions (FAQs) About Roasted Cauliflower
For truly crispy roasted cauliflower, several factors are crucial. First, always bake at a higher temperature; our recipe specifically recommends 400ºF (200ºC) for a perfectly crispy, never mushy, texture. Second, ensure your cauliflower florets are completely dry before tossing them with oil and seasonings; moisture is the enemy of crispness. Third, spread the florets in a single, uncrowded layer on the baking sheet – this allows for proper air circulation and caramelization instead of steaming. Finally, for an extra-crispy finish, don’t hesitate to use the broiler for the last 3-5 minutes, but watch it very carefully to prevent burning!
Mushy roasted cauliflower is typically a result of two very common issues: overcrowding the baking pan or too much inherent moisture in the cauliflower. When you overcrowd the baking sheet, the florets release steam, and since that steam has nowhere to escape, the cauliflower essentially steams itself rather than roasting. To effectively avoid this, always spread the cauliflower in a single layer, utilizing multiple baking sheets if necessary. Additionally, always ensure your cauliflower is thoroughly dry after washing before you add any oil and seasoning.
Yes, it is highly recommended to wash your cauliflower. After cutting the head into individual florets, rinse them thoroughly under cold running water. This essential step helps to remove any lingering dirt, small insects, or undesirable residues. However, and this is crucial, after washing, you must ensure you thoroughly dry the florets using a salad spinner or by patting them meticulously dry with paper towels or a clean kitchen towel. As reiterated, excess moisture is the arch-nemesis of crispy roasted cauliflower!
Absolutely! While garlic, salt, and pepper create a timeless and undeniably delicious flavor profile, roasted cauliflower is incredibly versatile and warmly welcomes a wide variety of other spices and herbs. Consider enhancing the flavor with a pinch of paprika (whether sweet or smoked), a dash of earthy cumin, a fragrant sprinkle of dried oregano or thyme for an herbal touch, or even a hint of curry powder for an exotic twist. A refreshing squeeze of fresh lemon juice immediately after roasting also magnificently brightens all the flavors. Feel free to experiment to discover your ultimate favorite spice combinations!
This exceptionally versatile side dish pairs wonderfully with almost anything you can imagine! It’s excellent alongside roasted chicken, grilled fish fillets, perfectly pan-seared steak, or even as a flavorful and nutritious base for a vibrant grain bowl. For vegetarian meals, serve it with a comforting lentil soup, mixed into a fresh quinoa salad, or alongside a hearty bean burger. It also makes a fantastic, elegant addition to any holiday spread or simply as a quick, healthy side for a busy weeknight dinner.
Storage and Reheating Tips for Leftover Roasted Cauliflower
Proper storage and effective reheating techniques are key to maintaining the deliciousness and desirable texture of your garlic roasted cauliflower. While it is undeniably best enjoyed fresh out of the oven, leftovers are still fantastic with the right approach.
Storage:
To ensure optimal freshness and prevent sogginess, allow the roasted cauliflower to cool completely to room temperature before storing. Once cooled, transfer it promptly to an airtight container and refrigerate for up to 3-5 days. This method helps prevent moisture buildup, which can quickly degrade the cauliflower’s texture.
Reheating Options:
To bring your roasted cauliflower back to life with a good texture, it’s important to avoid methods that will simply steam it further. Aim for quick, dry heat to restore some of its original crispness.
- To Reheat in the Microwave (Quickest, but less crispy): For the fastest option, place the cooked cauliflower on a microwave-safe plate. Microwave on high for 60-90 seconds, or until it is thoroughly heated through. Be aware that the microwave tends to soften the cauliflower, so it will likely not be as crispy as when it was freshly roasted.
- To Reheat on the Stove Top (Best for Crispness): For a more satisfying reheat that brings back some of that coveted crispness, add about 1/2 tablespoon of olive oil to a skillet or frying pan and heat it over medium-high heat. Once the oil shimmers, add the cooked cauliflower and sauté for 3-5 minutes, tossing frequently, until it is warmed through and the edges begin to crisp up wonderfully again.
- To Reheat in the Oven (Excellent for Larger Batches): For a method that is excellent for restoring texture, preheat your oven to 375ºF (190ºC). Spread the leftover cauliflower in a single, even layer on a baking sheet. Reheat for 10-15 minutes, or until it is thoroughly heated and the edges have re-crisped to your liking. This method is particularly effective for larger quantities.
Expand Your Culinary Horizons with…
More Delicious Roasted Vegetable Recipes You’ll Love
If you’ve enjoyed the sheer simplicity and incredible flavor of this garlic roasted cauliflower, you’ll be thrilled to explore other fantastic ways to bring out the very best in various vegetables through the magic of roasting. Here are some of our other cherished recipes for perfectly roasted veggies, guaranteed to add excitement to your plate:
- How to Roast Garlic: Unlock the sweet, mellow, and spreadable flavor of roasted garlic – a versatile ingredient for countless dishes.
- Hearty Roasted Root Vegetables: Discover a colorful and nutritious medley of seasonal root vegetables, perfect for any season and any meal.
- Effortless Oven Roasted Asparagus: A classic, quick, and elegantly simple side dish that showcases asparagus at its finest.
- Easy Roasted Delicata Squash: Enjoy this naturally sweet and savory squash, with the added convenience of its edible skin – no peeling required!
- How to Cut and Roast Butternut Squash: Master the techniques for preparing and roasting this versatile and nutritious winter squash for soups, sides, and more.
- Golden Roasted Cauliflower with Turmeric: A vibrant, anti-inflammatory, and flavor-packed twist on your favorite roasted veggie, offering a beautiful golden hue and unique taste.
Garlic Roasted Cauliflower Recipe
This incredibly simple and flavor-packed Garlic Roasted Cauliflower is the perfect healthy side dish for any meal. Achieve beautifully crispy, tender florets infused with aromatic garlic every single time!
5 mins
30-40 mins
45 mins
4 people
Emily Richter
Ingredients
- 1 large head cauliflower, washed, thoroughly dried, and chopped into uniform bite-sized florets (approximately 6-8 cups)
- 3 tablespoons extra virgin olive oil
- 6 cloves fresh garlic, pressed or very finely minced
- ½ teaspoon coarse sea salt (or adjust to your taste preference)
- ¼ teaspoon freshly ground black pepper (or adjust to your taste preference)
Instructions
- Preheat Oven & Prepare Sheet: Preheat your oven to 400ºF (200ºC). Line a large baking sheet with parchment paper; this will prevent sticking and simplify cleanup.
- Season Cauliflower: In a spacious mixing bowl, combine the thoroughly dried cauliflower florets with the olive oil, pressed garlic, coarse sea salt, and freshly ground black pepper. Use your hands to gently but thoroughly massage and toss the florets, ensuring every single piece is evenly coated with the oil and spices for maximum flavor and consistent browning.
- Arrange on Baking Sheet: Carefully pour the seasoned cauliflower onto the prepared parchment-lined baking sheet. Utilize a spatula to scrape any leftover fragrant garlic and seasoned oil from the bowl onto the florets. Critically, spread the cauliflower out into a single, even layer across the baking sheet. It is essential not to overcrowd the pan; if necessary, use a second baking sheet to give the florets ample space to roast rather than steam, which is key for crispiness.
- Roast to Perfection: Slide the baking sheet into the preheated oven. Roast for an initial 15 minutes. After this time, remove the sheet from the oven and, using a sturdy spatula or a pair of tongs, gently toss and redistribute the florets to promote even cooking and browning on all sides. Return to the oven and continue roasting for another 15-25 minutes, or until the cauliflower is beautifully golden brown, wonderfully tender on the inside, and delightfully crisp on the edges. The total cooking time will typically range from 30-40 minutes, depending on your specific oven and desired level of crispness.
- Serve Immediately: Once roasted to your absolute liking, remove the cauliflower from the oven and serve hot as a delicious, versatile, and healthy side dish.
Tips & Notes
- Bake Time Flexibility: Please note that actual bake times can vary due to differences in oven temperatures and the moisture content of the cauliflower. Always monitor your cauliflower closely.
- Achieving Extra Crispiness: For an exceptionally crispy result, consider utilizing your oven’s broiler. After the main roasting, broil the cauliflower on high for 3-5 minutes. Position the baking sheet closer to the broiler, but watch continuously to prevent burning, as broilers work very quickly.
- Dryness is Key: Ensure cauliflower florets are completely dry before seasoning. Any residual moisture will lead to steaming rather than roasting, hindering the crisp texture.
- Don’t Overcrowd: This is crucial for crisp cauliflower. Give florets space to ensure they roast, not steam.
- This recipe was last updated on July 14th, 2022, to ensure its accuracy and enhance clarity and user experience.
Nutrition Information (Approximate Per Serving)
Calories: 142 kcal, Carbohydrates: 6 g, Protein: 4 g, Fat: 11 g, Fiber: 0 g, Sugar: 4 g
Please note: Nutrition information is automatically calculated and should be used as an approximation. Variations may occur based on specific ingredients and preparation methods.
Loved this incredible recipe? We’d be thrilled to hear your thoughts! Please feel free to leave a comment below and share your experience!
Don’t forget to tag your culinary creations on social media with the hashtag #fitfoodiefinds – we absolutely can’t wait to see your delicious dishes and how you made them your own!