
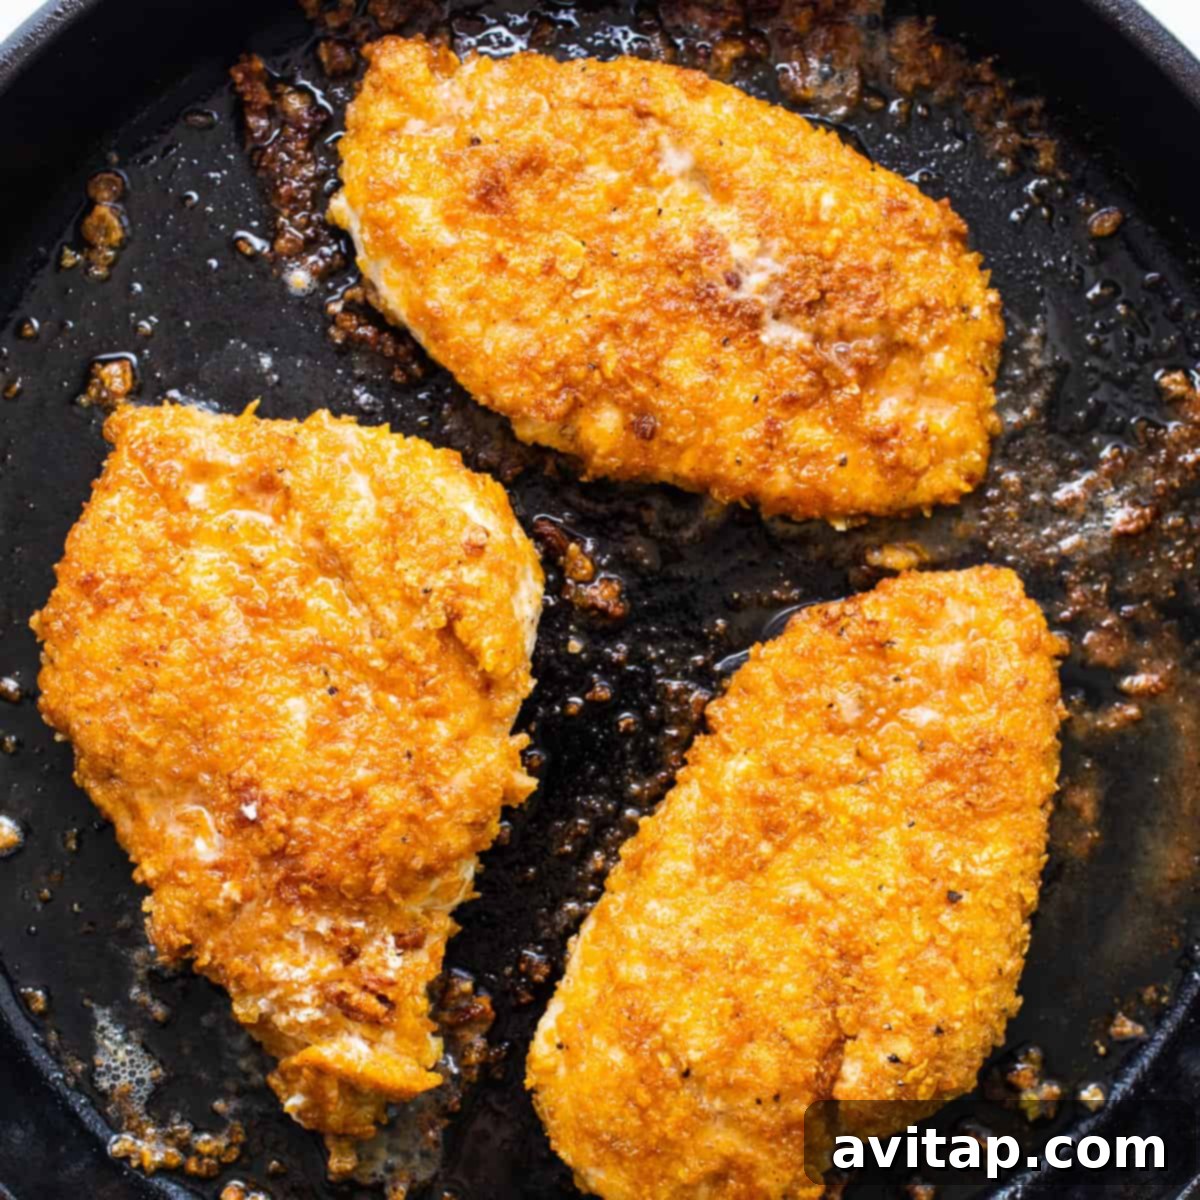
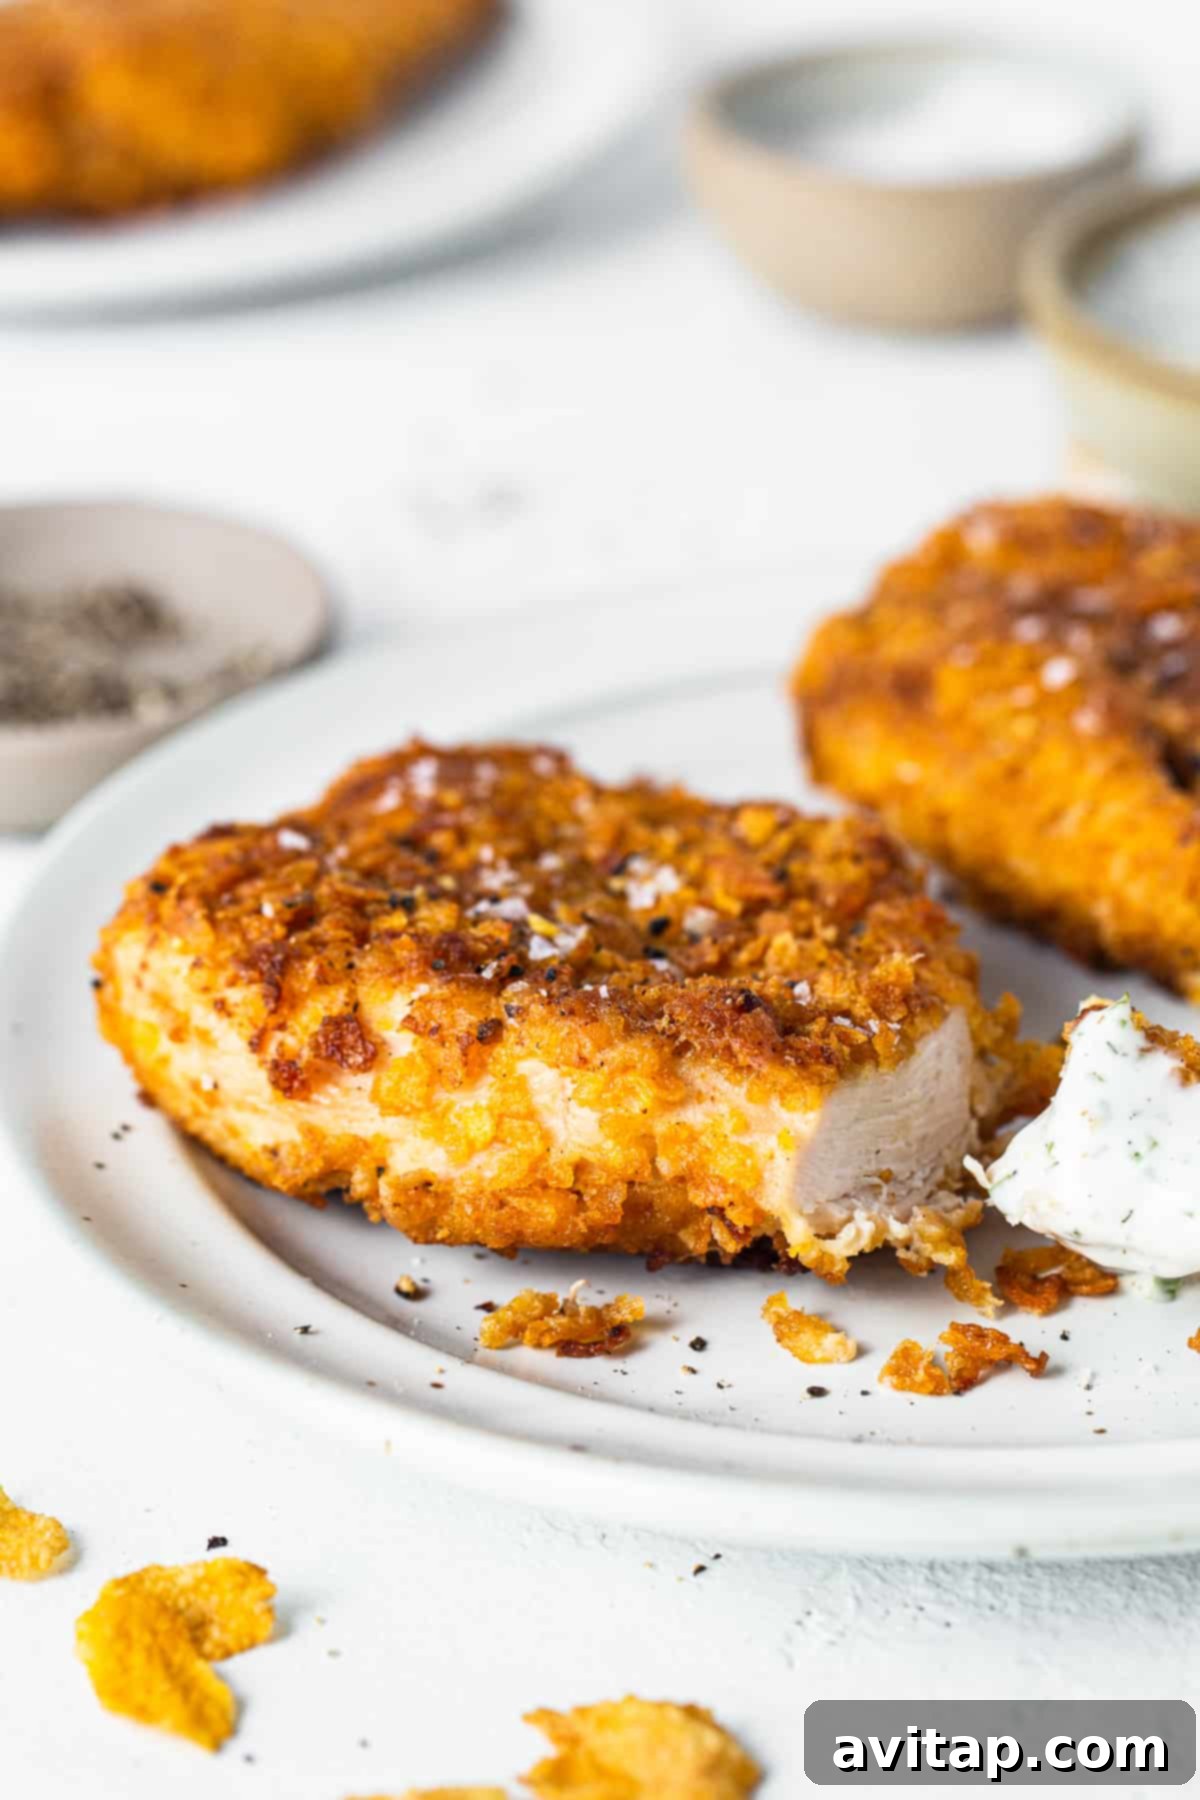
Craving that irresistible crunch in your chicken? Look no further! Our ultimate pan-fried chicken breast recipe delivers an unparalleled crispiness that will elevate any meal. Whether you’re topping a fresh salad, stirring it into pasta, or building the perfect sandwich, this chicken is designed to impress with its incredible texture and flavor.
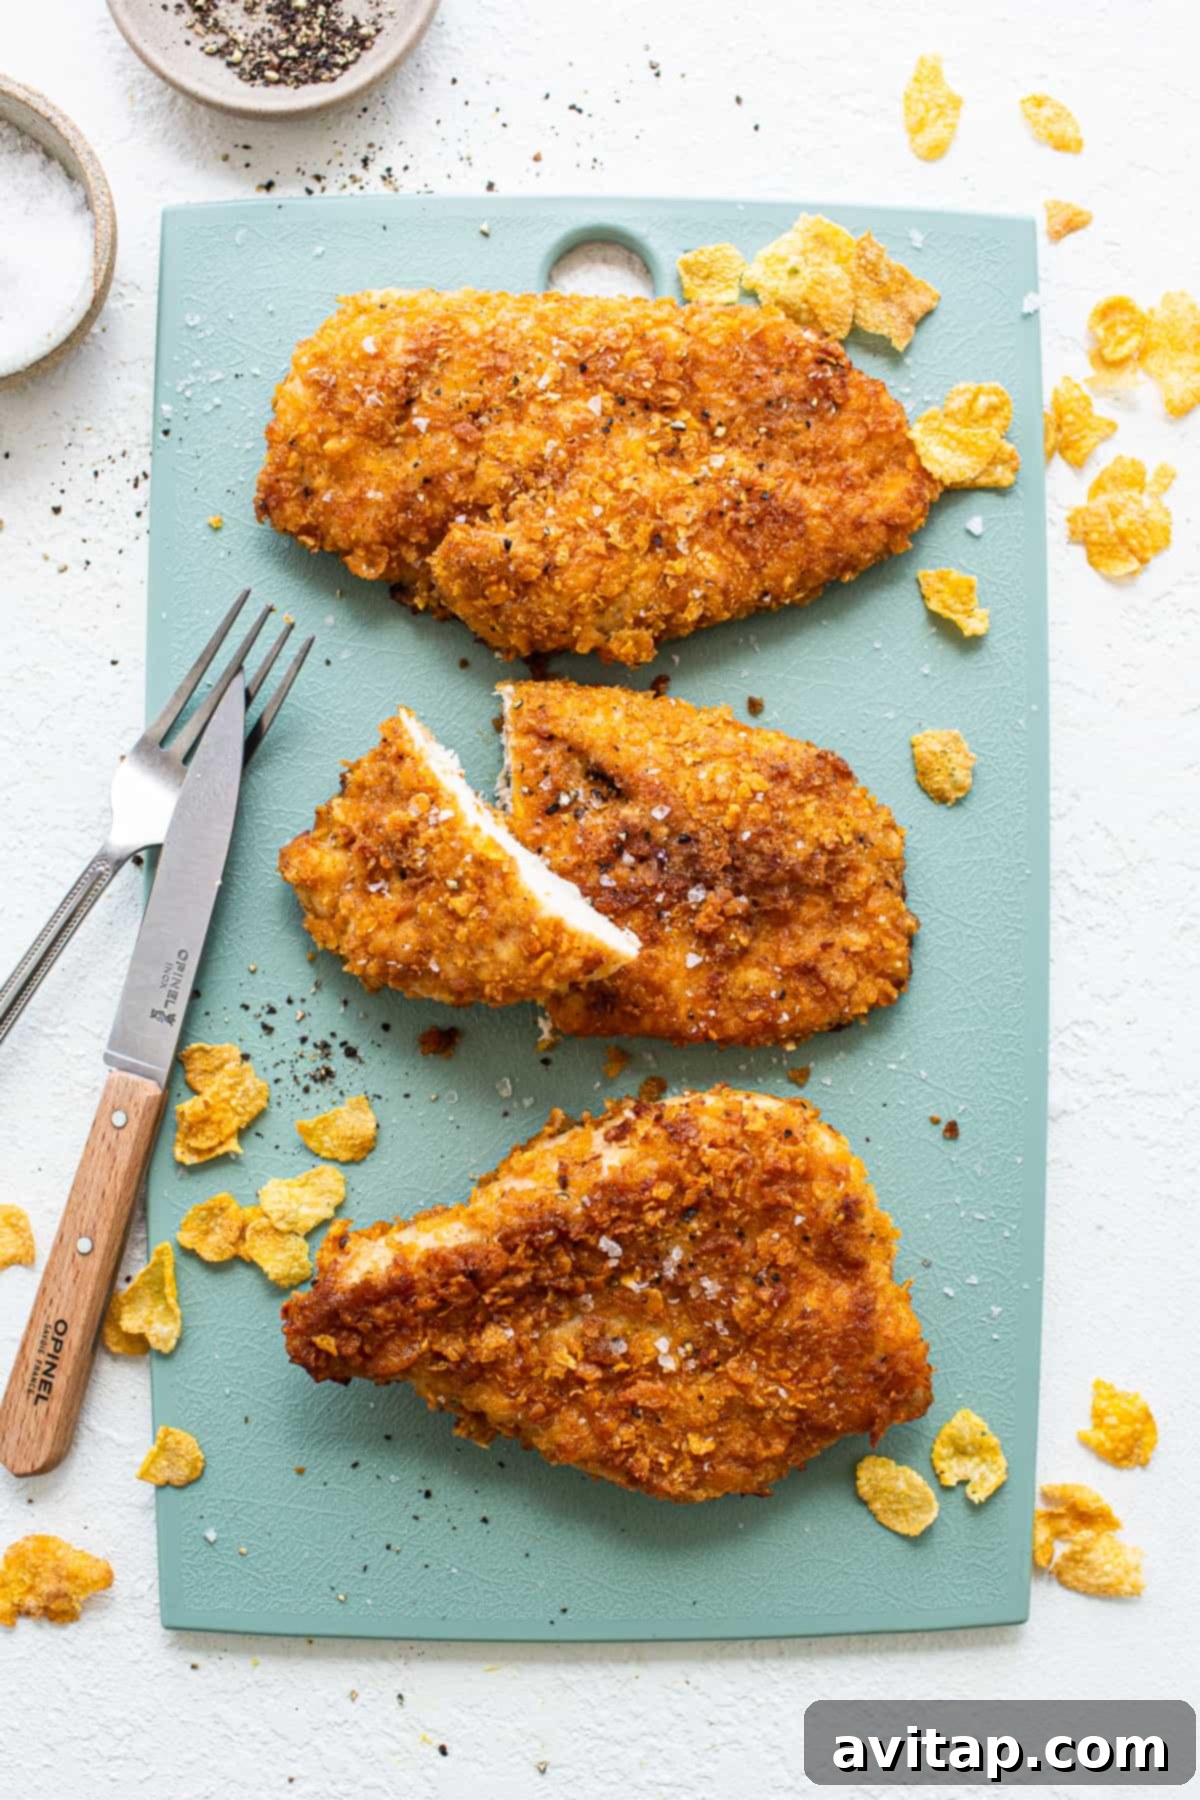
Master the Art of the Crunchy Pan-Fried Chicken Breast!
When it comes to preparing chicken, the choice between grilled, baked, or crispy often leads to a clear winner in our kitchen: crispy, every single time! This pan-seared chicken breast recipe isn’t just another way to cook chicken; it’s a gateway to creating unbelievably crunchy, flavorful chicken that transforms any ordinary meal into something extraordinary. Imagine sinking your teeth into a crispy chicken sandwich, or enjoying a vibrant salad crowned with perfectly textured chicken – this recipe makes it all possible.
Our method focuses on lean chicken breast, ensuring a healthy yet satisfying protein option. The true magic lies in a super simple, yet incredibly effective, breading technique that features a secret ingredient: crushed cornflakes! This unexpected addition provides an unrivaled crispiness that traditional breadcrumbs simply can’t match, creating a golden, crunchy crust that locks in moisture and flavor.
Why This Crispy Chicken Recipe Will Become Your Favorite!
Effortless Stove-Top Preparation: Say goodbye to complicated cooking methods. This recipe brings restaurant-quality crispy chicken right to your kitchen stove, requiring minimal equipment and skill. It’s perfect for busy weeknights.
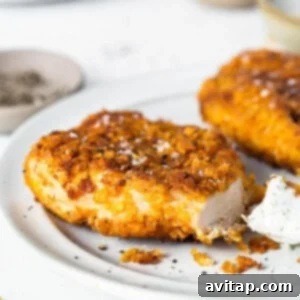
Unbeatable Crunch Factor: Thanks to our secret ingredient – cornflakes – you’re guaranteed a shatteringly crisp exterior that contrasts beautifully with the tender, juicy chicken inside. Every bite is a symphony of textures.
Incredibly Versatile: This isn’t just a standalone dish. This crispy chicken is an ideal topping for Caesar salads, a fantastic filling for wraps, a hearty addition to pasta dishes, or the star of a gourmet chicken sandwich. Its versatility makes meal planning a breeze.
Simple Ingredients, Big Flavor: You don’t need a pantry full of exotic spices to make this chicken shine. With common household staples and a few basic seasonings, you’ll create a dish bursting with delicious taste.
Ready in Under 30 Minutes: From prep to plate, this recipe is designed for speed without compromising on flavor or quality. It’s the perfect solution for a quick, satisfying, and impressive meal.
Essential Ingredients for Your Crispy Chicken Masterpiece
Creating the perfect crispy chicken breast starts with understanding each component of the recipe. Here’s a closer look at what you’ll need and why each ingredient plays a crucial role:
- Chicken Breast: Opt for boneless, skinless chicken breasts. The key to even cooking and maximum tenderness is proper preparation. You’ll want to pound them to a uniform thickness, about ¾ to 1 inch, using a meat tenderizer or the flat side of a heavy pan. This ensures every part cooks simultaneously, preventing dry spots.
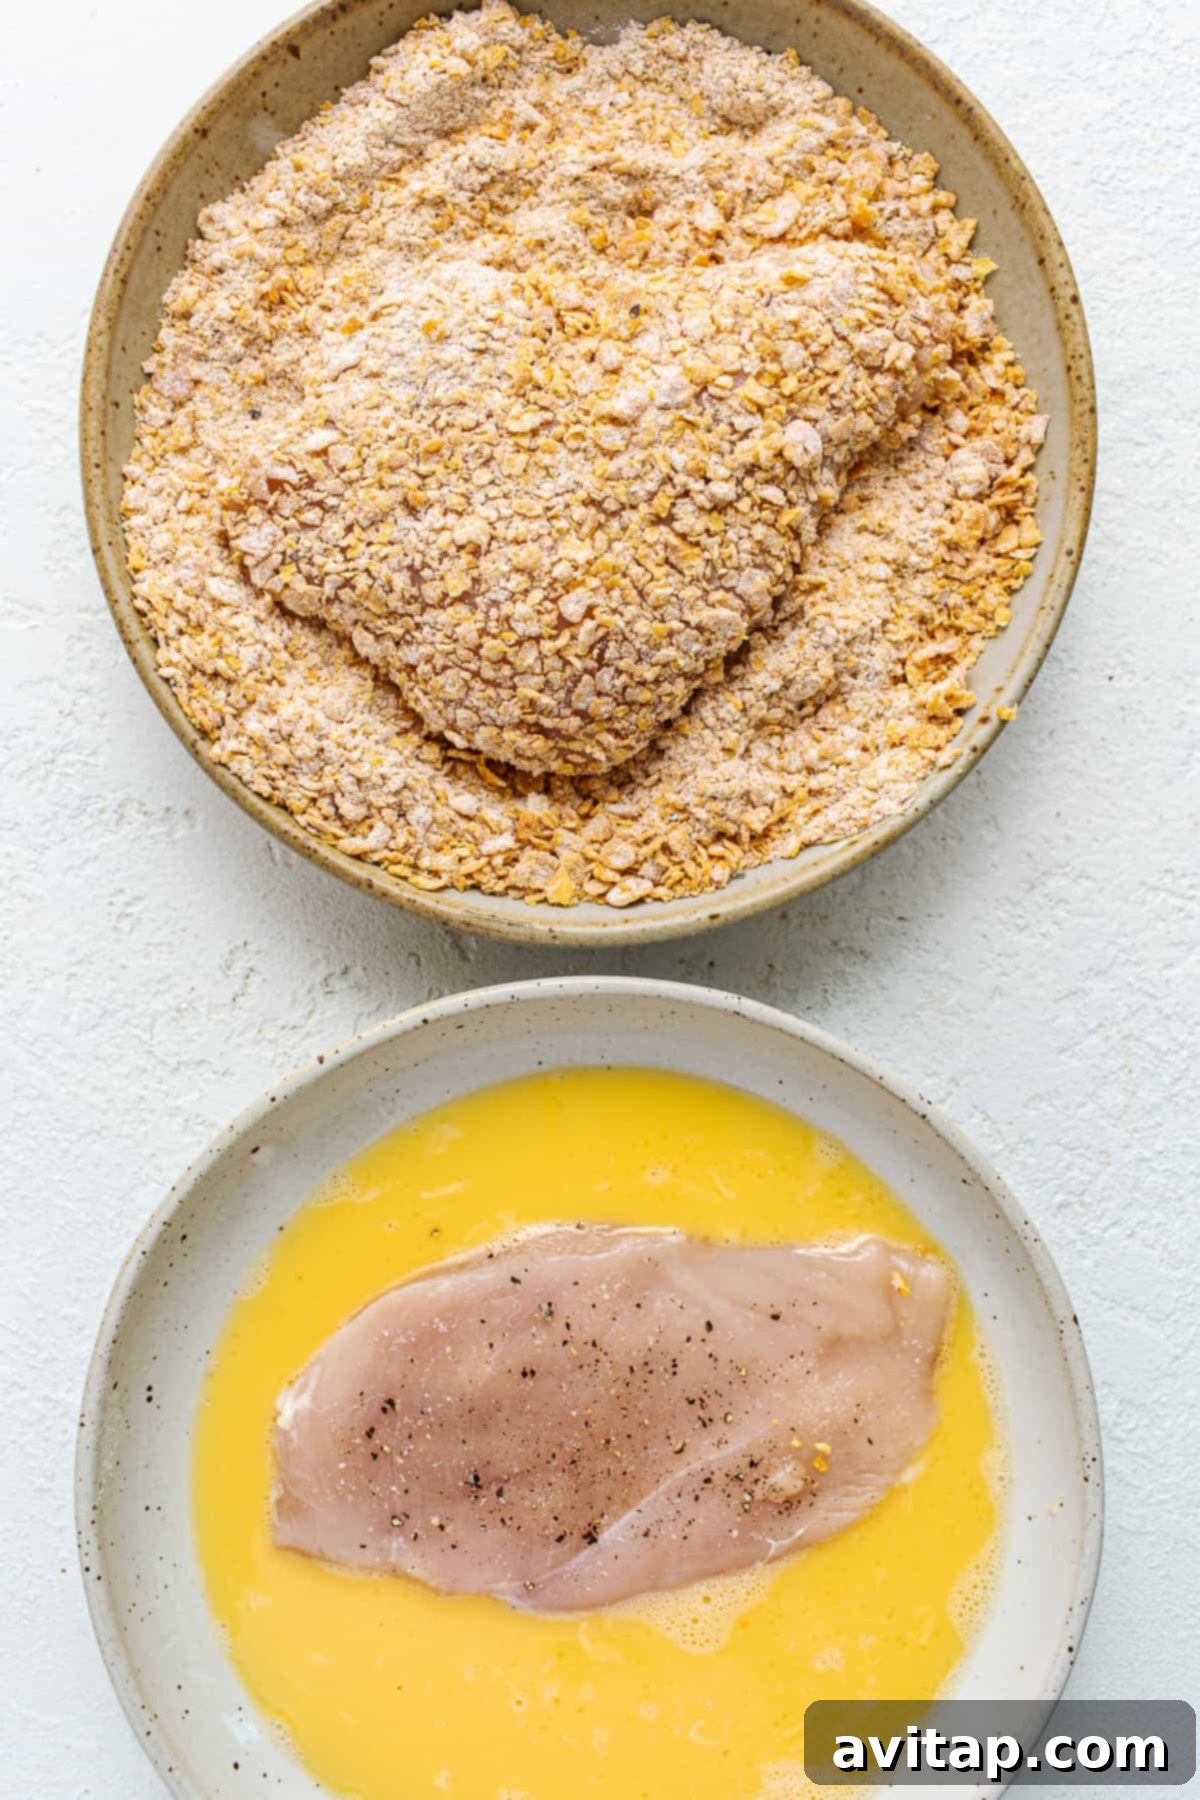
- Large Eggs: Eggs act as the vital binding agent, creating a sticky surface that allows our incredible cornflake breading to adhere perfectly to the chicken. Whisk them well to create a smooth, consistent egg wash.
- Crushed Cornflakes: This is our “secret weapon” for an unbelievably crispy texture! Unlike traditional breadcrumbs, cornflakes provide a lighter, airier, and more pronounced crunch. Crush them finely, but not into a powder, to maintain some textural integrity. If you don’t have cornflakes, rice crispies can be a good substitute for a similar effect.
- All-Purpose Flour: A light dusting of flour before the egg wash can help the egg stick better, creating a more robust foundation for the cornflake coating. Feel free to use a gluten-free flour blend if you need a gluten-free option without sacrificing crispiness.
- Flavorful Spices: Our blend includes garlic powder, paprika, and a generous amount of salt and pepper. Garlic powder adds a foundational savory note, while paprika contributes a subtle sweetness and a beautiful golden hue to the crust. Don’t shy away from seasoning the chicken itself and the breading for layers of flavor.
- High Smoke Point Oil: We recommend using olive oil or avocado oil for pan-frying. Both have high smoke points, meaning they can withstand higher temperatures without burning, which is essential for achieving that golden-brown, crispy exterior without imparting off-flavors.
- Kosher Salt and Flakey Salt: Kosher salt is used for initial seasoning and in the breading, offering a clean, mineral taste. A sprinkle of flakey salt immediately after cooking adds a final burst of salinity and an extra textural pop, enhancing the overall experience.
Recommended Cookware
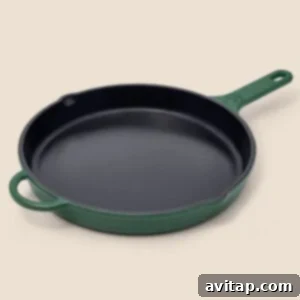
Premium Cast Iron Pan
For an impeccable sear and even heat distribution, the Great Jones King Sear is our top choice. This high-quality cast iron pan is truly worth the investment to elevate your cooking game and achieve restaurant-level crispiness.
Kitchen Essential
Instant-Read Meat Thermometer
A reliable meat thermometer is indispensable for cooking any cut of meat safely and perfectly. The Thermapen is our absolute go-to for accurate and instant temperature readings, ensuring your chicken is always cooked through without being overdone.
How to Achieve Perfectly Crispy Pan-Fried Chicken Breast (A Quick Guide)
Follow these simple steps to pan-fry chicken breasts to golden, crispy perfection:
- Prepare Your Chicken: Place chicken breasts on a cutting board, cover with parchment paper or plastic wrap, and use a meat tenderizer to pound them to a uniform thickness of about ¾ to 1 inch. This ensures even cooking. Season generously with half of your kosher salt and black pepper.
- Set Up Your Dredging Station: In a shallow bowl, whisk your large eggs until well combined. In a separate, wider shallow bowl, combine the crushed cornflakes, all-purpose flour, garlic powder, paprika, and the remaining kosher salt and black pepper. Use your hands to thoroughly crush the cornflakes and mix all dry ingredients together.
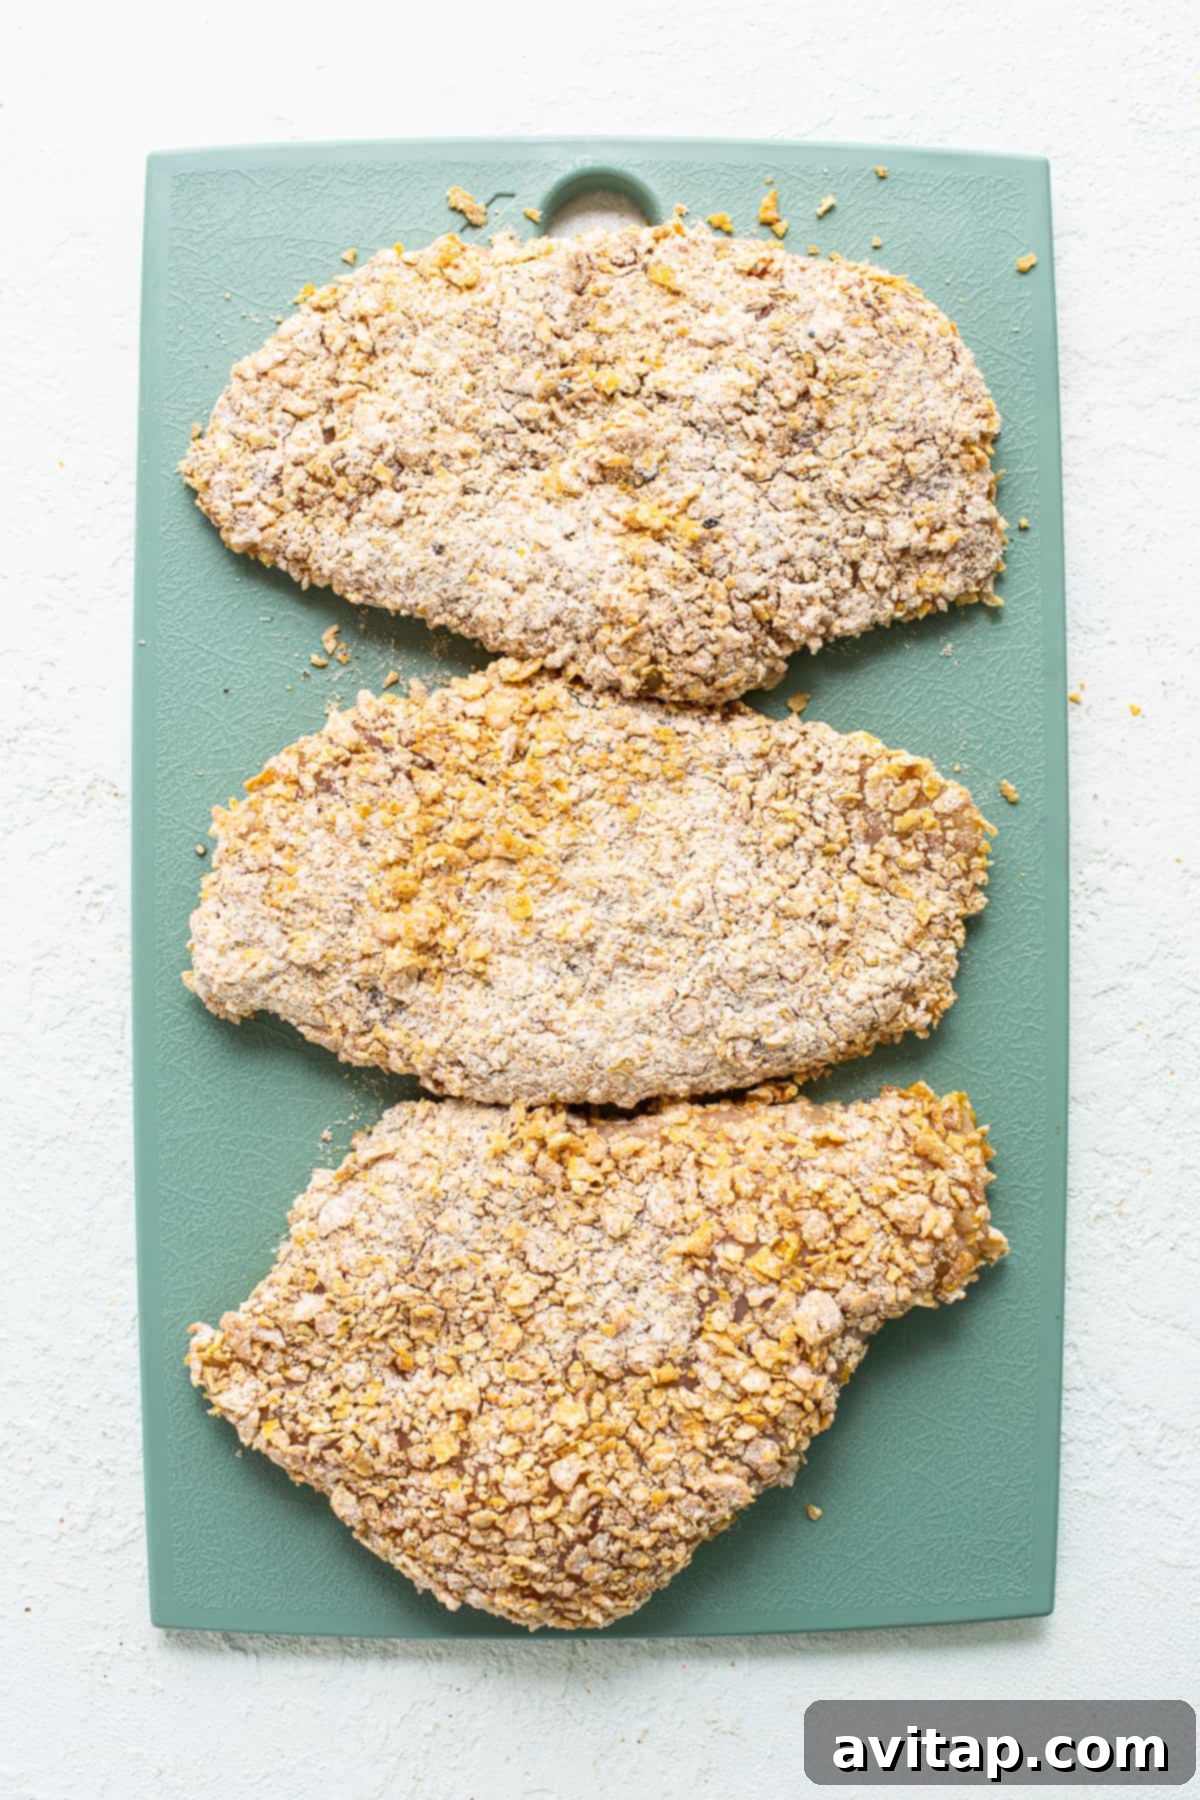
- Coat the Chicken: Take one pounded chicken breast and dredge it thoroughly through the egg wash, allowing any excess egg to drip off. Immediately transfer it to the cornflake mixture. Firmly press the cornflake coating onto both sides of the chicken, ensuring it’s completely covered. Repeat this process for all chicken breasts.
- Heat the Oil: Pour your chosen oil (avocado or olive oil) into a large skillet, preferably a cast iron pan, over medium-high heat. Allow the oil to heat up until it shimmers and a drop of water sizzles instantly.
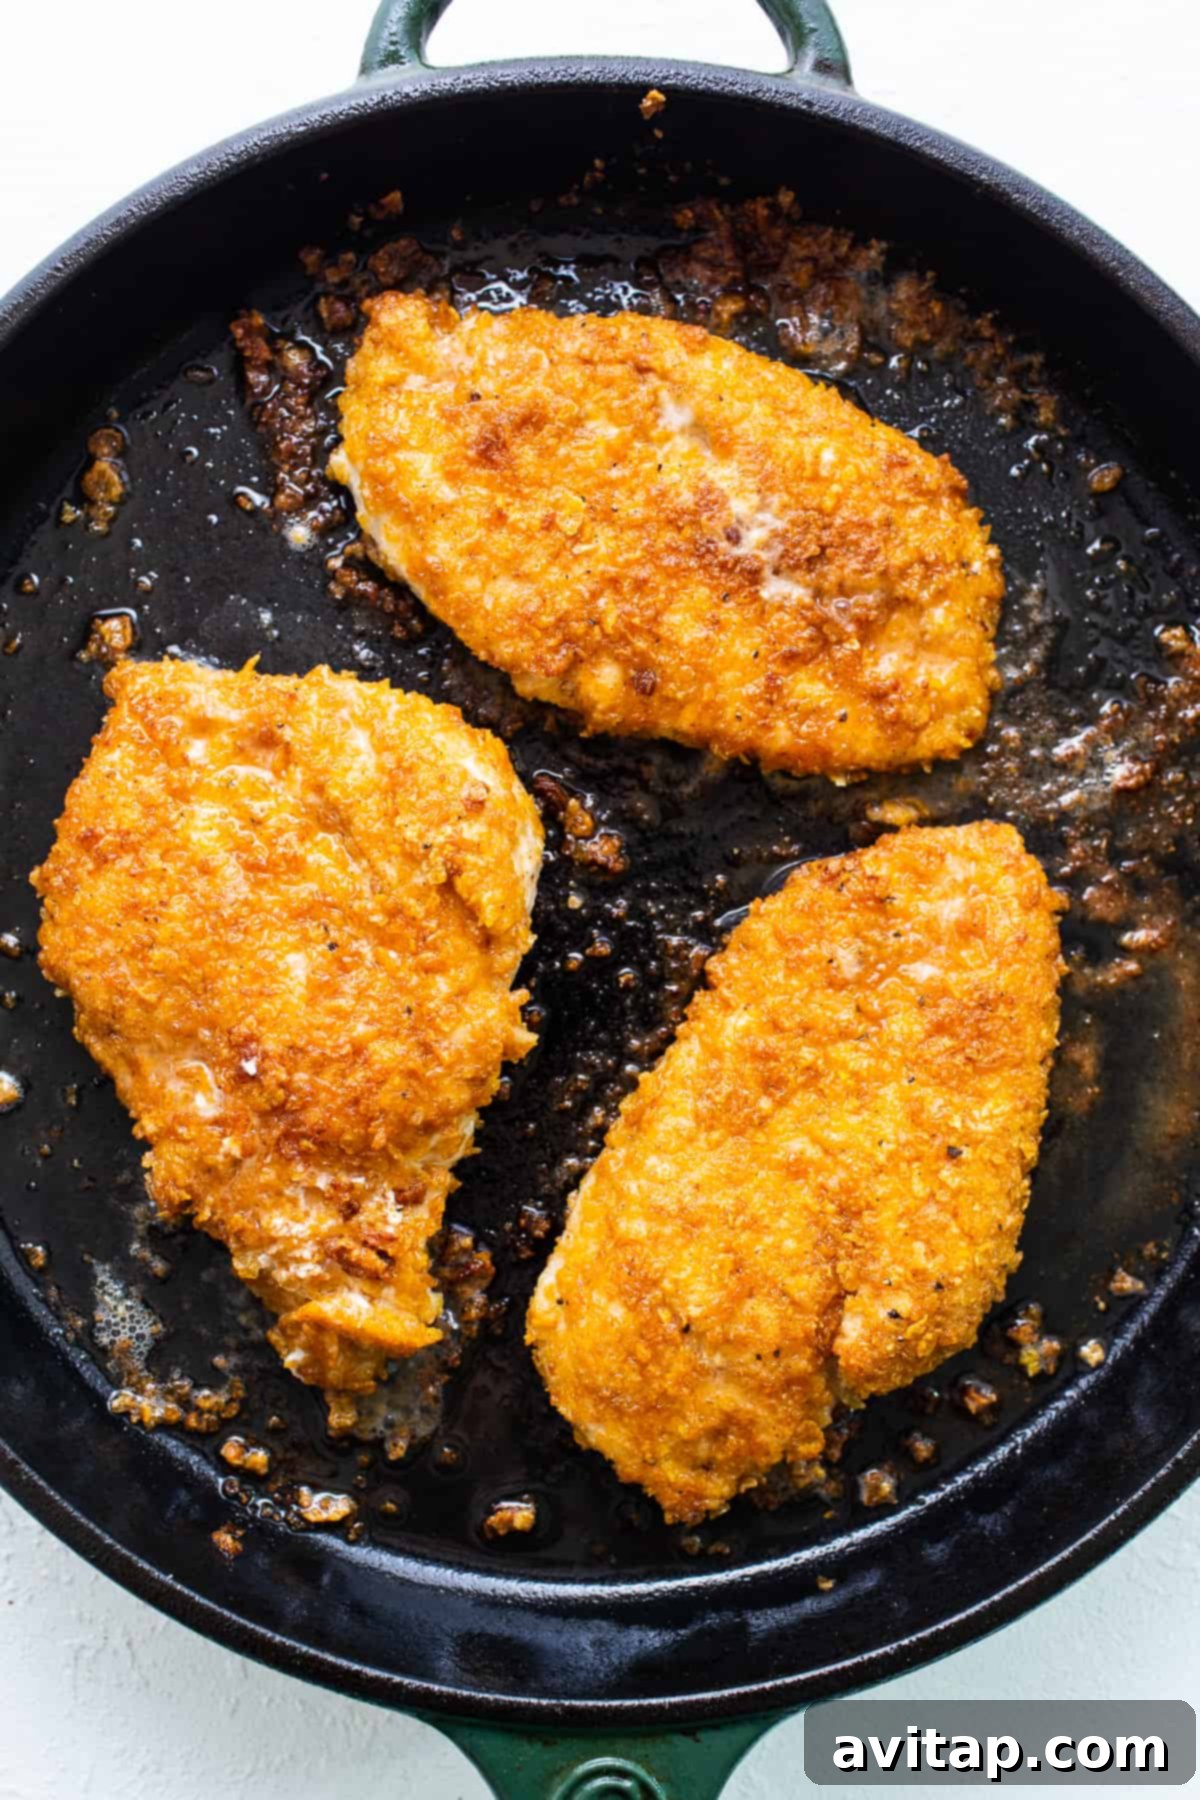
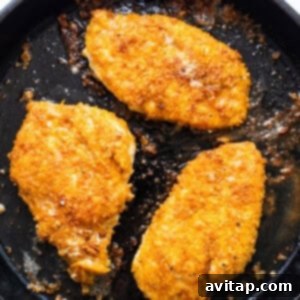
- Pan-Fry to Perfection: Carefully place the coated chicken breasts into the hot oil. Do not overcrowd the pan; cook in batches if necessary to maintain consistent oil temperature and ensure even crisping. Semi-cover the skillet to prevent excessive oil splatter. Cook for approximately 4-5 minutes per side, or until the chicken is golden brown and reaches an internal temperature of 165°F (74°C) when checked with a meat thermometer.
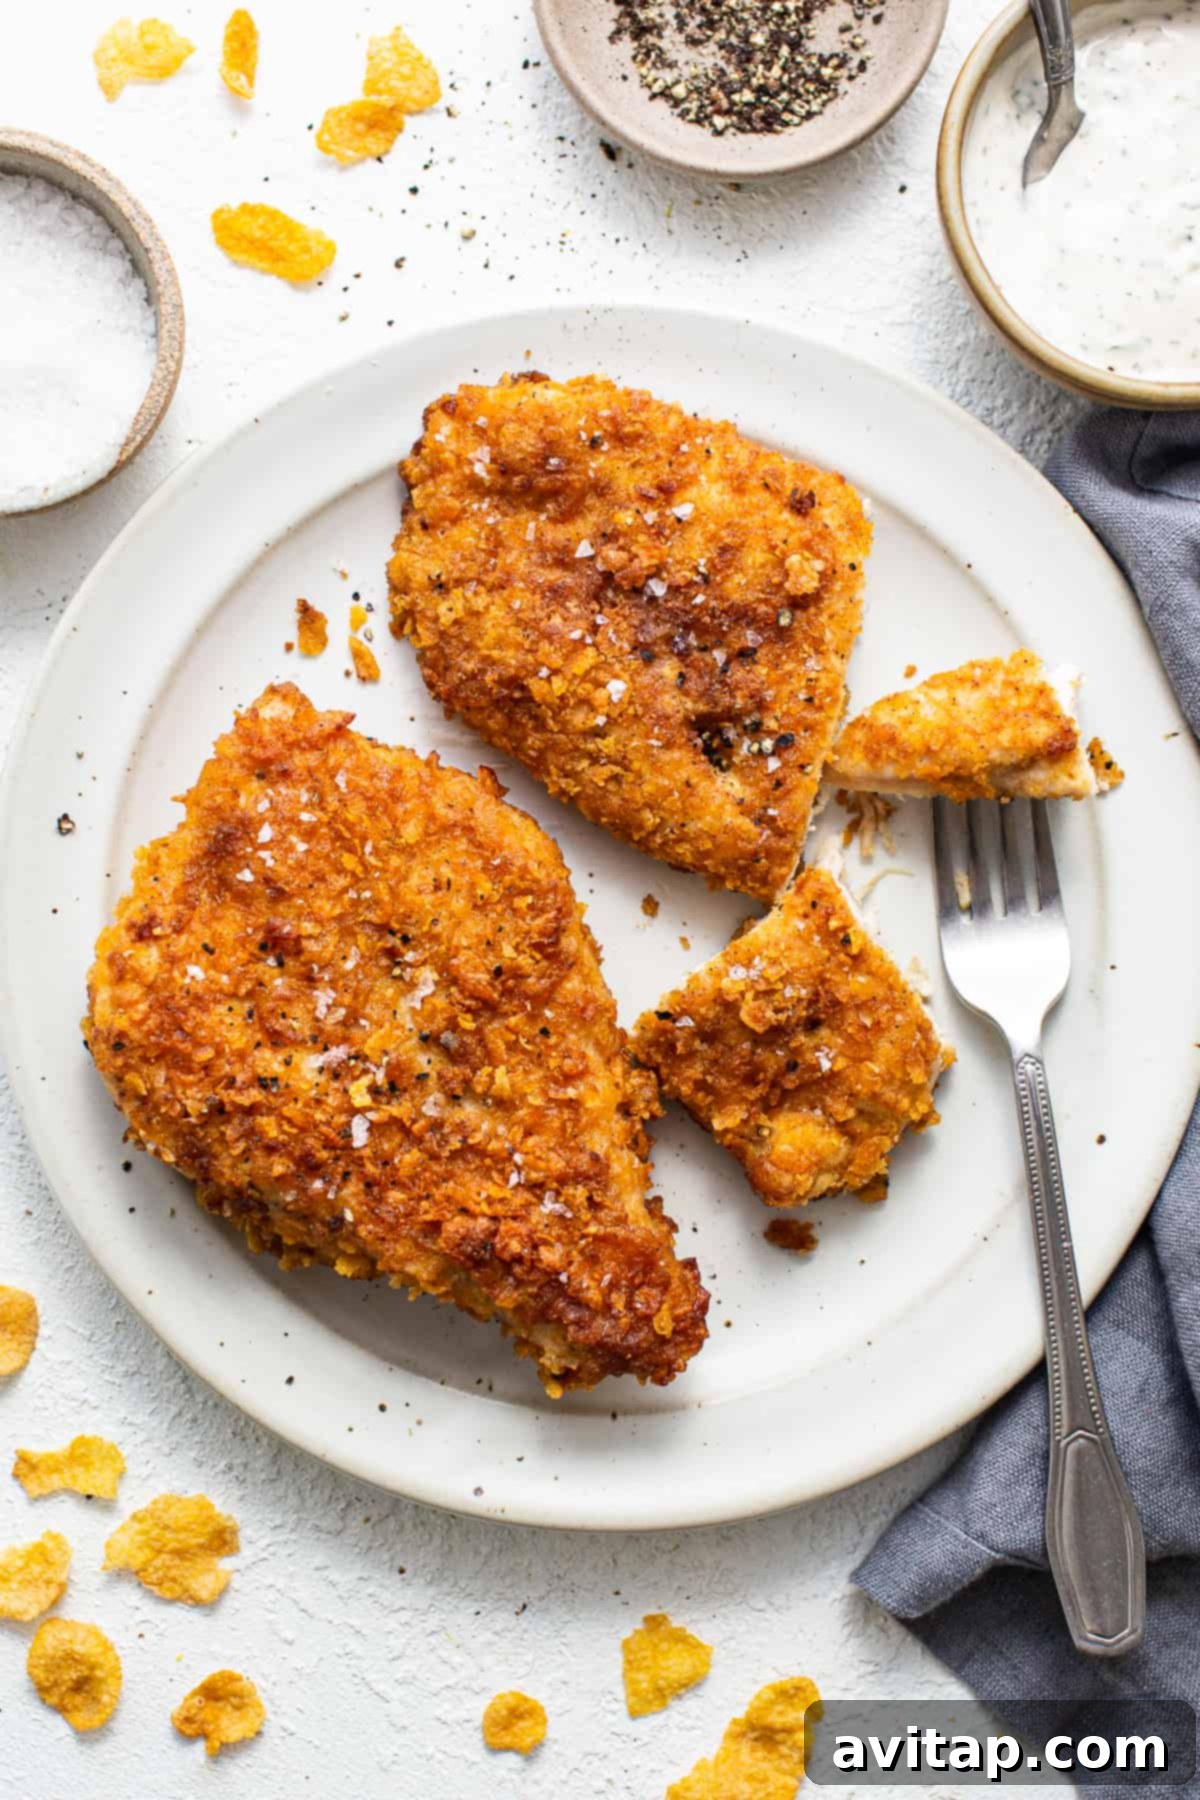
- Rest and Serve: Once cooked, remove the chicken from the pan and immediately sprinkle with flakey salt. Let the chicken rest on a cutting board for at least 5 minutes before slicing and serving. This resting period allows the juices to redistribute, resulting in more tender and flavorful chicken.
Pro Tip: Don’t Skip Tenderizing Your Chicken!
This seemingly small step is absolutely crucial for perfectly cooked chicken. Using a meat tenderizer to pound the chicken breasts to an even thickness (about ¾ to 1 inch) has several benefits:
- Even Cooking: Thicker and thinner parts of the chicken cook at different rates, often leading to dry edges and undercooked centers. Pounding ensures uniform thickness, so the entire breast cooks evenly and thoroughly.
- Faster Cooking: Thinner chicken cooks more quickly, reducing your overall cooking time.
- Enhanced Tenderness: Pounding breaks down the muscle fibers, making the chicken incredibly tender and easier to bite into. This is especially important for lean chicken breasts which can otherwise become tough.
Take the extra minute to pound your chicken, and you’ll be rewarded with consistently juicy and perfectly cooked results every time!
Discover More Delicious Chicken Recipes
Creamy Chicken Mushroom Pasta (Ready in 30 Minutes!)
Creamy Marry Me Chicken Soup (With Ground Chicken)
Chicken Parmesan Meatball Skillet (Easy One-Pan Dinner)
Air Fryer Sweet and Sour Chicken
Crispy Bacon Wrapped Chicken
Top Tips for Achieving the Ultimate Crispy Chicken Breast
While the recipe is straightforward, a few key techniques can make all the difference in achieving that perfect, consistent crunch:
The Power of Proper Dredging: To ensure your chicken breast develops that wonderfully crispy coating, the dredging process is paramount. It’s a two-stage method:
- Egg Wash: First, completely coat the chicken in a well-whisked egg mixture. This creates a moist, adhesive surface for the dry ingredients.
- The Crushed Cornflake Coating: Our signature mix of crushed cornflakes, flour, and spices is then pressed firmly onto the egg-coated chicken. The key here is to truly *press* the mixture on, ensuring every inch is covered and adhered tightly. This creates a thick, flavorful crust that crisps beautifully. The ingredients for our topping include:
- Crushed Cornflakes
- All-Purpose Flour (or a gluten-free blend)
- Garlic Powder, Paprika, Salt, and Pepper
Mastering Medium/High Heat Frying: The temperature of your oil is critical for crispiness. Pan-frying over medium-high heat allows the exterior to crisp and brown quickly without overcooking the inside. Ensure your oil is hot enough before adding the chicken – a small sizzle when a bit of breading is dropped in indicates readiness. Maintain this heat throughout cooking, adjusting as needed. We prefer olive oil or avocado oil due to their higher smoke points, which tolerate this heat without burning.
Don’t Overcrowd the Pan: Cooking too many chicken breasts at once will lower the oil’s temperature, leading to steaming instead of frying. This results in soggy chicken, not crispy. Cook in batches, leaving enough space between each piece for the heat to circulate and the chicken to properly crisp.
Resting is Essential: After frying, resist the urge to cut into your chicken immediately. Allowing it to rest for 5-10 minutes off the heat helps the internal temperature to continue rising slightly (carryover cooking) and, more importantly, allows the juices to redistribute throughout the meat. This results in incredibly tender and moist chicken, ensuring your crispy exterior doesn’t betray a dry interior.
Understanding Chicken Internal Temperature for Safety & Quality
Ensuring your chicken is cooked to a safe internal temperature is paramount for food safety. According to the USDA guidelines, all poultry, including chicken breast, should reach a minimum internal temperature of 165ºF (74ºC). Using an instant-read meat thermometer inserted into the thickest part of the chicken (without touching bone) is the most accurate way to check.
Remember to Rest: After reaching 165ºF, remove the chicken from the heat. As mentioned, letting it rest for 5 minutes allows the internal temperature to continue rising by about 5ºF through carryover cooking, ensuring it’s safely cooked and exceptionally juicy. This brief pause is a game-changer for tenderness!
Looking for an Alternative? Try It in the Air Fryer!
While our pan-fried method yields incredible results, for those who prefer an oil-free option or are seeking even faster cleanup, this recipe can be adapted for the air fryer! The air fryer circulates hot air, giving you a similar crispiness with less oil. We even have a stellar air fryer chicken parmesan recipe that utilizes similar techniques, which works beautifully for plain crispy breasts too.
Here’s how to get crispy cornflake chicken breasts in your air fryer:
- Preheat and Prepare: Preheat your air fryer to 375ºF (190ºC). Lightly spray the air fryer basket with nonstick cooking spray to prevent sticking.
- Arrange Chicken: Place one breaded chicken breast in the air fryer basket. You might only be able to fit one at a time, depending on the size of your air fryer. If you can fit two without them touching, feel free to cook them simultaneously. Lightly spray the top of the chicken with nonstick cooking spray to aid in browning and crisping.
- First Fry: Air fry the chicken breasts for 6 minutes.
- Flip and Finish (Optional for Parmesan): Flip the chicken breast over. If you want to make a quick air fryer chicken parmesan, this is where you’d top it with about ¼ cup of marinara sauce and a generous sprinkle of parmesan cheese.
- Second Fry: Continue to air fry for an additional 5-6 minutes, or until the internal temperature of the chicken breast reaches 165ºF (74ºC).
- Rest: Remove from the air fryer and let rest for 5 minutes before serving to ensure maximum juiciness.
The air fryer offers a fantastic way to enjoy the same great flavor and crunch with minimal fuss and oil!
Storage and Reheating for Best Results
To enjoy your delicious crispy chicken breasts later, proper storage and reheating are key to maintaining their texture and flavor:
- Storage: Store any leftover pan-fried chicken in an airtight container in the refrigerator for up to 3 days. This ensures freshness and prevents it from drying out.
- Reheating for Crispiness: While microwaving will heat the chicken, it will likely make the crust soggy. For best results and to revive that desirable crispiness, we recommend reheating in an oven or an air fryer:
- Oven: Preheat your oven to 350°F (175°C). Place the chicken breasts on a wire rack set over a baking sheet. Heat for 10-15 minutes, or until warmed through and the crust has re-crisped.
- Air Fryer: Reheat in an air fryer at 350°F (175°C) for 5-7 minutes, flipping halfway, until heated through and crispy.
Reheating properly will help you enjoy the delicious crunch even on subsequent days!
More of our Favorite…
Basic Chicken Breast Recipes You’ll Love
If you’re looking for more ways to perfectly cook chicken breast, explore some of our other popular and easy recipes:
- Juicy Pan Seared Chicken Breast (without breading)
- Perfectly Juicy Air Fryer Chicken Breast
- How to Grill Chicken Breast to Perfection
★★★★★ 5 from 3 votes
Crunchy Pan-Fried Chicken Breast Recipe
Perfectly crunchy pan-fried chicken breast is ready to go in less than 30 minutes with tender chicken breast and a uniquely crispy cornflake topping! Enjoy a fantastic texture and flavor every time.
By: Lee Funke
Print Recipe
Ingredients
- 1.5 lbs. boneless, skinless chicken breast
- 1.5 teaspoons kosher salt, separated
- 1 teaspoon ground black pepper, separated
- 3 large eggs, whisked
- 4 cups cornflakes, crushed
- 1/2 cup all-purpose flour (or gluten-free blend)
- 1 teaspoon garlic powder
- ½ teaspoon paprika
- ¼ cup avocado oil or olive oil, for frying
- 1 teaspoon flakey salt, for finishing
Instructions
-
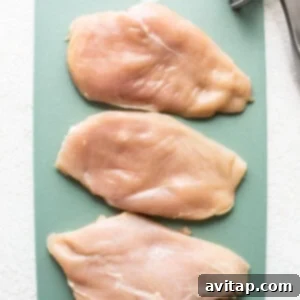
Prepare Chicken: Place chicken breasts on a cutting board lined with parchment paper. Cover with another sheet of parchment paper or plastic wrap and pound with a meat tenderizer until each breast is about ¾ – 1-inch thick. Season the pounded chicken with ½ teaspoon of kosher salt and ½ teaspoon of ground black pepper.

-
Prepare Egg Wash: In a shallow bowl, crack and whisk the 3 large eggs until thoroughly combined.
-
Prepare Breading Mixture: In a separate, wide shallow bowl, add the 4 cups of cornflakes. Use your hands to crush the cornflakes into coarse crumbs. Then, add the ½ cup of all-purpose flour, 1 teaspoon garlic powder, ½ teaspoon paprika, the remaining ½ teaspoon of kosher salt, and ½ teaspoon of ground black pepper. Mix all ingredients thoroughly until well combined.
-
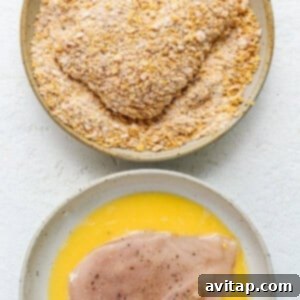
Dredge Chicken: Take one prepared chicken breast and dip it into the whisked egg wash, ensuring it’s fully coated and allowing any excess egg to drip off. Immediately transfer the chicken to the cornflake breading mixture. Flip the chicken over and use your hands to firmly press the coating onto both sides of the chicken breast, ensuring a thick, even layer. Repeat this process for all chicken breasts.
-
Pan-Fry Chicken: Heat the ¼ cup of avocado oil or olive oil in a large skillet (preferably cast iron) over medium-high heat. Once the oil is hot and shimmering, carefully add the breaded chicken breasts to the skillet. Avoid overcrowding the pan; cook in batches if necessary to ensure even cooking and crispiness. Partially cover the skillet to minimize oil splatter. Cook each chicken breast for 4-5 minutes per side, or until it is golden brown and the internal temperature reaches 165ºF (74ºC) when checked with a meat thermometer.
-
Rest and Serve: Once cooked, remove the chicken breasts from the pan and immediately sprinkle them generously with the 1 teaspoon of flakey salt. Let the chicken rest on a cutting board for at least 5 minutes before slicing or serving whole. This resting period is essential for juicy, tender results.
Tips & Notes for Success
- Crushing Cornflakes: If you prefer not to use your hands, you can place the cornflakes and dry spices into a food processor and pulse until a coarse crumble forms. Be careful not to over-process into a fine powder; you want texture for maximum crunch.
- Cornflake Substitutions: If cornflakes are unavailable, plain rice crispies cereal can be used as a substitute for a similar crispy effect.
- Chicken Breast Size: Our recipe uses approximately 1.5 lbs of chicken breast, which typically amounts to 3-4 medium-sized breasts. Adjust cooking times slightly if your chicken breasts are significantly larger or smaller.
- Egg Wash Quantity: If you find you’re running low on egg wash during dredging, feel free to crack and whisk an additional egg into the bowl to ensure full coverage for all chicken pieces.
- Serving Suggestions: This crispy chicken is fantastic alongside mashed potatoes, roasted vegetables, a fresh green salad, or sliced and served in a wrap or sandwich.
Nutrition information is automatically calculated and provided for informational purposes only. It should be used as an approximation and may vary based on specific ingredient brands and preparation methods.
Photography Credit: All beautiful photos featured in this post were expertly captured by Ashley McGlaughlin from The Edible Perspective.