
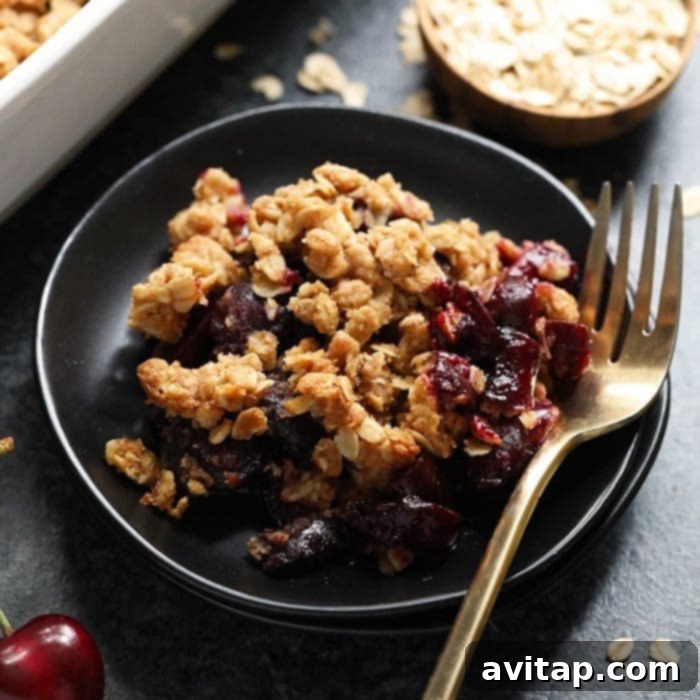
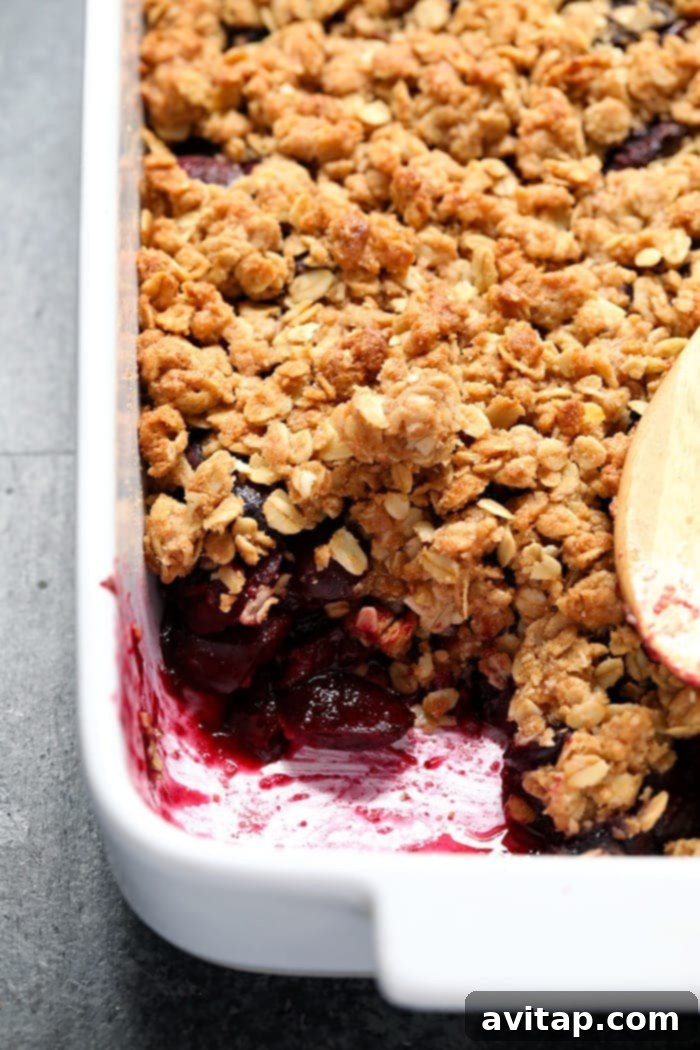
There’s nothing quite like the arrival of cherry season, bringing with it the promise of vibrant flavors and delightful desserts. This incredible fresh cherry crisp recipe is designed to celebrate that seasonal bounty, transforming juicy, ripe cherries into a warm, comforting treat with a perfect sweet and buttery oatmeal crisp topping.
You’ll be amazed at how effortlessly this homemade cherry crisp comes together, making it the ideal dessert for summer gatherings, weeknight treats, or simply when you find those irresistible cherries on sale. Scoop them up and prepare for a truly unforgettable dessert experience that’s both wholesome and utterly delicious.
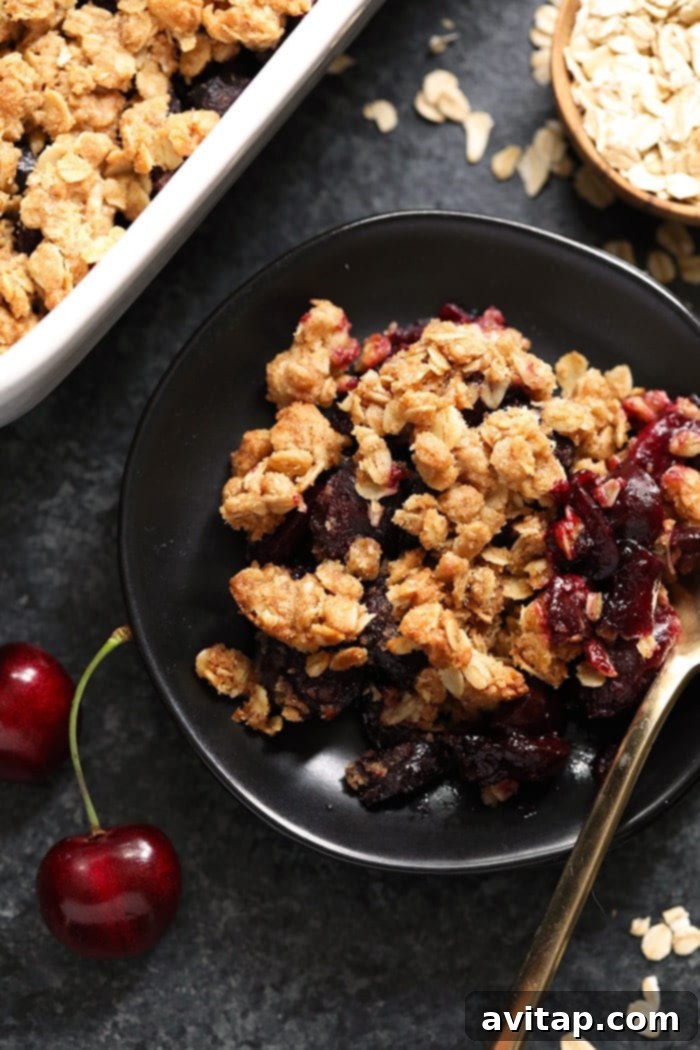
The Best Fresh Cherry Crisp You’ll Ever Make!
Every dessert enthusiast has a favorite fruit crisp, and while our honey rhubarb crisp and classic apple crisp hold special places in our hearts, this fresh cherry crisp is rapidly climbing the ranks. It embodies everything we adore about a perfect crisp: a harmonious balance of natural fruit sweetness with the irresistible crunch of a golden, crumbly topping.
What truly sets a crisp apart? For us, it’s a delightful interplay between the tender, flavorful fruit filling and a robust, textural crumble. Our easy cherry crisp recipe expertly blends luscious fresh cherries with a straightforward, yet utterly perfect, oatmeal crisp topping. Imagine the satisfaction of baking this with cherries freshly picked from your own garden – I recently planted a cherry tree, and this will undoubtedly be the very first recipe I make with its bountiful harvest!
Why Our Fresh Cherry Crisp Stands Out
We believe a truly outstanding cherry crisp isn’t just about ingredients, but about thoughtful preparation that maximizes flavor and texture. Here’s why this recipe deserves a prime spot in your dessert repertoire:
The Indulgence of Real Butter in Our Topping
For our crumble topping, we insist on using real butter. It’s the secret ingredient that imparts that authentic, old-fashioned flavor and richness we all crave in a homemade crisp. The butter melts into the oats and flour, creating a deeply golden, irresistibly crunchy, and wonderfully fragrant crust that perfectly complements the sweet-tart cherry filling. This classic approach ensures every bite delivers a nostalgic taste of home-baked goodness, making this a truly memorable cherry dessert.
Embracing the Purity of Fresh Ingredients
Our philosophy is simple: never compromise on freshness. We steer clear of canned fruit fillings, opting exclusively for fresh, seasonal cherries. This commitment to fresh produce means we don’t need to overload the cherries with excessive sweeteners. Their natural sugars and vibrant flavor truly shine through without artificial enhancement. After a simple process of pitting your cherries, preparing the crumble, and layering these elements, you’re all set! It’s an ideal recipe for anyone seeking a light, easy, and refreshingly delicious dessert this summer, proving that fresh is always best for a fruit crisp.
Essential Ingredients for Your Perfect Cherry Crisp
Crafting a truly spectacular homemade cherry crisp starts with understanding the role of each ingredient. Here’s a closer look at what you’ll need to create this delightful and easy summer dessert:
- Fresh Cherries: The undeniable star of the show! Using fresh, ripe cherries is absolutely paramount for the best flavor, vibrant color, and ideal texture in your crisp filling. If fresh aren’t in season or readily available in your area, high-quality frozen cherries (thawed, as we’ll discuss below) are a suitable substitute. Crucially, avoid canned cherries, as they often come with added sugars and lack the vital freshness and firm texture needed for this recipe. We highly recommend Bing cherries for their balanced sweetness and beautiful deep color.
- Rolled Oats: These form the comforting, chewy, and crunchy foundation of our signature crisp topping. Rolled oats provide a fantastic texture that holds up beautifully during baking, offering a satisfying bite with every spoonful. While quick-cooking oats can be used in a pinch for a slightly finer texture, we find rolled oats deliver a superior and more substantial crunch. Definitely avoid steel-cut oats for this particular recipe.
- Light Brown Sugar: This ingredient lends a subtle molasses flavor and deep sweetness to the crisp topping. It enhances its overall appeal and contributes significantly to that lovely golden-brown, caramelized crust. You can adjust the amount slightly to suit your personal sweetness preference or explore alternative sweeteners for a different flavor profile.
- Cinnamon: A pinch of ground cinnamon is the perfect spice to complement the sweet-tart notes of the cherries. It adds a warm, aromatic depth to the crisp topping, making the fruit flavors truly pop. Don’t underestimate the power of this classic spice pairing in fruit desserts like this.
- Flour: We utilize white whole wheat flour in two key areas: a small amount as a thickener for the cherry filling, and a larger portion in the crisp topping for structure. This choice adds a subtle nutty flavor and a boost of fiber. However, standard all-purpose flour works just as well and can be used as a straightforward 1:1 substitute. For those seeking a gluten-free cherry crisp, oat flour or a certified gluten-free all-purpose baking blend are excellent alternatives.
- Butter: This is an absolutely essential component for that authentic, rich flavor and the ultimate golden, crumbly texture in the crisp topping. Using softened unsalted butter is key to creating those delightful, evenly distributed crumbles that bake up perfectly. Trust us, for a truly classic crisp, this is one ingredient where you won’t want to compromise!
- Orange Juice: Our secret weapon for an exceptionally flavorful cherry filling! A splash of orange juice not only adds a bright, citrusy note that beautifully highlights the cherries’ natural sweetness and tartness but also aids in creating a perfectly juicy, slightly thickened filling as it bakes. It prevents the filling from being either too dry or overly watery, achieving an ideal, spoonable consistency.
- Salt: Just a mere 1/8 teaspoon of salt is crucial to balance the sweetness in the crisp topping. It subtly enhances all the other flavors, preventing the crisp from tasting flat or overly sweet, without imparting any salty taste.
Using Frozen Cherries for Your Crisp
While fresh cherries offer an unparalleled burst of seasonal flavor, frozen cherries will work just fine for this recipe, especially when fresh ones are out of season. If you opt for frozen cherries, we highly recommend thawing them completely before use. This crucial step allows the cherries to release a significant amount of excess liquid. Draining off this liquid is important to prevent your cherry crisp from becoming watery or soggy, ensuring the perfect texture for your fruit filling. Once thawed and drained, simply proceed with the recipe instructions as you would with fresh fruit.
Smart Ingredient Swaps for Dietary Needs & Preferences
One of the beauties of a crisp recipe is its versatility. If you’re looking to adapt this recipe for specific dietary needs, prefer less refined ingredients, or simply want to experiment, here are some excellent ideas to customize your perfect cherry crisp:
- Coconut Sugar for Brown Sugar: For a less refined sweetener option, swap the light brown sugar for coconut sugar. It’s a fantastic 100% plant-based alternative that offers a slightly lower glycemic index and a wonderfully subtle caramel note. It makes your crisp just as delicious but with a nuanced sweetness. Use it as a direct 1:1 replacement in the topping.
- Coconut Oil for a Vegan Option: To easily transform this into a delightful vegan cherry crisp, simply substitute the butter with coconut oil. We suggest using a slightly reduced amount, around 1/3 cup, as coconut oil can sometimes make the topping a bit greasier if used in the same quantity as butter. This simple swap effectively removes dairy while still achieving a beautifully crumbly and flavorful topping. Remember to ensure your rolled oats are certified gluten-free if catering to strict dietary needs.
- Oat Flour for Gluten-Free: To make this recipe completely gluten-free, substitute the white whole wheat flour with ground oat flour. You can easily make your own by blending rolled oats into a fine powder, or purchase certified gluten-free oat flour from the store. A 1:1 substitution generally works well for both the filling and the topping. Alternatively, a good quality all-purpose gluten-free baking flour blend can also be used successfully.
- Quick-Cooking Oats: If you find yourself without rolled oats, quick-cooking oats are a suitable substitute for the crisp topping. They will give a slightly different, finer texture compared to rolled oats, but the flavor will remain excellent. However, we do NOT recommend using steel-cut oats, as their dense texture will not soften or cook properly within the baking time of this crisp.
Can I Use Other Berries or Fruits for This Crisp?
Absolutely! This cherry crisp recipe is incredibly adaptable, and while cherries are spectacular, you can certainly experiment with other fruits or berries to suit your taste or what’s in season. The core principles of the recipe — a delicious fruit filling and a crunchy oat topping — remain fantastic with a wide variety of seasonal produce. You can generally use approximately 4 cups of any desired fruit. Here are some popular and delicious ideas:
- Blueberries: For a classic and sweet alternative, blueberries make an excellent crisp. They burst with flavor and create a wonderfully juicy filling, reminiscent of a traditional blueberry crisp.
- Strawberries: Halved or quartered strawberries offer a delightful sweetness and beautiful color. You might want to add a touch more flour to the filling as strawberries tend to release more liquid during baking.
- Raspberries: Tart and fragrant raspberries provide a beautiful contrast to the sweet topping. A mixed berry crisp with raspberries, blueberries, and a few chopped strawberries is also a fantastic and flavorful option.
- Mixed Berries: Don’t limit yourself to just one! A thoughtful combination of your favorite seasonal berries can create a complex and incredibly flavorful crisp, offering a delightful medley of tastes and textures. Think about balancing sweet and tart fruits for the best overall result.
- Peaches or Apples: While technically not berries, thinly sliced peaches or diced apples can also be used effectively in this crisp base. You might need to adjust baking time slightly for firmer fruits to ensure they soften adequately and develop their full flavor.
When swapping fruits, always consider their natural moisture content and inherent sweetness. If your chosen fruit is particularly juicy, you might need to add an extra tablespoon of flour to the filling. Conversely, if your fruit is very tart, you might consider adding a small amount of sweetener (like a tablespoon of sugar or maple syrup) directly to the fruit filling, though often the crisp topping provides enough sweetness on its own.
Do You Have to Refrigerate Cherry Crisp?
Yes, after baking and allowing your cherry crisp to cool completely to room temperature, we strongly recommend refrigerating it. The main reason for this is food safety and extending its freshness. Fruit-based desserts, especially those with juicy fillings, are prone to spoilage at room temperature after a day or so. Refrigeration slows down bacterial growth, ensuring your delicious crisp remains safe and enjoyable for a longer period.
Storage Best Practices for Your Cherry Crisp
To keep your fresh cherry crisp at its absolute best and enjoy its deliciousness for days, follow these simple storage guidelines:
- Cool Completely: Always allow the crisp to cool completely to room temperature before attempting to store it. Covering a warm crisp can trap moisture, which will inevitably lead to a soggy, less appealing topping. Patience is key for maintaining that coveted crunch!
- Airtight Container: Transfer any leftover cherry crisp into an airtight container. This will protect it from drying out, prevent it from absorbing any unwanted odors from your refrigerator, and maintain its overall quality.
- Refrigeration: Store the sealed container in the refrigerator. Your cherry crisp will remain fresh and absolutely delicious for up to 3-5 days. Beyond this, while still safe, the texture might begin to degrade slightly.
- Reheating: To enjoy warm leftovers, you have a few options. Individual servings can be gently reheated in the microwave until warmed through. For a larger portion or to re-crisp the topping, place it in the oven at 300°F (150°C) for about 10-15 minutes, or until it’s warmed through and the topping begins to crisp up again.
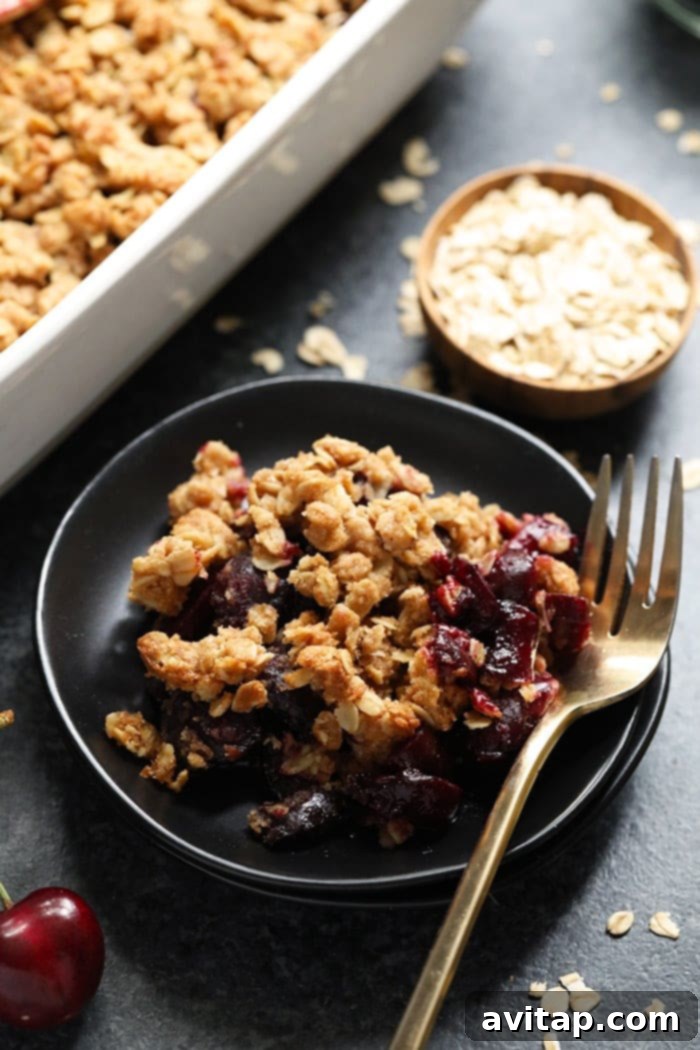
Full Recipe: Fresh Cherry Crisp
Fresh Cherry Crisp Recipe
This fresh cherry crisp recipe is a healthy and delicious dessert that’s made with juicy fresh cherries and a lightened-up, yet utterly satisfying, crumble topping. Perfect for any occasion!
By: Lee Funke
Prep Time: 20 mins
Cook Time: 30 mins
Total Time: 50 mins
Yields: 8 servings
Ingredients
Cherry Filling
- 4 cups pitted Bing cherries, halved
- 2 tablespoons white whole wheat flour (buy here)
- 1/3 cup orange juice (option to sub water)
Crisp Topping
- 1.5 cups rolled oats (buy here)
- 1/2 cup white whole wheat flour (any kind of flour will work! buy here)
- 1/2 cup light brown sugar (option to use coconut sugar buy here)
- 1 teaspoon ground cinnamon (buy here)
- 1/8 teaspoon salt
- 1/2 cup unsalted butter, softened (option to use coconut oil or half and half)
Instructions
- Preheat your oven to 375ºF (190°C). Lightly grease a 9×13 inch baking dish or a similar-sized casserole dish with nonstick cooking spray. A square cake pan can also work.
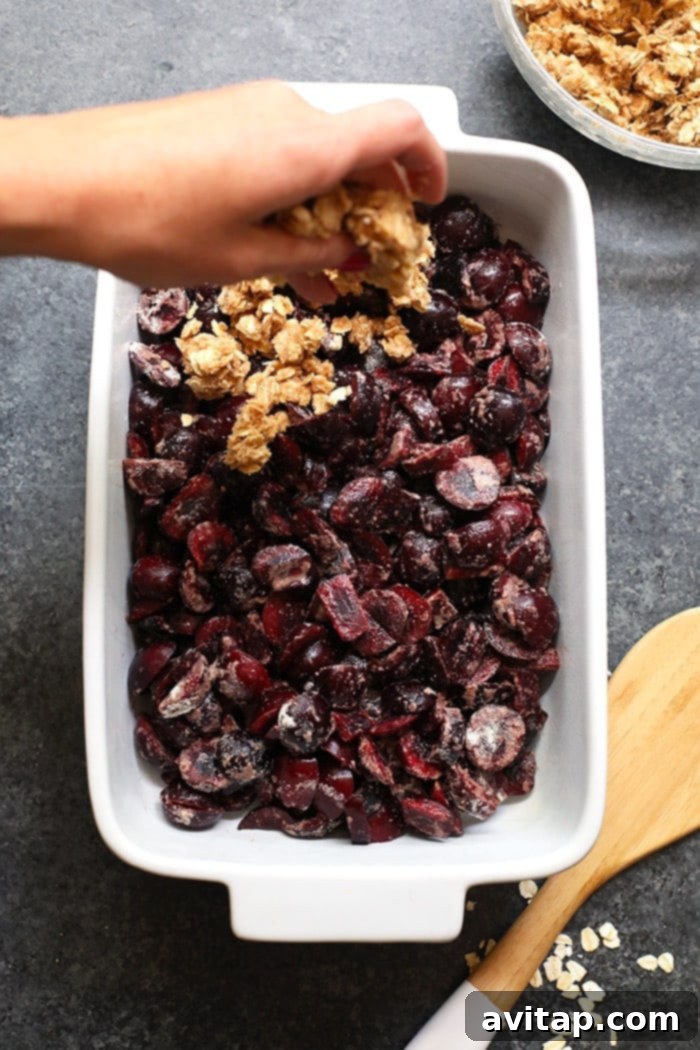
- In a medium-sized bowl, combine the pitted and halved cherries with 2 tablespoons of white whole wheat flour and the orange juice. Toss gently until the cherries are evenly coated. This flour helps thicken the filling as it bakes.
- Pour the cherry mixture into your prepared casserole dish, spreading it into an even layer. Set this aside while you prepare the topping.
- In a separate, larger bowl, whisk together all the dry crisp topping ingredients: rolled oats, 1/2 cup white whole wheat flour, light brown sugar, ground cinnamon, and salt.
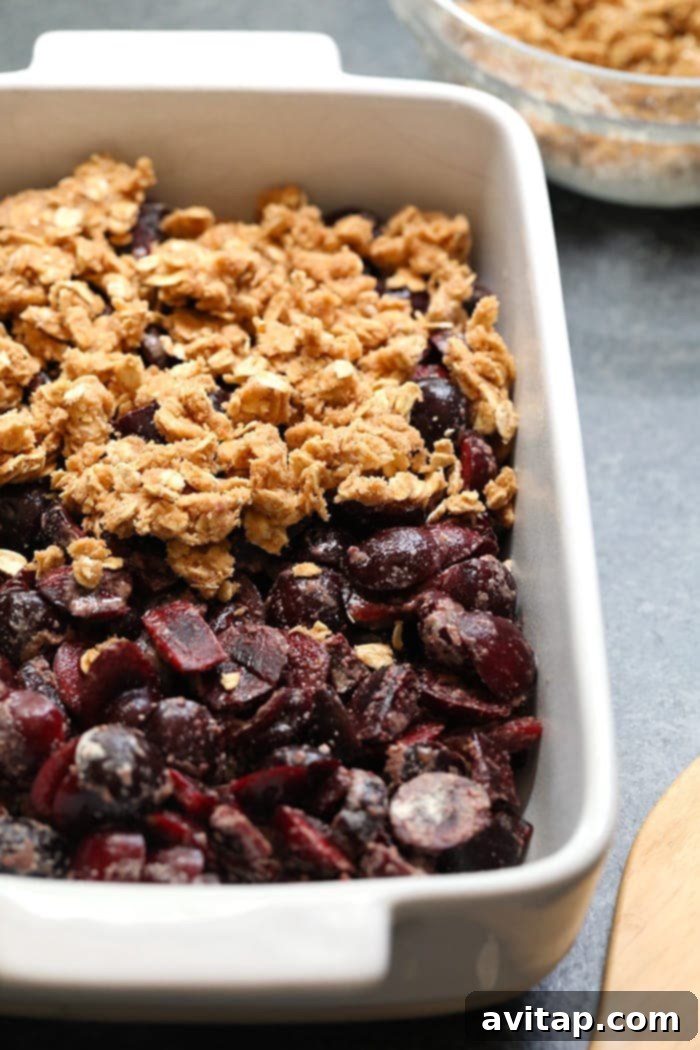
- Add the softened unsalted butter to the dry ingredients. Use a fork, a pastry blender, or your fingertips to “cut” the butter into the mixture. Work until the mixture resembles coarse crumbs with some larger pea-sized pieces of butter remaining. This texture is key for a truly crispy topping.
- Evenly sprinkle the prepared crumble topping over the cherry filling in the casserole dish, ensuring the fruit is well covered.
- Bake in the preheated oven for 30 minutes, or until the cherry filling is visibly bubbling around the edges and the crisp topping is beautifully golden brown and crunchy.
- Remove from the oven and let it cool for at least 10-15 minutes before serving. This allows the filling to set slightly. Serve warm, perhaps with a scoop of vanilla ice cream or a dollop of fresh whipped cream for an extra treat.
Nutrition Information
(Approximate values per serving)
- Calories: 293 kcal
- Carbohydrates: 43 g
- Protein: 4 g
- Fat: 13 g
- Fiber: 6 g
- Sugar: 22 g
Nutrition information is automatically calculated and should be used as an approximation.
Discover More of Our Favorite…
Irresistible Fruit Crisp Recipes
If you’ve fallen in love with this cherry crisp, you’re in for a treat! We have an array of other delightful fruit crisp recipes that are equally easy to make and perfect for any season. Explore more ways to enjoy the comforting sweetness and satisfying crunch of a homemade crisp:
- Classic Apple Crisp
- Sheet Pan Blueberry Crisp (great for crowds!)
- Lightened-Up Triple Berry Crisp
- Traditional Blueberry Crisp
Don’t forget to tag your beautiful creations on social media with the hashtag #fitfoodiefinds – we absolutely adore seeing what you’re baking in your kitchens!