
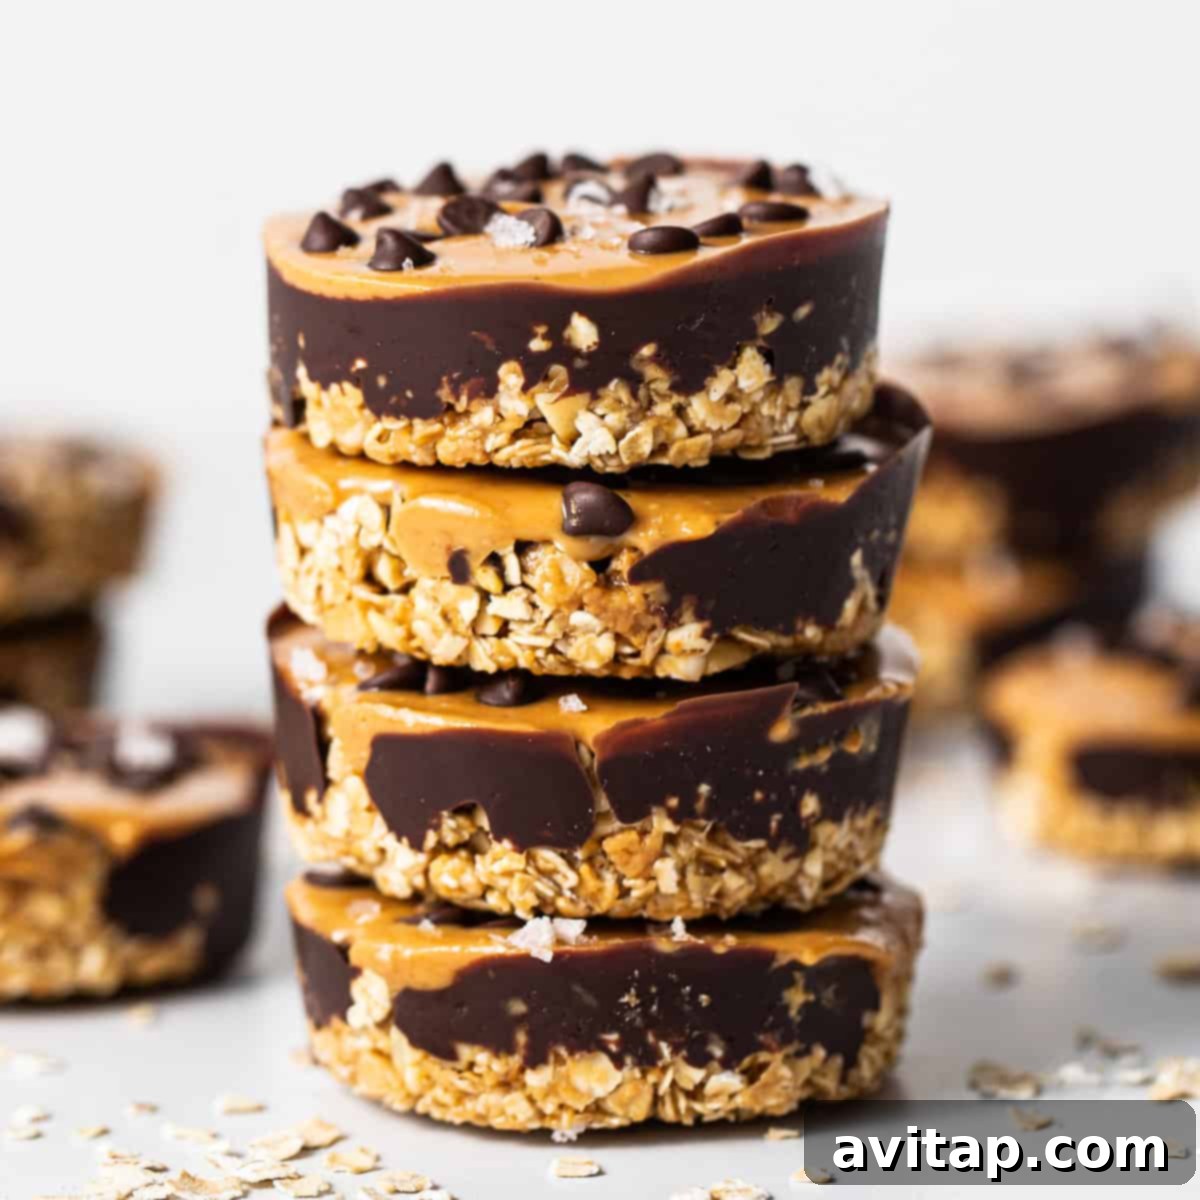
Irresistible No-Bake Peanut Butter Oat Cups: Your Ultimate Easy Dessert Obsession
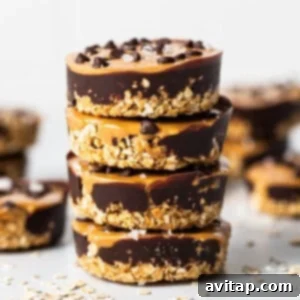
Prepare to discover your new favorite dessert: the irresistible No-Bake Peanut Butter Oat Cups! These delightful treats are not just incredibly delicious; they’re also a breeze to whip up, requiring absolutely no oven. Perfect for satisfying those sweet cravings without the fuss, these no-bake wonders combine the classic, beloved flavors of peanut butter and chocolate with the wholesome goodness of oats, creating a snack that’s as satisfying as it is simple to make.
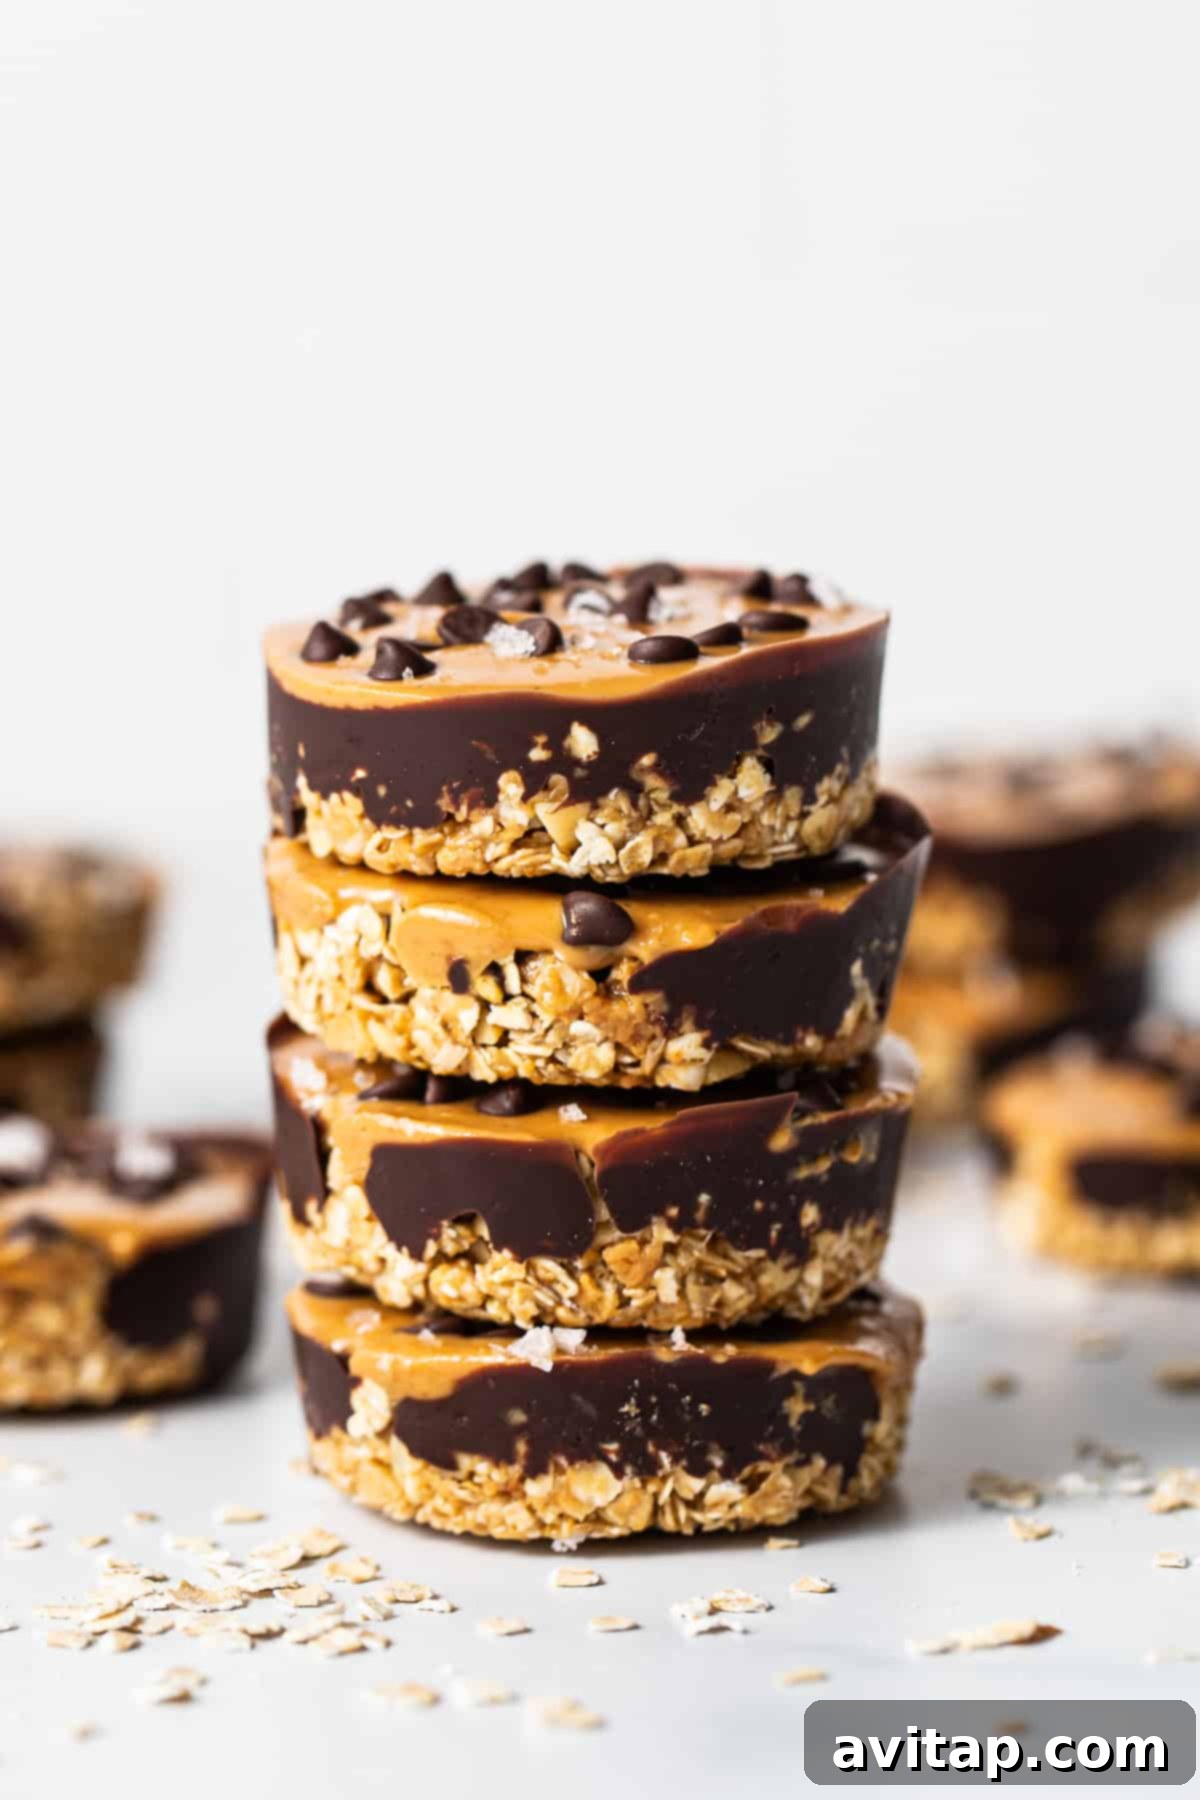
I’ve personally perfected this recipe over countless iterations, and I always ensure my freezer is stocked with a generous stash. No joke, these treats disappear so quickly that once, my partner Lee, expecting a post-lunch delight, found them entirely gone! Her expression of utter devastation truly speaks to how incredibly good these oat cups are. You’ll understand once you take your first bite into the luscious, layered goodness that makes them an instant favorite.
After you explore the main recipe and helpful tips below, be sure to scroll further down this post for more innovative no-bake oat cup recipes inspired by our popular Instagram creations!
The Best Peanut Butter Oat Cups You’ll Ever Make
To all chocolate and peanut butter enthusiasts, get ready to meet your newest no-bake dessert obsession: these incredible Chocolate Peanut Butter Oat Cups. If you’re searching for a simple, mouth-watering dessert that doesn’t involve turning on your oven, your quest ends here. These epic cups of deliciousness are the perfect solution for busy days or when you want to enjoy a sweet treat without heating up your kitchen.
Why You’ll Adore No-Bake Desserts
Quick & Easy Preparation: Say goodbye to long baking times! No-bake desserts come together in minutes, requiring minimal effort and no oven preheating. This makes them ideal for busy schedules or spontaneous cravings.
Effortless to Make: With straightforward steps and common kitchen tools, these recipes are accessible to everyone, regardless of their baking experience. They’re perfect for involving kids in the kitchen too!
Wholesome & Nutritious Options: Many no-bake desserts, like these oat cups, can be crafted with whole grains, natural sweeteners, and healthy fats, offering a more nutritious alternative to traditional baked goods.
Perfect for Any Season: Especially during warmer months, avoiding the oven keeps your home cool. But their convenience and delightful taste make them a year-round favorite.
What You Need to Create These Delicious Peanut Butter Oat Cups
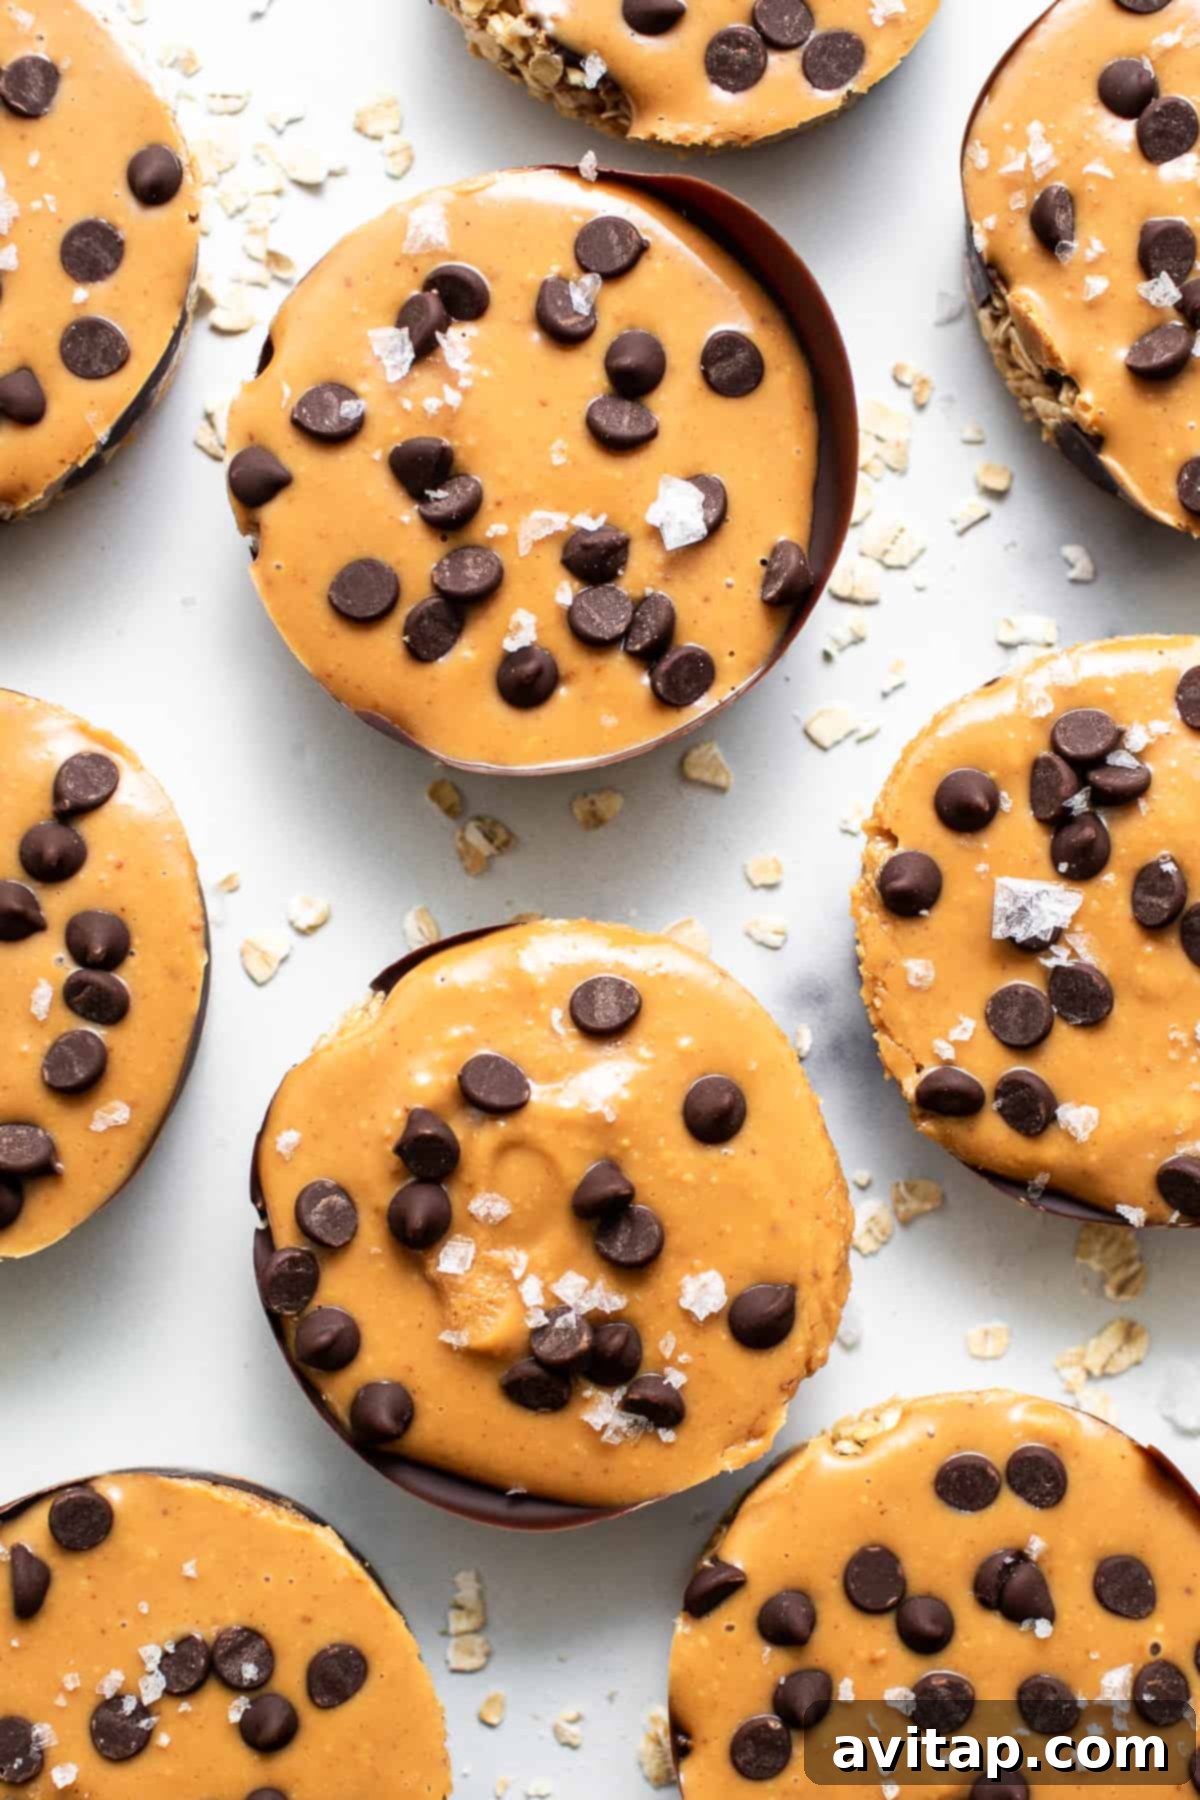
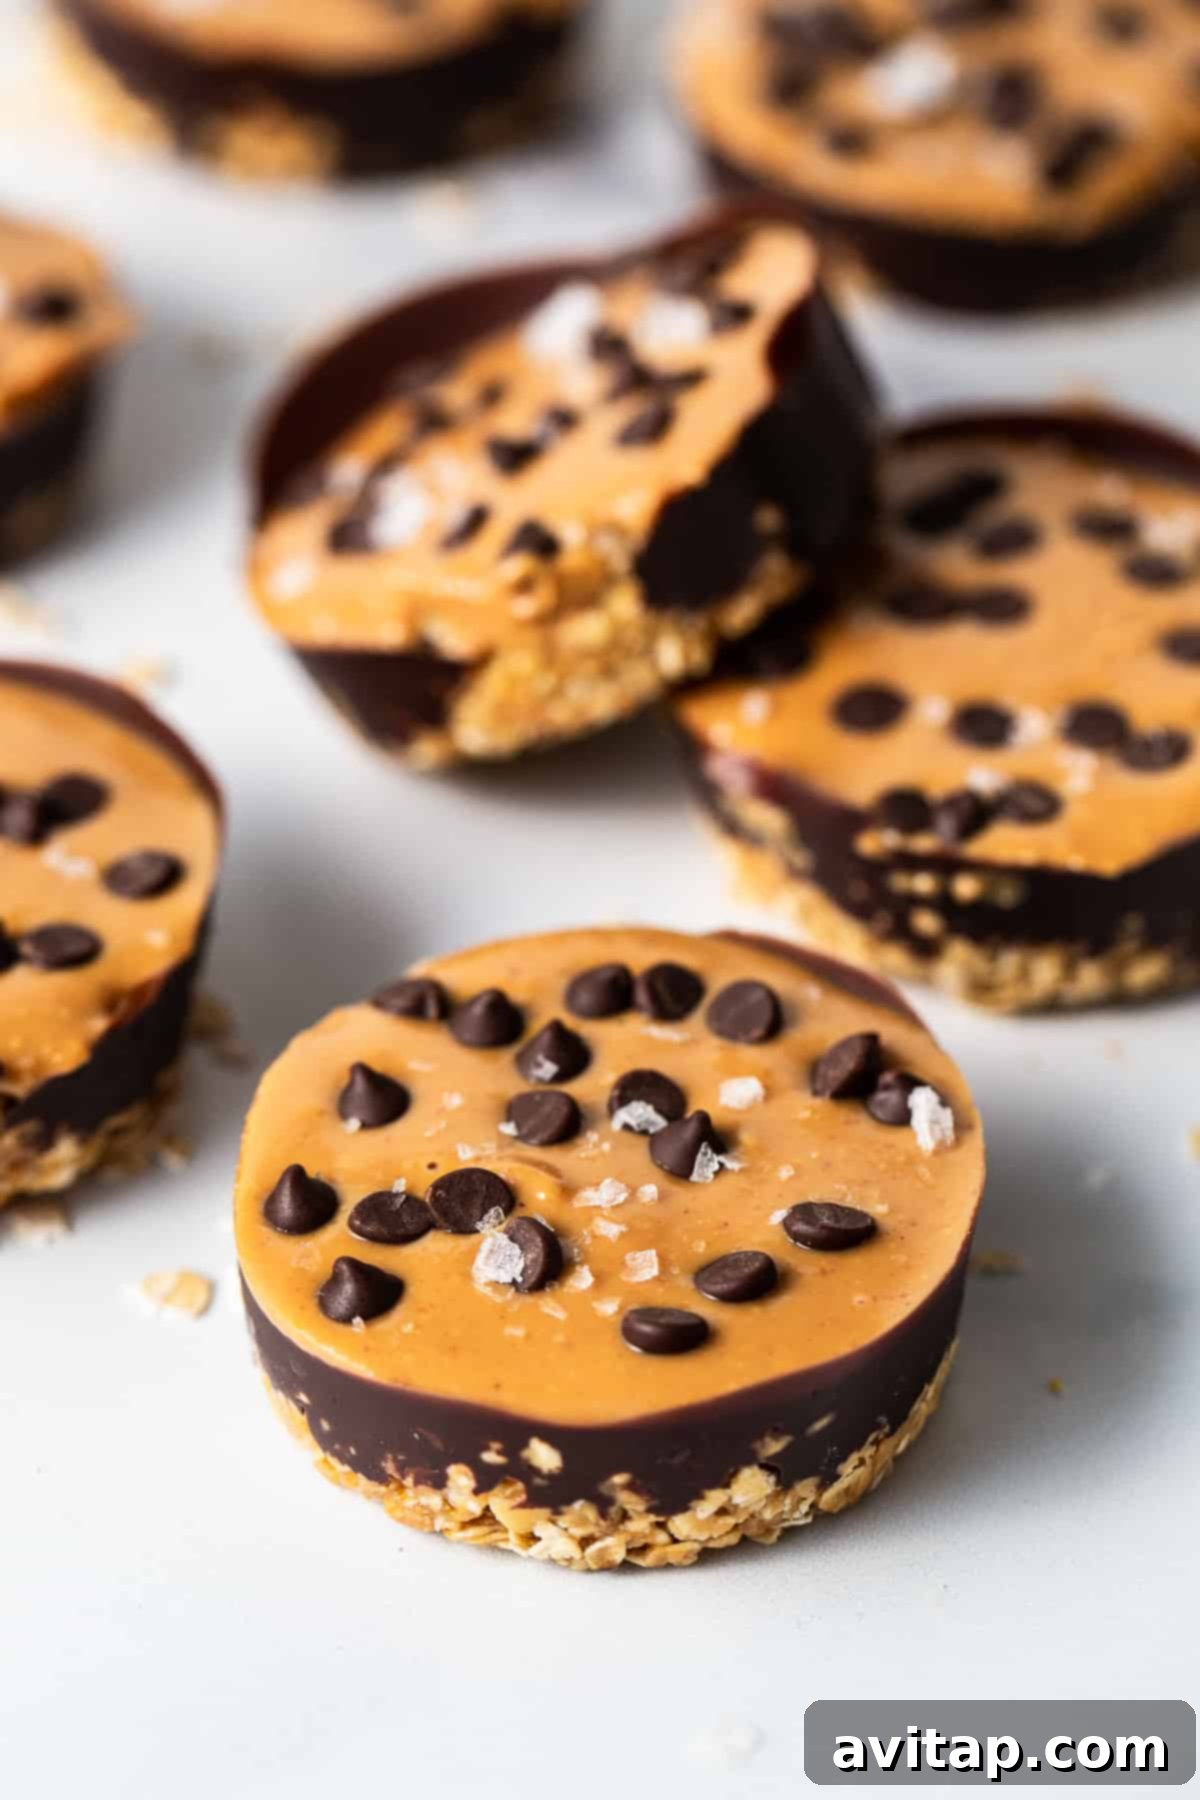
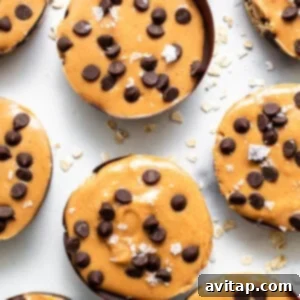
This remarkable peanut butter and chocolate dessert is thoughtfully designed with three distinct layers, ensuring a burst of exquisite flavor in every single bite. Each layer contributes to a unique texture and taste, creating a harmonious and satisfying experience.
Essential Kitchen Tools
To embark on this no-bake adventure, you’ll primarily need a muffin tin. For best results and easy cleanup, line it with paper liners, or consider using a reusable silicone muffin mold – a fantastic investment for both baking and no-bake creations! Beyond that, basic kitchen essentials like mixing bowls, measuring cups, and a sturdy spoon are all you require.
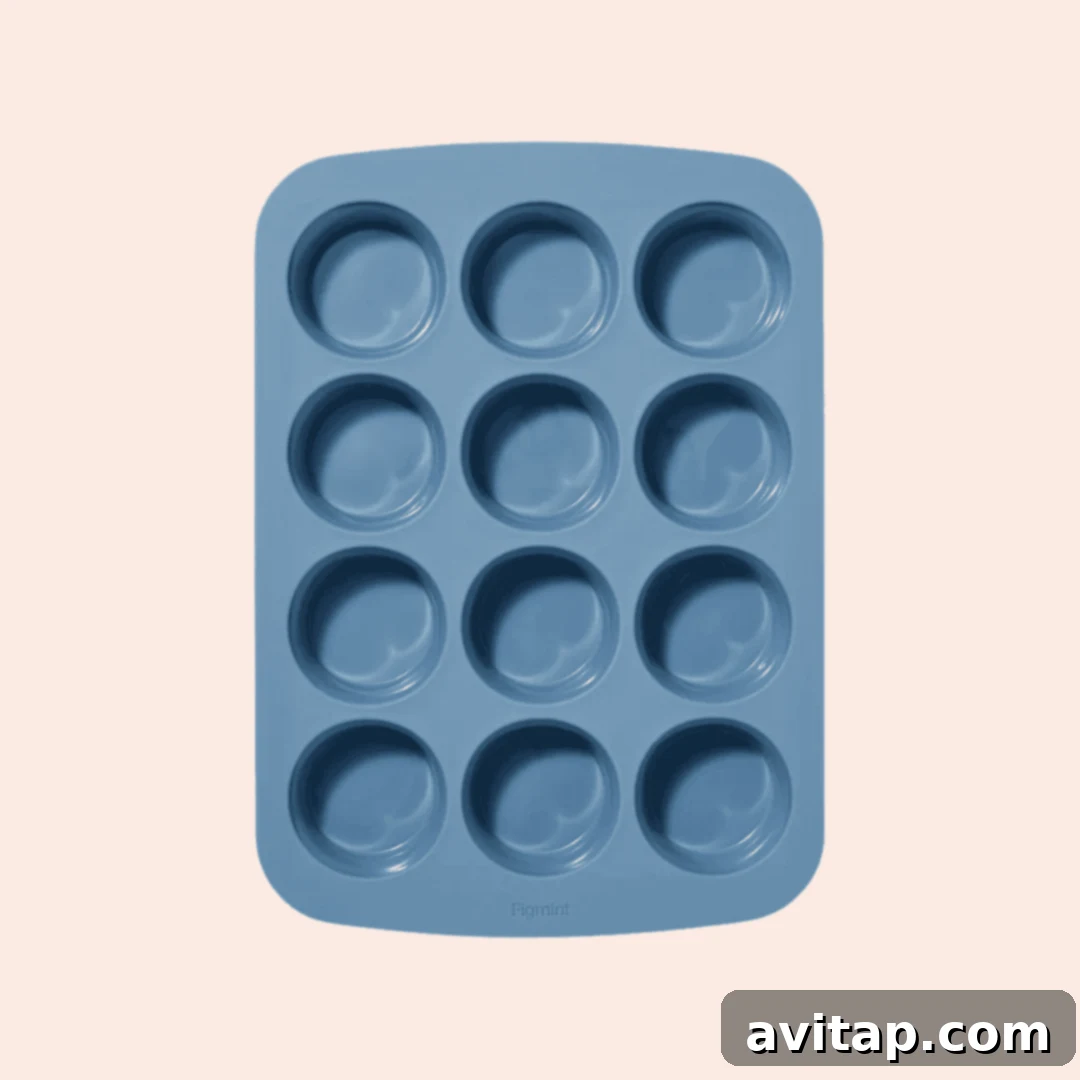
Reusable
Silicone Muffin Mold
Our top recommendation for a reusable silicone muffin mold, perfect for all your baking and no-bake dessert needs!
The Wholesome Oat Layer
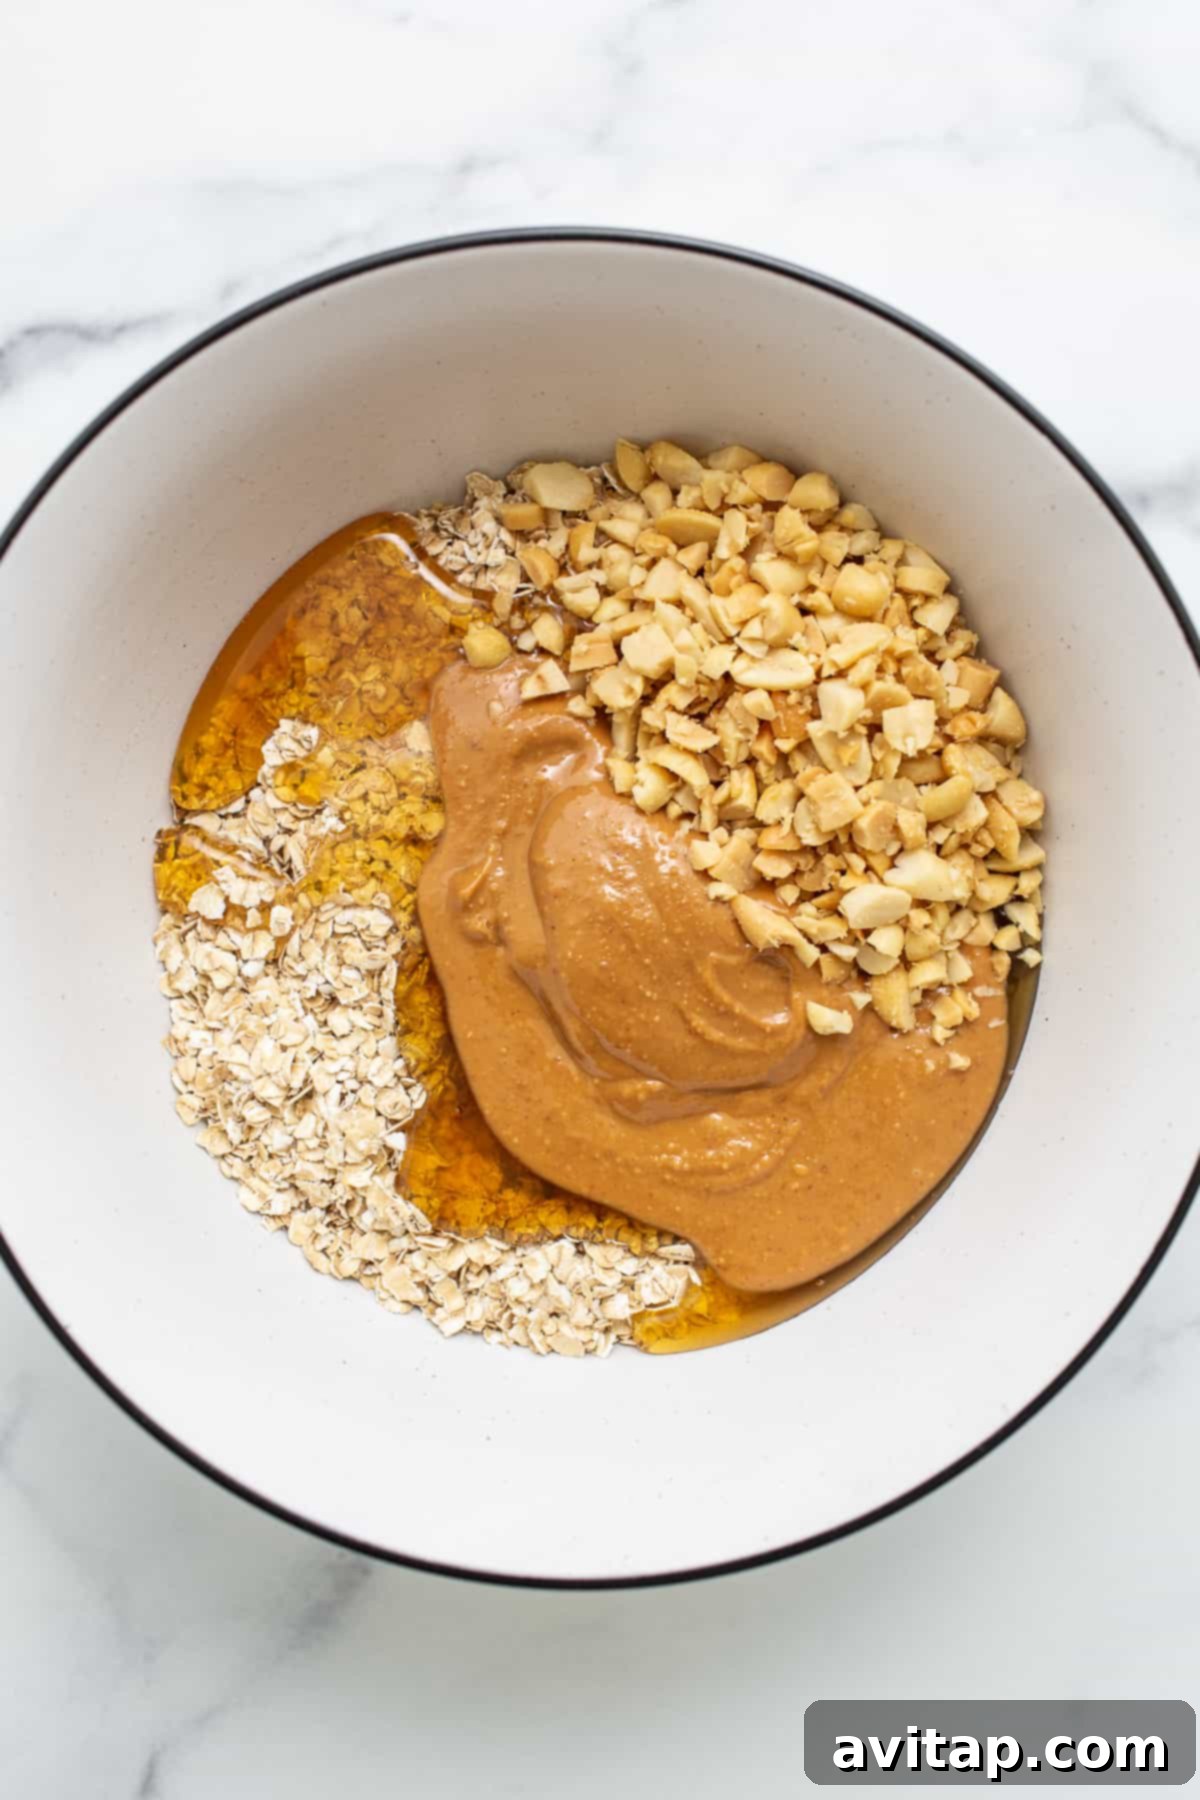
- Quick-cooking oats: The foundation, providing a chewy, satisfying texture.
- Honey: A natural sweetener and binder that brings all the ingredients together.
- Creamy peanut butter: Adds richness and that signature nutty flavor.
- Chopped peanuts: For an extra crunch and intensified peanut flavor.
The Smooth Peanut Butter Layer
- Creamy peanut butter: Forms the luxurious, melt-in-your-mouth middle layer.
- Coconut oil: Helps create a smooth consistency and sets beautifully when chilled.
- Mini chocolate chips: Tiny bursts of chocolatey goodness embedded within the peanut butter.
The Decadent Chocolate Layer
- Dark chocolate: Provides a rich, slightly bitter contrast that balances the sweetness.
- Coconut oil: Ensures a smooth, glossy finish and helps the chocolate set firm.
Frequently Asked Questions About Our No-Bake Peanut Butter Oat Cups
Is this recipe suitable for a gluten-free diet?
Absolutely! All the ingredients in this particular recipe are naturally gluten-free. However, for those with severe gluten sensitivities or allergies, it’s always a good practice to carefully read the labels of all ingredients to confirm they were produced in a certified gluten-free facility and avoid any cross-contamination risks.
Are these oat cups a healthy dessert option?
Yes, these oat cups are a wonderfully nutritious dessert choice! Made with wholesome ingredients like whole grain oats, natural honey, and protein-rich peanut butter, they offer a satisfying treat without excessive refined sugars or unhealthy fats. They provide fiber and healthy fats, making them a more balanced option compared to many traditional desserts.
Can I use a mini muffin tin for this recipe?
Certainly! Feel free to opt for a mini muffin tin instead of a standard-sized one. Using a mini muffin tin will yield a much larger batch, approximately double or even triple the amount of oat cups, making them perfect for bite-sized snacks or for serving a crowd. Just remember to adjust the amount of each layer per cup accordingly.
Exciting Variations to Customize Your Oat Cups
While the classic peanut butter and chocolate combination is undeniably perfect, these no-bake oat cups are incredibly versatile. Feel free to experiment with these exciting variations to tailor them to your taste preferences or dietary needs:
Swap the Nut Butter: If you have a peanut allergy or simply prefer a different flavor, almond butter or cashew butter make excellent substitutes for peanut butter. Just ensure you also swap out the chopped peanuts in the oat layer for corresponding chopped almonds or cashews.
Introduce an Extract: Elevate the flavor profile of your oat cups by adding a touch of extract. A teaspoon or two of vanilla extract or almond extract mixed into the oat base would introduce a delightful aromatic complexity.
Incorporate Dried Fruit: For a burst of natural sweetness and chewiness, replace the mini chocolate chips in the peanut butter layer with your favorite dried fruits. Chopped dried strawberries, raisins, or blueberries would offer a lovely contrast in texture and flavor.
Add Spices: A pinch of cinnamon or a dash of nutmeg in the oat layer can add a warm, comforting note to your treats.
Different Chocolate Types: While dark chocolate is specified, you can certainly use milk chocolate, semi-sweet chocolate, or even white chocolate for a different flavor profile in your top layer.
Optimal Storage for Lasting Freshness
To maintain their perfect shape and irresistible texture, it is absolutely essential to store these chocolate peanut butter no-bake treats in the freezer. If left on the counter at room temperature, the layers will soften and eventually melt, much like a snowman on a sunny day. Storing them in an airtight freezer bag or container ensures they remain firm, fresh, and ready to enjoy whenever a craving strikes. They can last for several weeks in the freezer, making them an excellent make-ahead dessert option!
More of our Favorite Delicious & Easy…
Easy No-Bake Desserts
Craving more effortless sweet treats? Here are some of our other highly-rated no-bake dessert recipes that are just as quick, simple, and satisfying as these oat cups!
- No-Bake Peanut Butter Oat Cups (You’re here!)
- Protein Peanut Butter Cups
- Chocolate Strawberry Frozen Yogurt Bark
- No-Bake Peanut Butter and Jelly Quinoa Cups
No-Bake Peanut Butter Oat Cups
Ingredients
Oat Layer
- 2 cups quick-cooking oats
- ½ cup honey
- ⅓ cup all-natural, creamy peanut butter
- ⅓ cup chopped peanuts
- Optional: 1-2 teaspoons water (if mixture seems dry)
Chocolate Layer
- 6 oz. dark chocolate, chopped
- 2 teaspoons coconut oil
Peanut Butter Layer
- ½ cup all-natural, creamy peanut butter
- 1 teaspoon coconut oil
- ¼ cup mini chocolate chips
Instructions
- Line a metal muffin pan with paper liners or use a silicone muffin pan (no lining needed for silicone).
-
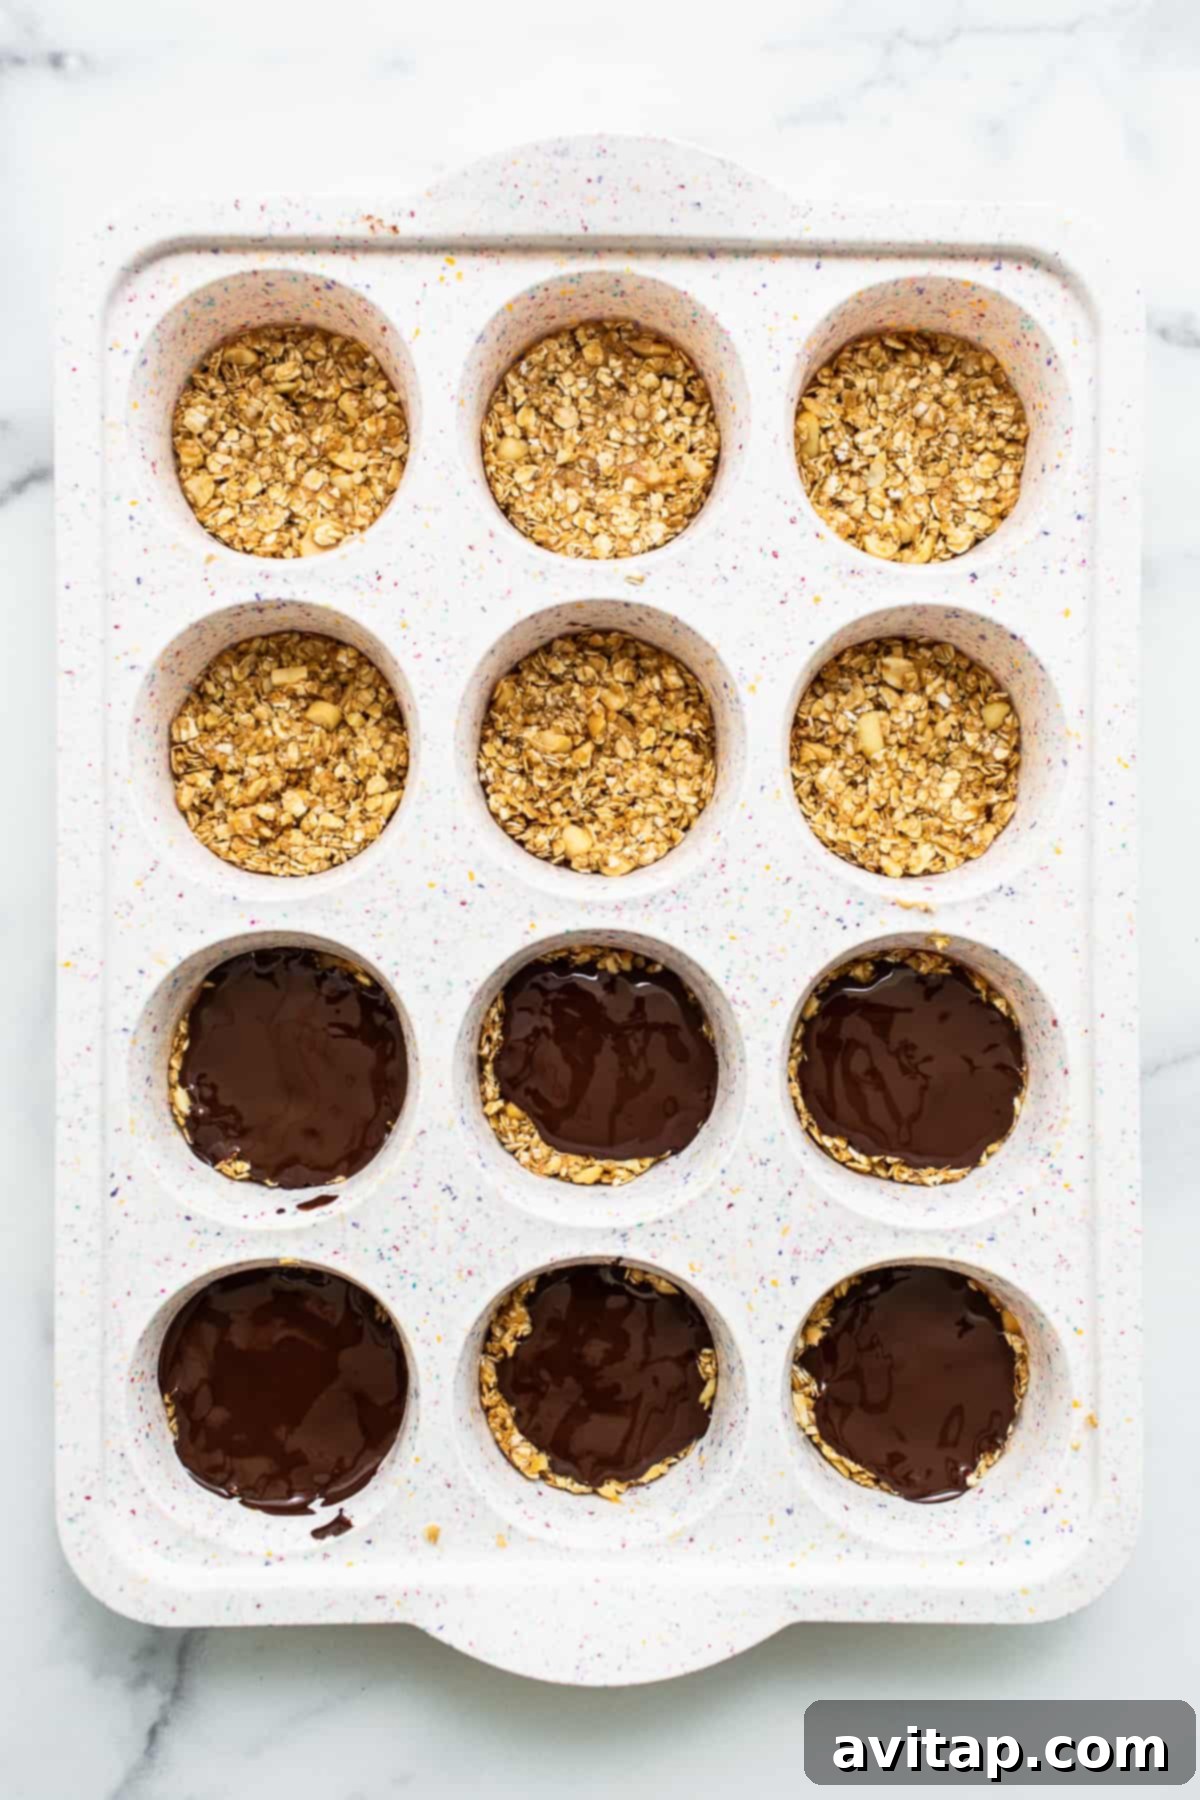
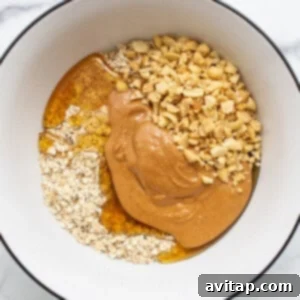
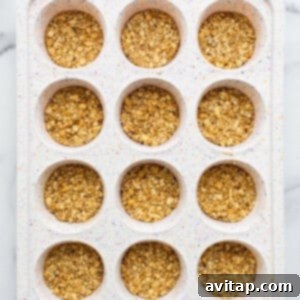
First, prepare the oat layer. In a medium bowl, combine the quick-cooking oats, honey, peanut butter, and chopped peanuts. Stir all the ingredients thoroughly until they are well combined and form a cohesive mixture. If the mixture appears too dry and crumbly, gradually add 1 to 2 teaspoons of water, mixing until it reaches a sticky consistency. Scoop approximately 2 tablespoons of this oat mixture into the bottom of each muffin cup and firmly press it down to form a compact base.

- Next, create the chocolate layer. Transfer the chopped dark chocolate and coconut oil into a microwave-safe bowl. Heat the chocolate mixture on high power in 20-second increments, stirring well after each interval, until the chocolate is completely melted and smooth. Be careful not to overheat.
-
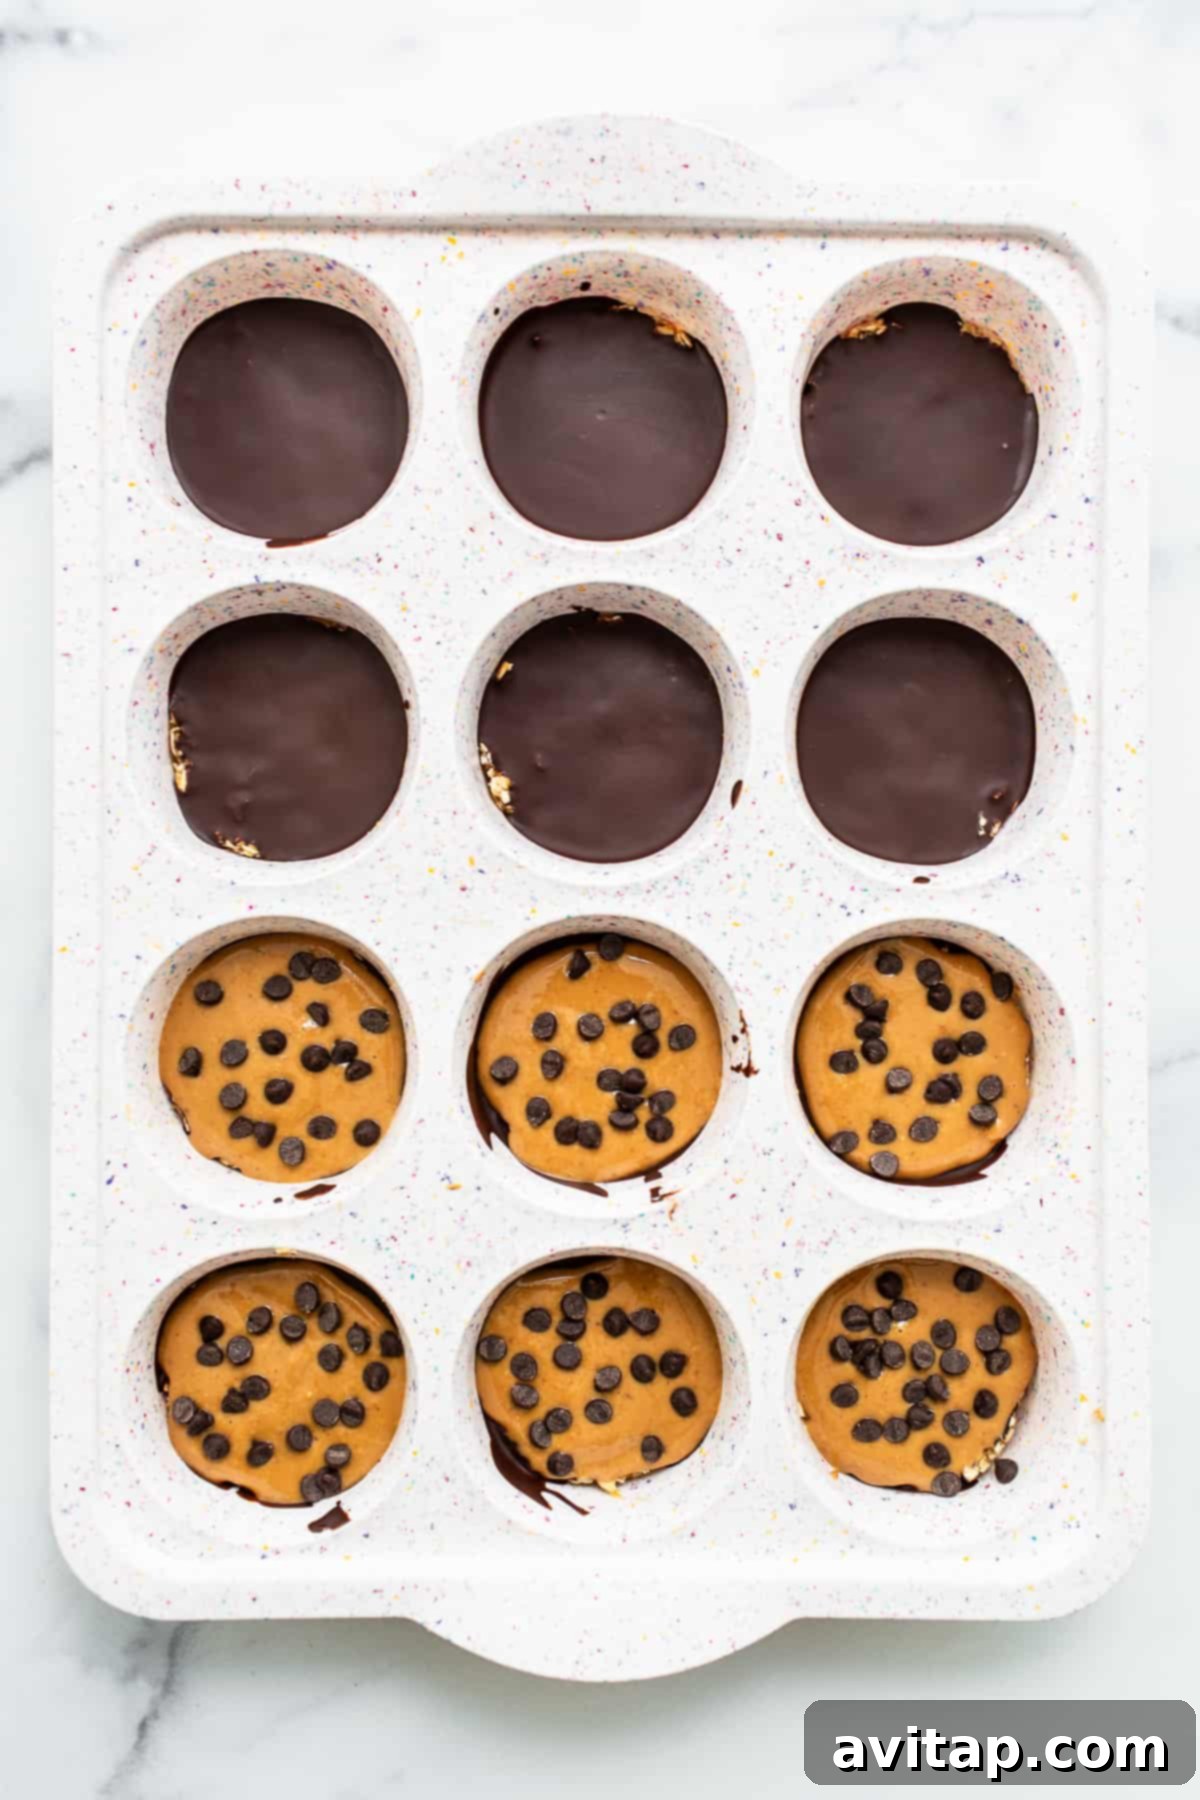
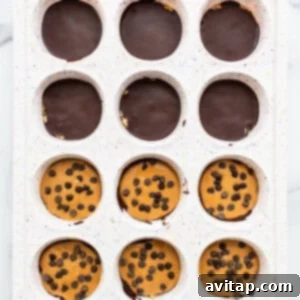
Once melted, spoon about 2 teaspoons of the warm chocolate mixture over the pressed oat layer in each muffin cup. Gently swirl the muffin pan in a circular motion to help the chocolate evenly distribute over the oat base. If there is any leftover melted chocolate, divide it evenly among the cups. Place the muffin pan in the freezer for 5 minutes to allow the chocolate layer to set quickly.
-
Finally, prepare the peanut butter layer. In a separate microwave-safe bowl, combine the creamy peanut butter and coconut oil. Microwave the mixture for about 15 seconds, then stir until it is smooth and well combined. Spoon approximately 2 teaspoons of this peanut butter mixture over the set chocolate layer in each cup. Swirl the pan gently once more to ensure the peanut butter layer is even. Finish by sprinkling mini chocolate chips over the top of each cup for an added touch of texture and flavor.
- Place the muffin tin back into the freezer for at least 30 minutes to an hour, or until the oat cups are completely firm and set. This step is crucial for them to hold their shape.
-
Once the oat cups have fully set, carefully remove them from the muffin pan. If using paper liners, peel them off. Transfer the finished oat cups into an airtight freezer bag or container and store them in the freezer. Enjoy them chilled directly from the freezer!
Tips & Notes for Success
- While we used chopped dark chocolate, feel free to substitute with chocolate chips of your preference. If using chopped chocolate, a kitchen scale can help with precise measurements.
- If dark chocolate isn’t your favorite, milk chocolate or semi-sweet chocolate can be used instead for a milder flavor.
- Important: We highly recommend using quick-cooking oats for this recipe. Old-fashioned rolled oats would result in a much tougher and less pleasant texture in these no-bake cups.
- Ensure that you allow the oat cups to set and firm up completely in the freezer before transferring them to storage. This prevents them from losing their shape.
Watch It
An embedded video will typically appear here, demonstrating the steps to make these delicious No-Bake Peanut Butter Oat Cups. Please enable JavaScript or visit the original source to view.
Nutrition
Carbohydrates: 30 g,
Protein: 7 g,
Fat: 20 g,
Fiber: 4 g,
Sugar: 19 g
Nutrition information is automatically calculated and should be used as an approximation.
Love this recipe? Leave a comment below!
Don’t forget to tag your posts on social media with the hashtag #fitfoodiefinds, we’d love to see what you’re up to!
Delightful Caramel DeLite Oat Cups
Inspired by your favorite Girl Scout cookie, these Caramel DeLite Oat Cups deliver an epic taste experience in three luscious layers: oats, chocolate, and coconut. They’re a perfect blend of sweet and satisfying, reminiscent of that classic treat you love, but in a convenient no-bake cup format. Check out the Reel HERE for a visual guide!
Yields: 12 servings
Ingredients
Oat Layer
- 1.5 cups quick-cooking oats
- 1/2 tablespoons maple syrup
- 1/3 cup cookie butter, melted
- 1-2 tablespoons water, as needed
Chocolate Layer
- 3/4 cup semi-sweet chocolate chips
- 2 teaspoons coconut oil
Coconut Layer
- 1/3 cup creamy cashew butter, drippy
- ⅓ cup cookie butter, melted
- 1 cup unsweetened shredded coconut
Top Layer
- Drizzle chocolate (from the remaining chocolate layer mixture)
Method
- Line a metal muffin pan with paper liners or use a silicone muffin pan (no lining required for silicone).
- First, prepare the chocolate layer. Combine the semi-sweet chocolate chips and coconut oil in a microwave-safe bowl. Heat on high in 20-second intervals, stirring after each, until the chocolate is fully melted and smooth.
- Spoon 1 teaspoon of the melted chocolate into the bottom of each muffin cup. Use the back of a spoon or your finger to gently spread the chocolate evenly across the base.
- Next, prepare the oat layer. In a bowl, mix the quick-cooking oats, maple syrup, and melted cookie butter until well combined. If the mixture feels too dry, add 1 to 2 teaspoons of water as needed until it’s sticky. Scoop about 2 tablespoons of this oat mixture over the chocolate layer in each cup and firmly press it down. Place the muffin pan in the freezer for 5 minutes to set.
- Now, create the coconut layer. In a separate bowl, combine the drippy cashew butter, melted cookie butter, and unsweetened shredded coconut. Mix thoroughly until all ingredients are well incorporated. Scoop 1 tablespoon of the coconut mixture onto the oat layer in each cup, spreading it evenly.
- Transfer any remaining melted chocolate into a piping bag or a small plastic bag. Snip a tiny tip off the corner of the bag and carefully drizzle the chocolate over the coconut layer in a zigzag pattern, mimicking the design of a classic caramel delight cookie.
- Place the muffin tin back into the freezer for at least 30 minutes to an hour to allow all layers to set completely.
- Once the oat cups are firm, remove them from the muffin pan. Transfer them to an airtight freezer bag or container and store them in the freezer until ready to enjoy.
Recipe Notes
- If you prefer a different chocolate, feel free to use milk chocolate instead of semi-sweet.
- For the best texture, always use quick-cooking oats. Old-fashioned rolled oats will result in a tougher, chewier oat cup that is not ideal for this recipe.
- Ensure the oat cups are thoroughly set and firm in the freezer before transferring them for long-term storage to maintain their shape.
Mini Strawberry White Chocolate Oat Cups: A Nostalgic Treat
These delightful Mini Strawberry White Chocolate Oat Cups are a delicious nod to your beloved childhood Special K Cereal Bars. They perfectly capture that nostalgic flavor in a convenient, mini no-bake form, making them an ideal treat for a quick snack or a light dessert. Check out the reel HERE for a step-by-step video!
Yields: 12 servings
Oat Layer
- 2/3 cup chopped, dehydrated strawberries
- 1 cup quick-cooking oats
- 2 tablespoons honey
- 1/4 cup creamy cashew butter, drippy
- 1-2 teaspoons water, as needed
White Chocolate Layer
- ¾ cup white chocolate chips
- 2 teaspoons coconut oil
Top Layer
- 1/2 cup creamy cashew butter, drippy
- 1 teaspoon coconut oil
- Strawberry powder, to taste (from the dehydrated strawberries)
Method
- Line a mini muffin pan with paper liners or use a silicone mini muffin pan (no lining needed for silicone).
- Transfer the dehydrated strawberries to a clean coffee grinder or a food processor. Process until a fine powder is created. Set aside the majority of the powder for the topping, reserving 4 tablespoons for the oat layer.
- In a mixing bowl, combine 4 tablespoons of the strawberry powder, quick-cooking oats, honey, and drippy cashew butter. Stir all ingredients together until a sticky, cohesive mixture forms. If it appears too dry, add 1 to 2 teaspoons of water, mixing until the desired consistency is achieved.
- Scoop 1 heaping teaspoon of the oat mixture into the bottom of each mini muffin cup and firmly press it down to create a compact base.
- Next, prepare the white chocolate layer. Combine the white chocolate chips and coconut oil in a microwave-safe bowl. Heat on high in 20-second increments, stirring well after each, until the chocolate is fully melted and smooth.
- Spoon 1 heaping teaspoon of the melted white chocolate over the oat layer in each cup. Gently swirl the muffin pan in a circle to evenly distribute the chocolate. If there’s any remaining chocolate, divide it evenly among the cups. Place the muffin pan in the freezer for 5 minutes to allow the chocolate to set.
- Finally, make the cashew layer for the topping. In a separate microwave-safe bowl, combine the creamy cashew butter and coconut oil. Microwave for 15 seconds, then stir until smooth and well combined. Spoon 1 heaping teaspoon of this cashew butter mixture onto the set white chocolate layer. Swirl the pan again to even out the cashew butter. Then, generously sprinkle the reserved strawberry powder over the top of each cup.
- Place the muffin tin in the freezer for at least 30 minutes to an hour to ensure the oat cups are completely set.
- Once firm, remove the oat cups from the muffin pan. Transfer them to an airtight freezer bag or container and store them in the freezer until you’re ready to enjoy these delightful, nostalgic treats.
Recipe Notes
- As with our other oat cup recipes, we do not recommend using rolled oats. Old-fashioned rolled oats will result in a tough texture, whereas quick-cooking oats provide the perfect consistency for these no-bake cups.
- It is crucial to allow these oat cups to set and firm up adequately in the freezer before storage. This ensures they maintain their shape and layered integrity.
Exotic Coconut Mango Oat Cups: A Tropical Indulgence
Embark on a tropical flavor journey with these vibrant Coconut Mango Oat Cups! This unique recipe features a delightful fusion of creamy coconut mana and tangy freeze-dried mango, all meticulously packed into three delectable layers. They offer an exotic twist to the no-bake oat cup concept, perfect for those seeking a refreshing and flavorful treat. Check out the reel HERE to see them come to life!
Yields: 12 servings
Ingredients
Oat Layer
- 1 cup quick-cooking oats
- 2 unsalted rice cakes, separated (~1 cup)
- ⅓ cup agave syrup
- ⅓ cup creamy and drippy cashew butter*
- 2 tablespoons black sesame seeds*
Cashew Butter Layer
- ½ cup cashew butter
- 1 teaspoon coconut oil
Coconut Layer
- ½ cup melted coconut mana
- 2 teaspoons coconut oil
Toasted Coconut & Mango Topping
- ½ cup toasted coconut
- ¼ cup freeze-dried mango crumbles
Method
- Line a muffin tin with paper liners or use a silicone muffin pan for easy removal.
- Prepare the oat layer: In a bowl, combine the quick-cooking oats, crushed rice cakes, agave syrup, creamy cashew butter, and black sesame seeds. Use a spoon or your hands to thoroughly massage all the ingredients together until they form a well-combined, sticky mixture.
- Scoop a heaping tablespoon and a half of this oat mixture into each muffin cup. Press the mixture firmly into the bottom of each cup to create a solid base. Transfer the muffin pan to the freezer while you prepare the next layers.
- Prepare the cashew butter layer: Add the cashew butter and coconut oil to a bowl. Microwave on high for approximately 30 seconds, then stir until the mixture is completely drippy and creamy smooth.
- Remove the muffin pan from the freezer. Spoon about 2 teaspoons of the warm cashew butter mixture over the oat layer in each cup. Gently swirl the cashew butter layer to spread it evenly. Return the muffin pan to the freezer for at least 15 minutes to allow this layer to firm up.
- Prepare the coconut layer: If your coconut mana is in a glass jar, place the jar in a saucepan filled halfway with water. Heat over medium heat, allowing the coconut mana to melt slowly while stirring occasionally. This slow warming prevents it from seizing. Avoid microwaving coconut mana directly; it can seize quickly.
- Once the coconut mana is fully melted, smooth, and creamy, measure out ½ cup. Add the 2 teaspoons of coconut oil to the mana. Ensure the coconut oil is warm as well; adding cold ingredients to warm coconut mana can cause it to seize.
- Remove the muffin tin from the freezer. Add 1.5 heaping teaspoons of the melted coconut mana mixture to each muffin cup. Use the back of the teaspoon to evenly spread this coconut layer.
- Immediately and quickly top each cup with the toasted coconut and freeze-dried mango crumbles. Gently press the toppings into the coconut layer to secure them before it sets.
- Freeze the muffin cups for at least 1 hour before attempting to remove them from the muffin pan. This ensures all layers are perfectly set.
- Once the oat cups are firm, carefully remove them from the muffin pan. Transfer them into an airtight freezer bag or container and store them in the freezer until ready to enjoy.
Recipe Notes
- Cashew Butter Consistency: For the best results, make sure to use a very drippy cashew butter. If the oil has separated, stir it well before measuring to ensure a smooth, creamy texture.
- Sesame Seeds: While black sesame seeds add a striking visual contrast, white sesame seeds can be used as a simple substitute if black ones are unavailable.
- Working with Coconut Mana: Coconut mana can be a bit sensitive to temperature changes. Always warm it slowly and ensure that any ingredients added to it are also warm to prevent it from seizing. If you desire a runnier coconut layer, you can slightly increase the amount of coconut oil.
- Freeze-Dried Mangos: Freeze-dried mangos are typically available at specialty grocery stores like Trader Joe’s, larger supermarket chains, or online retailers like Amazon.
Photography: Photos featured in this post were expertly captured by Ashley McGlaughlin from The Edible Perspective.