
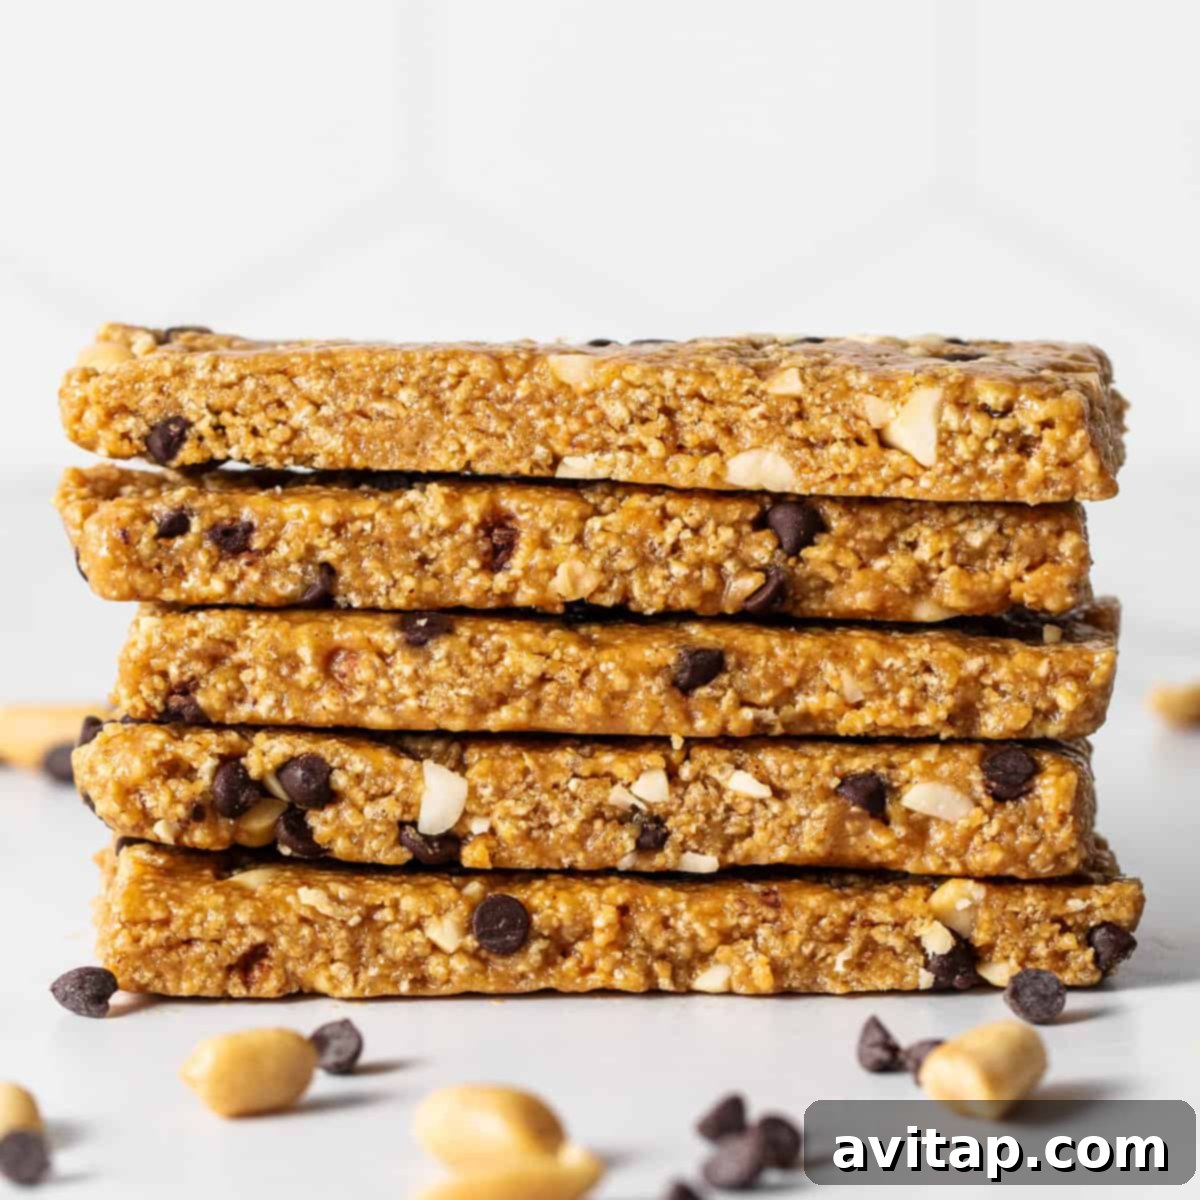
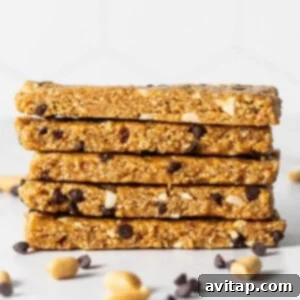
Searching for a quick, wholesome, and incredibly satisfying snack to fuel your busy day? Look no further! These irresistible no-bake peanut butter bars are destined to become your new go-to indulgence. Combining the perfect balance of crunch, sweetness, and a touch of saltiness, they are remarkably simple to prepare and packed with the goodness you crave.
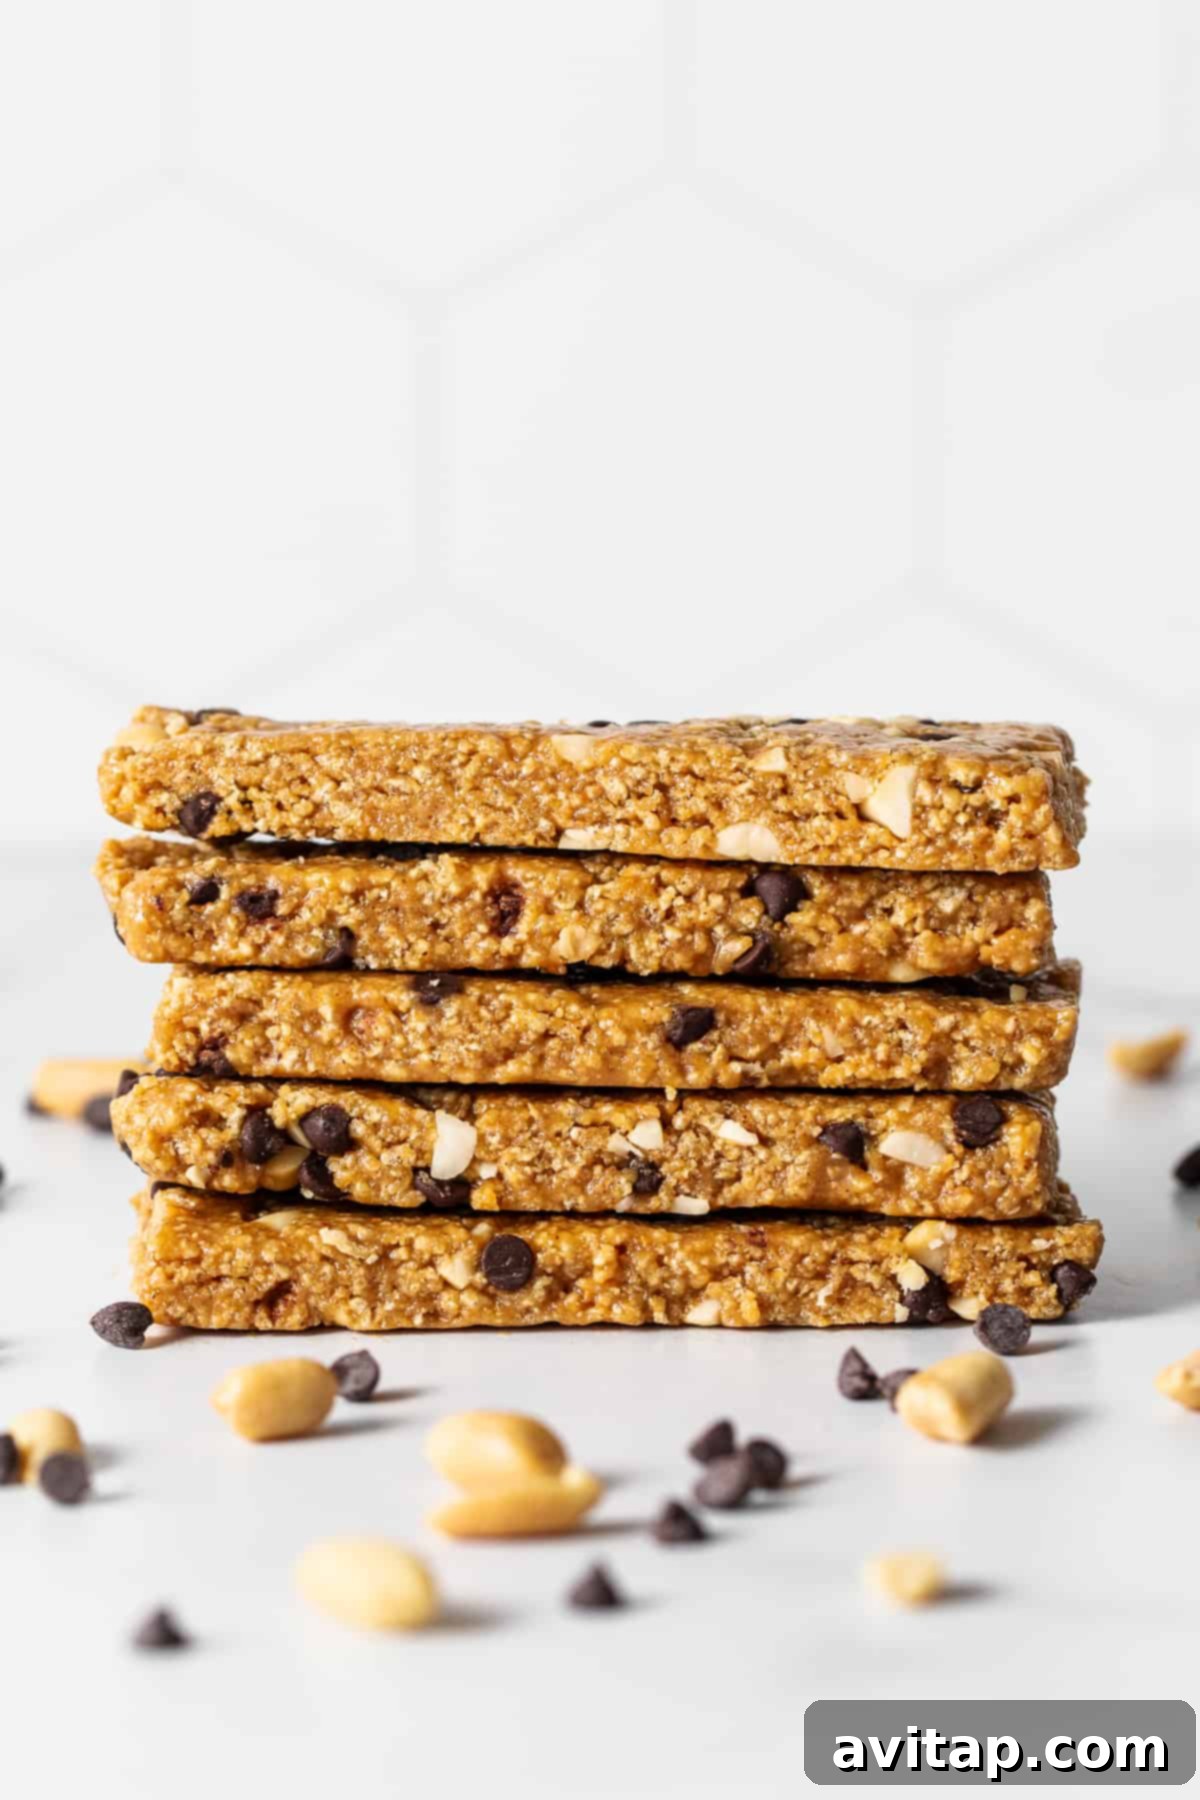
Effortless No-Bake Peanut Butter Bars for Every Lifestyle
In today’s fast-paced world, maintaining a healthy eating routine can often feel like a challenge. That’s where these delightful chewy peanut butter bars step in to simplify your life. Designed for maximum convenience and minimal effort, this recipe allows you to prep, set, and then simply enjoy. Forget about heating up the oven; these bars are all about easy, delicious satisfaction.
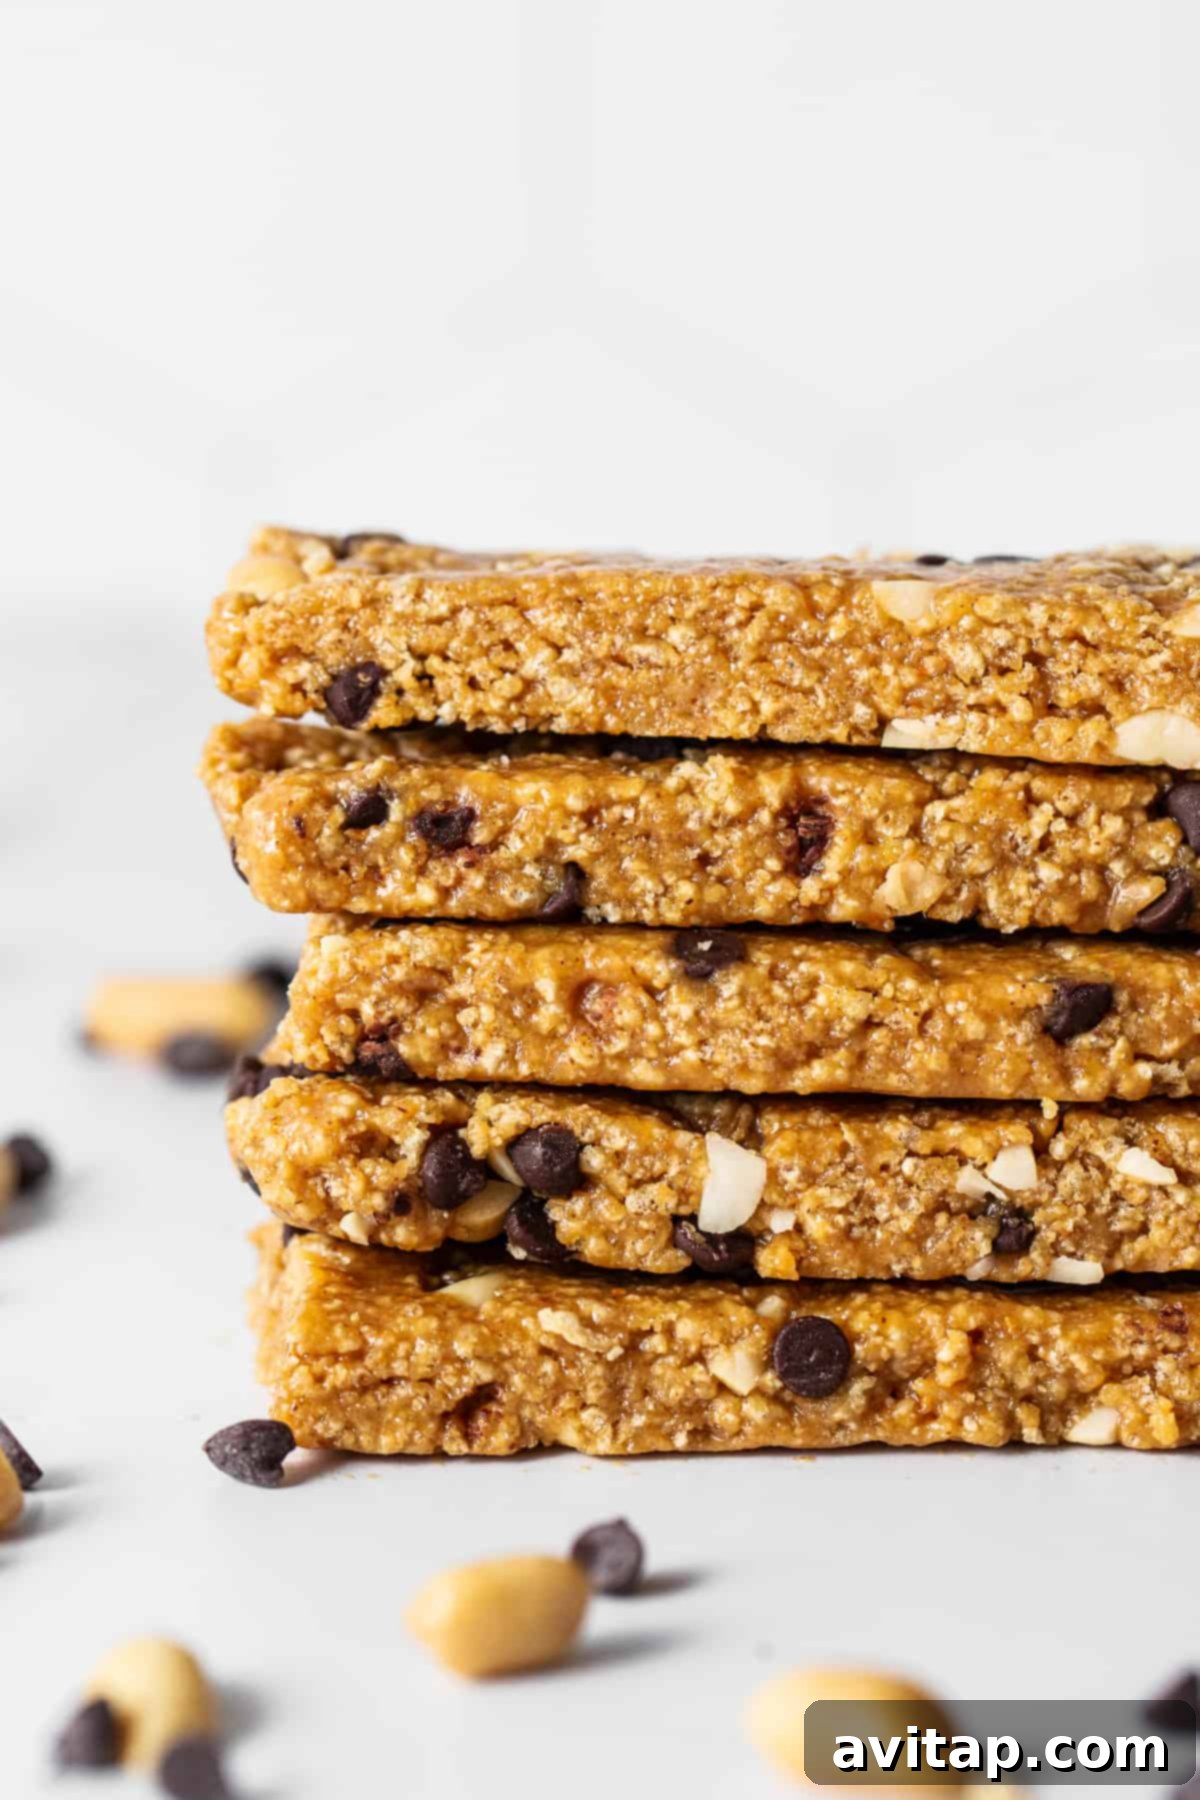
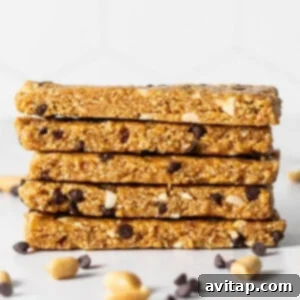
Our simple yet incredibly effective recipe highlights the timeless appeal of natural peanut butter combined with delightful mini chocolate chips, creating an irresistible peanut butter-chocolate flavor profile. The inclusion of crisp Rice Chex cereal and finely roasted peanuts adds a satisfying textural contrast that makes every bite an experience. While kids are sure to adore these sweet treats, adults will find them equally appealing as a guilt-free snack or a quick energy boost.
Whether you’re looking to streamline your weekly meal prep by creating a batch of grab-and-go snacks, or need a crowd-pleasing dessert for your next gathering, these no-bake bars are guaranteed to impress without any of the usual fuss. Their versatility makes them perfect for a post-workout refuel, a lunchbox treat, or simply an afternoon pick-me-up.
Why You’ll Adore These Peanut Butter Bars
A Wholesome Sweet Fix: These bars are ideal for anyone looking to indulge their sweet tooth in a healthier way. Made with natural ingredients, they offer a nourishing alternative to processed snacks, allowing you to enjoy a delicious treat without compromise.
Unbelievably Simple Preparation: Our recipe is designed for ease. With just a few straightforward steps—mix, press, and freeze—you’ll have perfectly formed bars ready to enjoy. The best part? Absolutely no baking is required, making it a perfect recipe for beginner cooks or those short on time.
Your Ultimate Meal Prep Companion: Prepare a batch of these protein-packed bars at the beginning of the week, and you’ll have a reliable source of lasting energy every single day. They’re fantastic for quick breakfasts, satisfying midday snacks, or even a healthier dessert option, ensuring you stay fueled and focused.
Customizable to Your Taste: While the classic peanut butter and chocolate combination is a winner, these bars are incredibly adaptable. Feel free to experiment with different nuts, seeds, or even dried fruits to tailor them to your unique preferences and dietary needs.
Kid-Friendly Fun: Get the whole family involved in making these bars! Their simple, no-bake nature makes them a safe and fun activity for children in the kitchen, and they’ll love creating their own healthy snacks.
Essential Ingredients for Your No-Bake Masterpiece
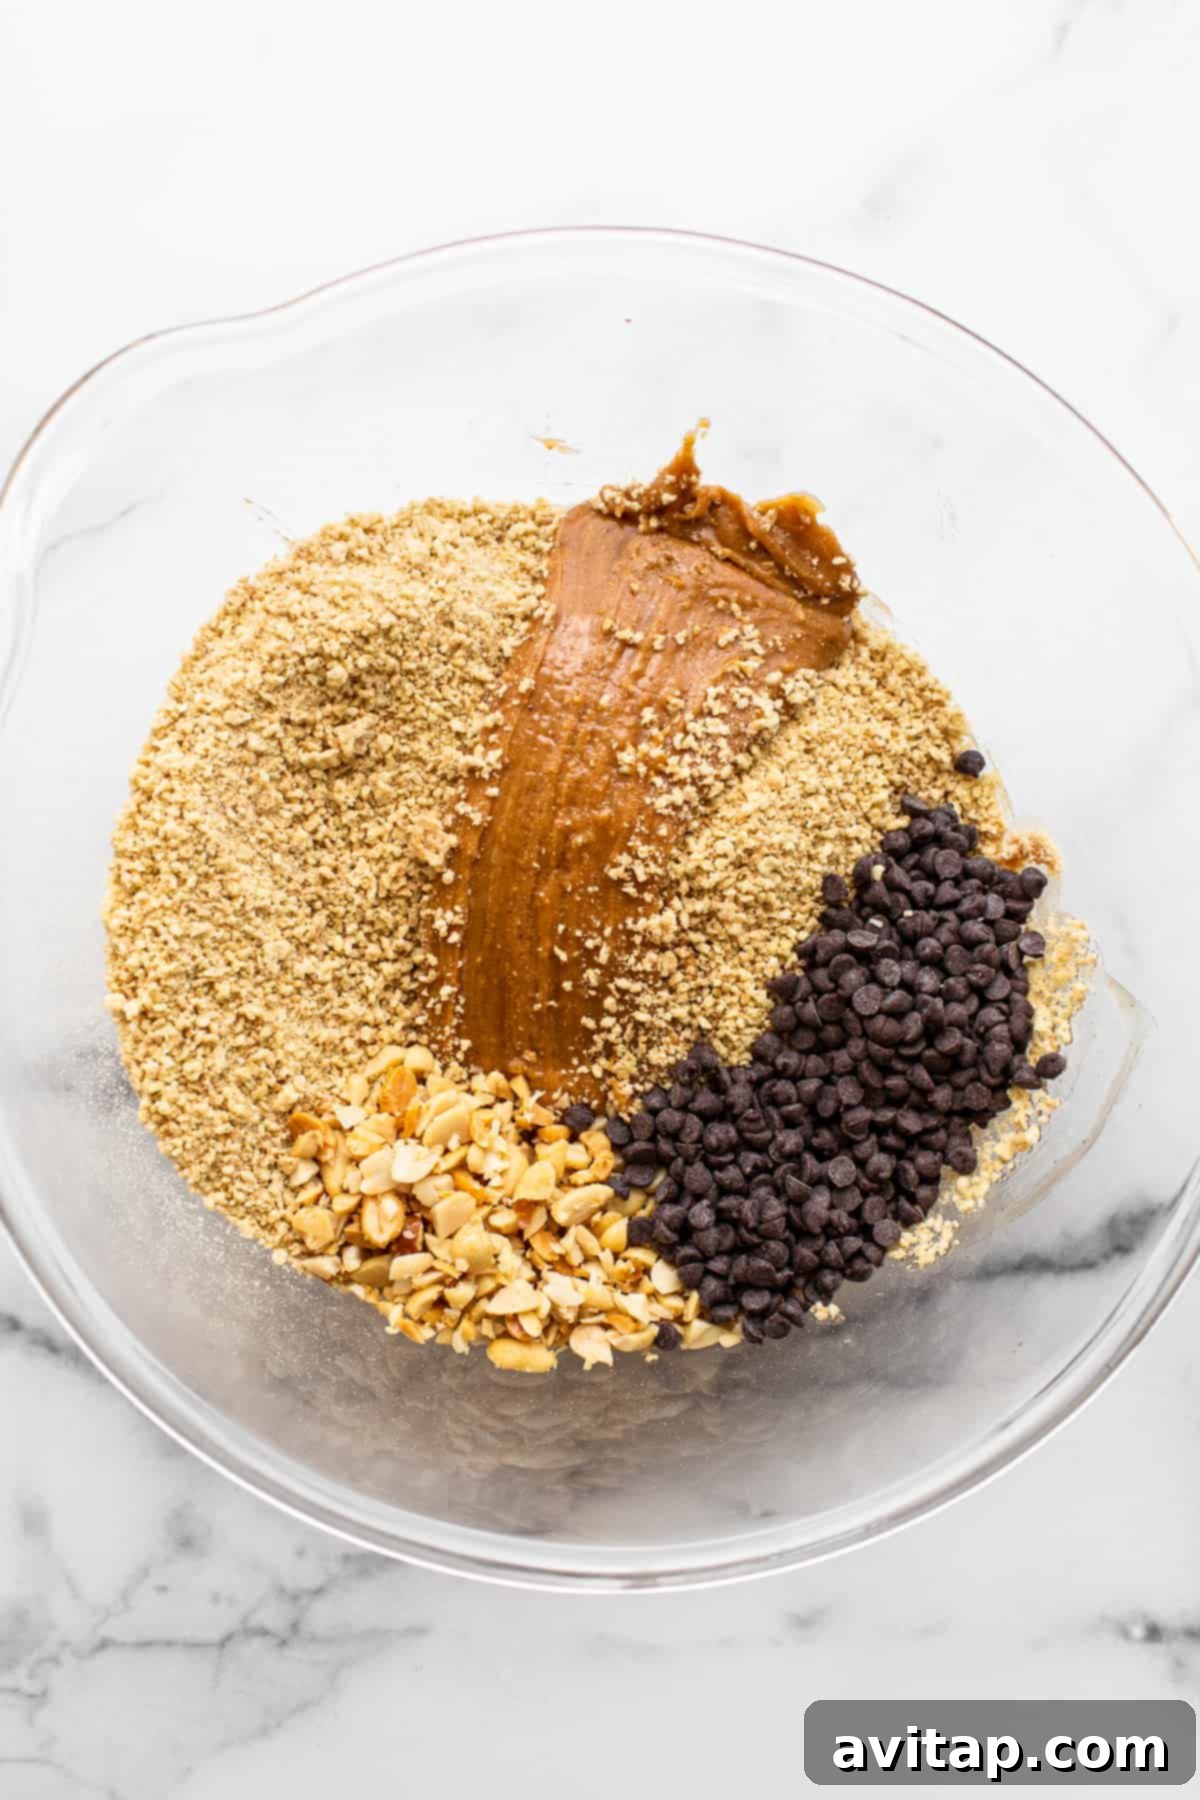
Crafting these delectable no-bake peanut butter bars requires a selection of simple, high-quality ingredients that come together to create a harmonious blend of flavors and textures. Here’s a closer look at what you’ll need and why each component is crucial:
- Rice Chex Cereal: This popular, naturally gluten-free cereal is the foundation of our bars, providing a wonderful, light crunch without contributing excessive calories or sugar. It helps create the substantial, satisfying texture that defines these no-bake treats. If you can’t find Rice Chex, other plain, crispy rice cereals could work, but ensure they don’t have added sugars or strong flavors.
- Natural Drippy Peanut Butter: The consistency of your peanut butter is paramount for this recipe. We highly recommend using an all-natural, creamy peanut butter that is quite drippy, such as brands like Smucker’s or Trader Joe’s, where the oil separates naturally. This ensures the mixture comes together smoothly and binds all the ingredients effectively. If your peanut butter is too thick or stiff, you may need to warm it slightly or add a teaspoon or two of melted coconut oil to achieve the desired drippy consistency. Avoid overly processed peanut butters with added sugars and hydrogenated oils.
- Brown Rice Syrup: This fantastic ingredient serves as a vegan-friendly sweetener and binder. Brown rice syrup has a mild, less intensely sweet flavor compared to other syrups and a lower glucose content, making it an excellent choice for no-bake recipes. Its thick, viscous nature helps hold the bars together perfectly.
- Honey: Complementing the brown rice syrup, honey acts as another natural sweetener, adding a distinct floral note and enhancing the overall deliciousness of the bars. It contributes to the chewy texture and provides an additional layer of sweetness that balances the salty peanut flavor. For a vegan option, you can substitute maple syrup for honey.
- Roasted and Salted Peanuts: Don’t skip these! Using roasted and salted peanuts is key to achieving that irresistible sweet and salty flavor profile that elevates these bars from good to outstanding. The roasting brings out the nutty depth, while the salt perfectly contrasts the sweetness of the syrup and honey. Plain peanuts will result in a less dynamic flavor. Roughly chop them for even distribution and an extra textural pop.
- Mini Chocolate Chips: These tiny morsels are essential for infusing a touch of decadence and the classic peanut butter-chocolate pairing. Mini chocolate chips are preferred because their small size allows them to disperse evenly throughout the mixture without overwhelming any single bite. Feel free to use dark chocolate, milk chocolate, or even dairy-free chips to suit your preference.
- Kosher Salt: A small amount of kosher salt is vital for balancing the sweetness and enhancing all the other flavors. It brings out the nuttiness of the peanut butter and prevents the bars from being overly sweet. This simple addition is a flavor game-changer.
Step-by-Step Guide: Crafting Your No-Bake Peanut Butter Bars
Making these no-bake wonders is incredibly straightforward. Follow these detailed steps to ensure perfectly crunchy, chewy, and delicious bars every time:
Step 1: Prepare Your Baking Dish
First, get your 9×13-inch casserole or baking dish ready. Line it completely with parchment paper, allowing an overhang on the sides. This overhang will act as handles, making it much easier to lift the set bars out of the dish later. Set the prepared dish aside.
Step 2: Gently Break Down the Chex Cereal
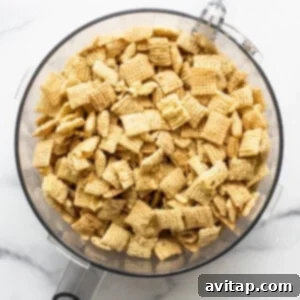
Pour the Rice Chex cereal into a food processor. Pulse a few times until the cereal breaks down into smaller, uniform pieces. You’re aiming for a coarse crumble, not a fine powder, as some texture is desired. If you don’t own a food processor, no worries! Simply place the Chex cereal into a large, gallon-sized Ziploc bag, seal it, and gently crush the cereal with your hands or a rolling pin until you achieve the desired consistency.
Step 3: Create the Peanut Butter Binding Mixture
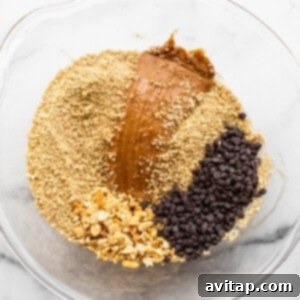
In a spacious mixing bowl, combine the natural drippy peanut butter, brown rice syrup, and honey. Stir these ingredients together vigorously until they are thoroughly combined and form a smooth, consistent “batter-like” mixture. This sticky base is what will bind all your delicious add-ins together.
Next, introduce the crushed Chex pieces, chopped roasted peanuts, and mini chocolate chips into the peanut butter mixture. Using a sturdy spatula or a large spoon, fold and mix until all the dry ingredients are completely coated in the peanut butter mixture. This might take a few minutes to ensure even distribution.
Pro Tip for Optimal Coating: If you find the mixture a bit difficult to combine or if some dry ingredients aren’t getting fully coated, lightly dampen your hands with water. Then, use your wet hands to gently knead and mix the ingredients directly in the bowl. This helps prevent sticking and ensures everything is perfectly integrated.
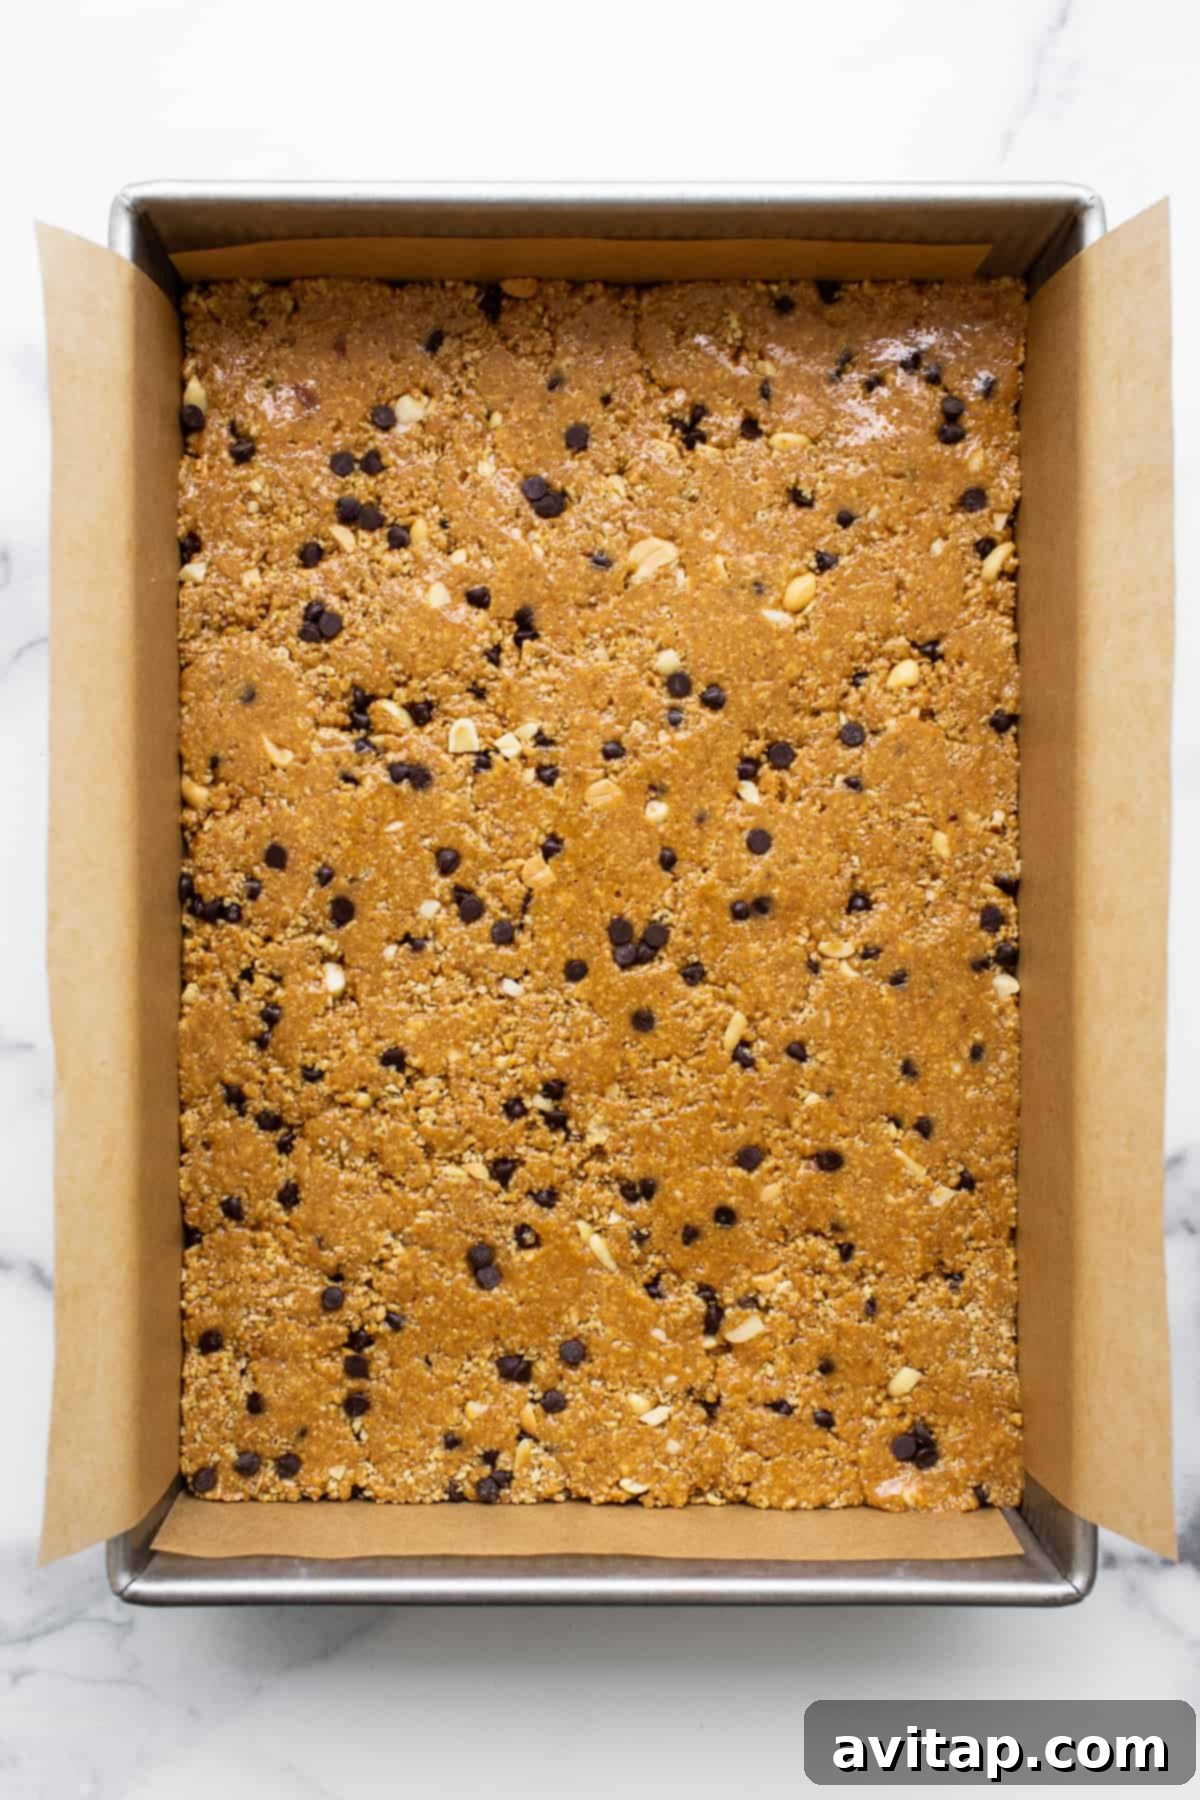
Step 4: Transfer and Firmly Press the Mixture
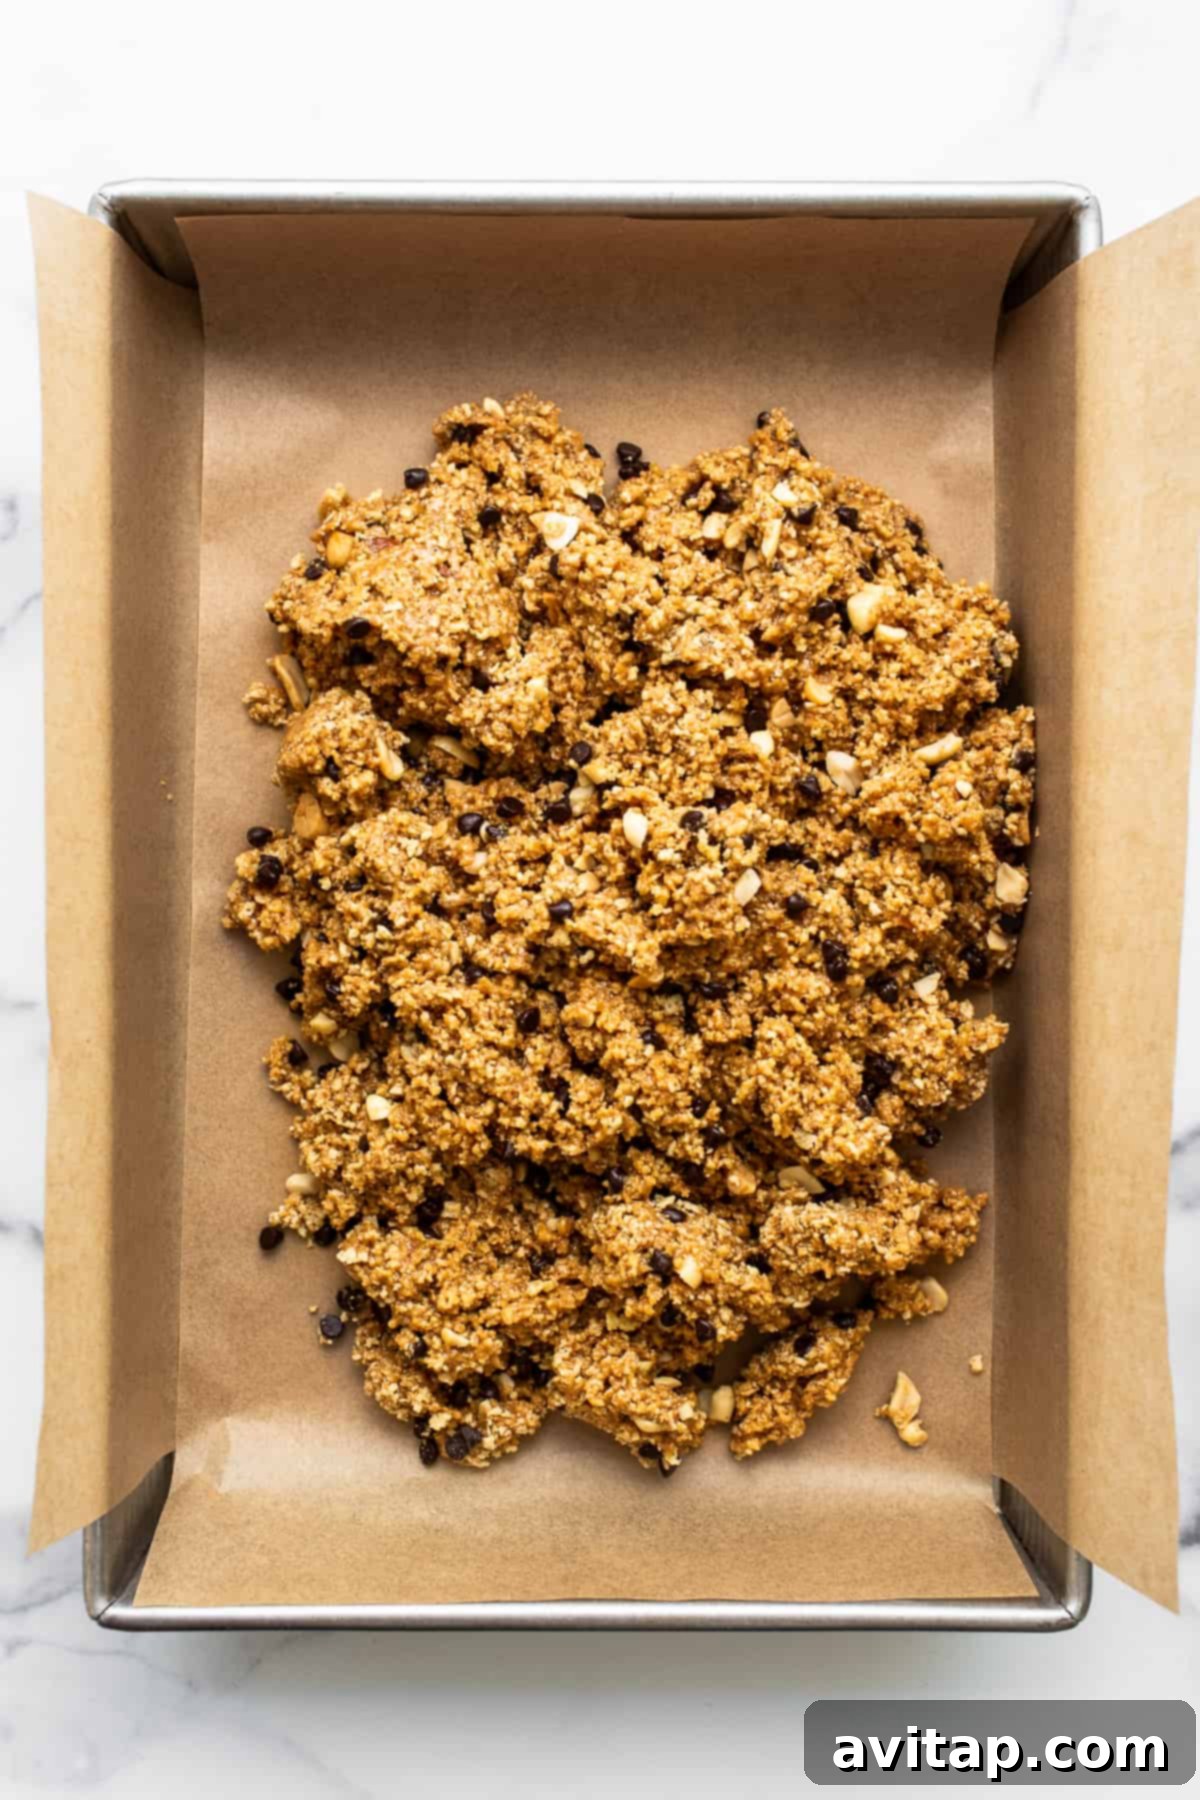
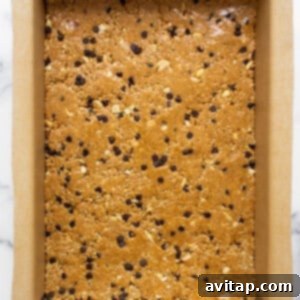
Carefully transfer the entire peanut butter mixture into your parchment-lined casserole dish. Now, using the back of a spatula, a flat bottomed glass, or your hands, spread the mixture evenly across the bottom of the pan. This step is crucial: apply firm and consistent pressure to truly press the mixture down. The more compactly you press it, the better the bars will hold their shape and the easier they will be to cut once set. Ensure there are no loose crumbs.
Step 5: Allow the Bars to Set Completely
Once the mixture is firmly pressed into the dish, place the entire dish into the freezer. Allow the bars to chill and set for a minimum of 1 to 2 hours. This freezing time is essential for them to firm up properly. After they are thoroughly set, remove the casserole dish from the freezer. Use the parchment paper overhang to gently lift the entire slab of bars out of the dish and onto a clean cutting board.
Step 6: Cut, Serve, and Savor!
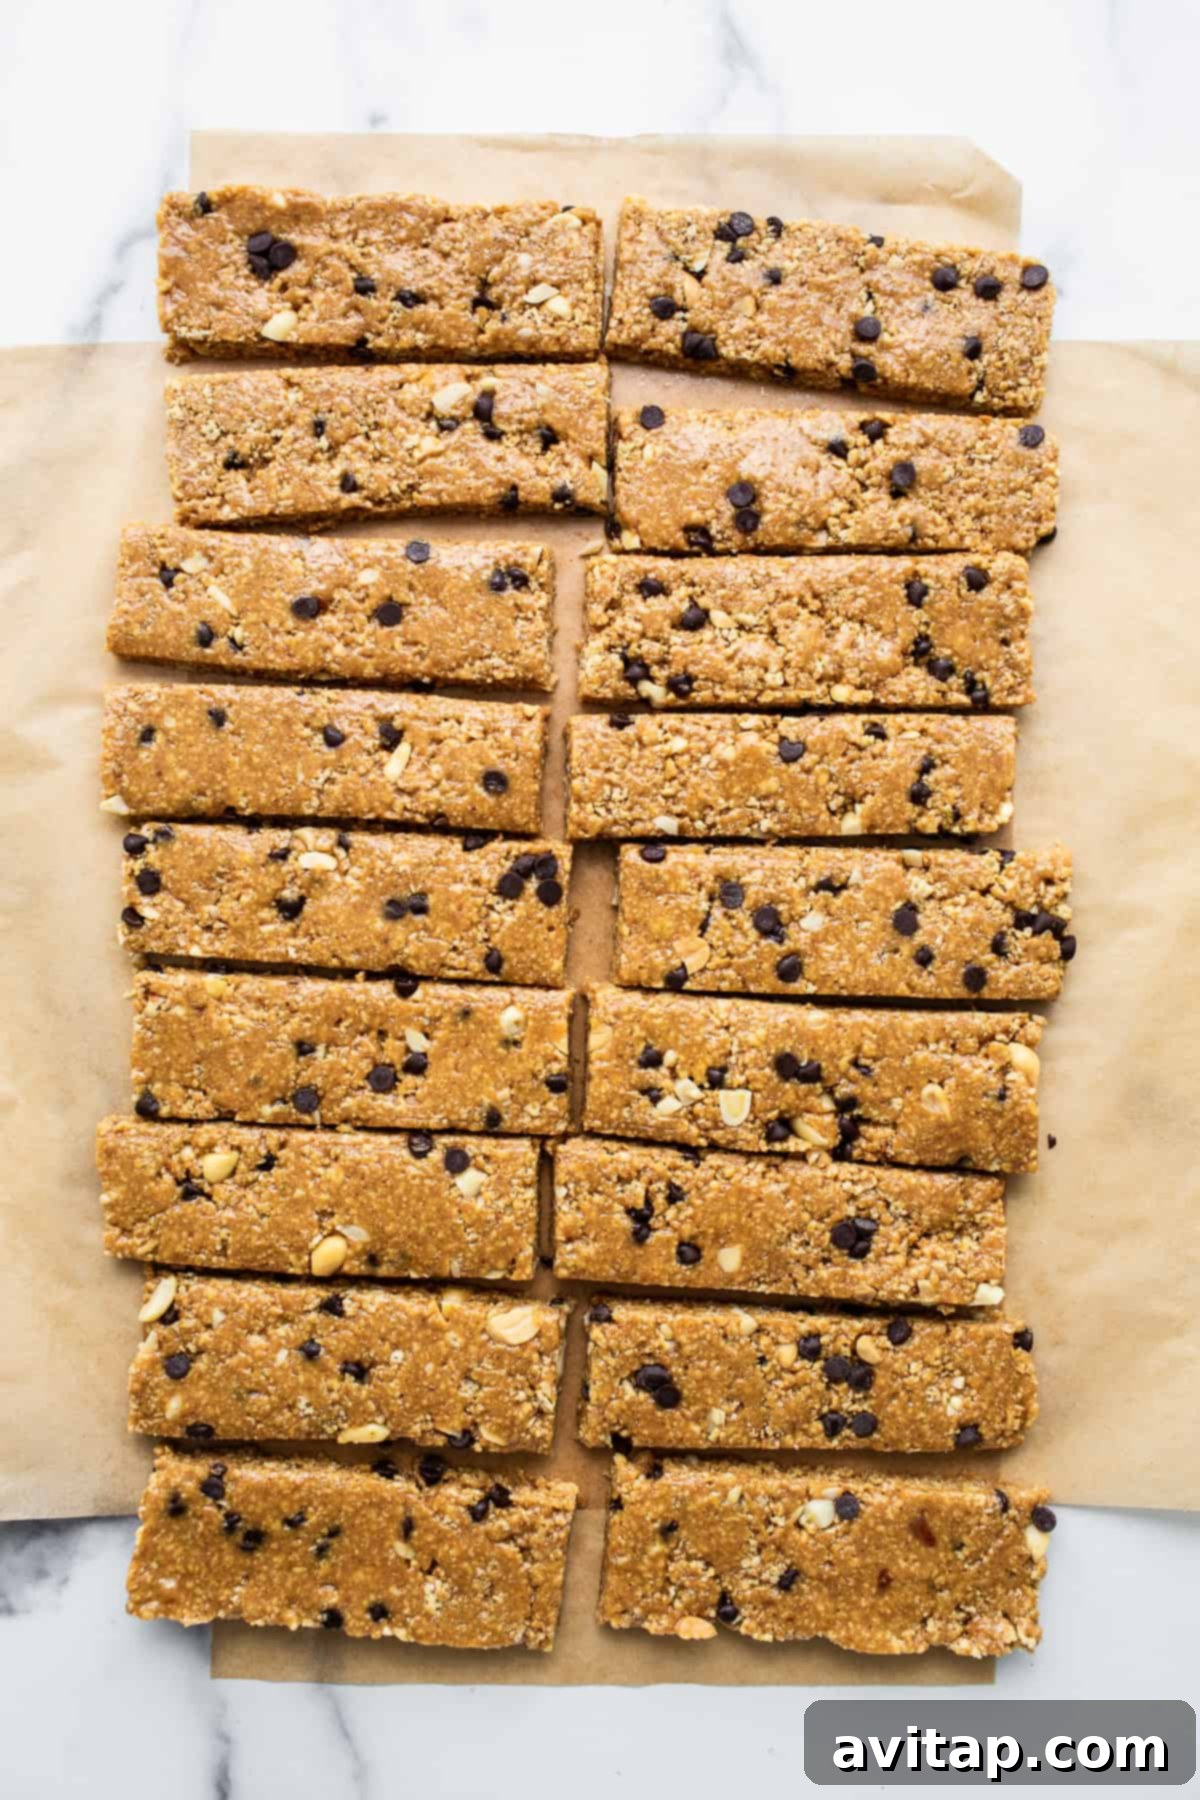
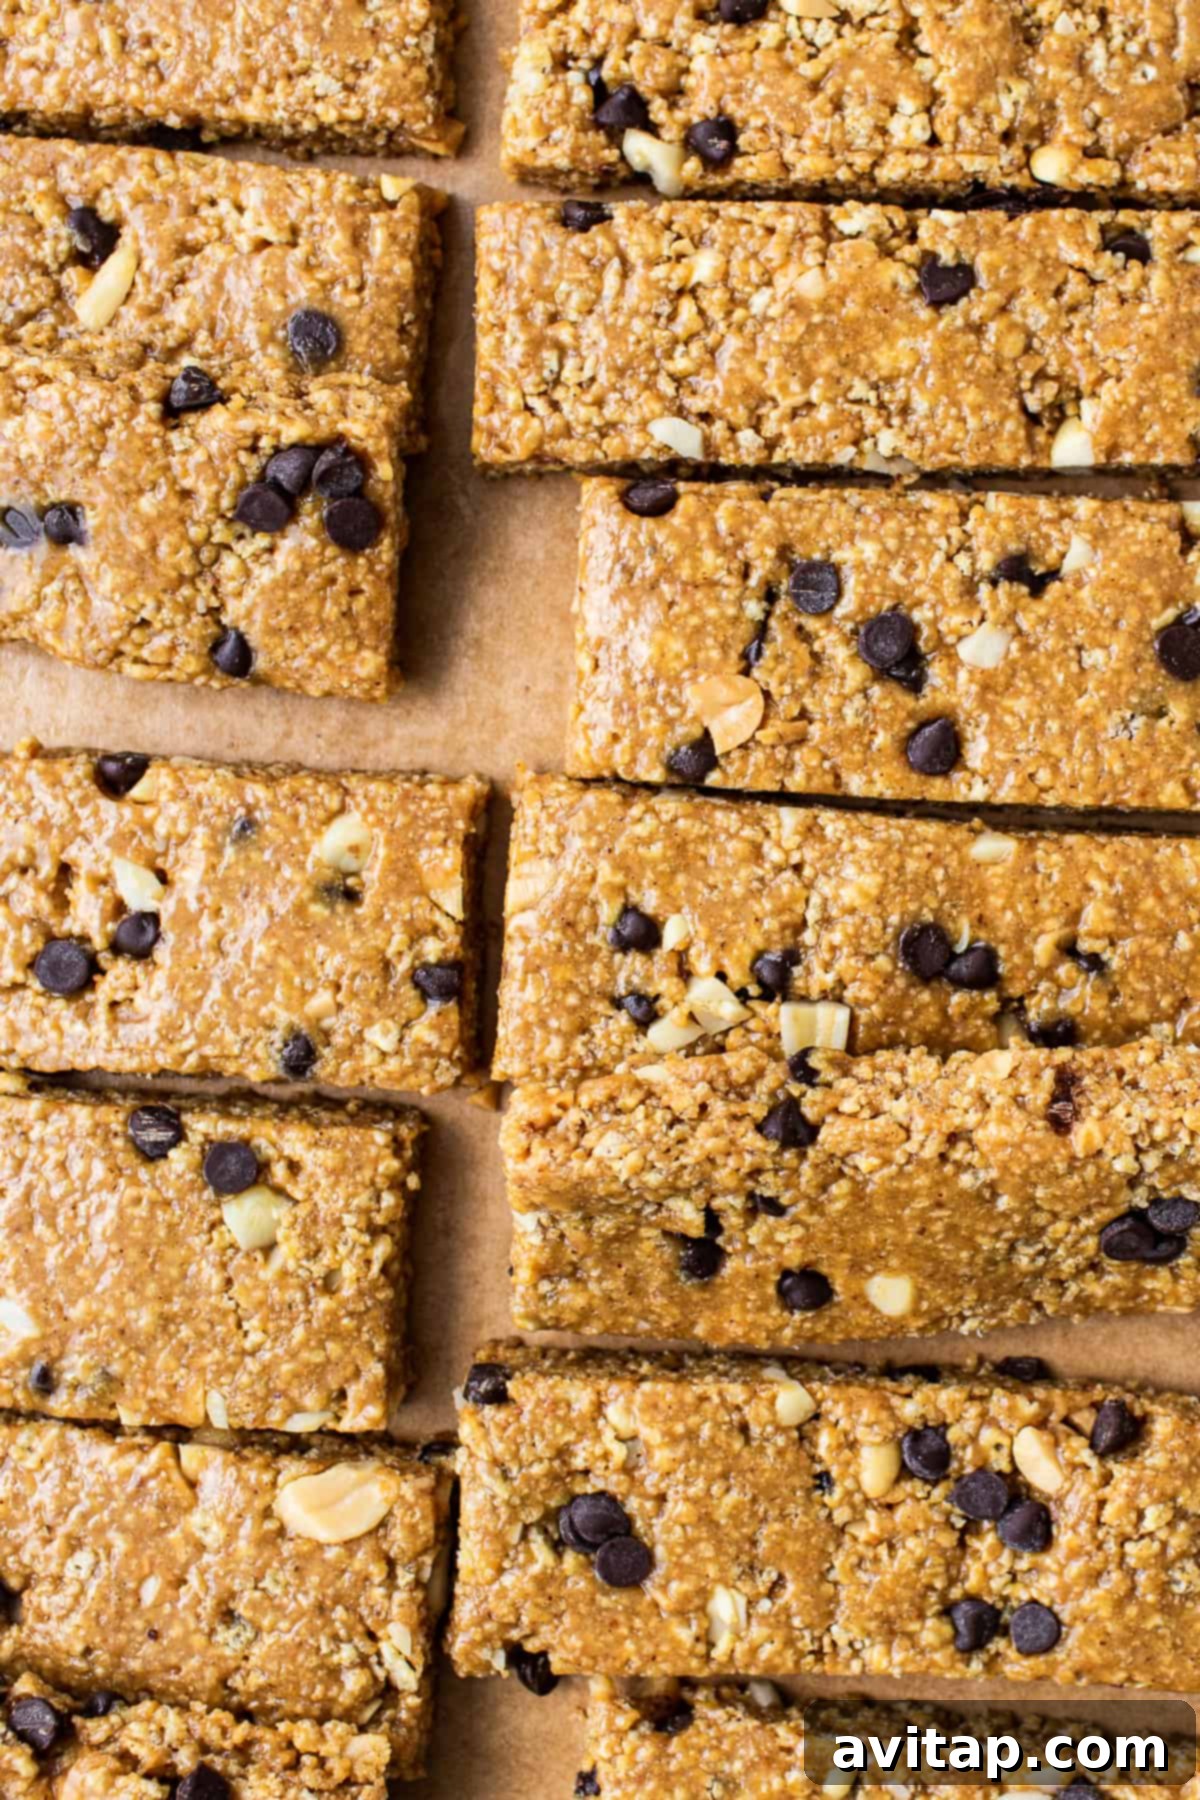
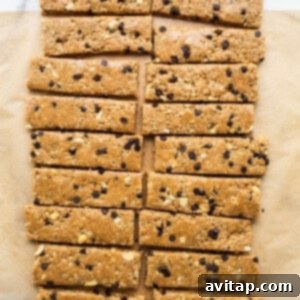
With the set slab of peanut butter bars on your cutting board, use a sharp knife to slice them into your desired shapes and sizes. Rectangles are a popular and practical choice, but feel free to get creative with squares or even smaller bite-sized pieces. Once cut, your crunchy, chewy, and utterly delicious no-bake peanut butter bars are ready to be served and enjoyed!
Expert Tips & Clever Tricks for Perfect Bars
Achieving the perfect no-bake peanut butter bar is simple, especially with a few insider tips:
- Adjusting the Mixture Consistency: If your “dough” mixture feels a little too dry and crumbly, preventing it from binding effectively, gradually add a touch more honey or brown rice syrup, one teaspoon at a time, until it reaches a sticky, workable consistency. Conversely, if it seems too wet, add a few more crushed Chex pieces or a tablespoon of oat flour.
- The Importance of Drippy Peanut Butter: As mentioned, the type of peanut butter you use makes a significant difference. Natural, drippy peanut butter with visible oil separation is crucial. The natural oils help to moisten and bind the ingredients together. If your peanut butter is stiff, gently warm it or mix in a teaspoon of melted coconut oil to achieve that essential drippy texture.
- Firm Compression is Key: Don’t underestimate the importance of pressing the mixture firmly and evenly into the pan. This compression ensures the bars are dense, hold together well, and are much easier to slice into clean, distinct pieces without crumbling.
- Chill Thoroughly: Patience is a virtue when making no-bake bars. Ensure they are fully set in the freezer for the recommended time. Rushing this step can lead to soft, crumbling bars that don’t hold their shape.
- Clean Cuts: For perfectly clean cuts, use a very sharp knife. You might even find it helpful to run the knife under hot water and wipe it dry between slices, especially if the bars are very firm from the freezer.
- Flavor Variations: Feel free to customize! Add a pinch of cinnamon or nutmeg for a warm spice flavor. Stir in some shredded coconut, flax seeds, chia seeds, or even a different type of chopped nut for added texture and nutrition.
Frequently Asked Questions (FAQs) About No-Bake Peanut Butter Bars
Absolutely! For a delicious nut-free version, simply substitute the peanut butter with an equal amount of sunflower seed butter (like SunButter) or a tahini paste. Keep in mind that these alternatives will impart a slightly different flavor profile compared to traditional peanut butter, but they will still be incredibly tasty!
Yes, these peanut butter bars are excellent for meal prep and long-term storage in the freezer. Once your bars have fully set and been cut into individual portions, place them in an airtight container with parchment paper separating the layers to prevent sticking. They can be stored in the freezer for up to 4 months. Thaw them in the refrigerator or enjoy them straight from the freezer for a super-chilled treat.
While creamy, drippy peanut butter is recommended for ease of mixing and binding, you can certainly use crunchy peanut butter if you prefer extra texture. The key is to ensure it still has a drippy consistency. If your crunchy peanut butter is very thick, you might need to add a few teaspoons of melted coconut oil or gently warm it to make it more pourable and easier to incorporate into the mixture. This will help the bars form properly.
Yes, this recipe is naturally gluten-free as long as you use certified gluten-free Rice Chex cereal and ensure all other ingredients (like peanut butter, chocolate chips) are also verified gluten-free. Always check ingredient labels to be certain.
To make these bars fully vegan, you would need to substitute the honey with another liquid sweetener like maple syrup or agave nectar. Additionally, ensure your chocolate chips are dairy-free or vegan-friendly.
Storage Solutions for Your No-Bake Bars
Proper storage ensures your no-bake peanut butter bars remain fresh, delicious, and ready to enjoy whenever a craving strikes:
- In the Refrigerator: Once cut, store your peanut butter chocolate bars in an airtight container in the refrigerator. They will maintain their freshness and delightful texture for 2-3 weeks. For best results, place parchment paper between layers of bars to prevent them from sticking together.
- For Freezing: These bars freeze beautifully! To freeze, arrange the cut bars in a single layer on a baking sheet and flash freeze them for about 30 minutes until solid. Then, transfer them to a freezer-safe bag or an airtight container, removing as much air as possible to prevent freezer burn. They can be stored in the freezer for up to 3 months. When ready to eat, simply thaw a bar in the refrigerator for a few minutes or enjoy it straight from the freezer for a firmer, colder treat.
Discover More of Our Favorite…
Effortless No-Bake Recipes
If you’ve fallen in love with the simplicity and deliciousness of these no-bake peanut butter bars, you’re in for a treat! Our collection of no-bake recipes is perfect for satisfying your cravings without turning on the oven. Explore these other fantastic options:
- No-Bake Cookie Dough Energy Bites
- No-Bake Chocolate Oatmeal Cookies
- No-Bake Protein Thumbprint Cookies
- Chocolate No-Bake Peanut Butter Balls
- Healthy Peanut Butter No-Bake Cookies
- No-Bake Chocolate Coconut Energy Bars
No Bake Peanut Butter Bars
Craving a healthy, protein-packed snack that’s ready in no time? These no-bake peanut butter bars are crunchy, sweet, salty, and incredibly easy to make, destined to become your new favorite treat!
Prep Time: 2 hours
Total Time: 2 hours
Servings: 18 bars
Ingredients
- 6 cups rice Chex cereal
- 1 cup natural drippy peanut butter*
- ½ cup brown rice syrup
- ½ cup honey (buy honey)
- ⅓ cup chopped peanuts, roasted and salted
- ⅓ cup mini chocolate chips (buy mini chocolate chips)
- ½ teaspoon kosher salt (buy kosher salt)
Instructions
- Line a 9×13-inch casserole dish with parchment paper, leaving an overhang on the sides for easy removal. Set aside.
- Add the Rice Chex cereal to a food processor and pulse until they break up into small, coarse pieces. If you don’t have a food processor, place the Chex in a large sealed bag and crush them by hand or with a rolling pin.

- In a large bowl, combine the peanut butter, brown rice syrup, and honey. Mix until well combined into a smooth, “batter-like” consistency. Pour the crushed Chex pieces, chopped peanuts, and mini chocolate chips into the peanut butter mixture. Mix thoroughly until all ingredients are completely coated. For easier mixing, you may lightly wet your hands.
- Pour the mixture into the prepared dish. Use your hands or a spatula to spread and firmly press the mixture evenly along the bottom of the pan. Ensure it is very compact so the bars hold together well.
- Place the dish in the freezer for 1-2 hours to allow the bars to set completely. Once firm, remove the dish and gently lift the entire slab of bars out using the parchment paper handles. Place the slab on a large cutting board and use a sharp knife to cut into your desired shapes (rectangles are recommended).
- Store the finished bars in an airtight container in the refrigerator or freezer.
Tips & Notes
*Drippy peanut butter is very important for this recipe’s success. We recommend all-natural creamy brands like Smucker’s or Trader Joe’s. If your peanut butter is thick, you may need to add a few teaspoons of melted coconut oil to achieve a drippy consistency, making it easier to mix and bind the bars.
Nutrition Information
(Approximate values per serving)
- Calories: 205 kcal
- Carbohydrates: 28 g
- Protein: 5 g
- Fat: 10 g
- Fiber: 1 g
- Sugar: 18 g
Nutrition information is automatically calculated and should be used as an approximation only.
Loved This Recipe? Share Your Thoughts!
We’d love to hear about your experience making these no-bake peanut butter bars! Please leave a comment below and let us know how they turned out.
Don’t forget to tag your delicious creations on social media with the hashtag #fitfoodiefinds – we’re always excited to see what you’re cooking up!