
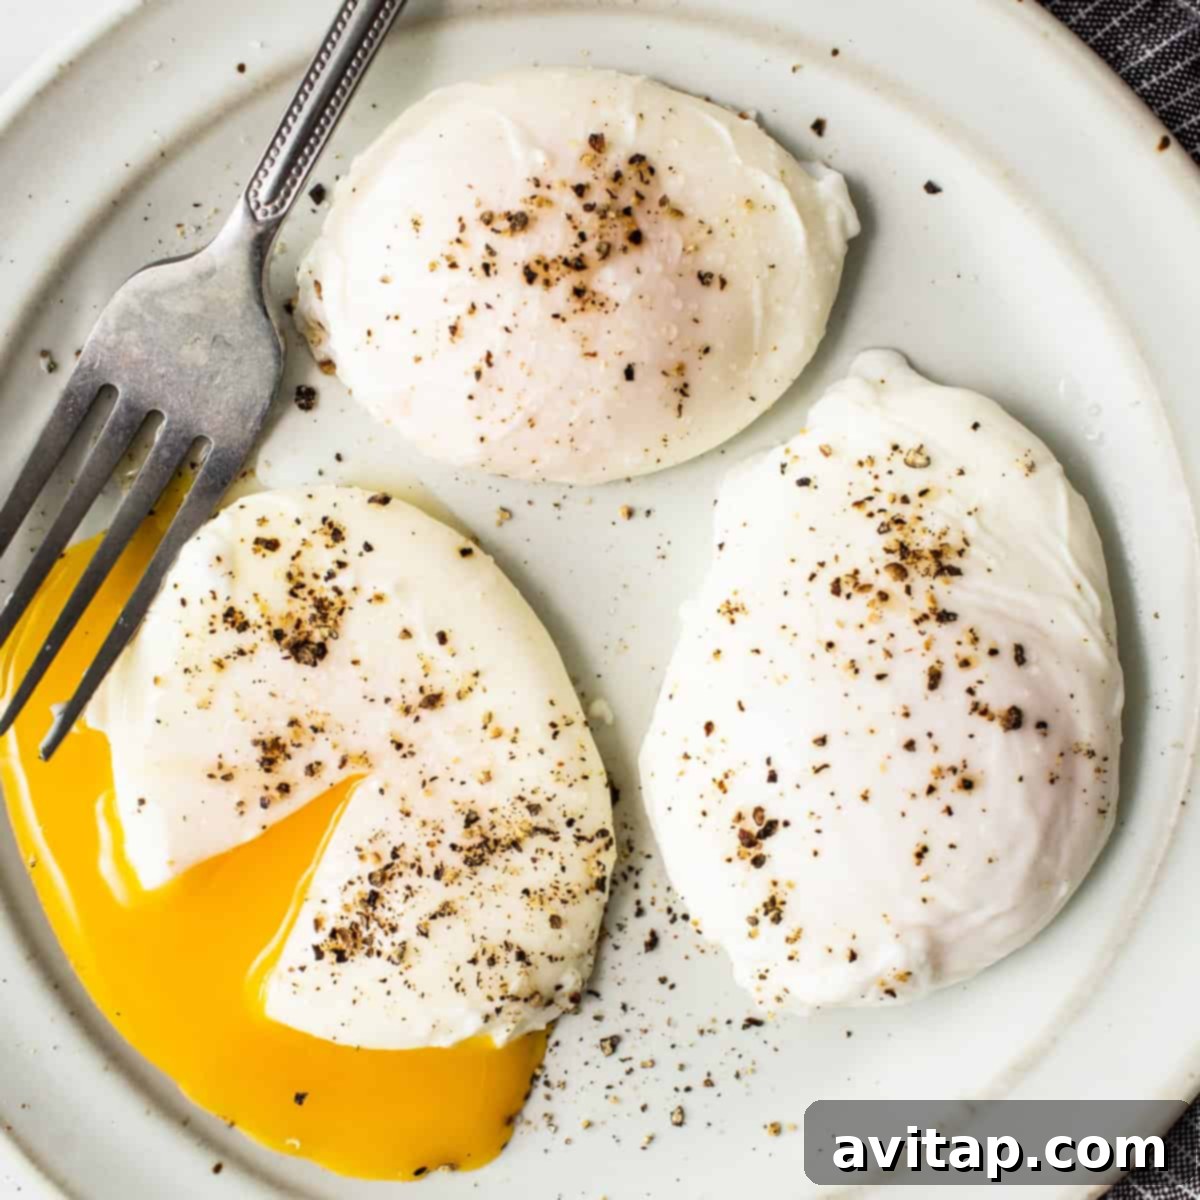
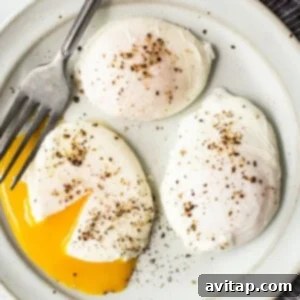
Unlock the secret to creating **perfectly poached eggs** with this comprehensive guide! Whether you’re a complete novice in the kitchen or looking to refine your technique, this simple, step-by-step method guarantees impeccably firm whites and a luxuriously oozy, golden yolk every single time. Forget the intimidation; mastering poached eggs is easier than you think, and we’re here to show you how.
With just a few expert tips and a little practice, you’ll be consistently crafting delicious, restaurant-quality poached eggs in no time, ready to elevate any breakfast or brunch.
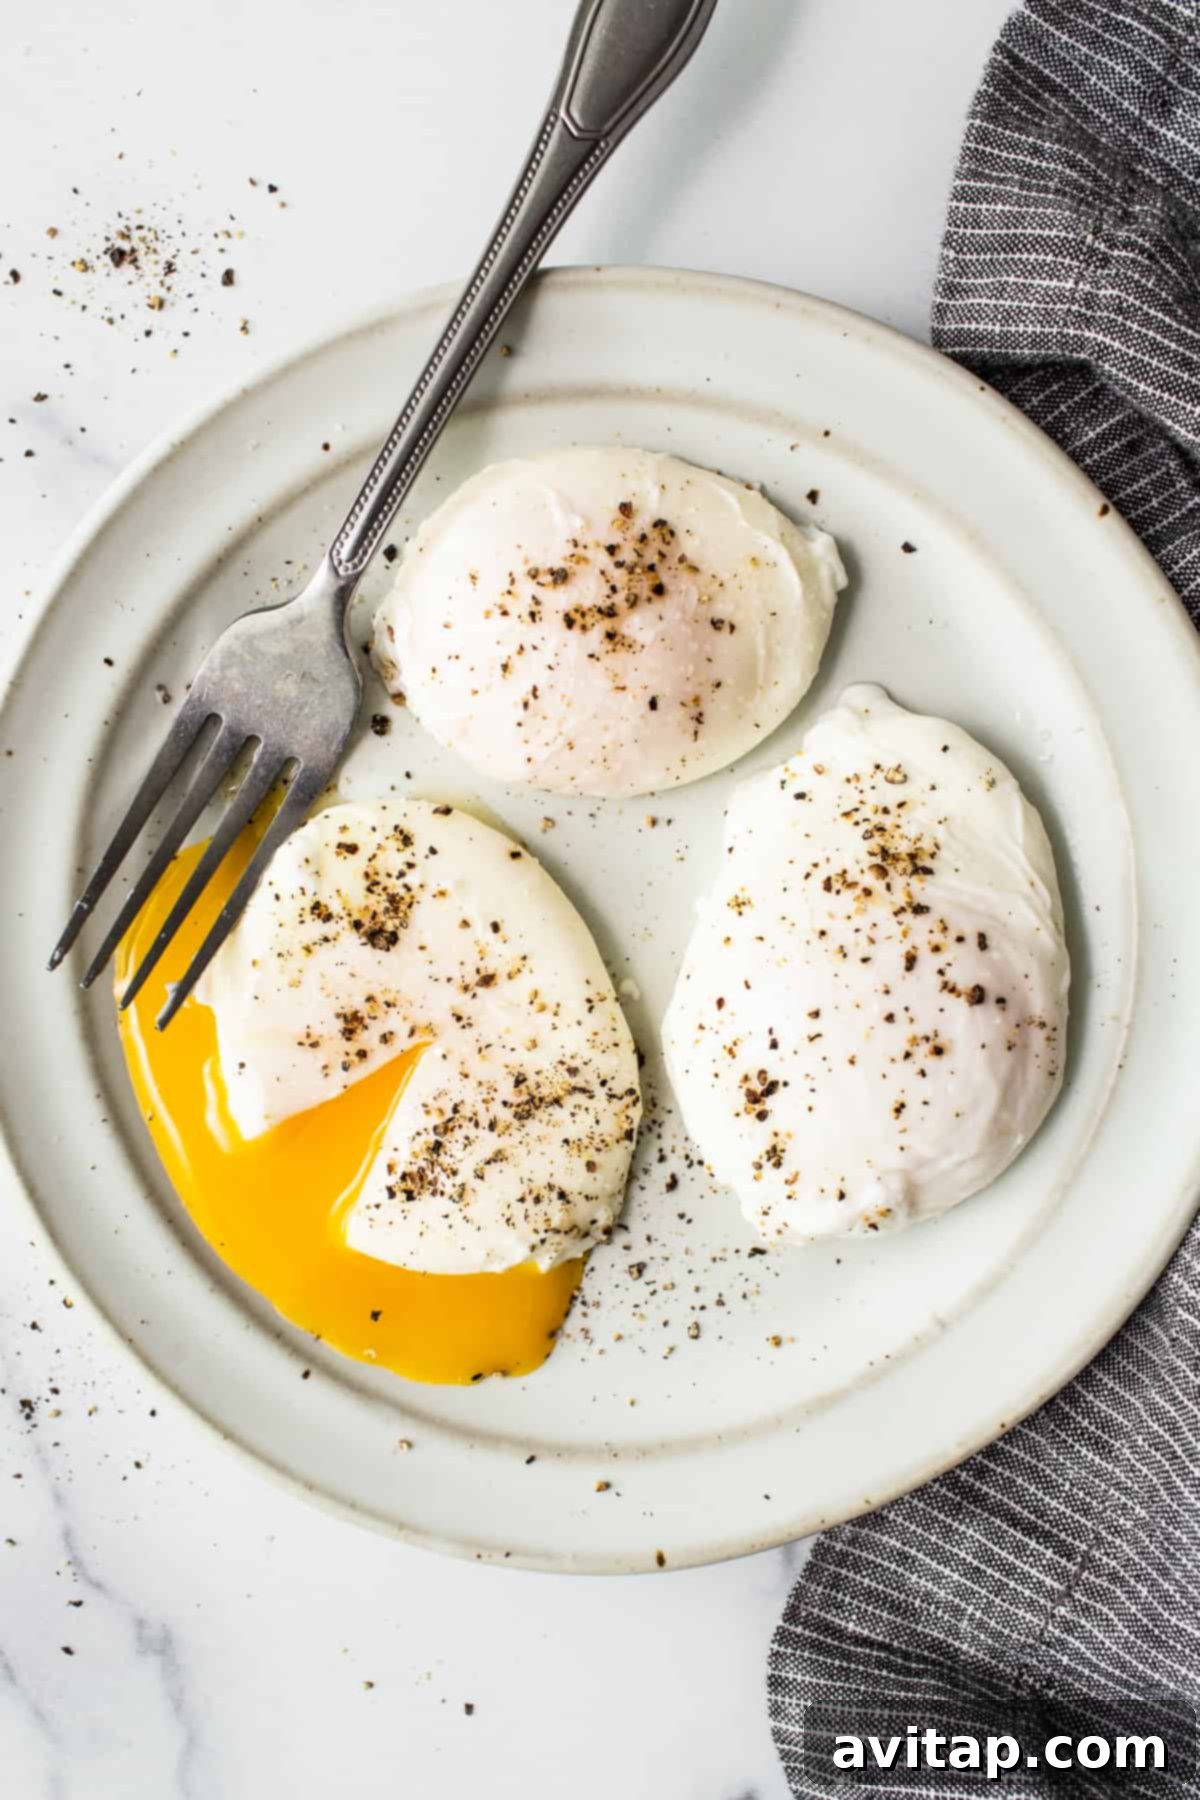
The Ultimate Guide to Perfect Poached Eggs: Achieve Oozy Yolks Every Time
For many, the thought of poaching an egg conjures images of delicate culinary artistry, a technique reserved for professional chefs. Concerns about getting the water temperature just right, achieving that flawless whirlpool motion, or dealing with unruly wisps of egg white can make the process seem daunting. It’s true that a few attempts might be needed to get your poached eggs looking and tasting exactly as you desire.
However, there’s good news! We’ve taken all the guesswork, trial, and error out of the equation for you. Our refined method means you can skip straight to the enjoyable part: effortlessly cooking and savoring a truly delicious, perfectly poached egg that will impress both yourself and your guests.
Why This Foolproof Poached Egg Recipe Will Be Your New Favorite
- Our clear, step-by-step instructions ensure beautifully cooked poached eggs with consistent results.
- Prepare for that coveted combination of jammy, runny yolks encased in tender, set egg whites. Pure perfection!
- We’re also sharing ideal recipe pairings to help you craft a truly well-rounded and delightful breakfast or brunch spread.
What Are Poached Eggs and Why Are They So Good?
A poached egg is an egg carefully cooked out of its shell in simmering water until the whites are set and the yolk remains wonderfully soft and runny. This elegant cooking method is often celebrated for its delicate texture and rich flavor, offering a gourmet touch to any meal. Unlike other cooking methods that might require various fats or oils, poaching involves cooking the egg directly in water, preserving its natural moisture and nutrients.
Beyond the sheer satisfaction of cutting into a perfectly oozy yolk encased in fluffy egg whites, there’s a lot to love about poached eggs. They are not just a treat for the palate but also a fantastic choice for a healthy lifestyle. This cooking technique eliminates the need for any added fats like butter or oil, which are typically required when frying eggs in a pan. By cooking directly in water, poached eggs become a delicious, naturally low-calorie, and virtually fat-free alternative, making them an excellent protein source for health-conscious individuals.
The Health Benefits of Poached Eggs
Poached eggs stand out as one of the healthiest ways to enjoy eggs. Without any added oil or butter, they retain all their nutritional value while keeping the calorie count low. Eggs themselves are a powerhouse of essential nutrients, including high-quality protein, vitamins D, B6, B12, and minerals like selenium, zinc, and iron. Poaching ensures that these delicate nutrients are preserved, making them an ideal choice for a balanced diet. Incorporating poached eggs into your meals can contribute to satiety, support muscle health, and provide sustained energy throughout your day, all without the extra fat.
Essential Equipment for Perfect Poached Eggs
Many believe that creating something as seemingly gourmet as a poached egg would demand a collection of specialized kitchen gadgets. However, this couldn’t be further from the truth! You likely already possess everything required to craft the perfect poached egg with ease. All you truly need is:
- A Pot: A medium to large pot, deep enough to hold several inches of water, is essential for simmering your eggs.
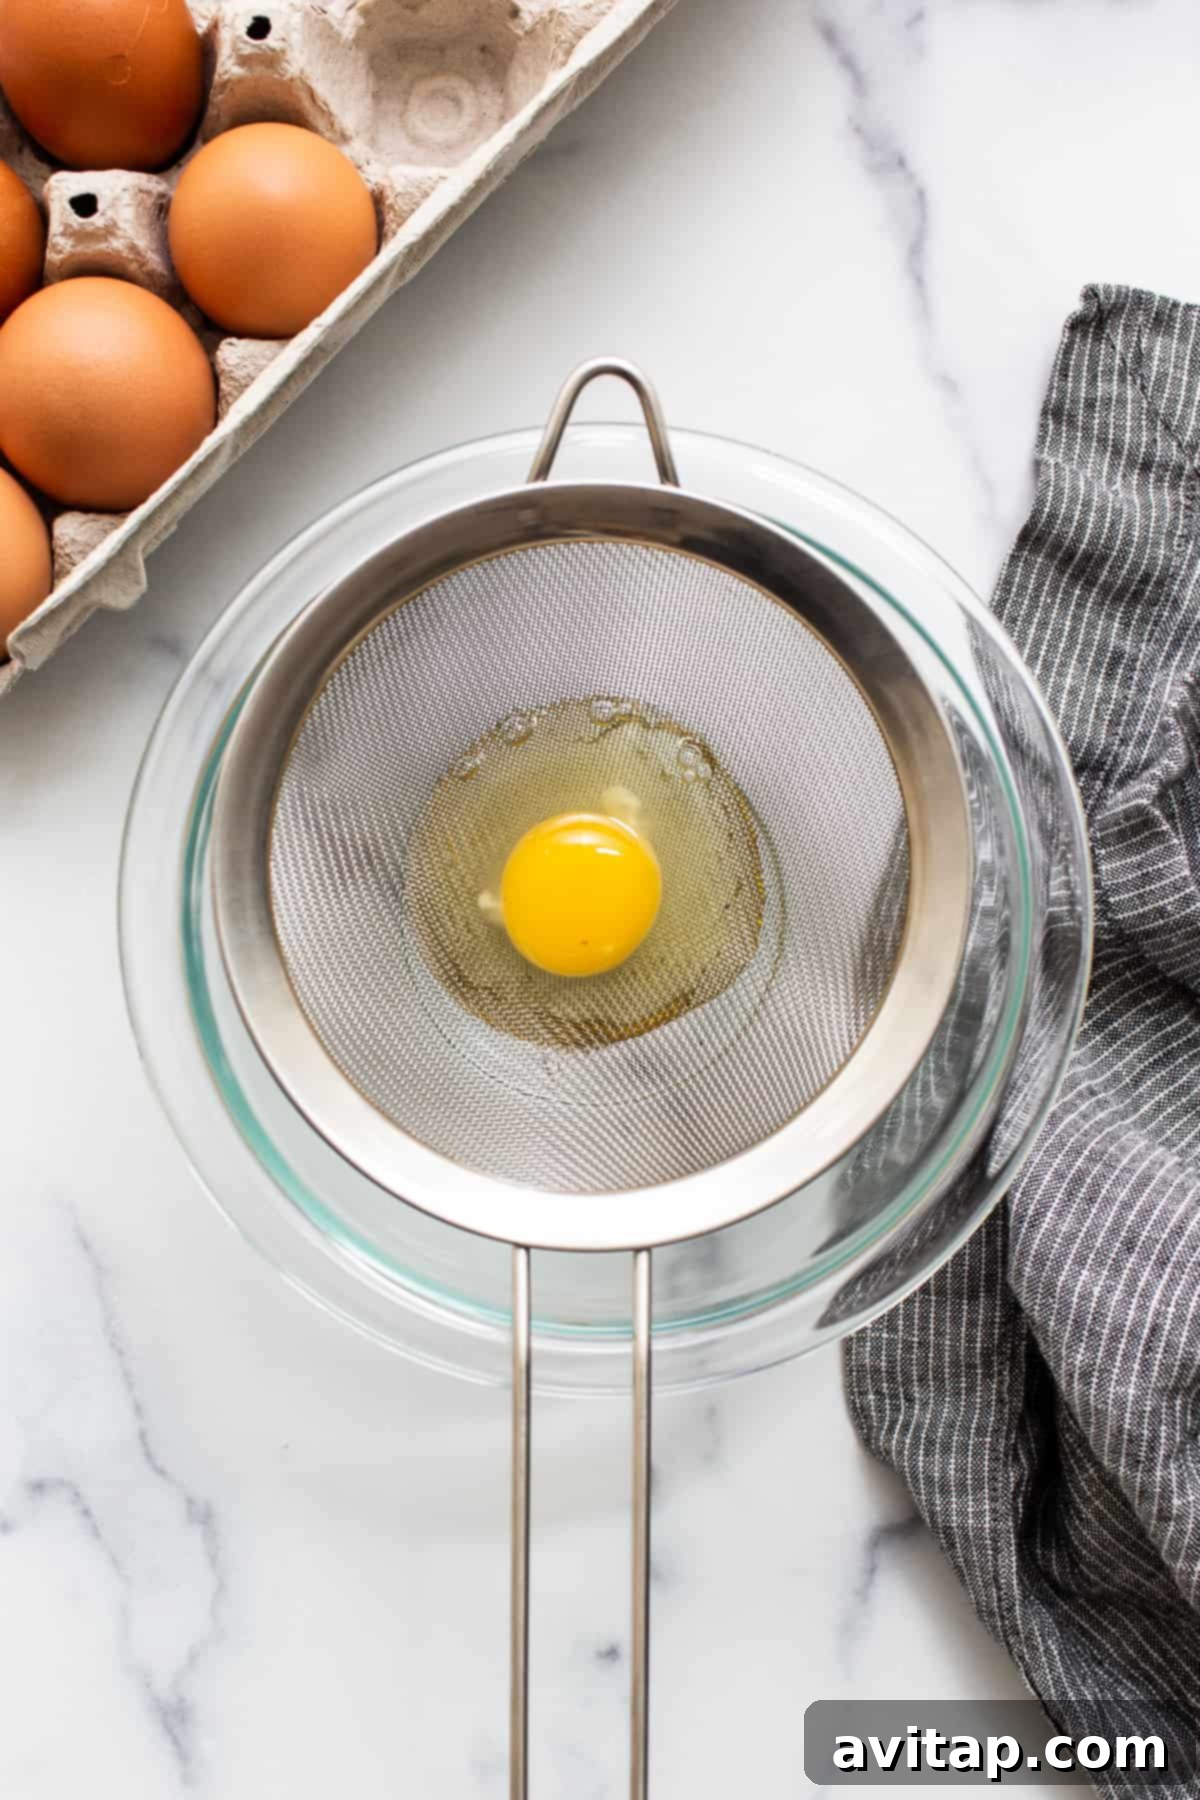
- A Fine Mesh Strainer: This is a game-changer! It’s crucial for separating the loose, watery egg whites from the firmer, more desirable whites, leading to a much neater poached egg.
- A Small Bowl: Used beneath the strainer to catch the excess egg white.
- A Slotted Spoon: Perfect for gently lowering eggs into the water and carefully removing them without damage.
While specialized egg poaching cups or rings can be helpful, they are by no means necessary. Our method ensures fantastic results even without these extra tools, proving that simple equipment is all you need for culinary excellence.
How to Make Perfect Poached Eggs: A Step-by-Step Guide
Achieving poached egg perfection is a straightforward process when you follow these clear instructions. We’ll guide you through each stage to ensure your eggs turn out flawlessly.
Step 1: Prepare Your Water and Pot
Begin by filling a large pot with about 4-6 inches of water. Add a generous pinch of salt to the water, which not only seasons the eggs slightly but can also help with the setting of the whites. Bring the salted water to a rolling boil over high heat. Once it reaches a vigorous boil, immediately reduce the heat to the lowest possible setting. The goal is to maintain a gentle simmer with small, occasional bubbles, not a rapid boil. Overly agitated water can cause the egg whites to scatter and break apart. If desired, you can add 1-2 teaspoons of white vinegar or lemon juice to the water at this stage; the acidity helps the egg whites coagulate faster and hold their shape better, especially with older eggs.
Step 2: Strain Your Egg for Flawless Whites
This is a critical step for achieving beautifully compact poached eggs without any wispy, feathery edges. Take your fine mesh strainer and place it over a small, empty bowl. Carefully crack one egg into the strainer. Allow the egg to sit in the strainer for about 15-30 seconds. During this time, you’ll observe a thin, watery portion of the egg white draining through the mesh into the bowl below. This watery part is what typically creates those undesirable “wisps” in poached eggs. By removing it, you’re left with a tighter, more cohesive egg white that will set perfectly around the yolk.
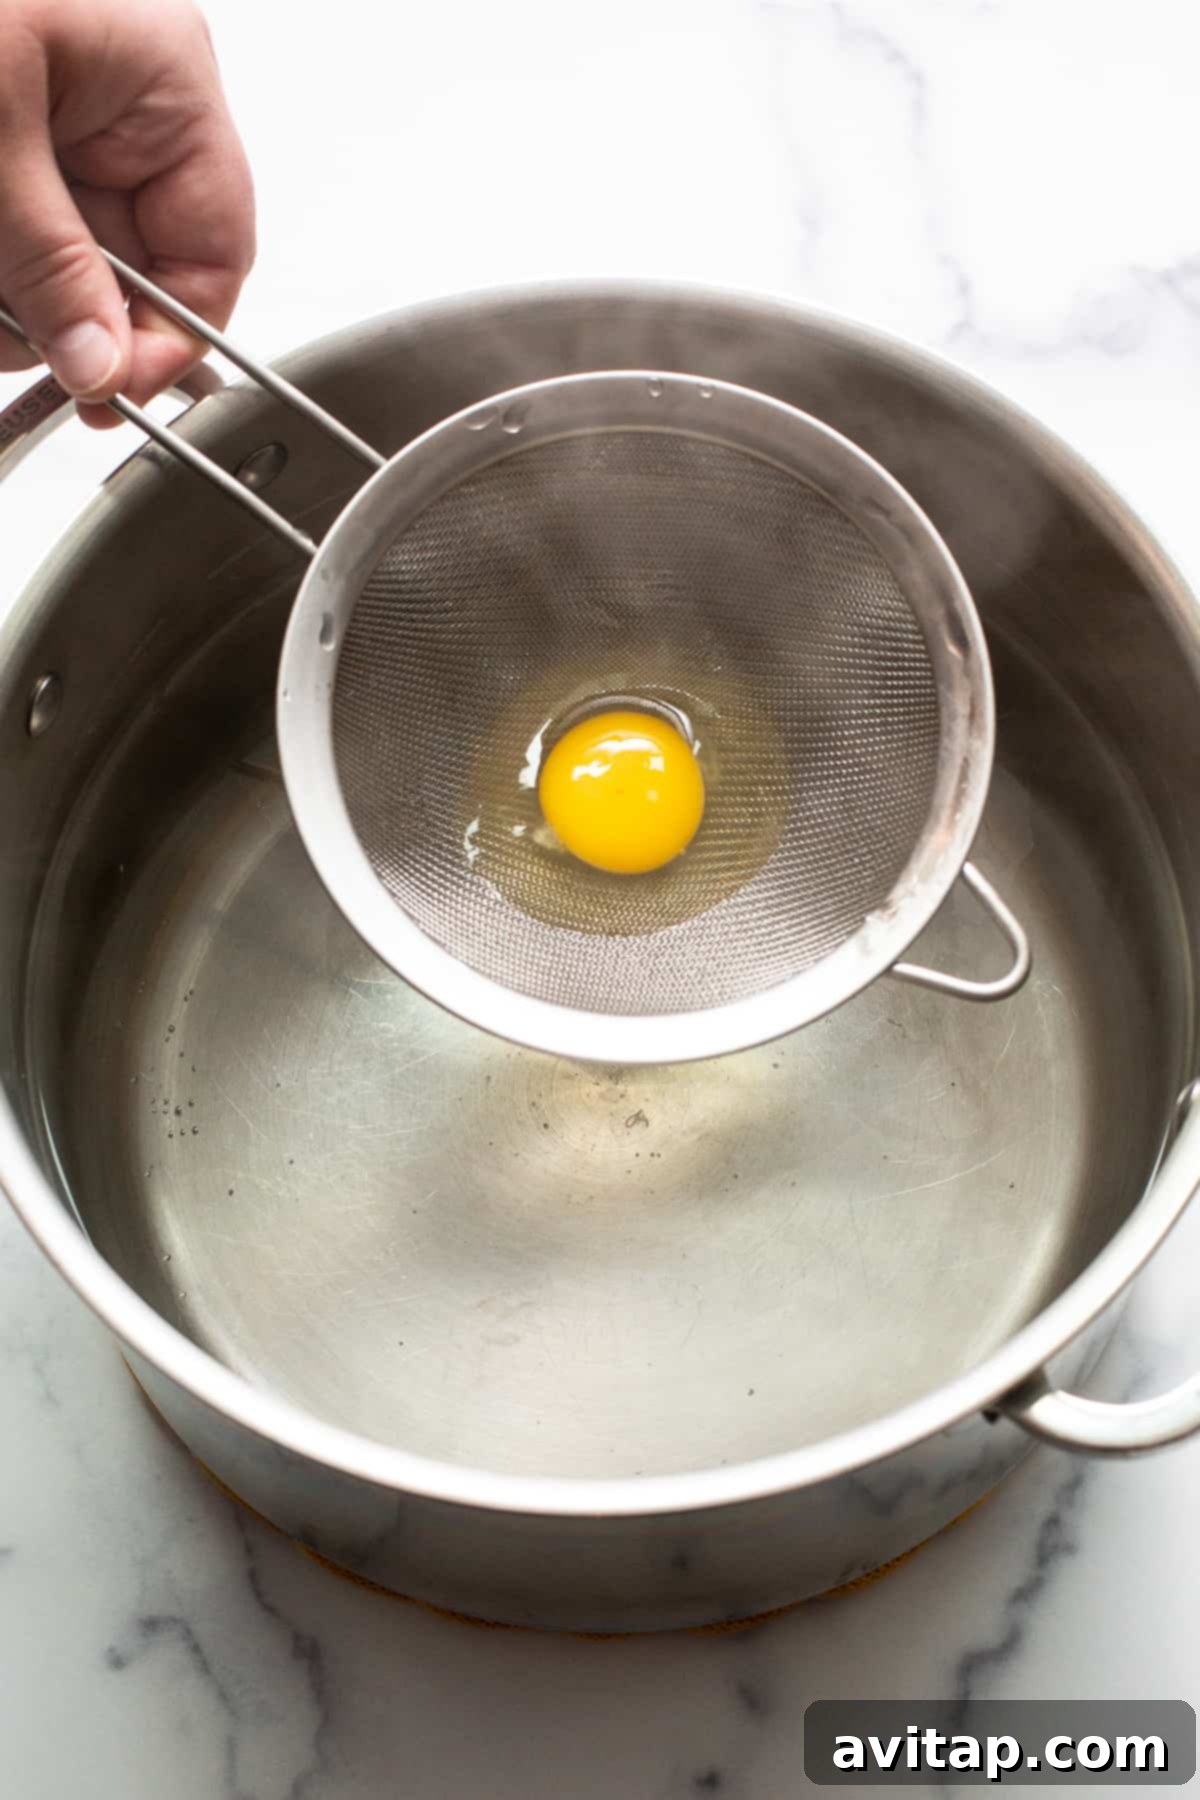
Step 3: Gently Add and Cook the Egg
Once the excess white has drained, carefully take the entire mesh strainer (with the perfectly formed egg inside) and gently lower it into the simmering water. Allow the egg white to begin to set slightly within the strainer for about 15-20 seconds. This initial setting helps the egg maintain its shape. After this brief period, gently tip the strainer into the water to release the egg completely. The pre-set egg white should now gracefully fold over the egg yolk, creating a neat, compact poached egg.
Step 4: The Whirlpool Technique for a Beautiful Shape
Now for the iconic whirlpool! With a spoon, gently stir the water in a circular motion around the pot. This creates a soft current that helps the egg white gather tightly around the yolk as it cooks, resulting in that classic, aesthetically pleasing poached egg shape. After a few moments, stop stirring. Once the egg’s movement starts to slow down, you can give it another gentle stir if needed. Let the egg poach for approximately 3-4 minutes for a beautifully runny, jammy yolk with fully set whites. If you prefer a slightly firmer yolk, allow it to cook for an additional minute (4-5 minutes total). For a completely firm, solidified yolk, extend the cooking time to 5-6 minutes. The best way to check for doneness is to carefully remove an egg with a slotted spoon and give it a very gentle prod; the whites should be firm, and the yolk should have a slight give if you want it runny.
Once your egg reaches your desired consistency, carefully lift it out of the water with a slotted spoon. Repeat this process with your remaining eggs, one at a time, or two if your pot is large enough to prevent them from crowding. Congratulations! You are now officially a master of poaching eggs.
Make-Ahead and Reheat Poached Eggs for Easy Meals
Poached eggs aren’t just for immediate consumption; they can also be prepared in advance, making them perfect for entertaining a crowd or for convenient meal prep throughout the week. This easy method ensures your make-ahead eggs remain as fresh and delicious as the moment they were cooked.
- Immediately Cool Eggs: As soon as you remove a poached egg from the hot water, *immediately* transfer it to a bowl filled with ice-cold water (an ice bath). This rapid cooling process halts the cooking, preventing overcooked yolks and helping the eggs maintain their ideal texture. Add more cold water or ice as needed to keep the bath chilled until all eggs are thoroughly cooled.
- Store Properly: Once completely cooled, carefully transfer your poached eggs to an airtight container. Arrange them in a single layer if possible, or separate layers with parchment paper to prevent sticking. Fill the container with fresh, cold water, ensuring the eggs are fully submerged. Refrigerate for up to 5 days, making them a fantastic grab-and-go option for busy mornings.
- Reheat Gently: To reheat your pre-poached eggs, gently remove them from the cold water. Place them in a bowl of hot (not boiling) water for 2 to 3 minutes. The goal is to warm them through without cooking them further. **Avoid placing them directly into boiling water,** as this will undoubtedly overcook the yolks. Ensure there’s enough hot water to fully immerse the eggs for even reheating.
- Serve Fresh: When ready to serve, carefully scoop the warmed eggs out of the water with a slotted spoon. Gently pat them dry with a paper towel to remove excess moisture, then serve immediately atop your favorite dishes.
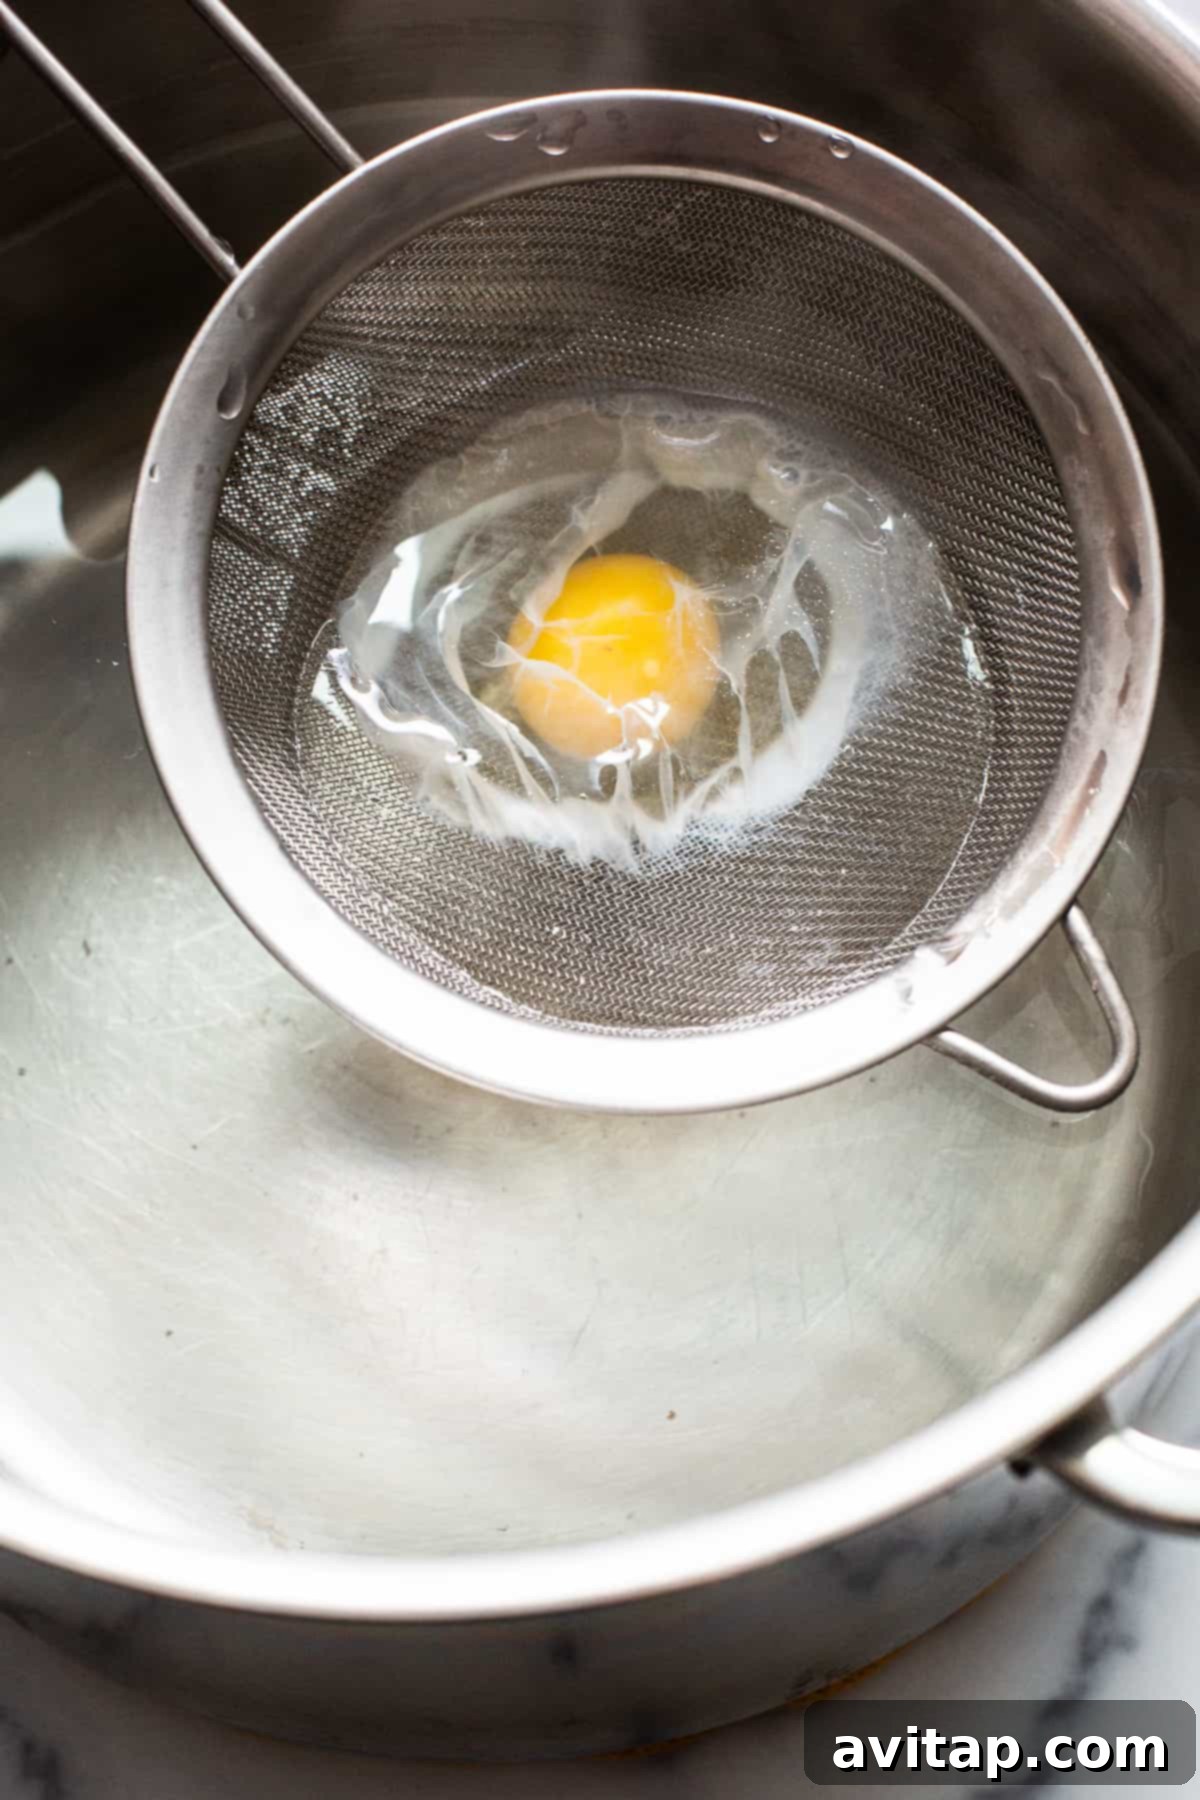
Top Tips for Poached Egg Perfection
While our step-by-step guide covers the essentials, these additional insights will elevate your poached egg game even further, ensuring consistently perfect results:
- Use Fresh Eggs: This cannot be stressed enough! The fresher your eggs, the better they will poach. Fresh eggs have thicker whites that hold their shape much better and are less likely to spread or create wisps in the water. Always check the date on your eggs and opt for the freshest available.
- Don’t Skip the Strainer: As demonstrated in our method, using a fine mesh strainer to remove the thin, watery outer layer of egg white makes an enormous difference. This simple step eliminates the unsightly wisps and ensures a beautifully compact, clean-looking poached egg.
- Maintain Ideal Water Temperature: The “gentle simmer” is key. If the water is too hot and boiling rapidly, the egg will be jostled around, causing the whites to break apart and disperse. If the water isn’t hot enough, the egg whites will dissolve before they can set, resulting in a cloudy pot of water and no egg! Aim for water that is barely bubbling.
- Consider Vinegar or Lemon Juice: While not strictly necessary with very fresh eggs and proper technique, adding a teaspoon or two of white vinegar or lemon juice to your poaching water can be beneficial. The acidity helps the egg whites set more quickly and firmly, providing extra insurance for a well-formed egg. You won’t taste it in the final product.
- Know Your Cook Times: Poaching times vary depending on the size of your egg and your desired yolk consistency. We tested this recipe with both medium and large eggs, finding slight variations. Generally, 3-4 minutes yields a runny yolk, while 4-5 minutes results in a jammy, slightly firmer yolk. Experiment to find your personal preference!
Frequently Asked Questions About Poached Eggs
How long do you poach eggs?
The cooking time for poached eggs largely depends on your preference for yolk consistency. For a very soft and deliciously runny yolk, typically 2-3 minutes of poaching is sufficient. If you prefer a slightly firmer but still wonderfully jammy yolk, aim for about 4 minutes. For a fully set, harder yolk, you might need to extend the cooking time to 5-6 minutes. The best way to gauge doneness is to gently lift an egg from the water with a slotted spoon and give it a light prod with a teaspoon. The whites should feel firm, and the yolk’s give will tell you its consistency.
Do you need vinegar to poach an egg?
No, vinegar is not strictly necessary to poach an egg, especially if you are using very fresh eggs and maintaining the correct water temperature. However, many chefs and home cooks prefer to use it. The acidity in vinegar or a substitute like lemon juice helps the egg whites coagulate faster and hold their shape more effectively, preventing them from spreading too much in the water. If you don’t have vinegar, a squeeze of lemon juice works just as well!
Why is vinegar put in the water for poached eggs?
Adding a small amount of vinegar to your simmering water serves a scientific purpose: it increases the rate of protein denaturation in the egg whites. Vinegar, being acidic, causes the egg proteins to set more quickly and tightly upon contact with the water. This results in a more compact, well-formed poached egg with fewer “wisps” of stray egg white, contributing to a much tidier appearance.
Can you poach multiple eggs at once?
Yes, you absolutely can poach more than one egg at a time! To poach two or even three eggs simultaneously, ensure your pot is large enough to accommodate them without crowding. Follow the straining method for each egg individually, then gently lower them into the simmering water. Avoid stirring vigorously, as this can cause them to collide and break. Allow them to cook for 3 to 4 minutes (or until desired firmness), giving them enough space to cook undisturbed. For larger batches, it’s often best to work in two separate pots or in batches to avoid overcrowding and temperature drops.
Why do my poached eggs fall apart?
The most common reason poached eggs fall apart is incorrect water temperature. If the water is not hot enough, the egg whites will dissolve and disperse before they have a chance to set, leading to a milky, cloudy pot. Conversely, if the water is boiling too rapidly, the strong currents will agitate the delicate egg, causing the whites to break apart and create those undesirable wisps. A gentle, consistent simmer is paramount. Additionally, using less-than-fresh eggs can also lead to spreading, as older eggs have thinner, runnier whites that are less likely to hold their shape.
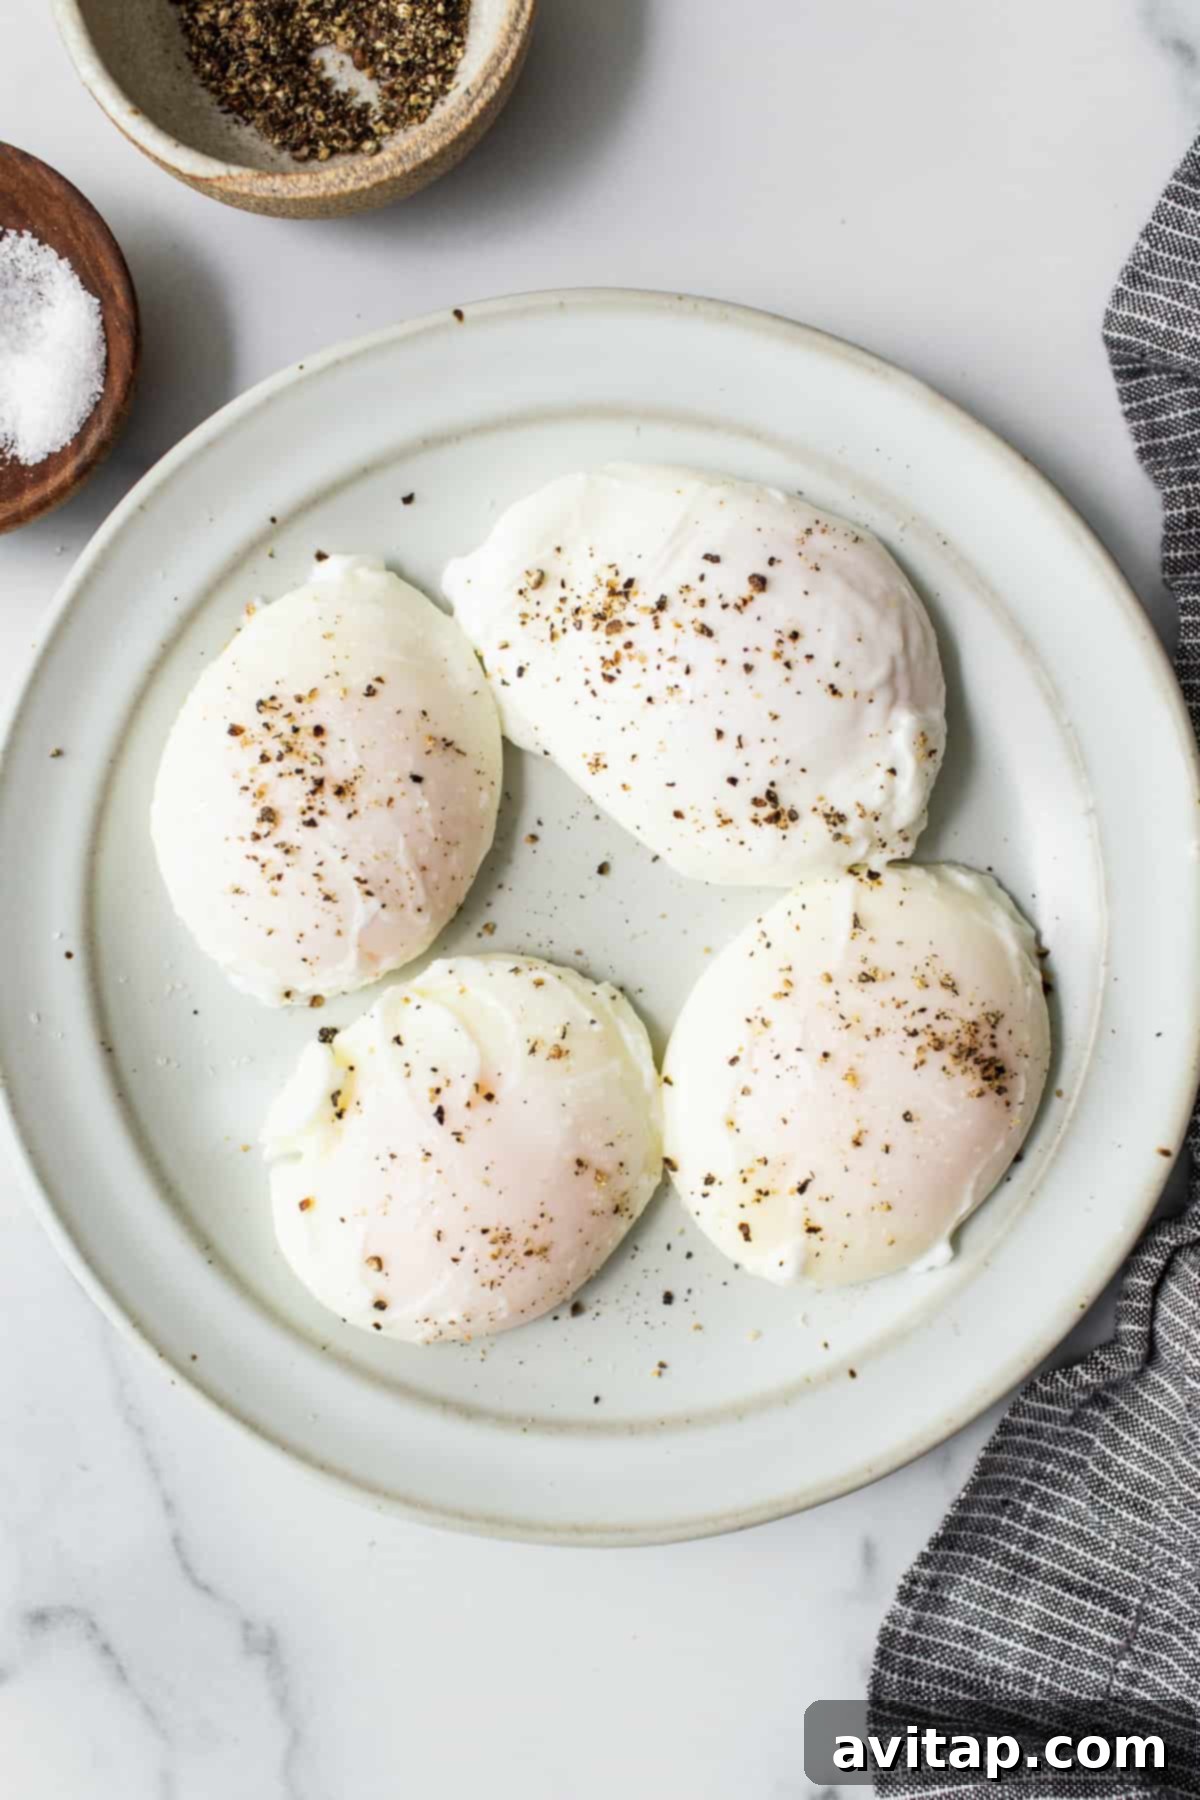
Delicious Pairings: What to Serve with Poached Eggs
Poached eggs are incredibly versatile and can elevate a wide array of dishes. Their delicate flavor and creamy texture make them a perfect complement to both savory and slightly sweet accompaniments. Here are some fantastic ideas to serve alongside your perfect poached eggs, turning a simple egg into a memorable meal:
- Crispy Bacon: A timeless classic! The salty crunch of bacon perfectly balances the soft texture of a poached egg.
- Maple Breakfast Sausage: The savory, slightly sweet notes of homemade sausage pair wonderfully with the rich yolk.
- Sheet Pan French Toast: For a delightful sweet and savory contrast, serve your poached eggs alongside fluffy French toast.
- Cinnamon Roll Waffles: Indulge in a decadent brunch by pairing your eggs with these sweet, spiced waffles.
- Banana Oatmeal Pancakes: A healthier, yet equally satisfying option, offering a hearty and wholesome complement.
- Greek Yogurt and Steel Cut Oatmeal Parfait: For a lighter, protein-packed side, a refreshing parfait adds a textural and nutritional boost.
- Blueberry Orange Granola + Yogurt: A vibrant and crunchy pairing that adds freshness and tang.
- Healthy Smoothies: Complement your protein-rich eggs with a refreshing, vitamin-packed smoothie for a complete meal.
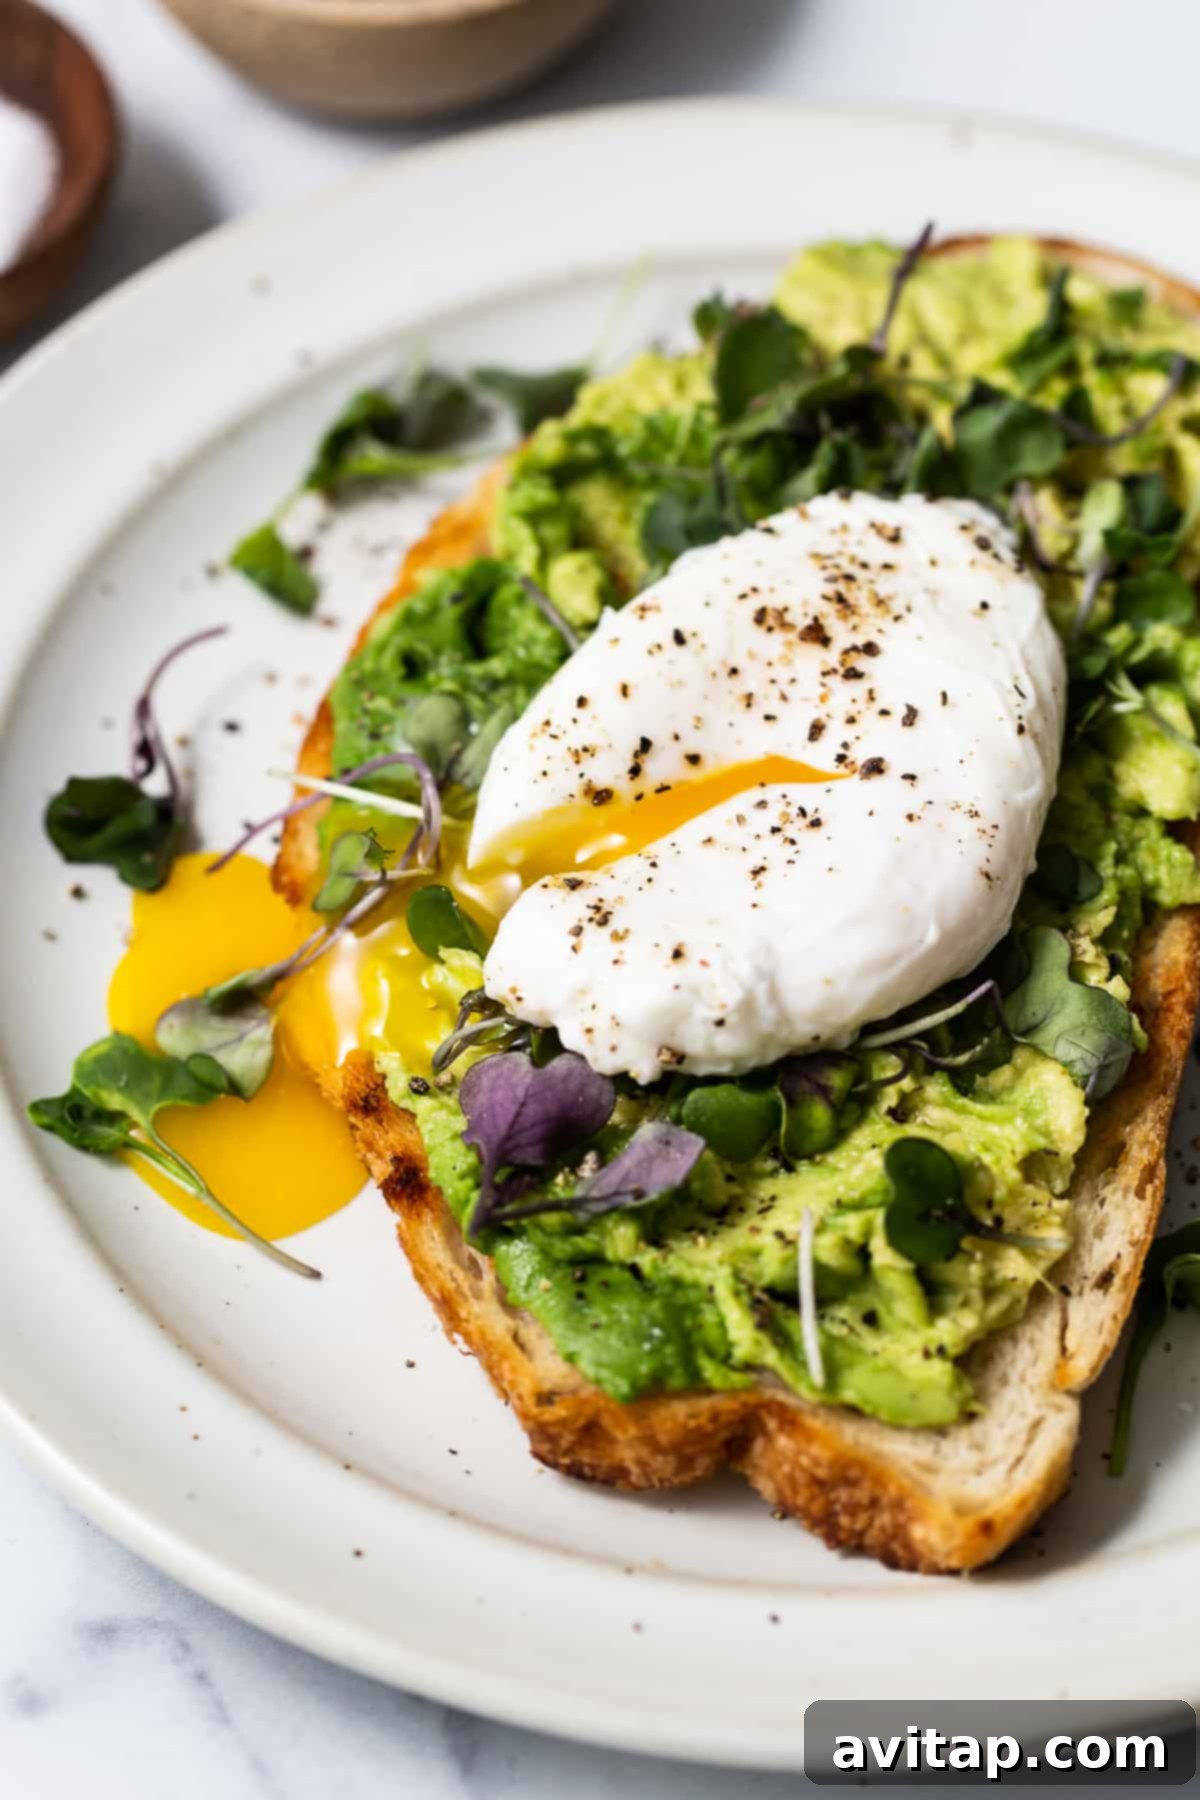
- Avocado Toast: A popular and nutritious choice! Layer mashed avocado on toasted bread and top with a poached egg for a delicious and trendy meal.
- Asparagus or Roasted Vegetables: For a healthy and elegant side, serve poached eggs atop blanched asparagus or a medley of roasted seasonal vegetables.
Storage and Reheating Poached Eggs
Proper storage is key to enjoying your poached eggs over several days. After cooking, carefully remove each egg from the simmering water using a slotted spoon. Immediately transfer them to a bowl of icy cold water. This ice bath is crucial; it quickly stops the cooking process, preventing the yolks from firming up too much, and also helps prevent the eggs from breaking or sticking together. Ensure the eggs are fully submerged, adding more cold water or ice if necessary until they are completely chilled.
Once cooled, gently transfer your eggs to an airtight container. Submerge them completely in fresh, cold water, then seal the container and refrigerate for up to 5 days. This method keeps them fresh and ready for quick reheating.
To reheat: When you’re ready to enjoy your make-ahead poached eggs, gently remove them from the cold storage water. Place them in a bowl of warm, almost hot, water for 2 to 3 minutes. The goal is to warm them through without cooking them any further. **It’s important not to use boiling water** as this will quickly overcook the delicate yolks. Ensure the eggs are fully submerged to heat evenly. Once warmed, gently scoop them out with a slotted spoon, pat dry with a paper towel if desired, and serve.
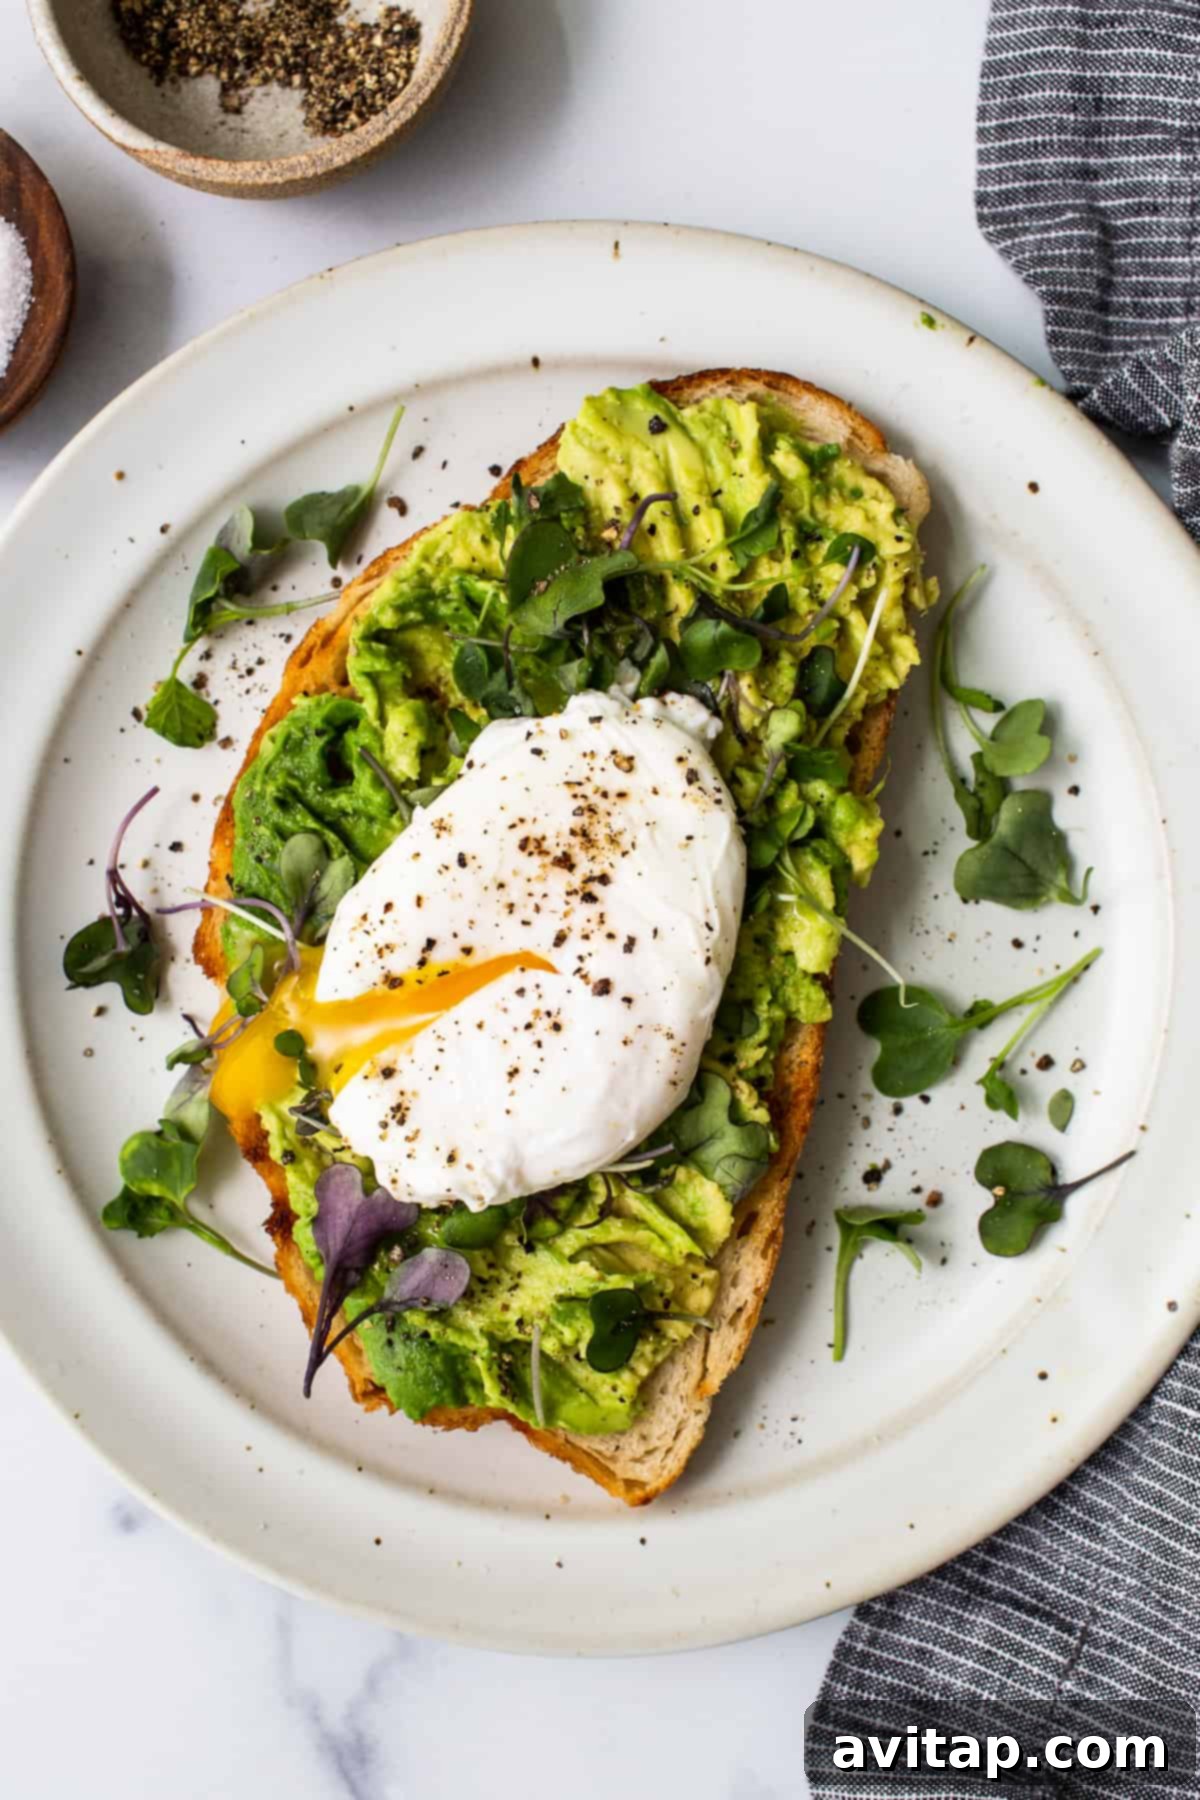
More of our Favorite Egg Tutorials
Master More Egg Techniques
If you’ve enjoyed perfecting your poached eggs, delve into our other comprehensive guides to preparing eggs in every delicious way imaginable. Expand your culinary repertoire with these essential egg tutorials:
- Perfect Hard Boiled Eggs
- Over-Medium Eggs
- Soft Boiled Eggs
- Poached Eggs (You are here!)
- Over Easy Eggs
- Over Hard Eggs
- Baked Eggs
- Scrambled Eggs
- Sunny Side Up Eggs
- Fried Eggs
- Air Fryer Hard Boiled Eggs
Recipe: Perfect Poached Eggs
This simple method ensures perfectly firm whites and an irresistibly oozy, golden yolk, making gourmet poached eggs accessible for everyone, even beginners. Enjoy this healthy, versatile, and delicious addition to any meal!
By: Emily Richter
Prep time: 5 minutes
Cook time: 4 minutes
Total time: 9 minutes
Yields: 4 servings
Ingredients
- 4 large fresh eggs
- Pinch of salt (for the poaching water)
- Optional: 1-2 teaspoons white vinegar or lemon juice
Instructions
- Bring Water to a Gentle Simmer: Fill a large pot with about 4-6 inches of water. Add a pinch of salt. Bring the water to a rolling boil over high heat, then immediately reduce the heat to the lowest setting to maintain a gentle simmer. Small, consistent bubbles should appear, but the water should not be vigorously boiling. If using, add 1-2 teaspoons of white vinegar or lemon juice to the water.
- Prepare Your Egg: Place a fine-mesh strainer over a small bowl. Carefully crack one egg into the strainer. Allow the very thin, watery outer layer of egg white to drain into the bowl for about 15-30 seconds. This ensures a compact, neat poached egg without wispy edges.
- Gently Poach the Egg: Carefully lower the entire strainer (with the egg inside) into the simmering water. Let the egg white begin to set slightly within the strainer for about 15-20 seconds. Then, gently tip the strainer into the water to release the egg. The pre-set white should now beautifully encase the yolk.
- Create a Gentle Whirlpool (Optional): For an even more aesthetically pleasing shape, use a spoon to gently stir the water in a circular motion to create a slow whirlpool. This helps the egg white gather tightly around the yolk as it cooks.
- Cook to Perfection: Let the egg poach for 3-4 minutes for a perfectly runny yolk with firm whites. For a slightly firmer, jammy yolk, poach for 4-5 minutes. For a completely firm yolk, extend cooking to 5-6 minutes. Remove the egg from the water using a slotted spoon.
- Repeat and Serve: Repeat the straining and poaching process for any remaining eggs. Pat them gently dry with a paper towel if desired, and serve immediately on your favorite breakfast or brunch dishes.
Tips & Notes
- Freshness Matters: Always use the freshest eggs possible. Fresher eggs have thicker whites that hold their shape better during poaching.
- Strainer is Key: Don’t skip the straining step! It’s crucial for achieving a clean, compact poached egg without loose wisps.
- Cook Time Will Vary: Cooking times are approximate and can vary slightly based on egg size (medium vs. large) and your desired yolk consistency. Adjust as needed.
- Water Temperature is Crucial: Maintain a gentle simmer, not a vigorous boil, to prevent the egg from breaking apart.
Watch How to Poach Eggs
For a visual demonstration of these steps, watch our detailed tutorial video:
(Video thumbnail for reference:  )
)
Nutrition Information (per serving, estimated)
Calories: 63 kcal, Carbohydrates: 0.3 g, Protein: 6 g, Fat: 4 g, Sugar: 0.2 g
Nutrition information is automatically calculated and should only be used as an approximation.
Enjoying This Recipe? Share Your Thoughts Below!
We absolutely love hearing about your culinary successes! If you tried this recipe and created some spectacular poached eggs, please take a moment to leave a comment below and share your experience. Don’t forget to tag your beautiful creations on social media with the hashtag #fitfoodiefinds. We can’t wait to see your perfect poached eggs!
Photography: All stunning photos in this post were skillfully captured by Ashley McGlaughlin from The Edible Perspective.