
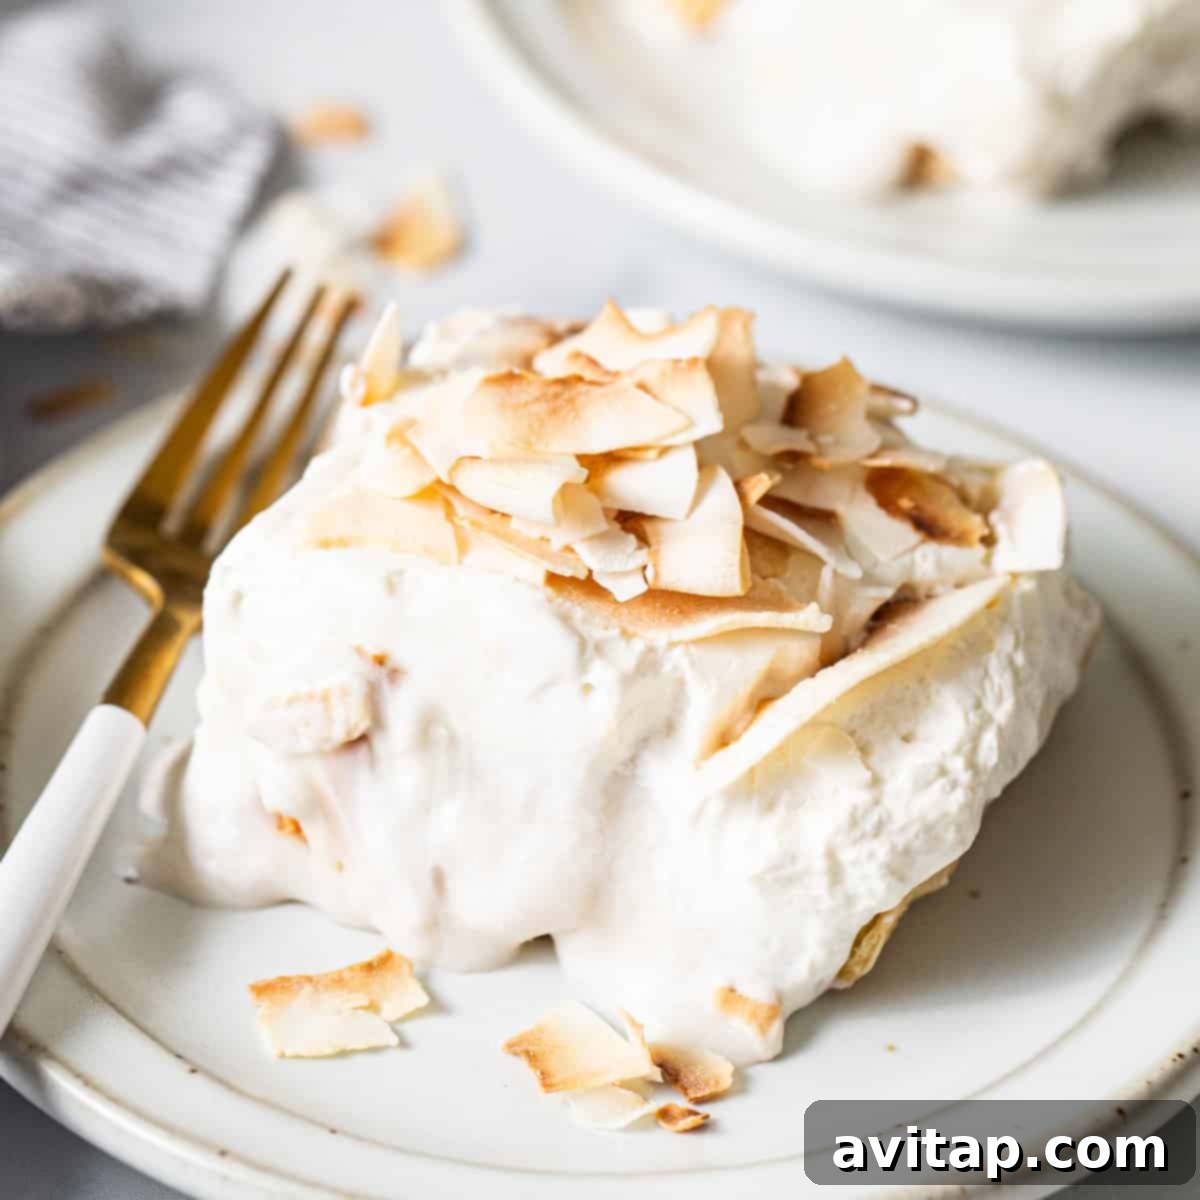
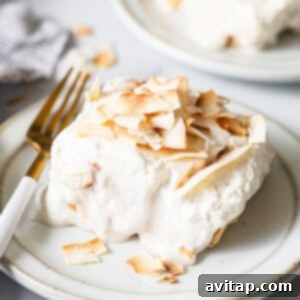
Prepare to fall in love with these Coconut Cream Pie Bars, a truly irresistible dessert that brings a taste of the tropics right to your kitchen. Imagine a luscious, creamy coconut filling nestled over a perfectly buttery crust, all crowned with a cloud of airy whipped cream. This delightful treat is not only incredibly delicious but also surprisingly simple to make, making it a perfect choice for both novice and experienced bakers.
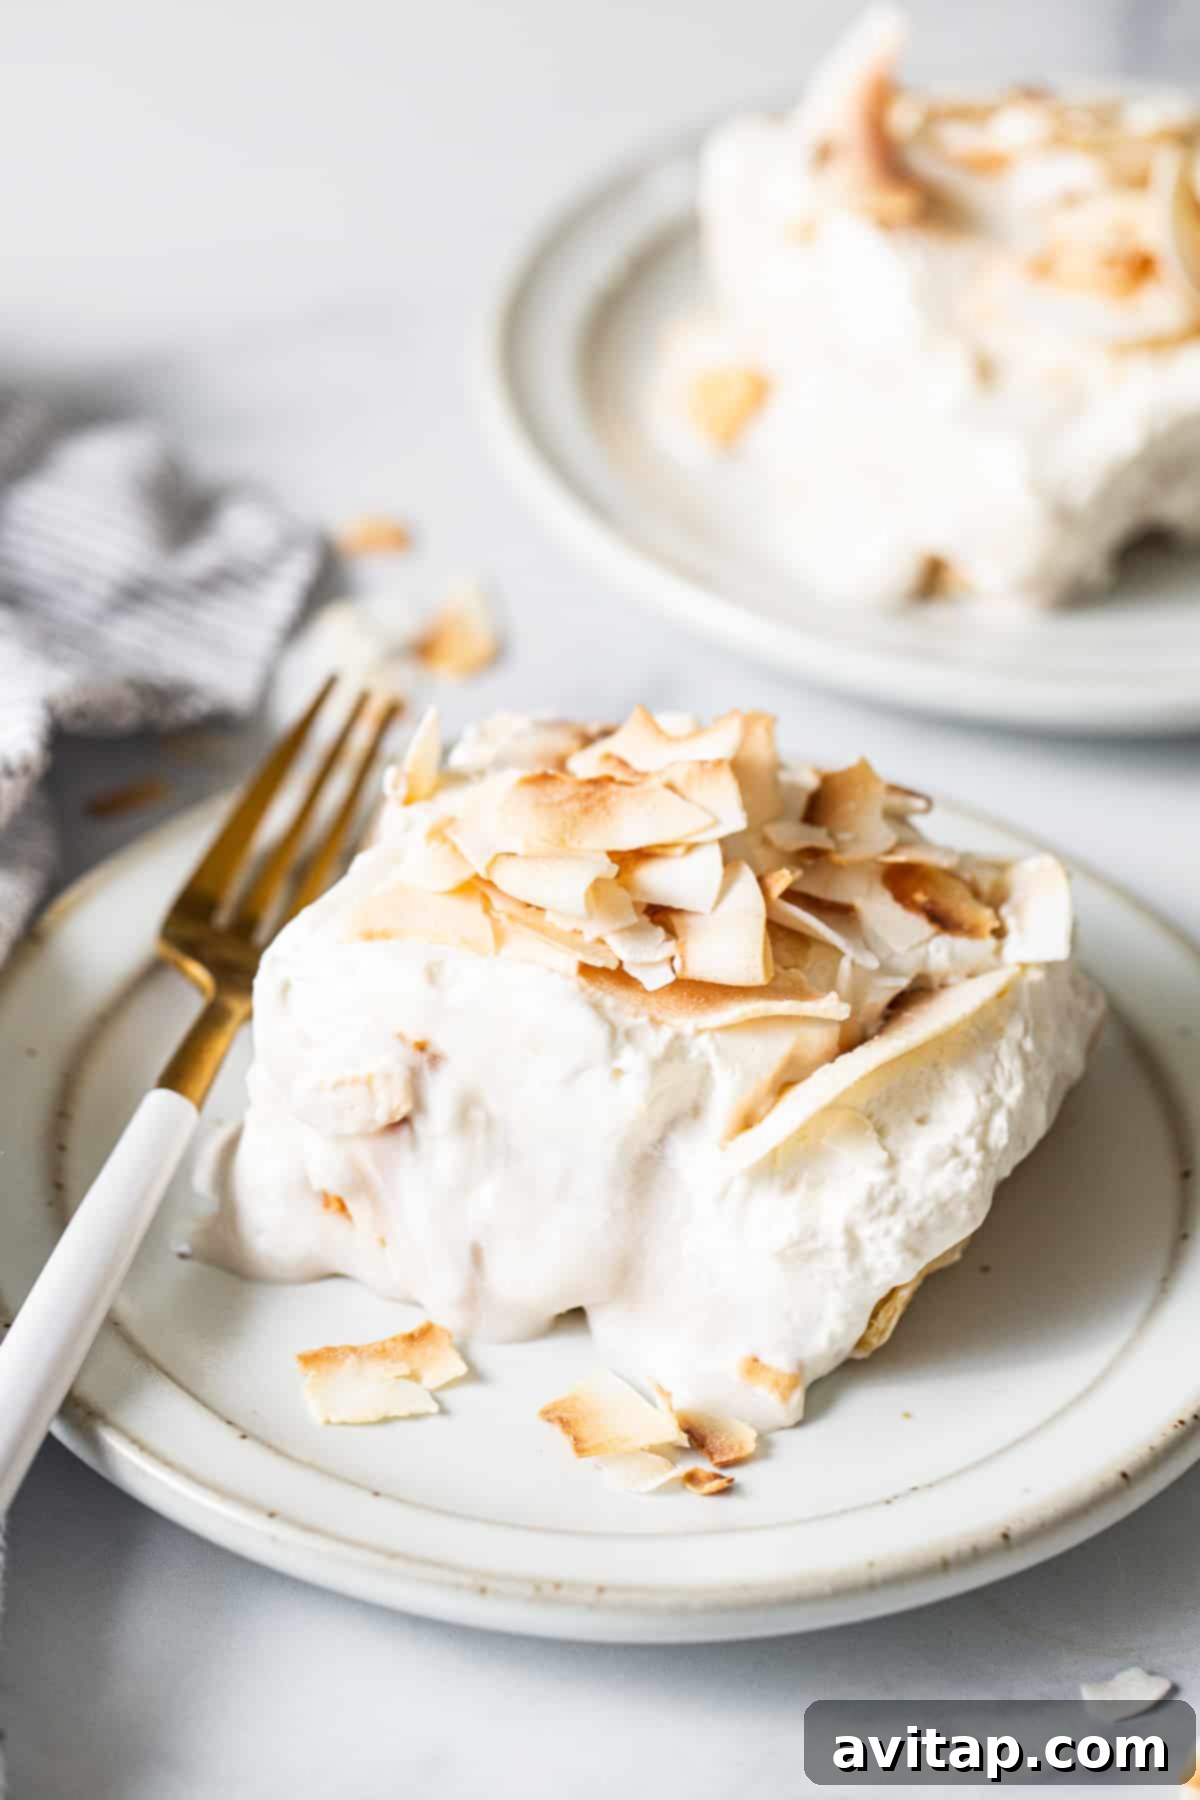
Irresistible Coconut Cream Pie Bars: A Tropical Delight
These coconut cream pie bars offer a modern, convenient twist on the classic coconut cream pie. They combine the rich, exotic flavors of coconut with a straightforward preparation method, resulting in a dessert that’s perfect for potlucks, family gatherings, or simply a sweet indulgence after a long day. Get ready to impress your friends and family with these stunning and delicious bars that are sure to become a new favorite in your recipe collection!
Why You’ll Adore These Coconut Cream Pie Bars!
Effortlessly Delicious: We believe great desserts shouldn’t require complex techniques. This recipe simplifies the process, using a store-bought crust as a smart shortcut and straightforward steps for the velvety coconut cream filling and fluffy whipped topping. It’s semi-homemade perfection that tastes entirely from scratch!
Versatile & Customizable: While these bars are heavenly as they are, they’re also incredibly adaptable. Feel free to experiment with a homemade crust for a truly bespoke touch, or adorn them with fresh berries, a sprinkle of chocolate shavings, or a drizzle of caramel. This is a recipe designed for you to make your own and unleash your culinary creativity!
Dairy-Free Option Available: Catering to dietary needs is simple with our dairy-free alternative for the whipped topping. We provide clear instructions to ensure everyone can enjoy these tropical treats without compromising on flavor or texture. It’s a guilt-free indulgence that’s accessible to all.
Perfect for Any Occasion: Whether it’s a casual backyard barbecue, a sophisticated dinner party, or a cozy evening at home, these coconut cream pie bars are always a hit. Their individual portion size makes serving a breeze, and their refreshing flavor is universally appealing.
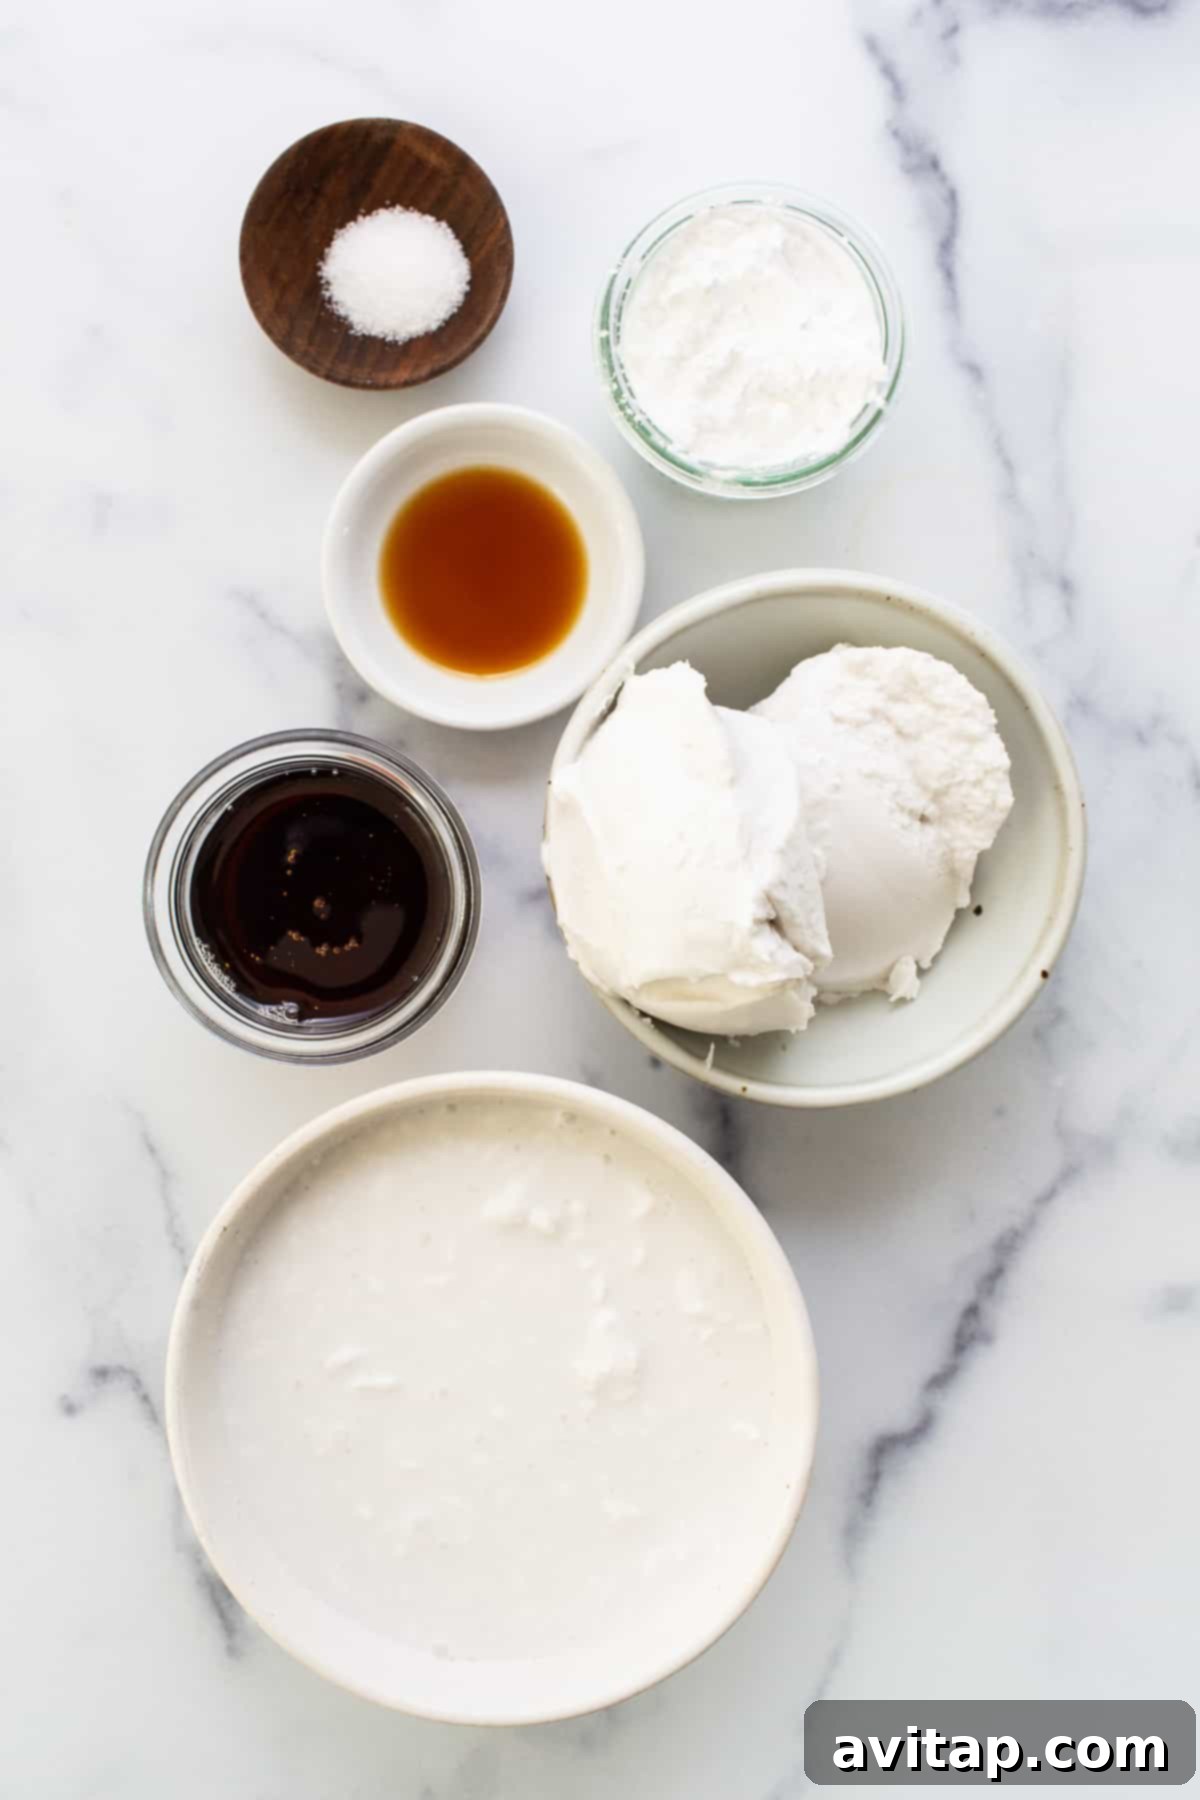
Featured Ingredients for Perfect Coconut Cream Pie Bars
Crafting these delectable coconut cream pie bars involves three harmonious layers: a sturdy, buttery crust, a rich, creamy custard filling, and a light, fluffy whipped topping. Here’s a detailed look at the simple yet impactful ingredients you’ll need for each layer:
For the Crust:
- Store-bought Pie Crust: This is your ultimate time-saver! Opt for a high-quality, pre-made pie crust to form the perfect foundation for your bars. For those who prefer a homemade touch, a classic shortbread or graham cracker crust also works beautifully.
For the Velvety Custard Filling:
- Unsweetened, Full-Fat Coconut Milk (canned): The heart of our coconut flavor. Full-fat coconut milk provides the essential richness and creamy texture that defines this dessert. Always choose unsweetened to control the sweetness level.
- Unsweetened Coconut Cream (canned): Even thicker and richer than coconut milk, coconut cream intensifies the decadent feel and tropical taste, ensuring a truly luxurious filling.
- Agave Syrup: A natural sweetener that blends seamlessly without overpowering the delicate coconut flavor. Its mild taste and liquid form help achieve a smooth custard.
- Vanilla Extract: A classic flavor enhancer that complements the coconut and adds warmth and depth to the custard.
- Cornstarch: Our secret to a perfectly set, silky-smooth custard. Cornstarch acts as a thickener, preventing a runny filling and giving the bars their delightful pudding-like consistency.
- Kosher Salt: A tiny pinch of salt balances the sweetness and brings out the vibrant flavors of the coconut. Don’t skip it!
For the Light Whipped Topping:
- Unsweetened Coconut Flakes: Toasted until golden brown, these flakes provide a beautiful garnish and a delightful textural contrast, adding another layer of coconut goodness.
- Heavy Whipping Cream: The foundation of our classic whipped topping, providing a rich, airy cloud that perfectly complements the creamy custard.
- Agave Syrup: Sweetens the whipped cream lightly, enhancing its flavor without making it overly sweet.
- Vanilla Extract: A touch of vanilla brightens the whipped cream and ties all the flavors together.
Selecting quality ingredients is key to the success of these bars. High-quality coconut milk and cream will significantly impact the final flavor and texture, so choose wisely!
How to Make Delicious Coconut Cream Pie Bars: A Step-by-Step Guide
Creating these delightful coconut cream pie bars is a straightforward process, broken down into easy-to-follow steps. Precision and patience, especially during chilling, are your best friends here!
1. Prepare and Bake the Buttery Crust
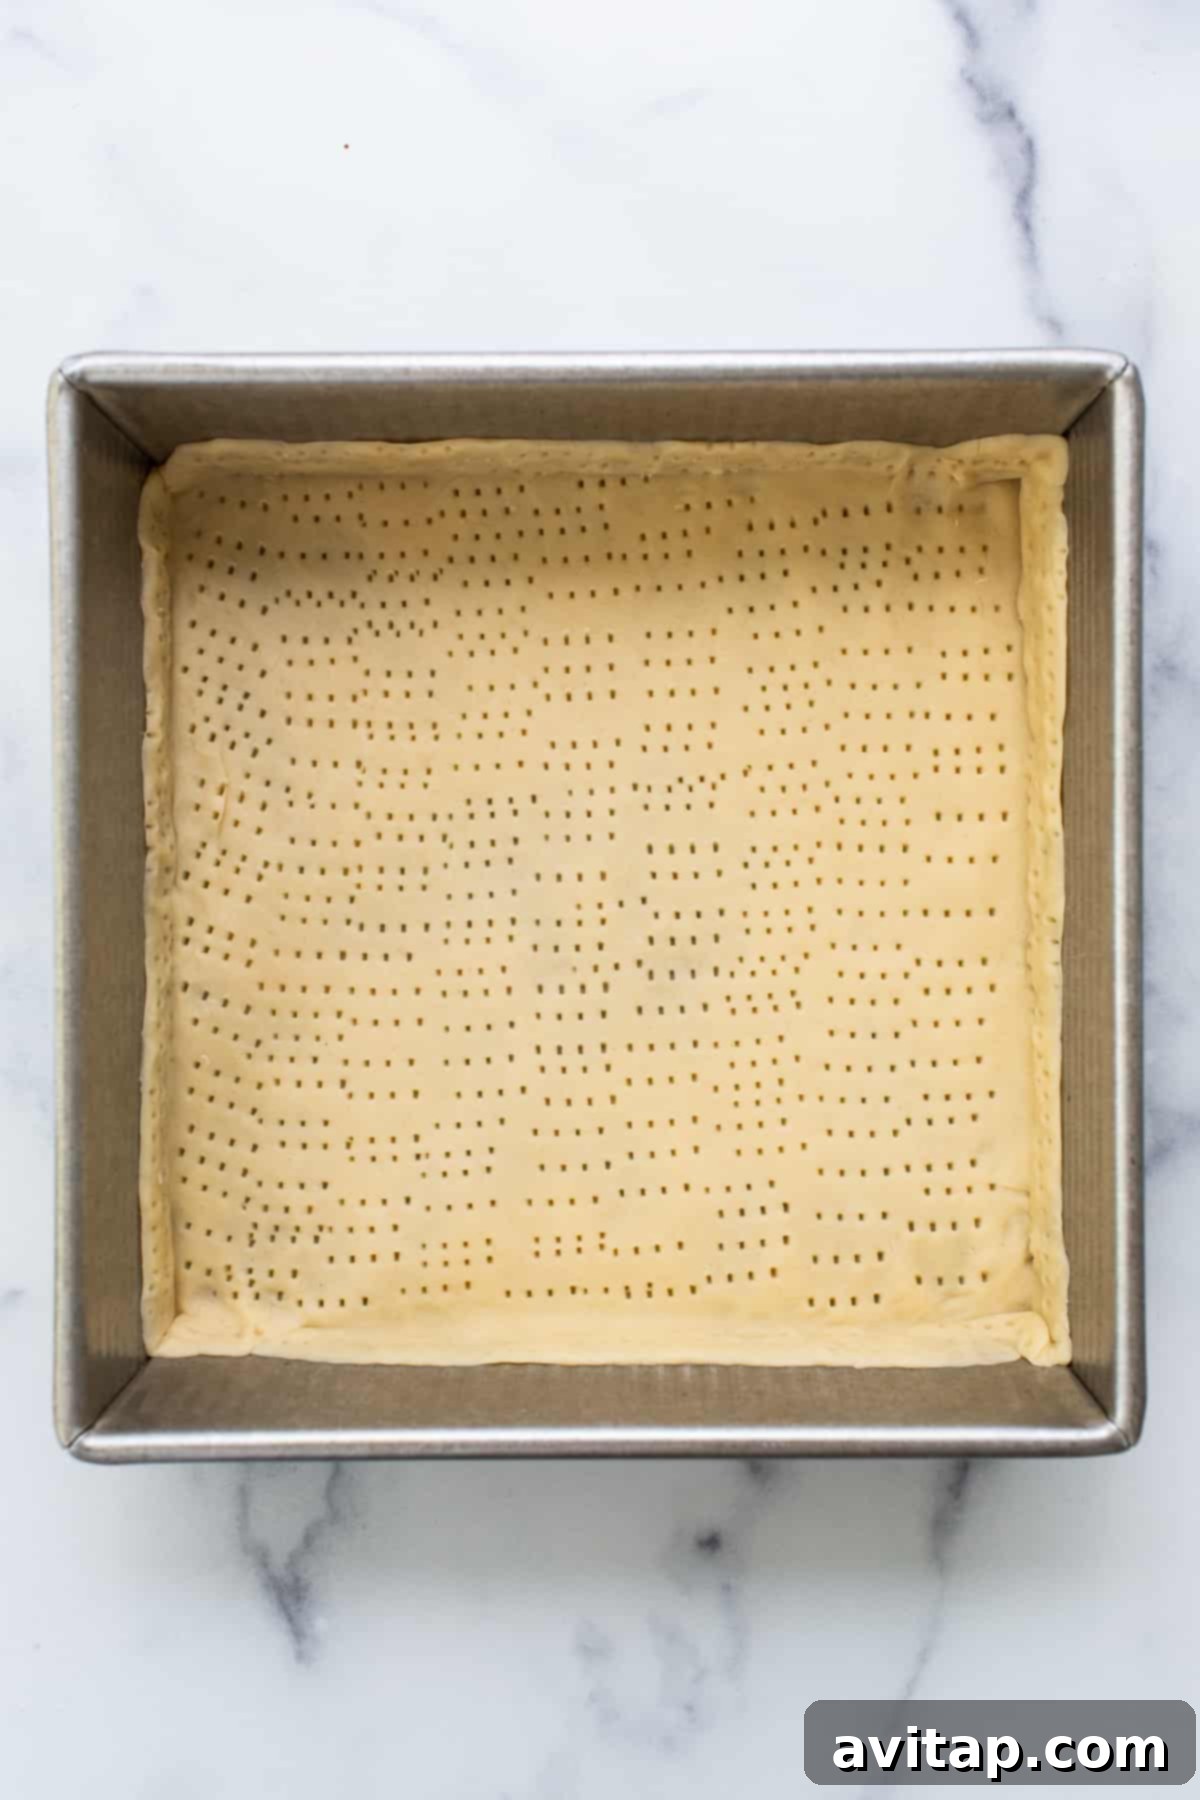
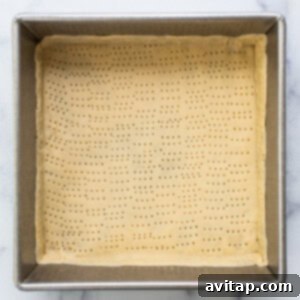
Preheat your oven to 350°F (175°C). Carefully unroll your store-bought pie crust onto a lightly floured surface or parchment paper. Gently roll it out slightly to form a 9×9-inch square, approximately ¼-inch thick. Don’t worry if it’s not perfectly square; slight imperfections are part of homemade charm. Transfer the crust into a 9×9-inch baking pan, pressing it firmly into the bottom and gently up the sides. Use a fork to poke several holes across the surface of the crust. This “docking” prevents the crust from puffing up excessively during baking. Bake for 20-25 minutes, or until it turns a beautiful golden brown. Once baked, remove from the oven and allow it to cool completely in the pan on a wire rack. A fully cooled crust is essential before adding the filling.
2. Craft the Silky Coconut Filling
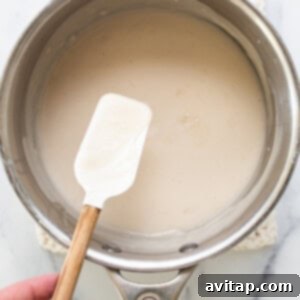
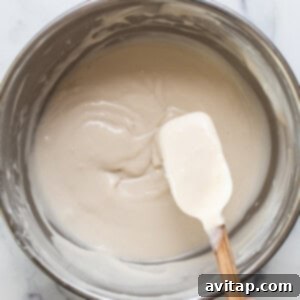
In a small saucepan, combine the full-fat coconut milk, coconut cream, agave syrup, and vanilla extract. Whisk these ingredients together until well combined. Heat the mixture over medium heat, bringing it to a gentle simmer. Once simmering, reduce the heat to low. In a separate small bowl, whisk together ½ cup of the warm coconut milk mixture with the cornstarch until you have a smooth slurry with no lumps. This is crucial for a lump-free custard. Pour the cornstarch slurry back into the saucepan with the remaining coconut mixture. Whisk continuously over low heat until the mixture thickens significantly, reaching a pudding-like consistency. This usually happens quite quickly. Remove the saucepan from the heat and allow the filling to cool slightly. Pour the warm coconut filling evenly over the cooled pie crust in the pan. Cover the pan tightly with plastic wrap, ensuring the plastic touches the surface of the custard to prevent a skin from forming. Refrigerate for at least 3-4 hours, or ideally overnight, to allow the custard to fully set. This chilling time is non-negotiable for perfectly sliceable bars!
3. Toast the Coconut Flakes
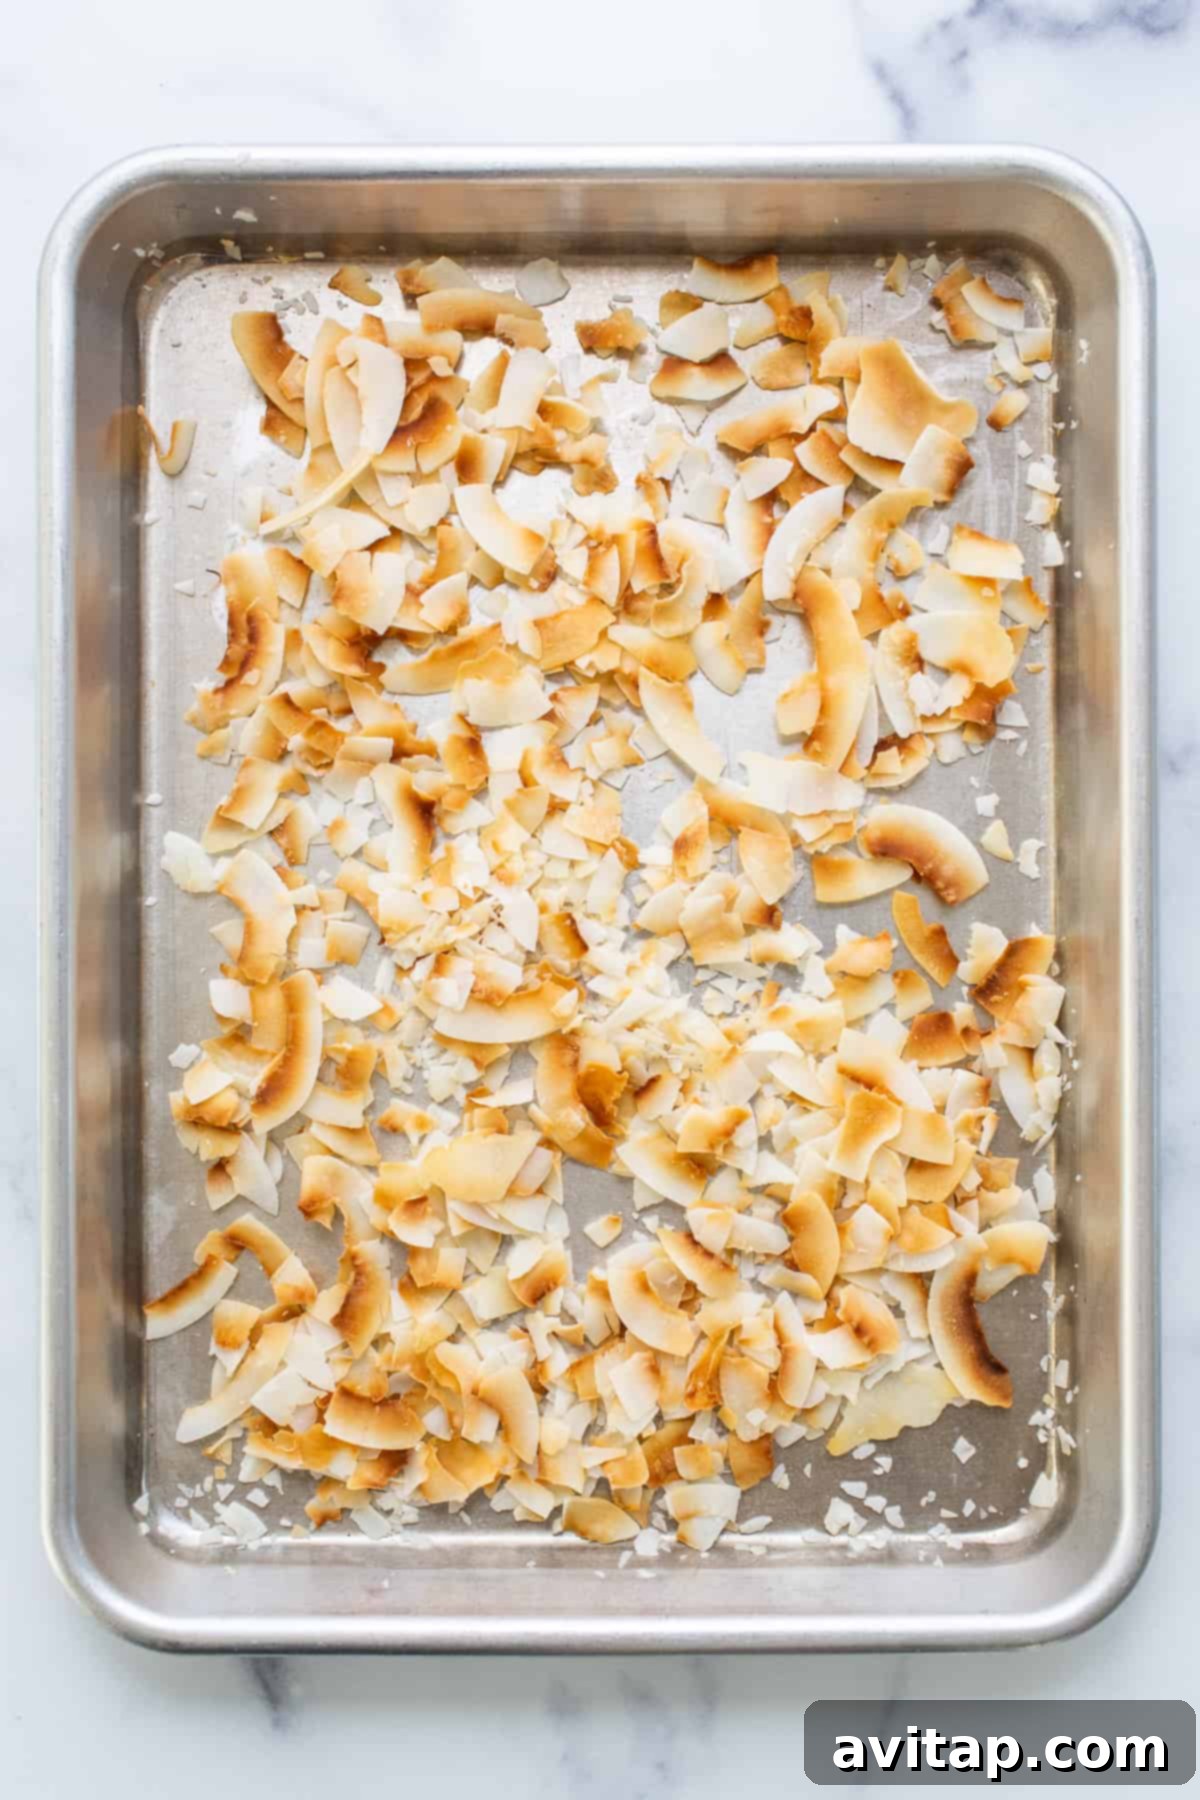
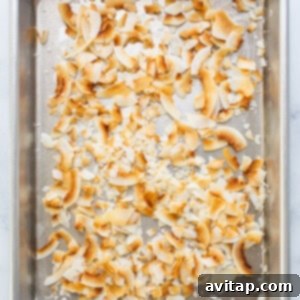
While your custard is chilling, prepare the toasted coconut flakes for garnish. Spread the unsweetened coconut flakes in a single layer on a baking sheet. Broil for 1-2 minutes, watching them very closely! Coconut flakes can go from perfectly golden to burnt in a matter of seconds. As soon as they turn golden brown, remove them from the oven immediately and transfer them to a plate to cool completely. This brings out their natural sweetness and adds a wonderful crunch.
4. Prepare the Fluffy Whipping Cream
For the best results with your whipped cream, chill the metal bowl of a stand mixer and its whisk attachment in the refrigerator for at least 15-20 minutes beforehand. Once thoroughly chilled, remove the bowl and attachment and place them on your stand mixer. Pour the cold heavy whipping cream into the bowl. Begin whisking on medium-low speed. The cream will gradually start to thicken, usually within 3-4 minutes. Once it begins to thicken, add the agave syrup and vanilla extract. Continue whipping on medium-low speed until soft to medium peaks begin to form. This can take an additional 5-7 minutes. Be careful not to over-whip, or you’ll end up with butter!
5. Assemble and Enjoy Your Coconut Cream Pie Bars!
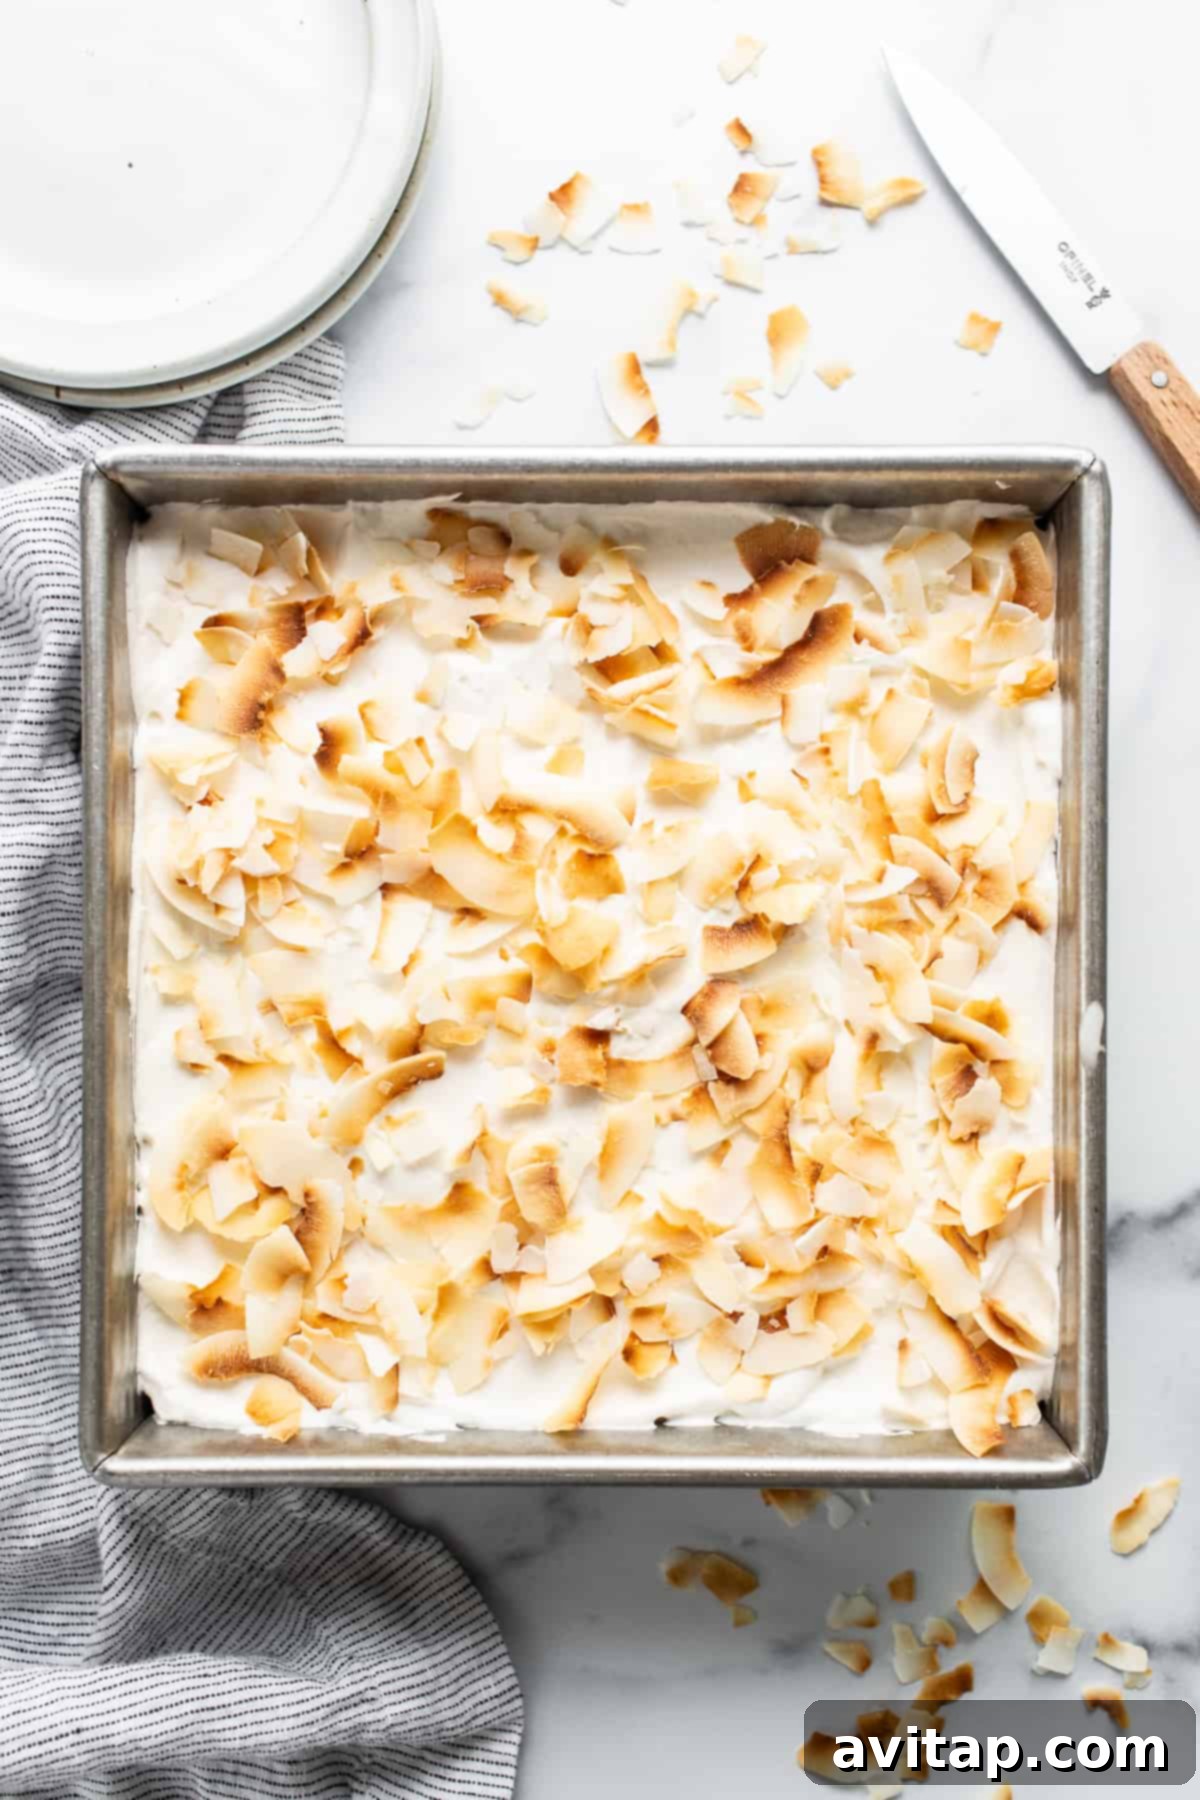
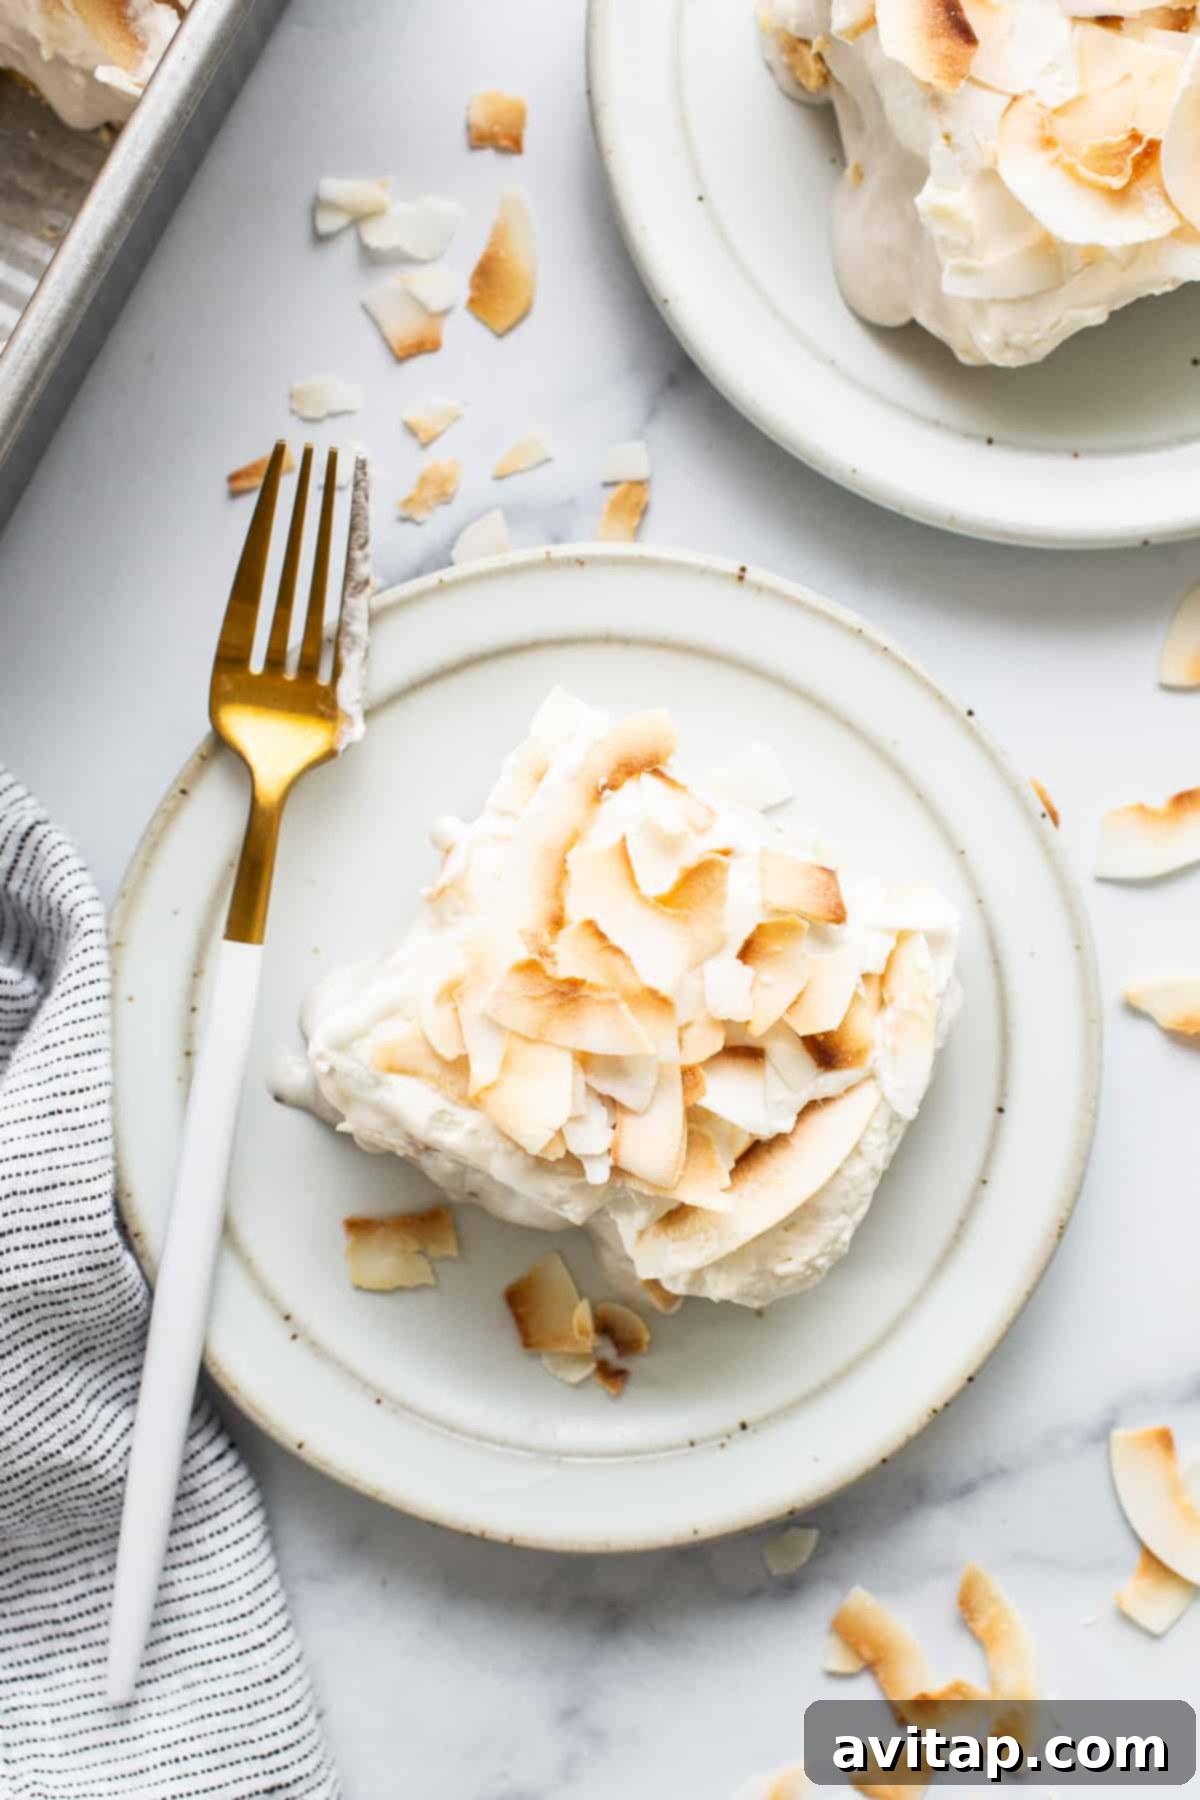
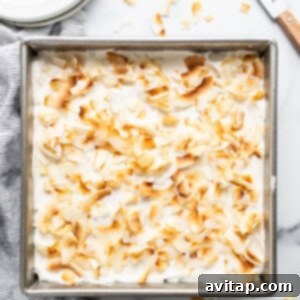
Once the coconut custard is firmly set and chilled, carefully remove the plastic wrap. Gently spread the freshly whipped topping evenly over the custard layer. Generously sprinkle the toasted coconut flakes over the whipped cream. For neat slices, use a sharp knife warmed under hot water and wiped clean between cuts. Serve your stunning coconut cream pie bars immediately for optimal freshness, or keep them refrigerated until you’re ready to serve. Enjoy this delightful tropical indulgence!
Top Tips for Perfect Coconut Cream Pie Bars
Coconut Milk/Cream Quality Matters: The consistency of canned coconut milk and cream can vary between brands. We’ve had great success with Thai Kitchen and 365 brands, as they consistently provide the desired richness and thickness. If your coconut milk appears too thin, a slight adjustment to cornstarch might be needed, but always stick to full-fat varieties for best results.
Sweetener Alternatives: While agave syrup offers a neutral sweetness, feel free to substitute with maple syrup or honey. Be mindful that these alternatives have more distinct flavors that will subtly alter the overall taste of your bars. Adjust to your preference, but start with the recommended amount and taste as you go.
The Importance of Setting Time: Do not rush the chilling process for the custard. Allowing ample time, ideally 3-4 hours or even overnight, is absolutely crucial for the bars to set properly. A well-set custard ensures neat slices and a delightful texture. Nobody wants a runny coconut cream pie bar!
Chill Your Whipped Cream Tools: For the fluffiest, most stable whipped cream, always chill your mixing bowl and whisk attachment thoroughly before whipping. Cold tools help the cream aerate more effectively and maintain its volume.
Watch the Toasted Coconut Closely: Coconut flakes can burn very quickly under the broiler. Stay by the oven and check them every 30 seconds to ensure they achieve that perfect golden-brown hue without scorching.
Neat Slicing Technique: To get clean, attractive slices, use a sharp knife that has been run under hot water and wiped dry. This prevents the filling from sticking to the blade and creates beautiful edges. Repeat for each slice.
Consider a Homemade Crust: While a store-bought crust saves time, a homemade shortbread or vanilla wafer crust can add an extra layer of flavor and texture, if you have the time and inclination.
More of our Favorite Desserts:
Explore More Delicious Dessert Bar Recipes
Brown Butter Chai Rice Krispie Treats
Pumpkin Tiramisu (High-Protein Fall Dessert!)
Pumpkin Spice Protein Puppy Chow
Peanut Butter Chocolate Chip Protein Cinnamon Rolls (Small Batch)
Easy Homemade Cottage Cheese Donuts
Make Your Coconut Cream Pie Bars Dairy-Free!
For those with dairy sensitivities or following a vegan lifestyle, these coconut cream pie bars can be easily adapted. The key is to swap out the heavy whipping cream for a delicious and equally fluffy coconut whipped cream. This alternative ensures everyone can enjoy a slice of this tropical paradise without compromise.
Dairy-Free Coconut Whipped Cream Ingredients:
- Approximately 30 oz. cold coconut cream (from about 2 cans of full-fat coconut cream, chilled overnight)
- 2-3 tablespoons agave syrup (or to taste)
Dairy-Free Coconut Whipped Cream Directions:
- Before starting, ensure your cans of coconut cream have been refrigerated for at least 8-12 hours, or overnight. This allows the thick, hardened cream to separate from the coconut water.
- Carefully open the chilled cans without shaking them. Scoop out only the thick, hardened coconut cream from the top, leaving the liquid coconut water behind. You can save the coconut water for smoothies or other recipes.
- Transfer the hardened coconut cream to a very cold stainless steel mixing bowl (chilling the bowl beforehand helps achieve maximum fluffiness).
- Using an electric mixer or stand mixer with a whisk attachment, whip the coconut cream on medium-high speed. Continue whipping until it transforms into a light, airy, and fluffy consistency, similar to traditional whipped cream.
- Slowly drizzle in the agave syrup while continuing to whip. Add it gradually, tasting as you go, to reach your desired level of sweetness. Adding too much sweetener too quickly can sometimes cause the coconut whip to seize, so be patient.
- Once the coconut cream is perfectly light and fluffy, it’s ready to use! Spread this delightful dairy-free whipped cream over your chilled coconut custard. Finish by sprinkling with the browned coconut flakes for an extra touch of tropical flavor and texture.
This dairy-free option makes these coconut cream pie bars a versatile dessert suitable for almost any dietary preference without sacrificing an ounce of flavor!
Storage Tips for Freshness
To maintain the optimal freshness and texture of your coconut cream pie bars, store them in an airtight container in the refrigerator for up to 3 days. While they might last a little longer, their quality is best within this timeframe.
We generally do not recommend freezing these bars. The creamy filling and delicate whipped topping can develop an undesirable texture when thawed, becoming watery or grainy. For the best experience, enjoy them fresh and chilled from the fridge.
If preparing for a party, you can make the crust and custard a day in advance, storing the covered custard in the fridge. Prepare the whipped topping and toast the coconut flakes on the day of serving for the freshest taste and appearance.
Coconut Cream Pie Bars Recipe
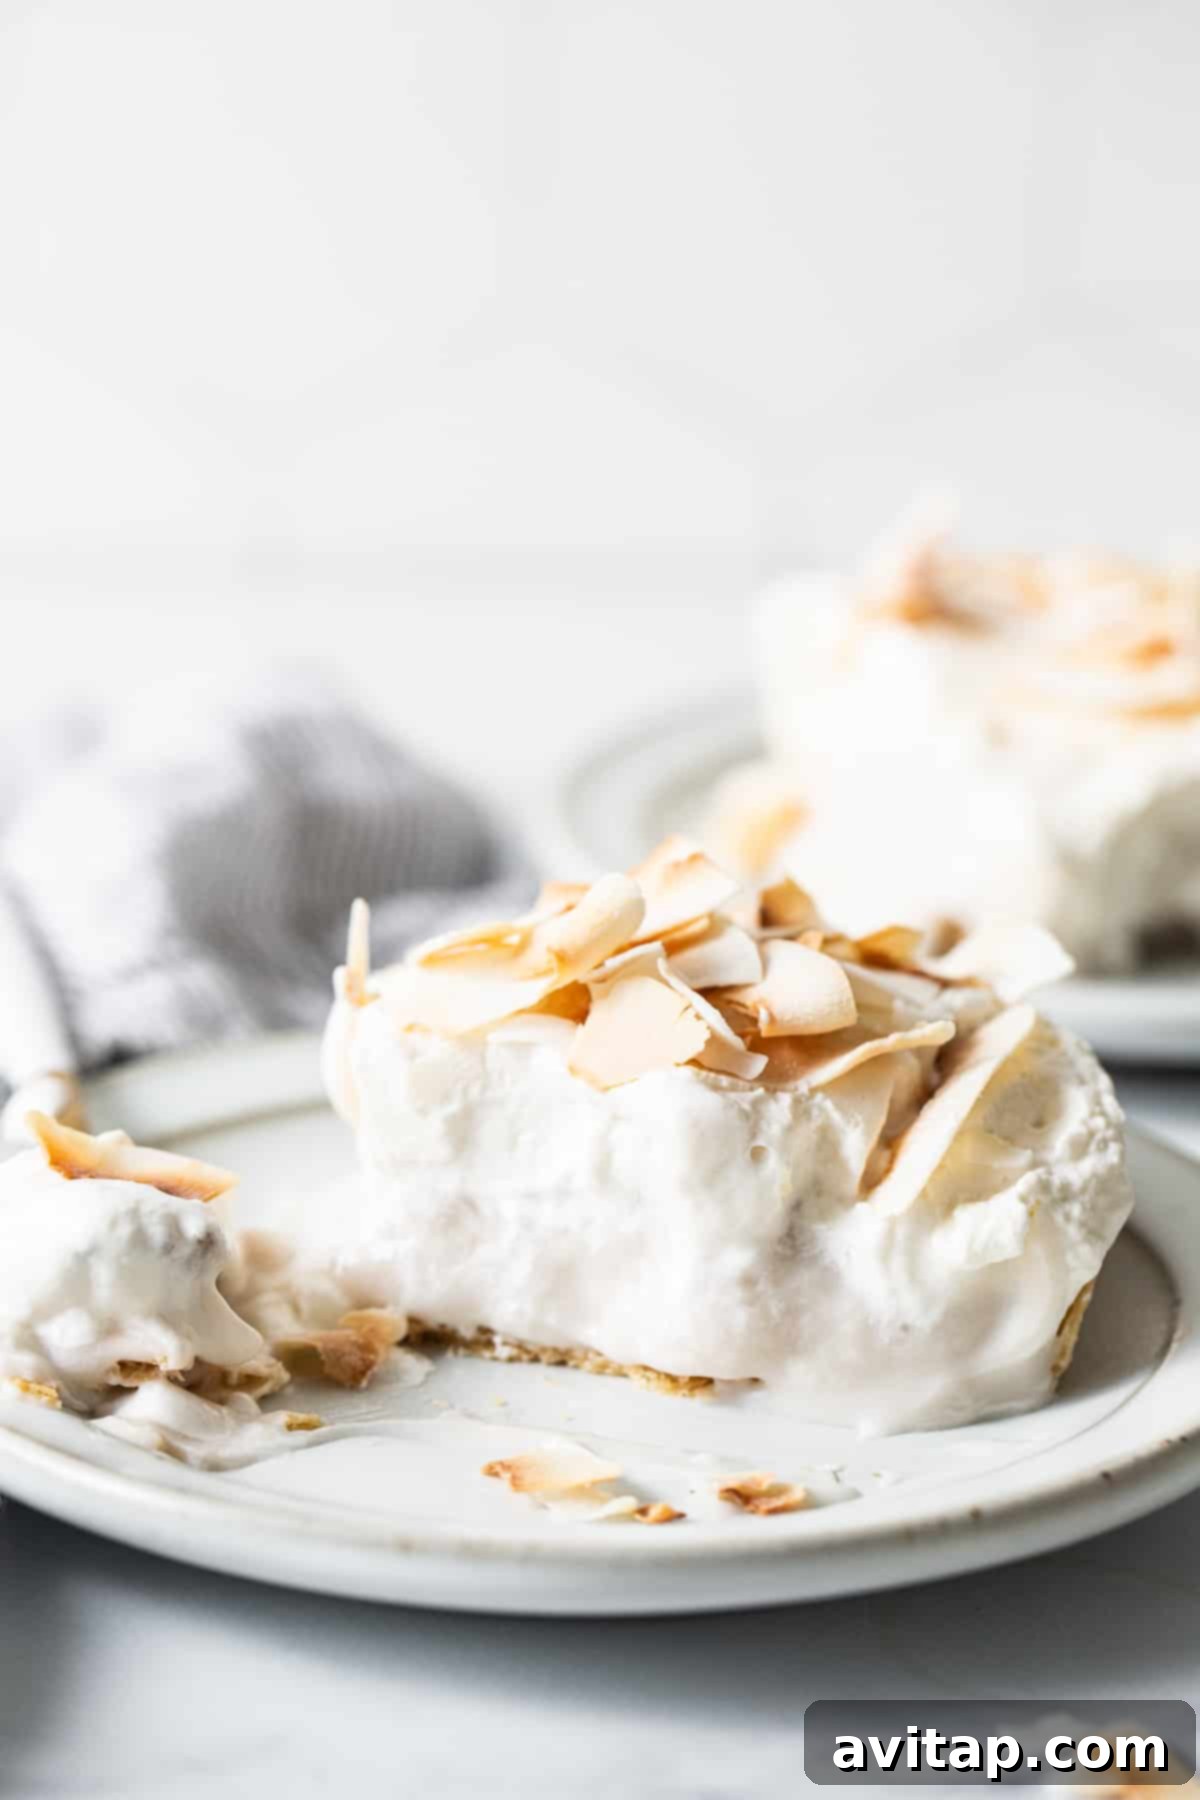
Savor the irresistible combination of velvety coconut cream, buttery crust, and luscious toppings with our coconut cream pie bars, a delightful treat that will transport your taste buds to tropical paradise.
By: Emily Richter
4 hrs
25 mins
4 hrs 25 mins
12
Ingredients
- 1 store-bought pie crust*
Custard
- 13.6 oz. unsweetened full-fat coconut milk*, canned
- 13.6 oz. unsweetened coconut cream*, canned
- ½ cup agave syrup
- 1 teaspoon vanilla extract
- ⅓ cup cornstarch
- ½ teaspoon kosher salt
Topping
- 1 cup unsweetened coconut flakes
- 1 cup heavy whipping cream
- 2 tablespoons agave syrup
- 1 teaspoon vanilla extract
Alternative Dairy-Free Topping
- Coconut whipped cream (see dairy-free directions in notes below)
Instructions
- Preheat the oven to 350ºF (175°C).
- Prepare the crust: Roll the pie crust out into a 9×9-inch square (about ¼-inch thick). Gently place the pie crust in a 9×9-inch pan. Press the crust into the bottom of the pan and up the sides. The crust will shrink when it bakes.
- Use a fork to poke holes into the pie crust. Bake for 20-25 minutes or until golden brown. Remove from the oven and let the crust cool completely. Set aside.

- Make the coconut filling: Heat the coconut milk, coconut cream, agave syrup, and vanilla extract in a small saucepan over medium heat, whisking ingredients together. Bring the mixture to a gentle simmer and then turn the heat to low.
- Remove ½ cup of the coconut milk mixture and whisk it together with the cornstarch until smooth. Pour the cornstarch slurry back into the saucepan and whisk until thickened and creamy. Remove from heat. The coconut mixture should thicken very quickly to a pudding consistency. Let the mixture cool slightly.
- Pour the coconut filling on top of the cooled pie crust and cover it with plastic wrap, pressing the wrap directly onto the surface of the custard. Refrigerate for 3-4 hours or overnight until set.
- Toast the coconut flakes: Add the coconut flakes to a baking sheet and broil for 1-2 minutes or until golden brown. Do not walk away, as it browns quickly. Remove from the oven and set aside.
- Make the whipping cream: Place the metal bowl of a stand mixer and whisking attachment in the refrigerator to chill (for best results). When cold, remove and place under the mixer.
- Add cold heavy whipping cream to the bowl and whisk on medium/low speed until the cream begins to thicken (3-4 minutes). Add the agave syrup and vanilla extract.
- Continue whipping on medium/low speed until peaks begin to form (5-7 minutes). Be careful not to over-whip.
- Spread the whipped topping on top of the coconut custard and top with the toasted coconut flakes. Serve immediately or refrigerate.
Tips & Notes
- The amounts of coconut milk and cream may vary slightly depending on the brand. We typically use Thai Kitchen or 365.
- Feel free to use a homemade pie crust for a personalized touch.
- You can use maple syrup or honey instead of agave, but be aware that they have stronger flavors and will slightly alter the taste.
- Ensure adequate chilling time for the custard. The longer it sets, the firmer and more enjoyable your bars will be.
Dairy-free coconut whipped cream option:
Ingredients:
- 30 oz. cold coconut cream (~2 cans coconut cream, chilled overnight)
- 2-3 tablespoons agave syrup
Directions:
- Open the chilled coconut cream cans and scoop out only the hardened cream, discarding the liquid coconut water.
- Transfer the hardened coconut cream to a cold stainless steel bowl and whip on medium/high speed until light and fluffy. Slowly drizzle the agave syrup onto the whip. Avoid adding too much agave too quickly, as it may cause the coconut whip to seize.
- Once light and fluffy, spread the coconut whipped cream over the coconut custard. Top with browned coconut flakes.
Nutrition
Carbohydrates: 26 g,
Protein: 4 g,
Fat: 34 g,
Fiber: 3 g,
Sugar: 11 g
Nutrition information is automatically calculated and should be used as an approximation only.
Photography: Photos for this post were expertly captured by Ashley McGlaughlin from The Edible Perspective.