
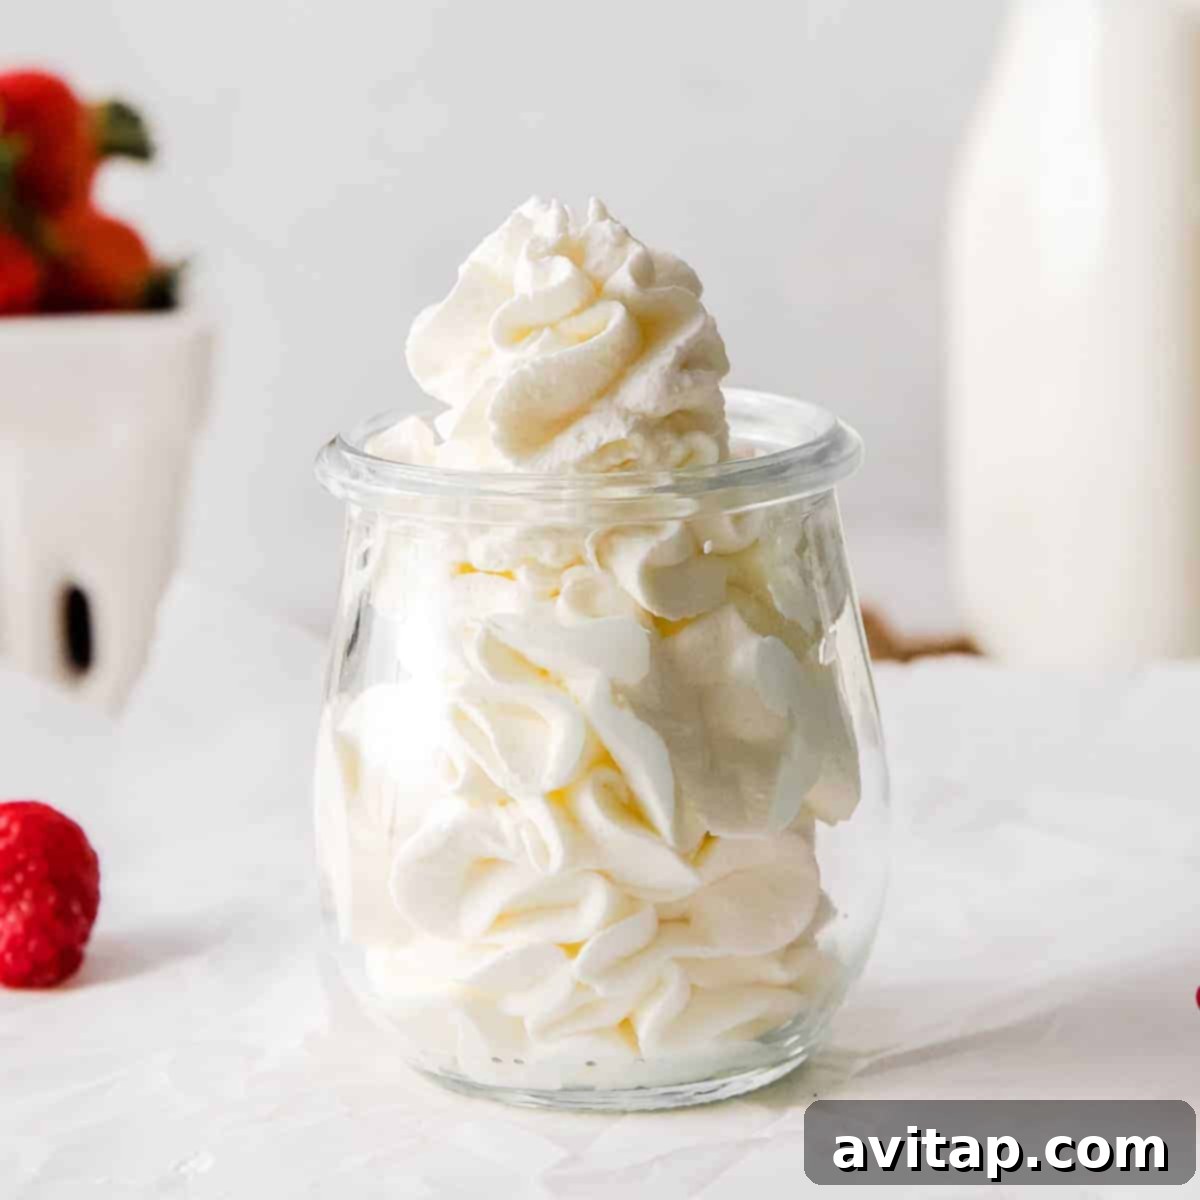
Welcome to the ultimate guide for creating light, airy, and utterly delicious
homemade whipped cream! Forget those store-bought tubs filled with
unnecessary additives; making your own whipped cream from scratch is
surprisingly simple, incredibly rewarding, and tastes infinitely better.
Whether you’re topping a decadent dessert, sweetening your morning coffee,
or simply enjoying it with fresh berries, homemade whipped cream elevates
any dish to a new level of culinary delight.
My journey into the world of homemade whipped cream began at my guncle’s
picturesque river house in Wisconsin. Their signature dessert always
featured a vibrant medley of fresh berries accompanied by a generous dollop
of homemade whipped cream. What truly captured my heart was their unique
touch: sweetening the cream with raw honey harvested directly from their
on-property beehives. That first taste was an epiphany – a revelation of how
simple ingredients, when combined with a little care, could create something
so exquisitely flavorful and comforting.
You might be surprised to learn that achieving perfect whipped cream requires
just one core ingredient: high-quality heavy whipping cream. From there,
the possibilities are endless, allowing you to customize the sweetness and
flavor to your exact preference. With a simple whisking action, you’ll
transform this humble cream into a luscious, cloud-like topping, ready
to adorn your favorite treats.
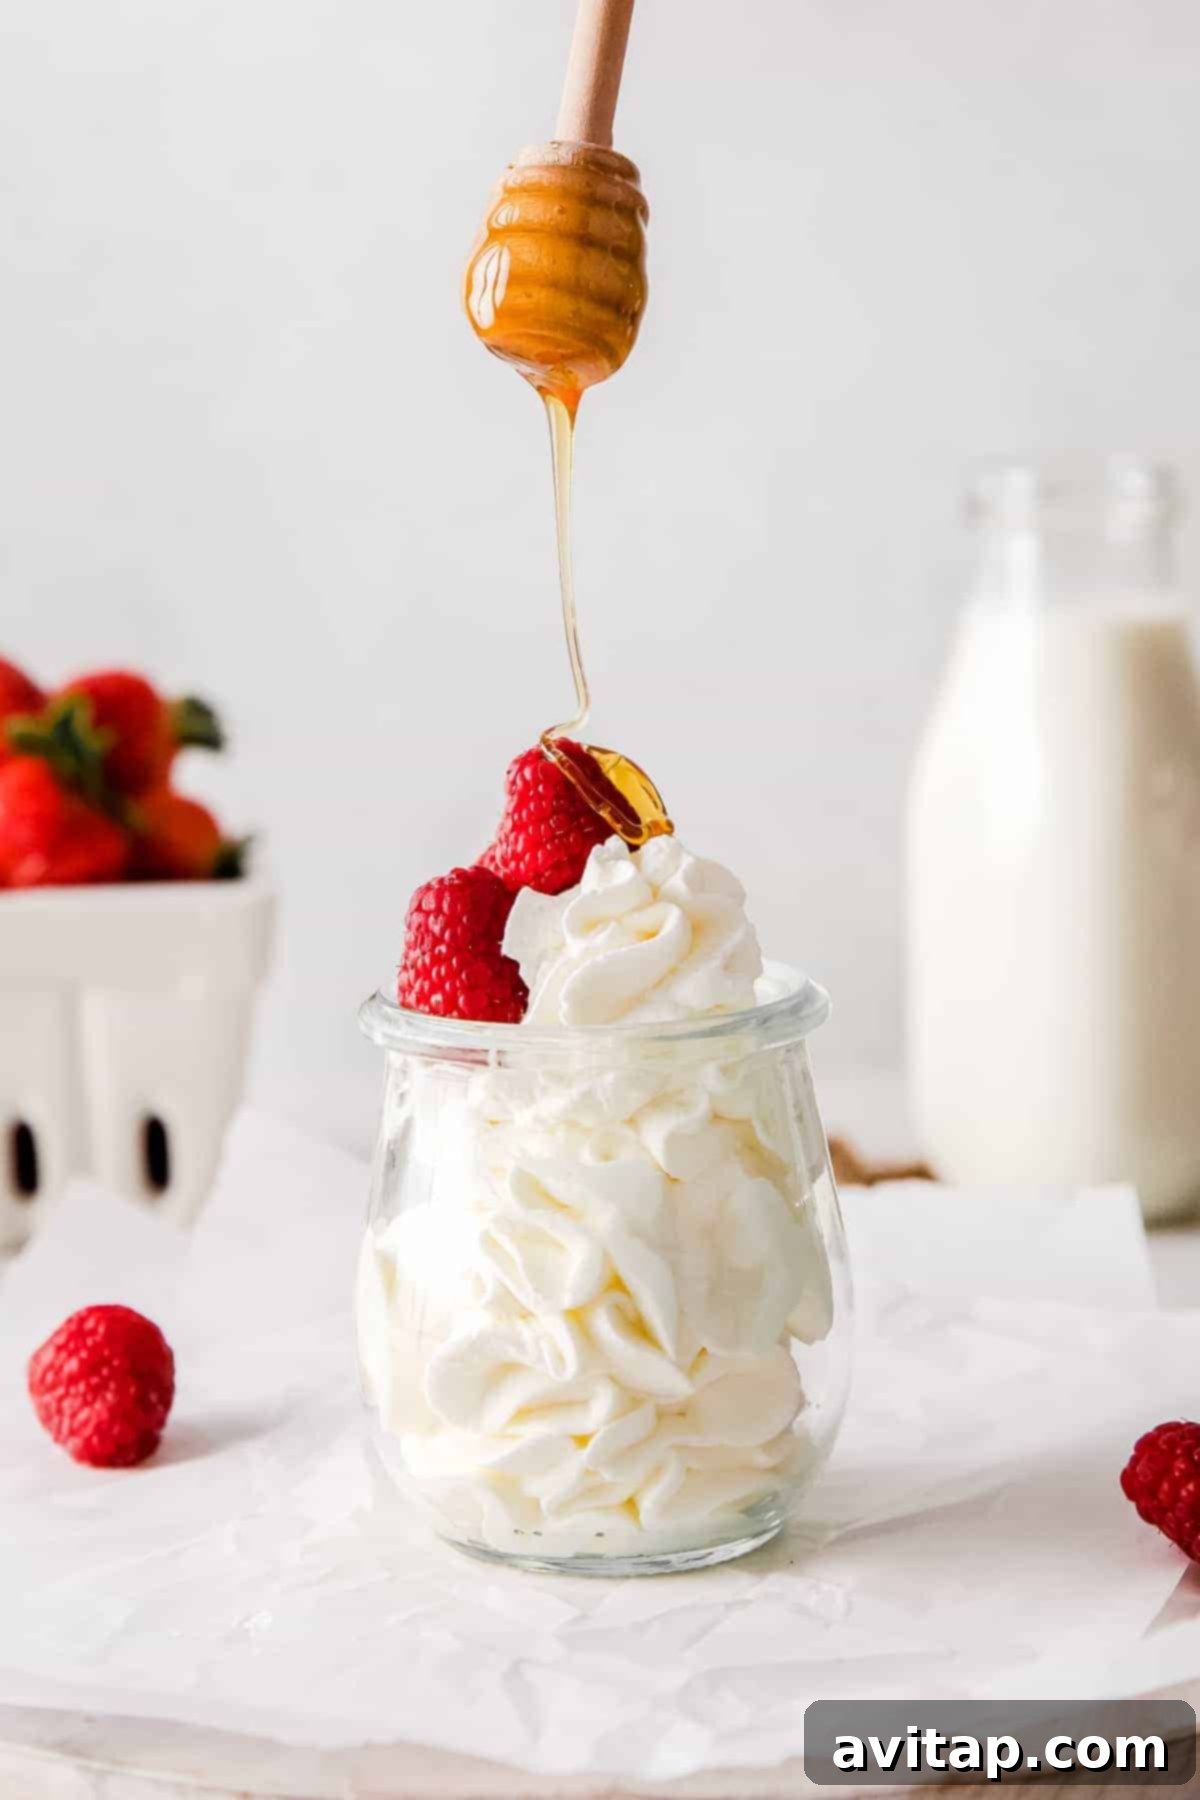
Why Choose Homemade Whipped Cream?
In a world brimming with convenient food options, taking a few minutes to
prepare homemade whipped cream might seem like an extra step. However, the
benefits are immense and truly worth the small effort. Store-bought whipped
toppings often contain hydrogenated oils, corn syrup, artificial flavors,
and preservatives that detract from the natural, rich taste of real cream.
When you make it yourself, you control every ingredient, ensuring a pure,
fresh, and wholesome topping for your desserts and beverages.
-
Superior Flavor and Texture: Homemade whipped cream
boasts an unparalleled richness and a light, airy texture that simply
cannot be replicated by canned or frozen alternatives. The delicate
dairy notes and creamy mouthfeel are truly distinctive. -
Control Over Sweetness: You decide how sweet your
whipped cream will be. Whether you prefer just a hint of sweetness or
a more pronounced sugary flavor, you can adjust it perfectly to your
liking, or even omit sweetener entirely for a savory application. -
Natural Ingredients: With homemade whipped cream,
you know exactly what you’re consuming. Typically, it’s just heavy
cream, a sweetener, and a touch of vanilla – pure and simple. -
Versatility: Once you master the basic recipe, you
can experiment with an endless array of flavorings, transforming
simple cream into a sophisticated complement for any dish.
Essential Tips for Perfect Whipped Cream Every Time
Achieving perfectly airy and stable whipped cream is straightforward when
you follow a few fundamental principles. These quick tips will help you
create a consistently delightful topping that holds its shape beautifully.
-
Chill Everything Down: This is arguably the most
crucial tip. Cold heavy whipping cream whips up faster and achieves
a more stable consistency. For optimal results, place your mixing bowl
(preferably metal or glass) and your whisk attachment (from a stand
mixer or hand mixer, or even a manual whisk) in the refrigerator or
freezer for 15-20 minutes before you start. The colder your equipment
and ingredients, the better the cream will emulsify and hold air. -
Choose the Right Bowl: A sufficiently large mixing
bowl is essential. As the cream whips, it will significantly increase
in volume and can splatter if the bowl is too small. Opt for a deep
bowl that allows plenty of room for expansion without making a mess. -
Start Slow, Finish Steady: While it might be tempting
to crank up the speed to max, whisking your cream on a medium-high
speed is generally recommended. Starting too fast can cause splattering,
and consistent, controlled speed helps incorporate air evenly. More
importantly, avoid over-whipping, which can quickly turn your luscious
cream into a grainy, curdled mess. We’ll dive into this more later! -
Quality Ingredients Matter: While simple, the quality
of your heavy cream and vanilla extract can profoundly impact the final
flavor. Invest in good quality ingredients for the best possible outcome.
Best Tools for Whipping Cream: Choosing Your Method
The beauty of making whipped cream lies in its adaptability; you don’t need
fancy gadgets to achieve fantastic results. We’ve experimented with various
kitchen tools, and ultimately, the “best” method comes down to your personal
preference, the amount of cream you’re whipping, and how much arm strength
you’re willing to exert!
-
Metal Whisk: The classic, most accessible method.
Perfect for small batches and an excellent arm workout! It offers
the most control over the consistency, but requires patience and
stamina. Ensure your whisk has enough wires to effectively aerate the cream. -
Hand Mixer:
A fantastic middle-ground option. Electric hand mixers are efficient,
relatively inexpensive, and great for medium-sized batches. They provide
more power than a hand whisk and typically come with whisk attachments
that make quick work of whipping cream. This is a popular choice for
home bakers. -
Stand Mixer:
The most hands-off and powerful option, ideal for larger quantities or
when you’re multitasking in the kitchen. A stand mixer with a whisk
attachment will yield beautifully consistent whipped cream with minimal
effort. Just be mindful not to over-whip, as the power can sometimes
lead to this quickly. -
Milk Frother:
Yes, you read that right – a milk frother! For small, individual servings
or a quick dollop for your coffee, a handheld milk frother can work
wonders. It whips a small amount of cream surprisingly fast into a light,
airy foam. While not suitable for large batches, it’s a fun and efficient
trick for single servings.
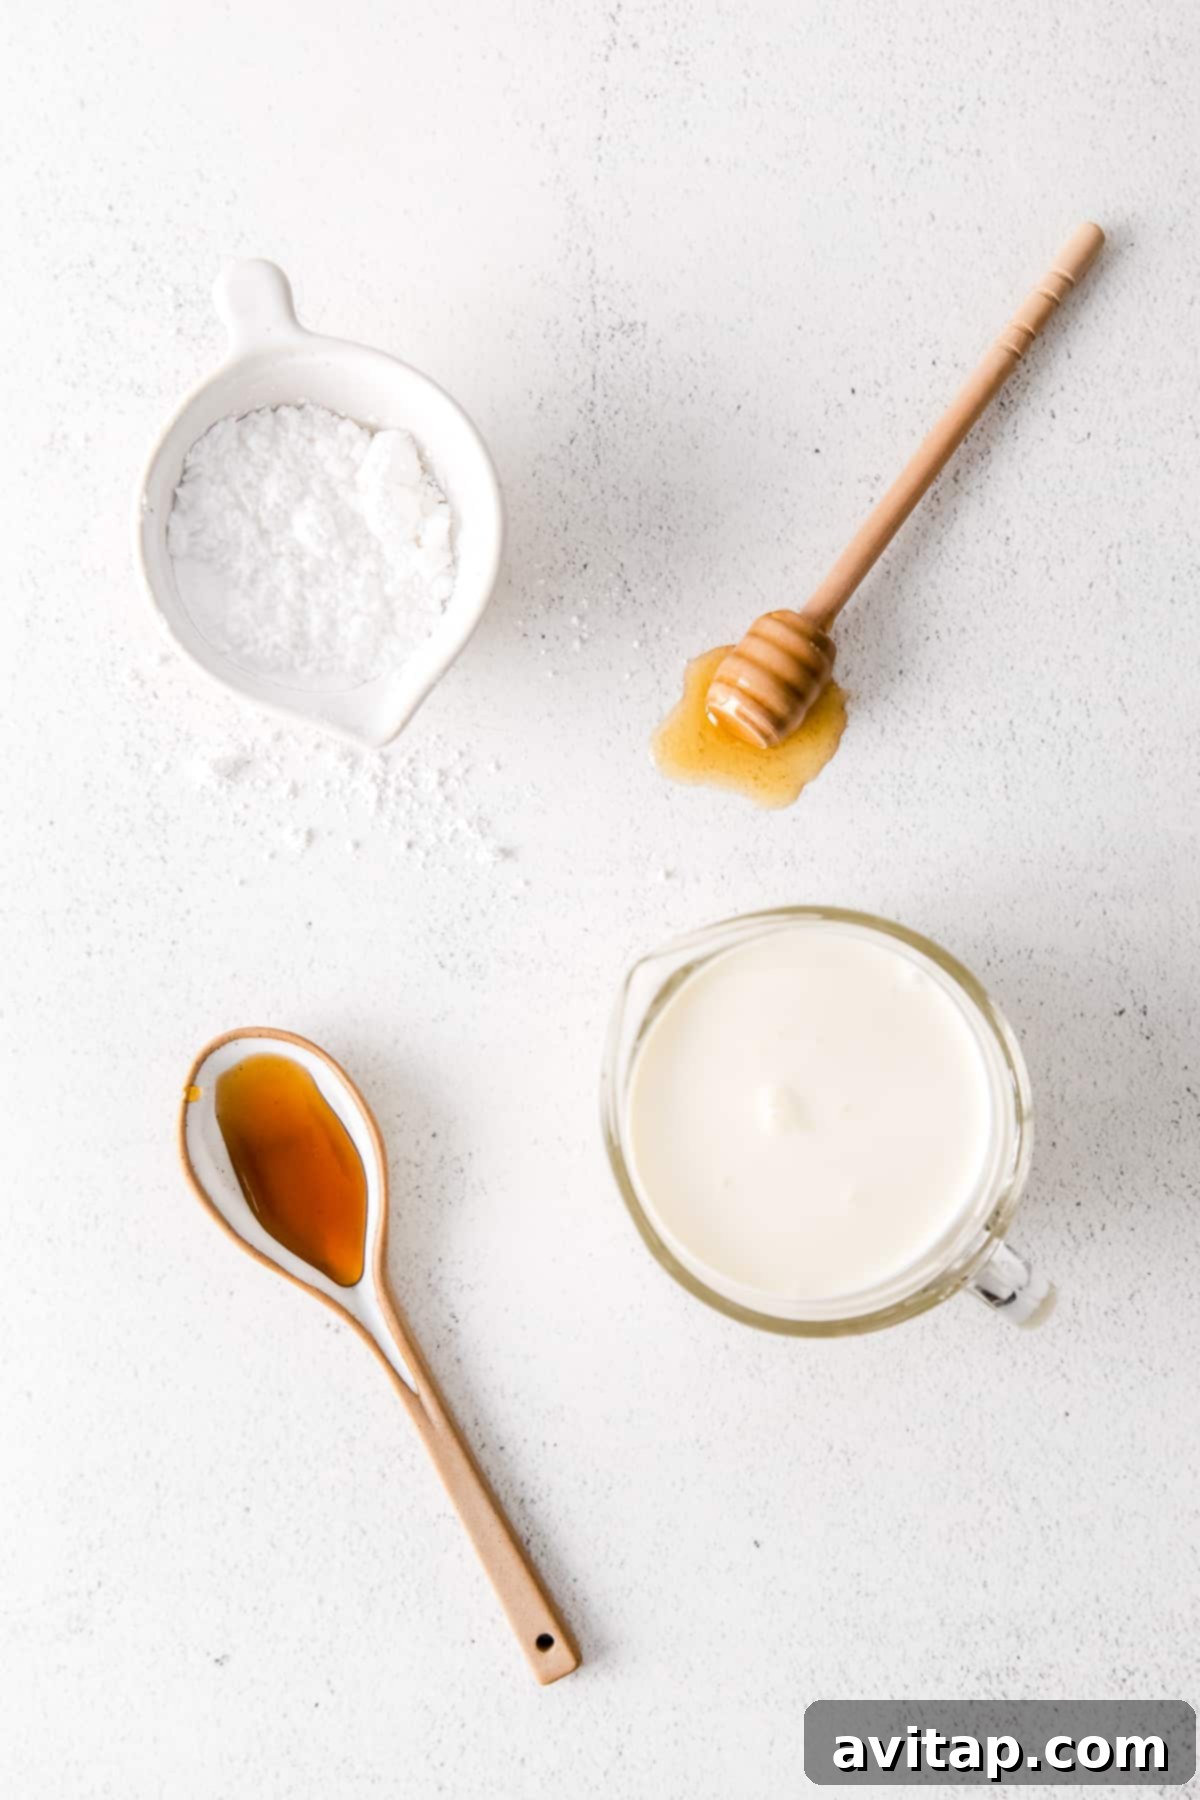
Ingredients Needed for the Perfect Whipped Cream: A Closer Look
Crafting exceptional whipped cream requires only a handful of ingredients,
but understanding each one’s role can significantly impact your final product.
Here’s what you’ll need and why it matters:
Heavy Whipping Cream or Whipping Cream: Understanding the Difference
The foundation of any great whipped cream is, of course, the cream itself.
While both “whipping cream” and “heavy whipping cream” can be used, knowing
the distinction will help you choose the best option for your desired result.
For most recipes, including ours, we recommend using 1 cup of heavy whipping cream
to achieve a robust and stable consistency.
-
Heavy Whipping Cream (or Heavy Cream): This variety
contains a higher fat content, typically 36% or more. The higher fat
percentage allows it to whip up into a much thicker, richer, and more
stable cream. It holds its peaks beautifully and retains its structure
for longer, making it ideal for piping onto cakes or storing in the
refrigerator for a day or two without significant deflation. This is
our preferred choice for its luxurious texture and stability. -
Whipping Cream (or Light Whipping Cream): With a
slightly lower fat content, usually between 30% and 35%, whipping
cream will still whip up nicely. However, it will produce a lighter,
less rich whipped cream that tends to be less stable and may not hold
its shape as well, particularly if stored for an extended period. It’s
still a good option if you prefer a less indulgent topping or are serving
it immediately.
Sweetener of Choice: Tailoring to Your Taste
The type and amount of sweetener you use are entirely a matter of personal
preference. We often find that about a tablespoon of sweetener per cup of
cream is a good starting point, but feel free to adjust to your desired
sweetness level. Here are our top three favorite sweeteners:
-
Honey: For a natural, floral sweetness and a subtle,
complex flavor, honey is an excellent choice. It pairs beautifully
with fresh fruit and offers a unique depth that granulated sugar
cannot. Liquid sweeteners like honey or maple syrup should be added
gradually to avoid thinning the cream too much. -
Powdered Sugar (Confectioners’ Sugar): This is perhaps
the most common and popular sweetener for whipped cream. Its fine texture
dissolves instantly, preventing any graininess, and the cornstarch
often found in powdered sugar helps stabilize the whipped cream,
making it hold its shape longer. -
Maple Syrup: Like honey, maple syrup provides a natural,
distinctive flavor profile that works wonderfully with autumn-themed
desserts or anything needing a touch of rustic sweetness. Choose pure
maple syrup for the best flavor.
You can even combine a small amount of powdered sugar with a touch of honey
or maple syrup for a layered sweetness and enhanced stability.
Vanilla Extract: The Secret Flavor Enhancer
While optional, a splash of vanilla extract can dramatically enhance the
flavor of your whipped cream, adding a warm, aromatic depth that complements
almost any dessert. We strongly advocate for using high-quality vanilla
for the best results.
-
Pure Vanilla Extract: Made from real vanilla beans,
pure vanilla extract offers a rich, complex flavor that imitation
vanilla simply can’t match. It’s a small investment that makes a big
difference. -
Fresh Vanilla Bean Paste or Scraped Vanilla Bean:
For an exceptionally gourmet touch, consider using vanilla bean paste
or scraping the seeds directly from half a vanilla bean. This will
impart a more intense vanilla flavor and speckle your whipped cream
with beautiful black vanilla seeds.
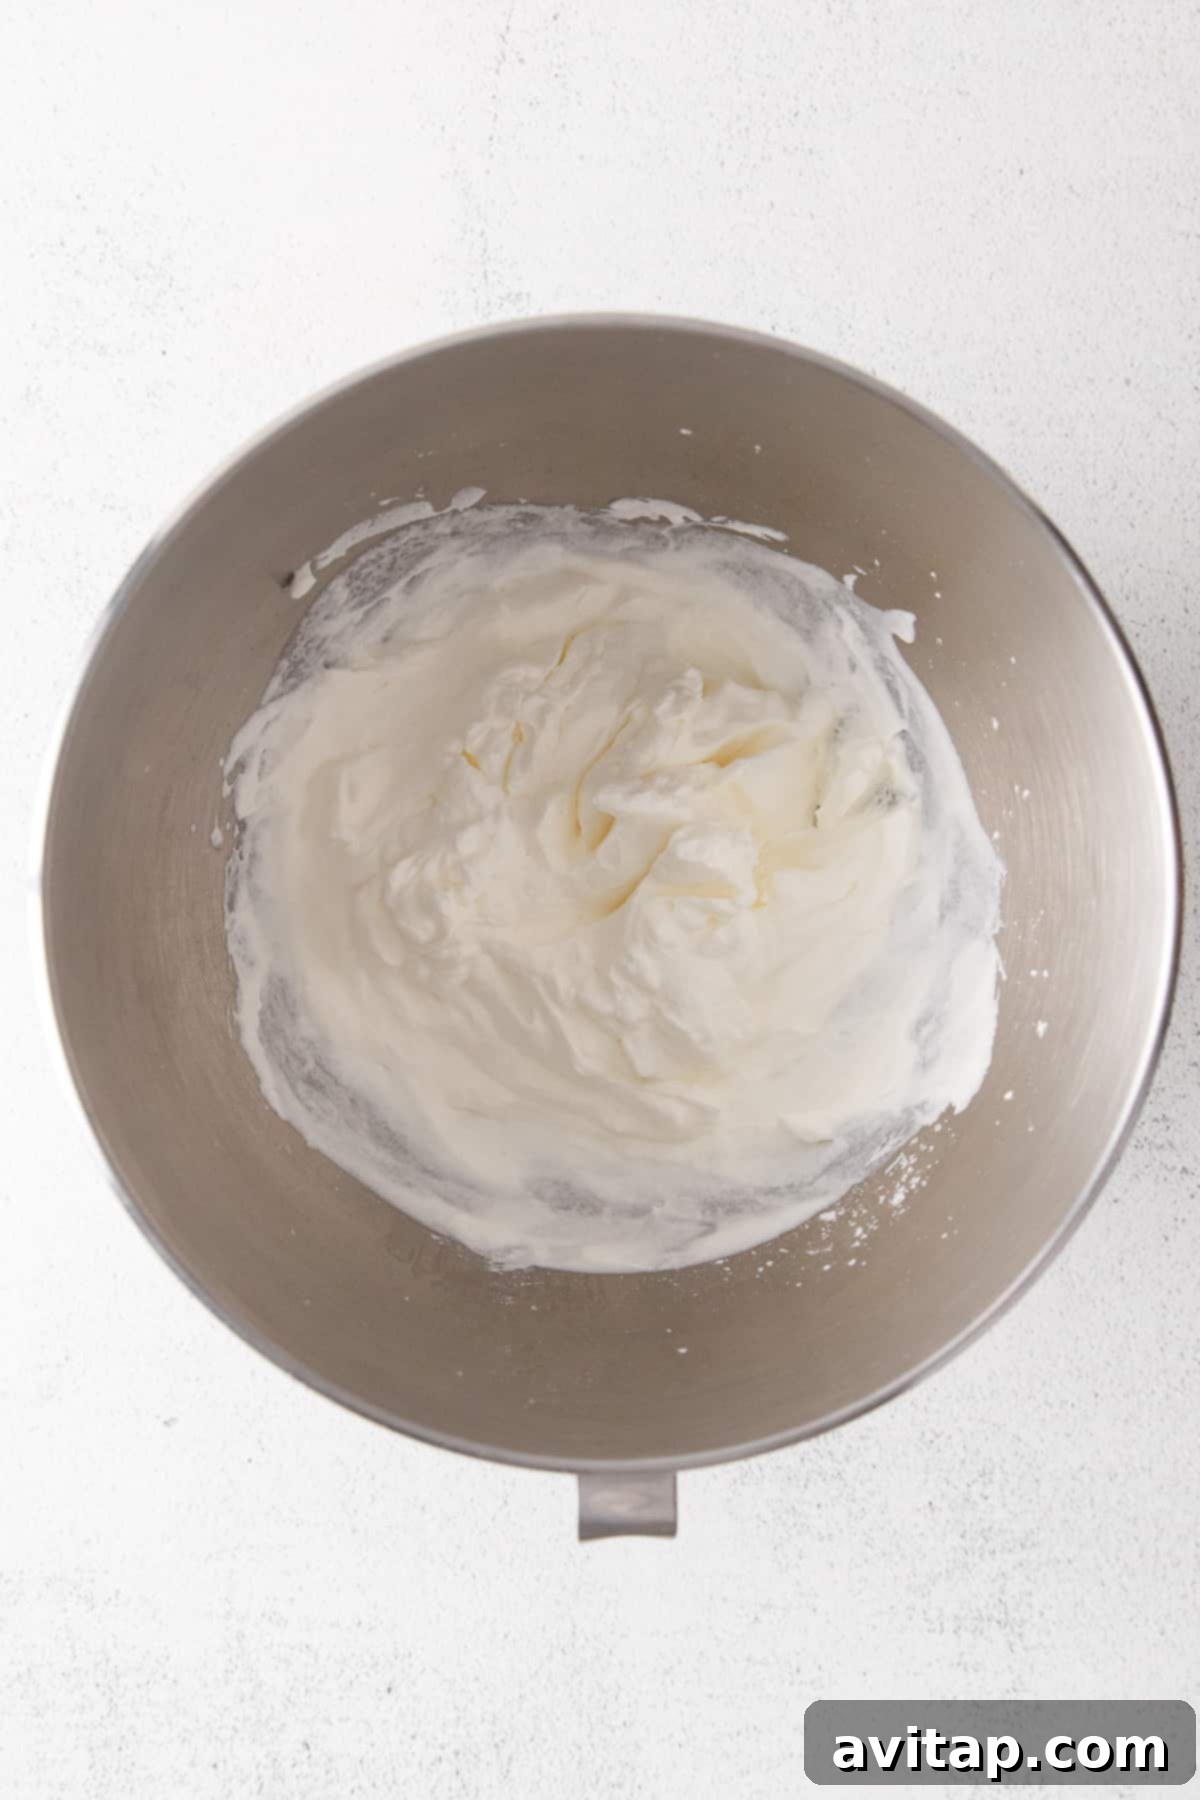
How to Make Whipped Cream: A Step-by-Step Guide for Fluffy Perfection
Ready to transform simple cream into a cloud of deliciousness? Follow these
easy steps to achieve perfect homemade whipped cream every time. Remember,
the colder your ingredients and equipment, the better your results will be.
If time allows, place your mixing bowl and whisk attachments in the fridge
or freezer for 15-20 minutes before you begin.
-
Prepare Your Workstation: Ensure your heavy whipping
cream is thoroughly chilled. If you’ve pre-chilled your mixing bowl
and whisk attachment, remove them from the refrigerator or freezer.
Attach the whisk to your stand mixer, or have your hand mixer ready,
or simply grip your manual whisk. -
Start Whipping the Cream: Pour the cold heavy cream
into your chilled mixing bowl. Begin whisking on a medium-low speed
for about 30 seconds to a minute. This initial gentle mixing helps to
begin incorporating air without causing splatters. -
Add Sweetener and Vanilla: Once the cream begins to
thicken slightly and shows faint trails from the whisk, it’s time to
add your chosen sweetener (e.g., powdered sugar, honey, maple syrup)
and vanilla extract. Gradually increase the speed to medium-high. -
Whip to Desired Peaks: Continue to beat the mixture.
As you whip, the cream will become thicker and more voluminous. Keep
an eye on the consistency:-
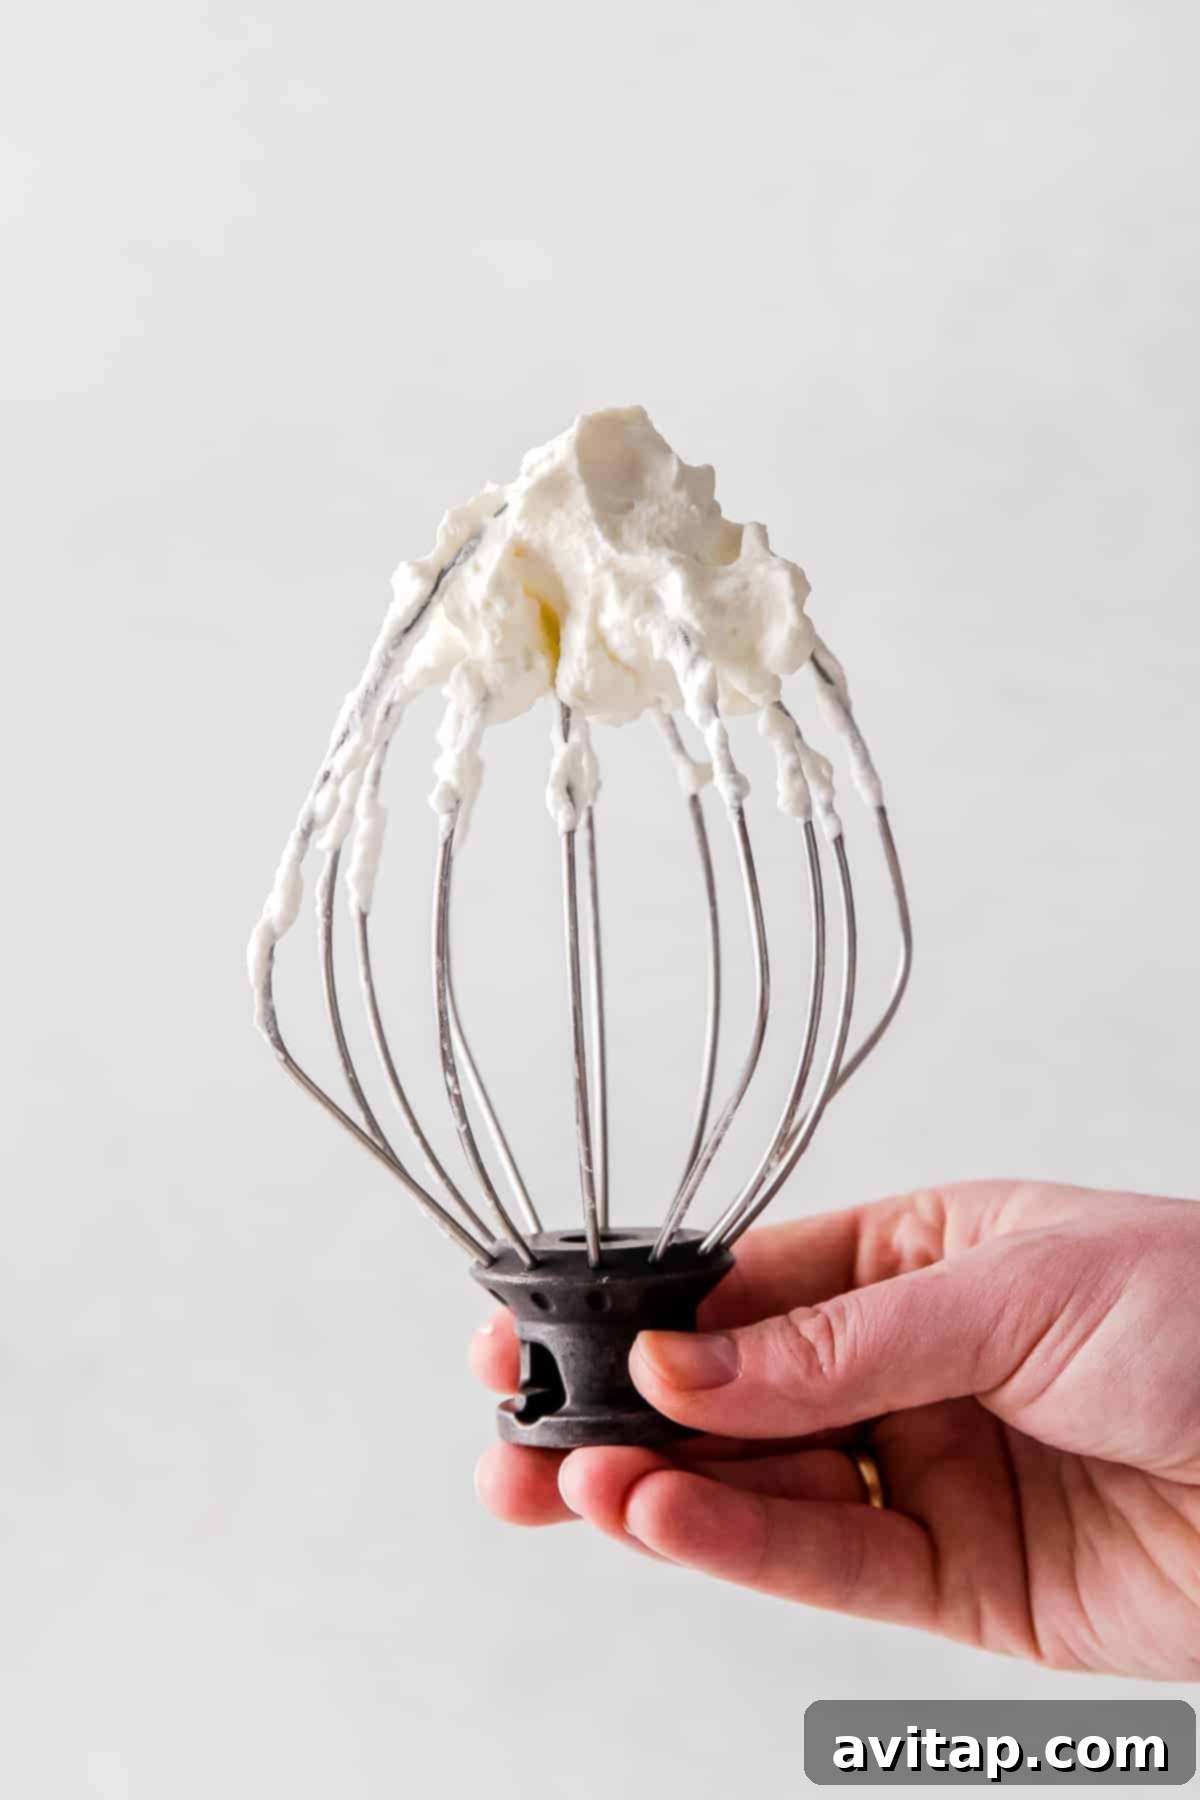
Soft Peaks: The cream will hold its shape
loosely, and when you lift the whisk, the peak will gently
flop over. This consistency is perfect for a light topping on
fruit or a warm drink. For our recipe, we prefer soft peaks
for that melt-in-your-mouth texture. -
Medium Peaks: The cream will hold its shape
better, and the peaks will stand up but still have a slight
curl at the tip. This is a versatile consistency, great for
spooning onto pies or trifles. -
Stiff Peaks: The cream will be very thick
and firm, holding its shape completely when the whisk is lifted.
It’s excellent for piping or when you need a very stable topping.
You may need to stop the mixer occasionally and scrape down the sides
of the bowl with a spatula to ensure all the cream is evenly whipped.
Continue whipping until you reach your desired peak stage, typically
5-7 minutes for medium peaks with an electric mixer. -
Soft Peaks: The cream will hold its shape
-
Serve Immediately: Once your whipped cream reaches
the perfect consistency, it’s best served right away to enjoy its
optimal texture and freshness. Spoon it generously over your favorite
desserts and savor the homemade goodness!
The Golden Rule: Do Not Overmix Your Whipped Cream!
Listen up, aspiring whipped cream connoisseurs: this is perhaps the most
critical piece of advice you’ll receive. The line between perfectly whipped
cream and an unfortunate, grainy disaster is incredibly fine. Once your
cream starts forming peaks, keep a very close eye on it.
Over-whipping cream causes the fat molecules to clump together too tightly,
expelling the liquid. This transforms your beautifully soft, airy cream
into a curdled, lumpy texture that resembles cottage cheese, and eventually,
if you keep going, butter. While making butter can be fun, it’s probably
not what you’re aiming for when preparing whipped cream for your dessert!
We typically prefer our whipped cream to be at a soft peak
consistency for its delightful, melt-in-your-mouth texture that gently
cascades over desserts. This ensures it’s still airy and light. If you’re
unsure, it’s always better to under-whip slightly and manually whisk a
few more strokes than to over-whip and ruin the batch. You can’t un-whip cream!
How to Store Homemade Whipped Cream
While homemade whipped cream is always best enjoyed fresh, you can certainly
store leftovers for later enjoyment, especially if you’ve used heavy whipping
cream due to its higher fat content and stability.
To store, gently transfer the whipped cream into an airtight container or a
jar. Make sure to leave a little bit of air space at the top to prevent
it from being squished. Place it in the coldest part of your refrigerator.
When made with heavy whipping cream, it should maintain its structure and
freshness for about 1-2 days. If you find it has deflated slightly, you can
give it a quick whisk by hand for a few seconds to restore some of its
original volume before serving.
Keep in mind that whipped cream made with lighter whipping cream may not
store as well and might deflate more quickly. It’s generally best to make
only what you plan to use if opting for a lower-fat cream.
Can You Freeze Whipped Cream? Absolutely!
Freezing whipped cream is not only possible but also a fantastic way to
preserve it for future use, especially if you’ve made a large batch or
want to have delightful little cream dollops ready for hot beverages.
It’s a surprisingly fun and practical kitchen hack!
-
Prepare for Freezing: Line a baking sheet or a large
plate with parchment paper or a silicone baking mat. This will prevent
the whipped cream from sticking. -
Create Dollops: Using a tablespoon or a small cookie
scoop, drop individual dollops of whipped cream onto the prepared
parchment paper. You can make them as small or as large as you like,
depending on how you plan to use them. Repeat this process until all
your whipped cream is portioned out. -
Freeze Solid: Carefully transfer the baking sheet with
the whipped cream dollops into the freezer. Allow them to freeze
completely solid, which usually takes a few hours. -
Store Long-Term: Once the dollops are frozen hard,
gently peel them off the parchment paper and transfer them into a
freezer-safe, airtight bag or container. This prevents them from sticking
together and allows you to grab just one or two as needed. -
Enjoy Frozen Whipped Cream: These frozen whipped
cream dollops are truly exceptional! They are particularly delightful
when served on hot chocolate, coffee, or other warm beverages. They
slowly melt, adding a creamy, sweet touch to your drink. You can also
tuck them into warm fruit crisps or pies for a lovely surprise.
Flavor Variations for Homemade Whipped Cream: Get Creative!
While classic vanilla whipped cream is a beloved staple, its neutral base
makes it an incredible canvas for culinary creativity. We often keep our
whipped cream simple to allow the dessert it accompanies to truly shine.
However, there are many instances where a flavored whipped cream can elevate
your dish from delicious to truly unforgettable. Here are some inspiring ways
to infuse your homemade whipped cream with exciting new flavors:
Extracts: Endless Aromas
The simplest way to transform the flavor profile of your whipped cream is
by swapping out or adding different extracts. Consider the dessert you’re
pairing it with and let your imagination guide you. Add extracts during the
final stages of whipping, just after the cream begins to thicken.
-
Almond Extract: Offers a nutty, slightly sweet essence
that beautifully complements fruit tarts, cherry pies, or anything with
berries. -
Peppermint Extract: Ideal for holiday treats, chocolate
desserts, or a festive touch to hot cocoa. A little goes a long way! -
Orange or Lemon Extract (or Zest!): Provides a bright,
citrusy zing that cuts through richness and pairs well with light cakes,
fruit salads, or crepes. You can also finely grate citrus zest directly
into the cream for a fresh burst of flavor and visual appeal. -
Coffee or Espresso Extract: For a mocha-inspired treat,
perfect with chocolate desserts or coffee-flavored cakes. - Coconut Extract: Great for tropical desserts or a dairy-free whipped cream alternative (though note this recipe is for dairy cream).
Jams and Fruit Purées: A Burst of Fruity Color
Incorporating 1-2 teaspoons of your favorite jam or a smooth fruit purée
is a delightful way to add both flavor and a beautiful natural color to
your whipped cream. Ensure the jam or purée is smooth and doesn’t contain
large chunks that could affect the texture of the cream.
-
Raspberry Jam: Adds a tart-sweet berry flavor and a
lovely pink hue, wonderful with chocolate or vanilla desserts. -
Strawberry Jam: A classic, sweet berry flavor that’s
universally loved, perfect for shortcakes or scones. -
Blueberry Jam: Offers a deeper, slightly more earthy
berry note, great with lemon desserts or pancakes. - Apricot or Peach Jam: For a summery, delicate fruit flavor.
Cocoa Powder: For Chocolate Lovers
A dream come true for chocoholics! Adding unsweetened cocoa powder creates
a rich, indulgent chocolate whipped cream that’s perfect for fudgy brownies,
chocolate cakes, or even a simple bowl of berries.
For a super chocolatey whipped cream, add 1-2 tablespoons of unsweetened
cocoa powder along with your sweetener during the whipping process. Sift
the cocoa powder first to avoid any lumps. You might need to add a touch
more sweetener, as cocoa powder is quite bitter.
Spices and Liqueurs: Gourmet Touches
-
Cinnamon or Pumpkin Spice: Add ½ teaspoon for a warm,
cozy flavor, especially great with apple pie, pumpkin desserts, or
coffee. -
Liqueurs: A tablespoon of your favorite liqueur like
Grand Marnier (orange), Kahlua (coffee), Amaretto (almond), or a fruit
brandy can add a sophisticated, boozy kick. Add it in the final stages
of whipping.
What Do I Serve with Whipped Cream? Endless Possibilities!
The versatility of homemade whipped cream is truly astounding. It’s not
just a dessert topping; it’s a culinary enhancement that can transform
a simple dish into something extraordinary. The options for pairing this
fluffy delight are genuinely endless, extending far beyond the traditional
cakes and pies.
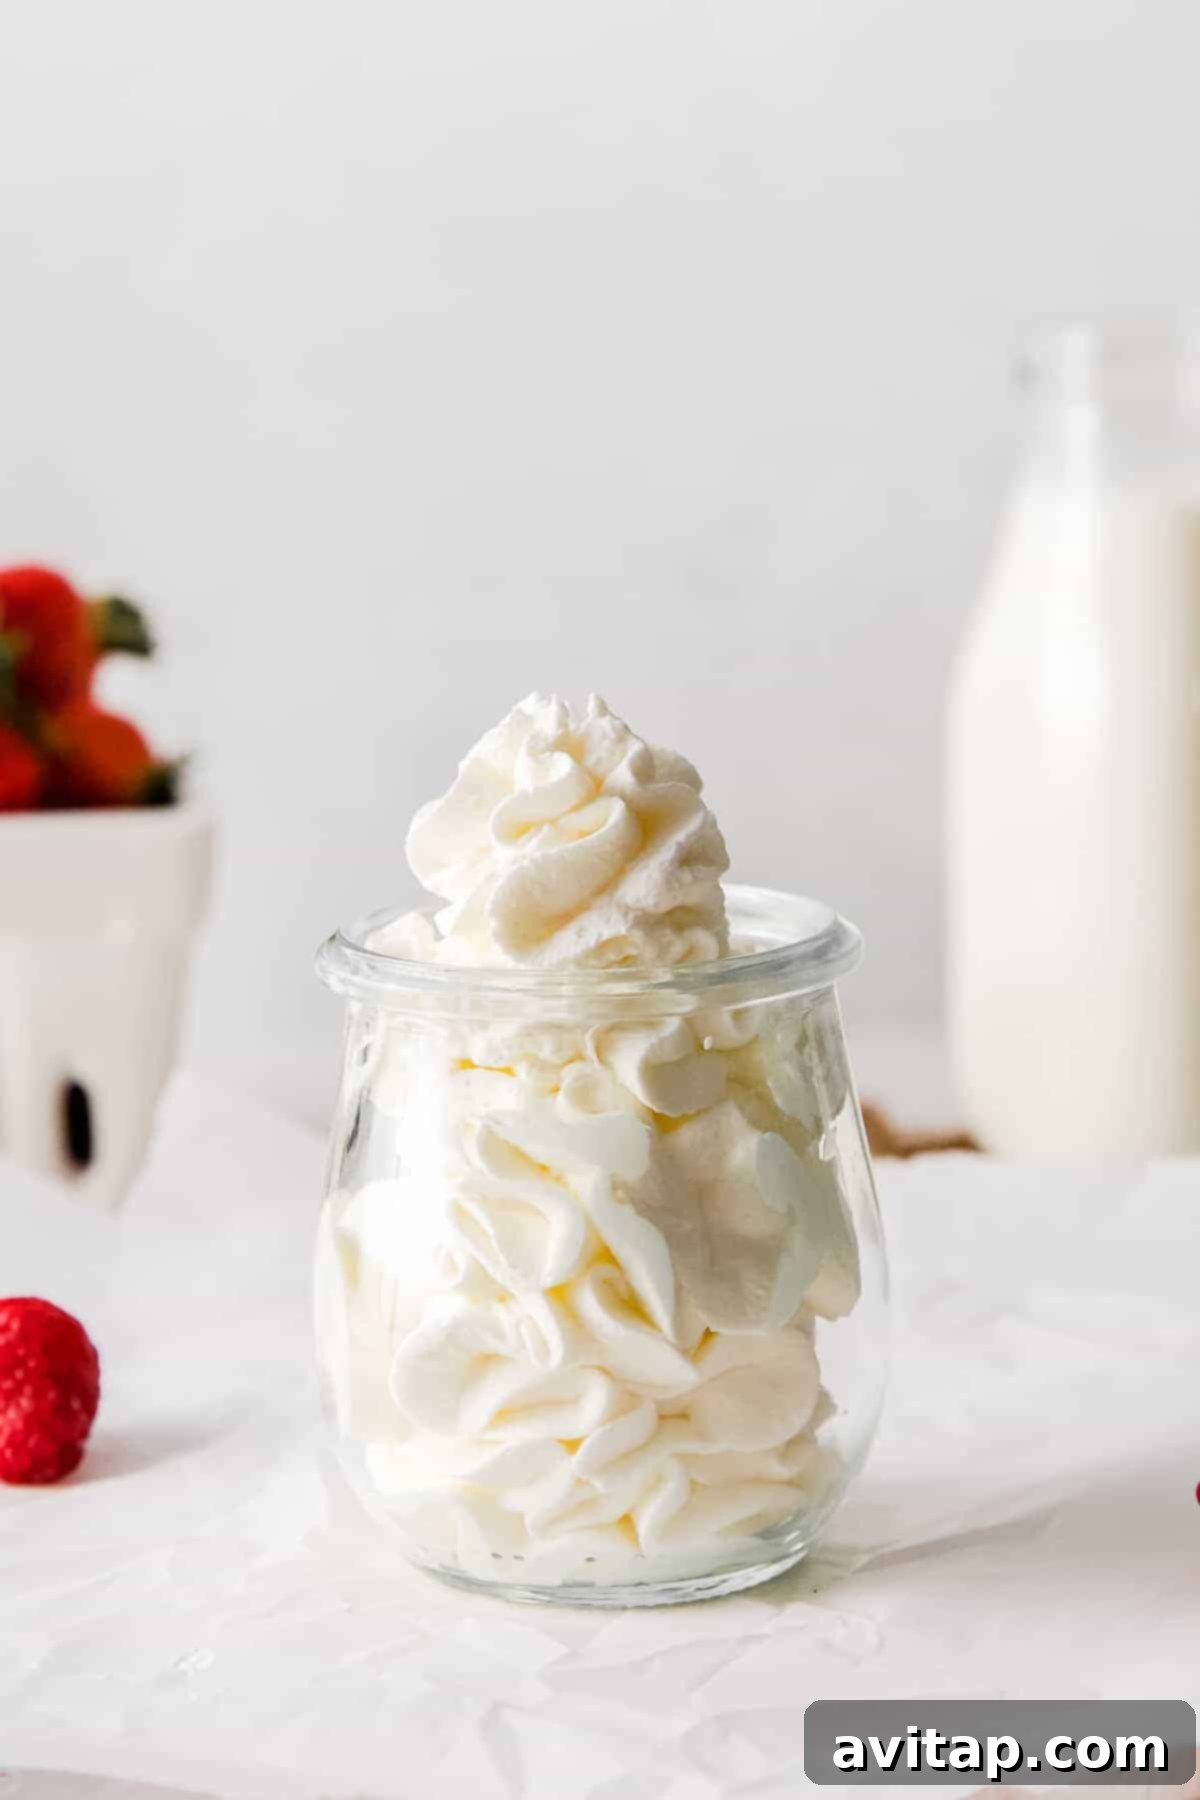
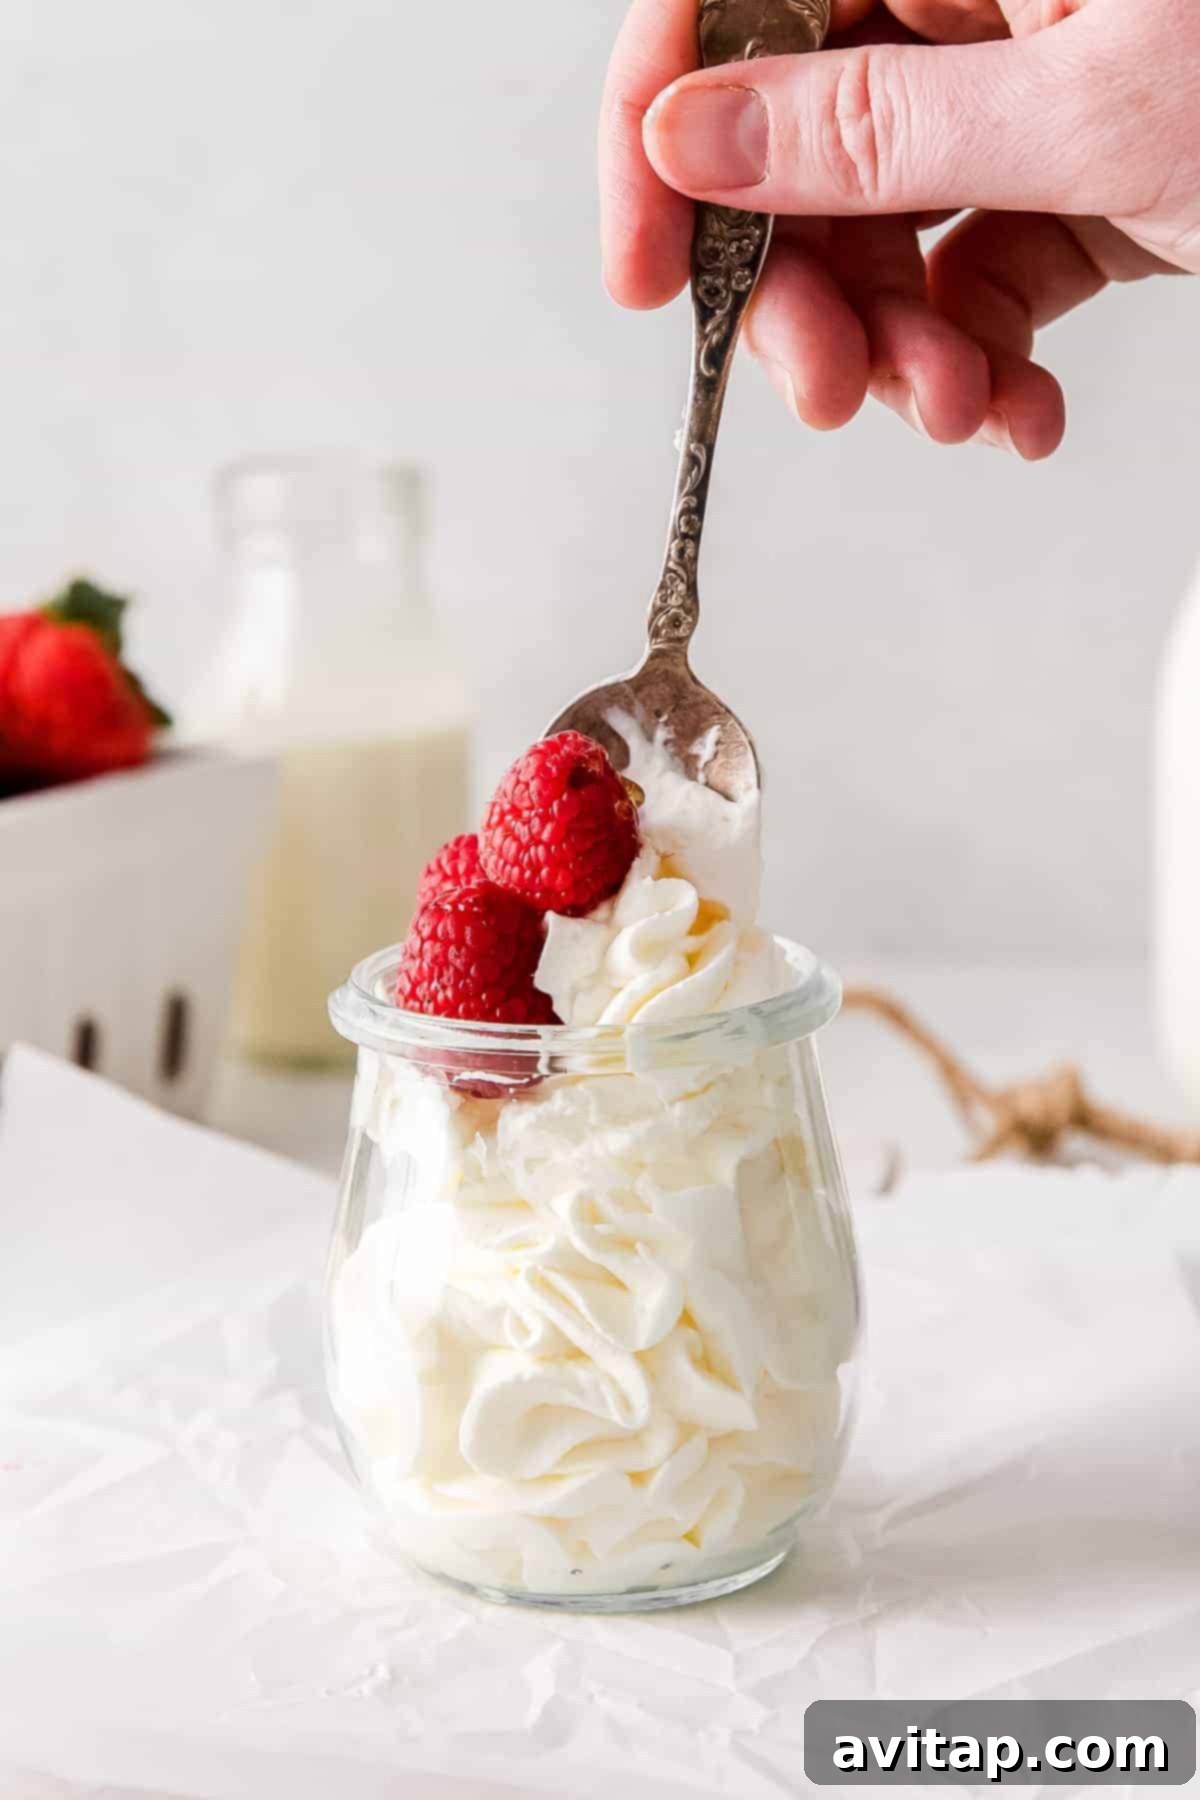
Our absolute favorite way to enjoy freshly made whipped cream is simply
with a generous medley of vibrant, ripe fresh berries. The creamy sweetness
perfectly balances the tartness and juiciness of the fruit, creating a
dessert that feels both indulgent and wonderfully light.
Beyond berries, consider these delightful pairings to elevate your meals,
snacks, and beverages:
Desserts and Baked Goods
-
Cakes and Cupcakes: From a classic vanilla cake to
a rich chocolate delight, whipped cream is a lighter alternative to
heavy frostings. -
Pies and Tarts: A dollop on a warm apple pie, pumpkin
pie, or a tangy lemon tart is pure bliss. -
Apple Crisps and Crumbles:
The cool cream melting into a warm fruit crisp is an unforgettable
contrast of temperatures and textures. -
Pumpkin Pie Bars:
These autumnal treats are incomplete without a swirl of fresh cream. -
Brownies and Cookies:
A light topping on a warm brownie or alongside a soft cookie adds
a touch of elegance and creaminess. -
Fruit Salads and Fruit Parfaits: Layer whipped cream
with fresh fruit and granola for a refreshing and beautiful dessert
or breakfast. -
Puddings and Mousses: Enhance the richness and texture
of chocolate pudding or a light fruit mousse. -
Ice Cream Sundaes: While ice cream is creamy, whipped
cream adds another dimension of airy delight to any sundae.
Breakfast and Brunch Treats
-
Pancakes and Waffles:
Move over, butter and syrup! Whipped cream adds a luxurious, fluffy
touch to your breakfast staples. Especially good with fresh fruit. -
Crepes:
Fill or top delicate crepes with whipped cream and berries or chocolate
sauce for an elegant brunch dish. -
French Toast: A surprising but delicious pairing,
especially with cinnamon-spiced French toast.
Beverages
-
Hot Chocolate: The ultimate indulgence, transforming
a simple hot cocoa into a gourmet treat. -
Coffee and Lattes: Replace store-bought creamers
with a dollop of homemade whipped cream for a richer, natural flavor. -
Milkshakes: A must-have topping for any decadent
milkshake.
No matter how you choose to enjoy it, homemade whipped cream is a simple
luxury that consistently brings joy to the table.
Recipe: How to Make Whipped Cream
Learn how to make luscious homemade whipped cream in just a few simple steps.
You only need a few basic ingredients and an electric mixer to achieve
this light and airy topping.
Recipe Details
- By: Linley Hanson
- Prep Time: 10 minutes
- Cook Time: 0 minutes
- Total Time: 10 minutes
- Yields: Approximately 2 cups
- Servings: 6
Ingredients
- 1 cup heavy whipping cream (very cold)
- 1 tablespoon sweetener of choice (honey, maple syrup, or powdered sugar)
- ½ teaspoon pure vanilla extract (or paste from half a vanilla bean)
Instructions
-
Chill Equipment (Optional but Recommended): For best
results, place a metal stand mixer bowl and its whisking attachment
in the refrigerator for at least 15-20 minutes, or even the freezer
for 5-10 minutes. This helps the cream whip faster and become more stable. -
Begin Whipping Cream: Once the bowl is cold, remove
it from the refrigerator and place it under your stand mixer (or use
a large, chilled bowl with a hand mixer). Pour the cold heavy whipping
cream into the bowl and begin whisking on medium-low speed. -
Add Sweetener & Vanilla: Continue to whip on medium-low
speed until the cream starts to thicken slightly, typically 3-4 minutes.
Then, add your chosen sweetener and vanilla extract. -
Whip to Desired Peaks: Increase the speed to medium-high
and continue whipping until soft to medium peaks begin to form, which
usually takes another 2-3 minutes (5-7 minutes total whipping time).
Be careful not to over-whip. -
Serve: Use the freshly whipped cream immediately on
or in your favorite desserts and beverages.
Tips & Notes
- Yields: Approximately 2 cups of whipped cream.
-
This recipe can also be made effectively with a
hand mixer,
milk frother,
or a standard stand mixer. -
Cold is best: Always ensure your heavy whipping cream
is very cold. Chilling your mixing bowl and whisks significantly
improves results. -
Think slow: Whisk your whipped cream on medium to
medium-high speed, not consistently on the highest speed. This control
prevents over-whipping. -
Bowl size matters: Use a large enough mixing bowl to
accommodate the cream’s expansion and prevent splattering. -
Adjust Sweetness: Taste and adjust the amount of
sweetener to your personal preference.
Nutrition (Approximate per serving)
- Calories: 54 kcal
- Carbohydrates: 1 g
- Protein: 0 g
- Fat: 6 g
- Fiber: 0 g
- Sugar: 1 g
Nutrition information is automatically calculated, so should only be used as an approximation.
Love This Recipe? Share Your Creations!
We love seeing your culinary masterpieces! If you make this
homemade whipped cream, please don’t hesitate to leave a comment
below and share your experience.
Don’t forget to tag your posts on social media with the hashtag
#fitfoodiefinds.
We’d absolutely love to see what delicious desserts and drinks
you’re topping with your freshly made whipped cream!