
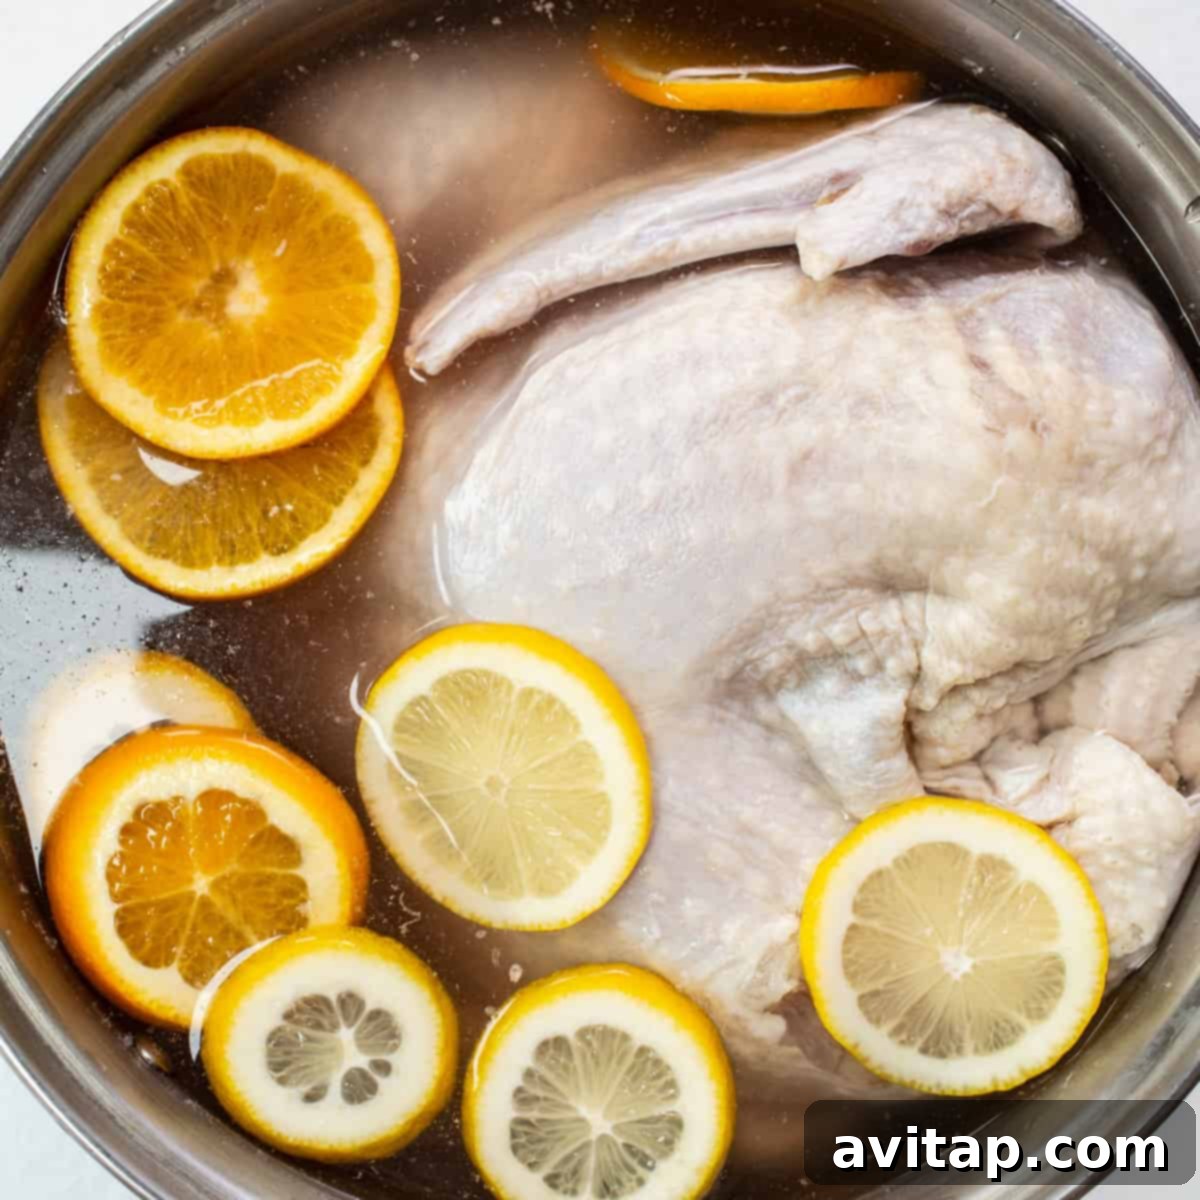
Unlock the secret to an incredibly moist, flavorful, and tender turkey with this simple guide to brining. Whether you’re preparing for Thanksgiving, Christmas, or any special occasion, a classic turkey brine is your key to culinary success. Say goodbye to dry, bland poultry forever and prepare to impress your guests with a bird that’s bursting with savory goodness. This comprehensive article will walk you through everything you need to know about preparing the perfect turkey brine, from understanding its benefits to selecting the best ingredients and mastering the step-by-step process. Get ready to elevate your holiday feast with a turkey that’s truly unforgettable!
Why Brine a Turkey? The Secret to Succulent Poultry
Brining your turkey is a game-changer, transforming an ordinary bird into an extraordinary centerpiece. There are three primary reasons why this simple process is essential for achieving the most delicious results, ensuring you never serve a dry turkey again. Embracing this technique guarantees a consistently delightful experience for both you and your guests.
- Unforgettable Flavor: Brining infuses the turkey meat with a deep, savory flavor that goes far beyond surface seasoning. You can think of it as an intensive flavor bath where the salty solution, along with any added aromatics, penetrates the muscle fibers, seasoning the bird from the inside out. This creates a rich, complex taste that will leave a lasting impression, making every bite incredibly satisfying.
- Tender Texture: The salt in the brine solution works its magic by breaking down the tough muscle proteins in the turkey. This tenderizing process results in meat that is incredibly soft and pleasant to bite into, ensuring every slice is as smooth and delightful as possible. This enzymatic action creates a more relaxed muscle structure, preventing stringiness often found in unbrined poultry.
- Optimal Moisture Retention: Perhaps the most crucial benefit of brining is its ability to significantly enhance the turkey’s moisture content. The salt molecules in the brine help the turkey’s cells absorb and hold onto water, effectively preventing the meat from drying out during the cooking process. This means your turkey will remain wonderfully juicy and succulent, even after hours in the oven, leading to a consistently delicious and moist result.
It’s important to note that brining is typically most effective for leaner cuts of meat such as chicken, turkey, and pork chops. Their lower fat content makes them more prone to drying out during cooking. Brining truly excels at helping these lean meats stay exceptionally moist and flavorful, making a noticeable difference in the final dish. Richer, fattier meats generally don’t require brining as much because their natural fat provides ample moisture.
Wet Brine vs. Dry Brine: Choosing Your Method
When it comes to brining, you generally have two main approaches: wet brining and dry brining. Both methods aim to deliver a juicy, flavorful turkey, but they achieve this through different processes and have distinct advantages and disadvantages. Understanding these differences will help you choose the best technique for your cooking style and desired outcome.
Understanding Wet Brine
Our featured recipe utilizes a wet brine, which involves fully submerging the turkey in a liquid solution primarily composed of salt and water, often enhanced with various aromatics. This method works by osmosis: the salt in the solution, being a smaller molecule, diffuses into the turkey’s cells. As salt enters the cells, it carries water and flavor compounds with it, effectively hydrating and seasoning the meat from the inside out. The result is a visibly plumper and exceptionally moist bird, making it a favorite for many traditional holiday preparations.
Advantages of Wet Brining:
- Maximum Moisture: Wet brines are highly effective at hydrating the turkey, making it incredibly juicy and succulent, even if slightly overcooked.
- Deep Flavor Infusion: The liquid medium allows for a profound infusion of flavors from herbs, spices, and citrus throughout the entire meat, ensuring a complex taste in every bite.
- Visibly Plumper: The turkey often appears larger and more robust after soaking in a wet brine, presenting a more impressive centerpiece.
Disadvantages of Wet Brining:
- Significant Space Requirement: You need a very large container (like a 20-30 quart pot or a food-grade brining bag) and substantial refrigerator space to fully submerge a whole turkey, which can be a challenge for some kitchens.
- Longer Preparation Time: Preparing the brine, especially ensuring it’s completely chilled before adding the turkey to maintain food safety, adds to the overall prep time.
- Can Affect Skin Crispiness: The added moisture in a wet brine can sometimes make it harder to achieve perfectly crispy skin. This can be mitigated by thoroughly patting the turkey dry (or even air-drying) before roasting.
Understanding Dry Brine
A dry brine, on the other hand, involves rubbing the turkey’s surface liberally with salt (and often other dry seasonings) and letting it rest, typically uncovered, in the refrigerator. Instead of adding external moisture, a dry brine leverages the turkey’s natural moisture. The salt initially draws out moisture from the meat, creating a concentrated, flavorful liquid. This liquid is then reabsorbed by the turkey’s muscle fibers, seasoning the turkey from within. We offer an excellent dry brine recipe that many home cooks find incredibly convenient. Feel free to explore it for an alternative approach, especially if refrigerator space is a concern!
Advantages of Dry Brining:
- Less Mess & Space: No large buckets or gallons of liquid are needed, making it an ideal choice for smaller refrigerators or when dealing with multiple dishes.
- Crispier Skin: The uncovered resting period in the refrigerator allows the turkey’s skin to dry out, leading to a much crispier and more desirable result when roasted.
- Intense Flavor: The concentrated salt and seasoning create a powerful flavor profile that’s not diluted by additional water, leading to a more pronounced taste.
Disadvantages of Dry Brining:
- Less Plump Appearance: The turkey may not look as plump as a wet-brined bird, as it doesn’t absorb extra liquid volume.
- Requires Planning: Optimal results typically require at least 24-72 hours of dry brining time.
Turkey Prep
Dry Brine Recipe
For a different approach, try this intensely flavorful turkey dry brine!
Turkey Brine Ingredients: Crafting the Perfect Flavor Bath
The beauty of a turkey brine lies in its versatility. While the core components—salt and water—are non-negotiable for a wet brine, the aromatics you add can dramatically transform the final flavor profile of your turkey. Our classic turkey brine recipe features a harmonious blend of fresh citrus and savory ingredients, but don’t hesitate to customize it based on your preferences or what you have on hand. The goal is to infuse your bird with delightful essence, making every bite a culinary delight.
Essential Components:
- Water (Gallons): This is the fundamental liquid base for your wet brine. It acts as the vehicle for the salt and other flavors to penetrate the turkey. Using a sufficient amount is key to ensuring your entire turkey is fully submerged, allowing for even brining and maximum moisture absorption.
- Kosher Salt (Cups): The undeniable star ingredient of any brine! Kosher salt is highly preferred over table salt because its larger crystals dissolve more slowly and consistently, and it typically doesn’t contain iodine or anti-caking agents that can impart an undesirable metallic or off-flavor. The salt is crucial for both tenderizing the meat and significantly aiding in moisture retention.
Flavor-Enhancing Aromatics:
While salt and water form the brine’s scientific foundation, aromatics elevate it from merely effective to truly extraordinary. Our recipe incorporates a vibrant and classic combination:
- Sliced Oranges: Adds a bright, zesty, and subtly sweet citrus note that complements poultry beautifully, cutting through richness and adding freshness.
- Sliced Lemons: Offers a tangy and refreshing aroma, balancing the richness of the turkey and providing a clean, vibrant undertone.
- Smashed Garlic Cloves: Infuses a pungent, savory depth that is a classic and beloved pairing with roasted meats. Smashing the cloves gently releases their potent oils, allowing their flavor to permeate the brine more effectively.
- Chopped White Onion: Contributes a sweet, earthy, and aromatic base to the brine, enhancing its overall savory profile and adding a layer of foundational flavor.
- Sprigs Fresh Thyme: Provides a delicate, herbaceous aroma that is quintessential for Thanksgiving and holiday cooking, imparting a fragrant, savory finish.
Creative Variations and Additional Aromatics:
Feel free to get creative and personalize your brine! Other aromatics and spices that work wonderfully, allowing you to tailor the flavor to your liking, include:
- Fresh Rosemary or Sage: For a more robust and traditional holiday flavor profile.
- Black Peppercorns: Adds a mild, subtle spicy warmth and depth.
- Bay Leaves: Contributes a subtle, earthy, and slightly floral note that enhances the overall complexity.
- Whole Cloves or Star Anise: For a more exotic and intensely aromatic touch (use sparingly to avoid overpowering the turkey).
- Brown Sugar or Maple Syrup: A small amount of sweetness can help balance the saltiness, contribute to a lovely golden-brown skin, and add a hint of caramelization, though it’s optional and not included in this particular recipe.
- Apple Cider Vinegar or White Wine: A splash of acid can add another layer of flavor and further assist in tenderizing the meat, while also offering a subtle tang.
Remember, the “extra” ingredients are what allow you to truly customize your turkey to your taste and impress your guests with a unique culinary creation. Experiment and find your signature brine blend!
Ultimate Roast
Thanksgiving Turkey
This is the ultimate Thanksgiving turkey recipe, featuring a perfectly roasted bird and homemade gravy. A true holiday showstopper!
Choosing the Perfect Turkey for Brining
Selecting the right turkey is the first crucial step to a successful brining experience. This particular wet turkey brine recipe is formulated for a 10-13 lb. whole turkey, a common size for many families. However, the fundamental principles apply universally to larger birds as well, with some necessary adjustments.
Size Matters for Space and Brine Volume:
When choosing your turkey, carefully consider both the size of your brining container and the available space in your refrigerator. For larger birds, you’ll undoubtedly need a bigger pot, a dedicated extra-large brining bag, or even a clean, food-grade cooler. Critically, the entire turkey needs to be fully submerged in the brine solution to ensure even flavor and moisture penetration. If you’re opting for a turkey larger than 13 lbs, you will likely need to double the brine recipe to guarantee you have enough liquid to completely cover the bird.
Fresh vs. Frozen Turkey: Essential Thawing Guidelines:
- Frozen Turkey: Most turkeys purchased from grocery stores are frozen. It is absolutely crucial that your turkey is completely thawed before you begin the brining process. A reliable rule of thumb for thawing in the refrigerator is to allow approximately 24 hours of thawing time for every 4-5 pounds of turkey. Therefore, a 12-pound turkey would require a minimum of 3 days to thaw completely in the refrigerator. Never attempt to brine a partially frozen turkey, as the brine won’t be able to penetrate the frozen sections evenly, resulting in inconsistent flavor and texture.
- Fresh Turkey: If you are fortunate enough to source a fresh turkey, you can bypass the thawing step and proceed directly to brining after initial preparation.
Crucial Advice: Avoid Pre-Brined or Kosher Turkeys!
This is a very important tip that cannot be overstated: always check the label of your turkey carefully! Many store-bought turkeys are already “pre-brined,” “self-basting,” “enhanced with a salt solution,” or “koshered” to keep them moist and flavorful. Brining such a turkey will inevitably result in an excessively salty, unpleasantly textured bird. Always look for a plain, unenhanced turkey when planning to brine it yourself. If the label indicates any form of added solution or salting, choose a different bird.
Enhance Flavor
Homemade Turkey Seasoning
Ditch store-bought seasonings! This flavorful Turkey Seasoning uses simple ingredients like garlic powder, brown sugar, and kosher salt for an unbeatable taste.
How to Brine a Turkey: Step-by-Step for a Perfect Bird
Brining a turkey might sound like an elaborate culinary task reserved for professional chefs, but it’s surprisingly simple and unequivocally worth the minimal extra effort. The payoff is a turkey that is supremely juicy, wonderfully tender, and deeply flavorful—a true showstopper for any gathering. Follow these detailed steps to prepare an easy and effective wet brine for your whole turkey and achieve culinary excellence:
Essential Equipment You’ll Need:
- Large Pot or Food-Grade Brining Bag: A 20-30 quart stockpot (or larger, depending on your turkey size) is ideal for full submersion. Alternatively, a heavy-duty brining bag can be a space-saving and convenient option.
- Medium Saucepan: For safely dissolving the salt.
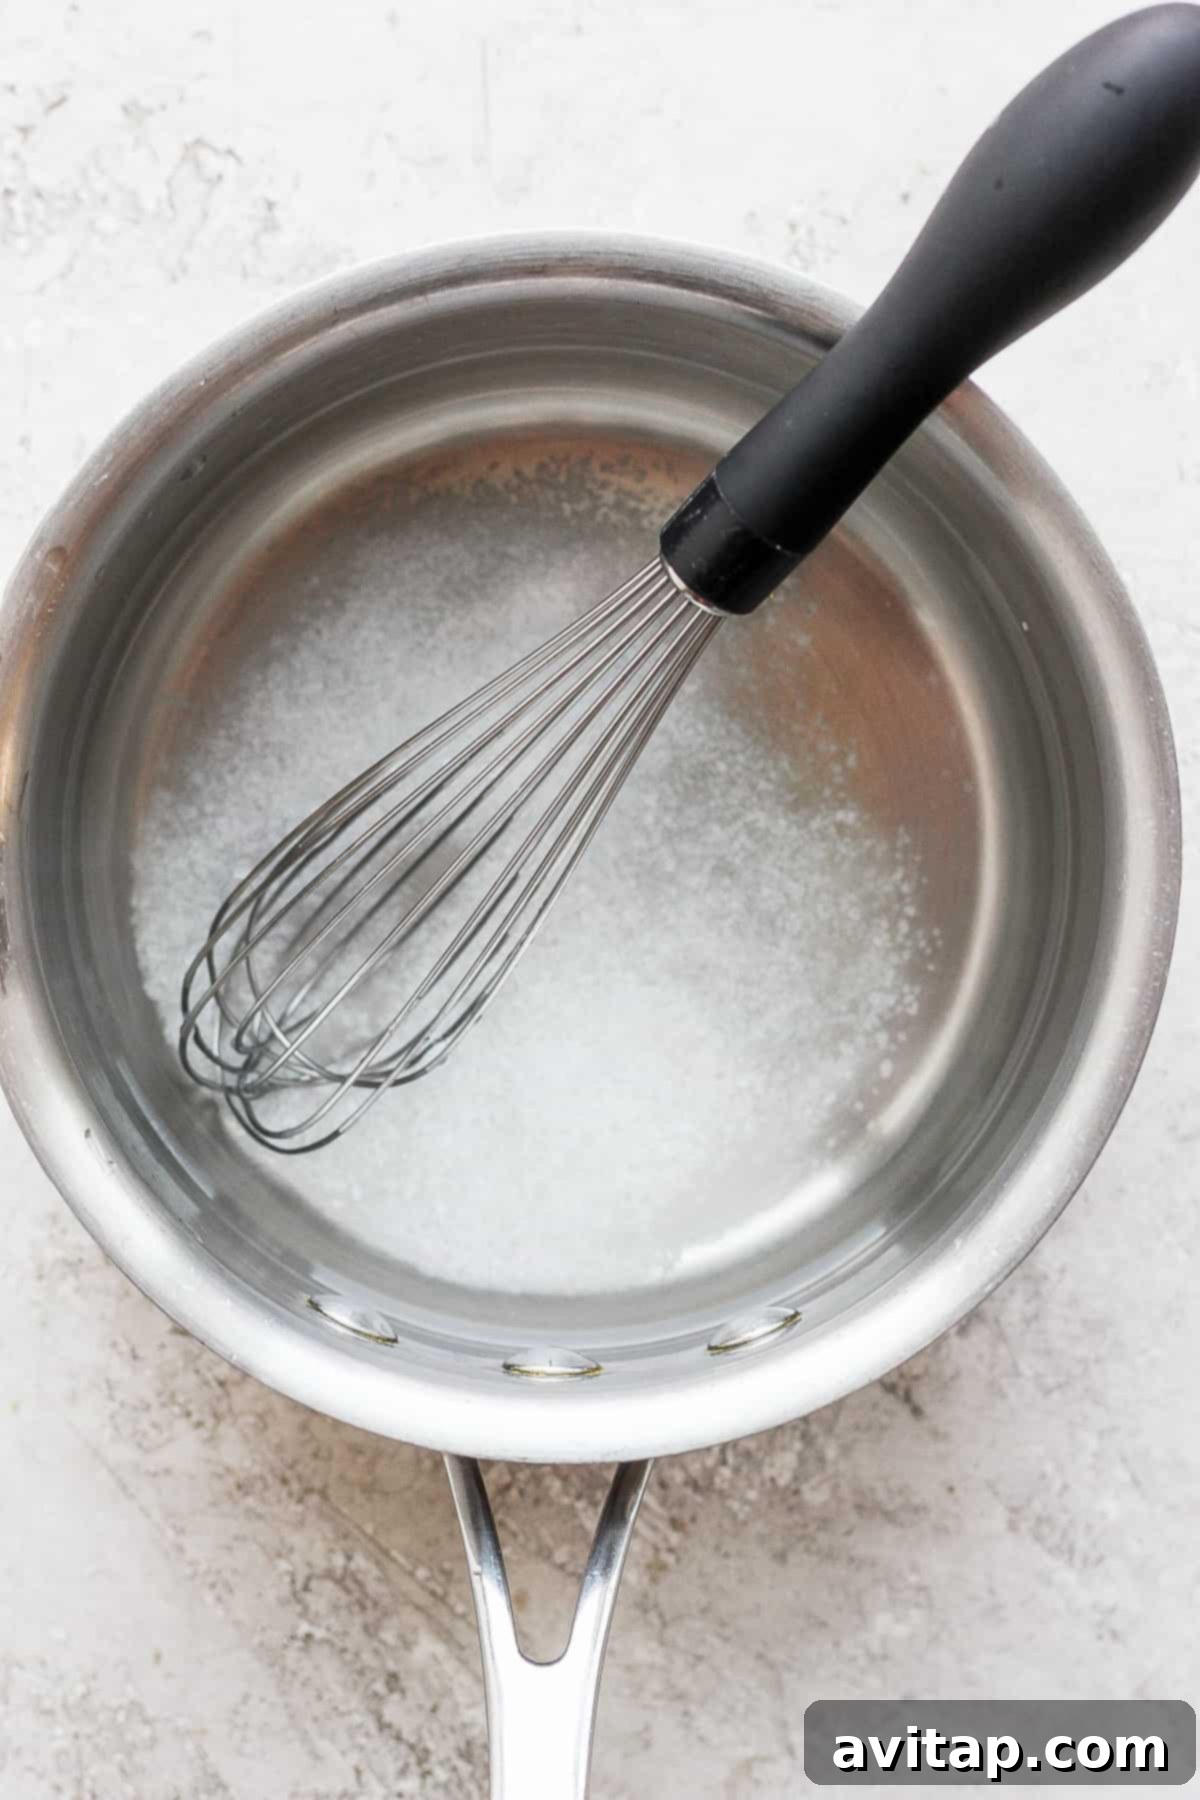
- Whisk: To ensure the salt dissolves completely and thoroughly integrates into the water.
- Measuring Cups and Spoons: For accurate and consistent ingredient measurements.
- Funnel (Optional): If you’re using a brining bag, a funnel can be helpful for pouring the liquid without spills.
- Ample Refrigerator Space: Absolutely critical for safely brining the turkey at a consistent cold temperature.
The Brining Process: A Detailed Guide:
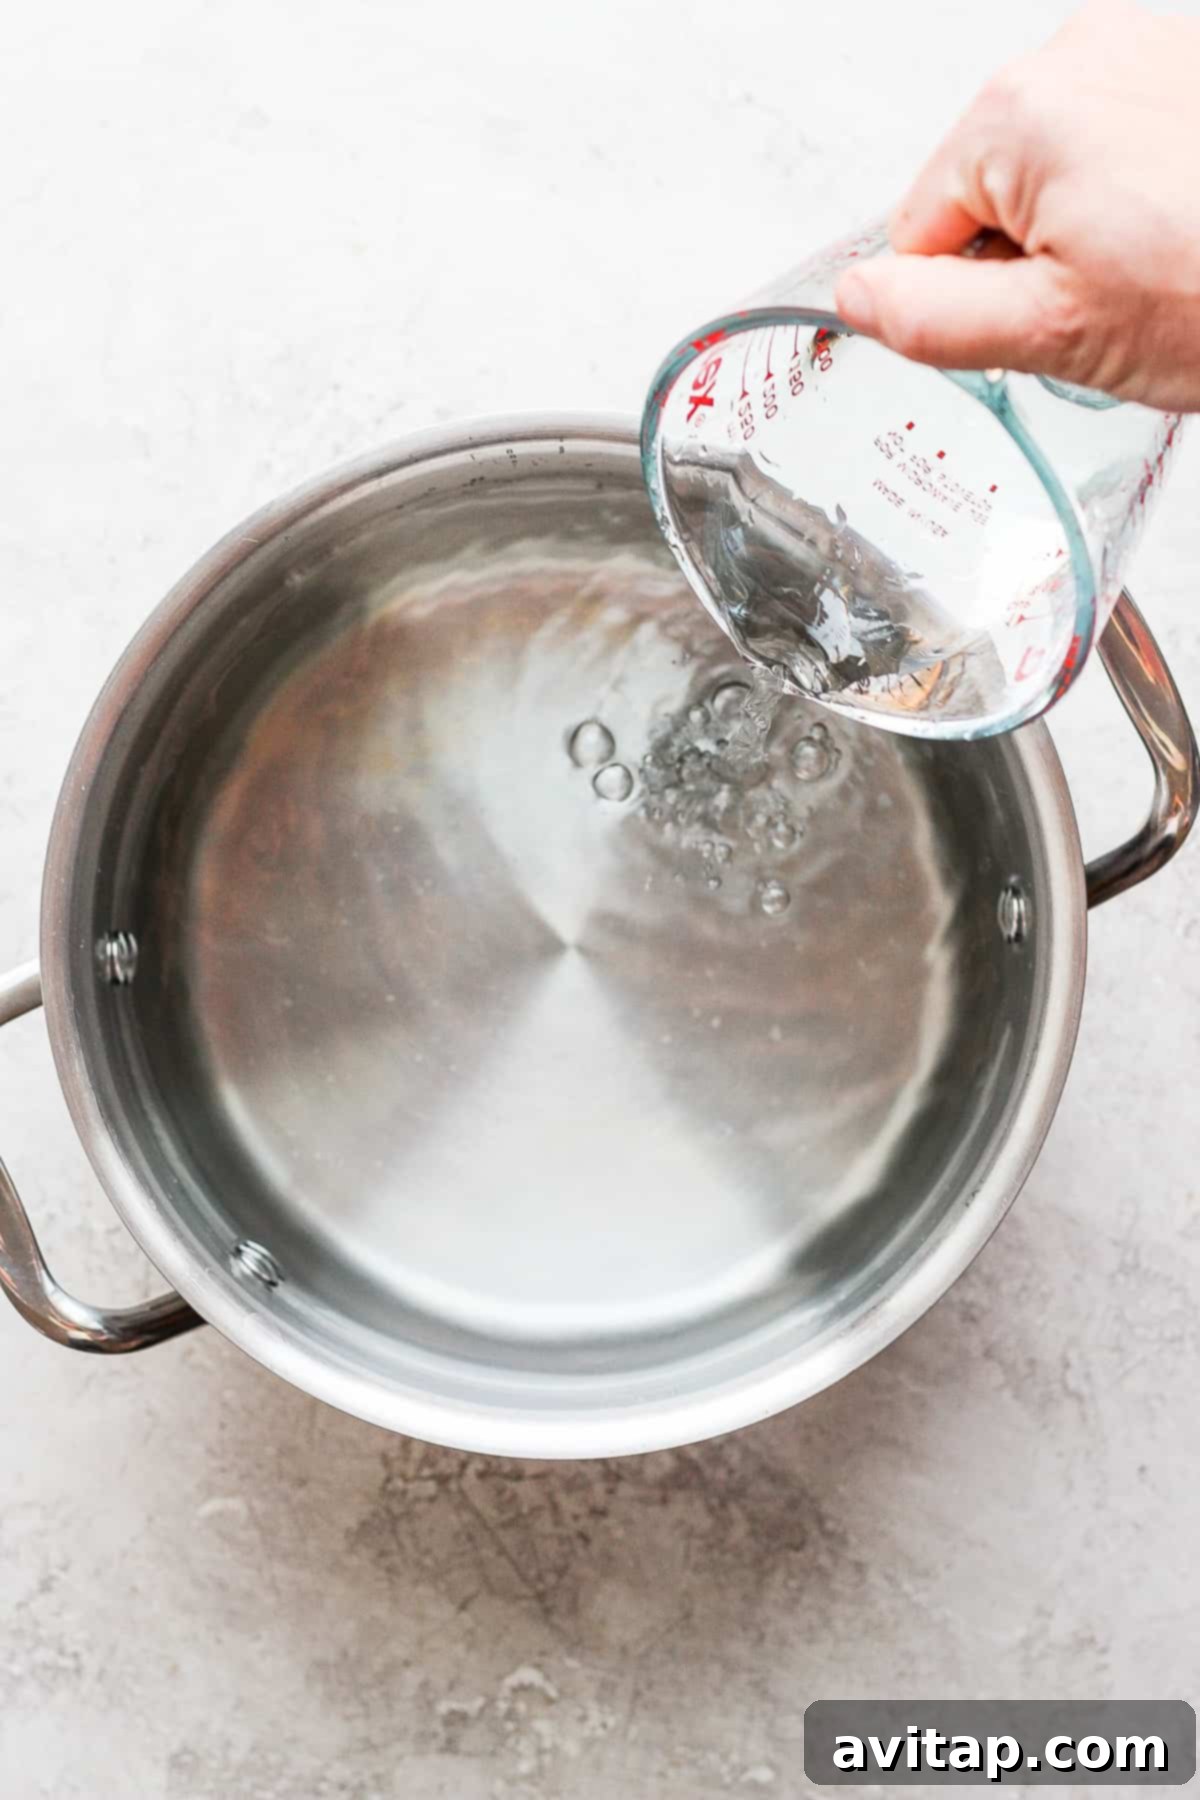
- Initial Water Setup: Begin by filling your chosen large 20-30 quart pot (or carefully opening your brining bag) with 2 gallons of cold water. This will be the main volume of your brine.
- Create the Salt Concentrate: Remove approximately 2 cups of water from the large pot and transfer it to a medium saucepan. Add the specified 1.5 cups of kosher salt to this saucepan. Heat the water and salt mixture over medium heat, whisking constantly until the salt has completely dissolved. It’s crucial not to bring this mixture to a boil; you simply want the salt to fully integrate into the water. Once dissolved, remove the saucepan from the heat immediately.
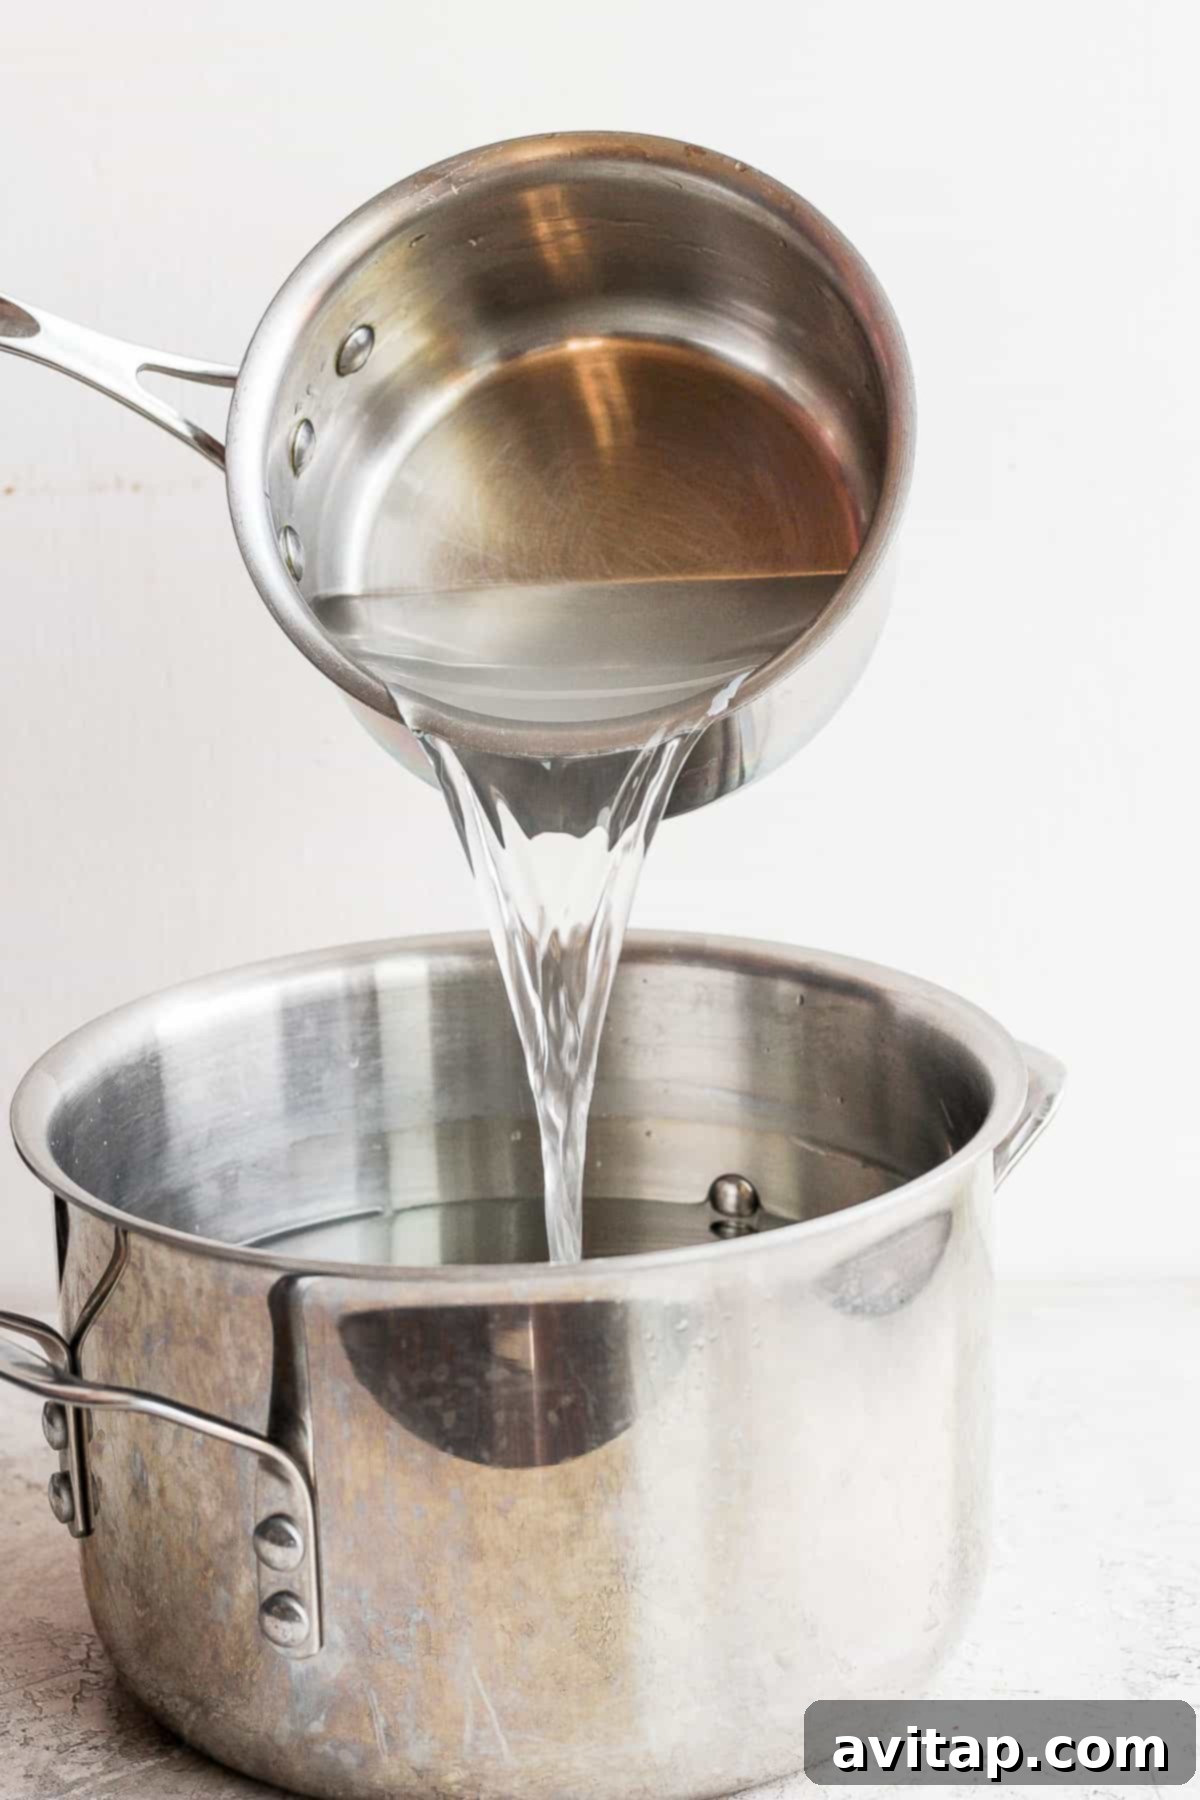
- Cool and Combine Brine: Allow the concentrated salt solution to cool down completely to room temperature, or even chill it further in the refrigerator, before proceeding. This step is vital for food safety to prevent the raw turkey from sitting in warm liquid. Once cooled, pour the salted water back into the large pot with the remaining cold water and whisk everything together thoroughly. This ensures an even salt distribution throughout your entire brine solution.
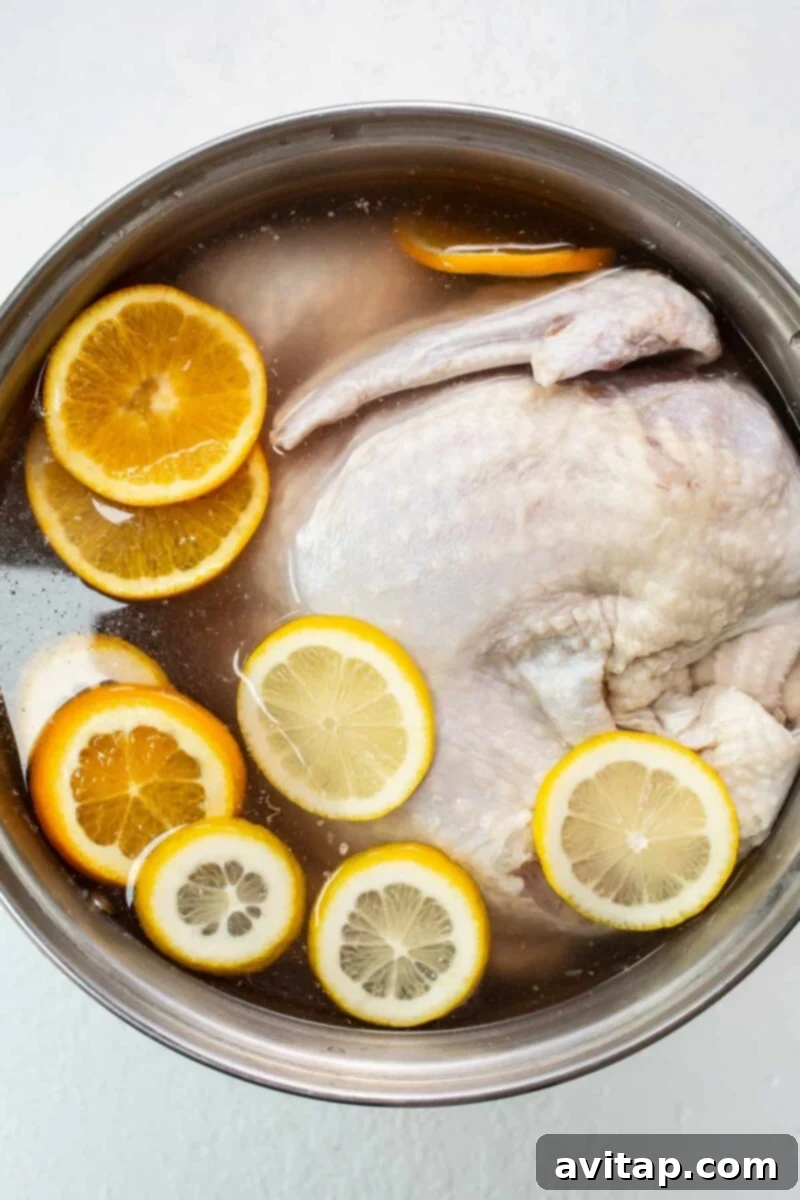
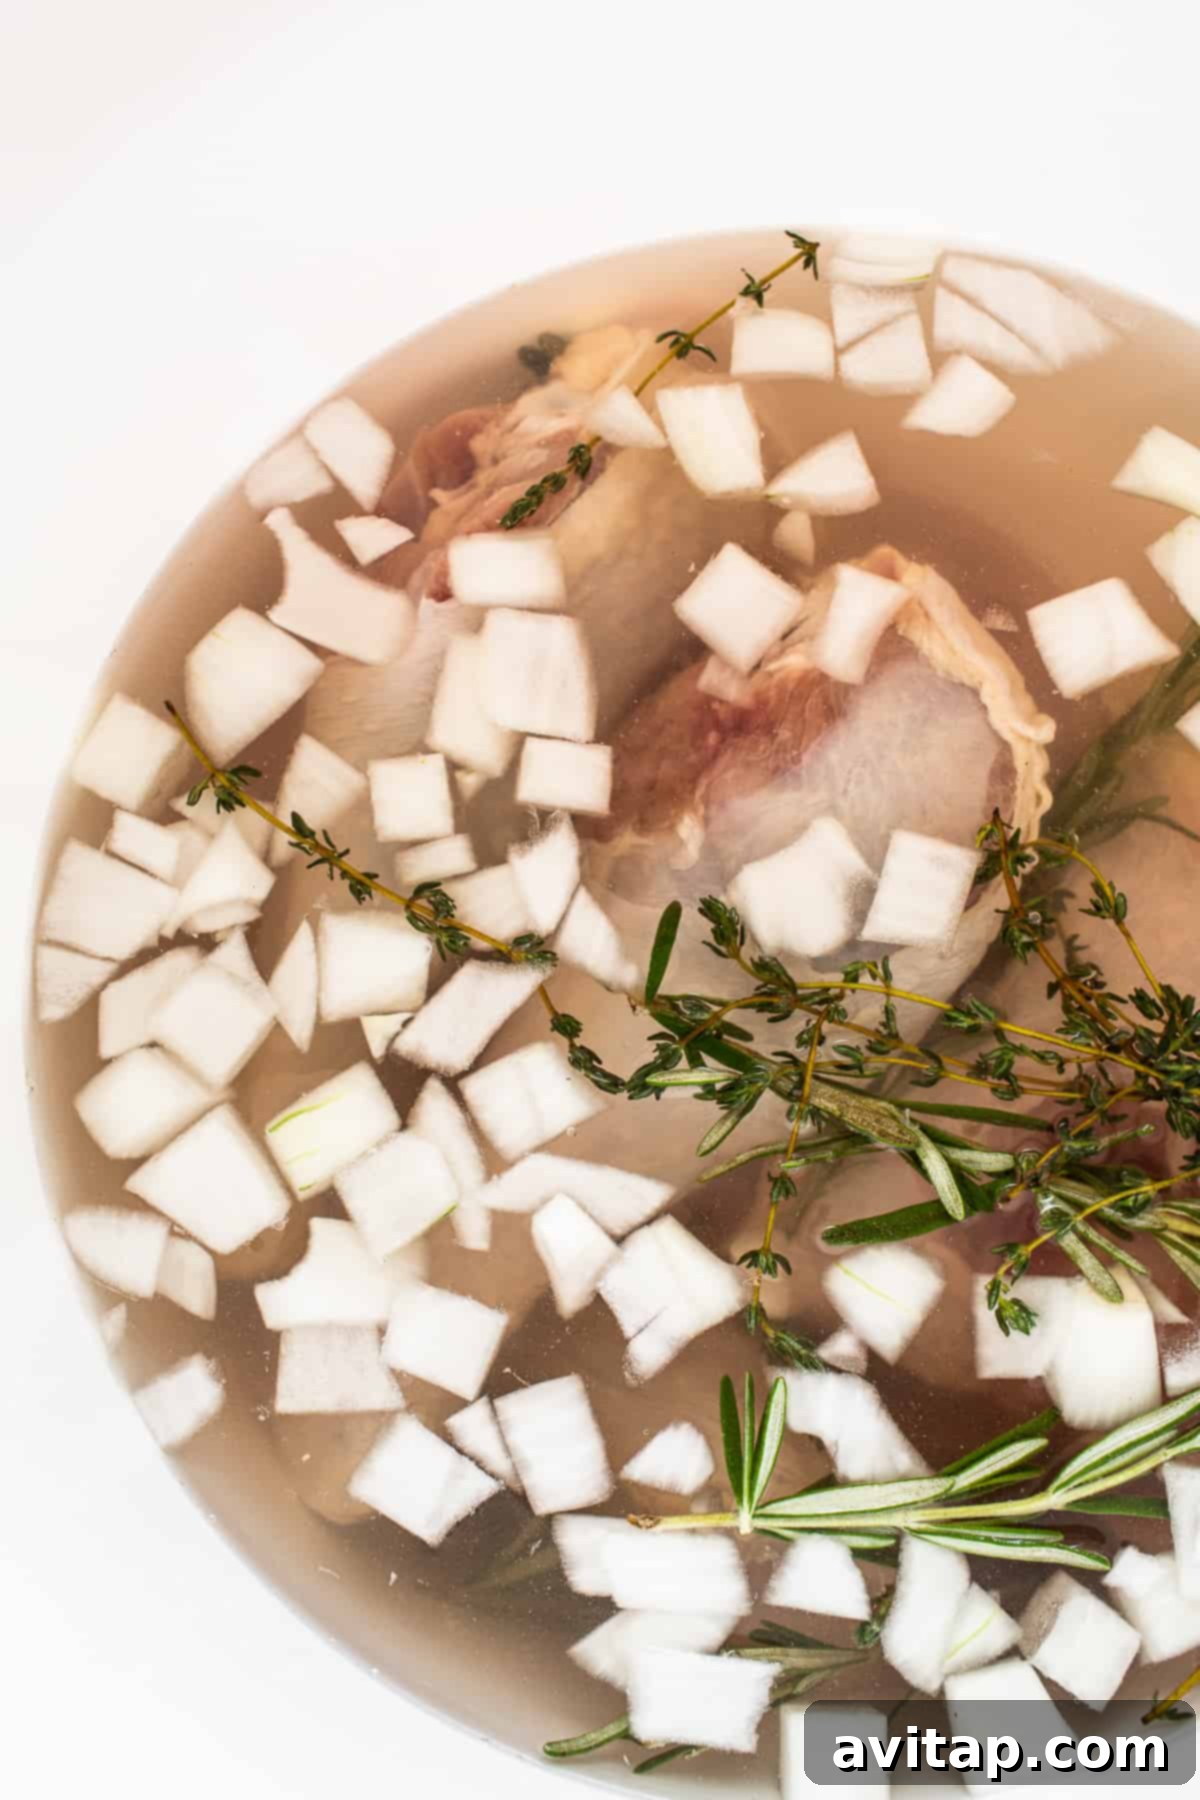
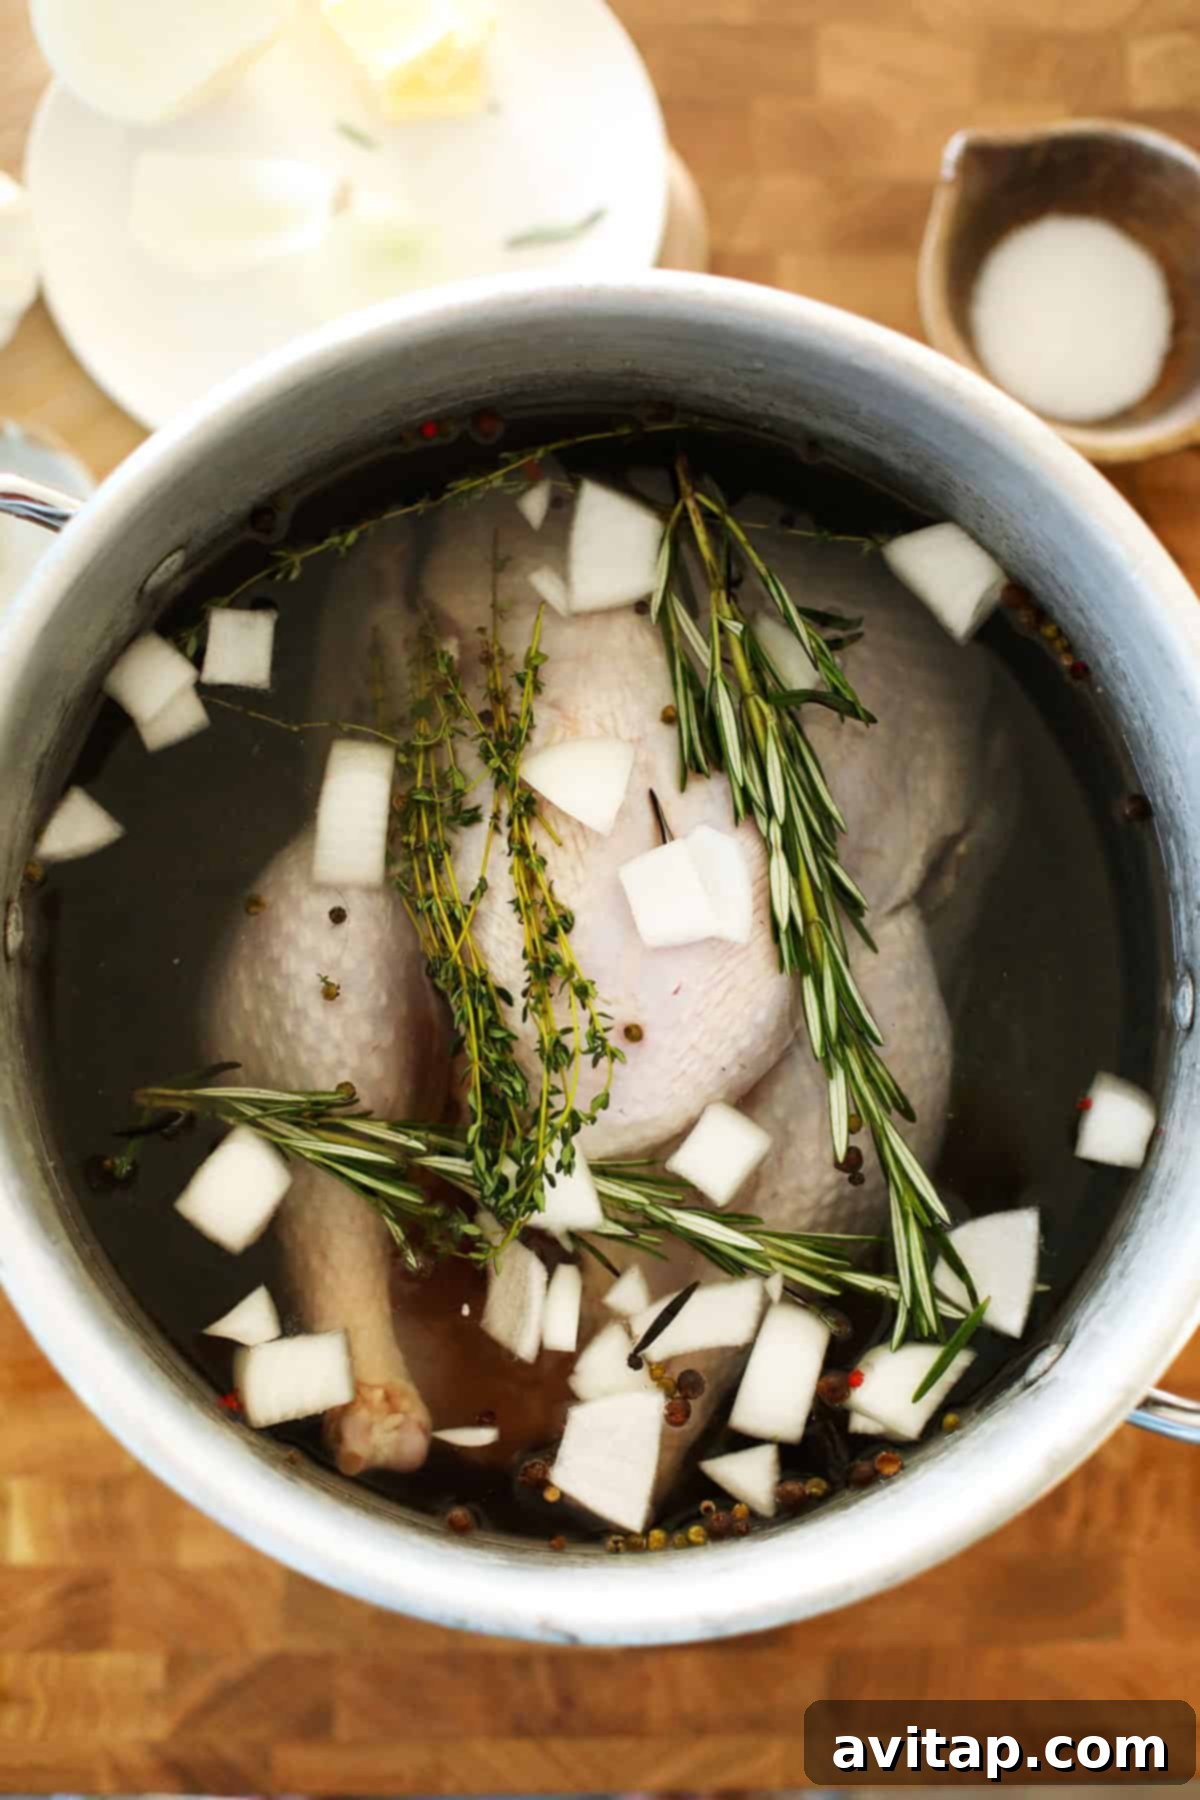
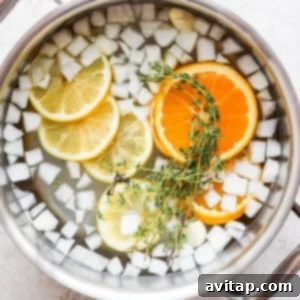
- Infuse with Aromatics: Now, add your chosen aromatics to the large pot with the brine. This recipe calls for sliced oranges, sliced lemons, smashed garlic cloves, chopped white onion, and fresh thyme sprigs. These vibrant ingredients will infuse the brine with their delicious essences, which will in turn deeply flavor your turkey during the brining period.
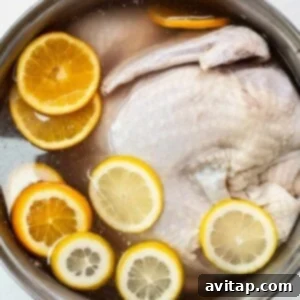
- Submerge the Turkey Safely: Carefully place your whole, completely thawed, and un-brined turkey into the pot. It is paramount that the turkey is completely submerged in the brine solution. If necessary, you can use a clean plate or a weighted object (like a few sealed bags of ice) placed on top of the turkey to keep it fully under the liquid.
- Refrigerate for Optimal Brining: Cover the pot tightly (or seal the brining bag) and place it in the refrigerator. Allow the turkey to brine for 12 hours or overnight. For larger turkeys (over 15 lbs), you may extend the brining time to 18-24 hours. However, avoid brining for much longer than 24 hours to prevent the turkey from becoming overly salty or developing an undesirable mushy texture.
- Prepare for Roasting: Once the brining period is complete, carefully remove the turkey from the brine. Discard the brine solution immediately. Rinse the turkey thoroughly inside and out with cold water to remove any excess salt from the surface. Finally, and crucially, pat the turkey completely dry with paper towels—this step is absolutely essential for achieving wonderfully crispy skin when you roast it. Your brined turkey is now perfectly prepared and ready for seasoning and roasting!
Tips for Brining Success:
- Always Thaw Completely: A partially frozen turkey will not brine effectively, leading to uneven seasoning and texture. Plan ahead for adequate thawing time.
- Don’t Over-Brine: While brining is incredibly beneficial, leaving the turkey in the brine for too long can make it overly salty or give it an unpleasantly mushy texture. Stick closely to the recommended brining times.
- Maintain Cold Temperatures: Always brine your turkey in the refrigerator. Never brine at room temperature due to serious food safety concerns. If your pot is too large for your refrigerator, use a large food-grade cooler with plenty of ice, ensuring the turkey and brine remain consistently below 40°F (4°C).
- Pat Dry for Crispy Skin: After rinsing the turkey, pat it *very* dry with paper towels. The drier the skin, the crispier it will become in the oven. For extra crispiness, you can even let it air-dry, uncovered, on a rack in the refrigerator for a few hours after patting dry.
- Adjust Seasoning Thoughtfully: Because the brine adds salt to the turkey internally, be mindful of any additional salt you use in external rubs or seasonings before roasting. Taste as you go, and consider less salt than you normally would.
Troubleshooting Common Brining Issues:
- My Turkey is Too Salty: This usually happens if you brined for too long, used too much salt in your solution, or didn’t rinse the turkey adequately after brining. If it happens, try soaking the cooked turkey in plain water for an hour or two, changing the water once. For future reference, always stick to recommended times and salt ratios.
- My Turkey is Not Juicy Enough: Ensure your brine-to-turkey ratio is correct and that the turkey is fully submerged during brining. Additionally, oven temperature and cooking time play a huge role in juiciness; avoid overcooking the bird. Use a meat thermometer to ensure it reaches the correct internal temperature without exceeding it.
- The Skin Isn’t Crispy: This is almost always due to excess moisture. Make sure you pat the turkey thoroughly dry after brining and consider air-drying it in the fridge for a few hours. Roasting at higher initial temperatures can also help achieve crispier skin.
Latest Turkey Recipes
Easy Oven-Roasted Turkey Tenderloin
Vibrant Egg Roll in a Bowl
Italian Grinder Sliders
Egg and Croissant Breakfast Casserole
High-Protein Cottage Cheese Wraps
FAQS: Your Turkey Brining Questions Answered
For a standard 10-13 lb. whole turkey, we highly recommend brining overnight, typically for 12-18 hours, to achieve the best balance of flavor and moisture. For larger turkeys (15-20 lbs), you can extend the brining time up to 24 hours. Be careful not to over-brine, as this can result in an overly salty or mushy texture. Always adhere to these guidelines for optimal results.
Brining is a transformative step for turkey, significantly enhancing its quality. It serves two primary purposes: first, it helps the turkey retain significantly more moisture, ensuring a consistently juicy and tender bird that won’t dry out during cooking. Second, it infuses the meat with incredible flavor from the salt and any added aromatics, seasoning it deeply and preventing a bland taste. The result is a succulent, flavorful centerpiece for any meal, guaranteed to impress.
When done correctly and following the recommended recipe and brining times, brining does NOT make the finished turkey overly salty. While salt is a key component of the brine, its primary role is to facilitate osmosis and break down muscle fibers, which enhances moisture retention and tenderizes the meat. After brining, the turkey is thoroughly rinsed, removing any superficial salt. The internal seasoning is subtle and delicious, perfectly balanced, not aggressively salty.
You don’t necessarily need highly specialized or expensive equipment to brine a turkey. The most important item is a very large food-grade container, such as a 20-30 quart stockpot, a large, clean cooler (often lined with a clean brining bag for safety), or a dedicated heavy-duty brining bag. This container must be large enough to fully submerge your turkey. Beyond that, basic kitchen tools like a saucepan, a whisk, and measuring cups are usually sufficient.
Yes, it is highly recommended and crucial to rinse the turkey thoroughly under cold running water immediately after removing it from the brine. This step effectively washes away any excess salt from the surface, preventing an overly salty exterior on the cooked bird. After rinsing, remember to pat the turkey completely dry with paper towels; this is a critical step for achieving wonderfully crispy skin during roasting.
No, for food safety reasons, you should never reuse turkey brine. Once the raw turkey has been submerged in the brine, the solution can become contaminated with bacteria from the poultry. To prevent potential health risks, always discard the used brine immediately after removing the turkey.
Storage and Food Safety for Brined Turkey
Proper storage is paramount when brining a turkey to ensure both food safety and optimal results. The turkey must remain at a consistent, chilled temperature throughout the entire brining process to prevent bacterial growth and maintain the integrity of the meat.
- During Brining: Always store your turkey in the brine in the refrigerator. The ideal temperature for safe food storage is 40°F (4°C) or below. If your brining pot or container is too large for your refrigerator, you can use a large, clean, food-grade cooler. Fill the cooler with the brined turkey and plenty of ice, ensuring the ice completely surrounds the container holding the turkey or is directly mixed with the brined turkey in a sealed brining bag. Monitor the temperature with a reliable thermometer to ensure it stays consistently cold throughout the brining period.
- After Brining: Once the brining period is complete, remove the turkey from the brine and immediately discard the brine solution. Rinse the turkey thoroughly inside and out with cold water, and then pat it completely dry with paper towels. If you are not roasting the turkey immediately, you can safely store the rinsed and dried turkey in the refrigerator for up to 24 hours before cooking. For best results and crispier skin, place it on a rack in a roasting pan, uncovered, to allow the skin to air-dry further.
- Cooked Turkey Storage: After roasting, any leftover turkey should be refrigerated within two hours of cooking. Store carved turkey meat in airtight containers in the refrigerator for 3-4 days. For longer storage, you can freeze cooked turkey for up to 3 months. Always ensure proper cooling and storage to maintain food safety and quality.
More of our Favorite…
Brine Recipes for All Your Meats
Once you’ve experienced the magic of brining with turkey, you’ll undoubtedly want to apply this transformative technique to other meats. Brining can dramatically improve various cuts of poultry, pork, and even fish, ensuring they remain incredibly tender and bursting with flavor. Explore some of our other popular brine recipes to expand your culinary repertoire:
- Smoked Turkey Brine
- Pork Chop Brine
- Chicken Brine Recipe
- How to Dry Brine a Turkey
How to Brine a Turkey
Ingredients
- 2 gallons water, separated
- 1.5 cups kosher salt
- 2 pieces of citrus fruit (e.g., oranges, lemons), sliced
Optional Aromatics
- ½ white onion, diced
- 4 garlic cloves, peeled and smashed
- 5 sprigs fresh herbs (e.g., thyme, rosemary, sage)
Instructions
-
Fill a 20-30 quart pot with 2 gallons of cold water.

-
Remove 2 cups of water from the pot and add it to a saucepan with the kosher salt. Heat the two ingredients over medium heat and whisk until the salt has dissolved. Do not bring to a boil. Remove from heat and allow to cool completely. Add the cooled salted water back into the large pot with the remaining water and whisk together thoroughly.
-
Next, add the sliced oranges and lemons, along with any other optional aromatics such as diced white onion, smashed garlic cloves, and fresh herb sprigs, to the salt water in the large pot.
-
Finally, carefully add the whole turkey to the pot, ensuring it is completely submerged in the brine. Use a plate or a clean, weighted object if necessary to keep it fully immersed under the liquid.
-
Cover the pot and place it in the refrigerator for 12-18 hours or overnight. Ensure the temperature remains consistently below 40°F (4°C) for food safety. After brining, remove the turkey, discard the brine, rinse the turkey thoroughly, and pat dry before roasting.
Nutrition
Carbohydrates: 1 g,
Protein: 0.2 g,
Fat: 0.02 g,
Fiber: 0.2 g,
Sugar: 0.3 g
Nutrition information is automatically calculated and should be used as an approximation. It accounts only for the brine absorbed by the turkey, not the full brine solution.
Love this recipe? Leave a comment below!
Don’t forget to tag your posts on social media with the hashtag #fitfoodiefinds, we’d love to see what you’re up to!