
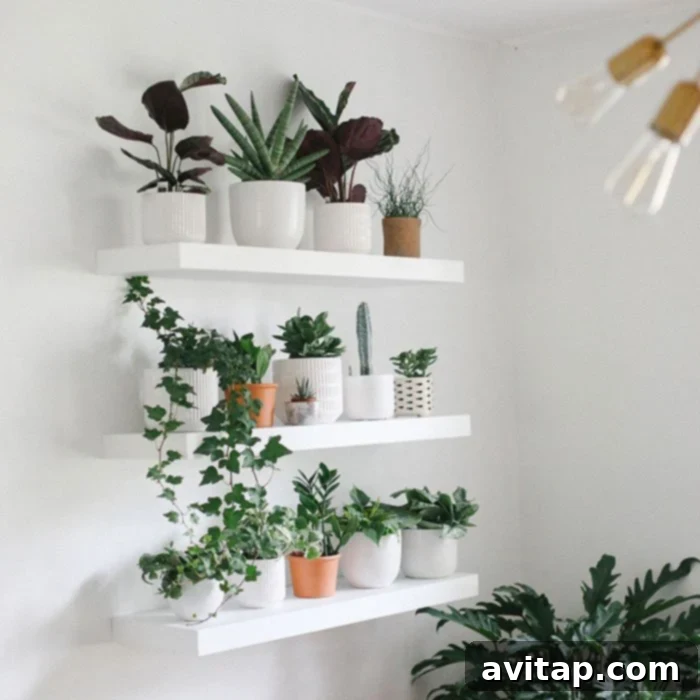
Dreaming of a lush, vibrant indoor plant wall that breathes life and fresh air into your home? This ultimate guide will walk you through every step of creating your very own stunning vertical garden. From selecting the perfect spot and designing your layout to choosing the right plants and mastering their care, we’ll equip you with the knowledge to build a beautiful and thriving living wall.
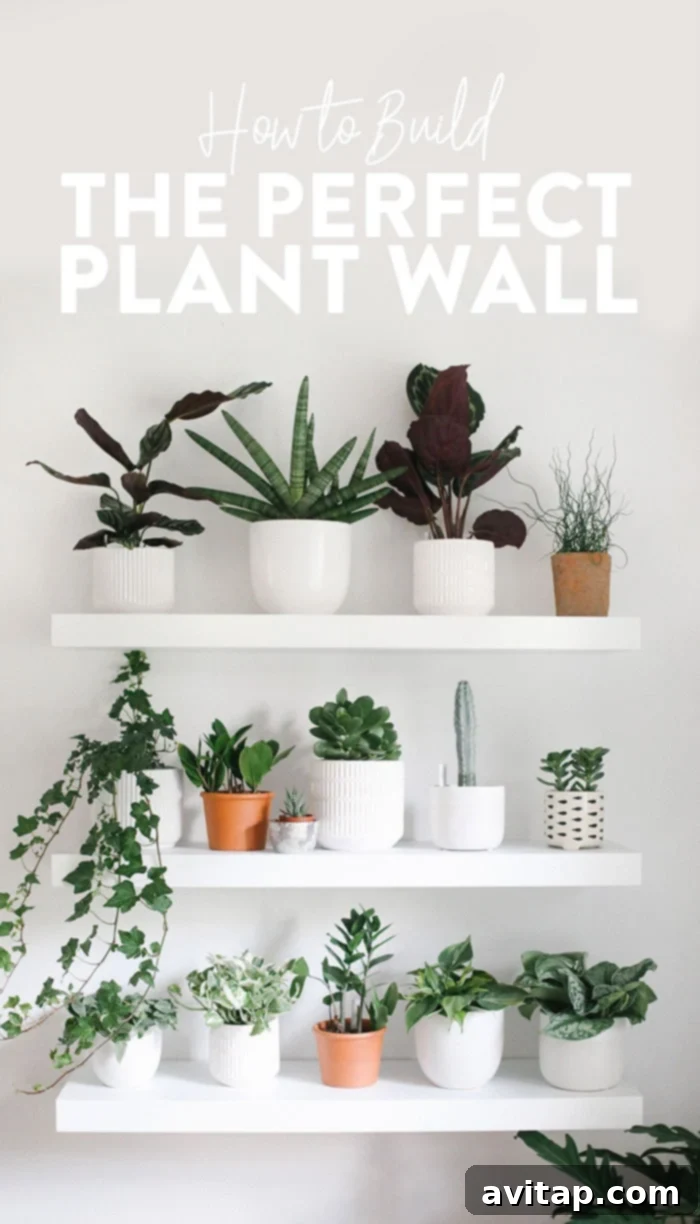
Create Your Own Stunning Indoor Plant Wall: A Comprehensive DIY Guide
An indoor plant wall is more than just a decorative feature; it’s a living, breathing art installation that enhances your home’s aesthetics, purifies the air, and promotes a sense of well-being. Imagine a verdant display of foliage cascading down your wall, transforming an ordinary space into an extraordinary sanctuary. This comprehensive DIY guide will empower you to bring that vision to life, step by step, ensuring a successful and rewarding experience.
Step 1: Identify the Perfect Location for Your Indoor Living Wall
Selecting the ideal wall for your indoor plant display is the foundational step, influencing every subsequent decision, particularly your plant choices. We highly recommend opting for a wall that receives indirect sunlight. This means the sun’s rays should not hit the wall directly throughout the day. For instance, a wall adjacent to an east-facing window often provides excellent indirect light conditions. East-facing light, typically morning sun, is gentler and less intense than west-facing afternoon light, making it suitable for a wider variety of houseplants.
If your home lacks a spot with natural indirect light, don’t despair! You can still cultivate a magnificent plant wall. However, this will necessitate selecting plants that thrive in lower light conditions or investing in supplementary grow lights. Walls with low natural light may require plants that are more forgiving, but remember, every plant needs some form of light to photosynthesize and flourish. Understanding your chosen wall’s light exposure is paramount to creating a sustainable and vibrant living wall.
Step 2: Choosing and Spacing Your Plant Wall Shelves
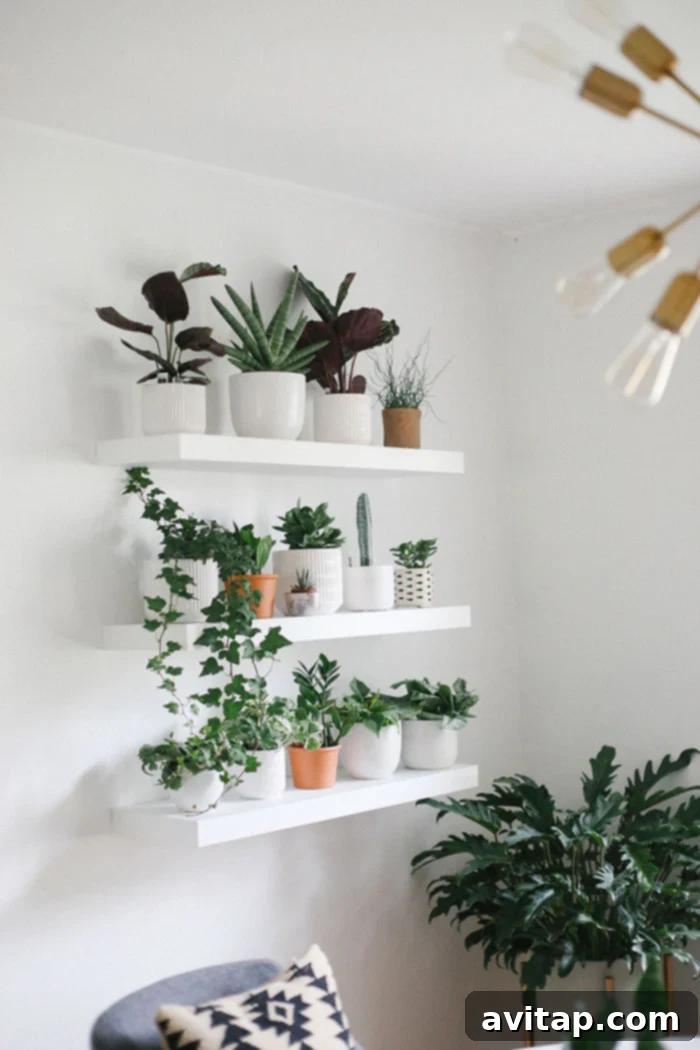
With your location determined, it’s time to select the shelving that will form the backbone of your indoor plant wall. The dimensions of your room will naturally guide the length of your shelves; larger rooms can accommodate longer, more impactful displays, while smaller spaces may benefit from more compact or multi-tiered arrangements. Floating shelves are a popular choice for their clean lines and modern aesthetic, creating the illusion of plants growing directly from the wall. Many retailers, from specialized home decor stores to general merchandise outlets, offer a wide array of options.
Crucially, ensure the shelves you choose are deep enough to comfortably hold your plant pots. We recommend a minimum depth of 8 inches, with 10 inches being even better. This ample space not only accommodates a good range of pot sizes but also allows for plant growth and easier watering without bumping into the wall. Consider the material of your shelves as well; moisture-resistant finishes are beneficial for longevity in a plant-filled environment.
Floating Shelf Recommendations for Your Plant Wall
When selecting shelves, look for sturdy options that can support the weight of pots, soil, and plants, especially after watering. Retailers like Overstock, IKEA, Target, and various home improvement stores offer a diverse selection of floating shelves in different materials, colors, and finishes. Opt for styles that complement your existing home decor, whether you prefer a minimalist look with white shelves or a rustic charm with natural wood.
Optimizing Shelf Spacing for Plant Growth
The thought of perfectly spacing shelves might seem daunting, but it’s remarkably straightforward with a simple guideline. A tried-and-true method, recommended by interior design experts, ensures your plants have adequate room to flourish:
- Establish the Center Point: Begin by placing your central shelf approximately 56 inches (or about 142 cm) from the floor. This height is generally eye-level for an average person, creating an aesthetically pleasing focal point.
- Consistent Vertical Spacing: For the shelves positioned above and below your center shelf, maintain a consistent vertical distance of 12 inches (approximately 30 cm) between them. This spacing is critical as it provides sufficient vertical clearance for medium-sized plants to grow without obstruction. It also allows enough room for light to reach the lower levels and facilitates easy access for watering and maintenance. Depending on your plant choices and their mature height, you might adjust this slightly, but 12 inches is an excellent starting point for versatility.
Careful measurement and the use of a level are essential during installation to ensure your shelves are perfectly aligned, creating a polished and professional look for your DIY plant wall.
Step 3: Selecting the Perfect Pots for Your Indoor Garden
Pots are not just containers; they are crucial design elements that add personality, texture, and visual interest to your indoor plant wall. The market is brimming with an incredible variety of pots today, making it fun to curate a collection. We strongly recommend choosing an assortment of sizes, shapes, and materials to give your plant wall a dynamic and organic feel. Our own plant wall features pots ranging from compact 3.5 inches to more substantial 6 inches in height, accommodating various plant types and growth habits.
A fundamental principle for successful plant wall creation is to purchase your pots before your plants. The size of your pots will directly dictate the size of the plants you can accommodate. By having your pots ready, you can ensure a perfect fit, preventing situations where your dream plant is too large or too small for your chosen container. Moreover, pots are an opportunity to express your style, from minimalist ceramics to vibrant glazed pottery or earthy terracotta.
Favorite Places to Discover Stylish Plant Pots
Finding the perfect pots can be an adventure. Here are some highly recommended sources, offering everything from artisan designs to budget-friendly options:
- Anthropologie: Known for unique, bohemian, and often hand-crafted designs.
- CB2: Offers modern, sleek, and contemporary pot styles.
- West Elm: A great source for sophisticated and stylish planters.
- IKEA: Excellent for affordable, functional, and minimalist pot options.
- Overstock: Features a wide selection, often at competitive prices.
- Target: A reliable option for trendy and accessible pot designs.
- Local Greenhouses and Nurseries: Often carry unique, high-quality pots and can provide expert advice.
Pot Size Recommendations (3.5″ – 6″)
For a dynamic plant wall, a mix of 3.5-inch to 6-inch diameter pots works wonderfully. These sizes are versatile enough for a variety of popular houseplants while keeping the overall weight manageable for your shelves. When exploring options, consider the material – terracotta allows for excellent breathability, ceramic offers a decorative touch, and plastic is lightweight and often budget-friendly. Always ensure your chosen pots have drainage holes to prevent root rot, or plan to use them as cachepots with inner nursery pots that do have drainage.
Many of the pots in our own plant wall were sourced from Overstock, offering a blend of style and practicality. Examples include sleek cylindrical pots, textured ceramic planters, and matte-finished terracotta-inspired designs. When shopping, think about how different textures and colors will interact to create a cohesive yet diverse display.
Step 4: Selecting the Right Plants for Your Light Conditions
The type of plants you choose is intrinsically linked to the light conditions of your plant wall’s location, as discussed in Step 1. Since our example plant wall is situated on a low-light wall with minimal direct sunlight, we focused on acquiring a variety of low and medium-light tolerant plants. A fantastic bonus for beginners or busy individuals is that plants requiring less light often demand less frequent care, making them an ideal choice for a low-maintenance indoor living wall.
Remember, the size of your chosen pots (from Step 3) will also influence the appropriate plant size. This is why we can’t stress enough: purchase your pots before your plants! We even brought our empty pots with us to the nursery to ensure we selected plants that fit perfectly and complemented our aesthetic vision. This simple step eliminates guesswork and ensures a harmonious display.
Our Favorite Low and Medium-Light Plant Recommendations
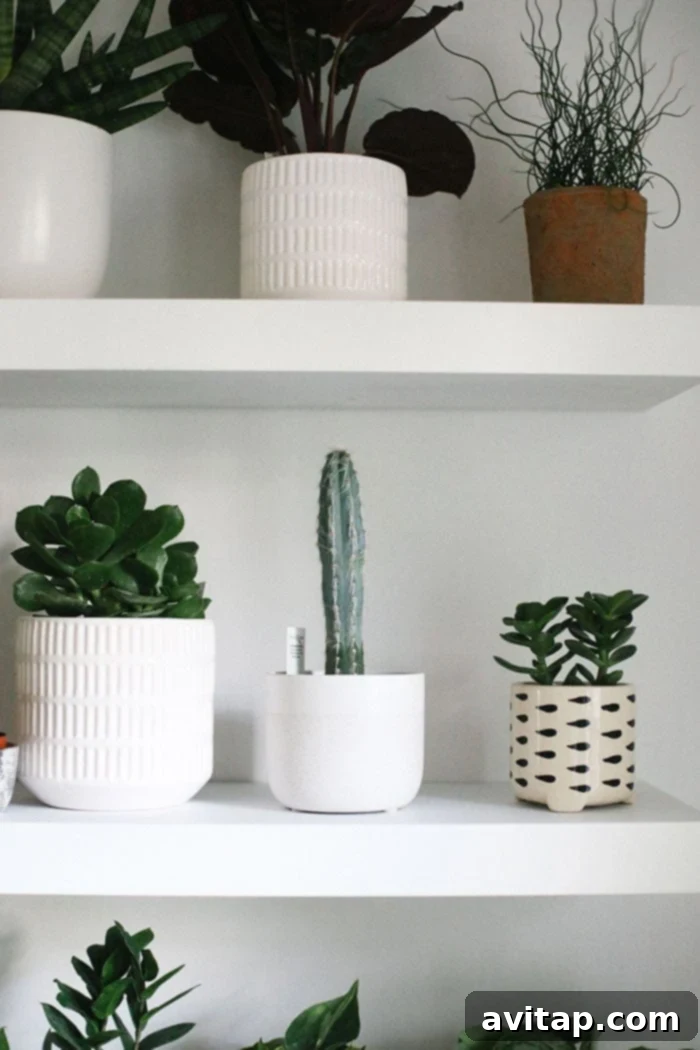
Here are some excellent choices for your plant wall, featuring plants known for their resilience and beauty in less-than-bright conditions. These are the very plants that thrive on our own wall:
- Snake Plant (Sansevieria trifasciata): An incredibly tough and air-purifying plant, perfect for low light. It tolerates neglect wonderfully.
- ZZ Plant (Zamioculcas zamiifolia): Known for its waxy, dark green leaves and ability to thrive in very low light, requiring infrequent watering.
- Calathea (Calathea spp.): Offers stunning patterned foliage, ideal for medium light and higher humidity. They can be a bit more particular but are incredibly rewarding.
- Pothos (Epipremnum aureum): A versatile and fast-growing trailing plant that tolerates low to medium light. Excellent for creating a cascading effect.
- California Branching Ivy (Hedera helix ‘California’): A beautiful trailing ivy that prefers medium light and adds a classic, elegant touch.
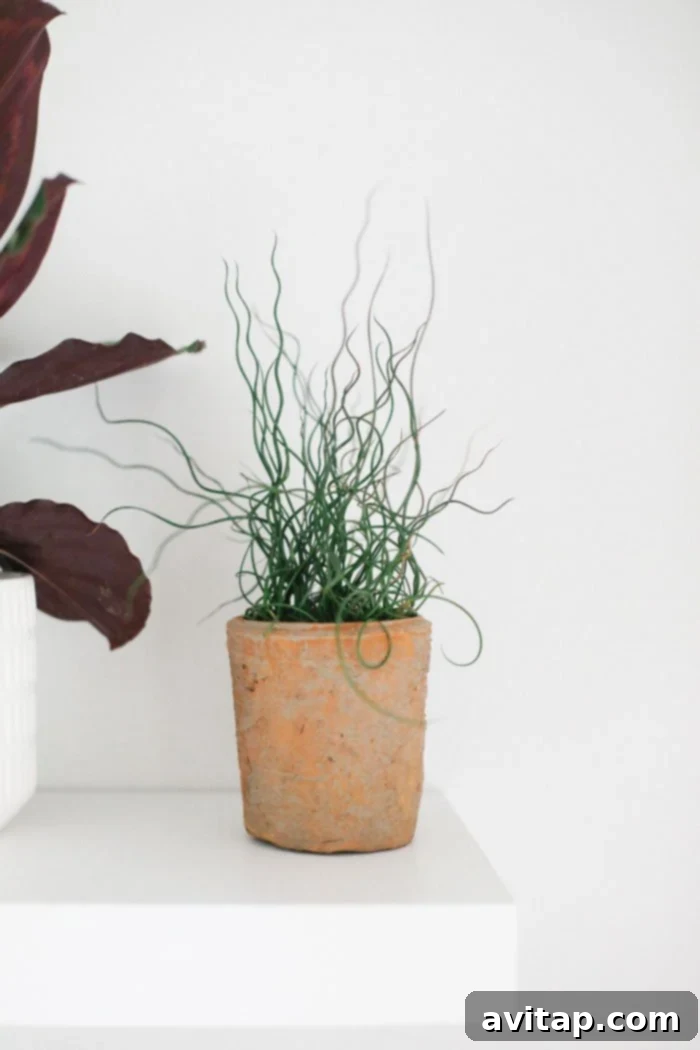
- Corkscrew Rush (Juncus effusus ‘Spiralis’): Unique spiraling foliage that can handle a wide range of light, from low to full sun. Adds fantastic texture.
You might notice a few cacti and succulents on our wall and wonder, “How do they survive in low light?” It’s true; succulents and cacti are sun-lovers, preferring direct sunlight. To keep these beauties thriving, we rotate them into a spot with direct sun every day or every other day, ensuring they receive the intense light they need to stay healthy and vibrant. This demonstrates that with a little extra effort, you can incorporate plants with varying light needs into your display.
A huge shout-out and heartfelt thank you to Tonkadale Greenhouse for providing the magnificent plants that adorn our plant wall. We always advocate for shopping local when it comes to houseplants. Local nurseries like Tonkadale offer not only high-quality, healthy plants but also invaluable expert advice. Their staff, like the wonderful Bethann, can guide you through plant selection and care, ensuring your plant wall thrives. If you’re in Minnetonka, MN, we cannot recommend Tonkadale enough!
Step 5: Mastering Watering Schedules and Ongoing Plant Wall Care
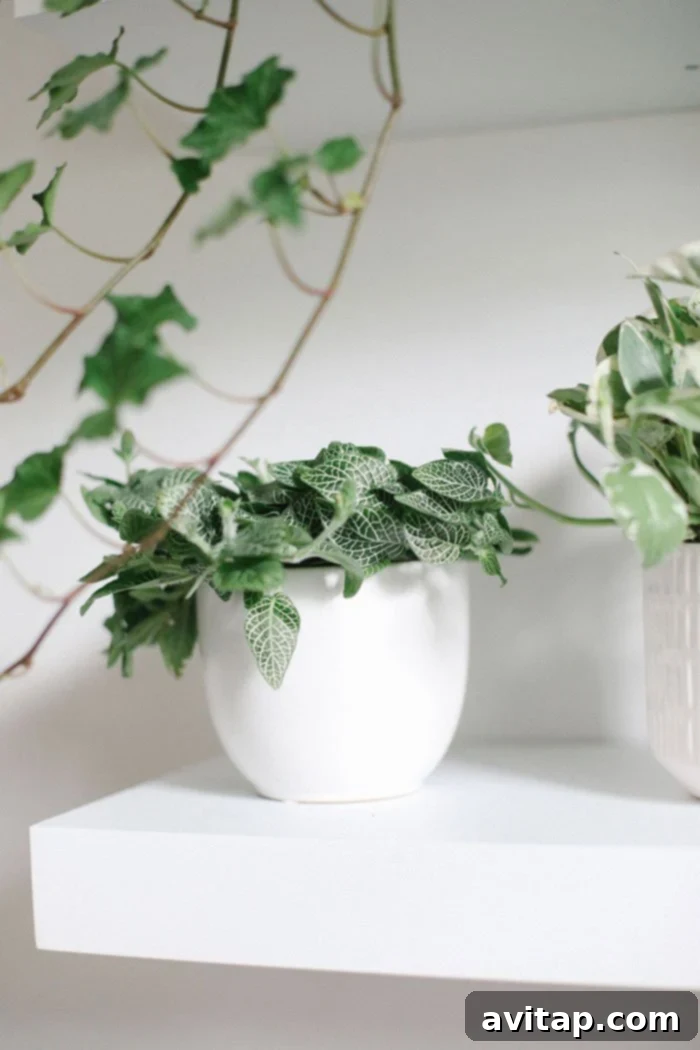
Perhaps the most critical element for the long-term success of your indoor plant wall is understanding and implementing proper watering schedules. Every plant has unique needs, and what works for one may harm another. To become a confident “plant parent,” it’s common to learn through experience, which might include losing a plant or two along the way. The key is diligent research and observation before you water!
Fortunately, most plants purchased from nurseries come with small tags detailing their preferred watering frequency and light requirements. For example, a Corkscrew Rush thrives in consistently moist soil, while a Pothos prefers its soil to dry out between waterings. This individualized attention is vital. Develop a routine where you check the soil moisture of each plant regularly—a simple finger test (inserting your finger about an inch or two into the soil) is often effective. Alternatively, a moisture meter can provide precise readings.
Beyond watering, ongoing care involves several other aspects to keep your plant wall flourishing:
- Humidity: Many houseplants thrive in higher humidity. If your home is dry, consider misting your plants or using a small humidifier nearby.
- Fertilization: During the growing season (spring and summer), most plants benefit from a balanced liquid fertilizer, diluted to half strength.
- Pruning: Regularly prune away dead or yellowing leaves to encourage new growth and maintain an attractive shape.
- Pest Management: Inspect your plants regularly for signs of pests. Early detection makes treatment much easier, often with simple solutions like neem oil or insecticidal soap.
- Cleaning Leaves: Dust can accumulate on leaves, hindering photosynthesis. Gently wipe leaves with a damp cloth to keep them clean and shiny.
Building a plant wall is a rewarding journey, combining interior design with the joy of nurturing nature. It requires practice and patience, but the verdant beauty and fresh atmosphere it brings to your home are truly unparalleled. Take the time to research the specific needs of each plant on your wall, and you’ll be rewarded with a stunning, thriving display for years to come.
Disclaimer: This post contains affiliate links, which means we may earn a small commission if you make a purchase through these links at no extra cost to you. While Overstock and Tonkadale provided product for this post, there was no monetary exchange for their inclusion or endorsement. Our recommendations are based on genuine positive experiences.