
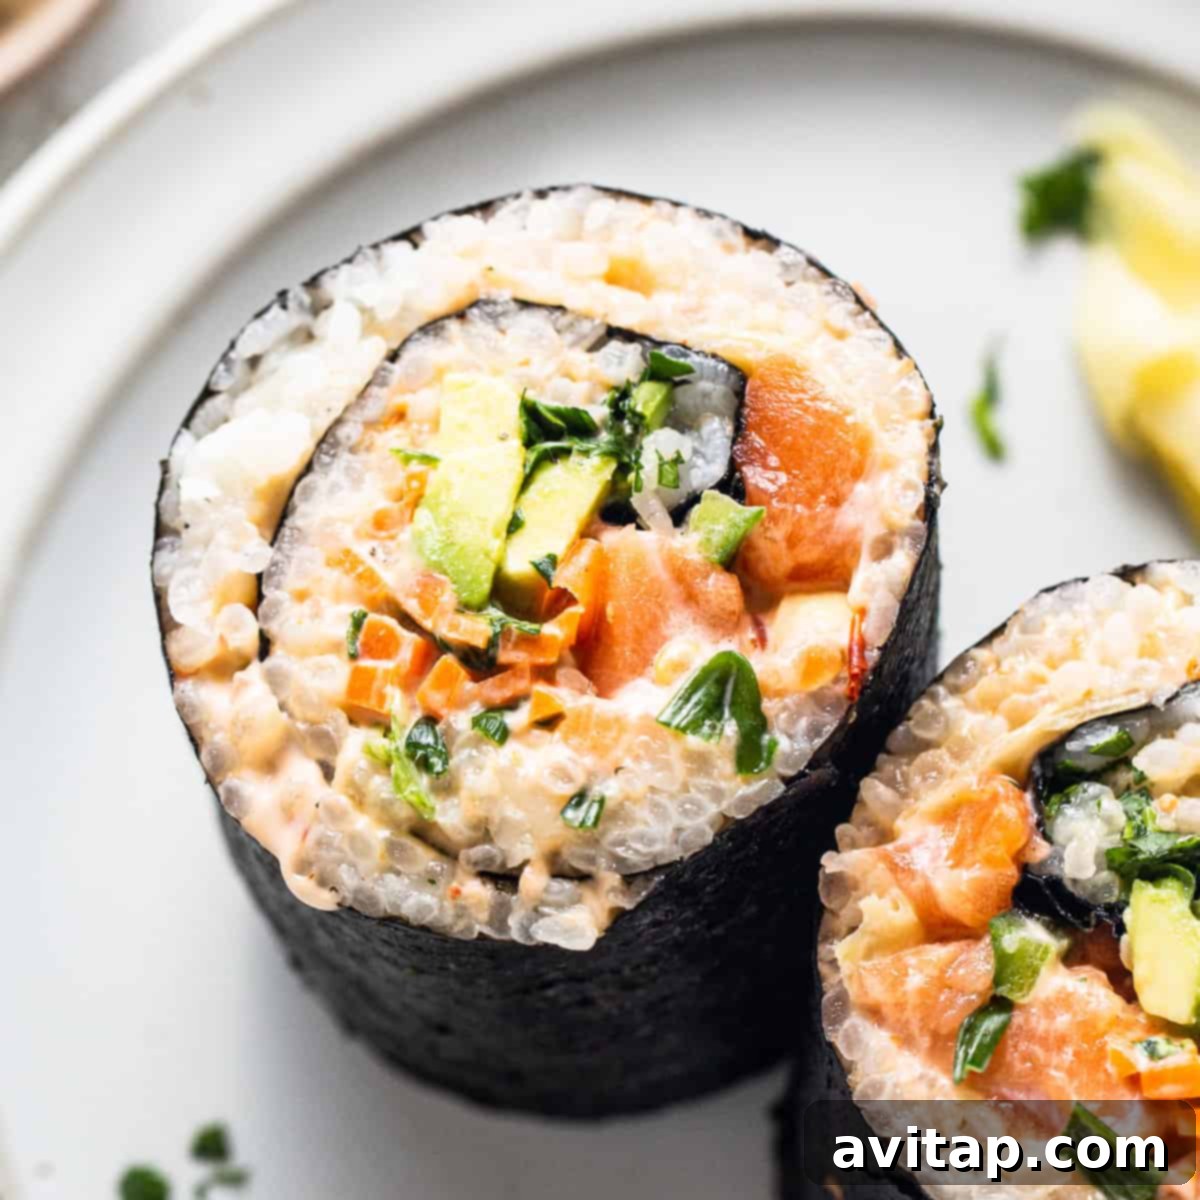
Dive into the world of delicious homemade sushi with our ultimate salmon sushi burrito recipe! This innovative dish takes all the vibrant flavors and fresh ingredients of your favorite spicy salmon sushi roll and ingeniously wraps them burrito-style inside crisp sheets of sushi nori. Get ready for a delightful, handheld sushi experience that’s both fun to make and incredibly satisfying to eat.
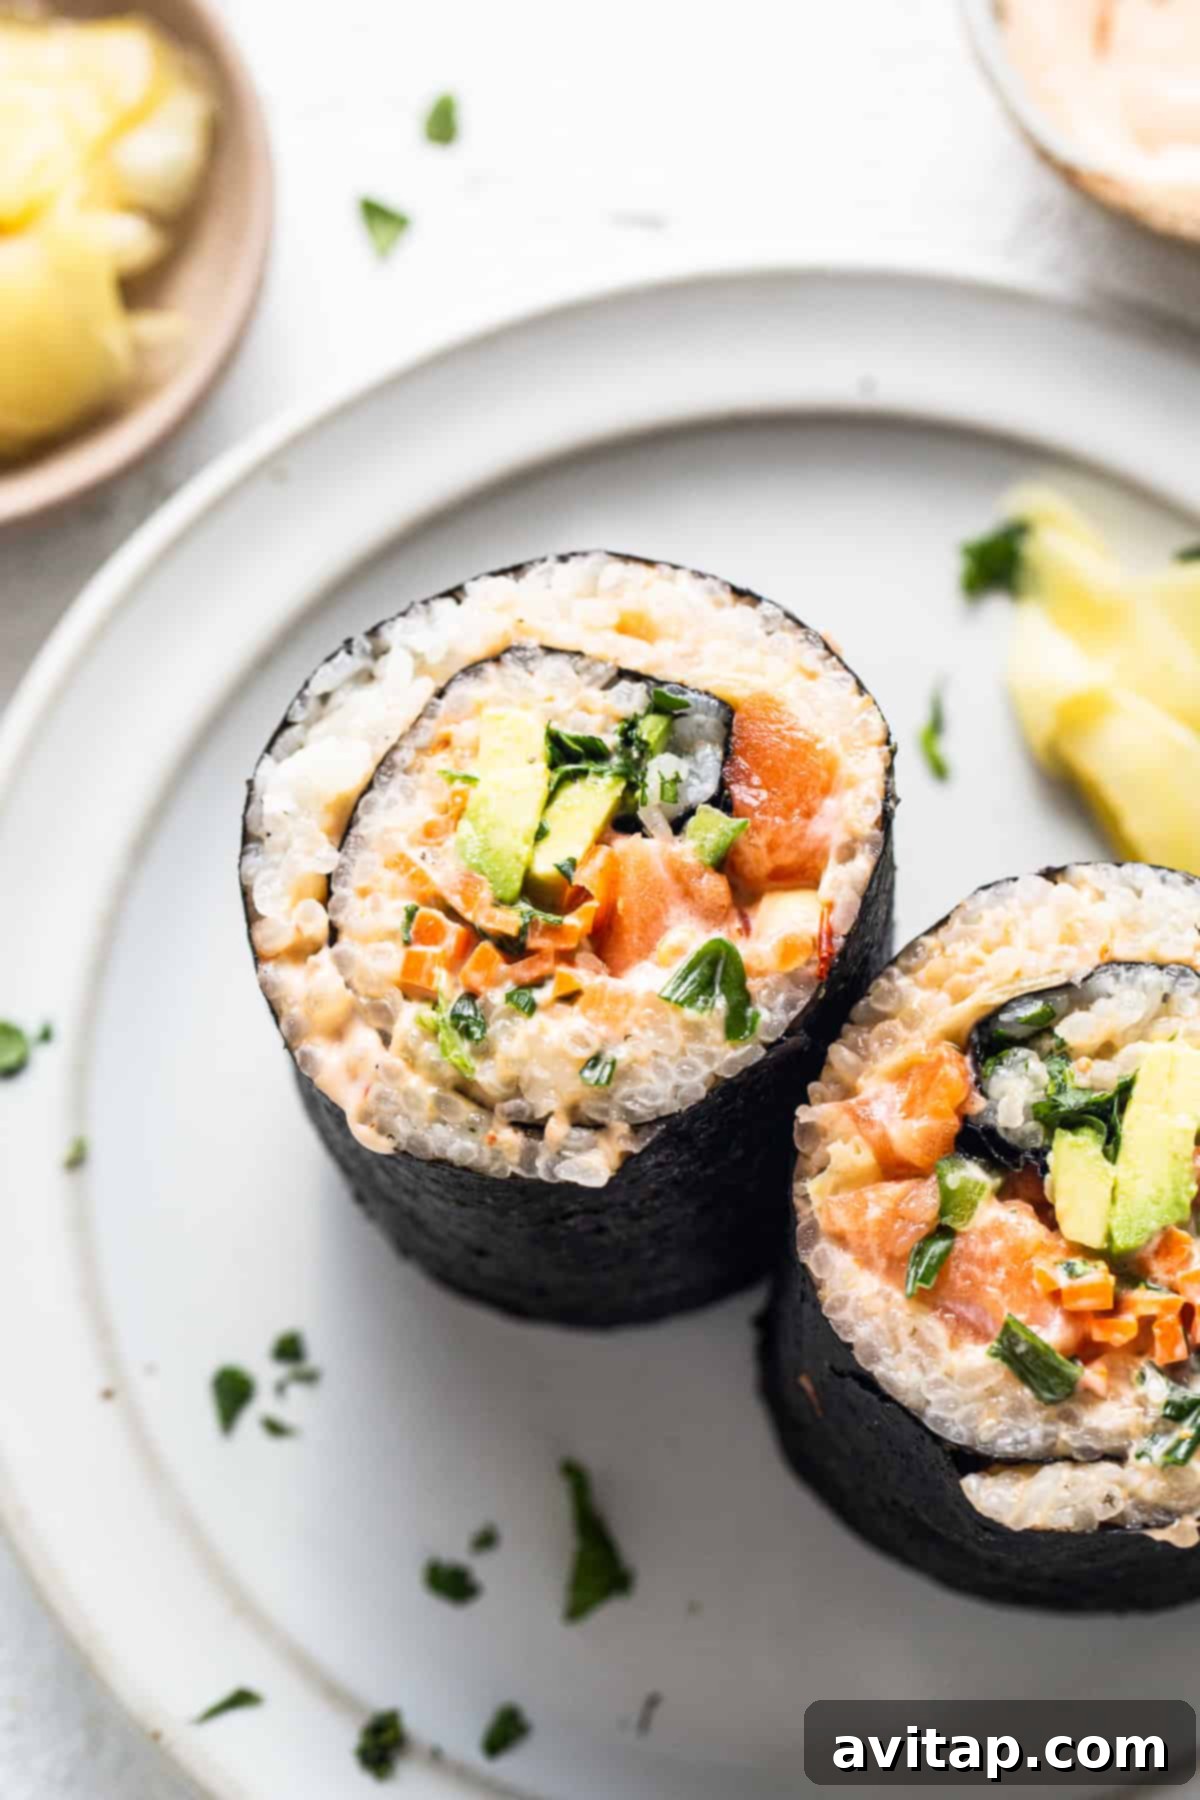
Crafting the Perfect Salmon Sushi Burrito at Home
Friends, get ready to elevate your sushi nights! We’re huge enthusiasts of Japanese cuisine here, from our beloved ahi tuna poke bowls to classic rolls. But these salmon sushi burritos? They truly bring a fresh, exciting twist to the table. Combining simple, accessible ingredients with an ingenious “burrito-style” wrap, they offer the ultimate customizable and handheld sushi experience that’s perfect for a quick lunch, a casual dinner, or impressing guests at your next gathering.
Craving more fantastic burrito creations? We’ve got you covered! Explore our highly popular make-ahead freezer burritos for convenient meal prep or savor the rich flavors of our easy shredded chicken burritos.
Why You’ll Fall in Love with This Sushi Burrito Recipe!
Effortlessly Simple to Prepare: Don’t be intimidated by homemade sushi! This recipe is designed with simplicity in mind, making it accessible for even novice cooks. With clear, step-by-step instructions, you’ll be rolling like a pro in no time, making it a fantastic entry point into the world of Japanese-inspired cooking.
Packed with Flavorful, Fresh Ingredients: Our ingredient list focuses on fresh, wholesome components that are easy to find at most grocery stores. From the vibrant crunch of garden vegetables to the delicate taste of sushi-grade salmon and the kick of spicy mayo, every bite is a burst of deliciousness.
Perfect for Feeding a Crowd (or Meal Prepping!): Whether you’re hosting a dinner party, planning a fun family meal, or looking to prepare healthy lunches for the week, this sushi burrito recipe scales beautifully. Its easy assembly makes it ideal for making a large batch, ensuring everyone gets to enjoy these delightful creations.
A Healthy and Satisfying Meal: Loaded with lean protein from salmon, fiber and vitamins from a medley of fresh vegetables, and complex carbohydrates from sticky rice, these burritos offer a balanced and nutritious meal option. They’re a guilt-free indulgence that keeps you feeling full and energized.
Customizable to Your Taste: The beauty of the sushi burrito lies in its versatility. While we provide a fantastic base recipe, feel free to get creative! Swap out vegetables, adjust the spice level, or even experiment with different proteins to tailor these burritos perfectly to your personal preferences.
Key Ingredients for Your Ultimate Salmon Sushi Burrito
Creating these incredible sushi burritos hinges on a few essential components: the perfectly seasoned sticky rice, fresh and crunchy vegetables, a rich and spicy mayo, high-quality salmon, and durable nori sheets. Here’s a detailed look at what you’ll need to gather to bring this recipe to life:
The Foundation: Rice & Nori
- Nori Sheets: These dried seaweed sheets are the edible wrapper for your sushi burrito. Opt for good quality nori that is crisp and fresh.
- Sweet Rice (Sushi Rice): This is crucial for the structural integrity of your burrito. Its sticky texture helps hold all the delicious fillings together. We highly recommend Apple Brand Sweet Rice for its consistent quality.
- Water: Essential for cooking your rice to that perfect sticky consistency.
The Freshness Factor: Vibrant Veggies & Dressing
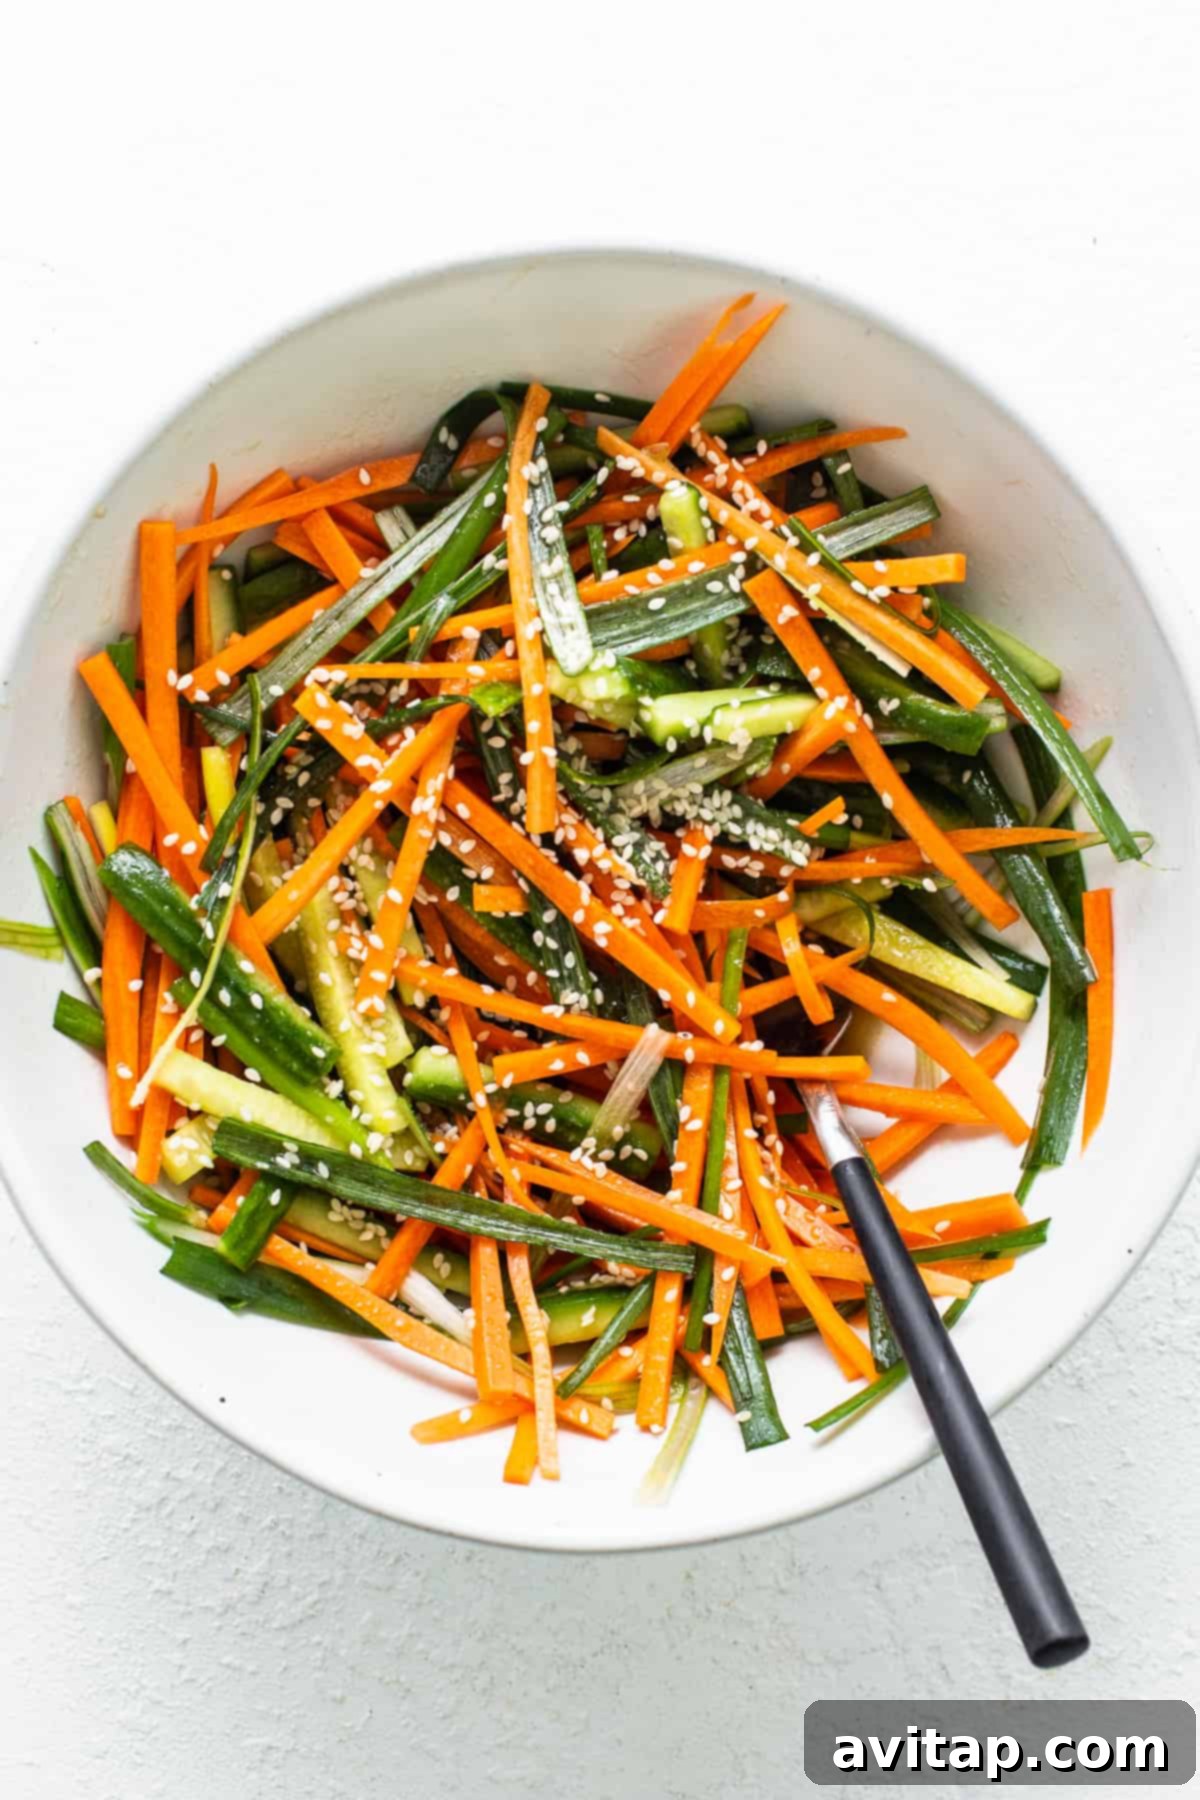
- English Cucumber: Adds a refreshing crunch and cool contrast to the richness of the salmon and spicy mayo. Its mild flavor makes it a perfect sushi companion.
- Carrots: Provides a natural sweetness and another layer of crisp texture. We’ll be slicing these into matchsticks for easy rolling.
- Green Onions: Offers a subtle peppery bite and aromatic freshness that complements the other ingredients beautifully.
- Avocado: Creamy, rich, and a classic sushi favorite. Its healthy fats add a luxurious texture and mellow flavor.
- Cilantro: A controversial herb for some, but for those who love it, cilantro adds a bright, fresh, and slightly citrusy note that truly elevates the burrito.
- Sesame Oil: Infuses the vegetable mixture with a nutty, aromatic depth characteristic of Asian cuisine.
- Rice Vinegar: Adds a tangy, slightly sweet acidity that balances the richness of the other ingredients.
- Soy Sauce: A foundational savory element, providing umami and depth to the veggie dressing.
- Honey: A touch of natural sweetness to perfectly balance the salty and acidic notes in the dressing.
- White Sesame Seeds: Adds a delicate crunch and nutty flavor, enhancing the overall sushi experience.
The Spicy Kick: Irresistible Mayo
- Mayonnaise: Forms the creamy base for our signature spicy sauce. Use your favorite brand for optimal flavor.
- Garlic Chili Sauce: This is where the magic happens! A good quality garlic chili sauce provides the perfect amount of heat and savory garlic flavor to transform ordinary mayo into an extraordinary spicy dressing.
The Star: Premium Salmon
- Sushi Grade Salmon: This is paramount for safety and taste when consuming raw fish. Ensure your salmon is specifically labeled “sushi grade” or “sashimi grade” from a reputable fishmonger. Remove the skin and chop it into ½-inch pieces for easy distribution within the burrito.
Step-by-Step Guide: How to Assemble Your Homemade Sushi Burrito
Follow these detailed instructions to create stunning and delicious salmon sushi burritos that will impress everyone!
Step 1: Perfectly Prepare Your Sticky Rice
- Rinse the Rice: Begin by placing 2 cups of sweet rice in a fine-mesh sieve. Rinse thoroughly under cold running water for 2-3 minutes, or until the water runs completely clear. This crucial step removes excess starch, preventing the rice from becoming gummy and ensuring that perfect sticky texture.
- Cook in an Instant Pot: Transfer the rinsed rice to your Instant Pot. Add 2 cups of fresh water and give it a gentle stir.
- Pressure Cook: Secure the lid and cook the rice on high pressure for 4 minutes. Once cooking is complete, allow the pressure to release naturally for 8 minutes. After 8 minutes, manually quick-release any remaining pressure. Ensure the ‘keep warm’ setting is turned off to prevent the rice from scorching or sticking to the bottom of the pot.
- Cool the Rice: Fluff the perfectly cooked rice with a fork, then transfer it to a separate large bowl. Spread it out evenly to help it cool down quickly. Place the rice in the fridge to chill thoroughly. Cooling the rice is essential before assembly, as warm rice can make the nori soggy and difficult to handle.
Step 2: Craft Your Flavorful Veggie Filling
- Salt the Cucumbers: Chop your English cucumber into uniform 2-inch sticks and place them in a bowl. Sprinkle with ½ teaspoon of salt and toss gently to coat. Let the cucumbers rest for 15 minutes; the salt will draw out excess water, ensuring your burritos aren’t watery.
- Prepare Other Vegetables: While the cucumbers are resting, thinly chop the carrots into 3-inch matchsticks. Slice the green onions into equally thin 3-inch strips. Precision here makes for beautiful and easy-to-roll burritos!
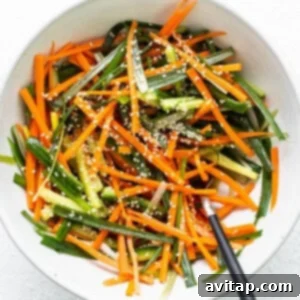
- Dress the Veggies: Discard any accumulated water from the cucumbers. Combine the drained cucumbers, carrots, and green onions in a large bowl. In a separate small bowl, whisk together the sesame oil, rice vinegar, soy sauce, and honey until thoroughly combined.
- Season and Chill: Pour the prepared dressing over the vegetables and toss until everything is evenly coated. Add the remaining salt and the white sesame seeds, tossing once more. Refrigerate this vibrant vegetable mixture until you are ready to assemble your burritos.
Step 3: Whip Up Your Spicy Mayo
This simple yet essential sauce adds a delightful creamy heat to your burritos. In a small bowl, combine 1 cup of mayonnaise with 2 tablespoons of garlic chili sauce. Mix vigorously until the sauce is smooth, evenly colored, and well combined. Taste and adjust chili sauce to your preferred spice level.
Step 4: Master the Burrito Assembly & Enjoy!
This is where your sushi burrito truly comes together. Patience and practice are key for perfect rolls!
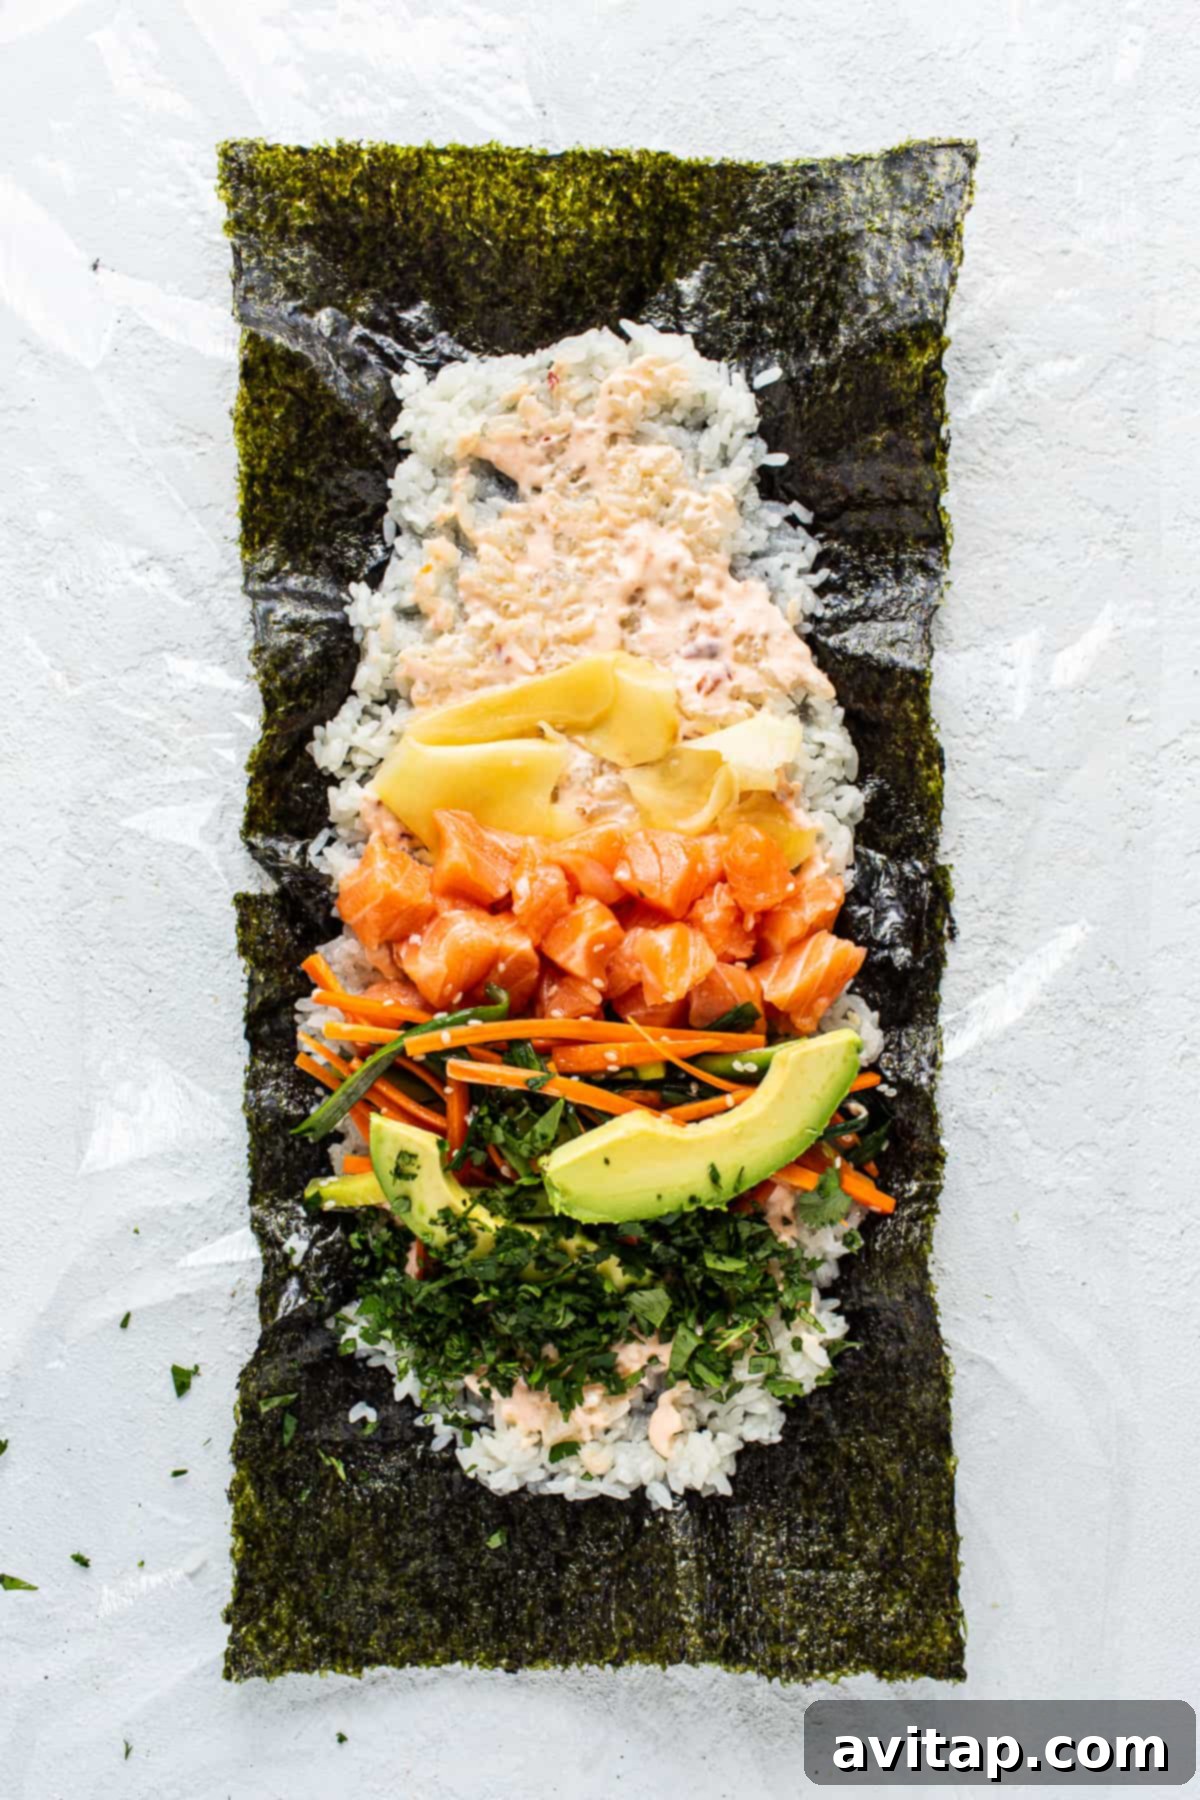
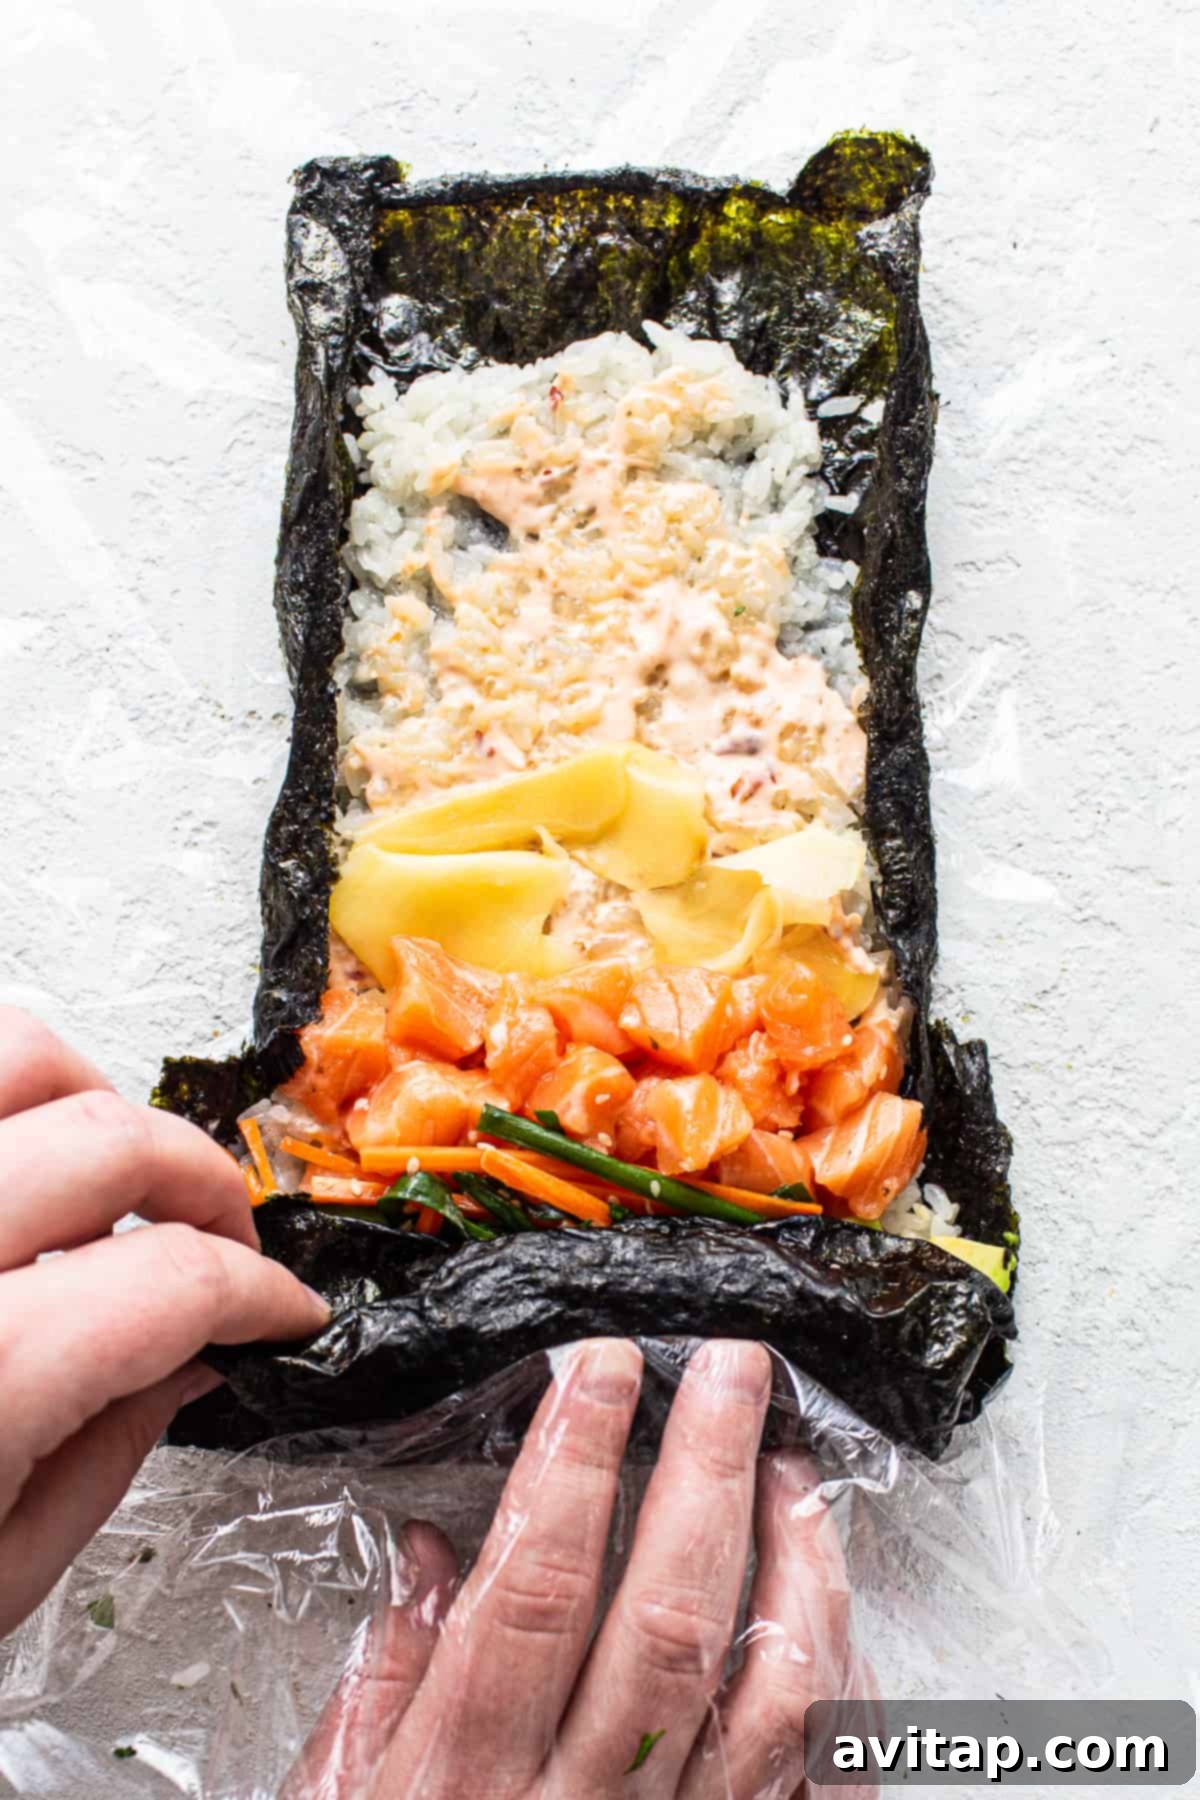
- Set Up Your Rolling Station: Lay a sushi rolling mat or a large piece of plastic wrap on a clean counter. Place two nori sheets on top, slightly overlapping them at their shorter edges. Gently moisten the overlapping edges with a little water using your fingers to help them stick together, forming a larger, single sheet.
- Spread the Rice: Wet your hands slightly (this prevents rice from sticking) and take about 1 cup of the cooled sticky rice. Gently spread the rice evenly over the nori, leaving approximately a ¼-inch border clear around the edges. This border is essential for sealing the burrito.
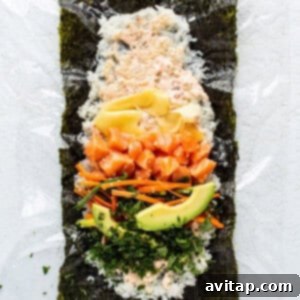
- Layer the Flavors: Now for the exciting part – adding your fillings!
- Drizzle about 1.5 tablespoons of the spicy mayo evenly over the rice.
- Next, arrange 4-5 pieces of pickled ginger across the rice.
- Add about ¼ cup of the chopped sushi-grade salmon along the edge closest to you.
- Place approximately ⅓ cup of your seasoned vegetable mix next to the salmon.
- Arrange 2 thin slices of creamy avocado alongside the vegetables.
- Finish with 1 tablespoon of fresh chopped cilantro next to the avocado.
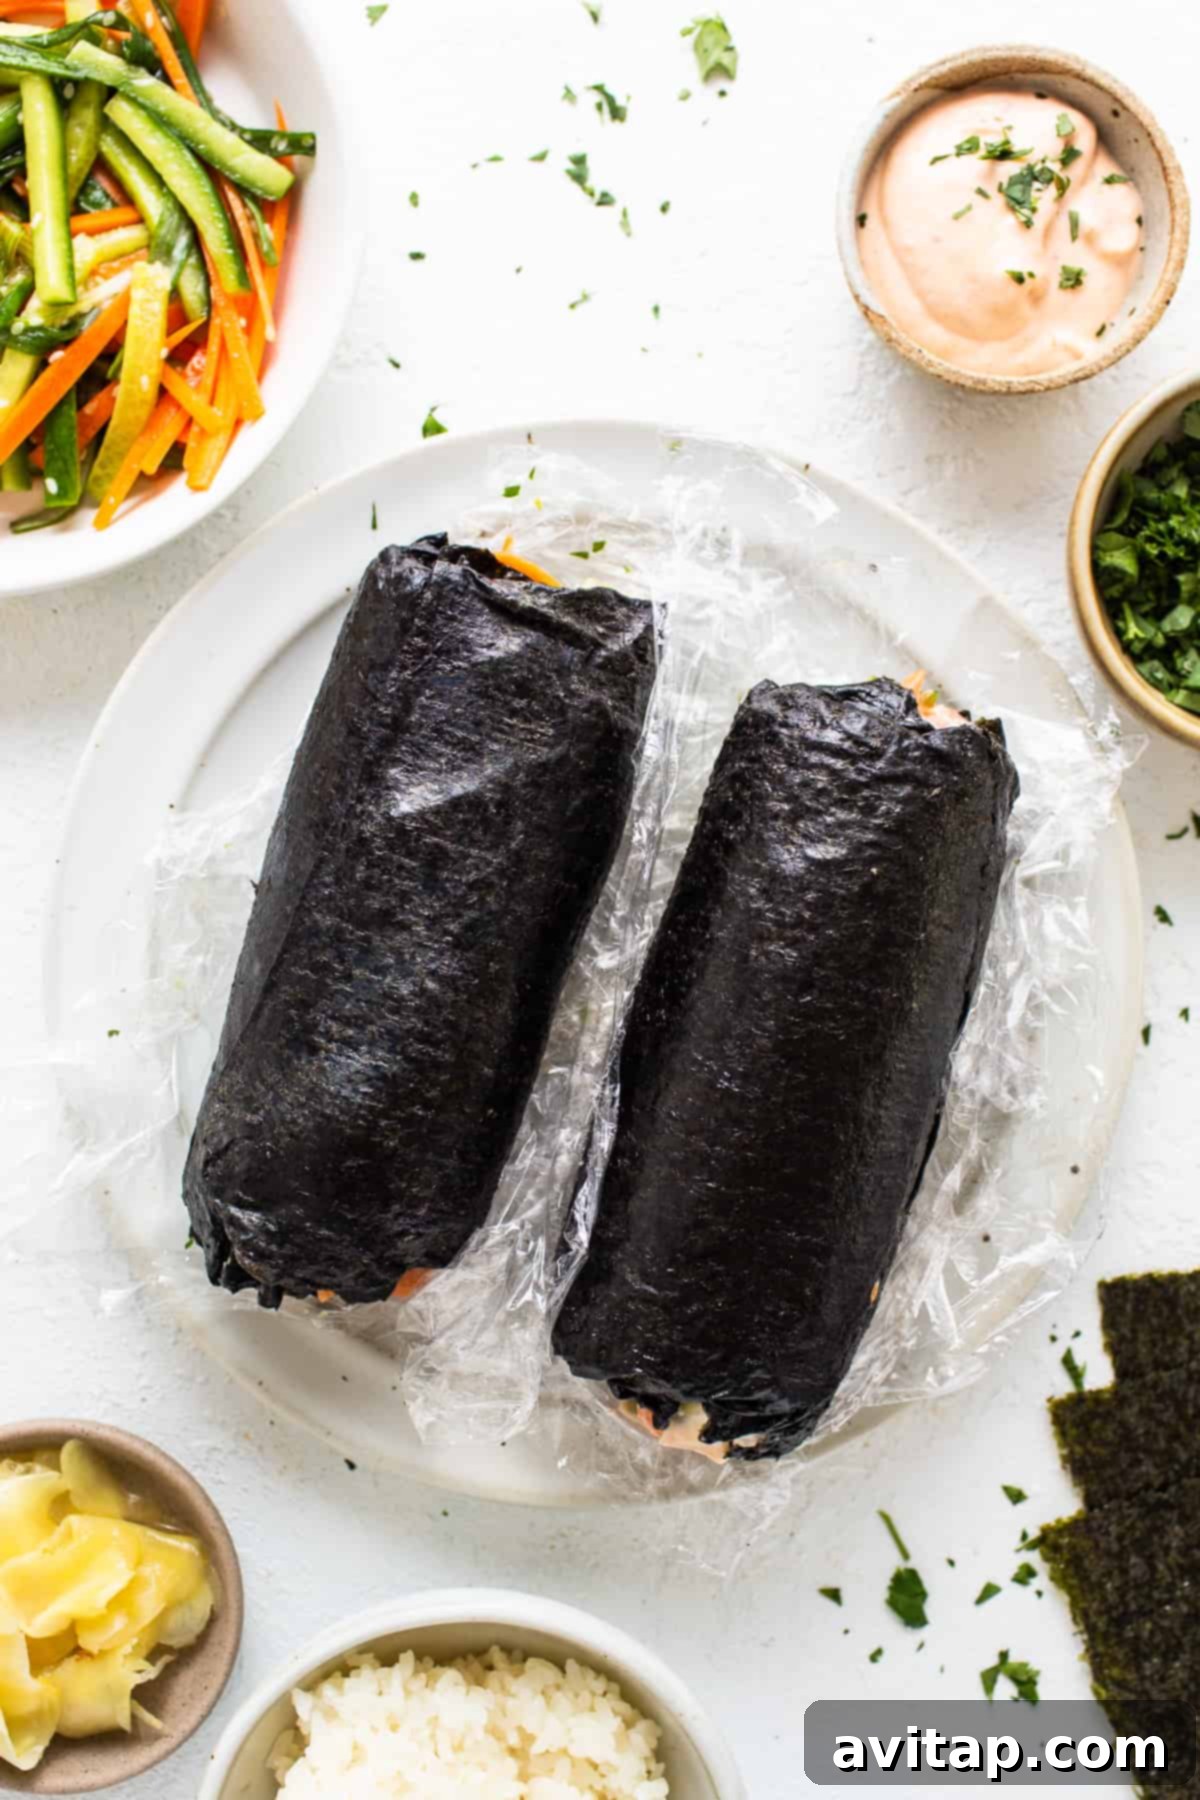
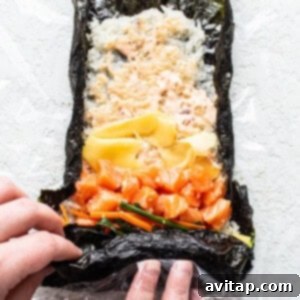
- Roll Your Burrito: Carefully lift the edge of the plastic wrap or sushi mat closest to you and begin to roll it tightly over the ingredients, tucking everything in. Continue to roll firmly and evenly, applying gentle pressure, until you have a compact burrito. If using plastic wrap, wrap the finished burrito tightly in the plastic. If using a sushi mat, transfer the rolled burrito to a plate.
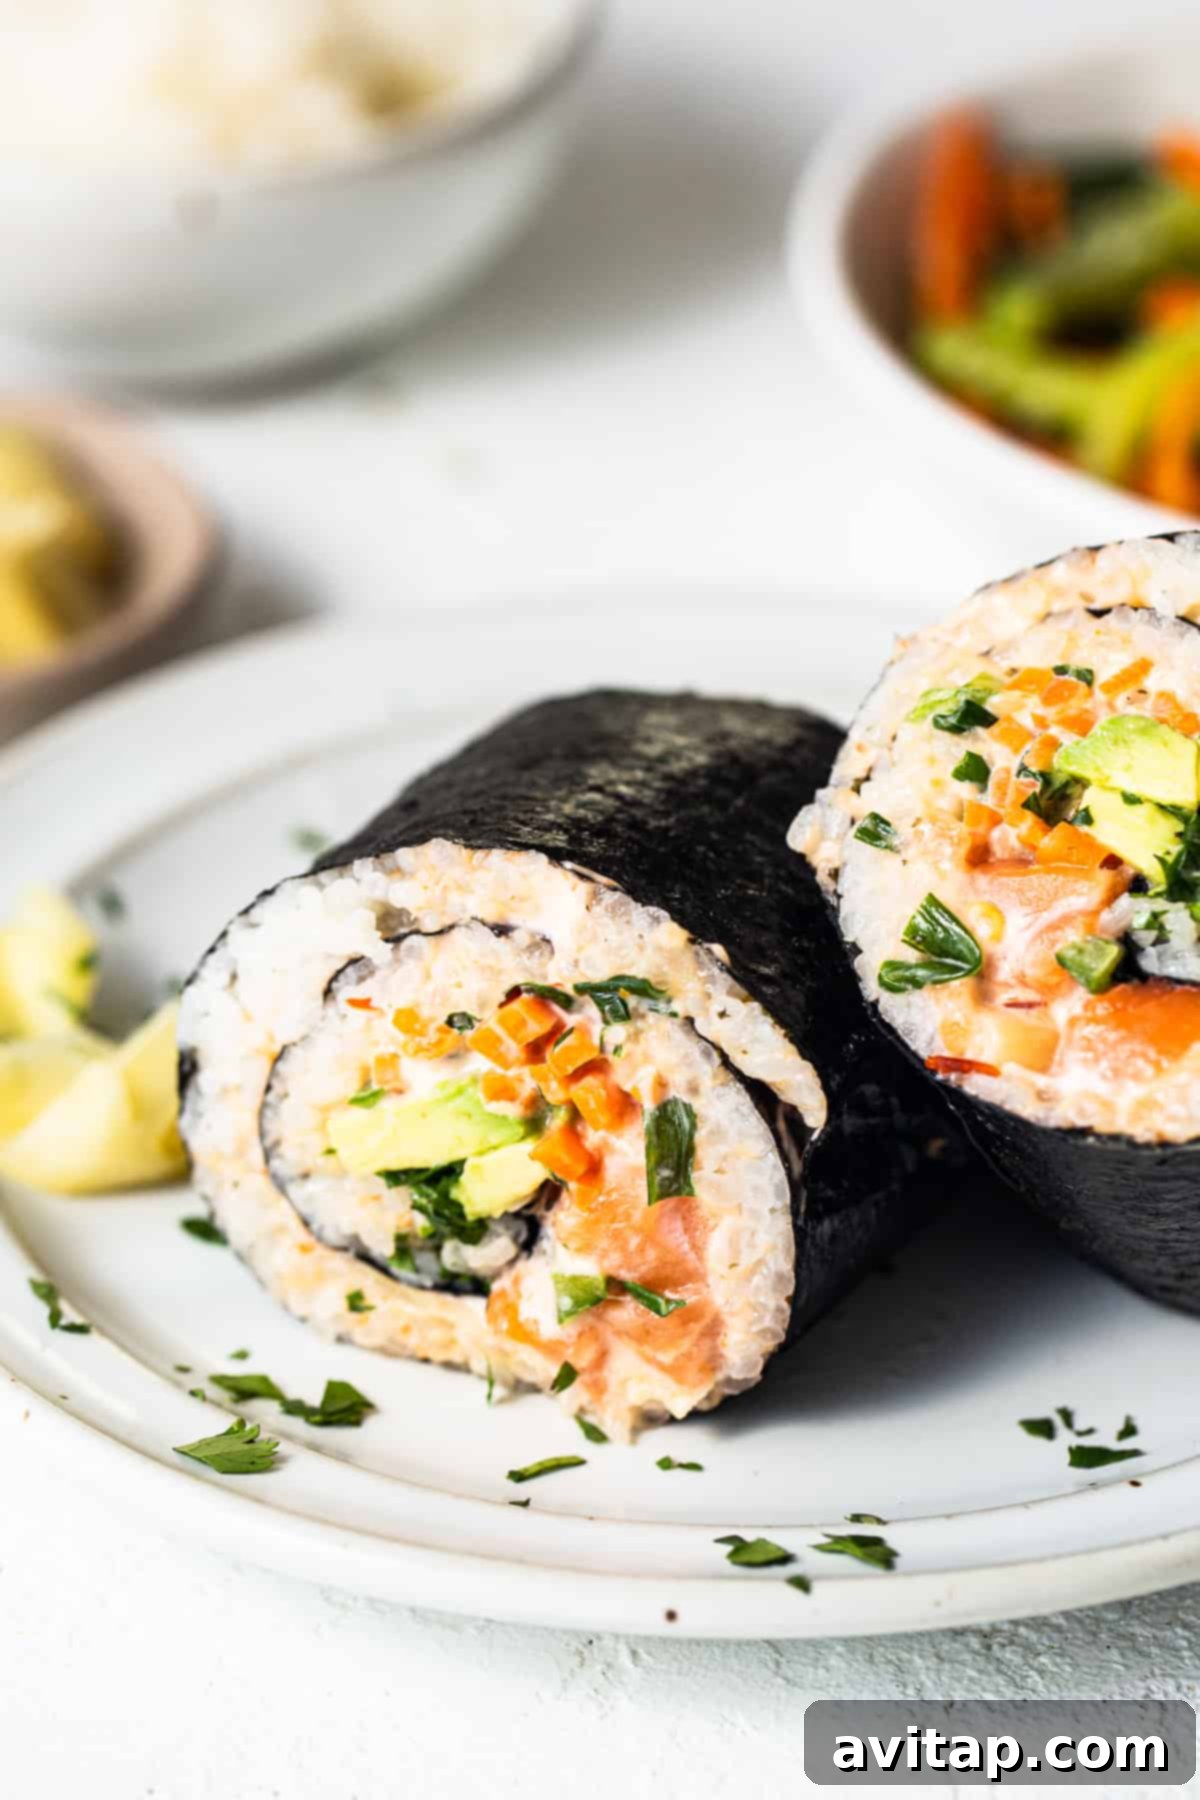
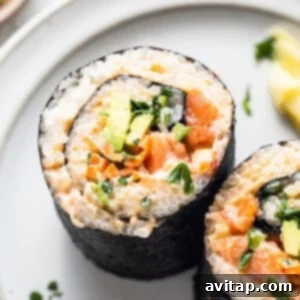
- Repeat and Rest: Continue this process until all your delicious sushi burritos are made. We recommend letting the burritos sit for at least 10 minutes (or even longer, up to 30 minutes) before slicing and serving. This resting period allows the nori to soften slightly, making the burritos much easier and more enjoyable to eat.
Yum! Your homemade salmon sushi burritos are now ready to be savored!
try it!
Ahi Tuna Poke Bowl
You’ll absolutely love this ahi tuna poke bowl. It’s fresh, nutritious, and incredibly easy to prepare for a satisfying meal!
Expert Tips for Sushi Burrito Perfection
Achieve sushi burrito mastery with these valuable insights and techniques:
- The Importance of Resting Time: For the best texture and ease of eating, allow your assembled sushi burritos to rest for at least 10-30 minutes before slicing. During this time, the moisture from the rice and fillings will gently soften the nori, making it less brittle and much more pliable and enjoyable to bite into.
- Avoid Oil in Sticky Rice: When cooking sticky rice, resist the urge to add any oil to the cooking water. Oil will interfere with the rice’s natural stickiness, which is crucial for binding the grains together and ensuring your burrito holds its shape.
- Choose the Right Rice: Using sweet rice (also known as sushi rice) is non-negotiable for this recipe. Other varieties like long-grain or jasmine rice lack the necessary starch and stickiness required for the burrito to hold together properly. The unique texture of sticky rice is what makes sushi rolls and burritos cohesive.
- Practice Makes Perfect Rolling: Rolling sushi burritos can be a bit tricky at first, but don’t get discouraged! It takes a bit of practice to get that tight, even roll. If you’re struggling, wetting the far edges of the nori before rolling can help create a better seal. Be patient with yourself, and remember that even imperfectly rolled burritos taste fantastic!
- Customization is Key: Feel free to experiment with the fillings! While salmon is the star here, you can substitute it with cooked shrimp, seared tuna, imitation crab, or even plant-based options like smoked tofu or extra vegetables for a vegetarian sushi burrito.
- Don’t Overfill: While it’s tempting to pack your burrito with as many delicious ingredients as possible, overfilling can make it incredibly difficult to roll and prone to breaking. Aim for a balanced amount of fillings that allows for a firm, tight roll.
- Keep Hands Moist: When handling the sticky rice, always keep your hands slightly wet. This prevents the rice from adhering to your fingers and makes it much easier to spread evenly across the nori sheet.
Storage Solutions for Your Sushi Burritos
To keep your salmon sushi burritos fresh and delicious, promptly wrap each individual burrito tightly in plastic wrap. Store them in an airtight container in the refrigerator for up to 2 days. It’s important to note that the nori sheets will naturally soften further the longer the sushi burritos sit in the fridge. While still delicious, they will lose some of their initial crispness over time.
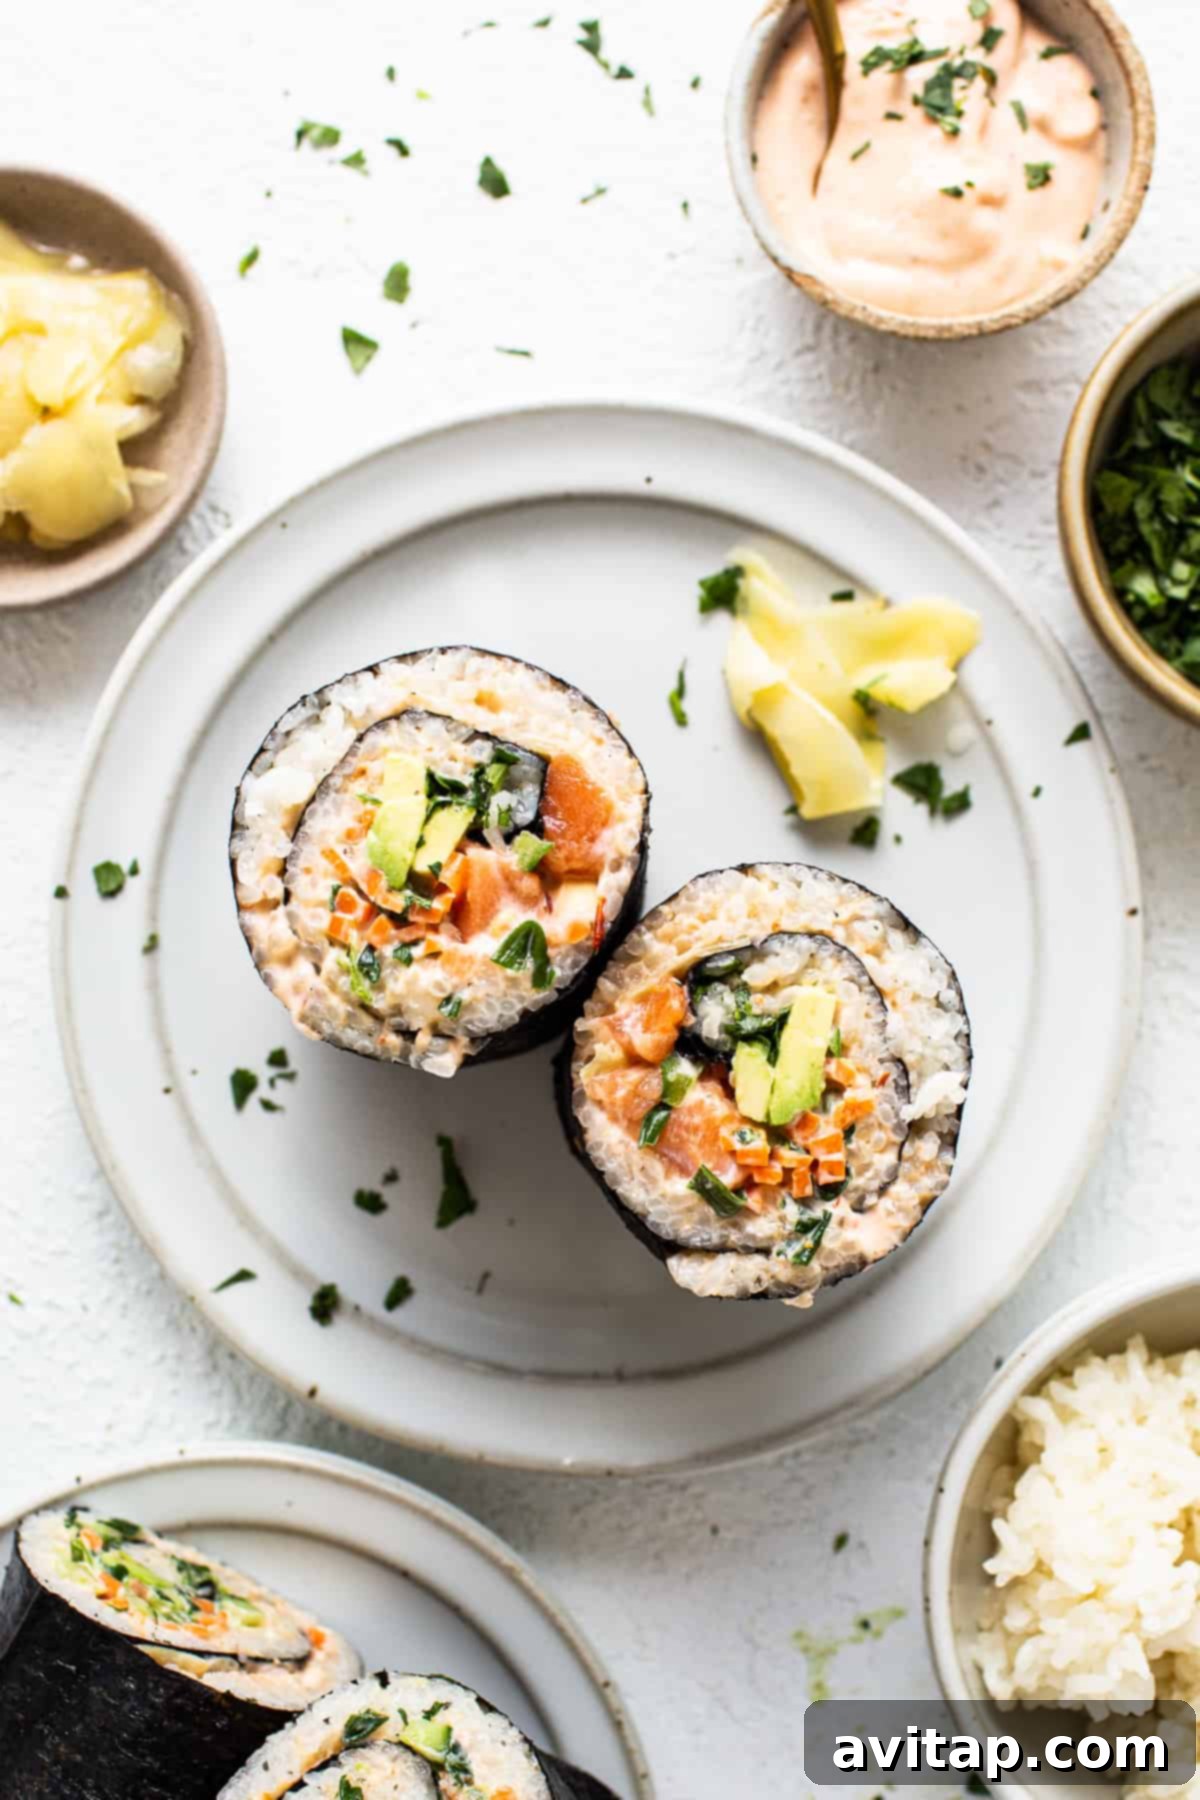
More of our Favorite…
Delicious Burrito Recipes to Explore
- Zesty Fajita Breakfast Burritos
- Simple Freezer-Friendly Bean Burritos
- Hearty Make-Ahead Beef Burritos
- Wholesome Vegetarian Black Bean Breakfast Burritos
- Quick Make-Ahead Breakfast Burritos (30-Minute Prep!)
★
★
★
★
Simple Salmon Sushi Burrito
Prep: 1 hour
Cook: 4 minutes
Total: 1 hour 4 minutes
Pin Recipe
Print Recipe
Ingredients
Rice
- 2 cups sweet rice, we used Apple Brand Sweet Rice
- 2 cups water
Veggies
- 1 English cucumber
- 1 teaspoon kosher salt, separated
- 2 medium carrots
- 4 green onions, thinly sliced
- 2 tablespoons sesame oil
- 1 tablespoon rice vinegar
- 2 teaspoons soy sauce
- 1 teaspoon honey
- 2 teaspoons white sesame seeds
Spicy mayo
- 1 cup mayo
- 2 tablespoons chili garlic sauce
Other Ingredients
- 1 lb. sushi grade salmon, skin removed and chopped into ½-inch pieces
- 12 Nori sheets
- ½ cup pickled ginger
- 1 large avocado, pitted and sliced
- 1 cup chopped cilantro
Instructions
-
Prepare the sticky rice. Rinse the rice under cold water in a fine sieve for 2-3 minutes or until the water runs clear.
-
Transfer the rinsed rice to the Instant Pot and cover with 2 cups of water, then stir gently.
-
Cook the rice on high pressure for 4 minutes. Let the pressure release naturally for 8 minutes, then quick-release any remaining pressure. Ensure the ‘keep warm’ setting is off to prevent burning or the rice from sticking.
-
Fluff the rice and then transfer it to a separate large bowl. Spread it out to cool for later.
-
Prepare the veggies. Chop the cucumbers into 2-inch sticks and transfer them to a bowl. Add ½ teaspoon of salt to the cucumbers and toss. Allow them to rest for 15 minutes to draw out water.
-
While the cucumbers are resting, chop the carrots into 3-inch matchsticks and slice the green onions into 3-inch thin strips (this takes a bit of time).
-
Discard the excess water from the cucumbers, then toss the carrots and green onions with the cucumbers.
-
Whisk the sesame oil, rice vinegar, soy sauce, and honey together until combined.
-
Pour the dressing over the vegetables and toss. Add the sesame seeds and the rest of the salt and toss again. Refrigerate until ready to use.

-
Make the spicy mayo. Mix the mayo and chili garlic sauce until well combined and smooth.
-
Assemble the burritos. Lay a sushi mat or a piece of plastic wrap on the counter. Place two pieces of nori on top, overlapping at their shorter edges. Wet your hands and gently pat the nori edges to seal the overlap.
-
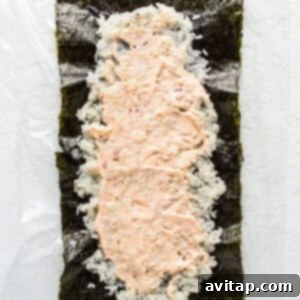
Wet your hands again and place 1 cup of cooked sticky rice on top of the nori. Pat the rice down with your wet hands until it’s spread out evenly, leaving about ¼ inch clear around the edges. Add ~1.5 tablespoons of spicy mayo to the top of the rice, spreading it gently.
-
Spread about 4-5 pieces of pickled ginger on top of the rice. Then, add about ¼ cup of the chopped salmon to the edge of the burrito closest to you, followed by ~⅓ cup of mixed vegetables, 2 slices of avocado, and 1 tablespoon of chopped cilantro.
-
Create the burrito by rolling the edge of the plastic wrap or the sushi mat closest to you tightly over the ingredients. Continue to roll firmly until the burrito is fully formed. If using plastic wrap, tightly wrap the burrito. If using a sushi mat, place the burrito on a plate. Repeat until all burritos are made.
-
The longer the burritos sit, the more tender the nori will become, making it easier and more enjoyable to eat. We recommend letting the burritos sit for at least 10 minutes before eating.
Tips & Notes
- Do not add oil to the sticky rice. It will prevent the rice from sticking, which is essential for holding the burrito together.
- If the rice still has a slight bite to it after releasing the pressure, quickly cover the pot again and let it sit for an additional 2-3 minutes or until it reaches your desired tenderness.
- If you prefer a saucier burrito with more heat, feel free to prepare an extra batch of spicy mayo.
- When rolling the burrito, you can attempt to fold the sides in by wetting the edges. Remember that rolling sushi takes practice, so be patient with yourself!
- The beauty of sushi burritos lies in their versatility. Feel free to customize the fillings based on your preferences or what you have on hand.
- Using any variety of rice other than sticky (sushi) rice is not recommended, as it will significantly affect the ability of the burrito to hold its shape and stick together properly.
Watch It
Watch our step-by-step video guide to see how easy it is to make this Simple Salmon Sushi Burrito at home!
Download Video
Nutrition Information (per serving)
Calories: 703 kcal
,
Carbohydrates: 57 g
,
Protein: 21 g
,
Fat: 44 g
,
Fiber: 5 g
,
Sugar: 5 g
Nutrition information is automatically calculated and should be used as an approximation only. Actual values may vary based on ingredients and preparation methods.
Love this recipe? Leave a comment below!
Don’t forget to tag your beautiful creations on social media with the hashtag #fitfoodiefinds – we’d absolutely love to see what you’re cooking up!
Photography Credit: All stunning photos featured in this post were captured by Ashley McGlaughlin from The Edible Perspective.