
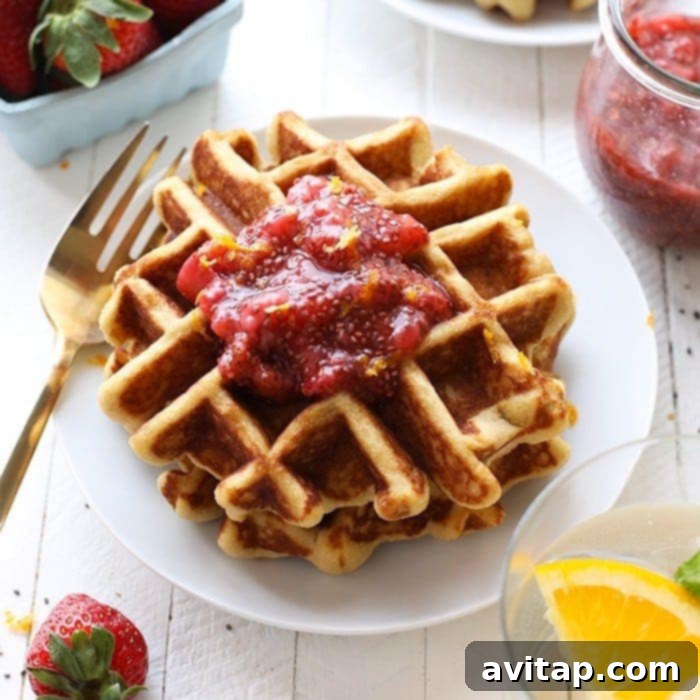
Craving a delicious, fluffy waffle but need a simple and reliable gluten-free waffle recipe? Look no further! These incredible gluten-free waffles have become a beloved staple in our kitchen. Crafted with a perfect blend of almond and coconut flour, they offer a naturally nutty flavor and a subtly sweet profile that will make your mornings brighter.
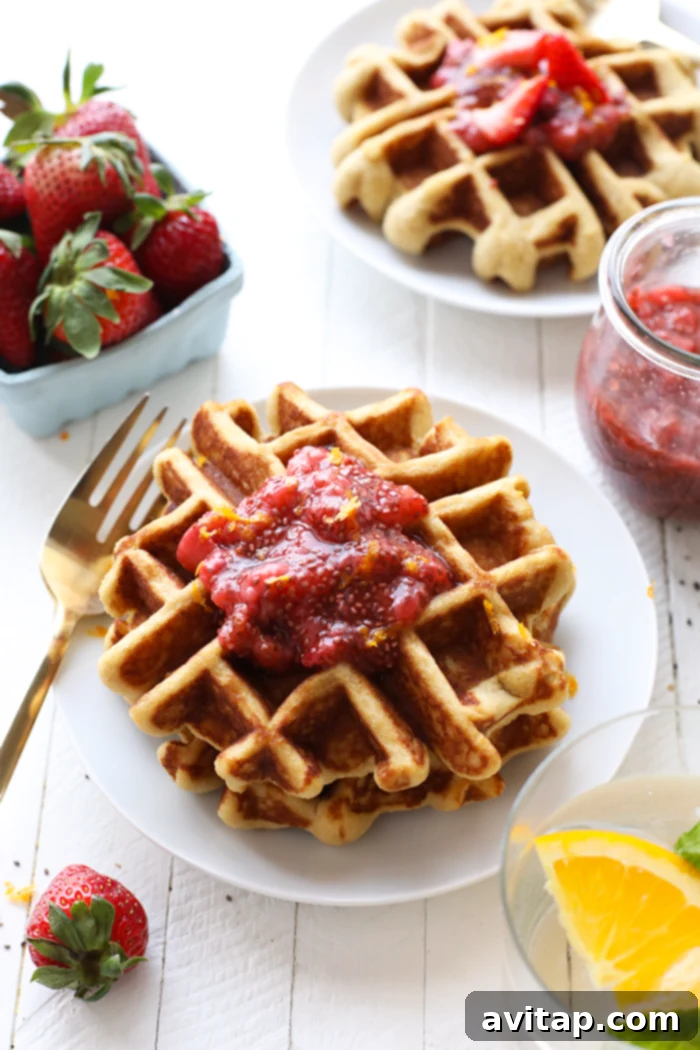
Unveiling the Best Gluten-Free Waffles You’ll Ever Make!
Is there anything more comforting than sinking your teeth into a warm, fluffy waffle, perhaps alongside a savory side like crispy bacon or a homemade breakfast sausage? For us, it’s a perfect scenario at any time of day, not just for breakfast! These grain-free wonders elevate the humble waffle to a new level, offering a truly satisfying experience without any gluten.
Our go-to gluten-free waffle recipe relies on the fantastic combination of super-fine almond flour and delicate coconut flour. This duo not only provides a rich, nutty flavor but also ensures a delightful texture that’s light on the inside with a perfect crispness on the outside. It’s a naturally sweet and wholesome base that’s surprisingly easy to achieve.
Why You’ll Fall in Love with These Gluten-Free Waffles!
These aren’t just any waffles; they’re a testament to how simple and delicious healthy eating can be. Here’s why this recipe will quickly become a favorite in your household:
- Completely Gluten-Free and Grain-Free: Perfect for those with dietary restrictions or anyone looking to reduce their grain intake, these waffles are made with wholesome almond and coconut flours.
- Made with Just 9 Simple Ingredients: You won’t need an endless grocery list for this recipe. We keep it straightforward with common pantry staples.
- A Truly Nutritious Breakfast Option: Packed with protein and healthy fats from eggs, almond flour, and coconut oil, these waffles offer sustained energy to start your day right.
- Kid-Friendly & Family Approved: Even the pickiest eaters will adore these fluffy, lightly sweet waffles. They’re a fantastic way to get nourishing ingredients into their diet.
- Wonderfully Freezer-Friendly: Make a big batch and freeze the extras! They reheat beautifully, making busy mornings a breeze.
Mastering the Art of Gluten-Free Waffles: A Step-by-Step Guide
Get ready to unleash your inner breakfast chef! Grab your waffle maker, and let’s dive into creating these amazing paleo-friendly waffles. You’ll be surprised at how quickly you can whip up a batch – from start to finish, you’re looking at less than 20 minutes of active preparation time!
Step 1: Gather Your Wholesome Ingredients
One of the best things about this gluten-free waffle recipe is its simplicity. You only need a handful of accessible ingredients to get started, ensuring a fuss-free cooking experience:
- Super-Fine Almond Flour: This is crucial for the tender texture.
- Coconut Flour: A highly absorbent flour that adds structure and a hint of sweetness.
- Baking Soda: Our leavening agent for that desirable fluffiness.
- Eggs: Provide binding and richness to the batter.
- Coconut Oil: Adds moisture and a lovely subtle flavor.
- Honey: A natural sweetener that pairs beautifully with the flours.
- Unsweetened Almond Milk: The liquid base for a smooth batter.
- Vanilla Extract: Enhances the overall flavor profile.
- A Pinch of Salt: To balance the sweetness and bring out other flavors.
Important Note on Ingredient Substitutions!
While we often encourage creativity in the kitchen, for this specific gluten-free waffle recipe, we strongly advise against substituting the almond and coconut flours. These two flours are quite unique in their properties and absorbency, making them difficult to substitute on a 1:1 basis with other flours without significantly altering the texture and consistency of the final waffle. Swapping them out may lead to dense, crumbly, or overly moist waffles.
However, feel free to get creative with other liquid sweeteners if honey isn’t your preference – maple syrup or agave nectar would work well. You can also use any milk you desire, whether it’s dairy milk, oat milk, or cashew milk, as long as it’s unsweetened. Please note that this particular recipe has not been tested with flax eggs for a vegan alternative. If you’re looking for a fantastic vegan waffle, we highly recommend trying our acclaimed vegan almond butter banana bread waffles!
Step 2: Expertly Mix Your Waffle Batter
Creating the perfect gluten-free waffle batter is a simple two-bowl process. Begin by combining all of your wet ingredients – the whisked eggs, honey, almond milk, and vanilla extract – in a large mixing bowl. Whisk them thoroughly until they are completely smooth and well-incorporated. In a separate, medium-sized bowl, mix together your dry ingredients: the super-fine almond flour, coconut flour, baking soda, and a pinch of salt. Ensure there are no lumps in the dry mixture.
Next, gently add the dry ingredients to the wet mixture, stirring just until combined. Be careful not to overmix, as this can lead to tougher waffles. Finally, incorporate the melted coconut oil into your batter. Stir until it’s evenly distributed and the batter is smooth once more. This method prevents the coconut oil from solidifying prematurely upon contact with colder ingredients directly from the fridge, ensuring a consistent batter texture.
Step 3: Cooking Your Almond Flour Waffles to Golden Perfection
Now comes the exciting part – it’s time to cook your delicious almond flour waffles! Start by setting your waffle maker to medium-high heat. Allow it to fully preheat before you begin cooking. Once hot, give both sides of the waffle iron a generous spray with cooking oil or coconut oil spray to prevent sticking and ensure a beautiful golden-brown finish.
Using a 1/3 to 1/2 cup scoop (depending on the size of your waffle maker), carefully spoon the batter into the center of the preheated waffle iron. Close the lid and let your waffle cook for approximately 1.5 to 3 minutes. Keep in mind that cooking times can vary significantly between different waffle iron models, so it’s best to keep a close eye on your first few waffles until you find the ideal timing for your machine. Repeat this process with the remaining batter until all your fluffy gluten-free waffles are ready to enjoy!
Step 4: Top & Savor Your Homemade Waffles!
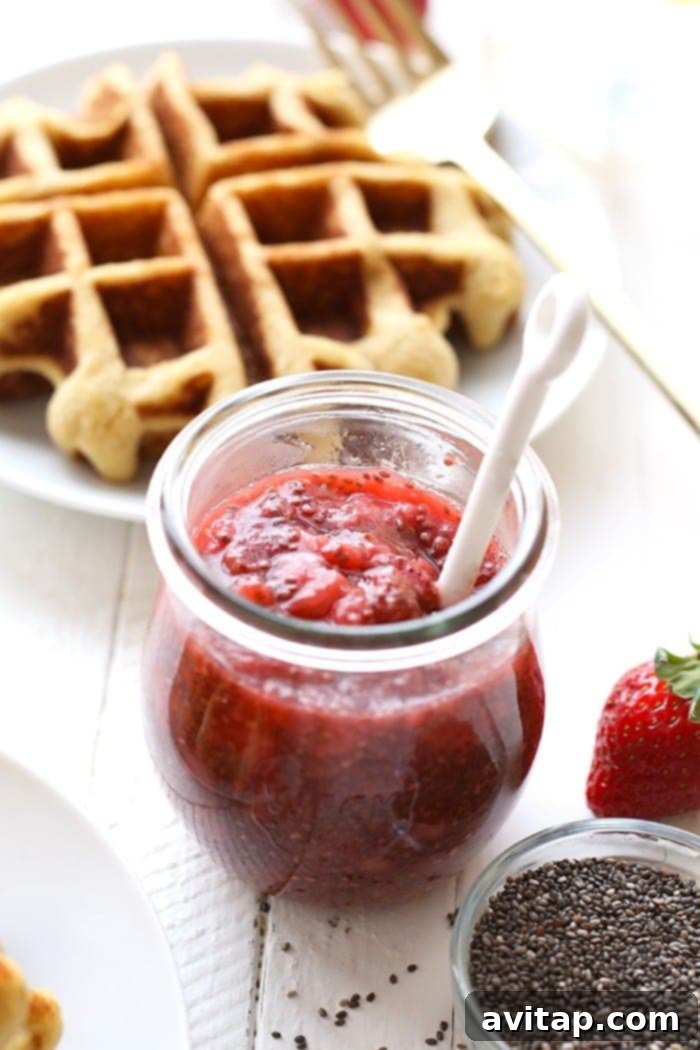
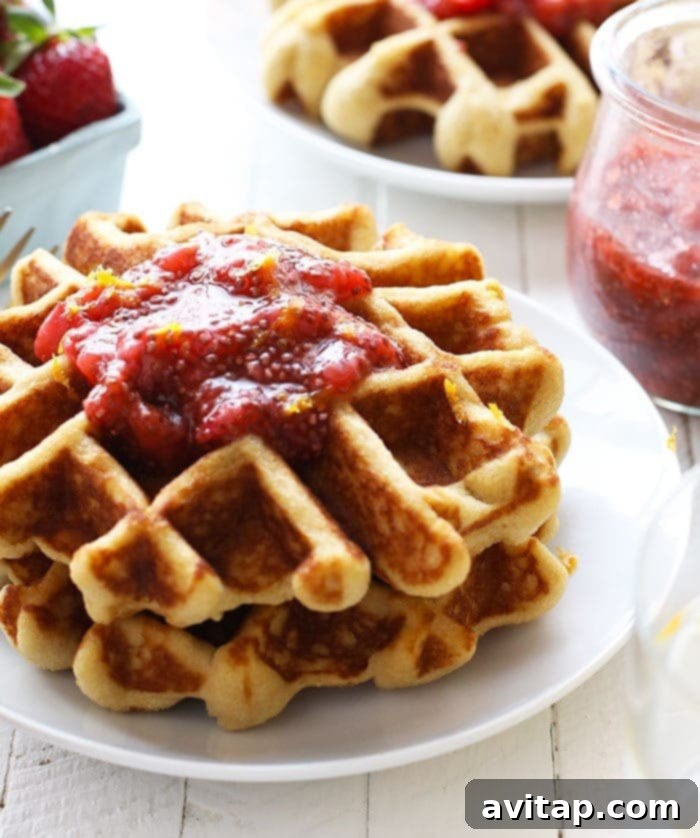
The moment you’ve been waiting for! It’s time to crown your perfectly cooked waffles with your favorite toppings and dig in. In the comprehensive recipe card below, we provide an easy-to-follow tutorial for crafting a simple yet incredibly flavorful homemade strawberry chia compote. This vibrant topping requires just a few basic ingredients: fresh strawberries, a splash of orange juice for brightness, a touch of honey for sweetness, and chia seeds to create that delightful, thick consistency.
Creative Topping Ideas for Your Gluten-Free Waffles
While our strawberry chia compote is a fantastic choice, there are countless ways to customize your waffles. If you prefer something a bit more traditional or want to experiment, here are some delicious topping ideas to inspire you:
- Creamy Peanut Butter or Almond Butter: A dollop of your favorite nut butter adds protein and a rich, comforting flavor.
- Golden Maple Syrup: A classic choice that never disappoints, drizzled generously over warm waffles.
- Sweet Honey: For a more subtle sweetness, a swirl of honey is always a good idea.
- Crunchy Walnuts or Pecans: Toasted nuts add a wonderful texture and earthy flavor.
- Freshly Whipped Cream: Light, airy, and a delightful indulgence, especially when paired with fresh fruit.
- Seasonal Fresh Fruit: Berries, sliced bananas, or peaches can add natural sweetness and vibrant color.
- Chocolate Chips: Stir them into the batter or sprinkle on top for a decadent treat.
Freezing and Storing Your Gluten-Free Waffles
One of the best advantages of this recipe is how well these waffles freeze, making them perfect for meal prepping and enjoying homemade breakfast throughout the week. To freeze your waffles, allow them to cool completely on a wire rack. Once cooled, you can either place them in a single layer on a baking sheet and freeze until solid, then transfer to a freezer-safe bag, or simply layer them between pieces of parchment paper in an airtight container or freezer bag. They will keep well in the freezer for up to 3 months.
When you’re ready to enjoy them, simply pop the frozen waffles into a toaster, toaster oven, or even your waffle maker on a low setting until they are heated through and crispy. This method ensures they retain their delicious texture without becoming soggy. Leftover unfrozen waffles can be stored in an airtight container in the refrigerator for 2-3 days.
Discover More of Our Favorite Grain-Free Creations…
More Delightful Gluten-Free Waffles & Pancakes Recipes!
If you’ve enjoyed these almond and coconut flour waffles, you’re in for a treat! We have a fantastic collection of other gluten-free and grain-free breakfast recipes that are sure to impress. Explore these delicious options for more morning inspiration:
- The Best-Ever Gluten-Free Pumpkin Waffles
- Unique Gluten-Free Matcha Green Tea Waffles
- Sweet & Savory Cornbread Chocolate Chip Pancakes
- Super Simple 3-Ingredient Almond Flour Banana Pancakes
Simple Gluten-Free Waffles
You only need 9 simple ingredients, including almond flour and coconut flour, to make this incredibly delicious and easy gluten-free waffle recipe!
By: Lee Funke
Cook Time: 15 mins
Total Time: 35 mins
Servings: 4
Rating: 4.20 from 5 votes
Ingredients
For the Gluten-Free Waffles:
- 1 cup super-fine almond flour
- 1/4 cup coconut flour
- 1/2 teaspoon baking soda
- Pinch of salt
- 3 large eggs
- 2 tablespoons melted coconut oil
- 3 tablespoons honey
- 3/4 cup unsweetened almond milk
- 1 teaspoon vanilla extract
For the Strawberry Chia Compote:
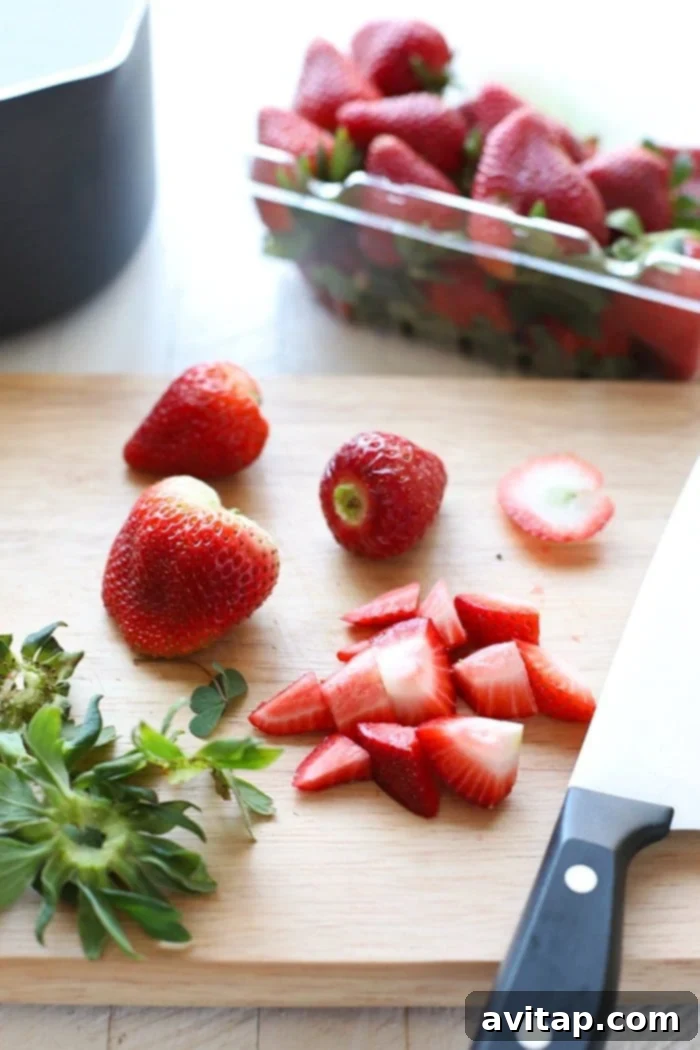
- 1 cup fresh strawberries, diced
- 1/4 cup orange juice
- 2 tablespoons honey
- Pinch of salt
- 1 tablespoon chia seeds
Instructions
Gluten-Free Waffles:
- First, preheat your waffle iron to medium-high heat.
- In a large bowl, whisk together the dry ingredients: almond flour, coconut flour, baking soda, and salt. Ensure they are well combined.
- In a separate medium bowl, whisk the 3 eggs until light and frothy. Then, add in the honey, unsweetened almond milk, and vanilla extract. Mix until the wet ingredients are smooth.
- Pour the wet ingredients into the dry ingredient mixture and stir gently until just combined. The batter will be thick. Finally, add the melted coconut oil and mix again until the batter is smooth. The consistency should be slightly thicker than typical pancake batter.
- Spray both sides of your preheated waffle iron generously with coconut oil spray. Pour approximately 1/3 to 1/2 cup of batter (depending on your waffle maker’s size) into the center. Close the lid and cook for about 1.5 to 3 minutes, or until golden brown and cooked through. Cooking time will vary by waffle iron, so monitor closely. Repeat with the remaining batter.
For the Strawberry Chia Compote:
- Combine the diced strawberries, orange juice, salt, and honey in a small saucepan over medium-high heat. Bring the mixture to a gentle boil.
- Once boiling, reduce the heat to low and let the compote simmer for about 10 minutes. Stir and lightly mash the strawberries occasionally as they cook down.
- When the strawberries have softened and the mixture has reduced and thickened slightly, remove the saucepan from the heat.
- Stir in the chia seeds thoroughly. Transfer the compote to a jar or container and place it in the refrigerator for at least one hour to allow it to cool and thicken further.
- Once chilled, remove from the fridge, spoon over your freshly made gluten-free waffles, and store any leftover compote in the refrigerator for later use.
Tips & Notes for Success
- For the best texture, we highly recommend using a super-fine ground almond flour. Brands like Bob’s Red Mill offer excellent quality options for this recipe.
- As you continue to cook batches of waffles, you may notice the batter thickening slightly. If it becomes too thick to pour easily, simply add an additional tablespoon or two of almond milk to reach your desired consistency.
- For even browning and crispiness, ensure your waffle iron is adequately preheated and well-greased before each new waffle.
Nutrition Information (Approximate Per Serving)
Calories: 423 kcal,
Carbohydrates: 38 g,
Protein: 13 g,
Fat: 27 g,
Fiber: 8 g,
Sugar: 25 g
Nutrition information is automatically calculated and should be used as an approximation only. Values may vary based on specific ingredients and brands used.
Frequently Asked Questions About Gluten-Free Waffles
- Can I make these waffles vegan?
- This specific recipe relies on eggs for structure and binding, which are crucial for gluten-free baking with almond and coconut flour. While we haven’t tested it with flax eggs or other vegan egg substitutes, the results may vary significantly. For a tested vegan option, please see our vegan almond butter banana bread waffles recipe.
- Why can’t I substitute the almond or coconut flour?
- Almond flour and coconut flour have very distinct properties compared to wheat flour or even other gluten-free flours. Coconut flour is extremely absorbent, while almond flour provides a tender crumb. Substituting them 1:1 with other flours (like oat flour or a gluten-free all-purpose blend) will change the liquid ratios and overall structure, likely leading to a very different and potentially unfavorable outcome. It’s best to stick to the specified flours for this recipe’s intended results.
- Can I use a different sweetener instead of honey?
- Yes, absolutely! While honey adds a lovely flavor, you can certainly swap it out for other liquid sweeteners like maple syrup, agave nectar, or a sugar-free liquid sweetener if preferred. The amount might need slight adjustment based on your desired sweetness and the sweetener’s intensity.
- My waffles aren’t getting crispy, what should I do?
- Several factors can affect crispiness. First, ensure your waffle iron is fully preheated and well-oiled before adding batter. Second, avoid overfilling the iron, as this can steam the waffles rather than crisp them. Third, allow the waffles to cook for the full recommended time, or even a little longer, until they are golden brown. If your iron has adjustable temperature settings, try a slightly higher heat. Lastly, cooling waffles on a wire rack immediately after cooking helps prevent them from becoming soggy.
- How can I make these waffles sweeter or less sweet?
- You can easily adjust the sweetness to your preference. To make them sweeter, add an extra tablespoon or two of honey (or your chosen liquid sweetener) to the wet ingredients. For less sweet waffles, simply reduce the amount of honey. Remember that toppings like syrup or compote will also add sweetness.
Don’t forget to tag your delicious creations on social media with the hashtag #fitfoodiefinds – we love seeing what you’re cooking up!