
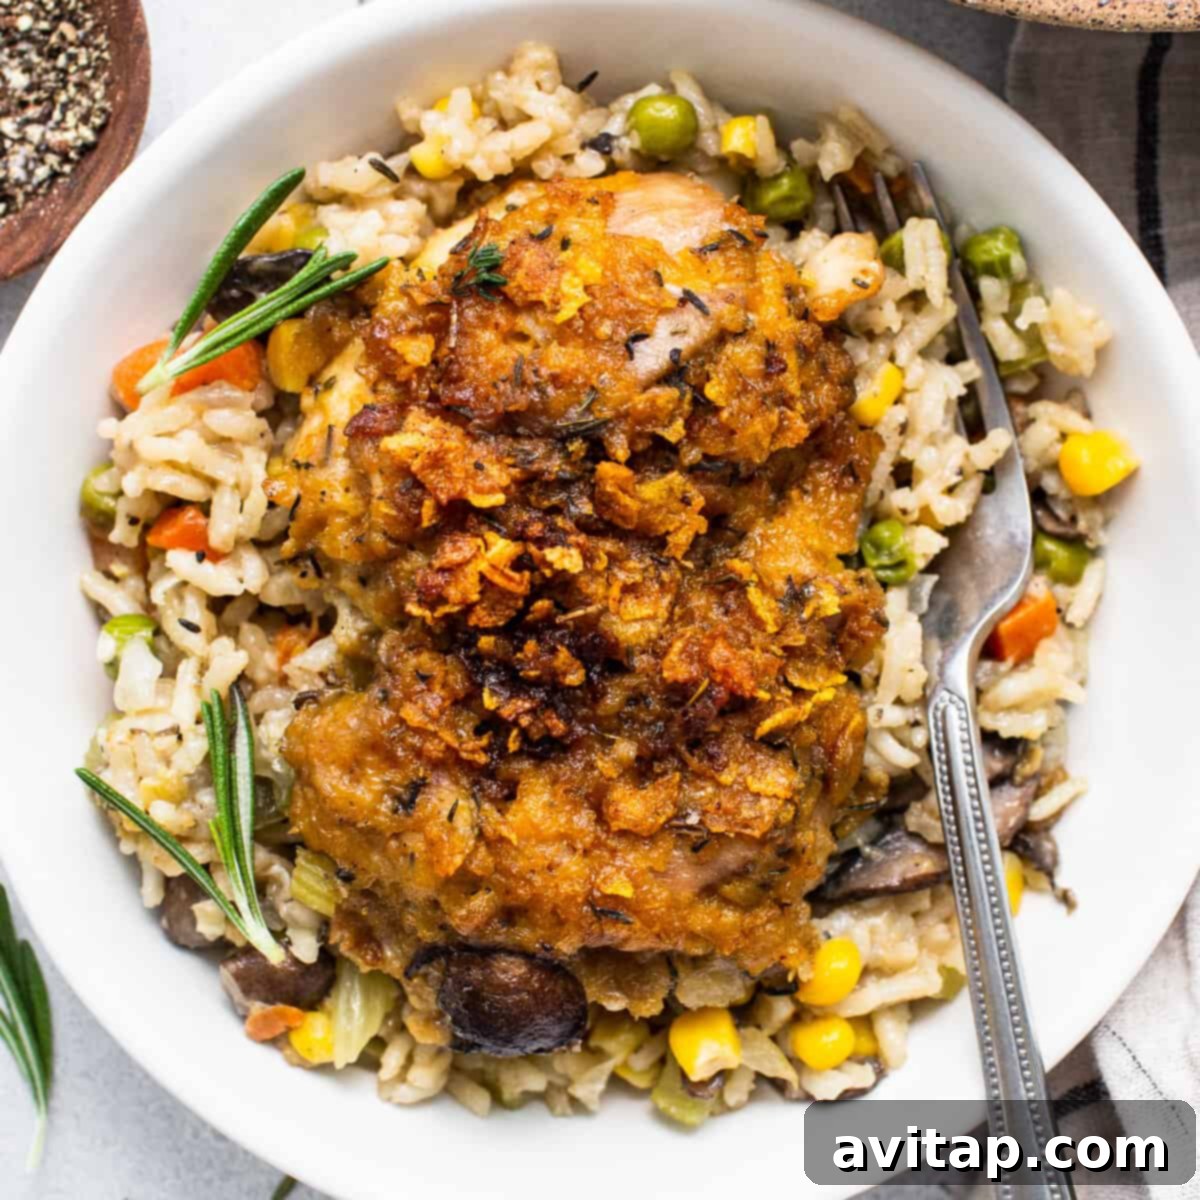
Ultimate One-Pan Chicken Pot Pie Skillet: A Hearty & Easy Family Meal
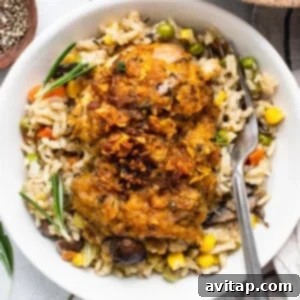
Dinner just got a whole lot more exciting and delicious! Our **Ultimate One-Pan Chicken Pot Pie Skillet** reimagines a beloved comfort food classic, transforming it into an incredibly convenient and satisfying meal that feeds everyone, all cooked in a single skillet. Say goodbye to piles of dishes and hello to rich, creamy flavors, tender chicken, and vibrant vegetables, all crowned with a uniquely crispy topping that makes this dish truly unforgettable. Get ready to experience the joy of homemade chicken pot pie with unprecedented ease!
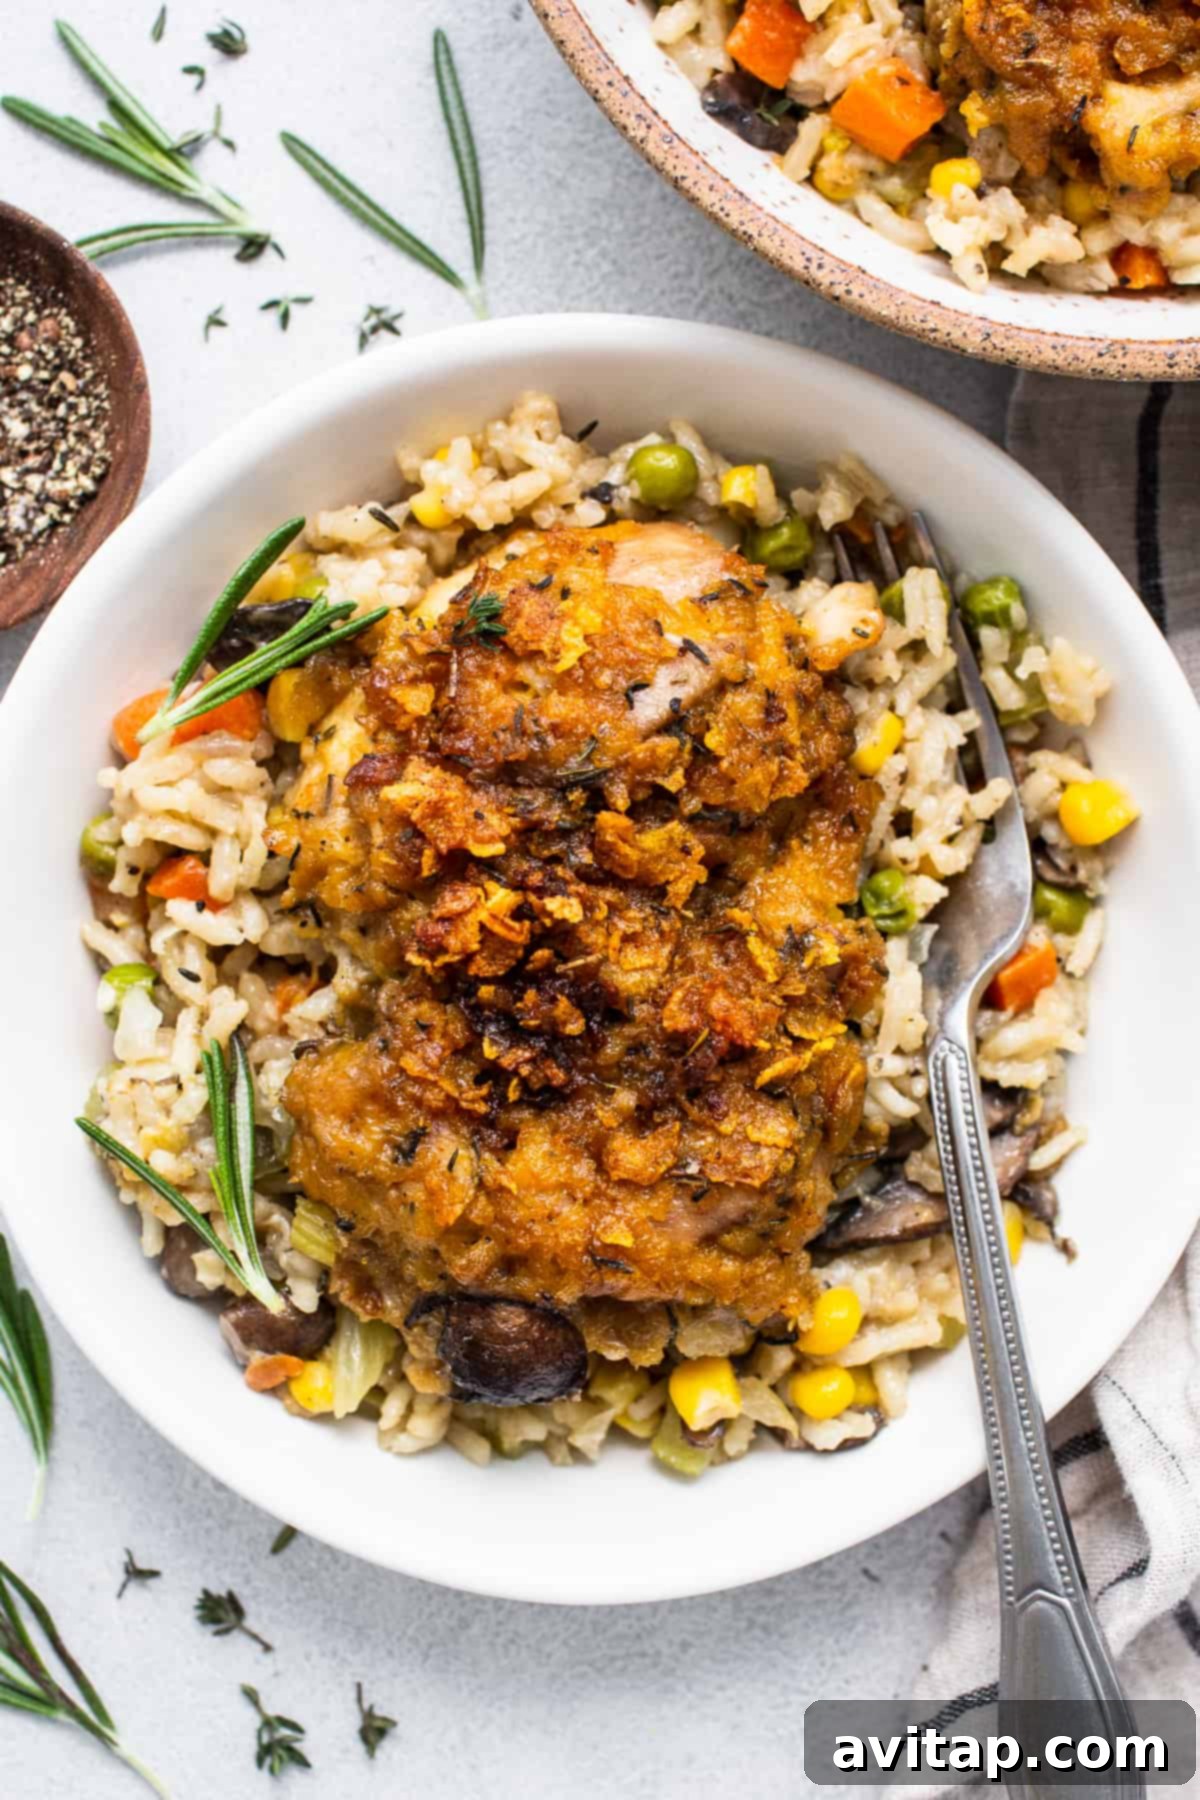
Why This Chicken Pot Pie Skillet is a Game-Changer for Weeknight Dinners
This savory chicken pot pie skillet has quickly become a top-tier favorite in our home, and we’re confident it will be in yours too! It’s the perfect solution for those busy weeknights when you crave something wholesome and flavorful without spending hours in the kitchen. Not only is the cleanup a breeze thanks to its one-pan nature, but it’s also packed with incredible flavor and essential protein, making it a meal that satisfies both kids and adults alike. Imagine a hearty, creamy dish that brings everyone to the table – what could be more appealing?
Top Reasons You’ll Love This Skillet Pot Pie:
Effortless One-Pan Cooking: Enjoy minimal clean-up with a delicious meal made entirely in one skillet.
Flexible Ingredients: Easily substitute or add your favorite vegetables and adjust to what you have on hand.
Ready in Under 2 Hours: From prep to plate, this hearty meal is on the table in about 90 minutes.
Feeds the Whole Family: A generous recipe designed to satisfy everyone, even a hungry crowd.
Uniquely Crispy Topping: Our innovative cornflake crust offers a delightful texture contrast to the creamy filling.
Rich & Comforting Flavors: Every bite delivers classic pot pie goodness with a homemade touch.
Essential Ingredients for Your Skillet Chicken Pot Pie
Crafting the perfect chicken pot pie skillet begins with high-quality ingredients. We’ve carefully selected a combination that delivers both traditional comfort and a delightful new twist, particularly with our unique chicken topping.
For the Crispy Cornflake-Crusted Chicken
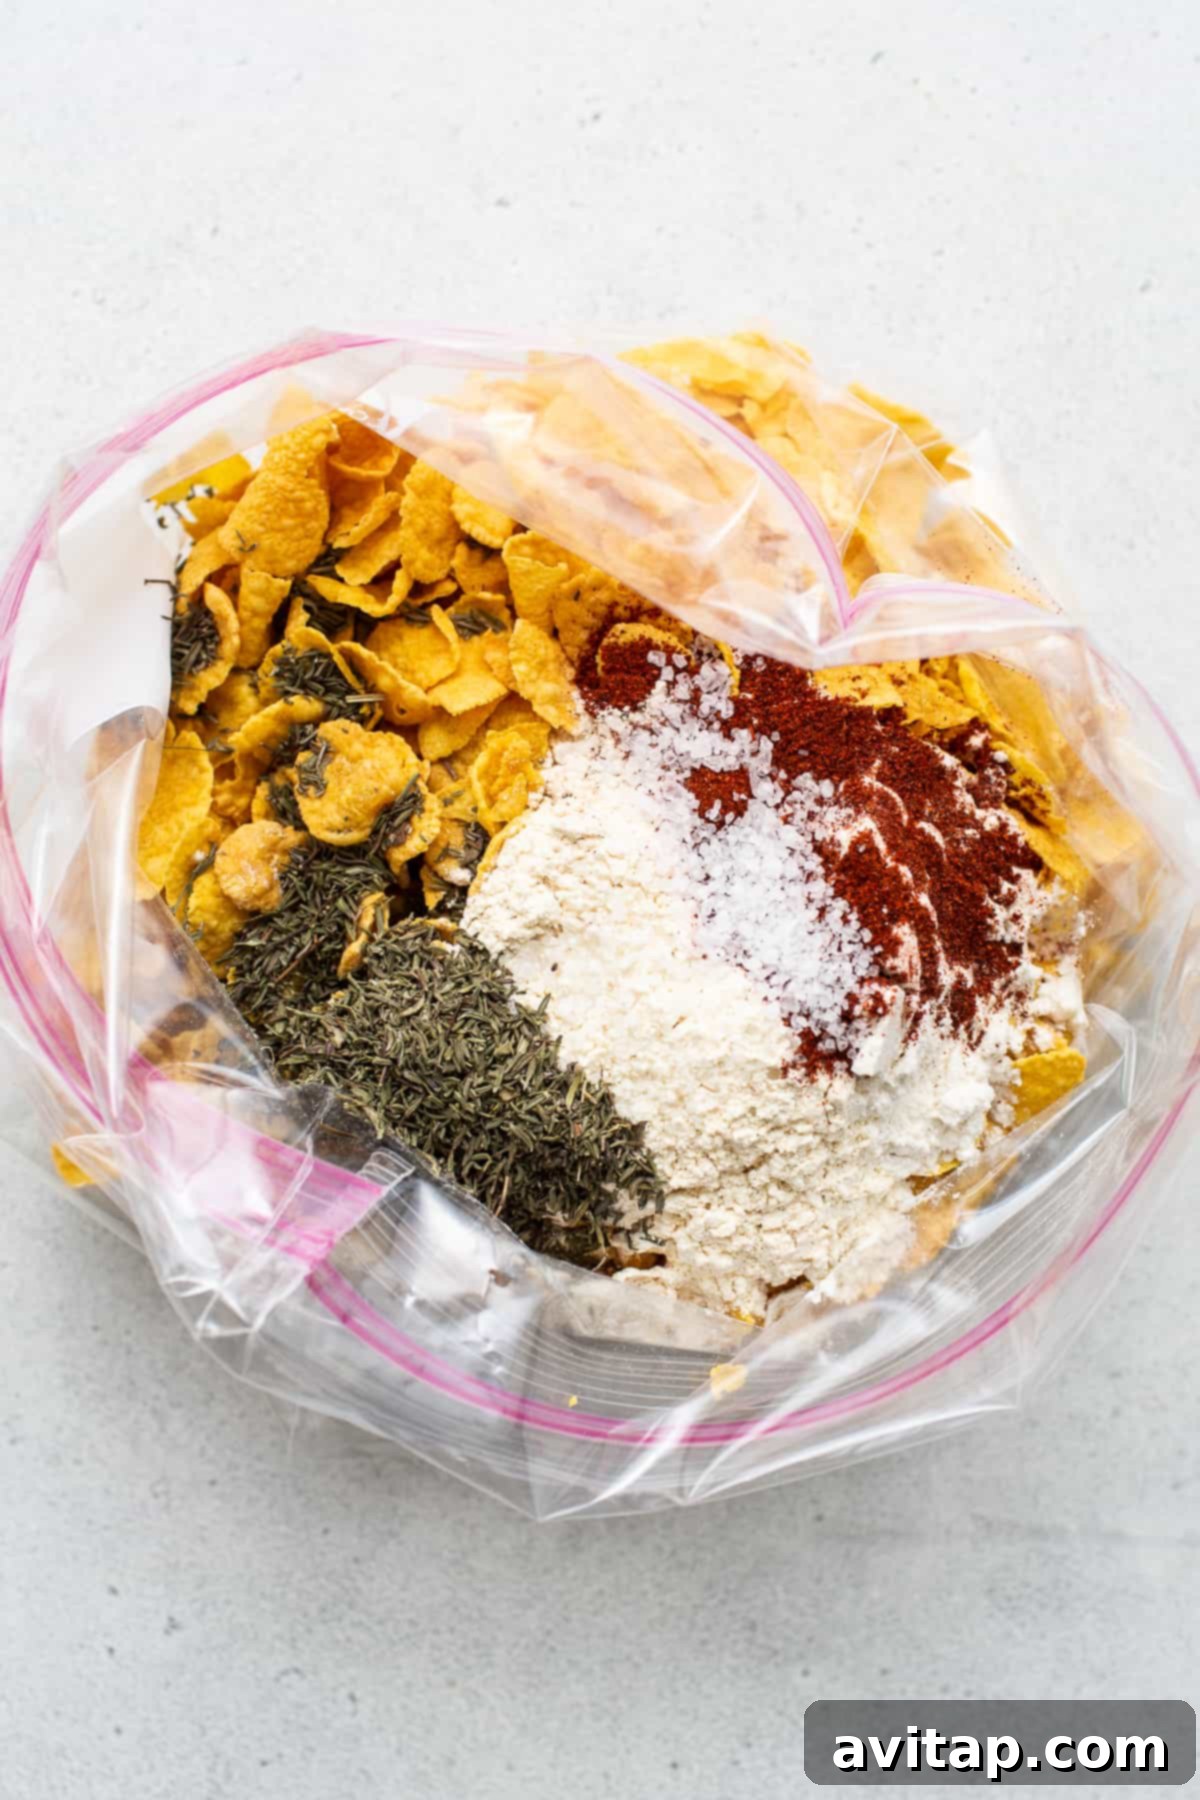
Instead of a traditional pastry crust or biscuits, we’re elevating this chicken pot pie with boneless, skinless chicken thighs coated in a flavorful, crispy cornflake mixture. This ingenious substitution adds an amazing texture, superb flavor, and makes the meal feel even more substantial and satisfying. It’s a game-changer you won’t want to miss!
Here’s what you’ll need for the chicken:
- Cornflakes: The star of our crispy “crust,” providing a fantastic crunch.
- Garlic Powder: Infuses the coating with savory depth.
- Dried Thyme: A classic herb that complements chicken beautifully.
- Paprika: Adds a subtle warmth and lovely color.
- Salt: Essential for seasoning the chicken from the outside in.
- All-Purpose Flour: Helps the breading adhere and crisp up perfectly.
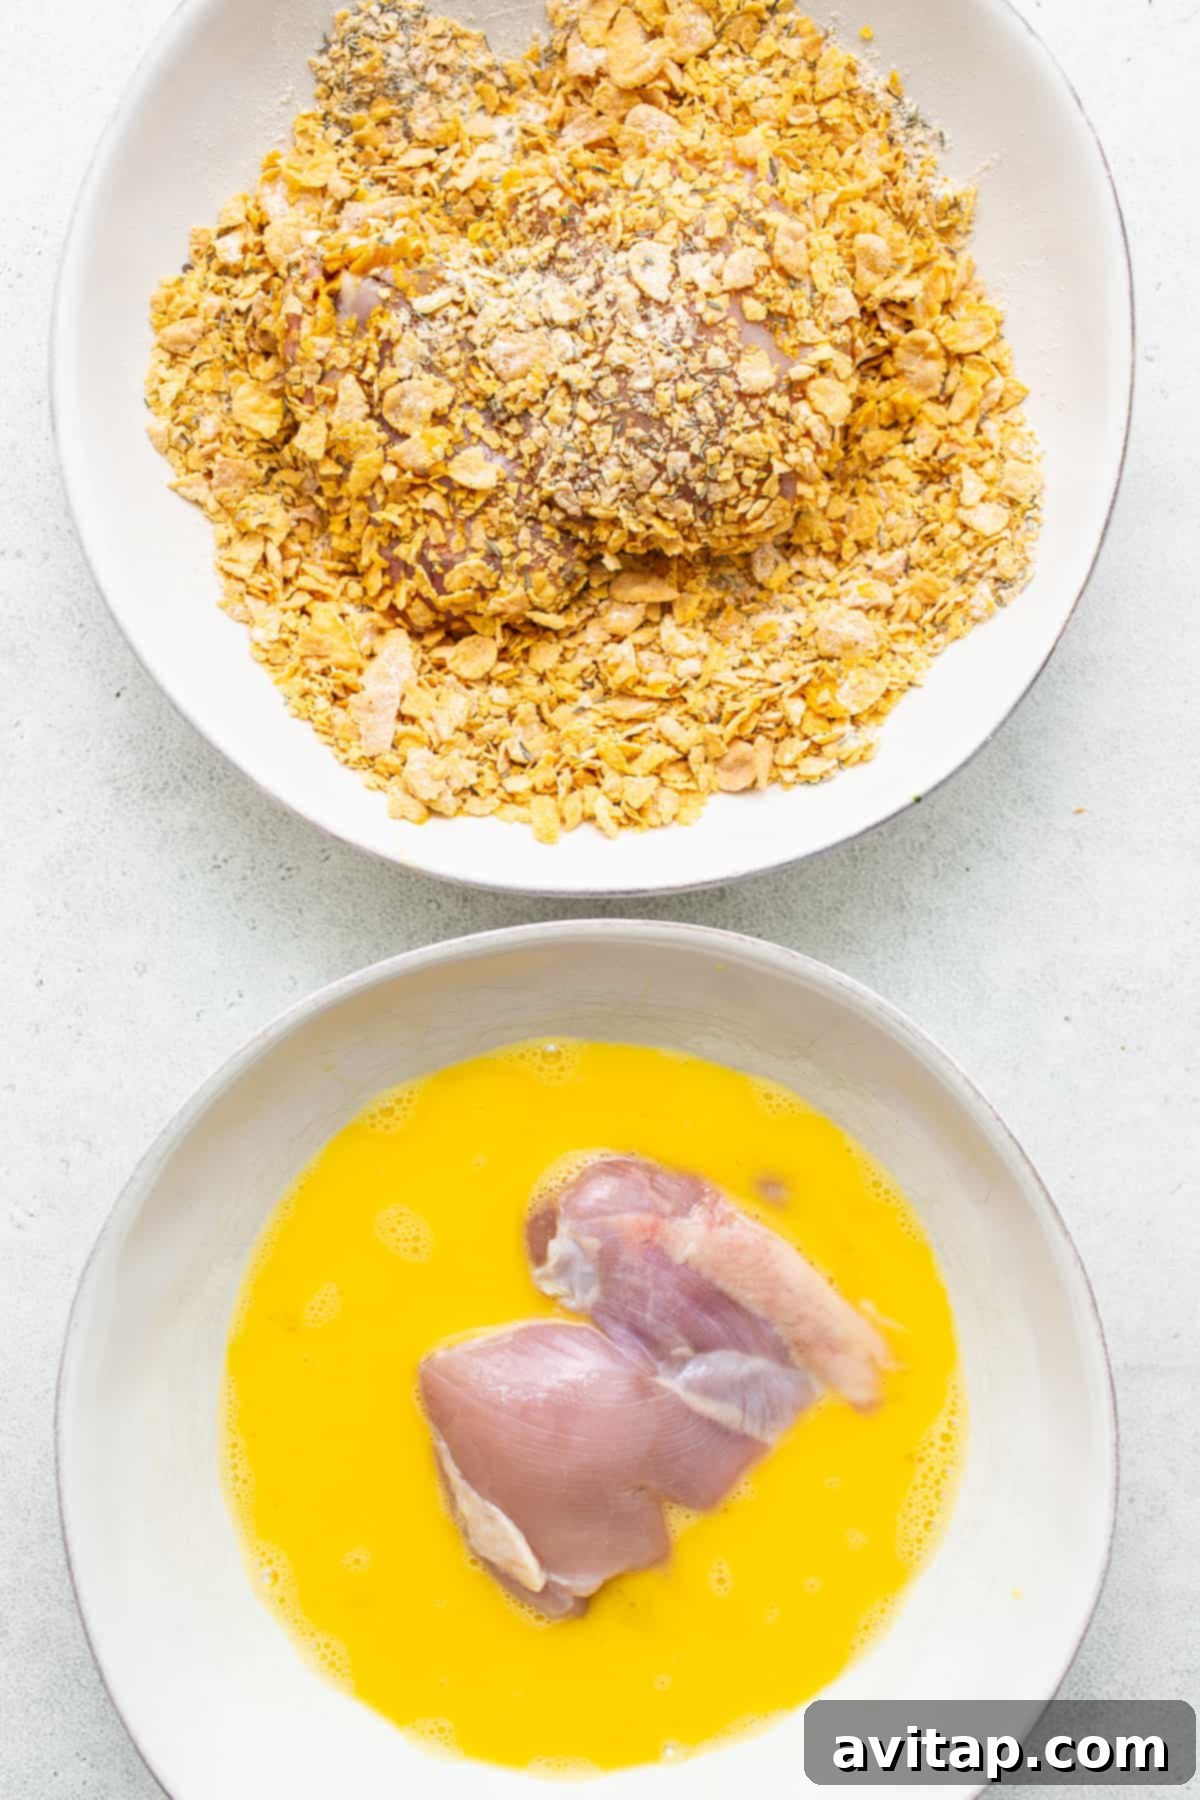
- Eggs: The binding agent for our crunchy coating.
- Boneless, Skinless Chicken Thighs: Chosen for their rich flavor and tender texture, which stands up wonderfully to searing and baking.
- Olive Oil: For searing the chicken to golden-brown perfection.
For the Creamy & Flavorful Pot Pie Filling
Our filling is a luxurious blend of traditional chicken pot pie elements, made exceptionally creamy and fragrant with heavy cream, rich butter, and a thoughtful combination of spices and fresh herbs. It’s a symphony of textures and tastes that cradles the crispy chicken.
You’ll need the following ingredients for the irresistible filling:
- Chicken Broth: The foundation of our flavorful sauce, used for deglazing and building richness.
- White Onion: Provides a sweet and pungent aromatic base.
- Bella Mushrooms: Adds an earthy depth and meaty texture.
- Garlic: Essential for its pungent, savory flavor that enhances every element.
- Celery: Contributes a crisp texture and classic aromatic note.
- Unsalted Butter: For sautéing vegetables and enriching the sauce.
- Frozen Vegetable Medley: A convenient mix of carrots, peas, and corn, bringing color and classic pot pie flavors.
- All-Purpose Flour: Acts as a thickening agent for the creamy sauce.
- Long-Grain Rice: Cooked directly in the skillet, it absorbs all the wonderful flavors and adds a hearty component, ensuring a complete meal.
- Heavy Cream: The secret to an incredibly rich and velvety sauce.
- Salt & Black Pepper: To season the filling to perfection.
- Fresh Thyme & Rosemary: These fragrant herbs infuse the sauce with an irresistible aroma and sophisticated taste.
Customizing Your Veggies: Tips for Substitutions and Additions
This recipe shines with a traditional frozen vegetable medley for convenience, but it’s incredibly versatile! Feel free to incorporate your favorite frozen vegetables as a substitute or an exciting addition. Consider adding broccoli florets, green beans, or even diced potatoes for extra heartiness.
If you prefer to use fresh vegetables, remember to steam or blanch them lightly ahead of time. This step is crucial because the skillet doesn’t contain enough excess liquid or extended cooking time for raw, harder vegetables to cook completely through and become tender. Pre-cooking fresh vegetables ensures they integrate perfectly into the creamy filling without remaining crunchy.
How to Make the Perfect One-Pan Chicken Pot Pie Skillet
Follow these detailed steps to create a show-stopping chicken pot pie skillet that’s bursting with flavor and comforting warmth.
Step 1: Preheat Oven & Prepare Chicken Breading
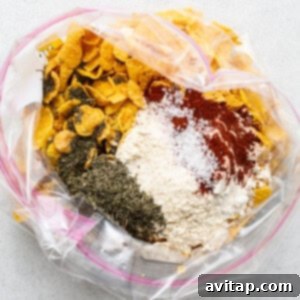
Begin by preheating your oven to 375ºF (190ºC). In a large gallon-sized resealable bag, combine the cornflakes, garlic powder, dried thyme, paprika, 1 teaspoon of coarse salt, and 2 tablespoons of all-purpose flour. Carefully crush all these ingredients together with your hands. The goal is a mixture with both fine crumbs and some larger cornflake chunks for varied texture, so avoid crushing them into a fine powder. Set this seasoned breading aside.
Step 2: Bread the Chicken Thighs
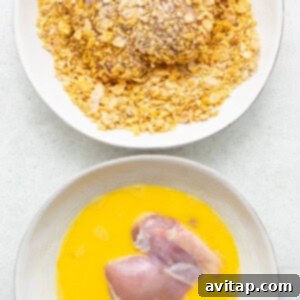
Crack 3 large eggs into a separate large mixing bowl and whisk them thoroughly. Take each boneless, skinless chicken thigh, dredge it completely through the whisked eggs, ensuring full coverage. Then, transfer the chicken thigh to the cornflake mixture (you can use the bag for easy coating). Press firmly to ensure each chicken thigh is fully coated in the crispy mixture. Place the coated chicken on a clean plate and repeat with the remaining thighs.
Step 3: Sear the Chicken for Golden Perfection
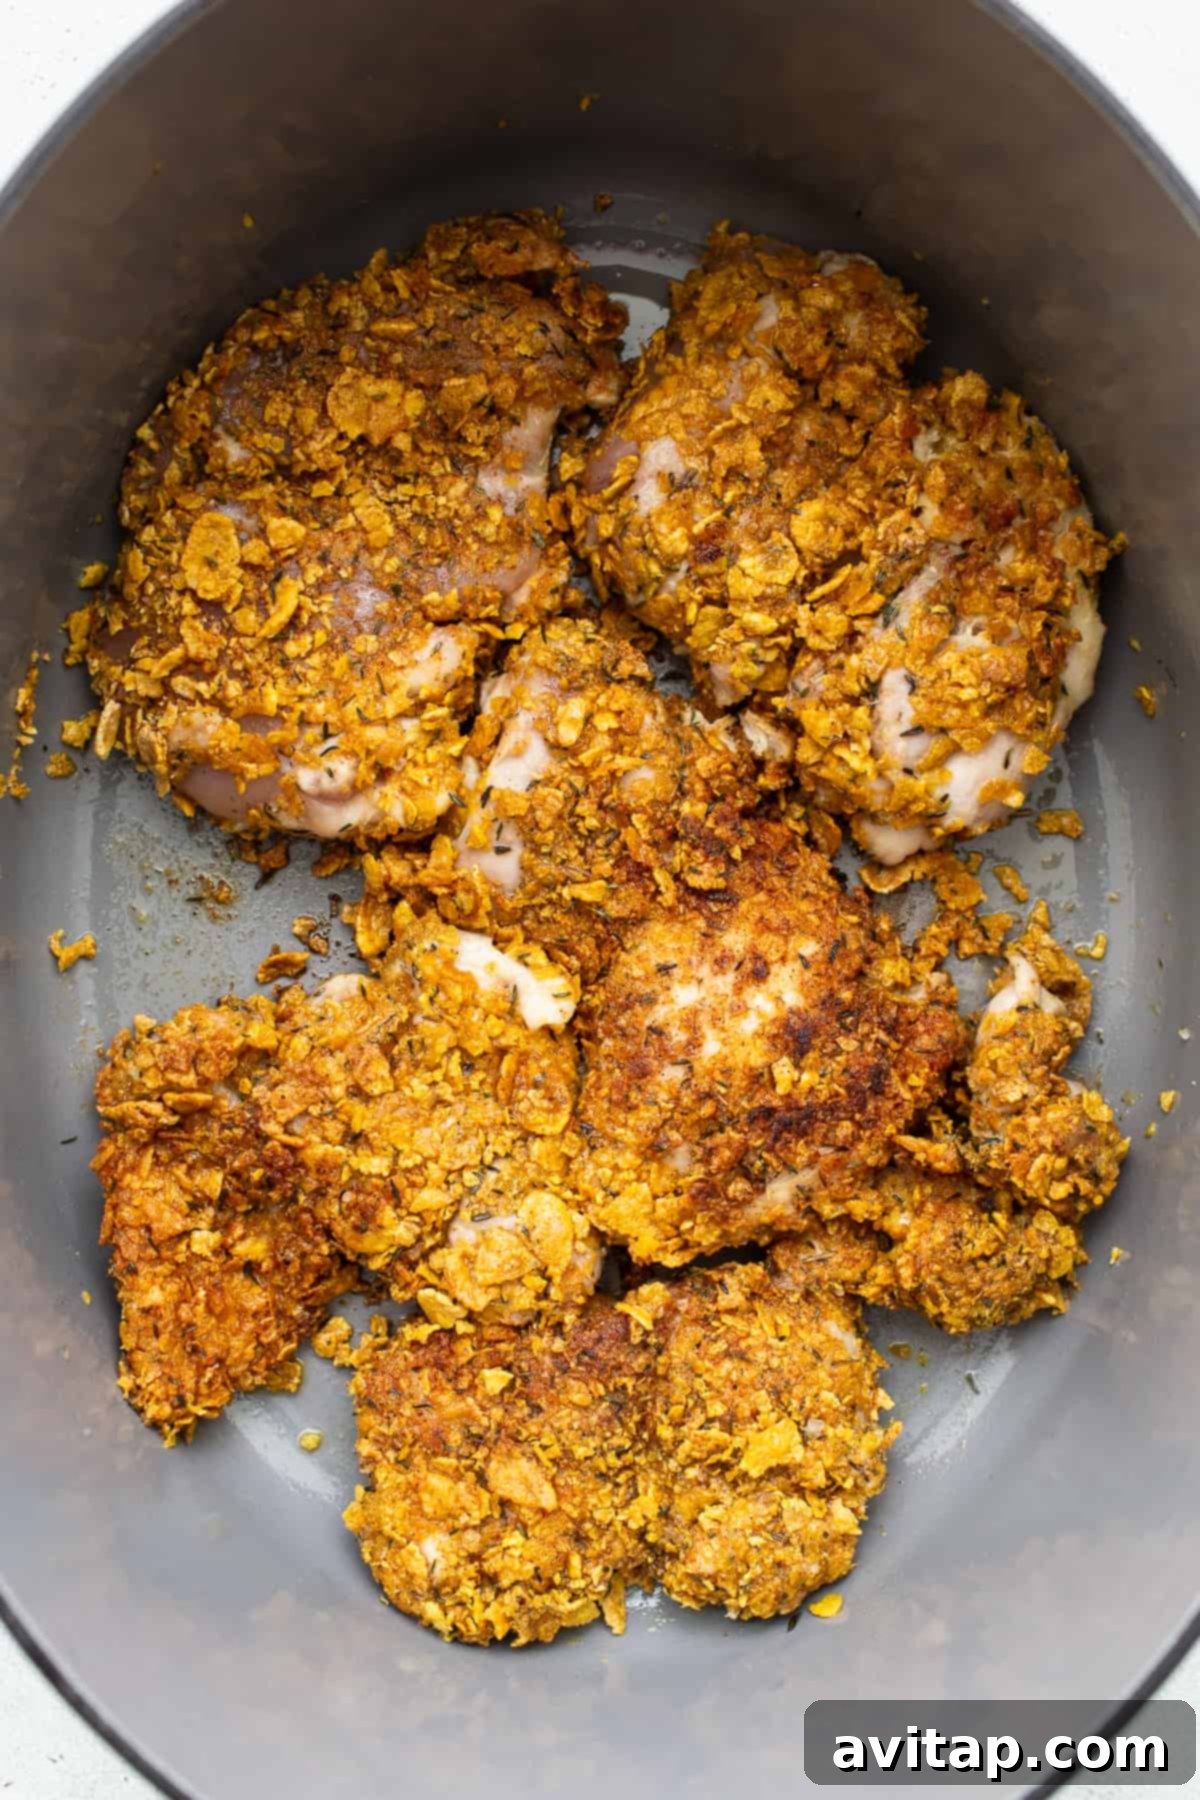
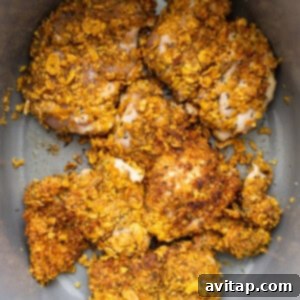
Heat a large, oven-safe skillet with high sides (a cast-iron skillet is ideal for even heating and retention) over medium-high heat. Add 3 tablespoons of olive oil. Once the olive oil is fragrant and shimmering, carefully place the breaded chicken thighs in the skillet. Sear them for about 3 minutes per side, or until the first side turns a beautiful golden brown and develops a crispy crust. Use a spatula to gently, yet swiftly, flip the chicken. Ensure the breading stays intact. Sear the second side for another 2 minutes. Once both sides are golden, remove the seared chicken from the pan and set aside.
Step 4: Craft the Rich Pot Pie Filling
Using the same skillet, deglaze the pan with ½ cup of chicken broth, scraping up any delicious browned bits from the bottom. Add 1 tablespoon of olive oil. Introduce the minced white onion to the skillet and season with ¼ teaspoon of salt. Sauté the onion for 3-4 minutes until it begins to soften, then add the sliced Bella mushrooms and sauté for another 3 minutes until they release their moisture. Next, add the minced garlic, chopped celery, and 3 tablespoons of unsalted butter to the pan. Mix everything together and cook for an additional 3-4 minutes, allowing the butter to melt and the mixture to slightly thicken. Pour the frozen vegetable medley into the pan and toss to combine. Sprinkle 2 tablespoons of all-purpose flour over the vegetables and toss again until all ingredients are lightly coated in flour. This will help thicken our sauce beautifully.
Step 5: Assemble and Infuse Flavors
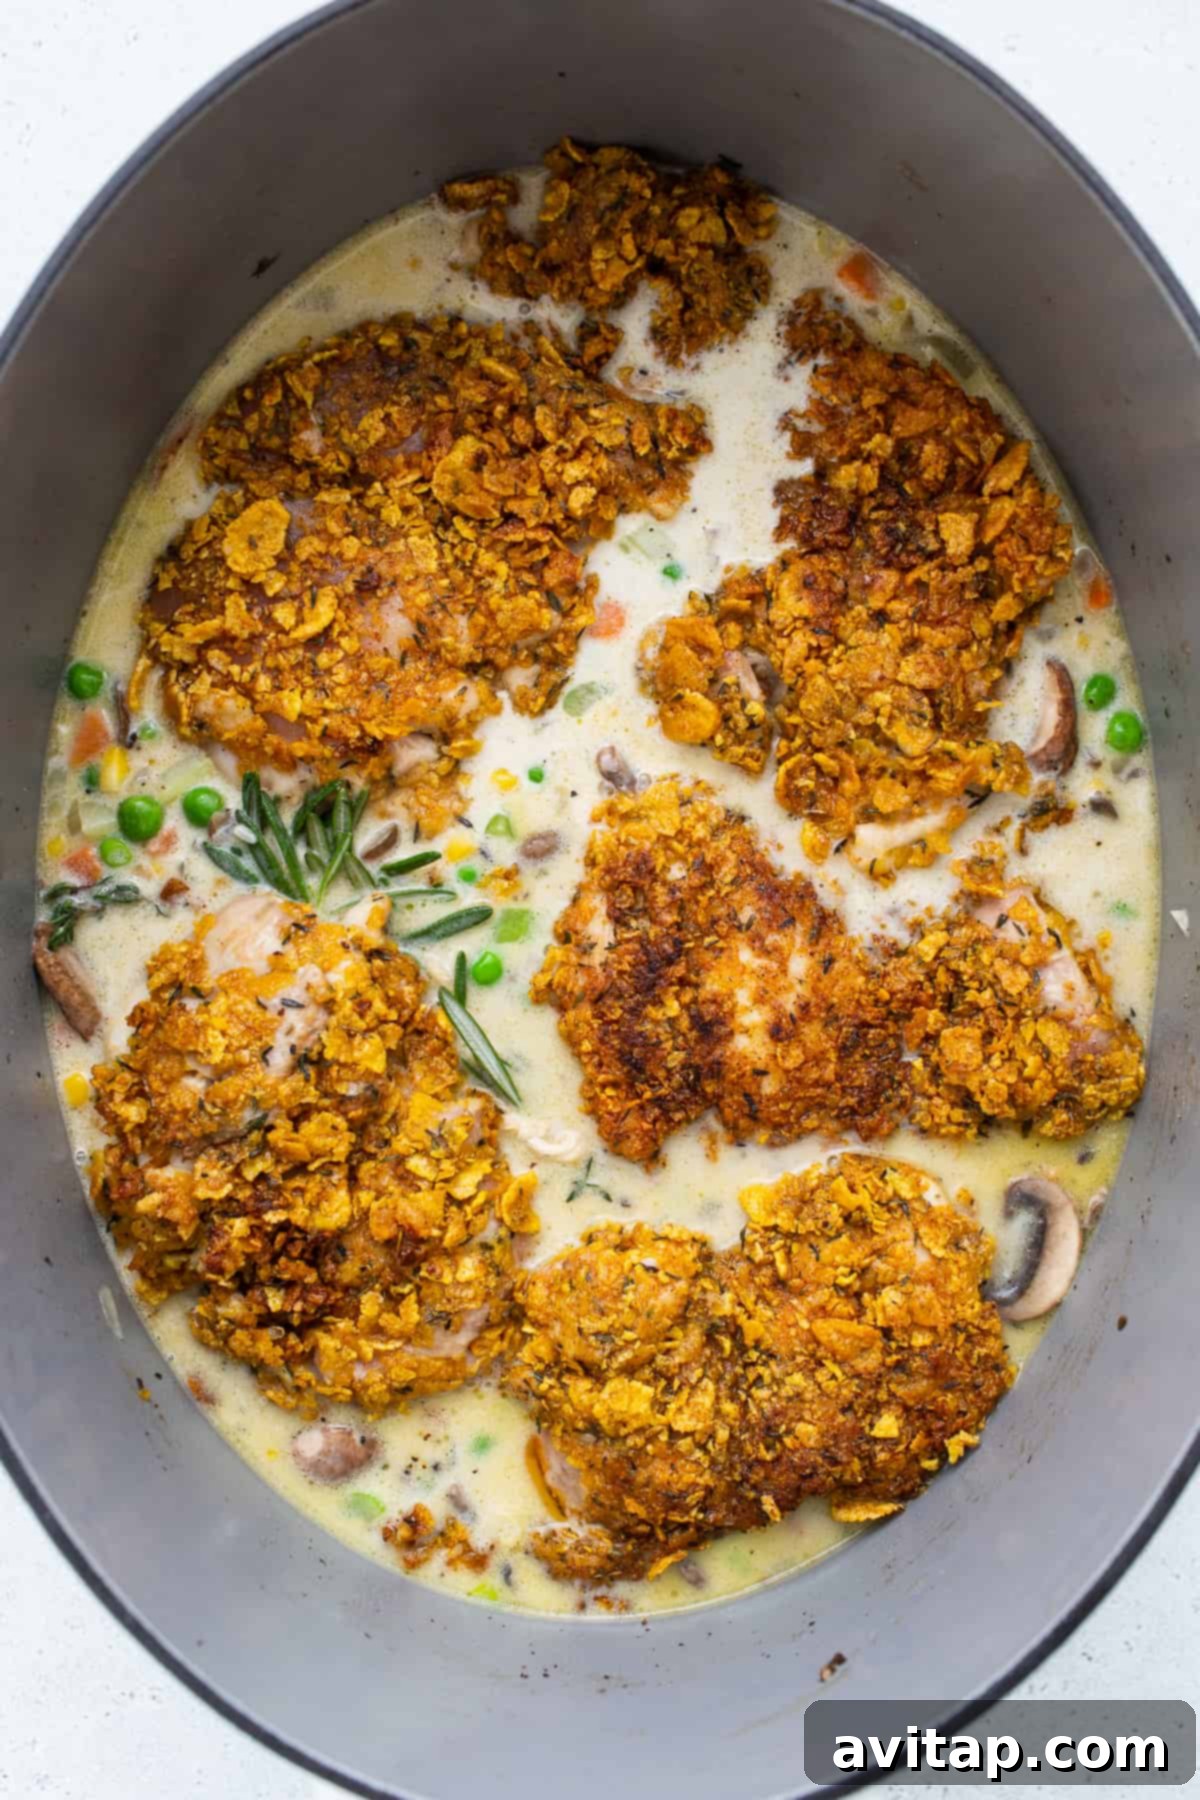
To the skillet, add the uncooked long-grain rice, the remaining salt, and the rest of the chicken broth. Mix well to combine. Slowly pour in the ½ cup of heavy cream, stirring constantly to create a smooth, creamy base. For an aromatic flourish, tie the fresh thyme and rosemary sprigs together with cooking twine and submerge them in the liquid; this allows the herbs to infuse their essence without leaving loose leaves in the dish. Finally, gently arrange the seared chicken thighs on top of the entire mixture, ensuring they are nestled comfortably. Cover the skillet tightly with an oven-safe lid or aluminum foil.
Step 6: Bake and Finish to Golden Perfection
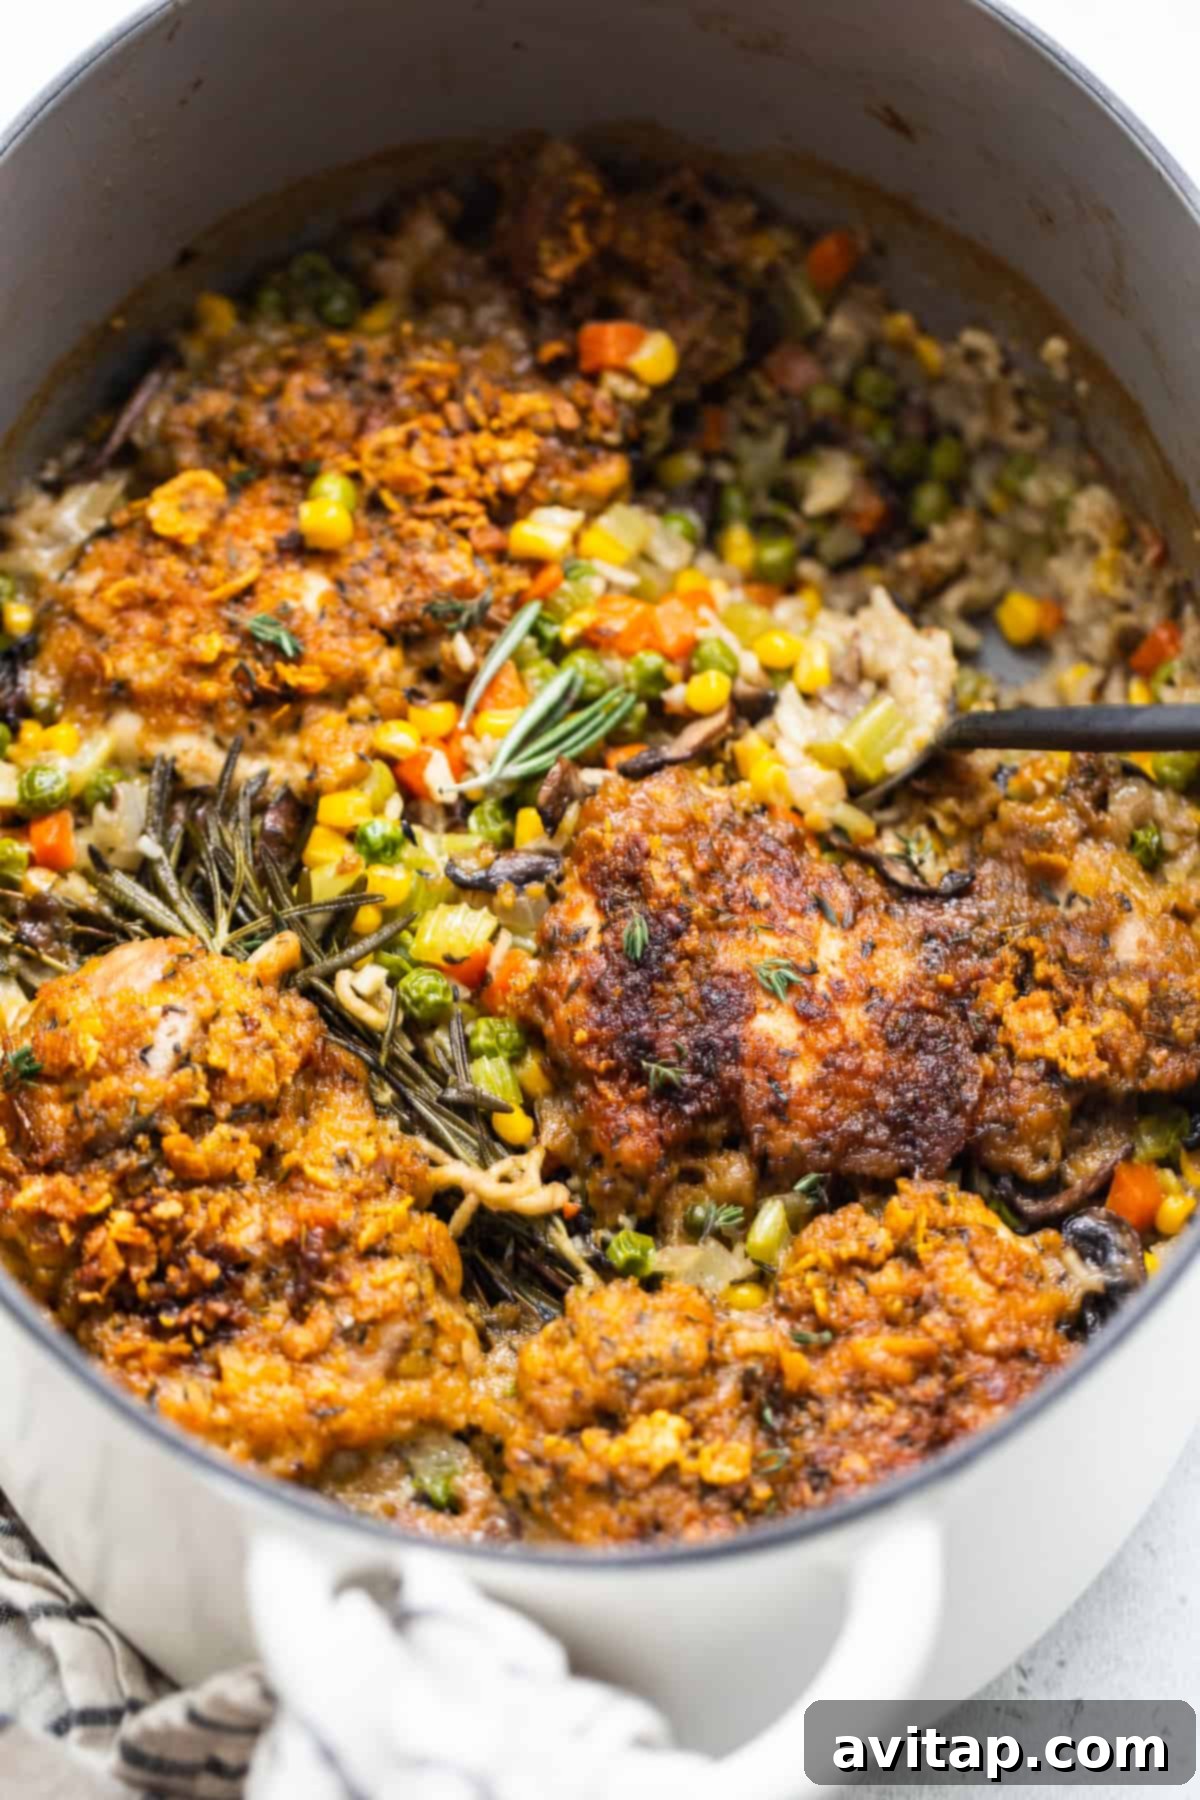
Transfer the covered skillet to your preheated oven and bake for 35 minutes. After this initial baking period, carefully remove the lid or foil. Increase the oven temperature to 450ºF (230ºC) and continue to bake uncovered for another 5-10 minutes. This final blast of heat will ensure the chicken topping becomes wonderfully golden brown and extra crispy. The chicken is perfectly cooked when its internal temperature reaches 165ºF (74ºC) using a reliable meat thermometer. Once done, remove the skillet from the oven.
Step 7: Rest, Serve, & Enjoy!
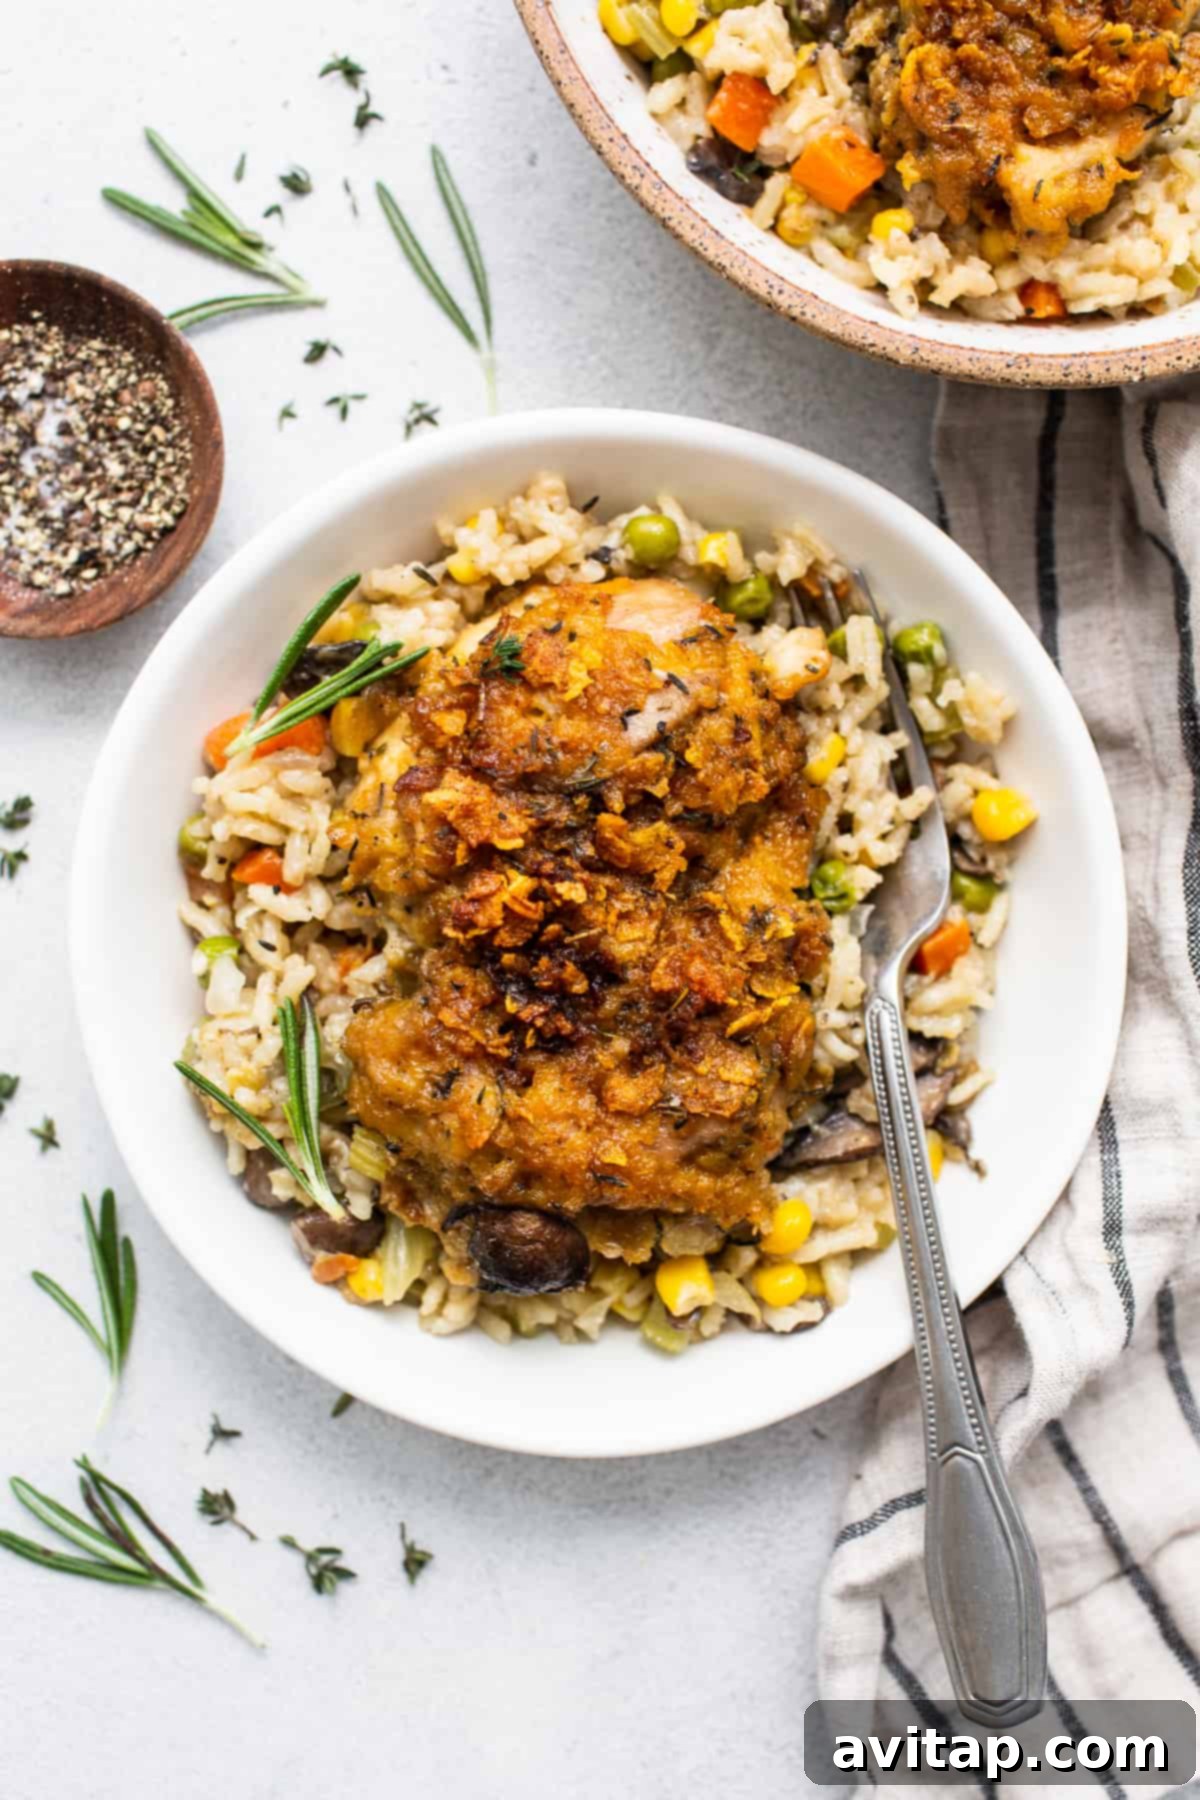
Patience is key for the perfect pot pie! Allow the entire casserole to rest in the skillet for 10 minutes before serving. This resting period allows the flavors to meld, the sauce to thicken further, and the rice to absorb any remaining liquid, resulting in a cohesive and satisfying meal. Scoop generous portions into bowls and savor this incredible one-pan comfort food!
Expert Tips for a Perfectly Delicious Skillet Pot Pie Every Time
Always Read the Recipe First: Before you start cooking, take a moment to read through the entire recipe from beginning to end. This comprehensive dish has several distinct stages, and understanding the full process beforehand will help ensure a smooth and successful cooking experience, preventing any missed steps.
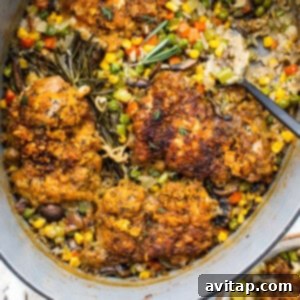
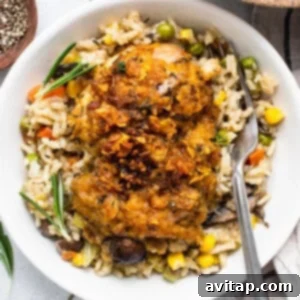
Achieve That Golden-Brown “Biscuit” Look: The cornflake-breaded chicken thighs are designed to mimic the golden, crispy top of traditional pot pie biscuits. Don’t rush the searing and final baking stages. Aim for a rich, deep golden-brown color and a satisfying crunch on the chicken for the best texture and visual appeal.
Troubleshooting Crunchy Rice: If, after removing the skillet from the oven, you find the rice is still a bit too firm or crunchy, don’t worry! Simply remove the chicken thighs from the skillet, add an additional ½ cup of chicken broth to the rice mixture, stir gently, and cover the skillet again. Let it sit, covered, off the heat for another 15 minutes. The residual heat and added liquid will allow the rice to finish cooking to a perfectly tender consistency.
For an Extra Creamy Filling: If you prefer your pot pie filling to be exceptionally rich, creamy, and slightly wetter, consider adding an extra ½ cup of heavy cream when you incorporate it into the filling mixture. This will yield a more luxurious sauce that coats every ingredient beautifully.
The Right Skillet Matters: While any large oven-safe skillet with high sides will work, a good quality cast iron skillet is highly recommended. Cast iron offers superior heat retention and even cooking, which is crucial for searing the chicken perfectly and ensuring uniform baking of the pot pie filling.

Pro Tip for Perfect Doneness:
Thermoworks Thermapen
We cannot stress enough the importance of using a reliable meat thermometer when cooking any cut of meat, especially poultry. For perfectly safe and tender chicken every time, the Thermapen is our absolute go-to recommendation. It provides instant, accurate readings, guaranteeing your chicken reaches a safe internal temperature of 165ºF (74ºC) without overcooking.
Storage and Freezing Tips for Your Chicken Pot Pie Skillet
Enjoying leftovers of this delicious chicken pot pie skillet is almost as good as the first serving! Proper storage ensures your meal stays fresh and tasty for days to come.
Once the chicken pot pie skillet has cooled completely to room temperature, transfer any leftovers into a large, airtight container. Ensure it’s sealed well to prevent air exposure. This allows you to safely refrigerate your pot pie for up to 3-5 days, making it perfect for meal prep or quick lunches throughout the week.
Freezing for Future Meals: This recipe freezes beautifully, making it an excellent candidate for batch cooking! For best results, we recommend cooking the chicken pot pie skillet all the way through first. After it has completely cooled, transfer individual portions or the entire remaining dish into freezer-safe airtight containers or heavy-duty freezer bags. Freeze for up to 2-3 months.
Thawing & Reheating Instructions: When you’re ready to enjoy your frozen chicken pot pie, first let it thaw in the refrigerator overnight. Once thawed, transfer it to an oven-safe dish (if not already in one). Bake uncovered at 350ºF (175ºC) for 20-30 minutes, or until it’s warmed through in the middle and the cornflake topping becomes crispy again. The exact reheating time will vary depending on the amount you are reheating and your oven’s efficiency, so keep an eye on it to prevent over-drying.
Frequently Asked Questions (FAQs)
Can I use chicken breast instead of thighs?
Yes, you can substitute boneless, skinless chicken breast for thighs. However, chicken breasts tend to be leaner and can dry out more easily. If using breasts, consider cutting them into slightly smaller, uniform pieces to ensure they cook evenly and remain tender. Be extra vigilant with the cooking times and use a meat thermometer to prevent overcooking.
What kind of skillet is best for this recipe?
A large (10-12 inch) oven-safe skillet with high sides is ideal. Cast iron skillets are highly recommended because they distribute heat very evenly and retain it well, which is excellent for both searing the chicken and baking the pot pie. If you don’t have cast iron, any heavy-bottomed, oven-safe skillet will work.
Can I make this recipe gluten-free?
To make this recipe gluten-free, you would need to replace the all-purpose flour with a gluten-free all-purpose flour blend (ensure it contains xanthan gum for thickening). Also, use gluten-free cornflakes. Most other ingredients are naturally gluten-free, but always check labels on broth and seasonings to be sure.
Can I prepare this dish ahead of time?
You can do some prep work in advance. You can prepare the chicken breading mixture and store it in a sealed bag. You can also chop all your vegetables. The chicken can be breaded and stored in the fridge for a few hours before searing. However, for the best texture, especially for the rice and crispy topping, it’s best to assemble and bake the pot pie on the day you plan to serve it.
What can I serve with this chicken pot pie skillet?
This dish is quite hearty and complete on its own due to the rice and vegetables. However, if you’d like to add a side, a simple green salad with a light vinaigrette or some crusty bread for soaking up any extra sauce would be perfect complements.
Discover More of Our Favorite…
Effortless One-Pot & Skillet Recipes
If you loved the simplicity and deliciousness of this one-pan chicken pot pie, you’re in for a treat! We specialize in creating recipes that minimize dishes without compromising on flavor. Explore these other fantastic one-pot and skillet meals that make weeknight cooking a breeze:
- One Pot Moroccan Chicken
- Dutch Oven Chicken Thighs with Brussels Sprouts
- Most Flavorful Chicken and Rice
- One Pot Coconut Curry Chicken and Rice
Chicken Pot Pie Skillet
Emily Richter
Prep:
30 mins
Cook:
1 hr 30 mins
Total:
2 hrs
6
Print Recipe
Ingredients
For the Chicken
- 3 cups cornflakes
- 2 tablespoons garlic powder
- 1 tablespoon dried thyme
- 1 teaspoon paprika
- 1 teaspoon coarse salt
- 2 tablespoons all-purpose flour
- 3 large eggs
- 1.25 lbs boneless, skinless chicken thighs
- 3 tablespoons olive oil
For the Pot Pie Filling
- 2.5 cups chicken broth, separated
- 1 tablespoon olive oil
- 1 teaspoon salt (separated for onion and main filling)
- ½ large white onion, minced
- 8 oz Bella mushrooms, sliced
- 4 cloves garlic, minced
- 3 stalks celery, chopped (~1 cup)
- 3 tablespoons unsalted butter
- 2.5 cups frozen vegetable medley (carrots, peas, corn, etc.)
- 2 tablespoons all-purpose flour
- 1 cup uncooked long-grain rice
- ½ cup heavy cream
- ½ teaspoon ground black pepper
- 4 sprigs fresh thyme
- 4 sprigs fresh rosemary
Instructions
-
Preheat the oven to 375ºF (190ºC).
-
Add the corn flakes, garlic powder, dried thyme, paprika, 1 teaspoon salt, and 2 tablespoons flour to a large gallon bag. Carefully crush all of the ingredients together with your hands, leaving some larger chunks of corn flake for texture. Set aside.

-
Crack 3 eggs in a large mixing bowl and whisk them together. Dredge each chicken thigh through the egg and then thoroughly coat it in the cornflake mixture (using the bag is convenient). Ensure each thigh is fully coated, then place on a plate. Repeat for all chicken thighs.
-
Heat a large oven-safe skillet (preferably cast iron) over medium-high heat and add 3 tablespoons olive oil. When fragrant, sear the chicken thighs for about 3 minutes per side, or until golden brown. Gently move them while searing to prevent sticking. Use a spatula to carefully flip, ensuring the breading stays attached. Remove chicken from the pan after searing.
-
Deglaze the skillet with ½ cup of broth. Add 1 tablespoon olive oil and the minced onion, seasoning with ¼ teaspoon salt. Sauté for 3-4 minutes, then add sliced mushrooms and sauté for another 3 minutes.
-
Add minced garlic, chopped celery, and 3 tablespoons unsalted butter to the pan. Mix and cook for 3-4 minutes until butter is melted and mixture thickens slightly. Pour in the frozen vegetable medley and toss. Add 2 tablespoons flour to the skillet and toss until all ingredients are coated.
-
Next, add the uncooked rice, remaining salt, and remaining broth to the skillet and mix well. Slowly add the ½ cup heavy cream, stirring constantly. Tie fresh thyme and rosemary sprigs together with cooking twine and submerge them in the liquid. Finally, place the cooked chicken thighs on top of the mixture and cover the skillet.
-
Bake the covered skillet for 35 minutes. Then, uncover, increase oven heat to 450ºF (230ºC), and bake for another 5-10 minutes, or until chicken is golden brown and reaches an internal temperature of 165ºF (74ºC). Remove from oven.
-
Let the whole casserole sit for 10 minutes before serving to allow flavors to meld and sauce to thicken.

Notes
- If the rice is still crunchy after removing the skillet from the oven, remove the chicken from the skillet, add an additional ½ cup of broth to the skillet, mix, and cover. Let the rice sit for 15 minutes to allow it to further cook.
- The breaded chicken thighs are meant to look like biscuits, so ensure they are well-breaded and golden brown after cooking.
- For an extra creamy and moist rice mixture, add an additional ½ cup of heavy cream to the recipe.
Nutrition Information (Approximate per serving)
Calories: 620 kcal
,
Carbohydrates: 58 g
,
Protein: 33 g
,
Fat: 29 g
,
Fiber: 5 g
,
Sugar: 4 g
Nutrition information is automatically calculated and should only be used as an approximation. Actual values may vary based on specific ingredients and preparation methods.
Love this recipe? Leave a comment below!
Your feedback brightens our day! We’d love to hear your thoughts and see your culinary creations. Don’t forget to tag your posts on social media with the hashtag #fitfoodiefinds – we’re always excited to see what you’re cooking up!