
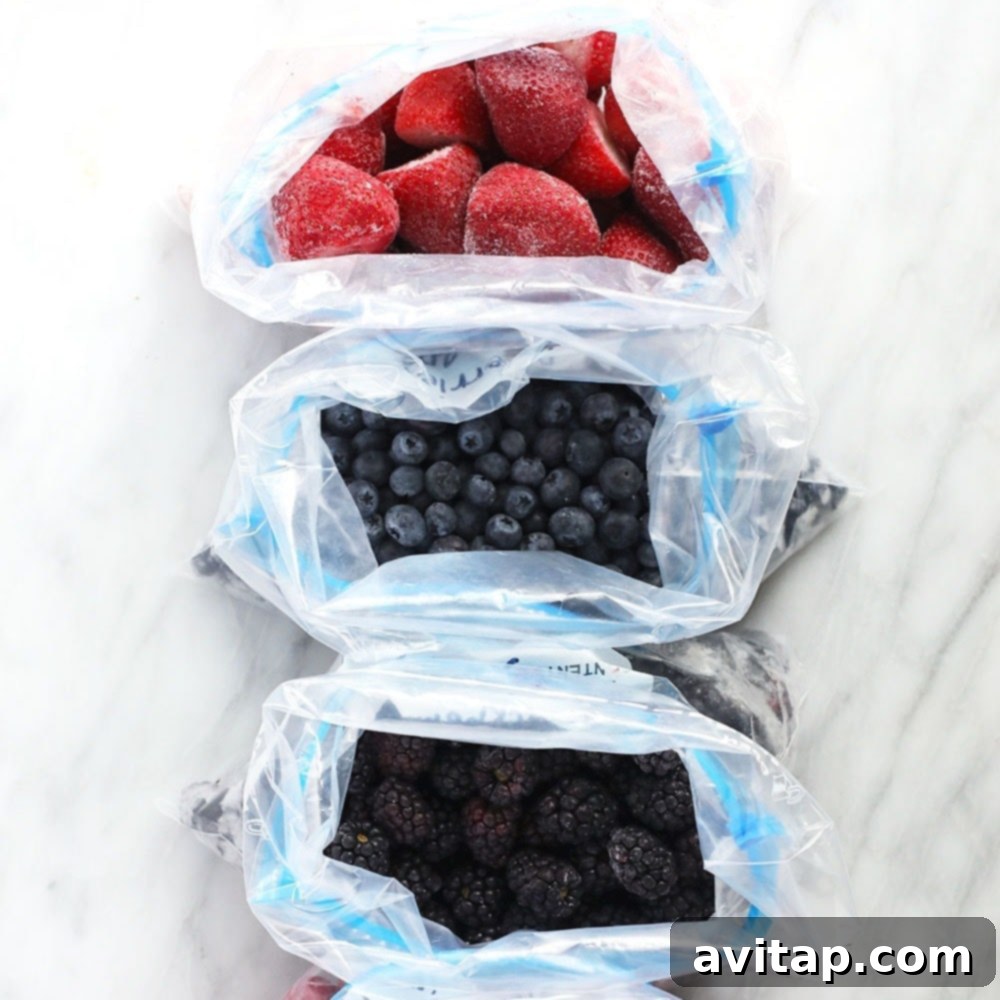
Imagine having a bounty of ripe, flavorful berries at your fingertips, ready for your morning smoothies, delicious baked goods, or vibrant desserts, no matter the season. Freezing berries at home is not only incredibly simple but also a fantastic way to extend their shelf life, lock in their nutritional value, and save money. This ultimate guide will walk you through the precise steps to freeze strawberries, blueberries, blackberries, and raspberries, ensuring they remain individual, fresh-tasting, and free from freezer burn. Say goodbye to mushy, clumped-together fruit and hello to perfectly preserved berries all year round!
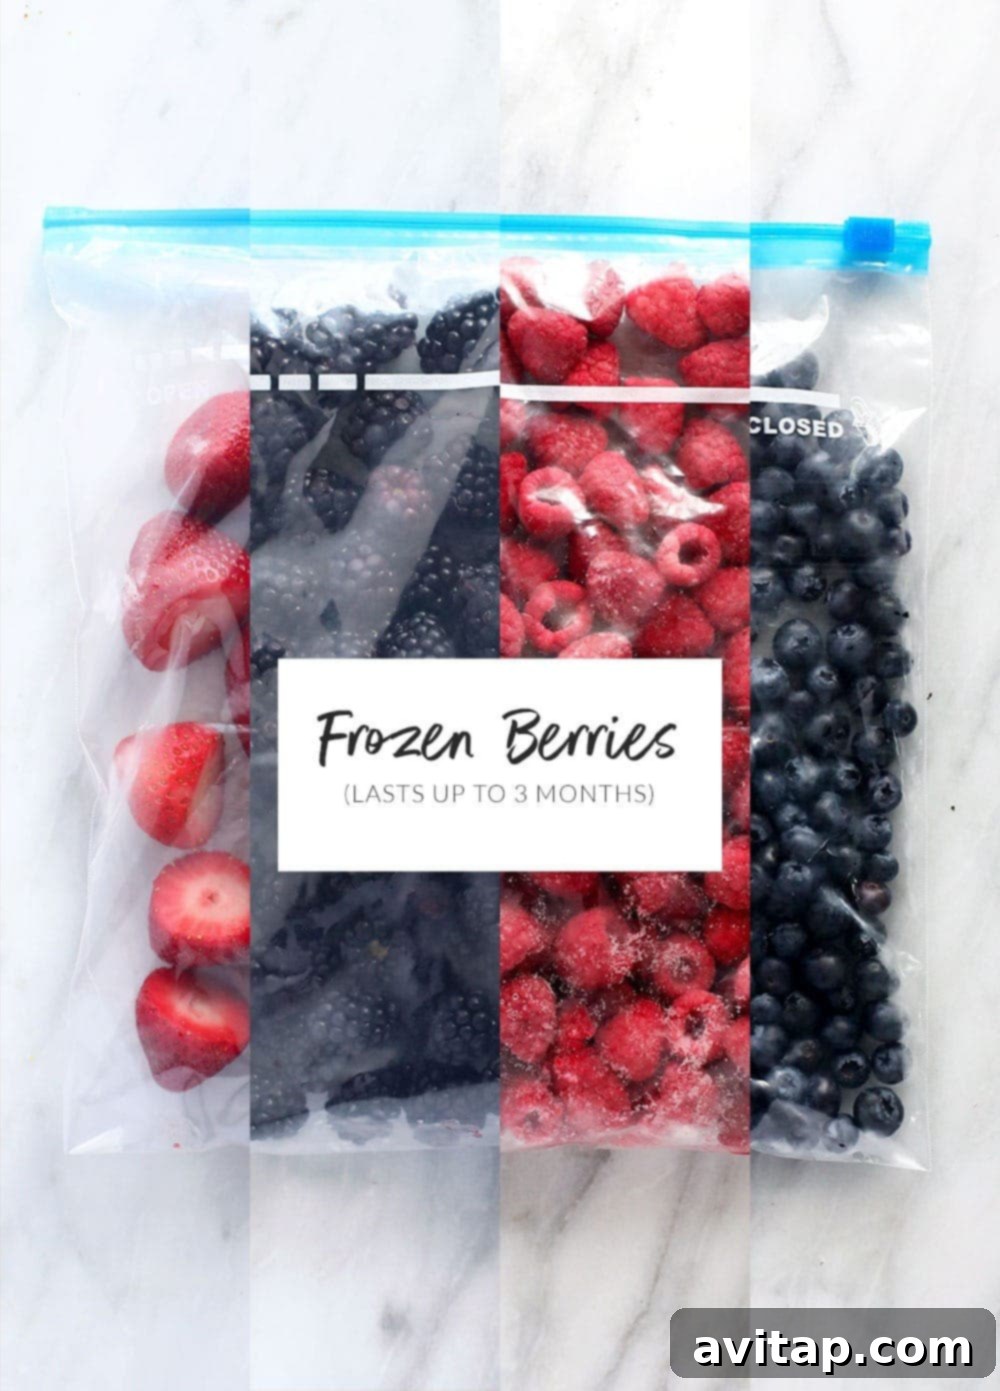
Freezing Fresh Berries: Your Ultimate Guide
Freezing fresh berries is an incredibly rewarding process, allowing you to capture peak season flavors and enjoy them whenever you desire. It’s a simple skill that yields fantastic results, making frozen berries a versatile staple for everything from breakfast parfaits to elaborate desserts. Follow our expert advice to prevent common freezing mishaps like clumping and freezer burn. This comprehensive tutorial will cover:
- How to freeze strawberries for vibrant color and taste
- How to freeze blueberries, preserving their superfood goodness
- How to freeze blackberries, perfect for pies and crumbles
- How to freeze raspberries, delicate yet easy to preserve
How to Freeze Strawberries for Long-Lasting Flavor
Strawberries are a beloved summer fruit, and freezing them means you can savor their sweet, juicy goodness long after the season ends. Preparing and freezing fresh strawberries is straightforward when you follow these five essential steps. By taking a little extra care, you’ll ensure your frozen strawberries are perfect for any recipe.
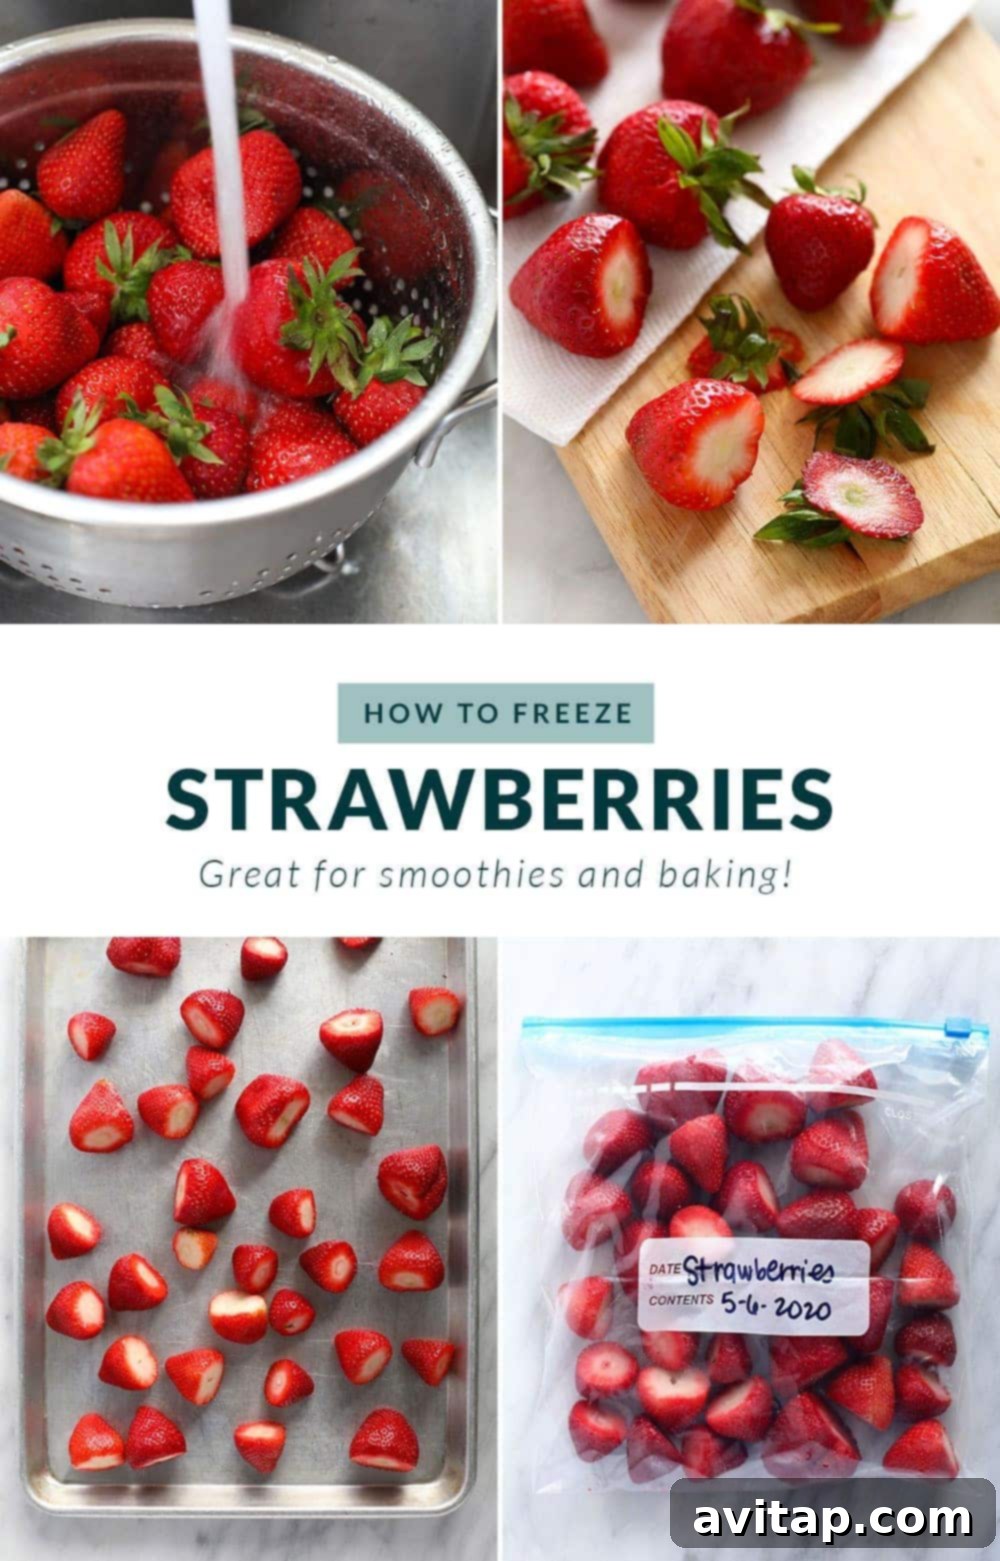
Step 1: Prepare Your Baking Sheet for Individual Freezing
The key to avoiding a single, frozen mass of strawberries is to freeze them individually first. This crucial step ensures that when you later transfer them to a storage bag, you can easily grab just the amount you need without having to chisel them apart. Begin by preparing a sturdy baking sheet. Covering it with parchment paper is highly recommended as it creates a non-stick surface, making it incredibly easy to remove the frozen berries. If parchment paper isn’t available, a clean baking sheet will suffice; just be prepared for a slightly stickier removal process and a quick wash afterward. A baking sheet with a small lip is also helpful to prevent any berries from rolling off.
Step 2: Clean and Prepare Your Strawberries Thoroughly
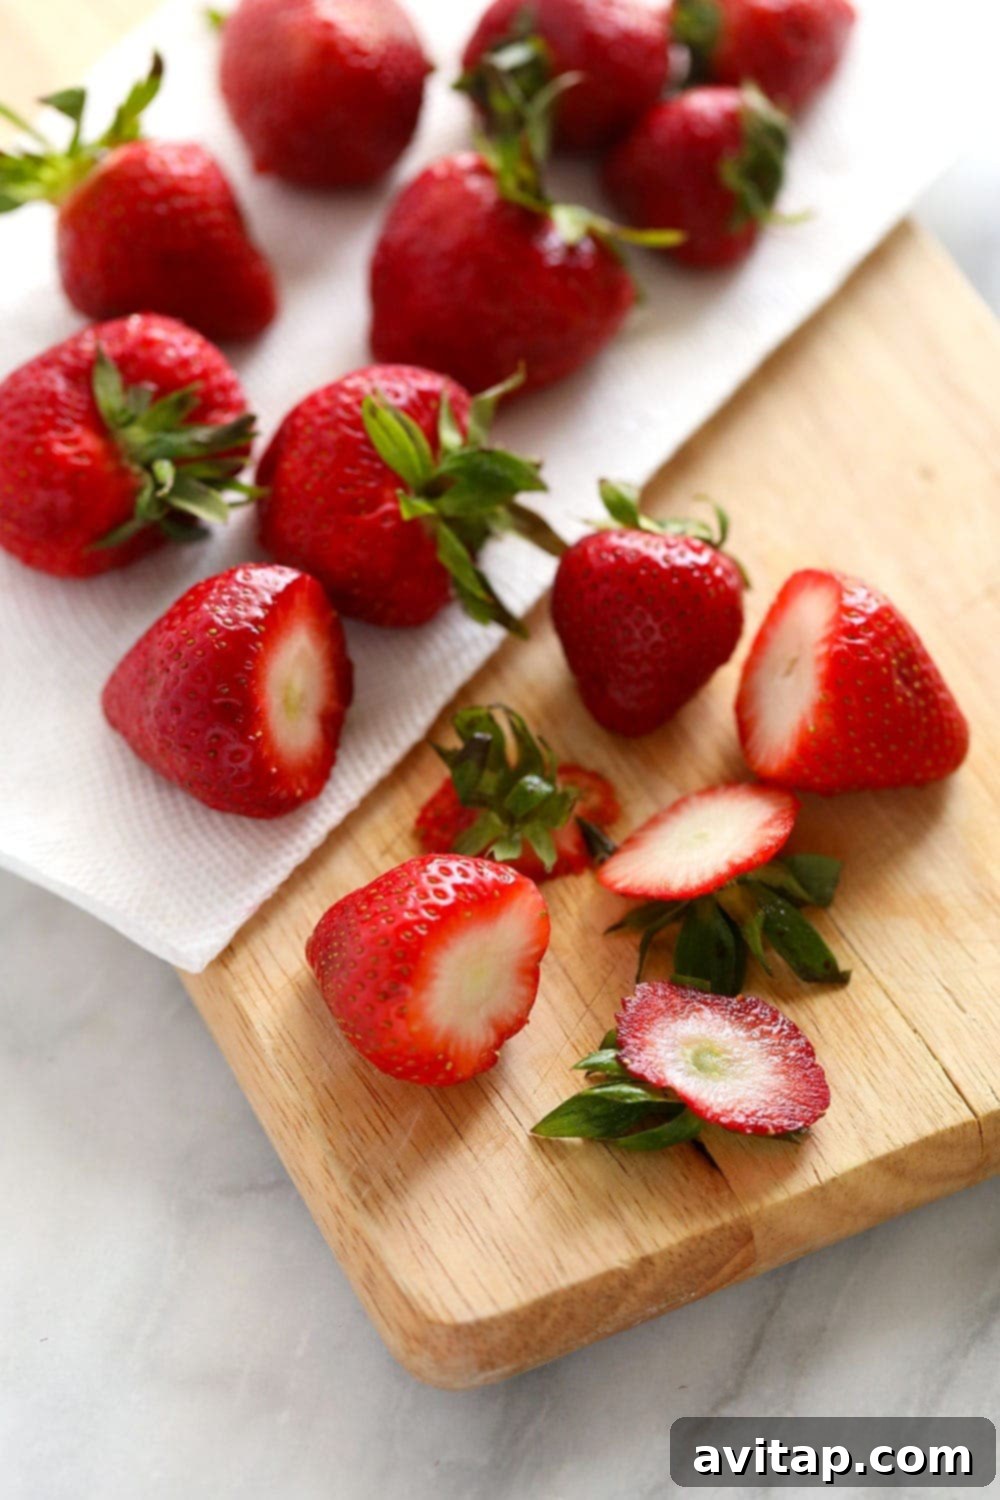
Before freezing, it’s vital to ensure your strawberries are spotlessly clean and ready for storage. Gently wash your strawberries under cool, running water. You can also use a fruit wash for an extra layer of cleanliness. After washing, carefully remove the green stems and leaves (this process is called hulling). For optimal versatility in future recipes, consider slicing larger strawberries into halves or quarters. Smaller pieces tend to freeze faster and are often more convenient for blending into smoothies or incorporating into baked goods. Inspect each berry and remove any overly ripe or damaged sections to maintain the quality of your frozen batch. Discard any strawberries that are too far gone to prevent spoilage of the entire batch.
Step 3: Ensure Strawberries Are Completely Dry
This step is critical for preventing freezer burn and maintaining the quality of your frozen strawberries. Once washed and hulled, spread your strawberries in a single layer on clean paper towels or a dark-colored kitchen towel (as the red juice can stain lighter fabrics). Allow them to air dry fully. Any residual water on the surface of the berries will turn into ice crystals during freezing, which can lead to freezer burn, altering their texture and flavor. Patience here pays off, so ensure they are bone-dry before moving to the next step.
Step 4: Flash Freeze Strawberries on a Baking Sheet
Arrange your prepared and thoroughly dried strawberries in a single layer on the parchment paper-lined baking sheet. The most important rule here is to ensure that no strawberries are touching each other. This physical separation is what allows each berry to freeze individually, preventing them from clumping together into an unusable block. Place the entire baking sheet into the freezer. The freezing time will vary depending on the size of your strawberry pieces; smaller cuts may freeze in about 45 minutes, while whole, larger berries could take 60-90 minutes. They are ready when they are firm to the touch.
Step 5: Transfer to Freezer-Safe Containers for Long-Term Storage
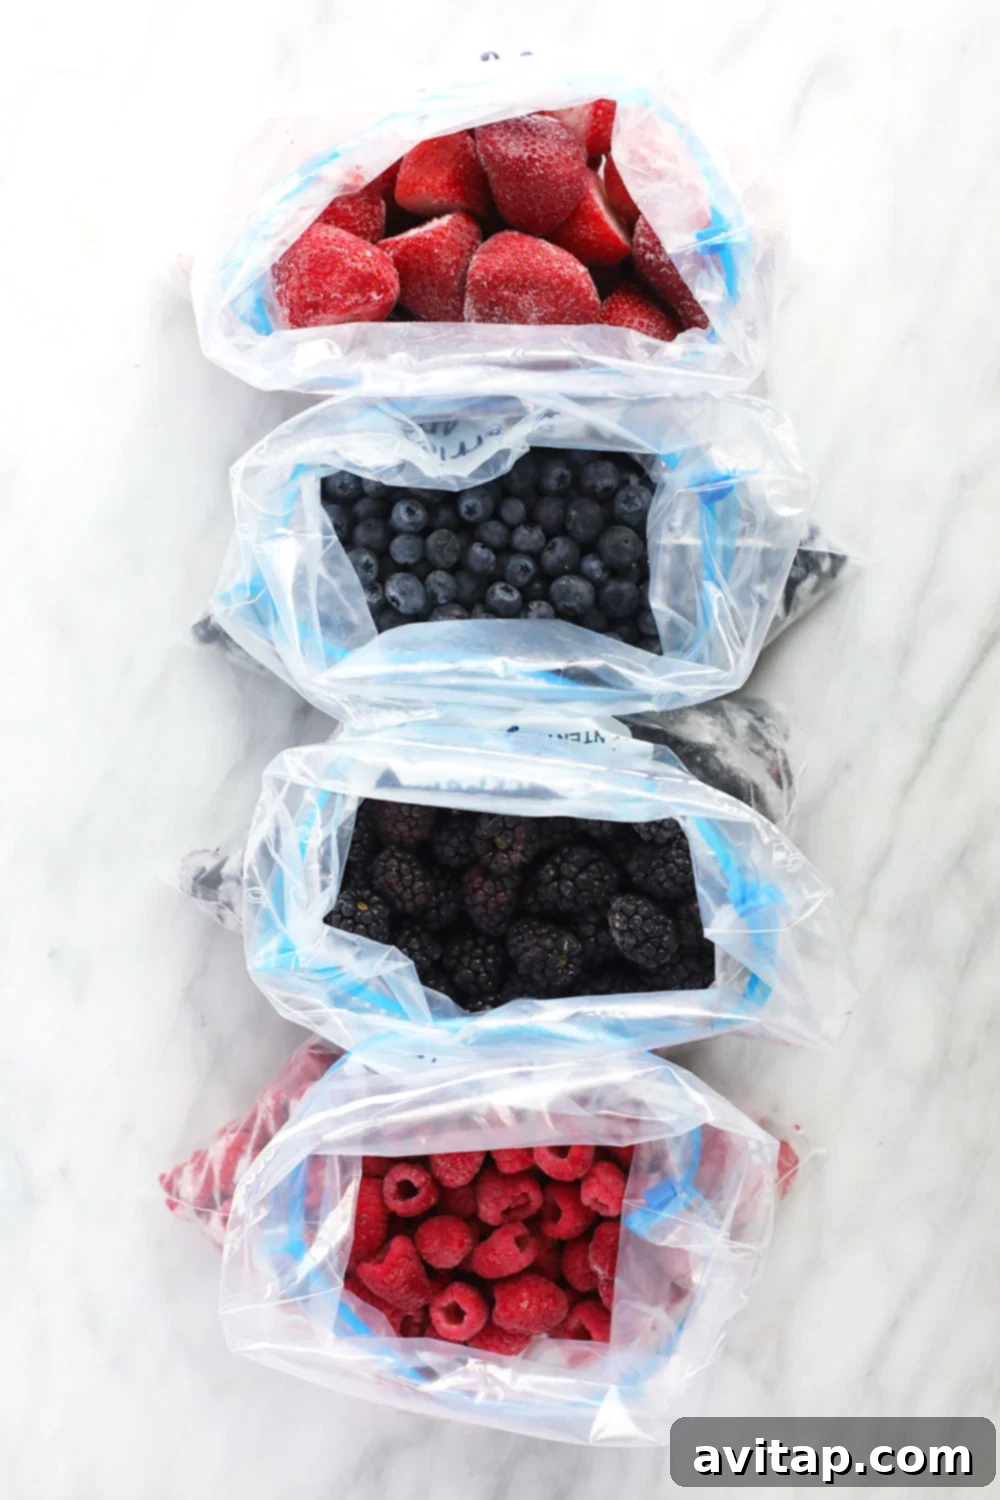
Once your strawberries are completely frozen solid, carefully remove the baking sheet from the freezer. Use a spatula to gently lift the now individual, rock-hard berries from the baking sheet. Immediately transfer these frozen strawberries into a designated freezer-safe container. Options include heavy-duty freezer bags (like Ziploc or Stasher bags) or rigid airtight containers made of glass or plastic. When using bags, try to remove as much air as possible before sealing to further protect against freezer burn. Label the bag or container with the date and type of berry for easy identification. Place them back into the freezer, where they will be ready for instant use whenever inspiration strikes!
Delicious Ideas for Your Frozen Strawberries
Frozen strawberries are incredibly versatile! Here are some fantastic ways to use them:
- Wholesome Strawberry Oatmeal Bars: A perfect breakfast or snack.
- The Ultimate Strawberry Smoothie: Blend for a refreshing and nutritious drink.
- Creamy Strawberry Protein Shake: Fuel your day with this protein-packed delight.
- Luscious Strawberry Banana Nice Cream: A healthy, dairy-free dessert alternative.
How to Freeze Blueberries: Preserving Your Antioxidant Powerhouse
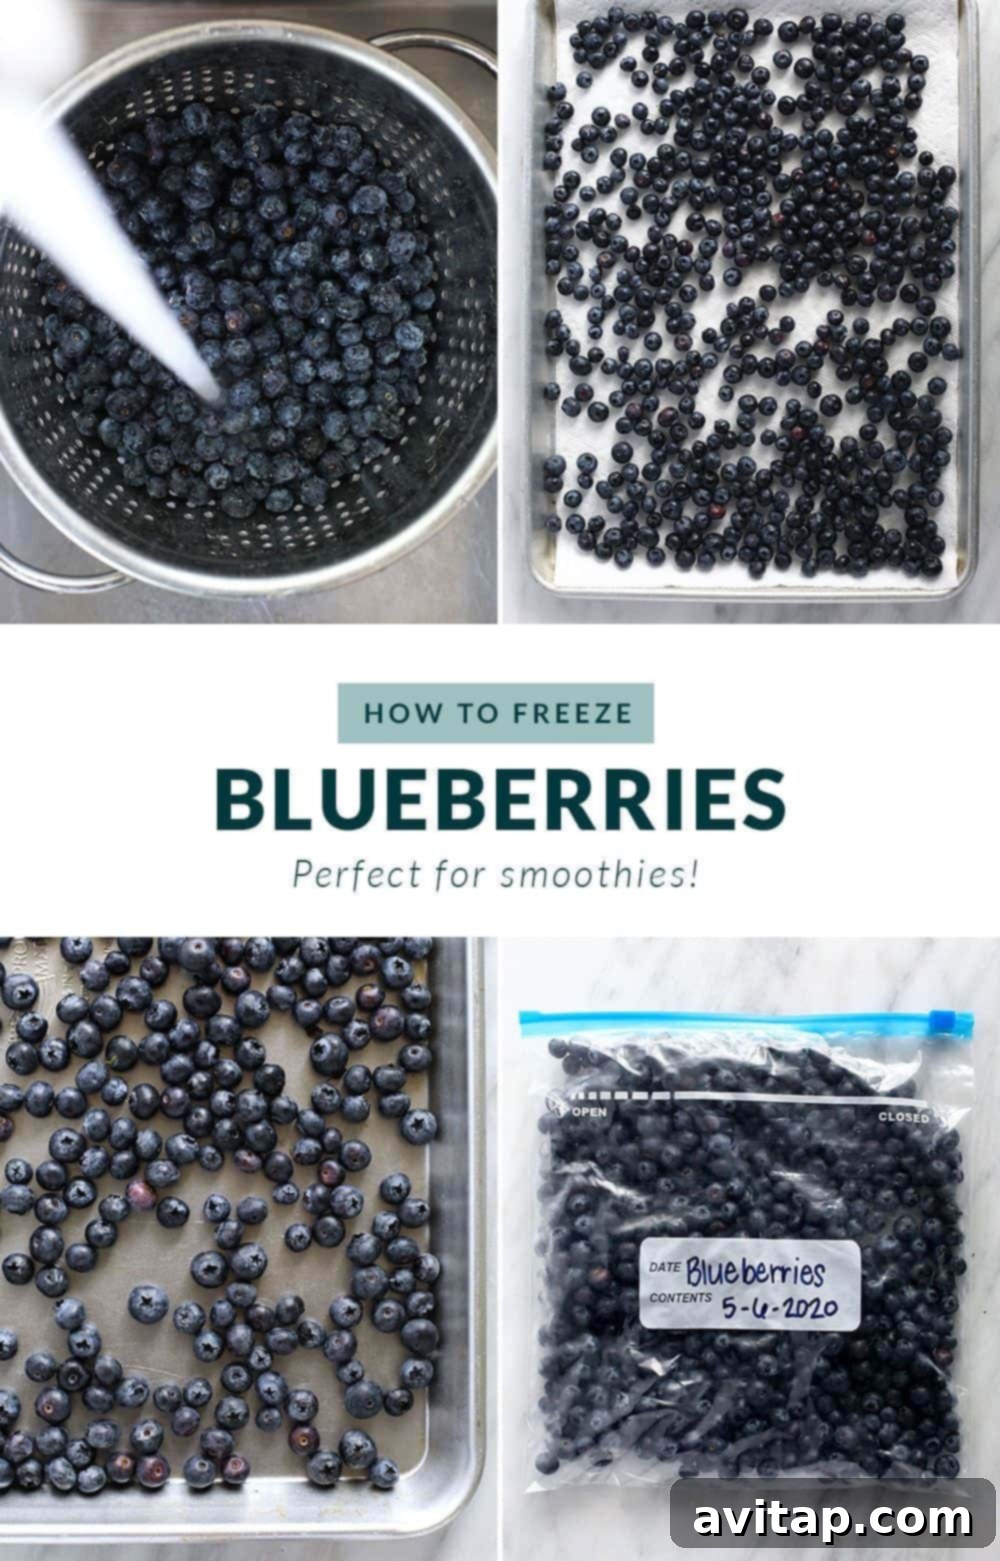
Blueberries are tiny powerhouses of nutrition, packed with antioxidants and flavor. They’re a fantastic addition to countless dishes, from smoothies to pancakes. Freezing your own blueberries at home is incredibly easy and ensures you always have these superfoods on hand, often tasting fresher than store-bought frozen varieties. Learn how to master the simple technique here.
Step 1: Prepare Your Baking Sheet for Even Freezing
As with other berries, the goal is to prevent blueberries from clumping together into a solid block. This makes them much easier to portion out later. For blueberries, parchment paper isn’t as strictly necessary as their skin effectively contains most of their moisture, reducing stickiness. However, a clean baking sheet, ideally with at least a half-inch lip, is essential to keep the small berries contained and prevent them from rolling off or spilling within your freezer. Ensure the baking sheet is completely dry before adding the berries.
Step 2: Clean and Inspect Your Blueberries
Give your blueberries a thorough but gentle wash under cold, running water. This helps remove any dirt, debris, or residual pesticides. If you prefer, a dedicated fruit wash can also be used. After washing, carefully inspect the berries. Remove any lingering stems that may have been missed during packaging. This is also the perfect time to discard any overly ripe, soft, or damaged blueberries to maintain the high quality of your frozen batch. Healthy, firm berries will freeze best.
Step 3: Thoroughly Dry Your Blueberries to Prevent Freezer Burn
Drying is a critical step for blueberries, just as it is for strawberries. Spread the washed blueberries in a single layer on several sheets of paper towel or a clean, dark-colored dish towel. Allow them to air dry completely. It’s crucial that there’s no visible moisture on their surface. Excess water will form ice crystals when frozen, which contributes to freezer burn and can negatively impact the texture and flavor of your blueberries once thawed. A perfectly dry berry freezes perfectly!
Step 4: Flash Freeze Blueberries on a Baking Sheet
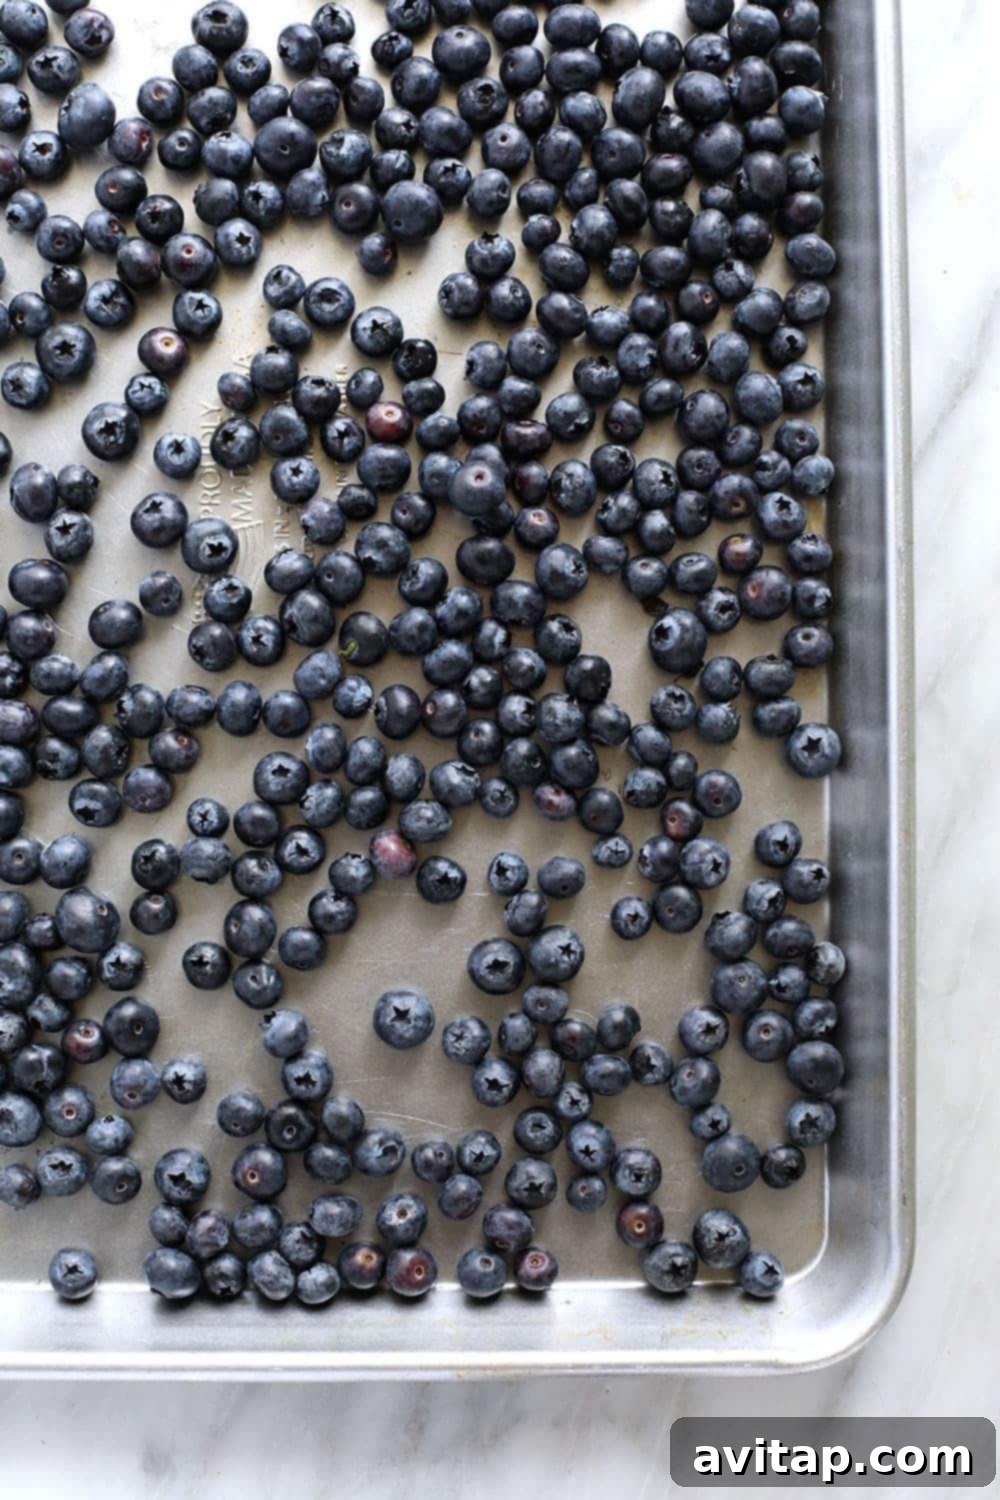
Carefully spread the dry blueberries in a single layer across your baking sheet. Ensure they are not touching each other, allowing each small berry to freeze independently. This “flash freezing” method is the secret to preventing clumps. Place the baking sheet into the freezer. Because blueberries are relatively small, they typically freeze much faster than larger fruits like whole strawberries or blackberries. They should be completely frozen and hard in about 30 to 45 minutes.
Step 5: Store Frozen Blueberries in Freezer-Safe Containers
Once the blueberries are fully frozen and hard, remove the baking sheet from the freezer. If any have stuck slightly to the sheet, a gentle nudge with a spatula will release them. Immediately transfer your perfectly frozen, individual blueberries into freezer-safe containers. High-quality freezer bags (like Ziploc or Stasher bags) or airtight glass or plastic containers work best. Squeeze out as much air as possible from bags before sealing to minimize exposure to air, which can cause freezer burn. Label your containers with the date. Your frozen blueberries are now ready for convenient, year-round enjoyment!
Delightful Creations with Your Frozen Blueberries
Make the most of your frozen blueberry stash with these inspiring recipes:
- Warm and Comforting Blueberry Cobbler: A timeless dessert that tastes like summer.
- Super Fluffy Healthy Blueberry Muffins: Perfect for breakfast or a sweet treat.
- Zesty Lemon Blueberry Crumble Bars: An irresistible combination of tart and sweet.
- Energizing Blueberry Banana Smoothie: A classic blend for a quick, nutritious boost.
How to Freeze Blackberries: Enjoying a Taste of the Wild All Year
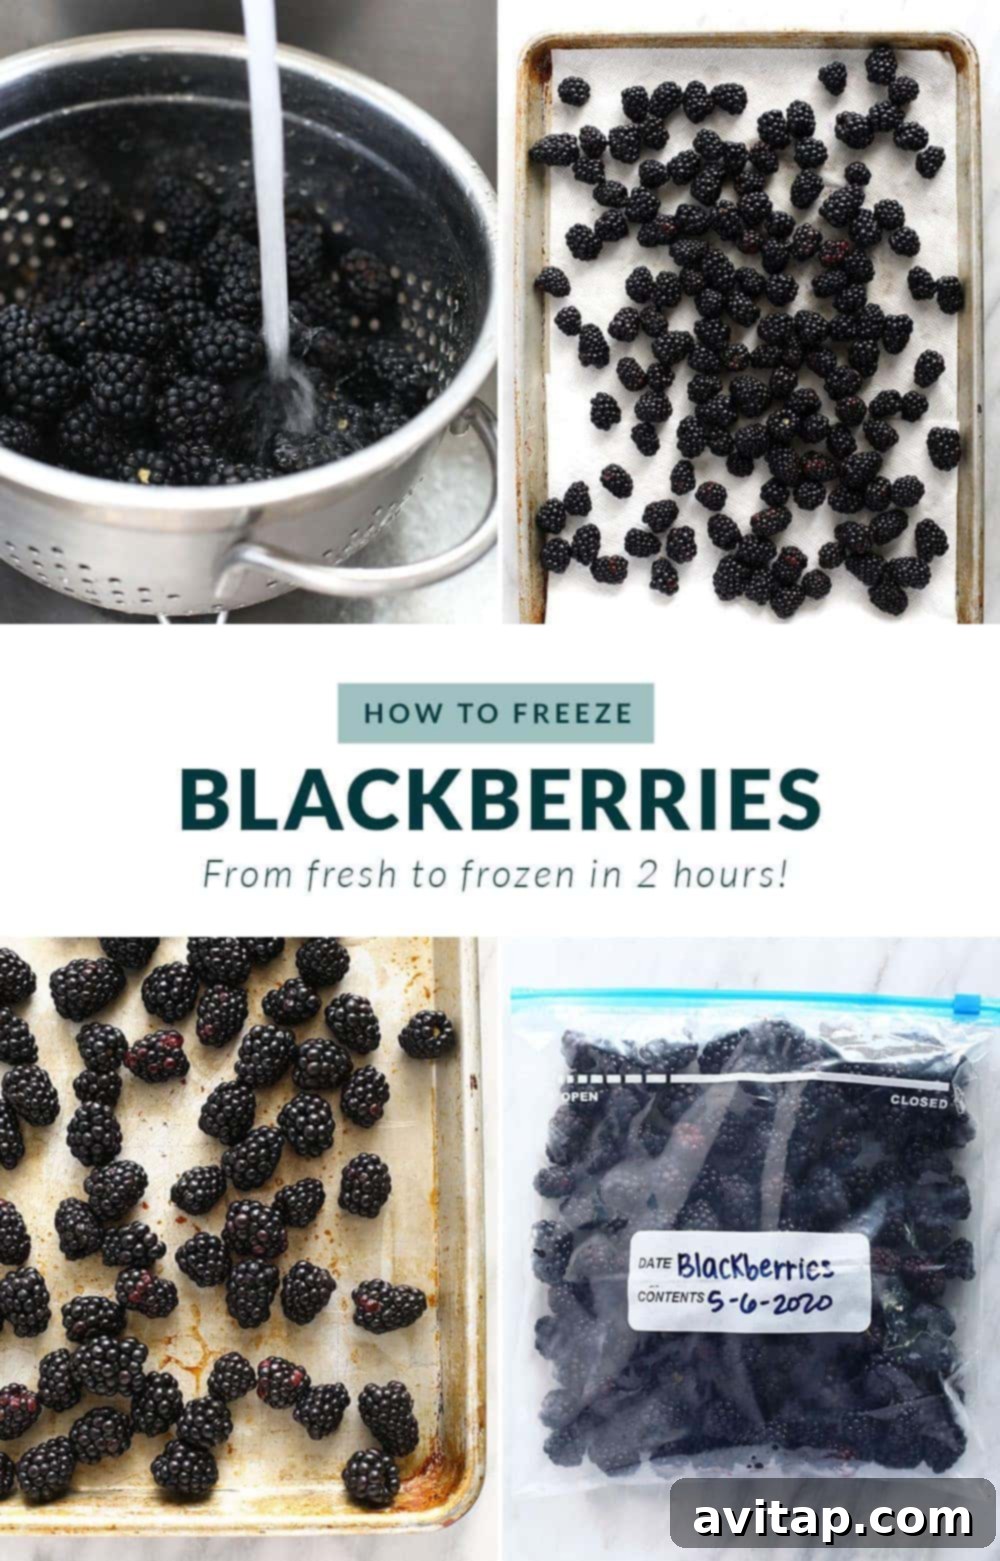
Blackberries are a delicious, slightly tart berry that can be surprisingly hard to find in the frozen section of many grocery stores. This makes freezing them at home an even more valuable skill! By following these simple steps, you can ensure a steady supply of these dark, juicy gems for all your culinary adventures, from simple snacks to gourmet desserts.
Step 1: Prepare Your Baking Sheet to Prevent Clumping
The fundamental rule for freezing berries perfectly is to prevent them from sticking together. Start by preparing a baking sheet. Using parchment paper is highly recommended as it creates a non-stick surface, making it much easier to remove the frozen blackberries. If parchment paper isn’t handy, a clean baking sheet will work, but you might need a spatula to gently pry them off. Make sure your baking sheet has at least a half-inch lip to keep the berries securely on the tray as you transfer it to the freezer. This initial setup is crucial for effortless portioning later.
Step 2: Wash and Sort Your Blackberries
Before freezing, it’s essential to ensure your blackberries are clean and free from any imperfections. Gently wash them under cool, running water. A fruit wash can also be used for extra cleansing. After washing, take a moment to meticulously inspect each berry. Remove any lingering stems or leaves, and discard any berries that appear overly ripe, moldy, or significantly bruised. Choosing only the freshest and firmest berries will result in a superior frozen product that retains its flavor and texture.
Step 3: Thoroughly Dry Your Blackberries
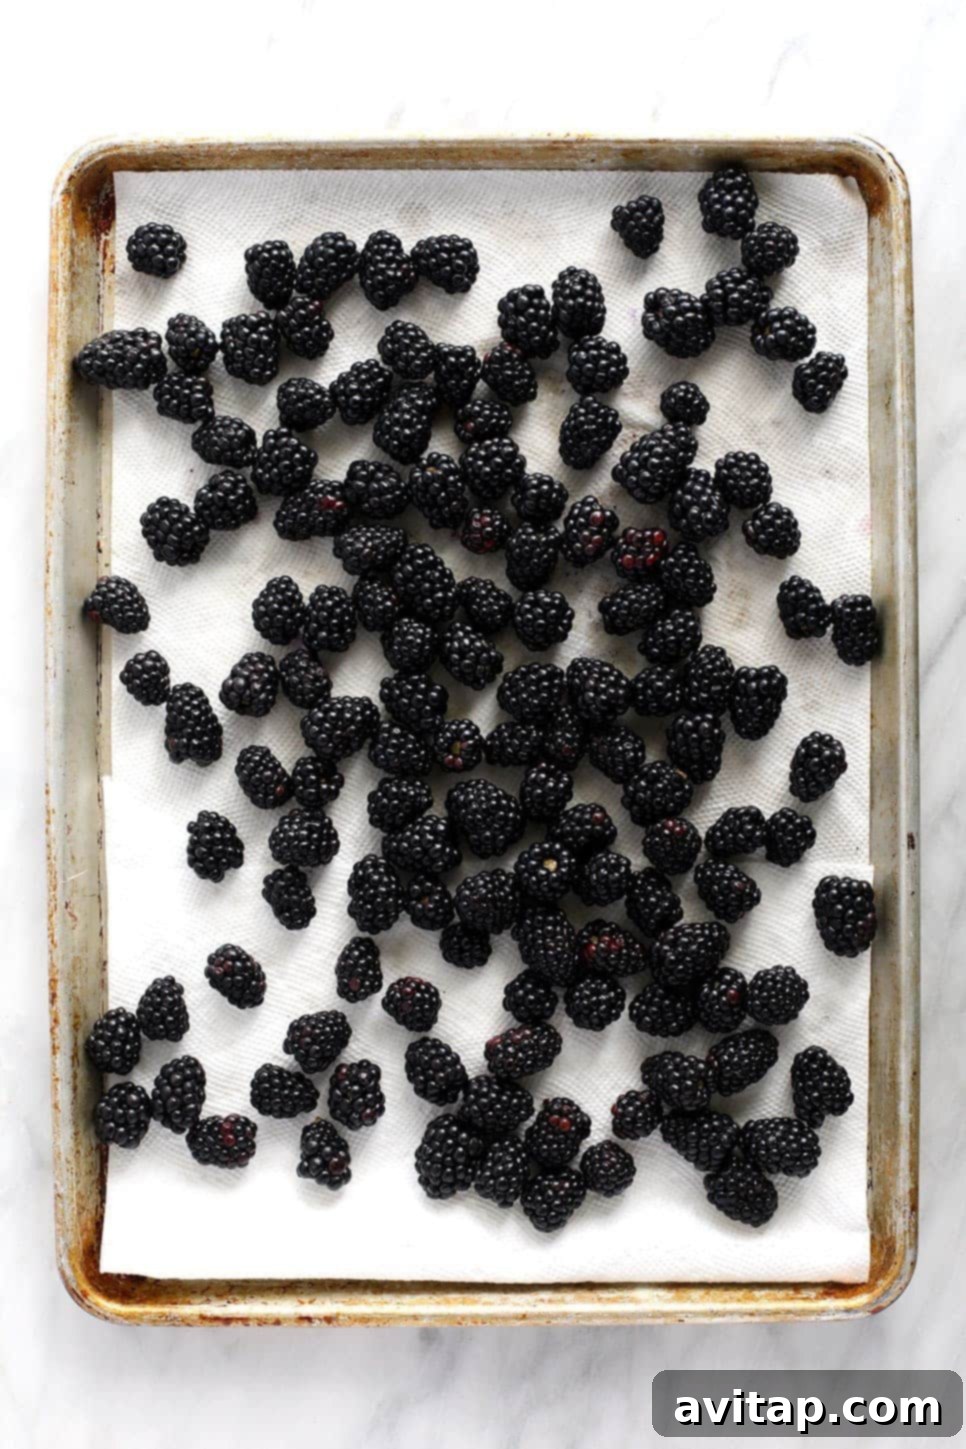
This step is paramount for preventing freezer burn and ensuring optimal texture. After washing, spread your blackberries in a single layer on clean paper towels or a dark-colored kitchen towel. Allow them to air dry completely. Any moisture left on the berries will form ice crystals during freezing, leading to a diminished quality and icy texture. Ensure they are absolutely dry to the touch before proceeding to the next step. This diligence will significantly impact the success of your frozen blackberries.
Step 4: Flash Freeze Blackberries on a Baking Sheet
Once completely dry, arrange your blackberries in a single layer on the parchment paper-lined baking sheet. It’s crucial that no berries are touching one another. This “flash freezing” technique allows each blackberry to freeze individually, ensuring they won’t stick together. Place the baking sheet carefully into the freezer. Blackberries typically take about 60 to 90 minutes to freeze solid, depending on their size. You’ll know they’re ready when they are firm and cannot be easily squashed.
Step 5: Transfer to Freezer-Safe Containers for Long-Term Storage
After your blackberries are thoroughly frozen and individual, remove the baking sheet from the freezer. If any berries have slightly adhered to the parchment, a gentle scrape with a spatula will loosen them. Immediately transfer these frozen blackberries into robust freezer-safe containers, such as heavy-duty freezer bags or airtight glass or plastic containers. For freezer bags, press out as much air as possible before sealing to reduce the risk of freezer burn. Don’t forget to label your containers with the date. Your frozen blackberries are now perfectly preserved and ready to enhance any recipe!
Creative Uses for Your Frozen Blackberries
Blackberries add a wonderful tartness and depth to various dishes. Here are some ideas:
- Invigorating Triple Berry Protein Smoothie: A powerful blend for a healthy start.
- Refreshing Blackberry Moscow Mules: A sophisticated twist on a classic cocktail.
- Nutritious Triple Berry Baked Oatmeal Cups: Convenient and delicious grab-and-go breakfast.
How to Freeze Raspberries: Delicate Berries Made Simple
Raspberries are known for their delicate texture and intense flavor, making them a prized ingredient in many recipes. Freezing fresh raspberries is an excellent way to keep these fragile beauties on hand, ensuring you have access to their sweet-tart goodness for all your “berry-licious” culinary creations throughout the year. With a few careful steps, you can preserve their quality perfectly.
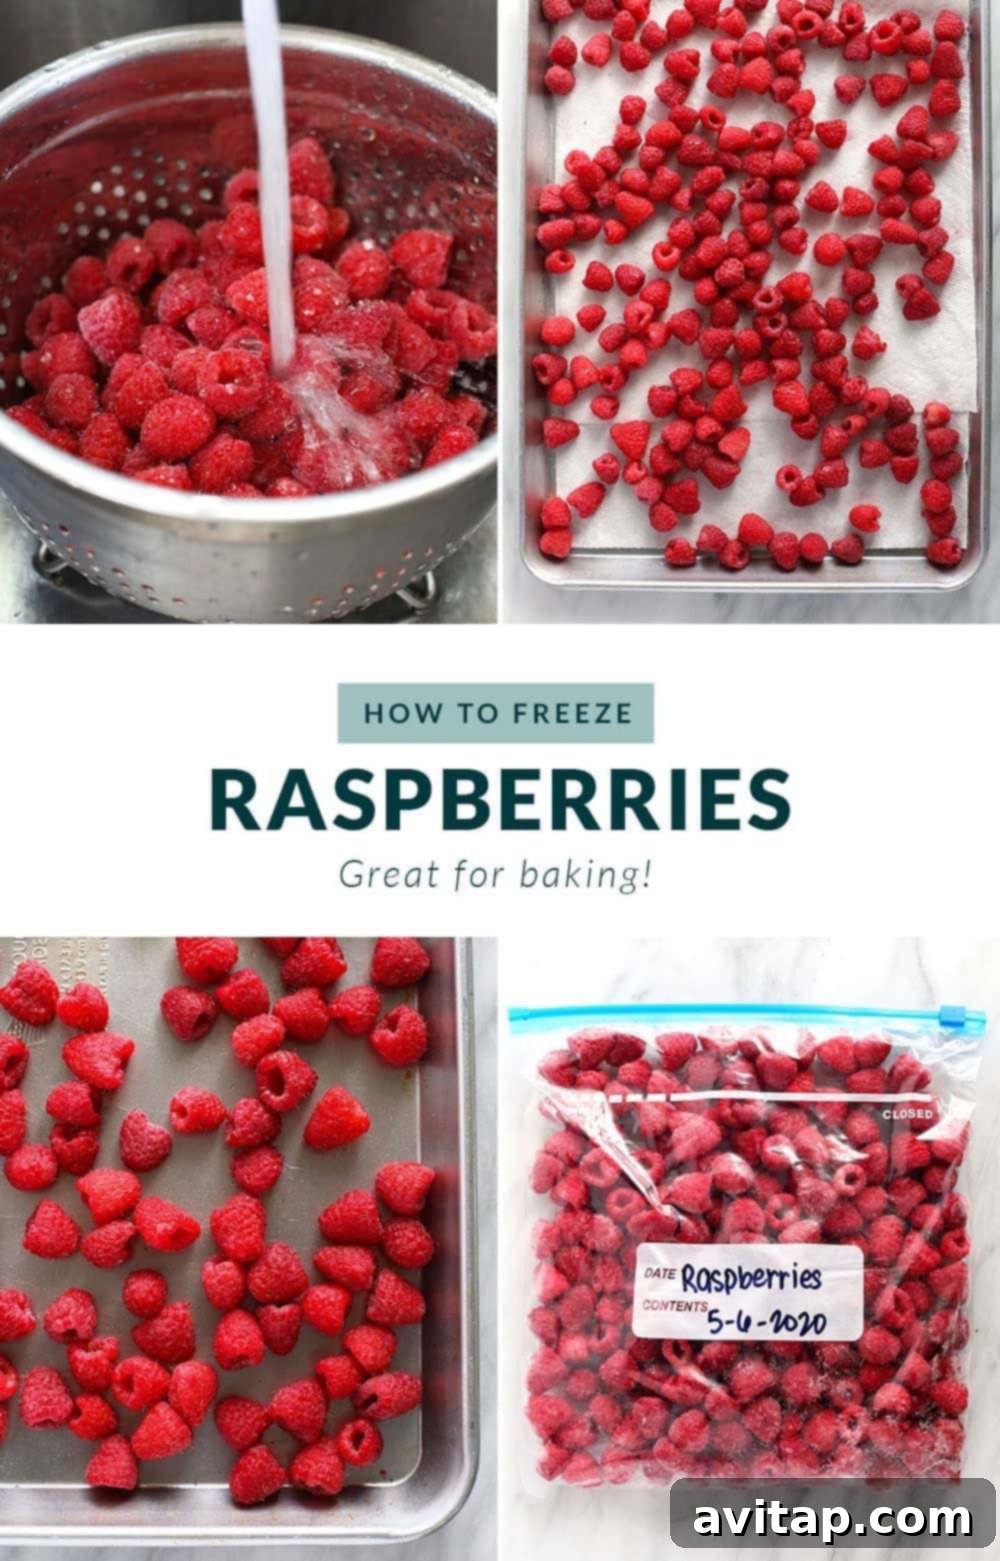
Step 1: Prepare Your Baking Sheet for Gentle Freezing
Raspberries are particularly delicate, so preventing them from clumping is even more important to maintain their integrity. Begin by preparing a baking sheet. Lining it with parchment paper is crucial for raspberries, as it provides a gentle, non-stick surface that minimizes breakage when transferring the frozen berries. Ensure the baking sheet has at least a half-inch lip to keep the light, hollow berries contained. This initial preparation ensures a smooth freezing and storage process, giving you beautiful individual raspberries every time.
Step 2: Gently Wash and Prepare Your Raspberries
Given their fragile nature, raspberries require a very gentle washing process. Place them in a colander and rinse them briefly under cool, very gentle running water. Avoid soaking them, as they can quickly become waterlogged and mushy. A quick, gentle spray or a fruit wash applied carefully is best. After rinsing, meticulously inspect each raspberry and discard any that are overly soft, moldy, or bruised. It’s rare to find stems on raspberries, but remove any you might encounter. Your goal is to freeze only the firmest, most vibrant berries.
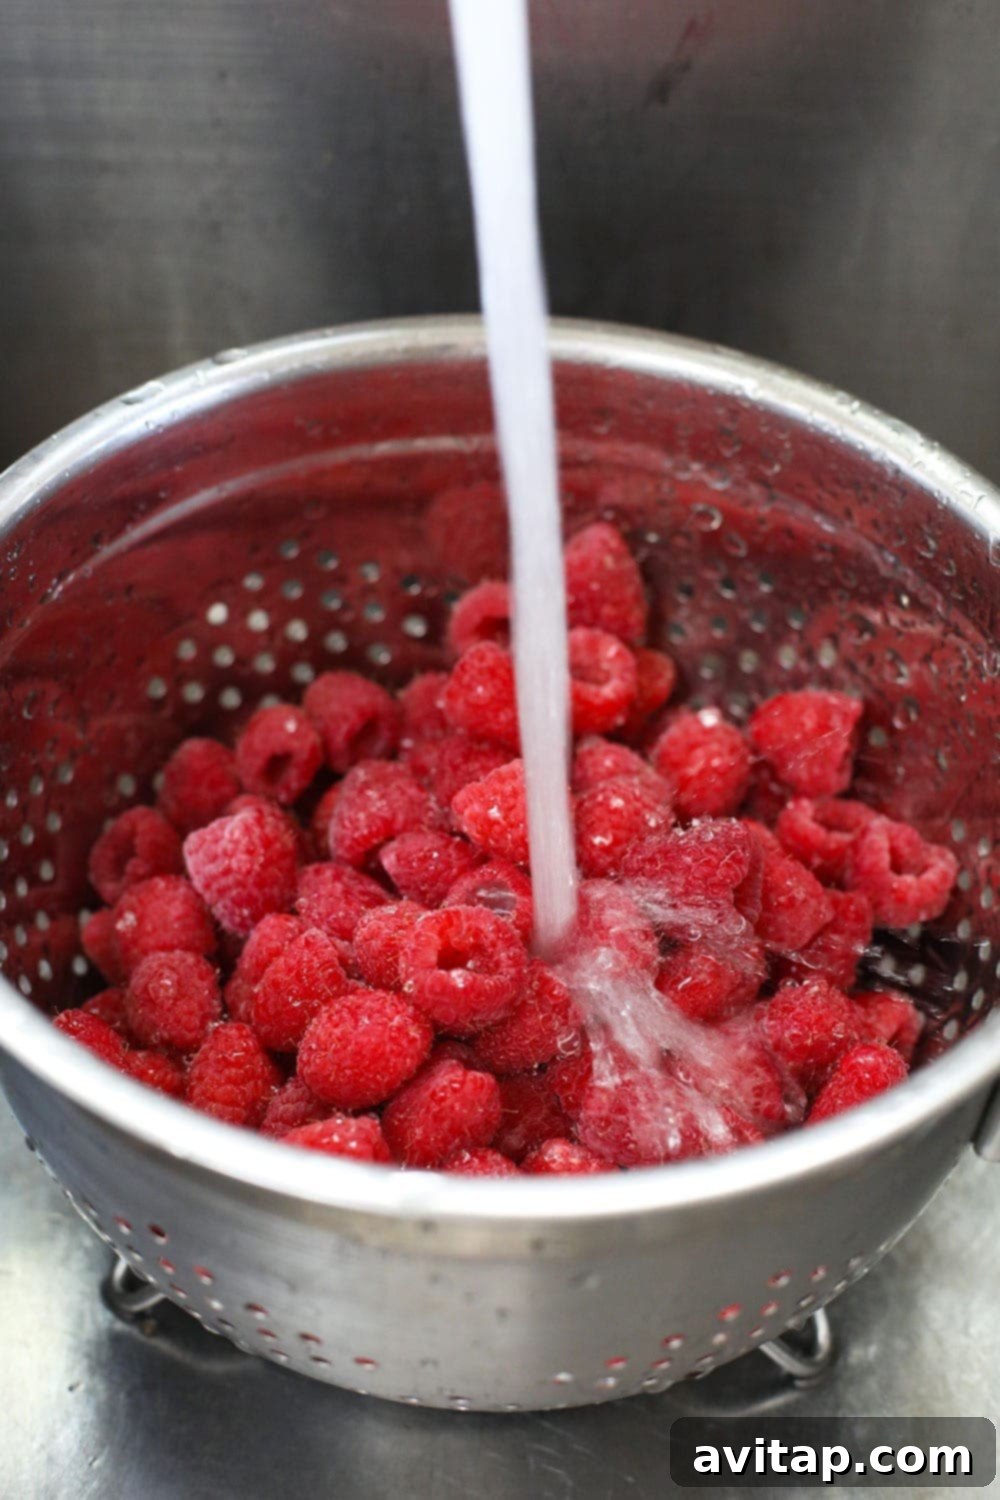
Step 3: Thoroughly Dry Your Raspberries
This is arguably the most critical step for freezing delicate raspberries. After washing, gently spread them in a single layer on several sheets of paper towel or a dark-colored, clean kitchen towel. Allow them to air dry completely. For raspberries, a helpful pro tip is to place them with the hollow side (the ‘hole’) facing down on the towel. This orientation helps any residual water drain out more effectively, ensuring the berries are absolutely dry. Preventing moisture is key to avoiding freezer burn and preserving their delicate texture.
Step 4: Flash Freeze Raspberries on a Baking Sheet
Once your raspberries are completely dry, arrange them in a single layer on the parchment paper-covered baking sheet. It is absolutely essential that none of the berries are touching each other. This crucial separation allows each delicate raspberry to freeze individually, preventing them from fusing into a large, messy clump. Carefully place the baking sheet into the freezer. Due to their small size and hollow structure, raspberries typically freeze quite quickly, usually within 30 to 45 minutes, or until they are completely hard to the touch.
Step 5: Transfer to Freezer-Safe Containers for Storage
Once the raspberries are fully frozen and individual, carefully remove the baking sheet from the freezer. Use a gentle spatula to lift them from the parchment paper if needed, taking care not to crush them. Immediately transfer your perfectly flash-frozen raspberries into heavy-duty freezer bags or rigid airtight containers. When using bags, try to press out as much air as possible before sealing to minimize freezer burn. Label your container with the date. Your precious raspberries are now ready to be stored in the freezer, offering you a burst of fresh flavor whenever you need it for up to several months.
Inspiring Recipes for Your Frozen Raspberries
Frozen raspberries are fantastic for adding a bright, tangy note to many dishes:
- Zingy Ginger Raspberry Mojitos: A vibrant, refreshing cocktail for any occasion.
- Sweet Raspberry Chocolate Chip Baked Oatmeal Cups: A delightful and easy breakfast option.
- Cozy Spiced Raspberry Mulled Wine: Perfect for a warm, comforting beverage on a chilly evening.
How Long Do Frozen Berries Stay Fresh?
Properly frozen berries, stored in airtight freezer-safe containers, will maintain their peak quality for up to 3 months. While they are generally safe to eat beyond this period, their texture and flavor might start to degrade. For the best taste and nutritional value, it’s advisable to consume them within this timeframe. So, the next time you spot an amazing deal on fresh berries at your local grocery store or farmer’s market, don’t hesitate to stock up! Freezing them is a smart way to enjoy the season’s bounty economically.
Can I Freeze Different Berries Together?
While it might seem convenient, it’s generally best practice to freeze “like” berries together in separate batches. This means all your strawberries on one baking sheet, all your blueberries on another, and so forth. The primary reason for this is that different types of berries vary significantly in size and moisture content, affecting their freezing time. For example, smaller blueberries will freeze much faster than larger, whole strawberries. Freezing them separately ensures that each berry type achieves its optimal frozen state without over-freezing or being too soft.
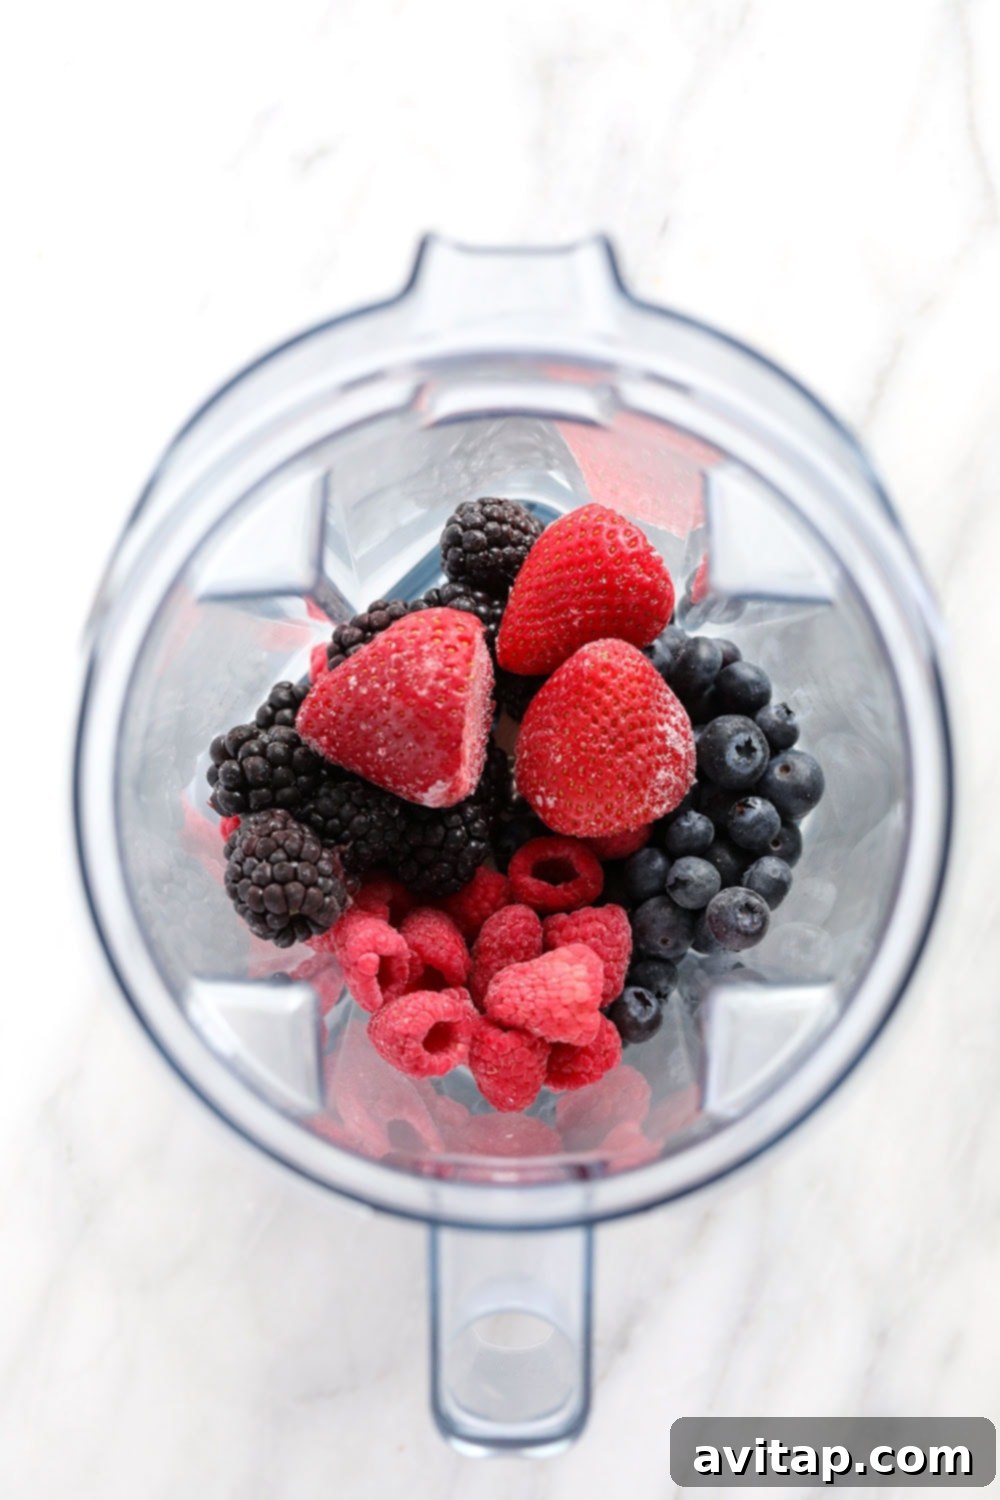
After they are individually flash-frozen, you can then transfer them into separate freezer bags or containers. This method provides easy access to specific berries if a recipe calls for just one type. Of course, once frozen solid, you can always mix different types of frozen berries together in a larger bag for those delicious triple berry smoothies you’ll be making!
Can I Freeze Other Fruits Like Bananas?
Absolutely! Freezing bananas is another excellent way to reduce food waste and always have them ready for smoothies, “nice cream,” or baking. The process is similar to freezing berries, focusing on individual freezing to prevent clumping. For a detailed step-by-step guide on how to perfectly freeze banana slices every time, check out our dedicated tutorial here.
Creative Ways to Use Your Frozen Berries
The possibilities are truly endless when it comes to incorporating frozen berries into your daily meals and treats. Freezing berries is not just about preservation; it’s about locking in their vibrant flavor and essential nutrients, making them a convenient ingredient year-round. Whether you’re blending them into a refreshing morning drink or baking them into a comforting dessert, frozen berries add a burst of wholesome goodness.
Here are some of our favorite ways to utilize your perfectly frozen berry stash:
For Refreshing Smoothies
Frozen berries are a smoothie game-changer, providing a naturally thick, cold base without the need for ice.
- Wholesome Blueberry Date Smoothie Bowls
- The Best Creamy Strawberry Smoothie
- Classic Blueberry Banana Smoothie
- Nutrient-Packed Triple Berry Protein Smoothie
- Creamy Strawberry Chia Seed Smoothie
- For even more inspiration, explore all our smoothie recipes!
For Delicious Baked Goods
Frozen berries can be baked directly from the freezer, adding moisture and flavor to your favorite recipes.
- Gluten-Free Almond Flour Blueberry Muffins
- Super Fluffy Whole Grain Blueberry Muffins
- Easy and Moist Strawberry Banana Bread
For Wholesome Breakfasts
Start your day right by adding frozen berries to your breakfast staples.
- Hearty Triple Berry Breakfast Bread
- Fluffy Blender Lemon Blueberry Pancakes
- Scrumptious Raspberry Chocolate Chip Oatmeal Cups
How to Freeze Berries
Emily Richter
Prep:
30 minutes
1 cup frozen berries
Pin
Ingredients
-
1 pint or more of berries of choice
Instructions
-
Prepare a baking sheet (with at least 1/2 inch lip) by laying a piece of parchment paper flat onto the baking sheet. This prevents sticking and makes transfer easier.
-
Wash berries gently with cold water or a fruit wash. Spread them in a single layer on paper towels and allow them to dry completely. This is crucial to prevent freezer burn.
-
Once dry, prepare berries by carefully removing stems, leaves, and any overly ripe or damaged berries. For strawberries, you can slice them into halves or quarters for convenience.
-
Place the prepared berries on the baking sheet, ensuring they are spread out evenly in a single layer and none are touching one another. This “flash freezing” step prevents them from clumping.
-
Place the baking sheet into the freezer for 30-60 minutes, or until all berries are completely hard and frozen solid. Freezing time varies based on berry size (smaller berries like blueberries freeze faster).
-
Remove the baking sheet from the freezer. Use a spatula to gently scrape the frozen berries off the baking sheet, if necessary.
-
Immediately transfer the frozen berries into a freezer-safe gallon-size bag or other airtight container. Remove as much air from the bag as possible before sealing tightly.
-
Store the sealed berries in the freezer for easy access. They will remain fresh and flavorful for up to 3 months, perfect for smoothies, baking, and more!
Tips & Notes
- If freezing strawberries, feel free to slice them into halves or fourths instead of keeping them whole. This can make them more versatile for recipes.
- Larger berries, such as whole strawberries or blackberries, will generally take longer to freeze completely than smaller berries like blueberries or raspberries. Adjust freezing time accordingly.
- Ensure all berries are thoroughly dry before freezing to prevent ice crystal formation and freezer burn, which can compromise texture and taste.
- Nutrition information provided is an approximation and based on blueberries.
Nutrition
Nutrition information is automatically calculated, so should only be used as an approximation.
Love this? Leave a comment below!
Don’t forget to tag your posts on social media with the hashtag #fitfoodiefinds, we’d love to see what you’re up to!