
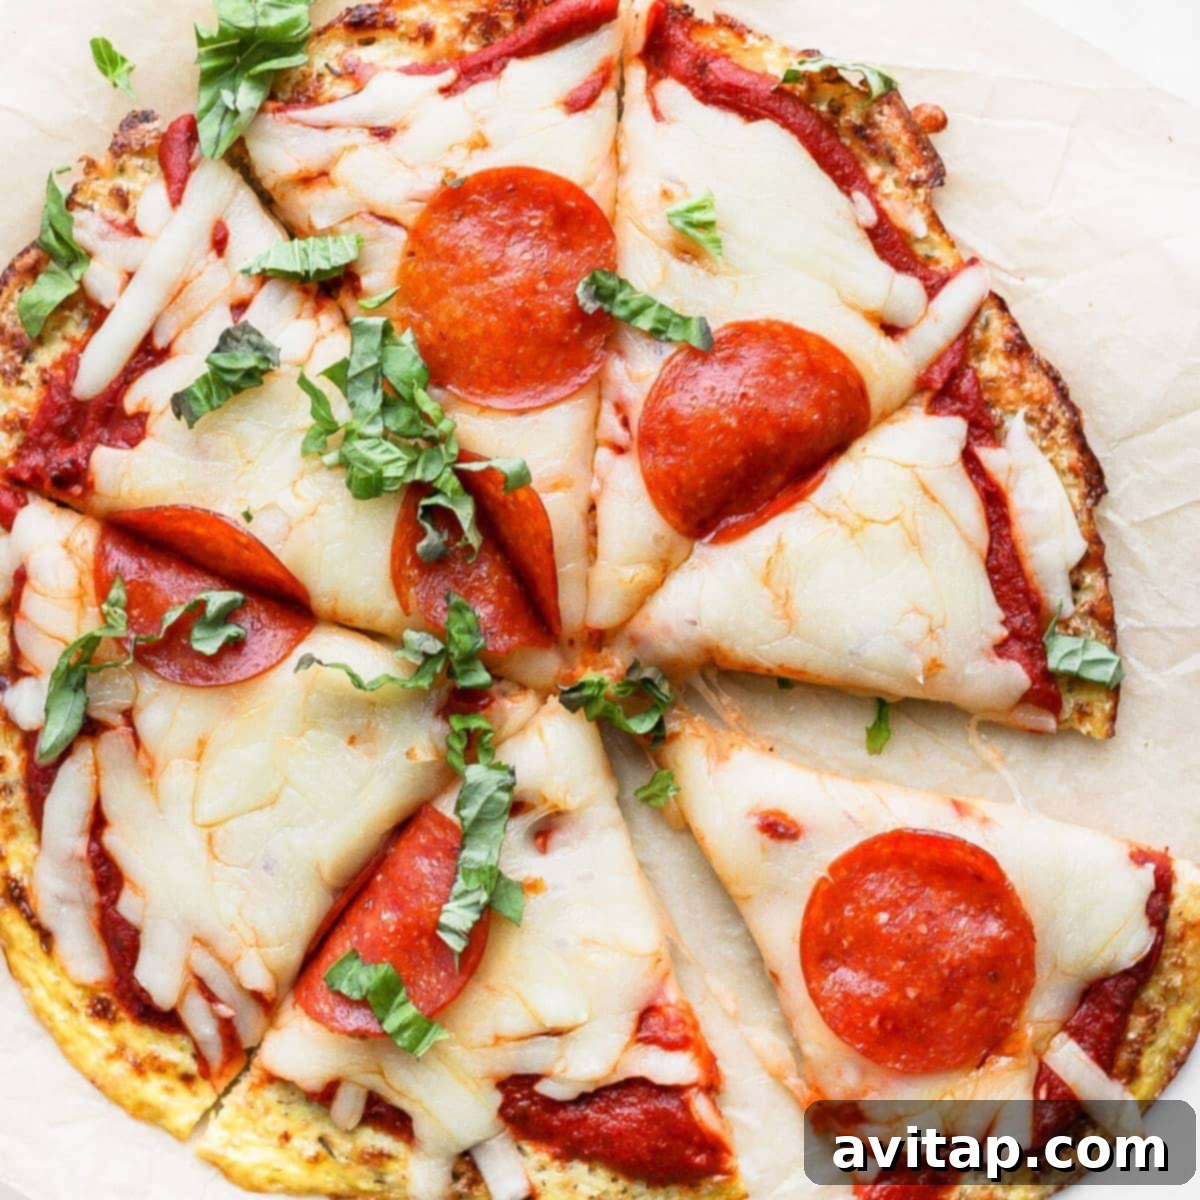
Transform your pizza night with our incredibly easy and satisfying cauliflower pizza crust recipe. Forget soggy or bland alternatives – this gluten-free crust delivers exceptional crispiness and robust flavor, making it a new favorite for everyone, not just those avoiding gluten. With just a few staple ingredients like finely processed cauliflower rice, mozzarella, parmesan cheese, and simple seasonings, you’re on your way to a healthier, delicious homemade pizza experience.
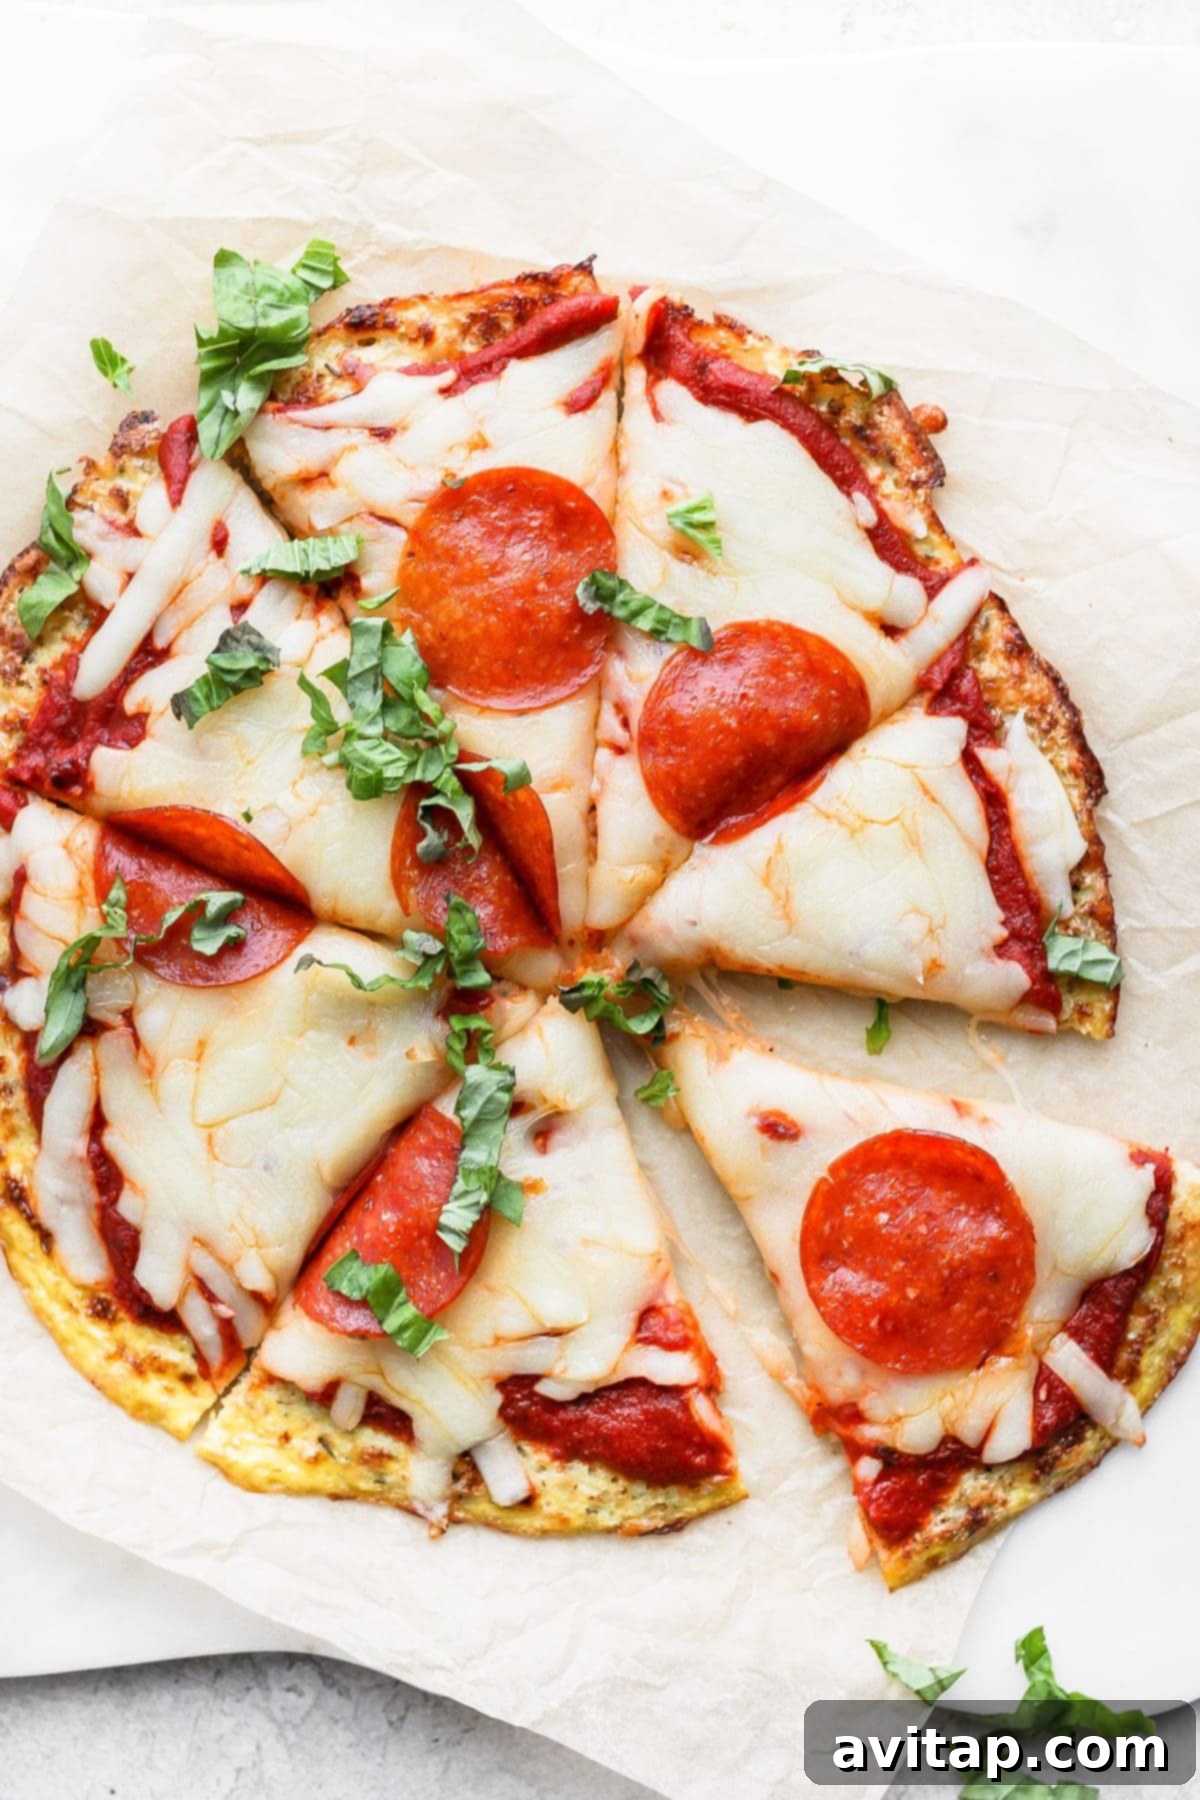
The Ultimate Cauliflower Pizza Crust: A Recipe for Everyone
Prepare to fall in love with a pizza crust that defies expectations. Our cauliflower pizza crust is a revelation – naturally gluten-free, bursting with savory flavors, delightfully cheesy, and surprisingly straightforward to prepare. While it’s an ideal solution for those with gluten sensitivities or anyone looking for a lighter, low-carb alternative, its deliciousness transcends dietary preferences. This isn’t just a “healthy” option; it’s genuinely *good* pizza, destined to earn a permanent spot in your recipe collection.
Why Choose This Cauliflower Pizza Crust Recipe?
- Simple, Wholesome Ingredients: The foundation of this incredible crust relies on fresh cauliflower rice, quality cheeses, and everyday seasonings. You likely have most of these basic ingredients in your pantry already, making it accessible for any cook.
- Effortless Weeknight Dinner: Designed for convenience, this recipe is quick to assemble, allowing you to whip up a gourmet-quality pizza even on your busiest evenings.
- Versatile Culinary Base: Beyond traditional pizza, this robust cauliflower crust can be adapted into a delightful focaccia-style bread, perfect for serving as a unique appetizer or alongside a main course. Its adaptability makes it a kitchen MVP!
- Unrivaled Crispiness: We’ve perfected the technique to achieve a truly crispy crust – no more soggy cauliflower bases! This recipe focuses on crucial steps to ensure a golden, firm foundation for your favorite toppings.
- Flavor-Packed: Infused with aromatic Italian seasoning, garlic, and a hint of red pepper, the crust itself is incredibly flavorful, complementing any topping combination you choose.
Essential Ingredients for Your Crispy Cauliflower Pizza Crust
Crafting this exceptional cauliflower pizza crust requires a surprisingly minimal ingredient list. Each component plays a vital role in achieving the perfect texture and flavor. Here’s a detailed look at what you’ll need to gather before you begin:
- Cauliflower Rice: This is the star of our crust! You have the flexibility to use either homemade cauliflower rice or a store-bought variety. The most critical factor is ensuring it’s very finely processed. Finer pieces bind better, leading to a sturdier, crispier crust.
- Mozzarella Cheese: Beyond adding a delicious cheesy flavor, mozzarella acts as a crucial binder. Its melting properties help hold the cauliflower rice together, creating a cohesive crust. For best results, consider grating your own from a block, as pre-shredded varieties often contain anti-caking agents that can affect texture.
- Parmesan Cheese: Parmesan contributes not only to the binding process but also infuses the crust with a delightful salty, umami depth. Its sharp flavor elevates the overall taste profile, making the crust genuinely savory.
- Italian Seasoning: A cornerstone of Italian cuisine, this blend provides the classic aromatic notes essential for any great pizza. It typically includes herbs like oregano, basil, thyme, and rosemary.
- Garlic Powder: Because everything tastes better with garlic! It adds a warm, pungent flavor that enhances the overall savory experience of the crust.
- Red Pepper Flakes: For a subtle kick that awakens the palate, a touch of red pepper flakes goes a long way. Adjust the amount to suit your spice preference.
- Egg: The egg is absolutely essential for structure. It acts as a primary binder, helping all the ingredients come together and preventing the crust from crumbling. While one large egg is usually sufficient, keep a second one on hand if your cauliflower rice is particularly moist or coarsely processed, as a little extra binding power might be needed.
- Olive Oil: The secret weapon for a truly crispy cauliflower crust. Drizzling olive oil onto the parchment paper and over the crust before baking ensures a golden-brown, irresistible crunch. Do not skip this step!

make it easy
Print Your Own Kitchen Conversions Chart
Keep common kitchen conversions like tablespoons to teaspoons and Fahrenheit to Celsius on hand at all times with our printable kitchen conversions chart.
Step-by-Step Guide: Crafting Your Perfect Cauliflower Pizza Crust
Get ready to create the crispiest, cheesiest, and most delicious homemade cauliflower pizza crust you’ve ever tasted. While the process is straightforward, a few key techniques and expert tips will ensure your crust bakes to golden perfection every time.
Before you begin this culinary journey, make things simple for yourself: line a sturdy baking sheet with parchment paper. This vital step prevents sticking and aids in the crucial flipping process later on.
Step 1: Extracting Moisture from Cauliflower Rice
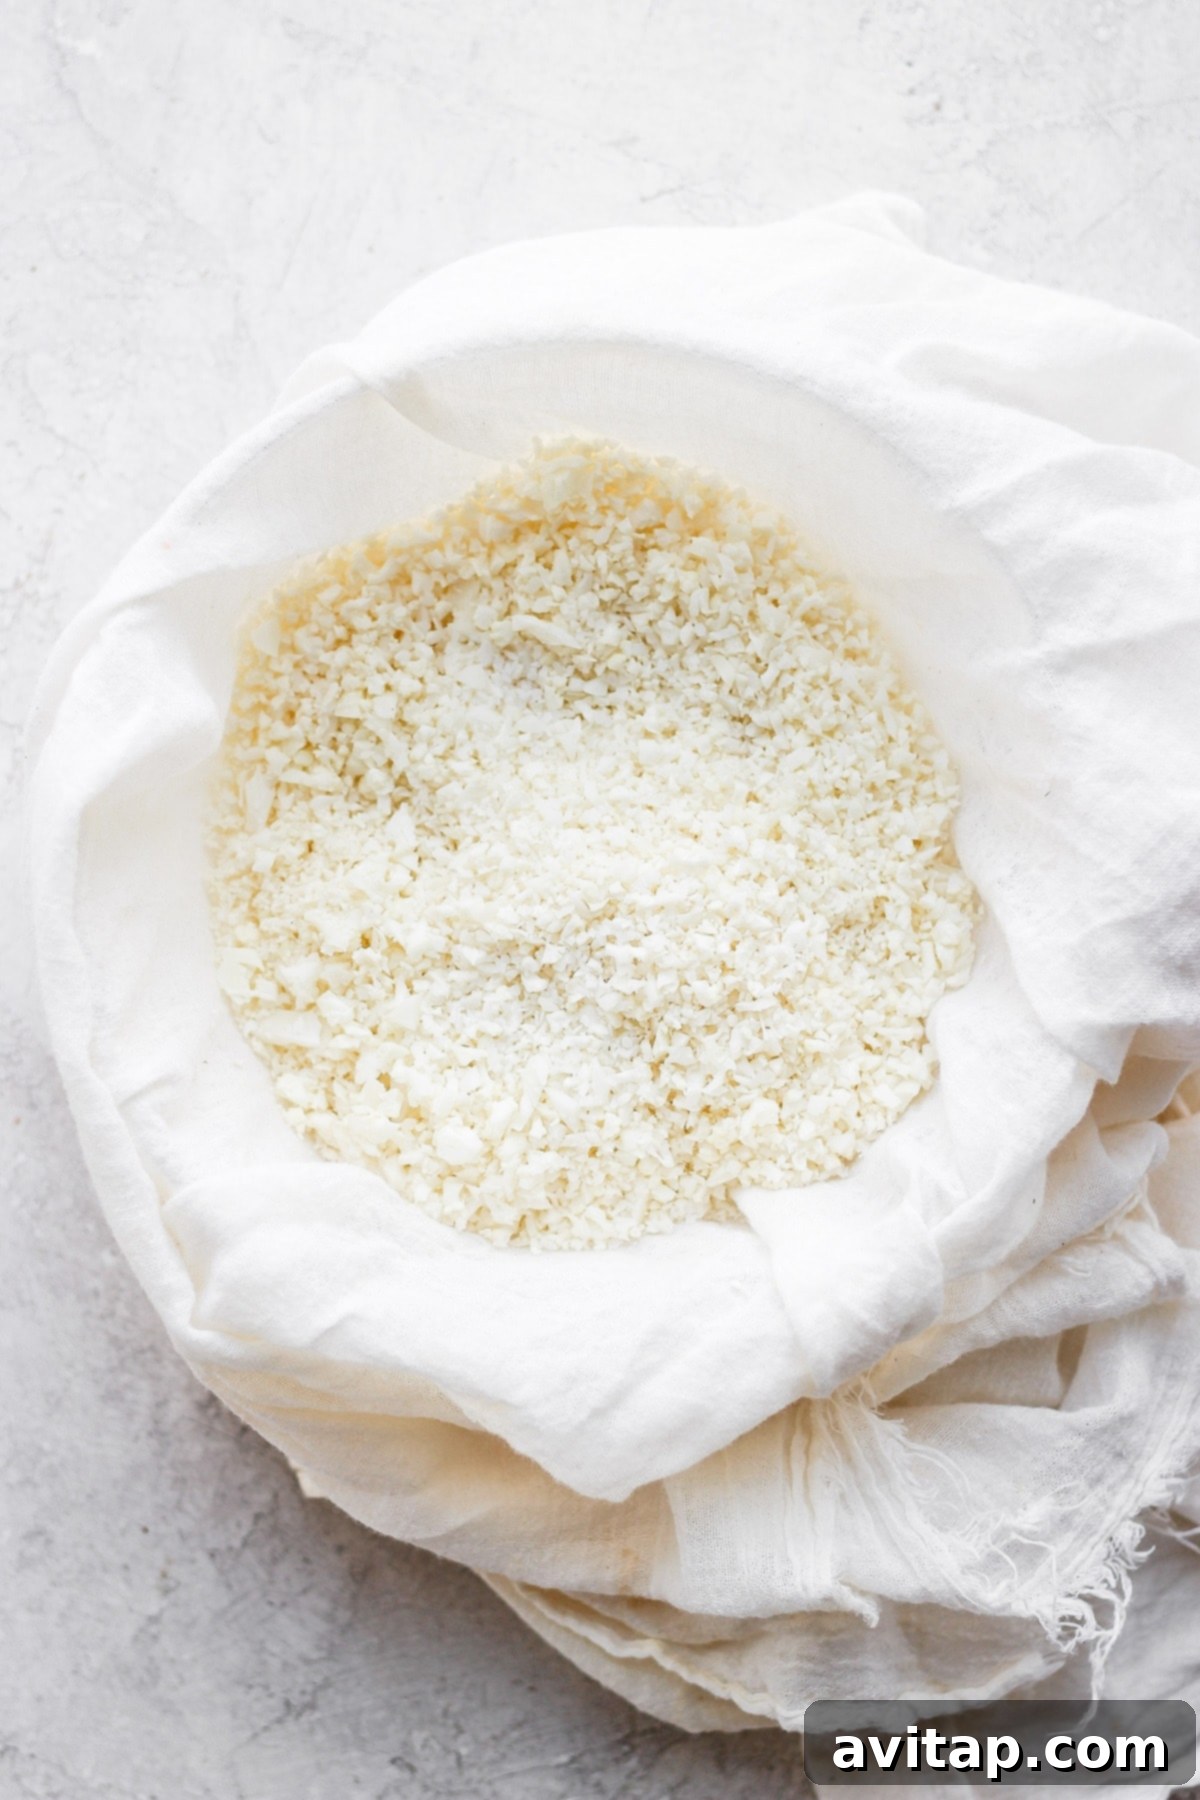
This is arguably the most critical step for achieving a truly crispy, non-mushy cauliflower crust. Cauliflower naturally holds a lot of water, and if you don’t remove this excess moisture, your crust will steam rather than crisp, resulting in a soft, undesirable texture. Nobody wants a soggy pizza crust!
To efficiently draw out the moisture:
- Line a large mixing bowl with a clean tea towel or several layers of cheesecloth.
- Place the cauliflower rice into the center of the towel-lined bowl.
- Sprinkle about 1/8 to 1/4 teaspoon of salt evenly over the cauliflower. The salt helps draw out the water through osmosis.
- Gently mix the salt into the cauliflower rice and let it rest for 5-10 minutes.
- After resting, gather the edges of the tea towel or cheesecloth, forming a tight ball around the cauliflower rice.
- Over the bowl, firmly squeeze out as much liquid as possible. You’ll be surprised by how much water comes out! Continue squeezing until the cauliflower rice feels quite dry and crumbly.
Pro Tip: The drier your cauliflower rice, the crispier your finished crust will be. Don’t be shy with the squeezing!
Achieving the Best Cauliflower Rice Texture
The secret to a strong, cohesive cauliflower pizza crust lies in the texture of your cauliflower rice. Finely processed cauliflower rice is paramount. Smaller, more uniform pieces bind together more effectively, creating a sturdier base that won’t fall apart.
Homemade Cauliflower Rice Tips
If you’re preparing homemade cauliflower rice for this recipe, follow our homemade cauliflower rice recipe, but extend the processing time by an additional minute or two. Aim for a consistency where all the pieces are finely shredded, resembling couscous, rather than larger, irregular chunks.
Using Store-Bought Cauliflower Rice
Even if you purchase pre-riced cauliflower from the grocery store, it’s often beneficial to give it a quick pulse in a food processor or blender. If you notice any larger chunks, process it until all the cauliflower pieces are uniformly fine. This extra step ensures a superior crust texture.
Step 2: Combining Ingredients and Adding the Egg
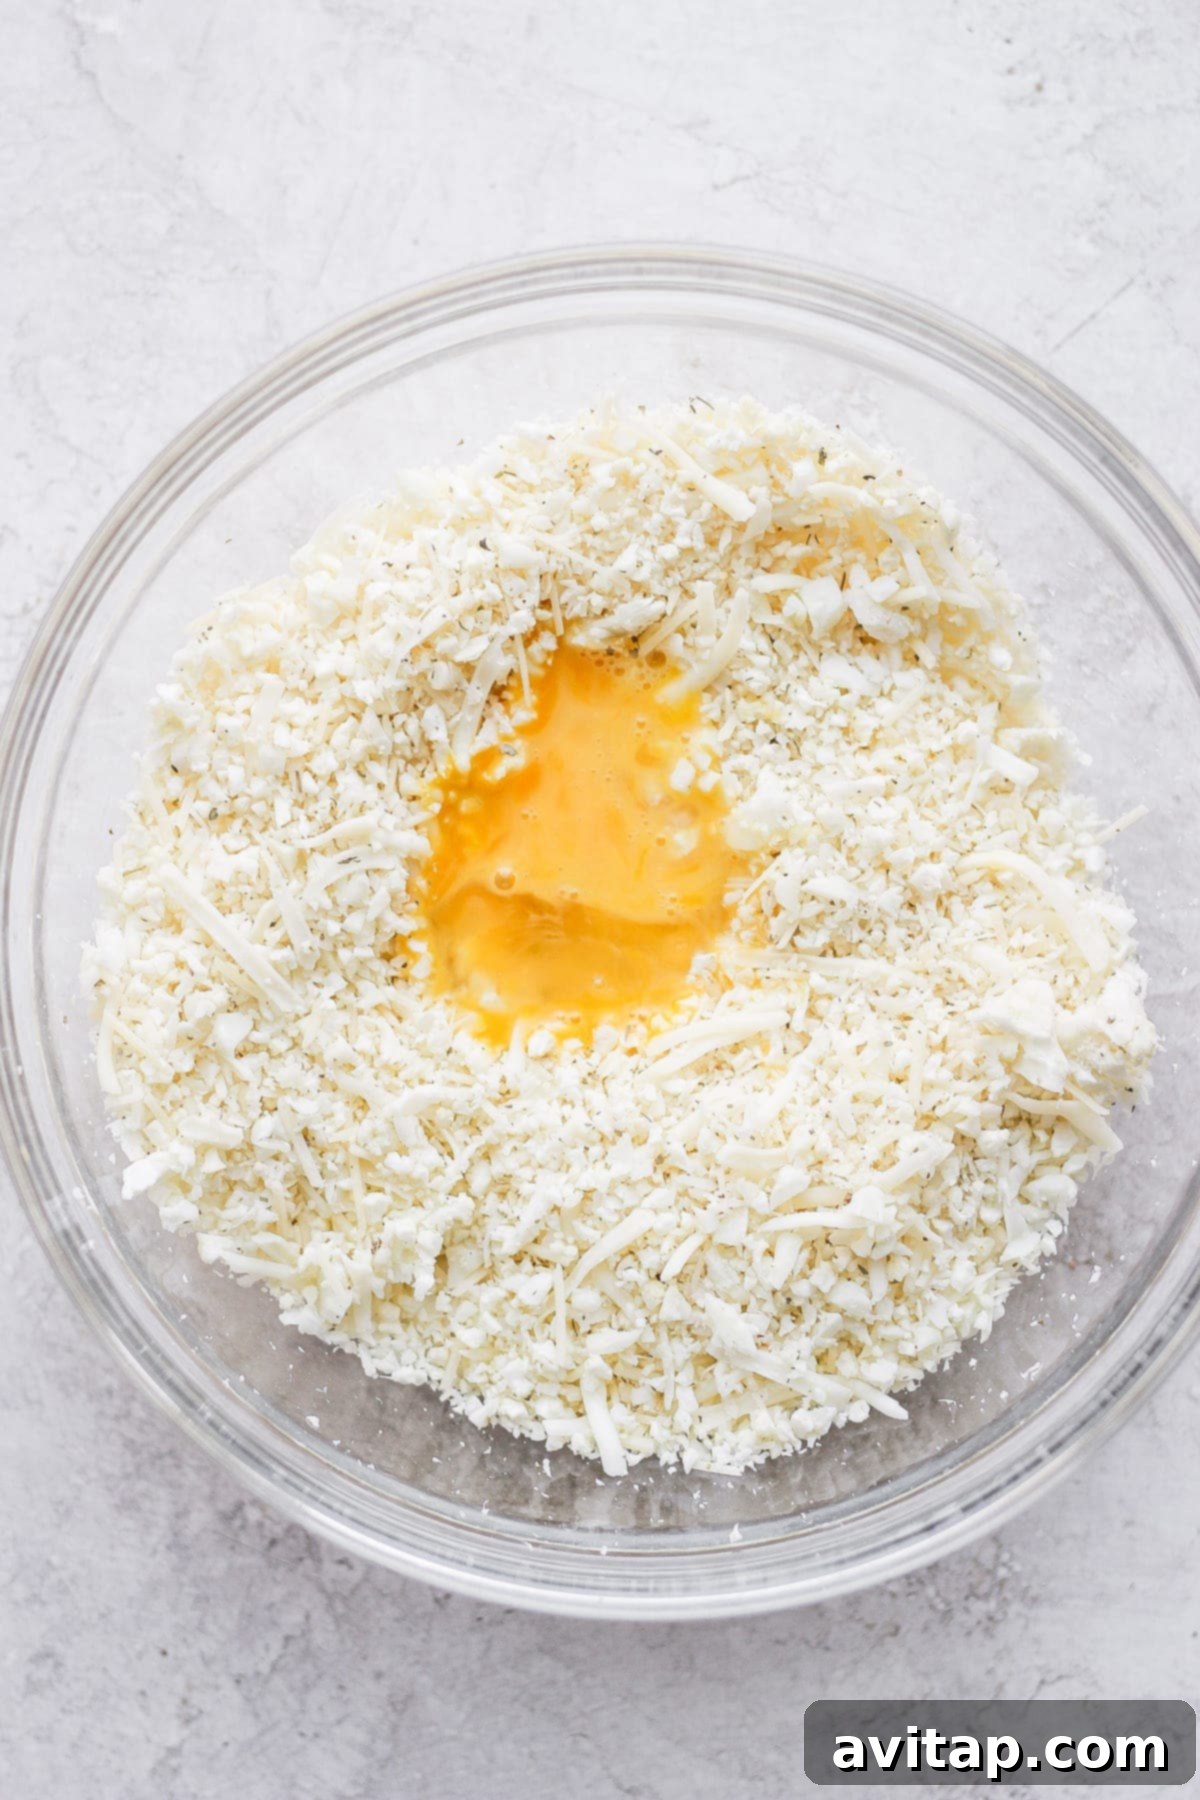
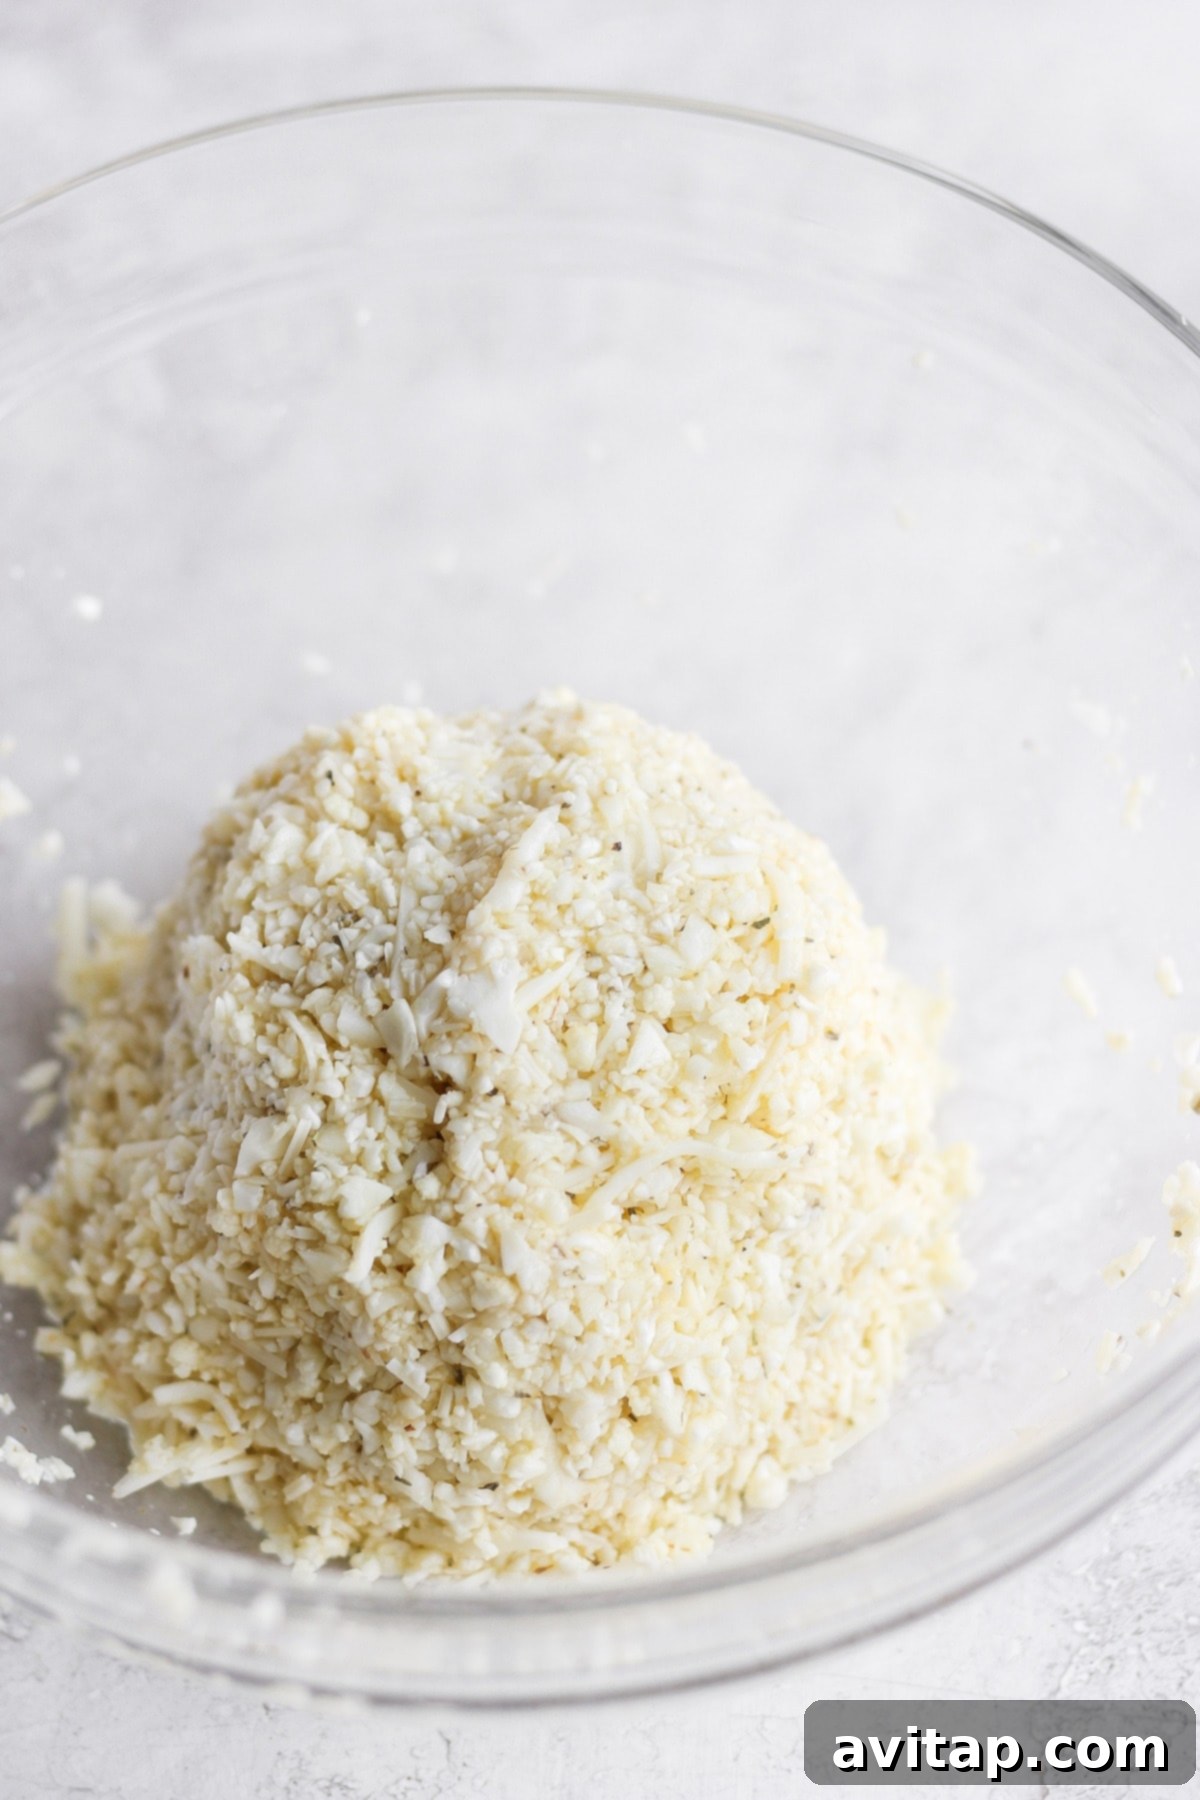
Once your cauliflower rice is thoroughly dry, it’s time to bring all the delicious components together. In a large mixing bowl, combine the dried cauliflower rice, shredded mozzarella, grated parmesan, Italian seasoning, garlic powder, and red pepper flakes. Mix all these ingredients thoroughly until they are well combined and evenly distributed.
In a separate small bowl, lightly whisk the large egg. Then, pour the whisked egg into the cauliflower mixture and mix again. The egg will act as a binding agent, helping the mixture stick together to form a coherent crust. Ensure the egg is fully incorporated into the mixture.
Personalize Your Crust with More Spices
Our recipe uses a classic, simple seasoning blend of Italian seasoning, garlic powder, and red pepper flakes, which yields fantastic results. However, don’t hesitate to customize your crust! Feel free to incorporate any of your favorite dried spices to match your pizza toppings or personal taste. Onion powder, smoked paprika, or even a touch of dried oregano can add wonderful depth.
Step 3: Forming the Pizza Crust
Now comes the fun part: shaping your pizza crust! Once all the ingredients are thoroughly mixed, use your hands to gather the cauliflower mixture. It won’t form a perfectly smooth, elastic dough like traditional wheat-based pizza crust, so don’t be alarmed if it feels crumbly at first. Just gather it into a ball-like shape as best you can.
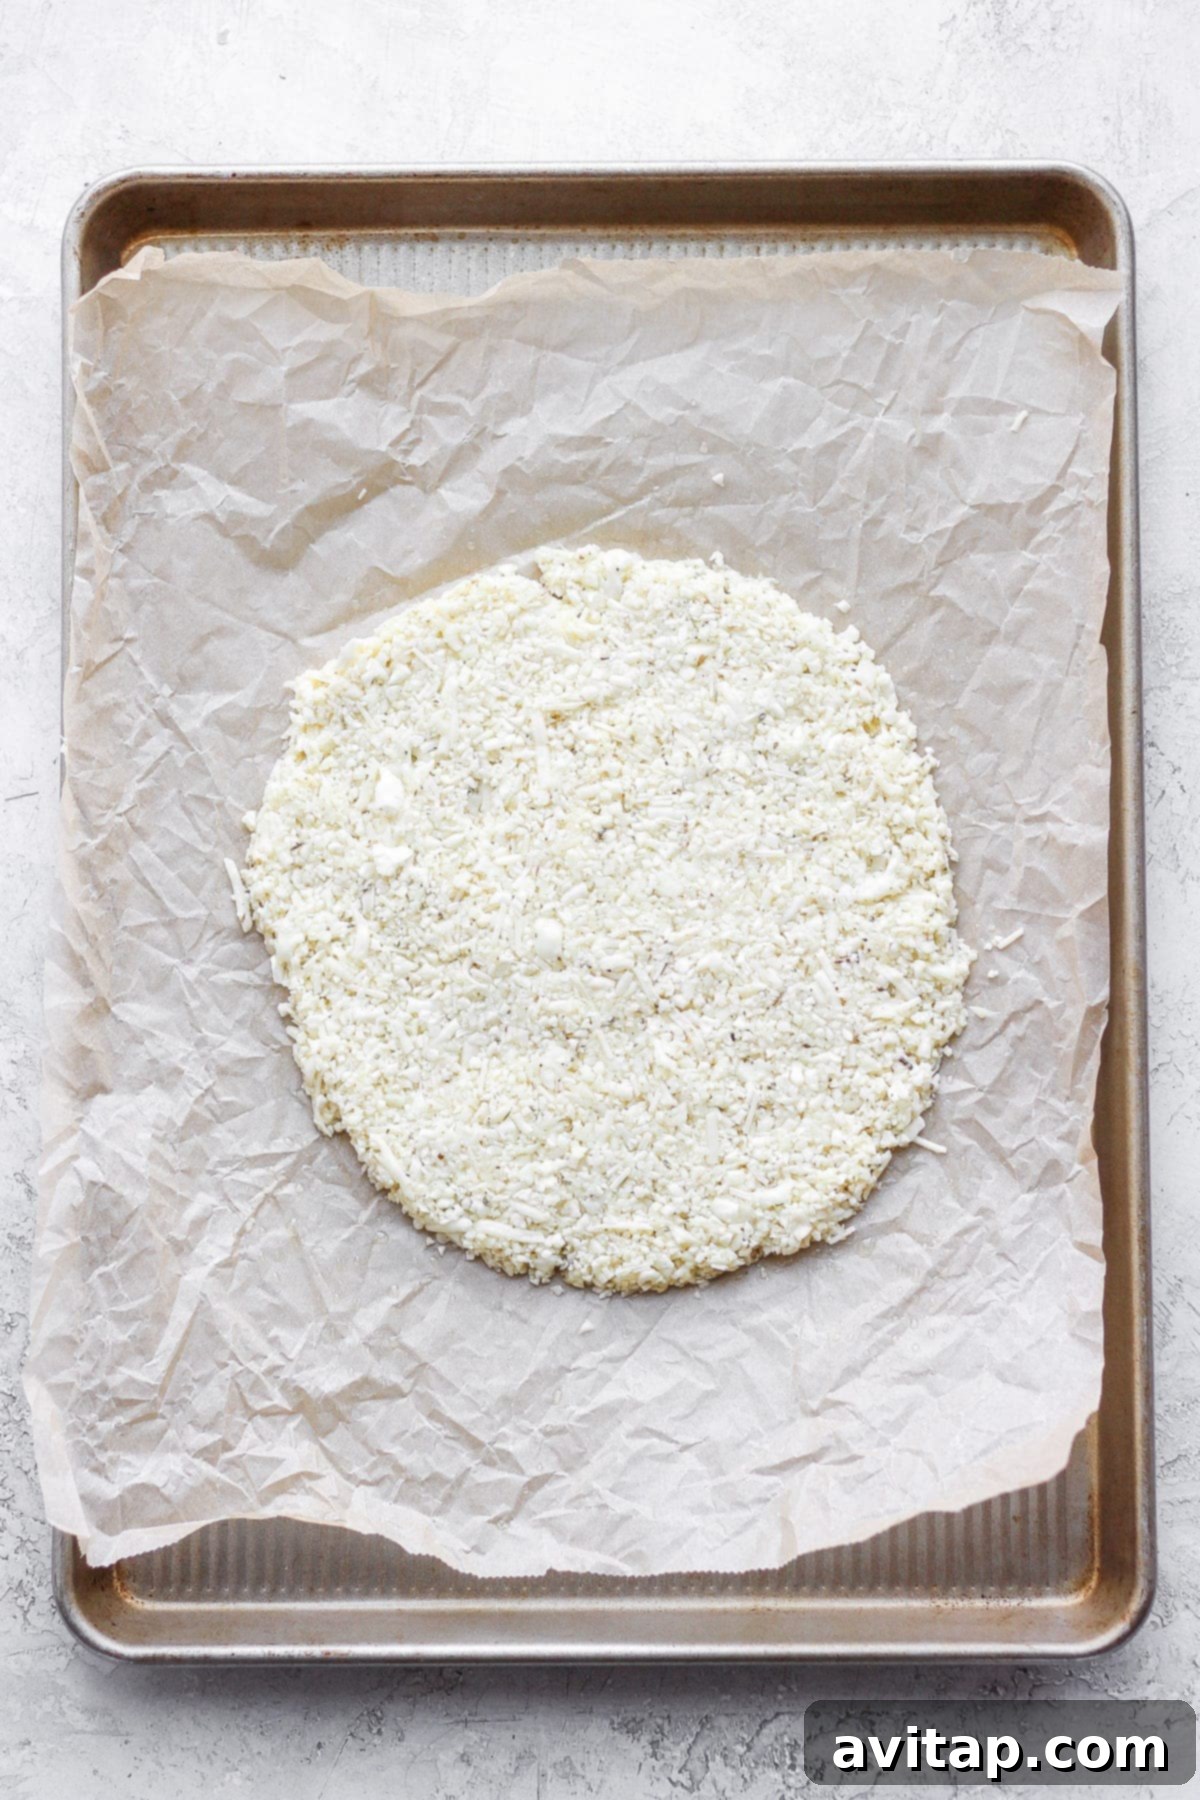
Important step for non-sticking and crispiness: Before placing the cauliflower mixture onto your prepared baking sheet, drizzle one tablespoon of olive oil directly onto the parchment paper. Spread it lightly to create an even layer.
Carefully pick up the cauliflower mixture with both hands and place it onto the olive-oil-drizzled parchment paper. Use your hands to firmly press the mixture down and out, forming a circular shape. Aim for a thickness of about 1/8 to 1/4 inch. Ensure there are no gaps or thin spots in the crust – a consistent thickness promotes even baking and crispiness. Pay attention to the edges, shaping them neatly.
For that extra golden crunch: Drizzle the remaining tablespoon of olive oil evenly over the top surface of the formed cauliflower pizza crust before it goes into the oven. This helps achieve a beautiful golden-brown color and enhanced crispiness.
Step 4: Initial Bake for Firmness
With your cauliflower crust perfectly formed and drizzled with olive oil, it’s time for its first bake. Carefully transfer the baking sheet with the crust into your preheated oven. Bake the crust for 20 minutes at 375ºF (190ºC). This initial bake helps to firm up the crust, allowing it to hold its shape before the crucial flipping stage.
The Non-Negotiable Necessity: Parchment Paper
It’s tempting to cut corners sometimes, especially when you’re eager to get dinner on the table. However, in this recipe, skipping the parchment paper is not an option! Parchment paper is absolutely essential. It prevents the crust from sticking to the baking sheet, makes the flipping process infinitely easier, and contributes to the overall even browning and crispiness. Always use it!
Step 5: The Essential Flip for Even Crispiness
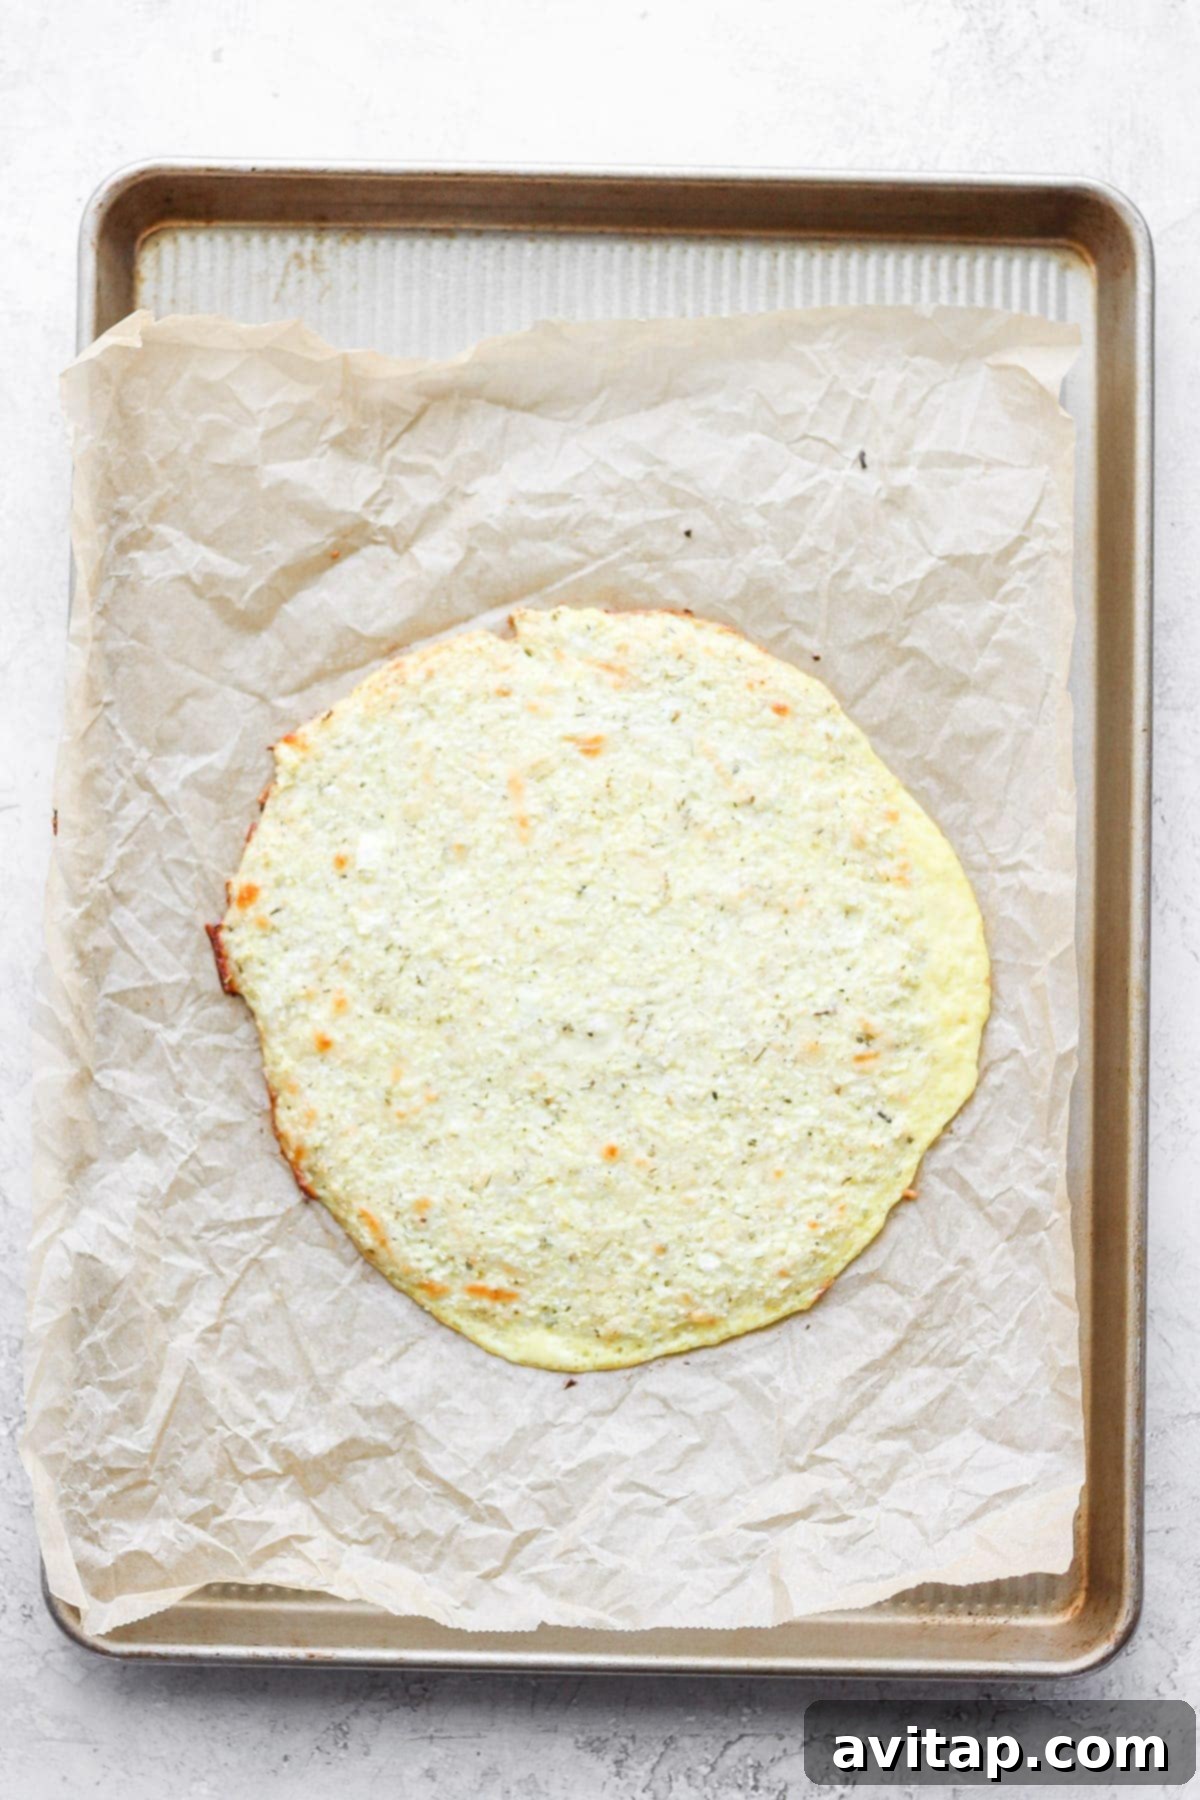
This might be the most crucial step for achieving that coveted all-around crispy texture. Flipping the cauliflower crust ensures that both sides bake evenly and develop a beautiful golden-brown finish. Without this step, one side would remain softer.
To safely and successfully flip your partially baked crust:
- Carefully remove the baking sheet from the oven after the initial 20 minutes.
- Lay another piece of parchment paper directly on top of the cauliflower pizza crust.
- Place a flat cutting board or a second baking sheet over the top piece of parchment paper, essentially creating a “sandwich” with the crust in the middle.
- With a quick, confident motion, carefully flip the entire assembly (baking sheet, parchment, crust, new parchment, cutting board) over. The crust should now be resting on the new parchment paper, with its unbaked side facing up.
- Remove the original, now-empty baking sheet and the first piece of parchment paper.
- Slide the new parchment paper (with the flipped crust) back onto the baking sheet.
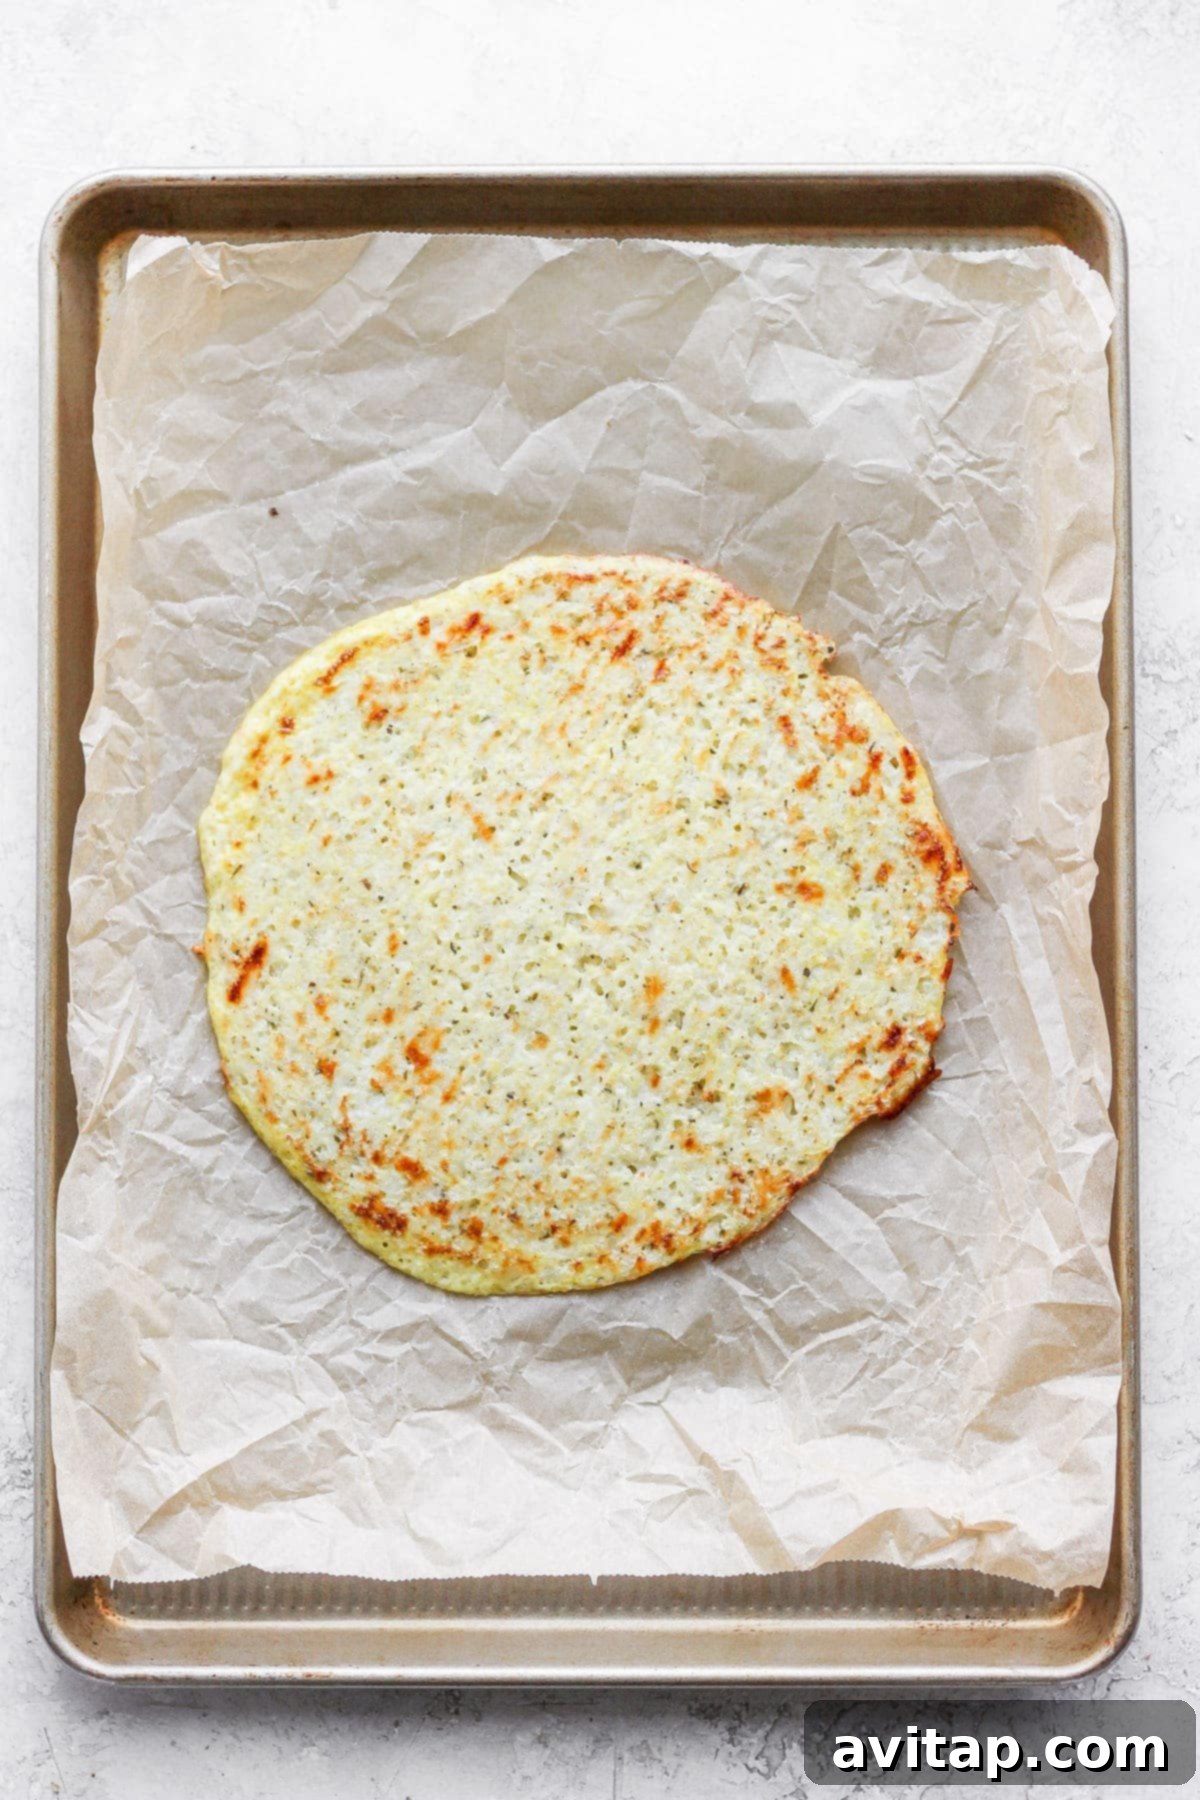
- Return the baking sheet to the oven and bake for an additional 10-12 minutes, or until the second side of the crust is beautifully golden brown and crispy. Keep a close eye on it during these last few minutes, as ovens can vary.
Step 6: Adding Your Favorite Toppings and Final Bake
Once your cauliflower crust has achieved that perfect golden crispiness on both sides, remove it from the oven. Allow it to rest for 5-10 minutes on the baking sheet before adding your chosen toppings. This short rest helps the crust set and prevents it from becoming soggy once the sauce and cheese are applied.
The beauty of homemade pizza is the freedom to get creative with toppings! While we opted for classic pizza sauce, mozzarella cheese, and pepperoni on our cauliflower pizza crust, the possibilities are endless. Don’t be afraid to experiment and personalize your pie!
Inspiring Pizza Topping Combinations:
- Mediterranean Delight: Pesto base, fresh mozzarella, halved cherry tomatoes, and a sprinkle of feta.
- Hearty Italian Classic: Marinara sauce, crumbled Italian sausage, sautéed bell peppers, and a generous layer of provolone and mozzarella.
- Veggie Garden Feast: Marinara base, sliced black olives, earthy mushrooms, diced onions, and a blend of mozzarella and parmesan.
- BBQ Chicken Twist: BBQ sauce as the base, shredded cooked chicken, red onion, cilantro, and cheddar-jack cheese.
- Spicy Hawaiian: Marinara, mozzarella, ham, pineapple, and a dash of hot sauce or jalapeños for an extra kick.
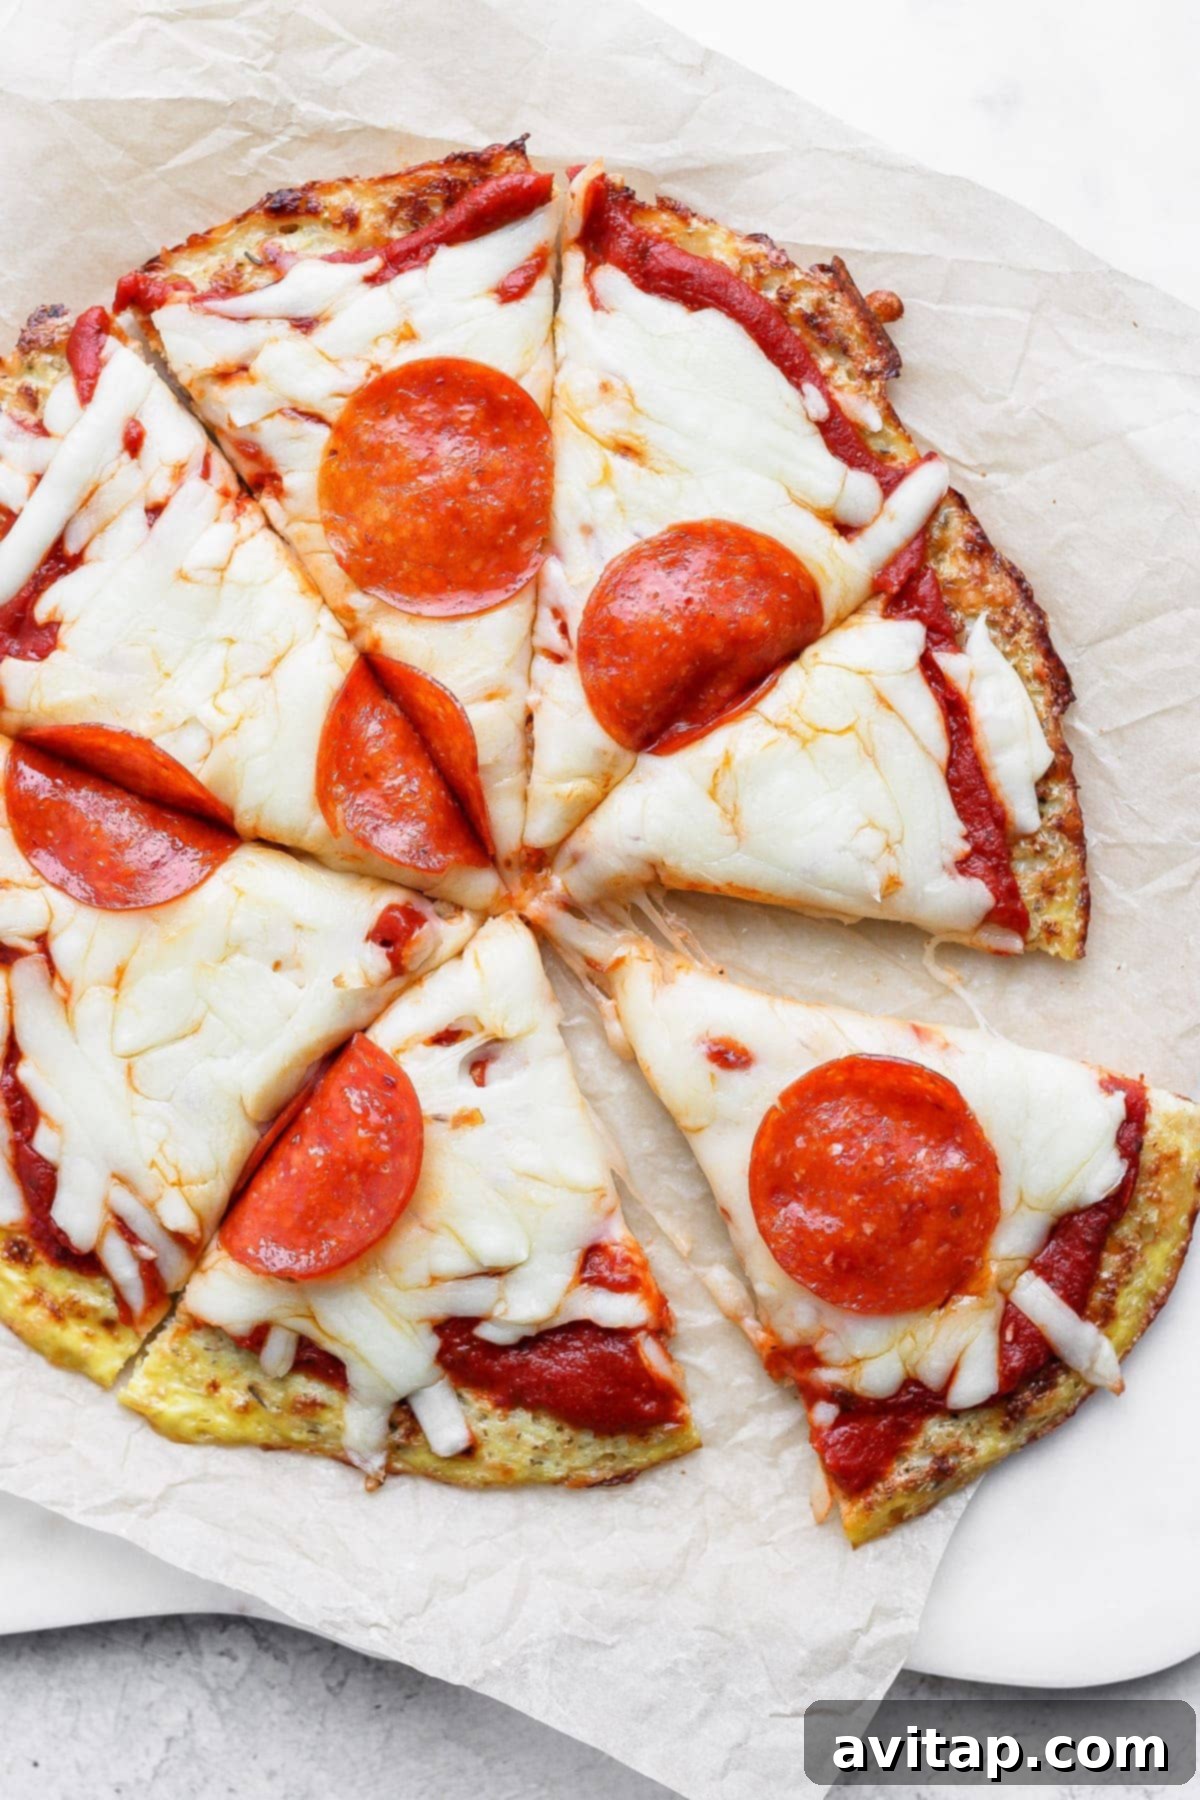
After loading your crust with desired toppings, return the pizza to the oven for an additional 10-15 minutes, or until the cheese is bubbling and melted, and the toppings are heated through. Garnish with fresh herbs like basil if desired, then slice and enjoy your incredibly delicious, homemade cauliflower pizza!
Pro Tips for Cauliflower Pizza Crust Perfection
- Don’t Rush Moisture Removal: This step truly makes or breaks the crust. Squeeze out every last drop of liquid from the cauliflower rice for the crispiest result.
- Fine Cauliflower Rice is Key: Whether homemade or store-bought, ensure your cauliflower is processed into a fine, couscous-like consistency. This helps it bind properly and prevents a crumbly crust.
- Proper Thickness: Aim for a crust thickness of 1/8 to 1/4 inch. Too thin, and it might break; too thick, and it could be less crispy. Consistency is important for even baking.
- Embrace Parchment Paper: It’s your best friend for this recipe! It ensures a non-stick surface and makes the crucial flipping step effortless.
- Pre-Bake the Crust: Do not skip the initial bake without toppings. This step sets the crust, making it firm enough to handle toppings and ensuring it gets properly crispy.
- The Flipping Technique: The two-parchment-paper, cutting-board method is the safest and most effective way to flip the crust without breaking it. Be confident with your flip!
- Rest Before Topping: Letting the crust rest for 5-10 minutes after the second bake allows it to firm up further before you add sauce and cheese, preventing sogginess.
- Hot Oven for Toppings: When you add toppings and return the pizza to the oven, ensure the oven is still hot. This helps melt the cheese quickly without overcooking the crust.
Storage and Reheating Tips
If you happen to have any leftover cauliflower pizza (a rare occurrence!), proper storage will help maintain its deliciousness.
- Storing Leftovers: Allow the pizza to cool completely before storing. Place slices in an airtight container or wrap them tightly in plastic wrap. Refrigerate for up to 3-4 days.
- Freezing Unbaked Crust: You can prepare the crust through Step 5 (flipping and baking the second side), let it cool completely, then wrap it tightly in plastic wrap and aluminum foil. Freeze for up to 1-2 months. When ready to use, bake from frozen at 375°F (190°C) for 10-15 minutes until heated through, then add toppings and bake as usual.
- Reheating Leftovers: For best results, reheat leftover slices in a toaster oven or on a baking sheet in a conventional oven at 350°F (175°C) for 5-10 minutes, or until warmed through and the crust is crispy again. Microwaving is not recommended as it can make the crust soggy.
Frequently Asked Questions About Cauliflower Pizza Crust
- Can I use frozen cauliflower rice?
- Yes, you can! However, frozen cauliflower rice tends to contain even more moisture than fresh. Be extra diligent in the moisture extraction step, squeezing until it’s as dry as possible. Thaw it completely and press out excess water before salting.
- My crust is crumbly, what went wrong?
- A crumbly crust is usually due to insufficient moisture removal from the cauliflower or not enough binding agent (egg). Ensure your cauliflower rice is very dry, and if necessary, add a second egg. Also, make sure the cauliflower is finely processed.
- How do I get my cauliflower crust crispy?
- Key factors for crispiness include: thoroughly drying the cauliflower, using olive oil on the parchment and crust, pre-baking the crust before toppings, and flipping it halfway through the initial bake to crisp both sides.
- Is this crust suitable for a keto or low-carb diet?
- Absolutely! Cauliflower is naturally low in carbohydrates, making this crust an excellent choice for keto and low-carb lifestyles. The primary carbs come from the cauliflower itself, which is much lower than traditional flour-based crusts.
- Can I make this crust ahead of time?
- Yes, you can bake the crust completely (through the flipping stage) and let it cool. Store it in an airtight container in the fridge for up to 2-3 days, or freeze it as described above. When ready to use, simply add toppings and bake.
More of our Favorite…
Delicious Pizza Recipes
- BBQ Chicken Pizza with Caramelized Onions
- Naan Breakfast Pizza
- Easy Grilled Sweet Potato Pizzas
Cauliflower Pizza Crust
Add this crispy, golden-brown cauliflower pizza crust recipe to your menu this week and top it with all your favorite ingredients for a healthy, satisfying meal!
By: Linley Hanson
Prep: 10 mins
Cook: 30 mins
Total: 40 mins
Servings: 4

Ingredients
For the Pizza Crust
- 3 cups cauliflower rice, finely processed*
- 1 tablespoon granulated garlic
- 2 teaspoons Italian seasoning
- 1 teaspoon red pepper flakes
- ½ teaspoon salt
- ½ cup shredded mozzarella
- ½ cup shredded parmesan cheese
- 1 large egg*
- 2 tablespoon olive oil, separated
For the Toppings (Optional)
- ¾ cup pizza sauce
- 1 cup shredded mozzarella cheese
- ⅓ cup pepperoni
- Fresh basil for garnish
Instructions
- Preheat your oven to 375ºF (190ºC). Line a baking sheet with parchment paper and drizzle 1 tablespoon of olive oil evenly over the parchment.
- To remove moisture from the cauliflower rice, place it in a large bowl lined with a clean tea towel. Sprinkle with salt.
- Let the cauliflower rice sit for 5 minutes, then gather the towel edges and squeeze out as much excess liquid as possible. Discard the liquid.
- In a large bowl, combine the dried cauliflower rice, Italian seasoning, red pepper flakes, salt, shredded mozzarella, and parmesan cheese. Mix well until all ingredients are thoroughly combined.
- In a separate small bowl, lightly scramble the egg. Add the scrambled egg to the cauliflower mixture and mix again until fully incorporated.
- Once all ingredients are combined, use your hands to gather the cauliflower mixture and form it into a ball shape.
- Place the cauliflower mixture onto the olive-oil-drizzled parchment paper on the baking sheet. Use your hands to firmly press and spread the mixture into a circular crust, about 1/8 to 1/4 inch thick. Ensure consistent thickness for even baking.
- Drizzle the remaining 1 tablespoon of olive oil over the top of the formed crust and spread it evenly.
- Place the baking sheet with the crust into the preheated oven and bake for 20 minutes at 375ºF (190ºC).
- Remove the crust from the oven. Place another piece of parchment paper directly on top of the crust, then carefully place a cutting board over it. With a swift, careful motion, flip the entire assembly over. Remove the top baking sheet and the original parchment paper.
- Return the baking sheet (with the newly flipped crust on fresh parchment) to the oven for an additional 10-12 minutes, or until the second side of the crust is golden brown and crispy.
- Remove the baked crust from the oven and let it rest on the baking sheet for 10 minutes before adding any toppings.
- Spread your desired pizza sauce evenly over the crust. Sprinkle with mozzarella cheese and add pepperoni or your preferred toppings.
- Return the pizza to the oven for an additional 10 minutes, or until the mozzarella cheese is fully melted and bubbly.
- Remove from the oven, garnish with fresh basil (if using), slice, and serve immediately.
Tips & Notes
- Cauliflower Rice Consistency: For the crispiest crust, ensure your cauliflower rice is very finely processed. If using store-bought, a quick pulse in a food processor might be necessary.
- Egg Adjustment: If your pizza crust isn’t binding well, or if you’re using store-bought cauliflower rice (which can vary in moisture), you might need to add a second large egg. Freshly made cauliflower rice from a powerful food processor often requires only one egg due to its finer texture.
Nutrition
Calories: 221 kcal, Carbohydrates: 12 g, Protein: 11 g, Fat: 15 g, Fiber: 3 g, Sugar: 4 g
Nutrition information is automatically calculated and should only be used as an approximation.
Shop This Post
Baking Sheet
Nesting Bowls
Love this recipe? Leave a comment below!
Don’t forget to tag your posts on social media with the hashtag #fitfoodiefinds, we’d love to see what you’re up to!
Photography by: The Wooden Skillet