
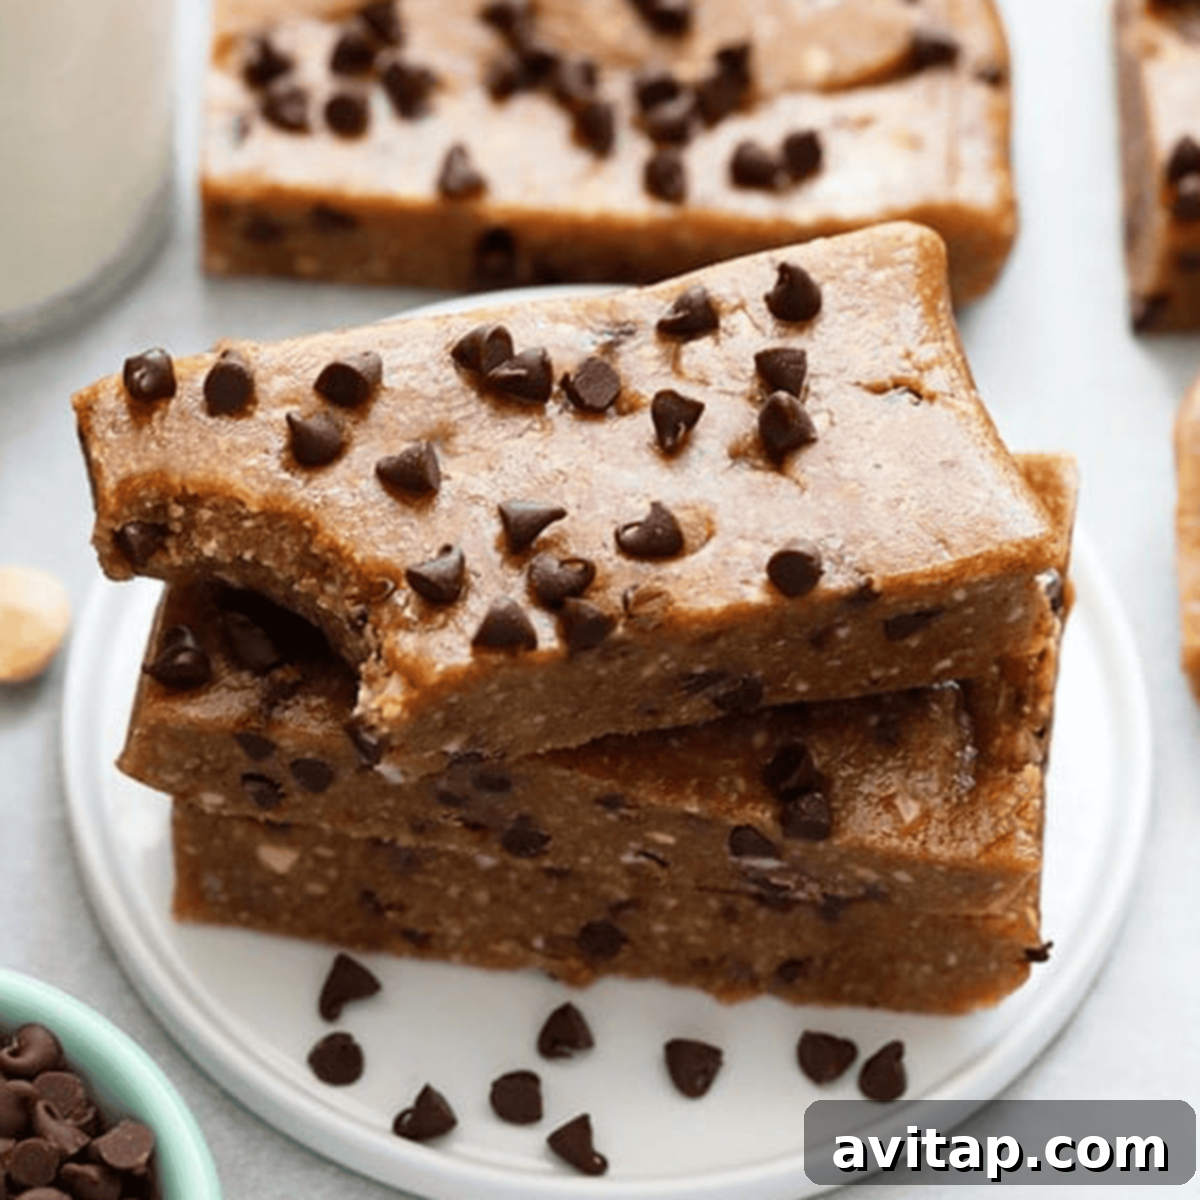
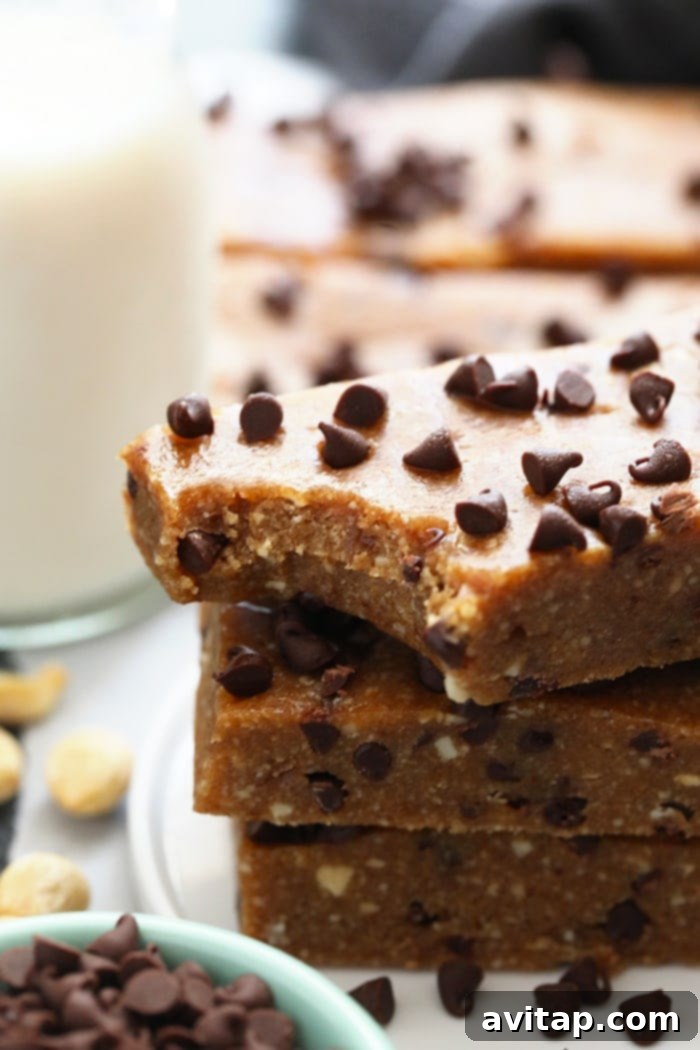
Craving a wholesome, satisfying snack that’s packed with flavor and made with ingredients you trust? Look no further! With just four simple, real-food ingredients, you can whip up a batch of these incredibly delicious homemade Peanut Butter Chocolate Chip Larabars. A long-time fan of Larabars, I was amazed to discover just how easy it is to recreate their magic right in my own kitchen.
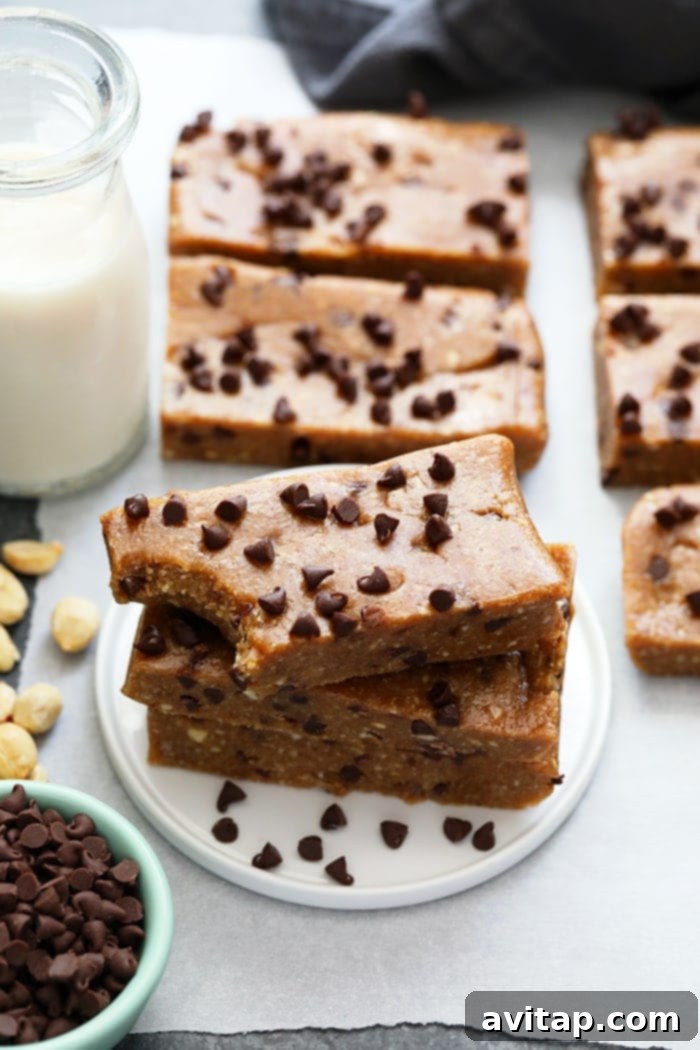
My college years were practically fueled by Larabars. Their minimal, clean ingredient lists were a huge draw, and I found myself buying them every single week. That passion sparked an idea: why not make our own copycat Larabars? What started as an experiment quickly turned into a revelation. Friends, these are so GOOD, and the best part is, they’re unbelievably EASY to make!
Save Money with Homemade Larabars!
Did you know that making your own homemade Larabars can save you a significant amount of money? By purchasing your ingredients in bulk, you can craft these delectable bars for less than $1 per bar! That’s a massive win for your wallet and your health.
Many natural food stores and co-ops, like Whole Foods and Fresh Thyme, feature fantastic bulk sections where you can find high-quality Medjool dates, peanuts, and other essentials at a fraction of the pre-packaged cost. It’s definitely worth exploring these sections; you’ll be pleasantly surprised by the savings and variety available!
Essential Ingredients for Your Homemade Peanut Butter Chocolate Chip Larabars
Crafting these healthy, no-bake snack bars requires only a handful of ingredients, each playing a crucial role in achieving that perfect Larabar texture and flavor. Here’s what you’ll need:
- Medjool Dates: These are truly the heart and soul of this homemade Larabar recipe. Medjool dates provide natural sweetness and, most importantly, act as the binding agent that holds everything together. For the best results, always use soft, fresh Medjool dates. If your dates happen to be older or a bit firm, you might need to soak them in warm water for a few minutes or add a teaspoon or two of water to your food processor to achieve the right consistency. Their natural caramel-like flavor is irresistible!
- Unsalted Peanuts: Ground with the dates, unsalted peanuts deliver that classic, rich, and indulgent nutty flavor that pairs so perfectly with chocolate. They also contribute to the satisfying texture of these peanut butter bars. Using unsalted peanuts gives you complete control over the final saltiness.
- Mini Chocolate Chips: Is there a better combination than peanut butter and chocolate? We think not! Mini chocolate chips are ideal here as they distribute evenly throughout the bars, ensuring every bite is a delightful mix of sweet and nutty. Feel free to use your favorite type – dark, semi-sweet, or even dairy-free for a truly vegan Larabar.
- Sea Salt: A small pinch of sea salt is a game-changer. It doesn’t just add a hint of saltiness; it beautifully enhances and balances the sweetness of the dates and chocolate, elevating all the flavors. Don’t skip this crucial ingredient!
A Must-Have Tool: Food Processor
To blend all these fantastic ingredients into a smooth, uniform “dough,” a powerful food processor is absolutely essential. It effortlessly pulverizes the dates and peanuts, ensuring your copycat Larabars come out with that signature soft and chewy texture.
Where to Find the Best Medjool Dates for Your Larabars
The quality of your Medjool dates significantly impacts the success of your homemade Larabars. We highly recommend purchasing them from the produce section of your grocery store, health food market, or specialty store. Dates found in the produce aisle are typically much fresher, softer, and more pliable compared to those sold in pre-packaged boxes near dried fruits.
The softer the dates, the easier they will be to process into a smooth paste, which is vital for the perfect bar consistency. Look for plump, glossy dates without any hard spots. If your dates aren’t perfectly soft, a quick soak in warm water (about 5-10 minutes) can often revive them, making them easier to blend.
What Our Fans Are Saying!
“OMGGGGG I JUST MADE THEM AND HOLYYYYY THEY TASTE SO GOOODDDD I LOVE HOW INEXPENSIVE THIS RECIPE WAS AND HOW EASY IT WAS!! NGL BLENDING THE DATES AND PEANUTS TOOK A BIT OF TIME BUT WHEN IT FINALLY BLENDED I WAS SO HAPPYYYYYY! THE BARS ARE SO NICE AND MOIST I WILL DEFINITELY MAKE AGAIN! THANK YOU FOR THIS RECIPE!!” – Yoshi
This kind of feedback truly makes our day! It highlights exactly what we love about these easy no-bake bars: they’re incredibly delicious, budget-friendly, and a joy to make, even with a little patience for the food processor.
Ingredient Swaps and Creative Variations for Your DIY Larabars
One of the best aspects of making homemade energy bars is the freedom to customize them! While the Peanut Butter Chocolate Chip combination is a beloved classic, you can easily adapt this recipe to create a variety of flavors and cater to different dietary needs or preferences.
Nut Substitutions: If peanuts aren’t your preference, or you’re looking to explore other flavors, feel free to swap them out:
- Cashews: For a creamy, subtly sweet bar, replace peanuts with cashews. Our 3-Ingredient Cashew Date Bars are a testament to how delicious this swap can be, replicating the popular cashew cookie Larabar flavor.
- Almonds: Almonds offer a slightly earthier, more robust flavor. Using them will create a delightful homemade almond Larabar, reminiscent of almond cookie or apple pie varieties.
- Other Nuts & Seeds: Experiment with walnuts, pecans, or even a mix of nuts. For a nut-free version, consider using sunflower seeds or pumpkin seeds, though the texture might vary slightly.
Exciting Mix-Ins: Elevate your DIY Larabars with additional ingredients for extra flavor, texture, and nutrition:
- Dried Fruit: Beyond dates, incorporate other dried fruits like cranberries, apricots, raisins, or dried cherries for a burst of fruitiness. Just be mindful of their moisture content.
- Coconut Flakes: Add shredded or flaked coconut for a tropical twist and added texture. Toasted coconut can impart an even deeper flavor.
- Protein Powder: For an extra boost of nutrition, especially if you’re using these as a post-workout snack, mix in a scoop of your favorite vanilla or unflavored protein powder. Adjust the liquid slightly if the mixture becomes too dry.
- Spices: A pinch of cinnamon, nutmeg, or pumpkin spice can transform your bars into seasonal treats.
- Extracts: A few drops of vanilla extract, almond extract, or peppermint extract can introduce wonderful aromatic notes.
Don’t be afraid to get creative! These bars are incredibly forgiving and serve as a fantastic base for all sorts of delicious and healthy snack experiments.
How to Properly Store Your Homemade Larabars for Lasting Freshness
Once you’ve made a batch of these delectable healthy snack bars, proper storage is key to keeping them fresh, flavorful, and ready for whenever a craving strikes. These bars are incredibly versatile in their storage options, making them perfect for meal prep!
Room Temperature: If you’re packing these bars for on-the-go snacks, they hold up wonderfully at room temperature. Store them in an airtight container or individual sealed bags for up to 5 days. This makes them ideal for lunchboxes, gym bags, or quick grabs before heading out the door.
Refrigerator: For extended freshness, keep your homemade Larabars in an airtight container in the refrigerator. They will stay fresh and delicious for up to 2 weeks. Chilling them can also create a slightly firmer, chewier texture, which many people enjoy.
Freezer: For longer-term storage and to always have a healthy snack on hand, these bars freeze beautifully. Simply wrap each bar individually in plastic wrap or parchment paper, then place them in an airtight freezer-safe container or bag. They can be stored in the freezer for up to 3 months. When you’re ready to enjoy one, simply take it out and let it thaw at room temperature for a few minutes, or enjoy it chilled directly from the fridge.
With these storage tips, you can ensure your vegan and gluten-free Larabars are always at their peak, offering a convenient and nutritious option whenever hunger strikes.
Looking for more wholesome and delicious options?
Explore More Delicious & Nutritious Bar Recipes
If you loved making these homemade Peanut Butter Chocolate Chip Larabars, you’ll surely enjoy our other fantastic bar recipes. They are perfect for satisfying sweet cravings healthily or as a convenient energy boost throughout your day. Discover your next favorite snack:
- No-Bake Chocolate Coconut Energy Bars
- Peanut Butter Protein Bars
- Copycat Cashew Cookie Larabars
- Chocolate Chip Peanut Crunch Clif Bars
Homemade Peanut Butter Chocolate Chip Larabars
Print Recipe
Ingredients
- 20 Medjool Dates, pitted (ensure they are fresh and soft)*
- 2 cups unsalted peanuts
- 1/2 cup mini chocolate chips
- Pinch of sea salt
Instructions
- First, line an 8×8 inch square cake pan with parchment paper, leaving an overhang on two sides for easy removal. Set aside.
- Next, ensure all 20 Medjool dates are pitted. Add the pitted dates to your food processor.
- Add the unsalted peanuts and sea salt to the food processor with the dates. Blend on high speed until a sticky, uniform “dough” has formed. You may need to stop the processor a few times to scrape down the sides, ensuring everything is thoroughly combined. The mixture should be sticky but not overly wet.
- Transfer the dough mixture into the fridge for about 5 minutes to cool slightly. This brief chilling step is important to prevent the mini chocolate chips from melting when you add them. Once slightly cooled, return the mixture to the food processor, add the mini chocolate chips, and give it one last quick pulse to incorporate them evenly.
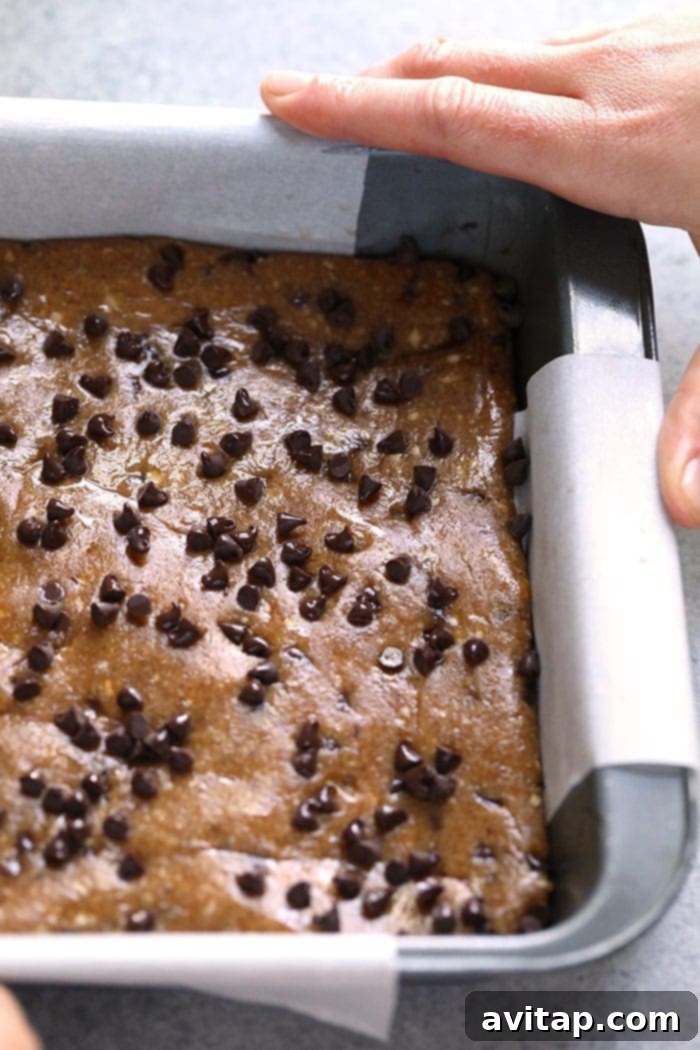
- Transfer the prepared dough into your parchment-lined cake pan. Use your hands to press the mixture out evenly into the pan. For less sticking, you can lightly spray your hands with cooking spray before pressing.
- Place the cake pan in the freezer for 1-2 hours, or until the bars are firm enough to cut.
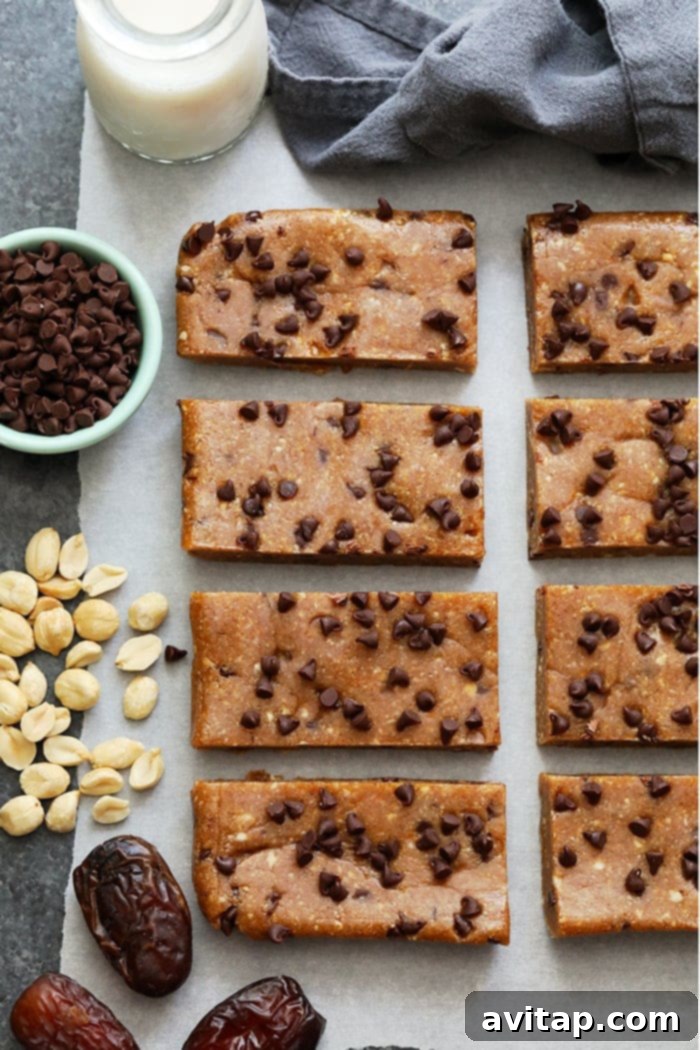
- Remove the pan from the freezer and let it sit at room temperature for about 5 minutes. This allows the bars to slightly soften, making them easier to wiggle out of the pan using the parchment paper overhang. Use a sharp knife to cut the large slab into 8 equally sized bars.
Tips & Notes for Success
- Date Quality is Key: Always prioritize soft, fresh Medjool dates. If your dates are a bit dry or hard, soak them in warm water for 5-10 minutes before pitting and processing. This ensures a smooth, bindable dough.
- Storage: Keep these homemade energy bars fresh by storing them in an airtight container in the refrigerator for up to 2 weeks, or in the freezer for up to 3 months.
- Serving Size Adjustment: If you prefer smaller portions for a lighter snack, feel free to cut each bar in half to yield 16 smaller bars from this recipe.
- Food Processor Power: A sturdy food processor is crucial for achieving the right consistency. If your processor struggles, blend in smaller batches or add a teaspoon of water at a time until the mixture comes together.
Nutrition Information (per bar)
Carbohydrates: 57 g,
Protein: 8 g,
Fat: 17 g,
Fiber: 4 g,
Sugar: 46 g
Nutrition information is automatically calculated and should be used as an approximation. Actual values may vary based on specific ingredients and preparation.
🍫
Loved this recipe? Leave a comment below!
Don’t forget to tag your delicious creations on social media with the hashtag #fitfoodiefinds – we can’t wait to see your homemade Larabars!