
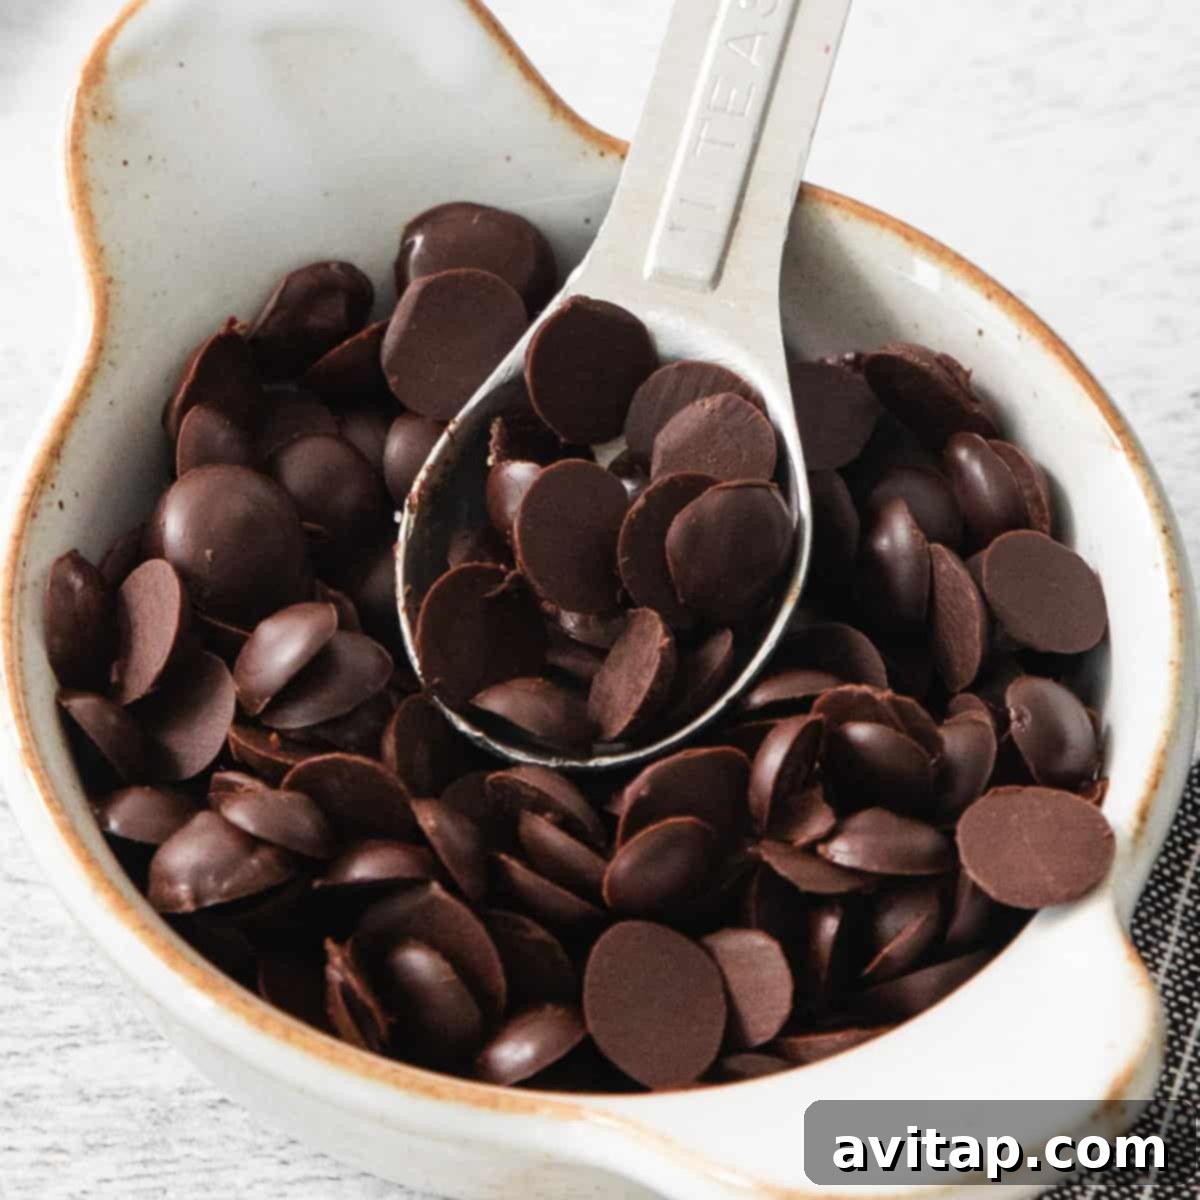
Craving chocolate chips but looking for a healthier, plant-based alternative? Look no further! This simple recipe empowers you to create your very own **dairy-free, gluten-free, and vegan chocolate chips** right in your kitchen. Using just three wholesome ingredients – 100% baking chocolate, coconut oil, and maple syrup – you can easily whip up a batch that’s perfect for all your baking and snacking needs. Say goodbye to store-bought options filled with unwanted additives and hello to pure, homemade goodness.
Whether you’re following a vegan diet, managing allergies, or simply seeking a cleaner treat, these homemade chocolate chips are a game-changer. They’re free from refined sugars and artificial ingredients, offering a customizable sweetness level to perfectly match your preferences. Plus, making them at home is incredibly satisfying and surprisingly straightforward.
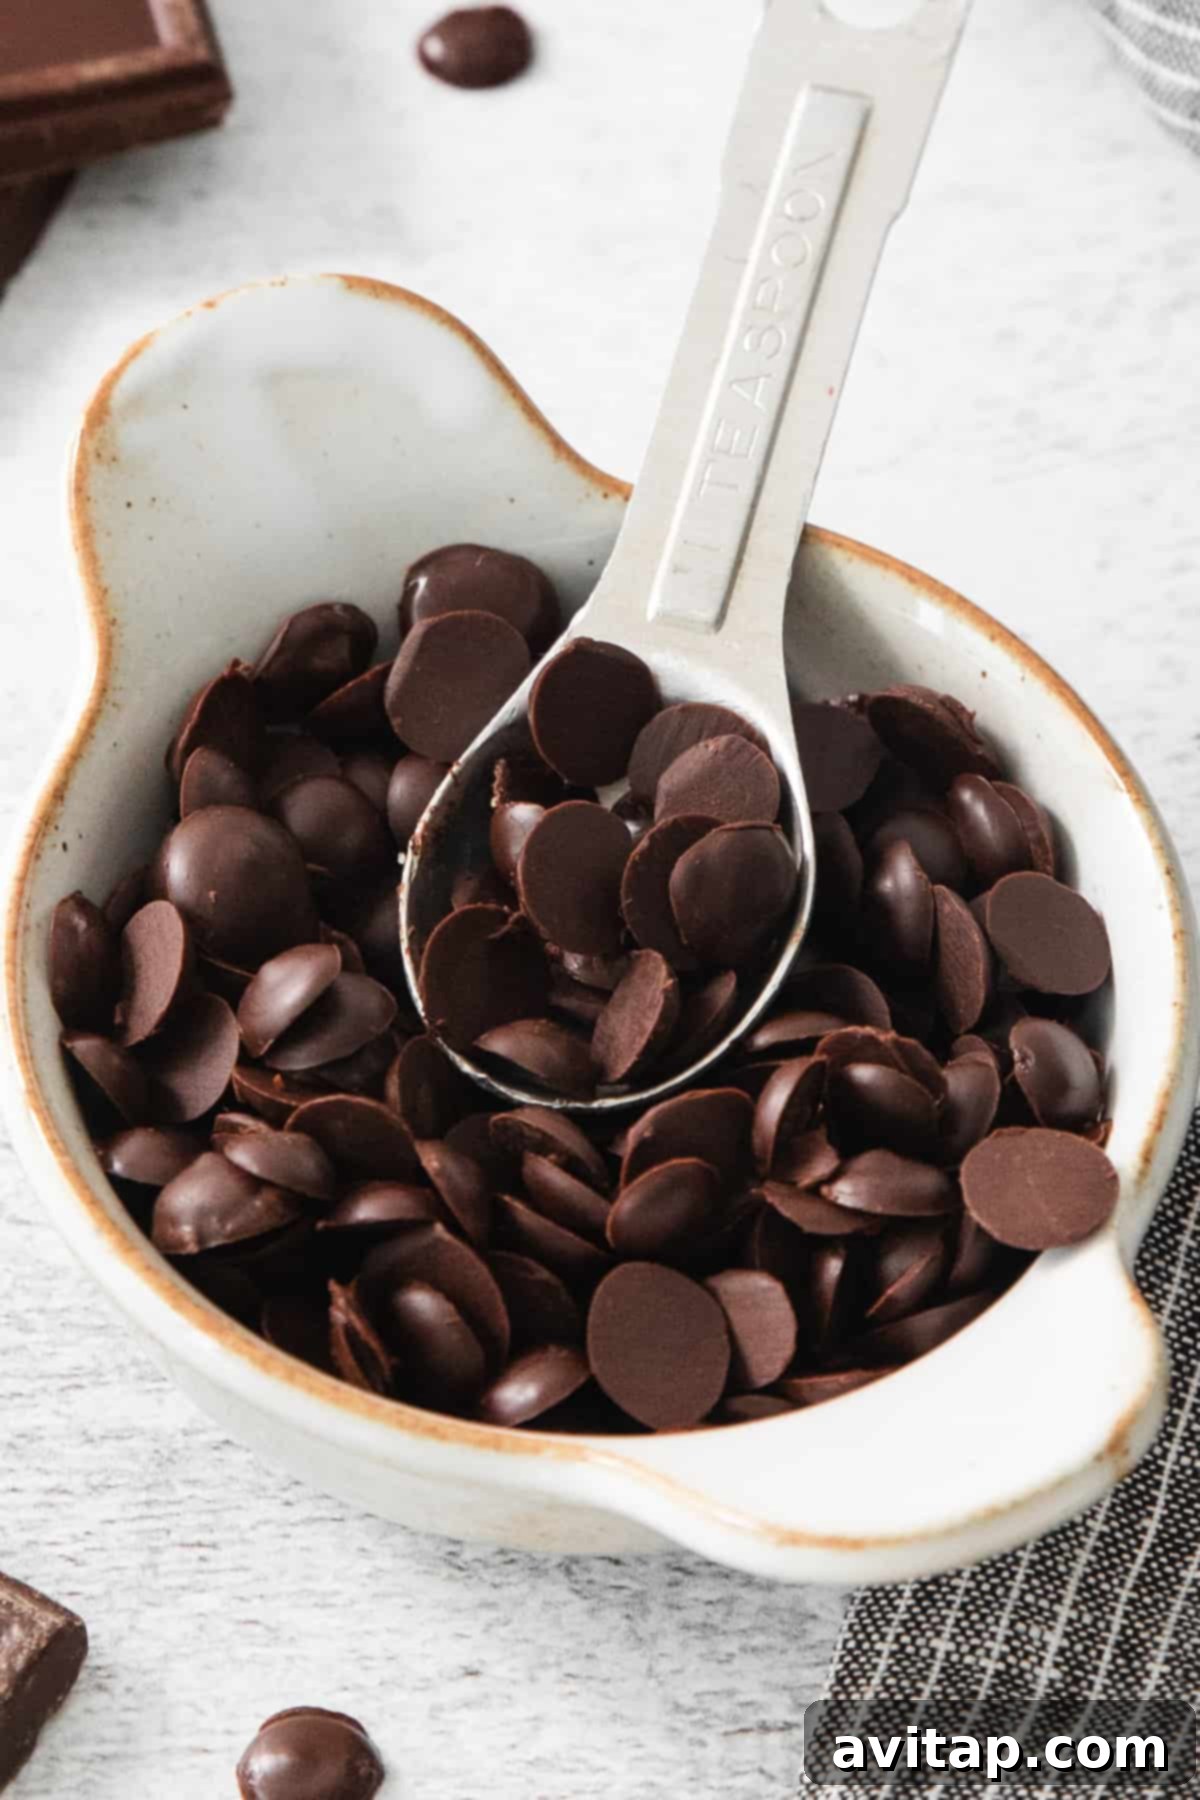
This recipe was originally published on November 30, 2014, and was thoroughly redeveloped, tested, and updated on November 17, 2023, to bring you the best version possible.
Ever found yourself in the middle of a baking project, only to realize you’re out of vegan chocolate chips? It’s a common dilemma! This recipe provides a quick and reliable solution, ensuring you always have a stash of delicious, high-quality chips on hand. With minimal effort and maximum flavor, you’ll wonder why you ever bought them from the store.
Why Make Your Own Vegan Chocolate Chips?
Beyond the convenience of having them ready whenever inspiration strikes, there are several compelling reasons to embrace homemade vegan chocolate chips:
- Ingredient Control: You dictate exactly what goes into your chocolate chips, avoiding emulsifiers, preservatives, and unnecessary additives often found in commercial products.
- Dietary Needs: Perfectly suited for those with dairy allergies, gluten sensitivities, or anyone on a plant-based diet.
- Refined Sugar-Free: Using natural sweeteners like maple syrup means you can enjoy a sweet treat without the downsides of processed sugars.
- Customizable Flavor: Adjust the sweetness level or add extra flavors like vanilla extract, peppermint, or a pinch of sea salt to create your unique blend.
- Cost-Effective: Making your own can often be more economical than purchasing specialty vegan chocolate chips, especially if you buy bulk ingredients.
Essential Ingredients for Perfect Vegan Chocolate Chips
Creating these delightful chips requires just three core ingredients. Each plays a crucial role in achieving the right texture, flavor, and consistency.
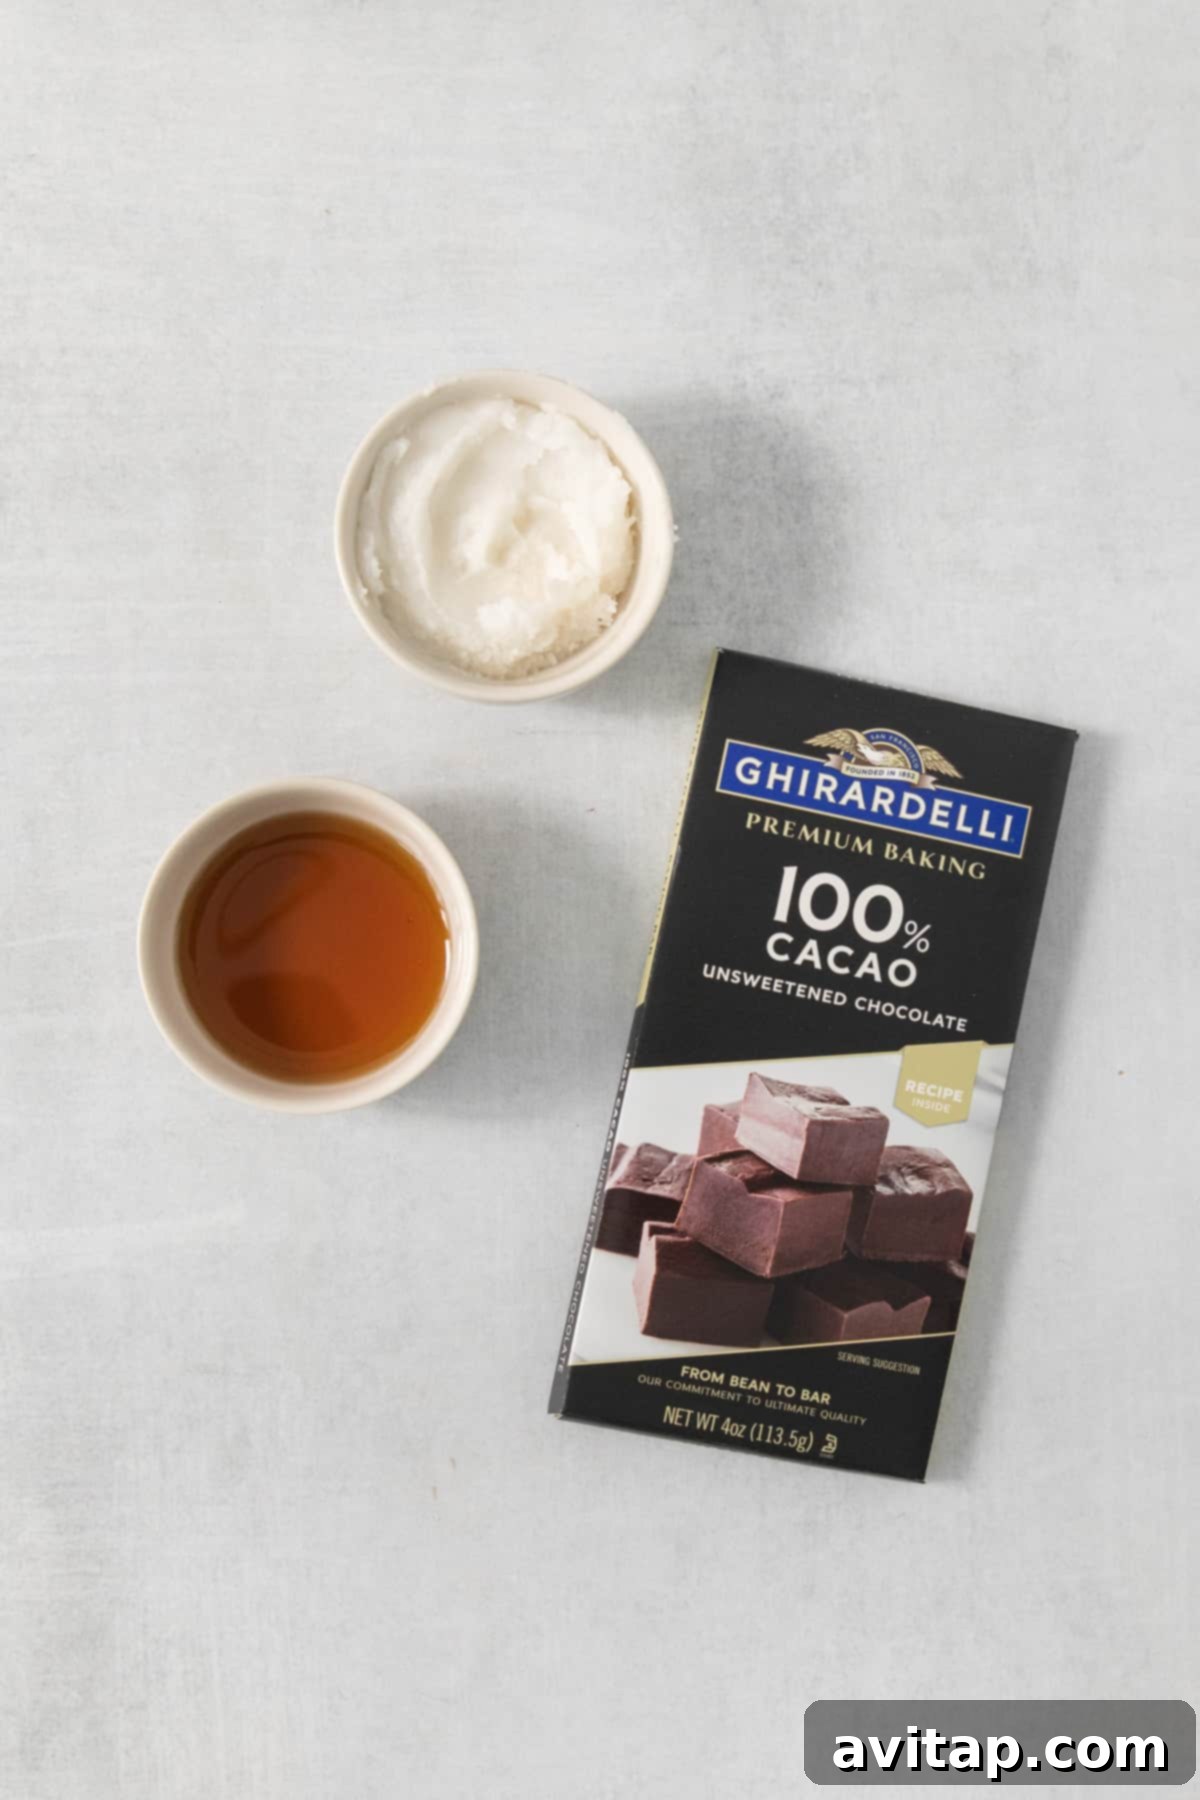
- 100% Unsweetened Baking Chocolate: The foundation of our chocolate chips is high-quality unsweetened baking chocolate. This ensures a rich, deep chocolate flavor that isn’t masked by excessive sugar. We’ve found that Ghirardelli’s Cacao Unsweetened Chocolate yields excellent results. It’s renowned for its quality cocoa beans and contains no added sugar or dairy, making it an ideal choice for a truly vegan and refined sugar-free treat. When selecting yours, look for a bar that is purely cacao.
- Coconut Oil: Coconut oil is key to achieving the perfect melt-in-your-mouth texture. It helps to thin out the solid baking chocolate, allowing you to easily pipe or shape the mixture into chips. As it cools, the coconut oil solidifies, giving the chips their firm structure. Make sure to use virgin or refined coconut oil depending on whether you want a subtle coconut flavor or prefer a neutral taste.
- Maple Syrup: To keep these chocolate chips refined sugar-free, we use pure maple syrup as our natural sweetener. Its distinct flavor beautifully complements the deep notes of the unsweetened chocolate. Maple syrup also contributes to the smooth texture. If maple syrup isn’t available or preferred, agave nectar is a fantastic alternative, offering similar sweetness and consistency. Feel free to adjust the amount to your desired sweetness level.
Essential Kitchen Tools for Homemade Chocolate Chips
Beyond your delicious ingredients, a few basic kitchen tools will make the process smooth and enjoyable:
- 2 Parchment-Lined Baking Sheets: Parchment paper is crucial to prevent sticking and ensure easy removal of your hardened chocolate chips. Using two sheets allows you to work efficiently.
- Microwave-Safe Bowl or Medium Pot: For melting the chocolate mixture. A microwave-safe bowl offers speed and convenience, while a double-boiler setup with a medium pot is great for more control over the melting process, especially for larger batches.
- Spatula: Essential for stirring the melting chocolate and for transferring the mixture into your piping bag. A silicone spatula is ideal for its flexibility and ease of cleaning.
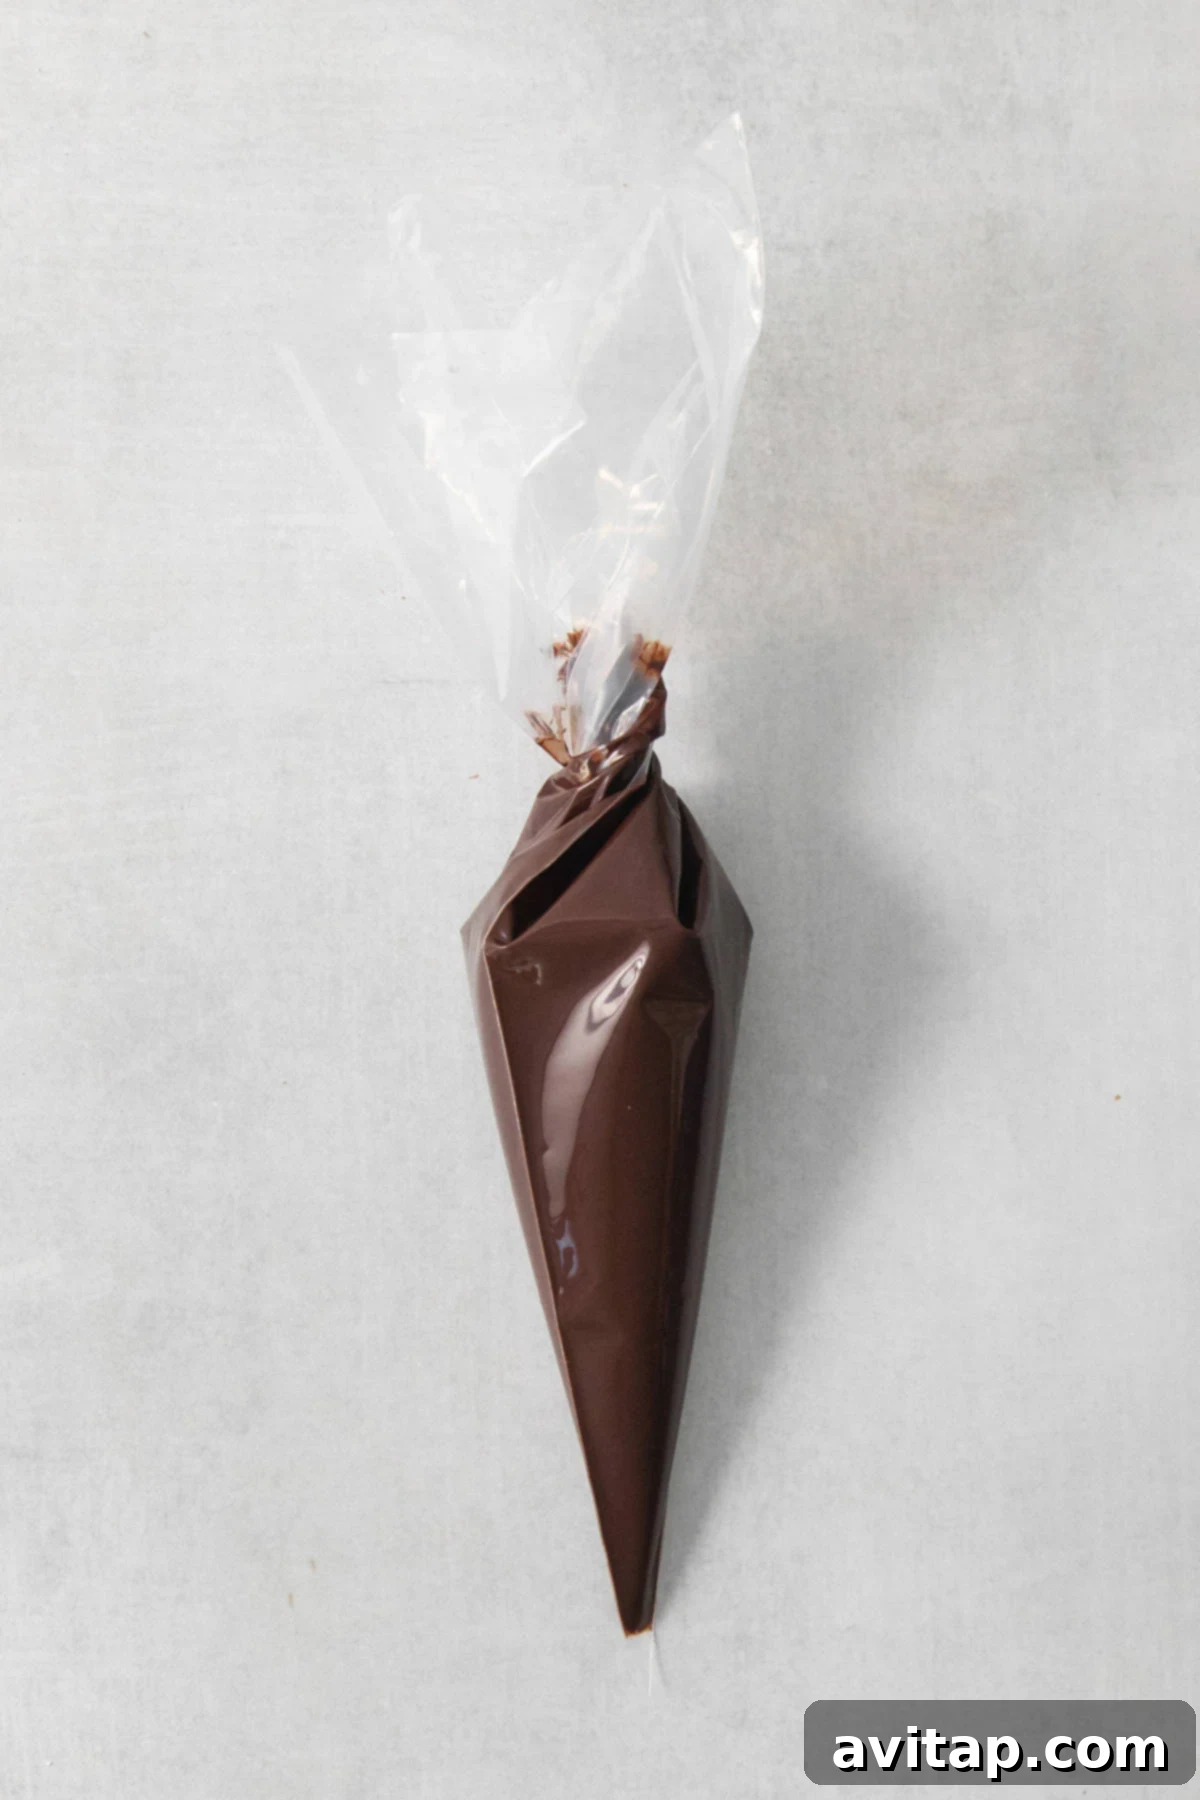
- Piping Bag with a 1/16″-1/8″ Tip or Gallon-Sized Bag: This is what gives your chocolate its classic chip shape. A dedicated piping bag with a small round tip offers precision, but a regular gallon-sized zip-top bag with a corner snipped off works just as well for home use.
How to Pipe Vegan Chocolate Chips: The Easy Way
Piping is the fun part that transforms your melted chocolate into perfect little chips. Don’t worry if you’re new to it; it’s surprisingly simple!
First, ensure your chocolate mixture is at the right consistency – melted but not too hot. If it’s too warm, it will spread excessively; if it’s too cool, it will be difficult to pipe. A quick chill in the freezer for 5-10 minutes (as described in the instructions) often helps achieve that ideal, slightly thickened state.
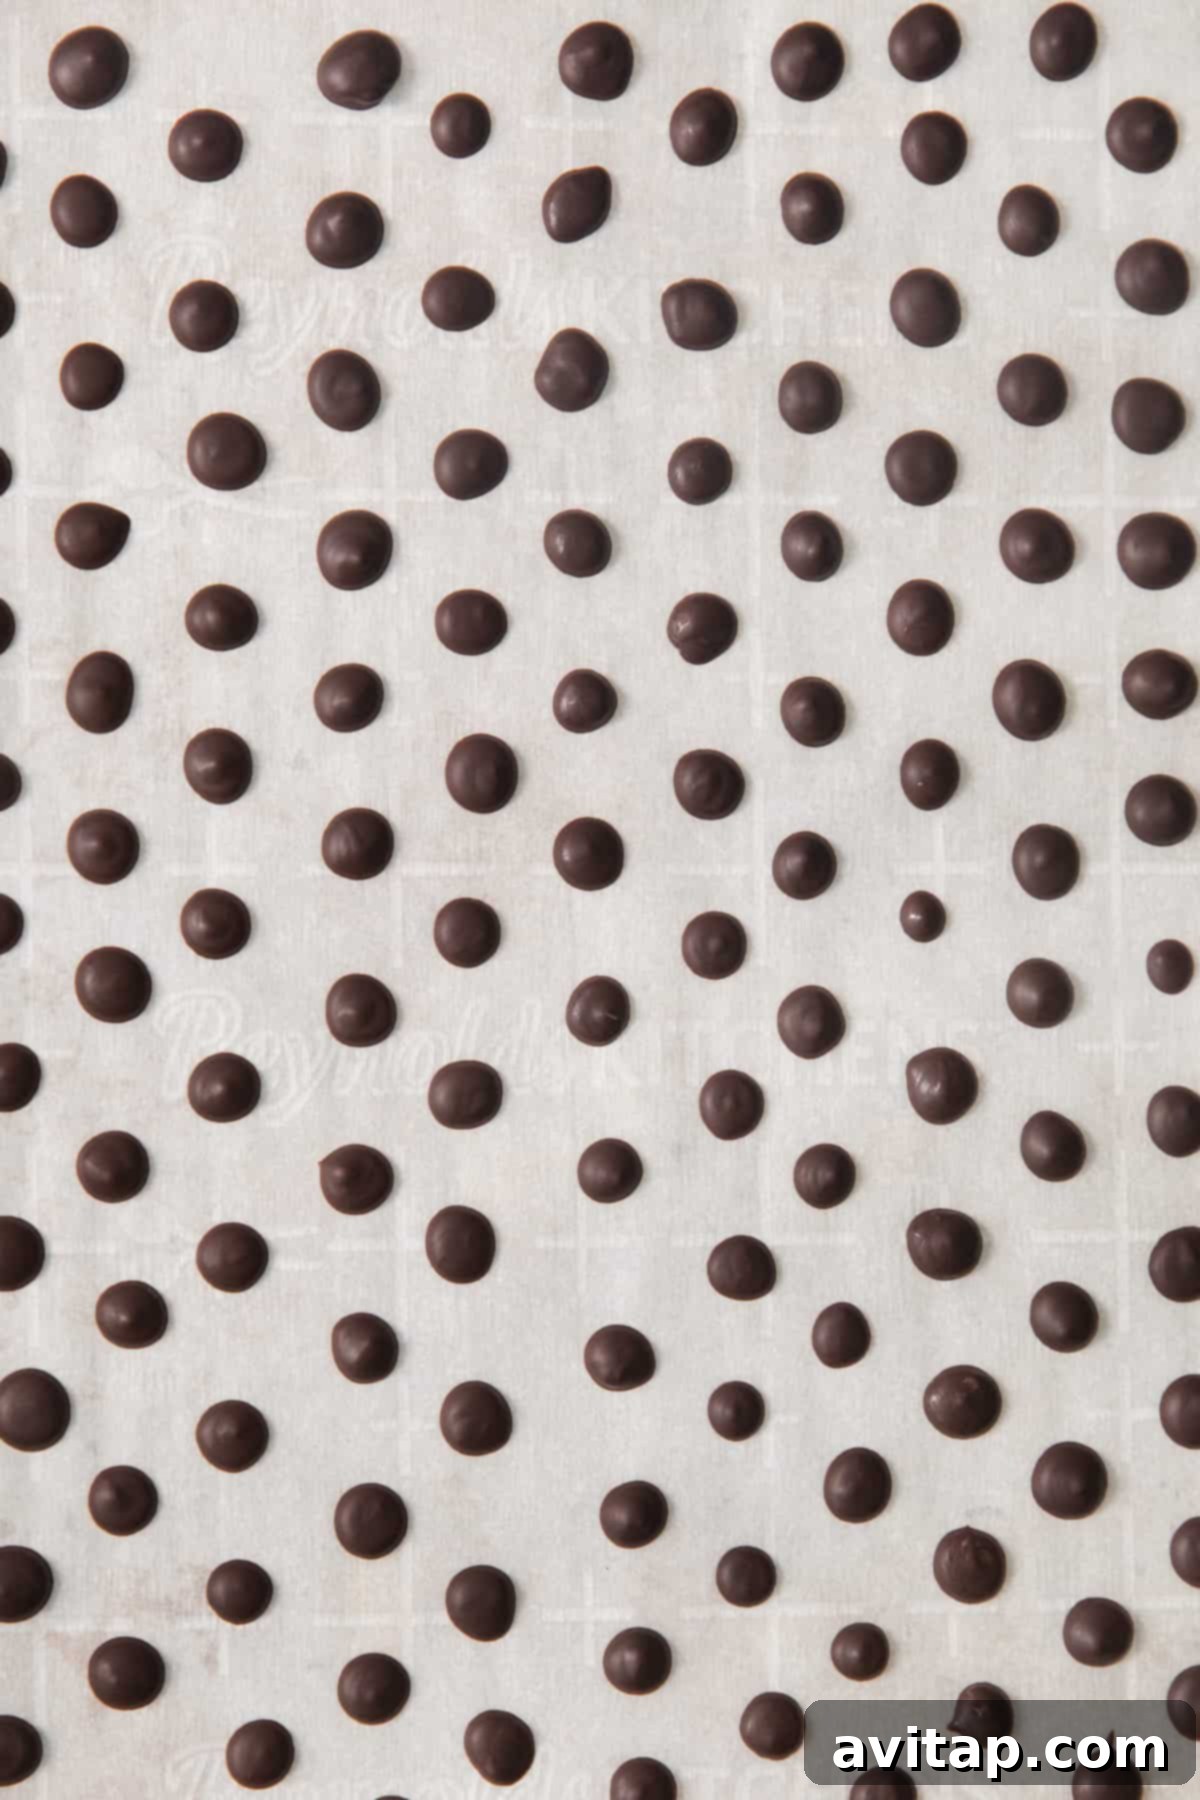
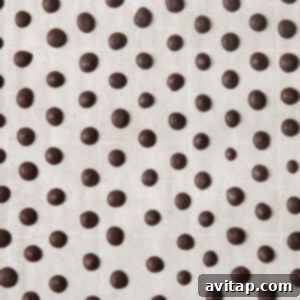
When using a gallon-sized bag, the trick is to start with a very tiny snip at one corner. You can always make the hole larger if needed, but you can’t make it smaller! A small hole creates smaller, more classic-sized chocolate chips. Gently squeeze the bag, applying even pressure, to create small, round dots on your parchment-lined baking sheets. Leave a little space between each chip to prevent them from merging as they harden.
Storage Tips for Your Homemade Vegan Chocolate Chips
To maintain their firm texture and extend their shelf life, storing your homemade vegan chocolate chips correctly is crucial. Due to the coconut oil, they tend to soften at room temperature, especially in warmer climates.
We highly recommend storing your chocolate chips in the freezer. Once they have completely hardened on the baking sheets, carefully transfer them into an airtight storage bag or container. Ensure you remove as much air as possible from the bag before sealing to prevent freezer burn and maintain freshness. Stored in this manner, your vegan chocolate chips will remain perfectly delicious for up to 3 months.
When you’re ready to use them, you can typically add them directly to your recipes from the freezer, as they will melt during baking or soften quickly when added to warm dishes.
Creative Ways to Use Your Homemade Vegan Chocolate Chips
The beauty of these homemade vegan chocolate chips lies in their versatility. You can use them just like any conventional chocolate chip, opening up a world of culinary possibilities. Here are some fantastic ideas to get you started:
- Baking: Incorporate them into your favorite vegan cookies, muffins, brownies, or pancakes for a delightful chocolatey burst. They melt beautifully!
- Dessert Toppings: Sprinkle them over ice cream (dairy-free, of course!), yogurt parfaits, or fruit salads for an instant upgrade.
- Energy Bites & Balls: Add them to no-bake energy bites for extra texture and flavor, like these Mint Chocolate Protein Balls.
- Overnight Oats & Smoothies: Stir them into your morning overnight oats or blend them into a smoothie for a decadent breakfast. Try them in Peanut Butter Cup Overnight Oats.
- Homemade Candies: Use them as an ingredient in other homemade confections, such as these delicious Peanut Butter Crunch Cups.
- Hot Beverages: Stir a handful into hot plant-based milk for a quick and easy hot chocolate, or melt them down for a rich chocolate sauce.
- Snacking: Let’s be honest, sometimes a handful of these perfectly sized chips is all you need for a satisfying snack!
Homemade Vegan Chocolate Chips Recipe
With just 3 simple ingredients, you can make delicious vegan chocolate chips at home that are both dairy-free and gluten-free!
By: Lee Funke
Prep time: 1 hr
Cook time: 2 mins
Total time: 1 hr 2 mins
Servings: 8
Ingredients
- 4 oz. 100% unsweetened baking chocolate, chopped (we used Ghirardelli)
- 2 tablespoons coconut oil
- 3 tablespoons maple syrup
Instructions
- Line 2 baking sheets with parchment paper. Set aside.
-
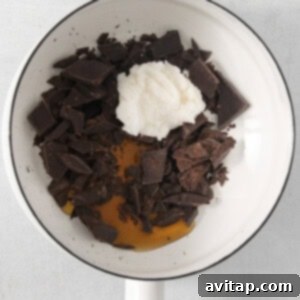
Place the chopped chocolate, coconut oil, and maple syrup into a microwave-safe bowl. Stir gently to combine the ingredients. Cook on high in the microwave for 1-2 minutes, stirring thoroughly every 20 seconds. This prevents the chocolate from burning and ensures even melting. Alternatively, you can melt the ingredients on low heat in a medium pot on the stovetop, using a double boiler method for best results.

-
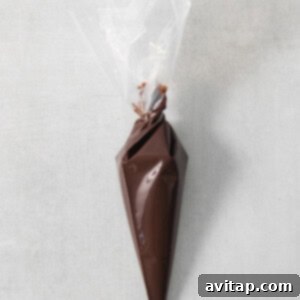
Use a spatula to carefully transfer the melted chocolate mixture into a piping bag. If using a professional piping bag, fit it with a small round tip (ideally 1/16″ to 1/8″). If using a gallon-sized bag, place the piping bag into the freezer for 5-10 minutes. This cooling step is crucial as it allows the chocolate to firm up slightly, making it easier to pipe consistently.
-
If using a gallon-sized bag, carefully trim a tiny hole from one corner. Start very small; if the opening is too large, your chocolate chips will be oversized. You can always enlarge the hole if needed. Gently pipe small, round vegan chocolate chips onto the parchment-lined baking sheets, leaving a small space between each one.
- Transfer the baking sheets with the piped chocolate chips into the freezer. Allow them to harden completely for approximately 30 minutes.
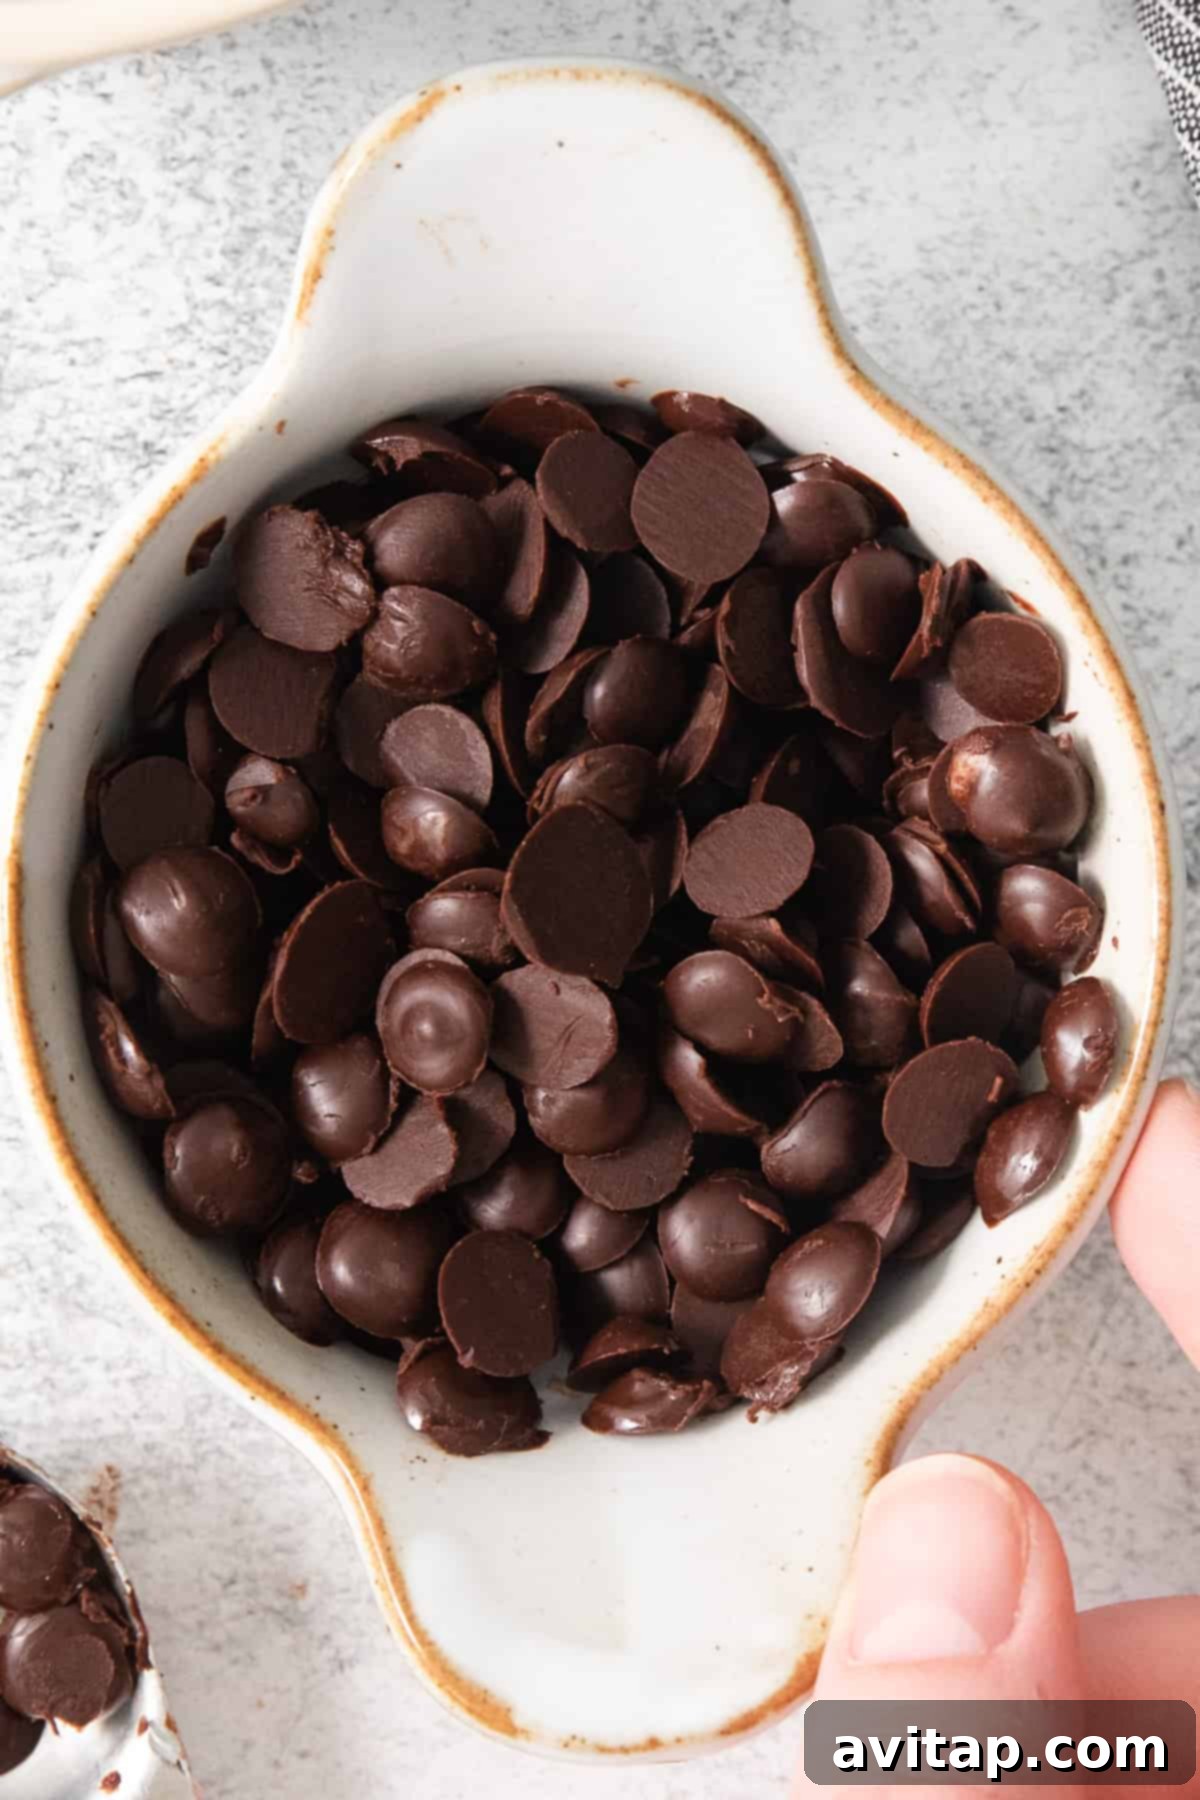
- Once firm, the chips should easily detach from the parchment paper. Store the hardened chips in a small, air-tight container in the freezer to maintain their shape and freshness.
Tips & Notes for Success
- Yields approximately 1 heaping cup of chocolate chips.
- The maple syrup can be replaced with agave syrup. If substituting, start with 2 tablespoons and then taste to determine if the chocolate needs to be sweeter, as agave’s sweetness can vary.
- For a hint of vanilla, add 1/4 teaspoon of pure vanilla extract to the melted chocolate mixture.
- To prevent the chocolate from seizing when melting, ensure no water gets into the mixture.
- If your chips are too soft, try adding a tiny bit more unsweetened chocolate next time. If they’re too hard, a touch more coconut oil can help.
Nutrition Information
Here’s an approximation of the nutritional content per serving (based on 8 servings):
Calories: 252 kcal
Carbohydrates: 21 g
Protein: 4 g
Fat: 21 g
Fiber: 7 g
Sugar: 10 g
Nutrition information is automatically calculated and should be used as an approximation. Actual values may vary based on specific ingredients and preparation methods.
Frequently Asked Questions (FAQ)
Are these vegan chocolate chips healthy?
Compared to many store-bought options, yes! These chips are made with 100% unsweetened chocolate (rich in antioxidants), coconut oil (a source of healthy fats), and natural maple syrup. They are free from refined sugars, dairy, and gluten, allowing for a cleaner and more controlled treat. Portion control is still key, as they are calorie-dense.
Can I use cocoa powder instead of baking chocolate?
Using cocoa powder alone won’t yield the same results for chocolate chips, as cocoa powder lacks the cocoa butter content necessary for the right texture. You would need to add cocoa butter or more coconut oil to replicate the consistency, which complicates the recipe. For the best and easiest results, stick to unsweetened baking chocolate.
Why is my chocolate seizing or clumping?
Chocolate seizing (becoming thick and grainy) is usually due to even a tiny amount of water coming into contact with it during melting. Ensure all your bowls and utensils are completely dry. Also, overheating chocolate can cause it to seize or burn. Melt it slowly, stirring frequently, especially in the microwave.
How long do these homemade vegan chocolate chips last?
When stored in an airtight container in the freezer, these chocolate chips can last for up to 3 months. If kept in the refrigerator, they’ll be good for about 2-3 weeks, but the freezer is highly recommended for optimal texture and longevity.
Can I make a larger batch?
Absolutely! This recipe is easily scalable. Simply multiply all the ingredients by your desired factor. Just be sure to use enough parchment-lined baking sheets for piping and to allow adequate space for freezing.
Love this recipe? Leave a comment below!
Don’t forget to tag your posts on social media with the hashtag #fitfoodiefinds – we’d absolutely love to see your delicious creations!
Conclusion: Enjoy Your Homemade Vegan Chocolate Chips!
Crafting your own vegan chocolate chips is a simple yet rewarding process that puts you in control of what you eat. With minimal ingredients and straightforward steps, you can create a versatile, healthy, and incredibly delicious ingredient for all your sweet endeavors. No more compromising on flavor or dietary needs – just pure, unadulterated chocolatey joy. So go ahead, whip up a batch, and elevate your plant-based baking and snacking to a whole new level!