
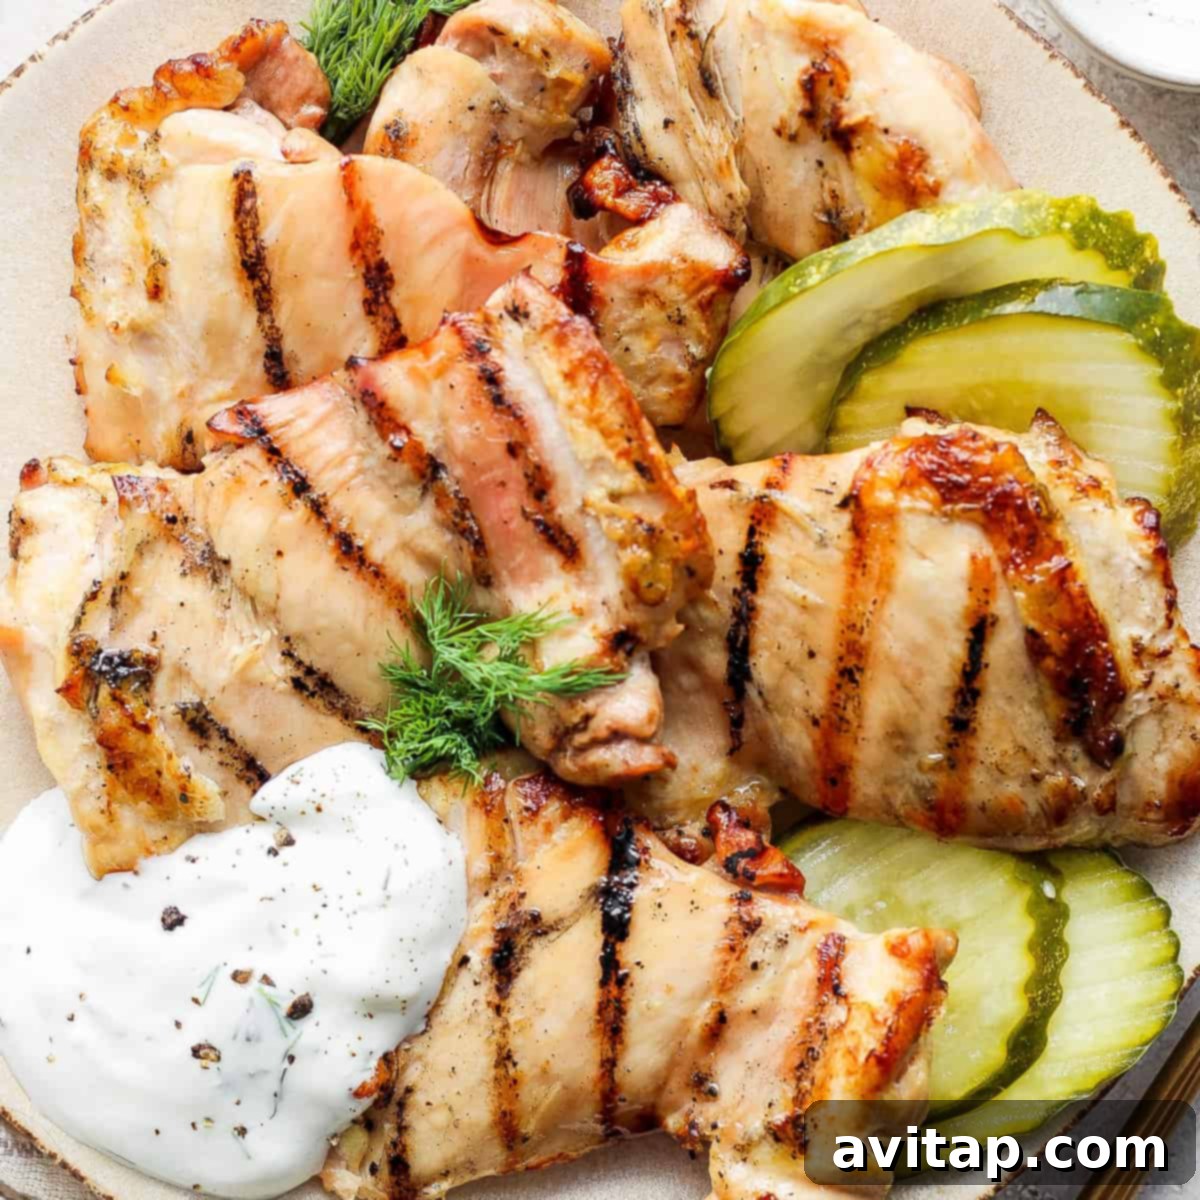
Dill Pickle Chicken Thighs: Your New Favorite Tangy Grilled Masterpiece
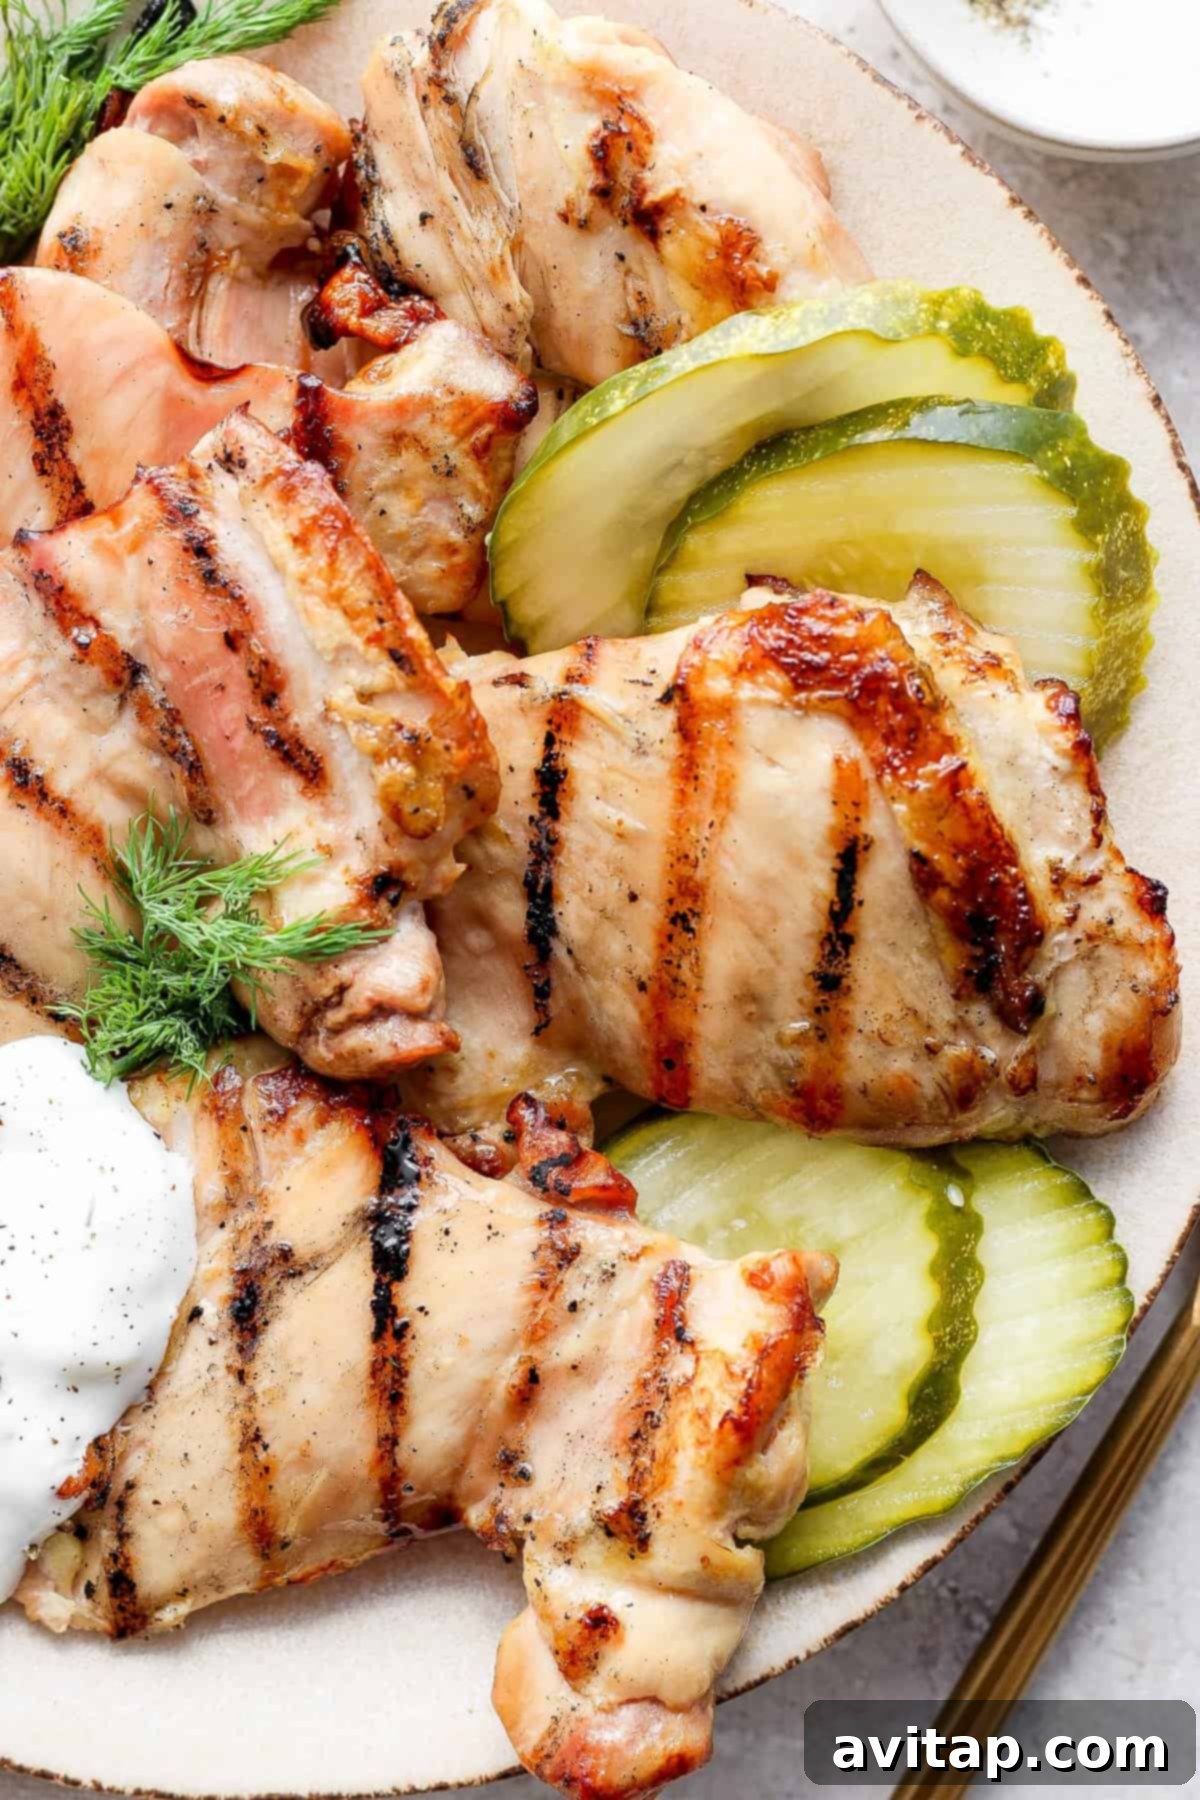
Prepare your taste buds for an unforgettable culinary adventure! For all you pickle enthusiasts out there, these Dill Pickle Chicken Thighs are an absolute must-try. Expertly crafted on the grill, they promise to become the star of your dinner table and a cherished addition to your recipe repertoire. This isn’t just chicken; it’s a celebration of bold, tangy flavor and succulent texture, guaranteed to impress at any summer cookout or casual family meal.
The secret to their incredible taste and tenderness lies in a unique brining process: the chicken thighs soak in a vibrant dill pickle juice marinade before being grilled to juicy perfection. To elevate this already delicious dish, a bright and creamy dill sauce is generously drizzled on top, adding an extra layer of flavor that beautifully complements the tangy chicken. Get ready to experience chicken like never before – tender, flavorful, and infused with that irresistible dill pickle zest!
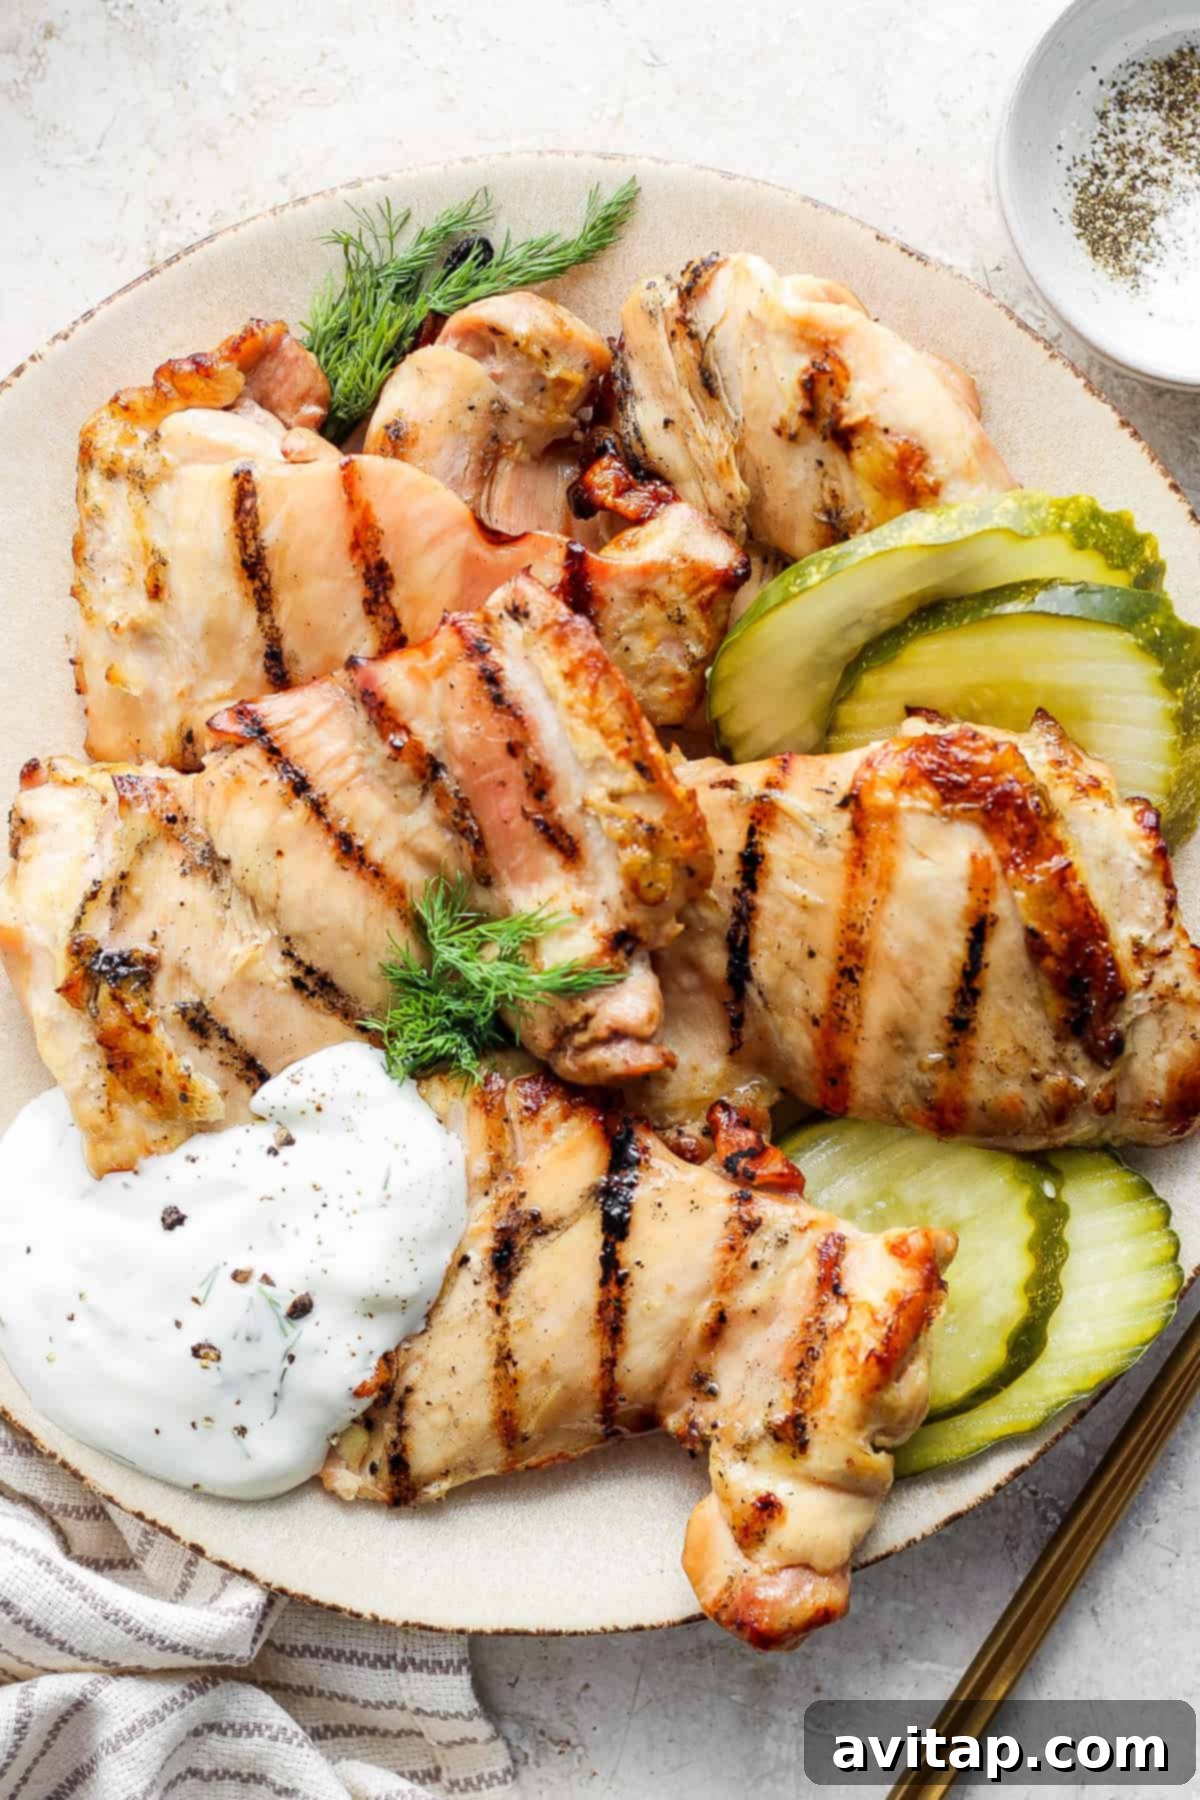
The Transformative Magic of Pickle Juice Brining
Embrace the unexpected! Allowing chicken to brine in pickle juice might sound unconventional, but trust us, it’s a culinary game-changer. In an era where pickle-flavored everything is trending, this method stands out for its simplicity and remarkable results. Brining in dill pickle juice isn’t just about imparting a delicious, tangy flavor; it’s a scientific marvel that tenderizes the meat, resulting in incredibly juicy and succulent chicken every single time.
The acidity in the pickle juice works wonders, gently breaking down the muscle fibers of the chicken, which allows the meat to absorb moisture and flavor more effectively. This process ensures that your chicken remains moist and tender even after grilling, preventing it from drying out. Furthermore, the salt in the brine acts as a natural enhancer, seasoning the chicken from the inside out. The longer you let your chicken soak in this flavorful brine – whether for a couple of hours or overnight – the more profound the tangy flavor and tender texture will become. It’s truly a no-fuss method, offering all the benefits of a complex marinade without any tedious prep work.
With this recipe, you simply immerse the chicken in your favorite dill pickle juice, grill it to perfection, and your meal is ready! This quick and easy dish is destined to become an instant family favorite, perfect for lively summer cookouts, impressive backyard BBQs, or effortless weeknight dinners when you’re craving something deliciously different. These dill pickle grilled boneless chicken thighs are not just a meal; they’re an experience.
Essential Ingredients for Your Pickle-Brined Chicken Thighs
Crafting these delectable dill pickle chicken thighs requires just a few key ingredients, each playing a crucial role in achieving that perfect balance of tang and tenderness. Here’s what you’ll need to gather for an exceptional culinary experience:
- Boneless, Skinless Chicken Thighs: We specifically recommend using boneless, skinless chicken thighs for this recipe. Dark meat, like chicken thighs, naturally boasts a richer flavor and remains incredibly juicy when cooked on the grill, thanks to its higher fat content. Opting for boneless and skinless cuts ensures even cooking and makes them exceptionally easy to handle, whether you’re marinating or grilling. They consistently deliver that succulent texture we all crave.
- Dill Pickle Juice: This is the heart and soul of our brine! The quality of your pickle juice significantly impacts the final flavor. For the best results, choose a high-quality dill pickle juice from reputable brands such as Milwaukee or Clausen. These brands typically offer a robust, salty, and distinctly dill-flavored brine that penetrates the chicken beautifully, infusing it with that signature tangy taste.
- Fresh Lemon Juice: A squeeze of fresh lemon juice is added to the brine not just for an extra layer of citrusy brightness but also to enhance the overall acidity. This helps to further tenderize the chicken and provides a vibrant counterpoint to the deep pickle flavor, lifting the entire dish with a fresh, zesty note.
For the Irresistible Creamy Dill Sauce:
No dill pickle chicken thigh is complete without a luscious, creamy dill sauce to dollop on top. This sauce adds a refreshing coolness and another dimension of pickle-inspired flavor. Here’s what you’ll need for this perfect accompaniment:
- 2% Greek Yogurt: Serving as the base, Greek yogurt imparts a wonderful tang and creates an incredibly creamy texture for the sauce. Its natural acidity also harmonizes perfectly with the pickle flavor.
- Mayonnaise: For added richness and a velvety smooth consistency, mayonnaise is a crucial ingredient. It balances the tartness of the Greek yogurt, making the sauce truly indulgent.
- Fresh Dill: To amplify that fresh, herbaceous dill flavor that is synonymous with pickles, finely chopped fresh dill is essential. It provides an aromatic lift and a beautiful green fleck to the sauce.
- Dill Pickle Juice (for sauce): A small amount of pickle juice in the sauce ensures the flavor profile is cohesive with the chicken and adds an extra punch of tang.
- Salt and Fresh Lemon Juice (for sauce): A pinch of salt enhances all the flavors, while a touch of fresh lemon juice brightens the sauce, ensuring it’s well-balanced and zesty.
Our Recipe Testing Process: Tips for Success
Through extensive testing, we’ve refined this recipe to ensure optimal flavor and texture. Here are some insights from our kitchen:
- We discovered that not all pickle juices are created equal for brining. For instance, using Grillo’s brand pickle juice didn’t yield the desired saltiness for an effective brine, resulting in less flavorful chicken. Stick to brands known for a robust brine, like Milwaukee or Clausen, for best results.
- We strongly advise against using butter pickle juice. Its distinct flavor profile will drastically alter the taste of your chicken, moving away from the classic dill pickle essence we aim for.
Grilling to Perfection: Achieving Juicy Chicken Thighs Every Time
Grilling chicken thighs to juicy perfection requires a bit of technique, but with our expert tips, you’ll master it in no time. The goal is to achieve beautifully charred exteriors while maintaining an incredibly moist and tender interior, infused with that wonderful dill pickle flavor.
- Preheat Your Grill Adequately: Always start with a hot grill. Preheat your grill to a consistent 400ºF (200ºC). This high initial heat is crucial for searing the chicken, creating those desirable grill marks and locking in the juices.
- Precise Cooking Times: Once the grill is hot, place your brined chicken thighs directly over the heat. Grill for approximately 4-5 minutes on each side. This duration allows for a good sear and even cooking. Remember that thicker thighs might require a minute or two longer per side.
- Monitor Internal Temperature: The most important step for food safety and perfect doneness is to check the internal temperature. Cook the chicken until it reaches an internal temperature of 160ºF – 165ºF (71ºC – 74ºC). Insert a reliable meat thermometer into the thickest part of the thigh, avoiding the bone.
- The Crucial Resting Period: Once your chicken reaches the target internal temperature, remove it from the grill immediately. It is absolutely essential to let the chicken thighs rest for at least 10 minutes before slicing or serving. Resting allows the internal temperature to rise slightly (carryover cooking) and, more importantly, redistributes the juices throughout the meat, resulting in exceptionally tender and flavorful chicken. Skipping this step can lead to dry chicken.

Pro Tip!
Invest in a Quality Meat Thermometer
Achieving perfectly cooked meat, especially chicken, hinges on knowing its internal temperature. We cannot stress enough the importance of using a reliable meat thermometer. Our absolute favorite is the Thermapen – it provides instant, accurate readings every single time, ensuring your chicken is both safe to eat and incredibly juicy, never overcooked.
Ingredient Swaps & Creative Add-Ins for Your Dill Pickle Chicken
While this dill pickle chicken recipe is phenomenal as is, it’s also incredibly versatile! Don’t hesitate to experiment with different flavors and textures by swapping or adding in ingredients. Here are a few exciting ideas to customize your dish and make it uniquely yours:
Explore Different Cuts of Chicken: This brining method works beautifully with various chicken cuts. While thighs are our top choice for juiciness, feel free to use boneless chicken breasts for a leaner option, or even drumsticks or wings for a fun, finger-food experience. Just be sure to carefully adjust the cook times according to the thickness and type of chicken to ensure it’s cooked through but still tender.
Amplify the Heat: For those who love a spicy kick, it’s easy to infuse some heat into this recipe. Add a generous splash of your favorite hot sauce to the pickle brine for an internal warmth. Alternatively, sprinkle some chili powder, smoked paprika, or red pepper flakes directly onto the chicken before grilling for a smoky, fiery crust.
Craft a Tangy Pickle Slaw: To elevate your meal with a refreshing side, prepare a quick and tangy pickle slaw. Combine finely shredded green cabbage, vibrant grated carrots, and thinly sliced dill pickles. Dress it with a light vinaigrette or a dollop of our creamy dill sauce for an extra burst of freshness and crunch. This slaw makes an excellent topping for the chicken or a delightful side dish.
Herbaceous Twists: Beyond dill, consider adding other fresh herbs to your brine or to the chicken itself. A sprig of fresh rosemary or thyme can introduce subtle aromatic notes that complement the pickle flavor. For the dill sauce, chives or parsley can be fantastic additions.
Garlic Infusion: If you’re a garlic lover, mince a couple of cloves of fresh garlic and add them to your pickle brine. This will impart a delightful garlic undertone to the chicken, enhancing its savory depth.
Beyond the Grill: Alternative Cooking Methods for Chicken Thighs
While grilling imparts a wonderful smoky flavor and charred texture, these dill pickle chicken thighs are incredibly versatile and can be prepared using other cooking methods. This ensures you can enjoy this delicious recipe year-round, regardless of weather or equipment availability.
Baking Instructions: For a hands-off approach, baking is an excellent alternative. After brining, transfer the chicken thighs into a single layer in an oven-safe baking dish. Preheat your oven to 400ºF (200ºC). Bake the chicken for approximately 18-20 minutes, or until the internal temperature reaches a safe and juicy 160ºF – 165ºF (71ºC – 74ºC). A quick broil for the last few minutes can help achieve a slightly crispy exterior if desired.
Pan-Searing or Skillet Cooking: For stovetop convenience, you can pan-sear the chicken thighs. Heat a tablespoon of olive oil in a large cast-iron skillet over medium-high heat. Once hot, add the brined chicken thighs and sear for about 5-7 minutes per side, or until golden brown and cooked through to 160ºF – 165ºF (71ºC – 74ºC). This method creates a fantastic crust and keeps the chicken incredibly moist.
Air Frying Instructions: For a quick and crispy result with minimal oil, air frying is a fantastic option. Preheat your air fryer to 375°F (190°C). Place the brined chicken thighs in a single layer in the air fryer basket, ensuring not to overcrowd it. Air fry for 15-20 minutes, flipping halfway through, until the chicken is golden brown and reaches an internal temperature of 160ºF – 165ºF (71ºC – 74ºC).
Storage and Reheating Your Delicious Leftovers
One of the best things about these dill pickle chicken thighs is that they taste just as fantastic the next day! Proper storage and reheating will ensure your leftovers remain moist and flavorful. After cooling completely, transfer any leftover dill pickle chicken into an airtight container. It can be safely stored in the refrigerator for up to 3 days. To enjoy your chicken again, place the thighs on a baking sheet and warm them in a 350°F (175°C) oven for about 10-15 minutes, or until thoroughly heated through. This gentle reheating method helps retain moisture, ensuring your chicken stays tender.
EXPLORE MORE GRILLING TUTORIALS
Mastering the Grill: How to Cook Your Favorite Meats
If you’ve enjoyed perfecting these dill pickle chicken thighs on the grill, you’re in for a treat! Our comprehensive grilling guides will help you become a true grill master, offering tips and techniques for a variety of meats. Expand your outdoor cooking repertoire and discover new ways to prepare succulent, flavorful dishes.
- Perfect Grilled Chicken Breast
- Flaky Grilled Salmon
- Juicy Grilled Pork Chops
- Classic Grilled Chicken Thighs
- Tender Grilled Flank Steak
- Delicious Grilled Whole Chicken
- Flavorful Grilled Pork Tenderloin
- Best Grilled Chicken Legs
- Quick Grilled Shrimp
- Seared Grilled Scallops
- Fall-Off-The-Bone Grilled Ribs
What to Serve with Dill Pickle Grilled Boneless Chicken Thighs
These incredibly flavorful dill pickle chicken thighs pair wonderfully with a variety of side dishes, especially those that complement its tangy profile or offer a refreshing contrast. To truly embrace the pickle theme, consider these delicious pairings:
- Pickle-Themed Complements: Keep the dill pickle theme vibrant by serving our savory Dill Pickle Chicken Salad as an appetizer or a light side. For an adventurous adult beverage, our Spicy Pickle Margarita offers a unique and zesty kick that perfectly matches the chicken’s flavor.
- Fresh and Bright Sides: The tanginess of the chicken is beautifully balanced by fresh, vibrant salads. You would also absolutely LOVE our Garlic Lemon Pasta Salad with Fresh Herbs, which offers a delightful zesty and herbaceous counterpoint. Our Summer Corn Salad provides sweet and crunchy notes, while an Easy Bean Salad offers a hearty and wholesome accompaniment.
- Classic BBQ Sides: Don’t hesitate to pair these thighs with your favorite BBQ staples. Think creamy potato salad, coleslaw, baked beans, or even grilled vegetables like asparagus or corn on the cob.
- Simple Grains: A light and fluffy bed of white rice, quinoa, or couscous can effectively soak up the delicious juices and sauce from the chicken, providing a satisfying foundation for your meal.
Dill Pickle Chicken Thighs Recipe
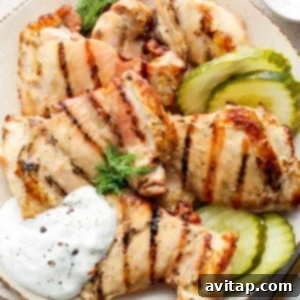
These pickle-brined chicken thighs are marinated in a tangy dill pickle juice, resulting in ultra-tender and perfectly grilled chicken. Serve with a homemade dill sauce for an extra burst of flavor!
By: Emily Richter
Prep Time: 2 hours 30 mins
Cook Time: 10 mins
Total Time: 2 hours 40 mins
Servings: 4
Ingredients
For the Chicken:
- 1-1.5 lbs. boneless skinless chicken thighs
- 1 cup dill pickle juice (Milwaukee or Clausen brands are highly recommended for best results*)
- ½ large lemon, for squeezing over cooked chicken
For the Dill Sauce:
- ½ cup 2% Greek yogurt
- 2 tablespoons mayonnaise
- 2 teaspoons dill pickle juice
- ½ teaspoon salt
- 1 tablespoon chopped fresh dill
- 1 teaspoon fresh lemon juice
Instructions
-
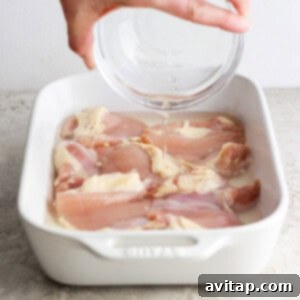
Brine the Chicken: Place the boneless skinless chicken thighs in a flat, non-reactive container. Pour the 1 cup of dill pickle juice over the chicken, ensuring the chicken is fully submerged. Cover the container and allow the chicken to brine in the refrigerator for at least 2 hours, or for maximum flavor and tenderness, brine overnight (up to 12 hours).

Submerging the chicken in the flavorful dill pickle brine. -
Prepare for Grilling: Remove the brined chicken from the refrigerator and discard the pickle brine. Pat the chicken thighs dry with paper towels to ensure a good sear on the grill. Let the chicken sit at room temperature for 10-15 minutes before grilling; this helps it cook more evenly.
-
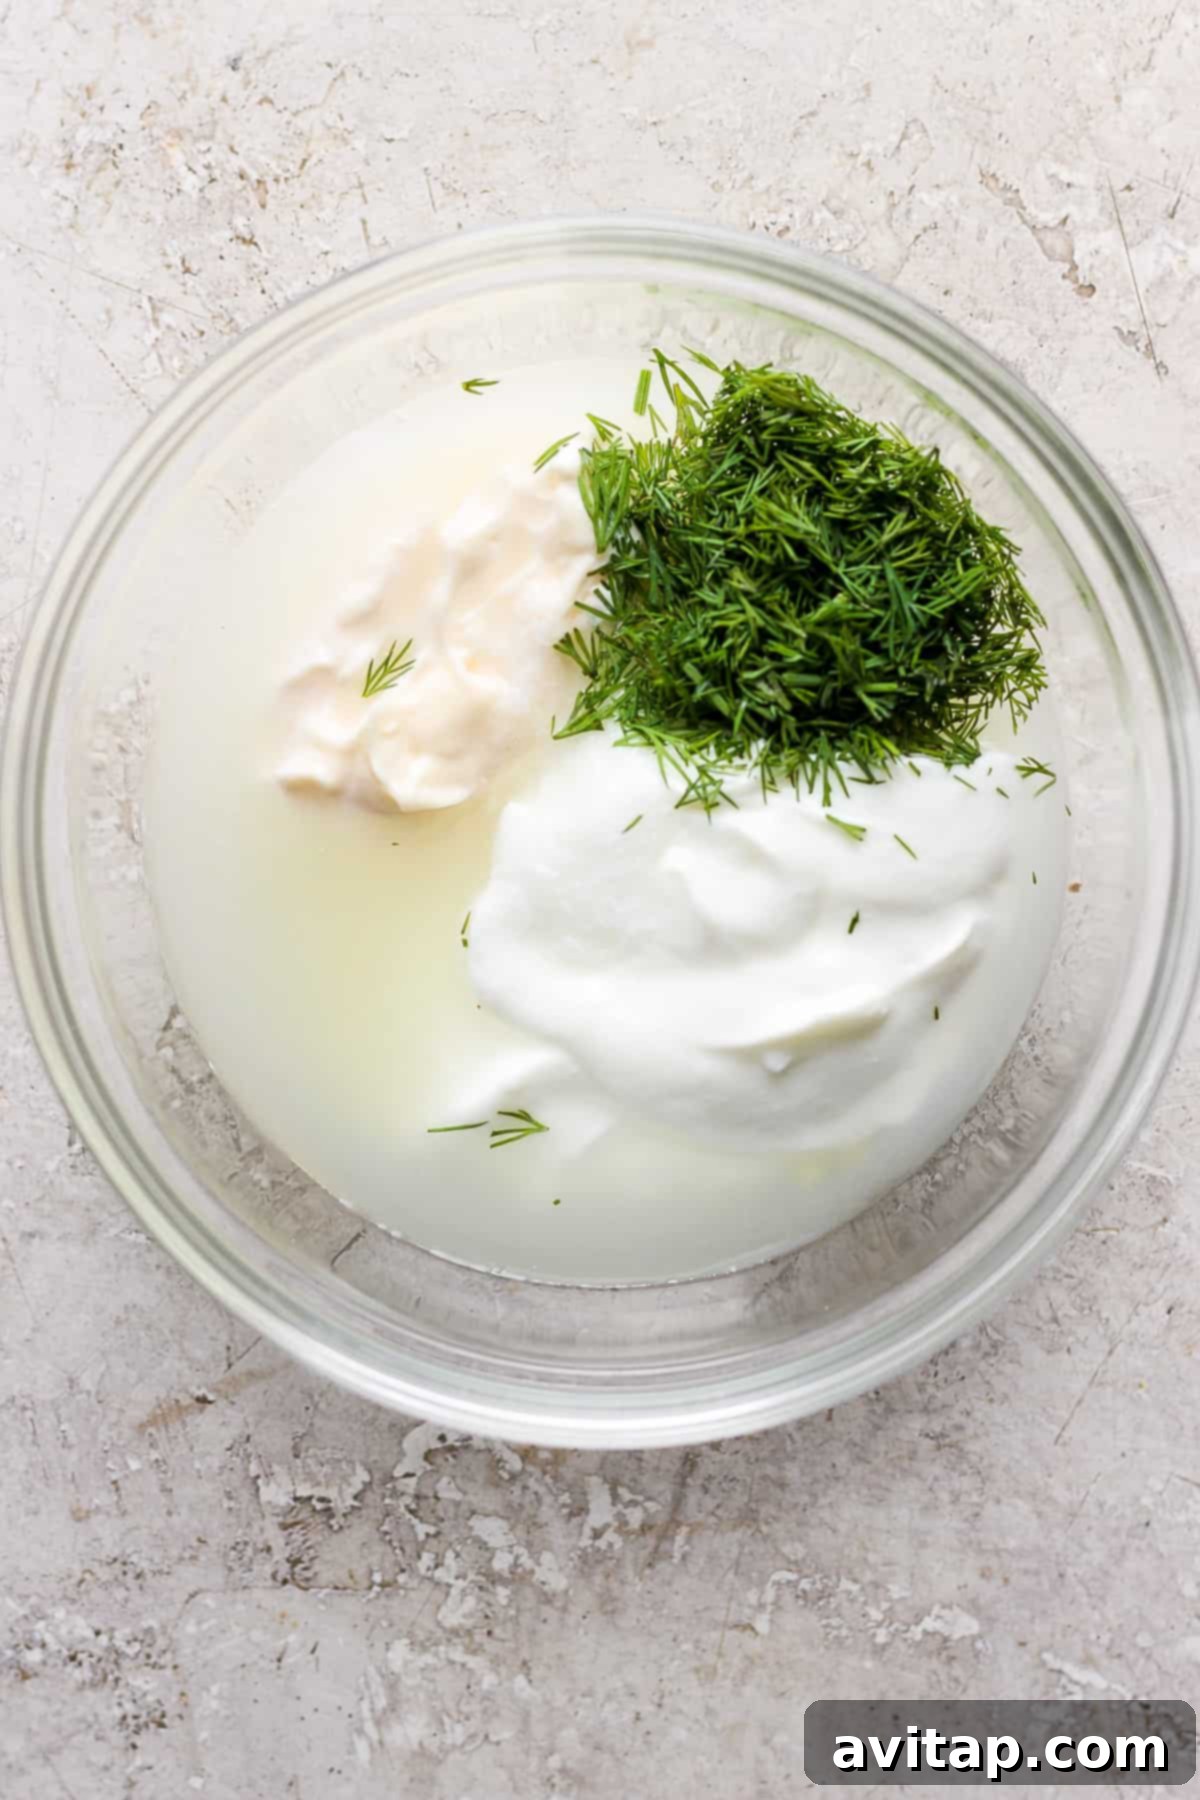
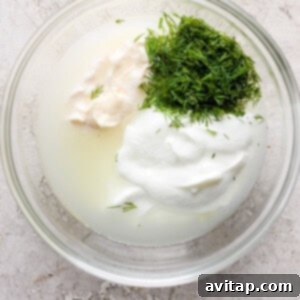
Whip Up the Dill Sauce: While the chicken comes to temperature, prepare the creamy dill sauce. In a small bowl, combine the Greek yogurt, mayonnaise, 2 teaspoons of dill pickle juice, ½ teaspoon of salt, 1 tablespoon of chopped fresh dill, and 1 teaspoon of fresh lemon juice. Mix thoroughly until all ingredients are well combined and the sauce is smooth. Set aside or refrigerate until ready to serve.
Mixing the fresh ingredients for the tangy dill sauce. -
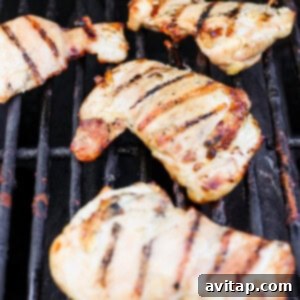
Grill the Chicken: Preheat your grill to 400ºF (200ºC). Once hot, place the chicken thighs directly on the grill grates. Grill for 3-4 minutes on each side over direct heat, or until the internal temperature of the chicken reaches 160ºF (71ºC) when measured with a meat thermometer in the thickest part. The temperature will rise to 165ºF (74ºC) during resting.
Grilling the chicken thighs to perfection, creating beautiful char marks. -
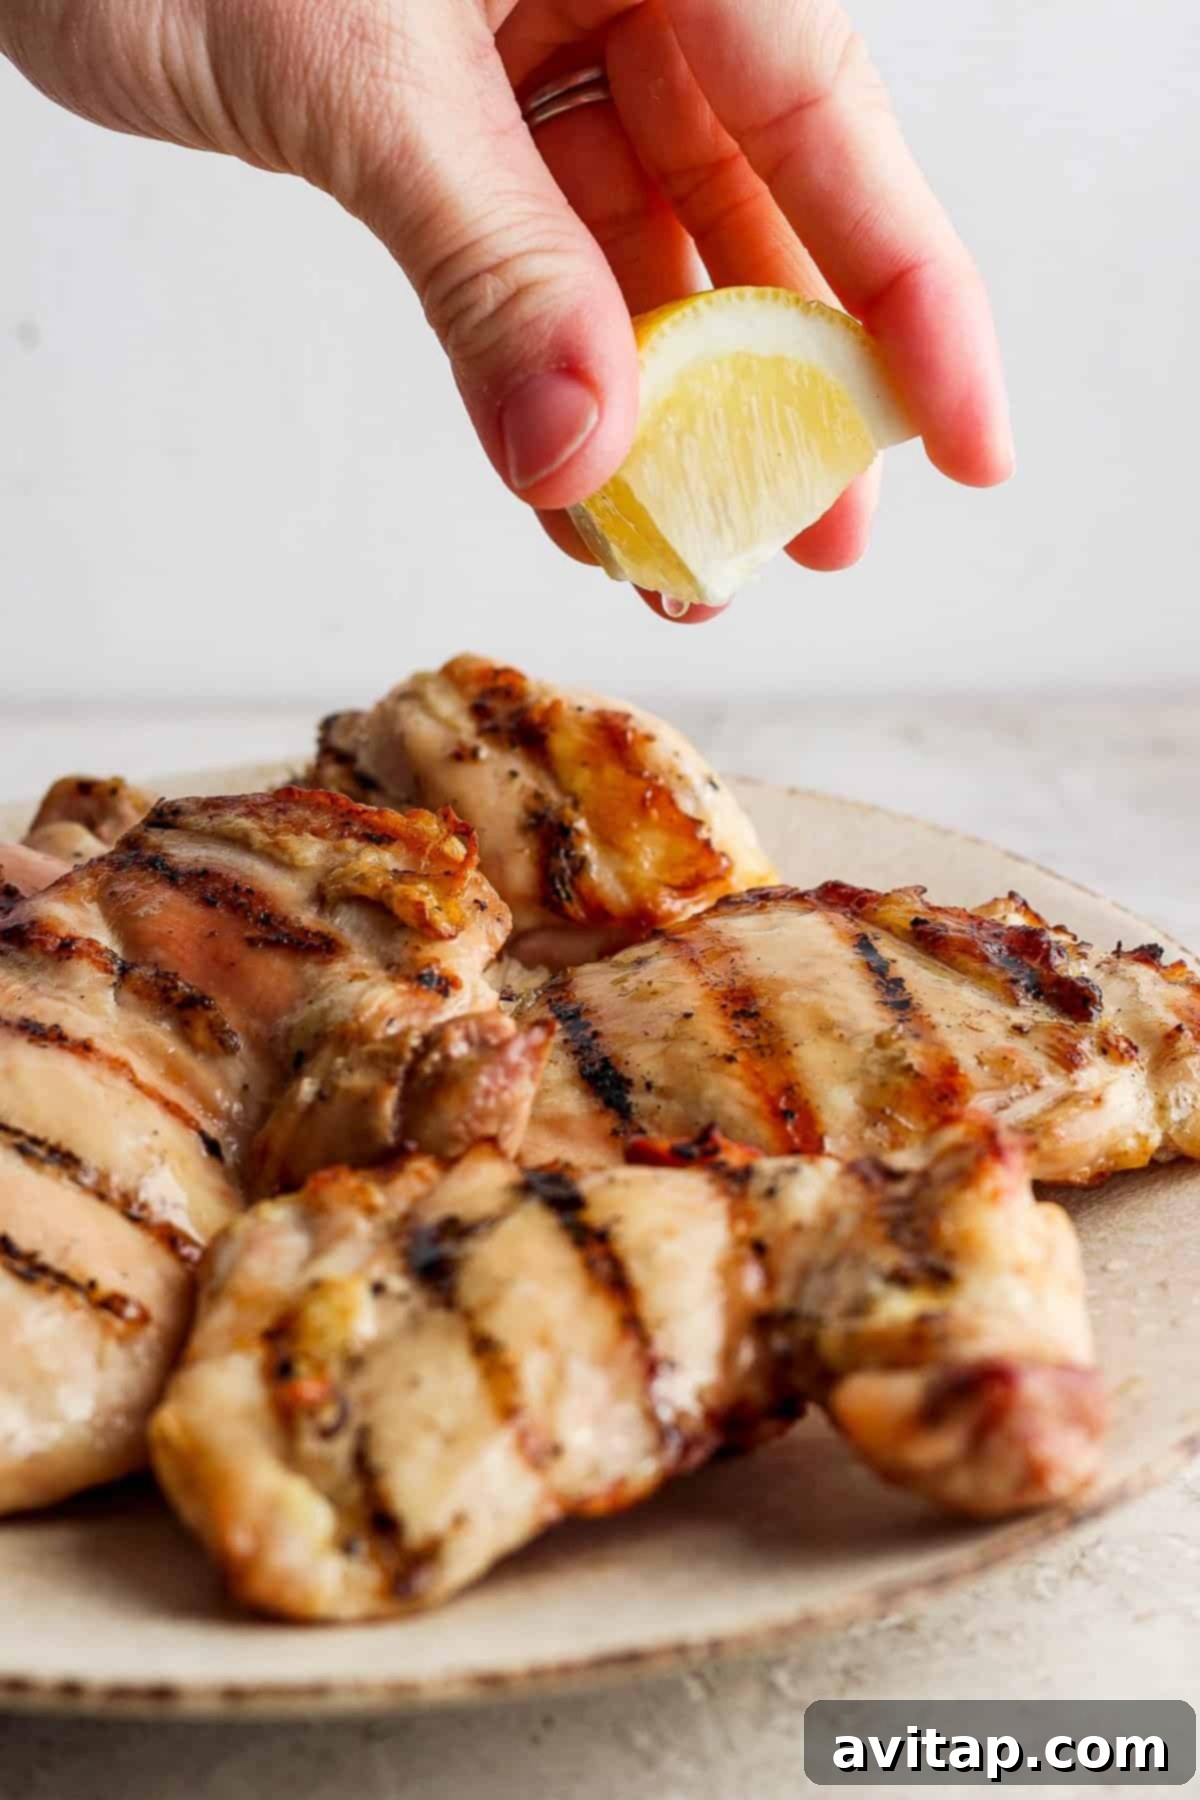
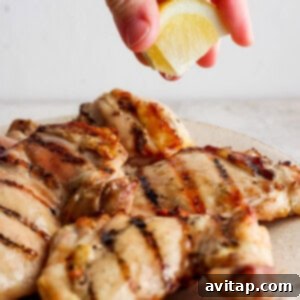
Rest and Serve: Remove the chicken from the grill and transfer it to a cutting board or platter. Squeeze fresh lemon juice from the ½ large lemon over the grilled chicken thighs. Tent loosely with foil and let rest for 10 minutes. This crucial step ensures the chicken remains incredibly juicy. Serve immediately with a generous dollop of the homemade dill sauce, and enjoy your flavorful meal!
A final touch of lemon juice enhances the chicken’s vibrant flavors.
Tips & Notes for Best Results
- Choosing Your Pickle Juice: For the most impactful brine, we found that dill pickle juice from Milwaukee or Clausen brands yields the best results due to their robust salt and dill content. Avoid less salty or sweet pickle juices.
- Avoid Butter Pickles: Do not use butter pickle juice for brining, as its sweet and distinct flavor profile will not complement the savory chicken as intended.
- Baking Option: If grilling isn’t an option, place brined chicken thighs in an oven-safe dish. Bake at 400ºF (200ºC) for 18-20 minutes, or until internal temperature reaches 160ºF-165ºF (71ºC-74ºC).
- Internal Temperature is Key: Always use a meat thermometer to ensure chicken reaches a safe internal temperature of 160ºF-165ºF (71ºC-74ºC).
- Resting Period: Do not skip the 10-minute resting period after cooking. This allows juices to redistribute, ensuring tender and moist chicken.
Watch How It’s Made
Curious to see the process in action? Watch our step-by-step video tutorial to guide you through making these delicious Dill Pickle Chicken Thighs, ensuring you get perfect results every time.
Nutrition information is automatically calculated and should only be used as an approximation. For precise dietary needs, please consult a professional.
Love this recipe? Leave a comment below!
Don’t forget to tag your culinary creations on social media with the hashtag #fitfoodiefinds – we’d absolutely love to see what you’re cooking up!
Photography by: The Wooden Skillet