

The Best Soft Gingerbread Cookies Recipe for a Festive Holiday Season
Embrace the warmth and joy of the holiday season by baking a batch of these truly irresistible soft gingerbread cookies. Imagine the delightful aroma filling your kitchen as these perfectly spiced, tender treats emerge from the oven, ready to be transformed into festive masterpieces. Whether you’re crafting classic gingerbread men, elegant stars, or whimsical animals, this recipe ensures a soft, chewy texture and a rich, spicy flavor that simply melts in your mouth. Finished with a simple, sweet icing, these cut-out cookies are not just a dessert; they’re a cherished holiday tradition waiting to happen.

This beloved soft gingerbread cookie recipe takes inspiration from our highly popular chewy ginger cookies, adapting the core flavors into a rollable dough perfect for festive cut-outs. Made with a similar blend of comforting spices and wholesome ingredients, this version is specifically designed to hold its shape beautifully, making it ideal for holiday cookie decorating. The resulting cookies are wonderfully tender, rich with molasses and ginger, and provide the perfect canvas for a smooth, sweet icing.
We often find ourselves doubling this recipe, and for good reason! These homemade gingerbread cookies freeze exceptionally well, meaning you can prepare them in advance and enjoy them throughout the festive period. Plus, the process of decorating them is an activity the whole family will adore, making them a fantastic, delicious holiday gift for friends, neighbors, or just to savor at home.
Essential Ingredients for Soft Gingerbread Cookies
Crafting the perfect soft gingerbread cookie begins with a careful selection of ingredients. Each component plays a vital role in achieving that signature flavor and tender texture:
- All-Purpose Flour: The foundation of our cookies, providing structure without being too dense.
- Salt: A crucial flavor enhancer, balancing the sweetness and deepening the spice notes.
- Baking Soda: Our leavening agent, ensuring the cookies rise just enough to be soft and slightly airy.
- Warm Spices: The heart of gingerbread!
- Ground Cloves: Adds a pungent, sweet, and warm aroma.
- Ground Cinnamon: A classic, sweet, and woody spice that binds the flavor profile.
- Ground Ginger: Provides that signature zing and warmth that defines gingerbread.
- Unsalted Butter: The fat component that contributes to the rich flavor and tender crumb. Using *cold* butter is paramount for proper dough structure.
- Light Brown Sugar: Offers a deeper, caramel-like sweetness and helps achieve that soft, chewy texture due to its molasses content.
- Large Egg: Acts as a binder, adding moisture and richness to the dough.
- Molasses: This is the secret to gingerbread’s distinctive dark color, rich flavor, and signature chewiness. It also helps keep the cookies soft.
Beyond the ingredients, ensure you have the right tools on hand for a smooth baking process. You’ll definitely want a couple of sturdy baking sheets, parchment paper for easy cleanup and non-stick baking, a reliable stand mixer for efficient mixing, and of course, your favorite cookie cutters to create those charming holiday shapes.
Common Questions About Gingerbread Cookies
Can I Substitute Butter for Coconut Oil in This Recipe?
Unfortunately, we strongly advise against substituting coconut oil for butter in this particular gingerbread cookie recipe. While coconut oil can work in some baking applications, its properties are fundamentally different from butter, especially when it comes to cut-out cookies. Coconut oil tends to be much softer at room temperature and has a lower melting point than butter. This means that if you use coconut oil, your dough will likely be too pliable and won’t hold its shape as well when rolled out and cut. The primary function of cold butter in this recipe is to create a sturdy, yet tender dough that resists spreading excessively in the oven, ensuring your beautifully shaped cookies maintain their form. Using cold, firm butter is absolutely essential for the best results and is a non-negotiable for achieving perfect gingerbread cut-outs.
Can I Use a Different Type of Flour?
Yes, you can certainly experiment with different flours, but it’s important to understand how they might affect the final texture and density of your soft gingerbread cookies. We’ve done some testing to provide you with reliable ratios:
- Whole Wheat Flour: If you’re looking to add a bit more fiber and a nuttier flavor, you can use a portion of whole wheat flour. Our recommended ratio for a good balance of texture and health benefits is 1.5 cups all-purpose flour to 1/2 cup whole wheat flour. Using too much whole wheat flour can make the cookies denser and slightly drier, so this ratio helps maintain the desired soft consistency.
- White Whole Wheat Flour: When this recipe was first published, it included an option for white whole wheat flour. This flour offers the nutritional benefits of whole wheat but with a lighter color and milder flavor, making it closer to all-purpose flour in baking performance. If you prefer this route, you can use a 1 cup white whole wheat flour combined with 1 cup all-purpose flour. This blend still yields delicious, soft cookies with a subtle whole grain character. Remember that flour absorbs liquid differently, so minor adjustments to the dough consistency might be needed if you deviate significantly from the recommended types.
What If I Don’t Have All the Recommended Spices?
Don’t let missing one or two spices deter you from making these incredible gingerbread cookies! The beauty of baking with spices is their versatility. If you find yourself without ground ginger, cloves, or cinnamon, check your pantry for pre-made spice mixes. Many blends contain similar warming spices that will still deliver that comforting gingerbread flavor profile.
Consider these alternatives:
- Chai Spice Mix: A good quality chai spice mix often contains a harmonious blend of cinnamon, ginger, cardamom, cloves, and sometimes black pepper. This can give your gingerbread a unique, aromatic twist.
- Gingerbread Spice Mix: If you have a specific “gingerbread spice mix” on hand, it’s typically formulated to achieve that classic flavor, so it’s an ideal substitute.
- Pumpkin Pie Spice: This blend usually includes cinnamon, ginger, nutmeg, allspice, and cloves, making it another excellent option for a warm, comforting flavor.
When substituting, aim for a total amount of spice roughly equivalent to what the recipe calls for, and adjust to your taste. You might also add a pinch of nutmeg or allspice if you have them, to round out the flavor profile even further.
The Secret to Preventing Your Gingerbread Cookies from Spreading Too Much
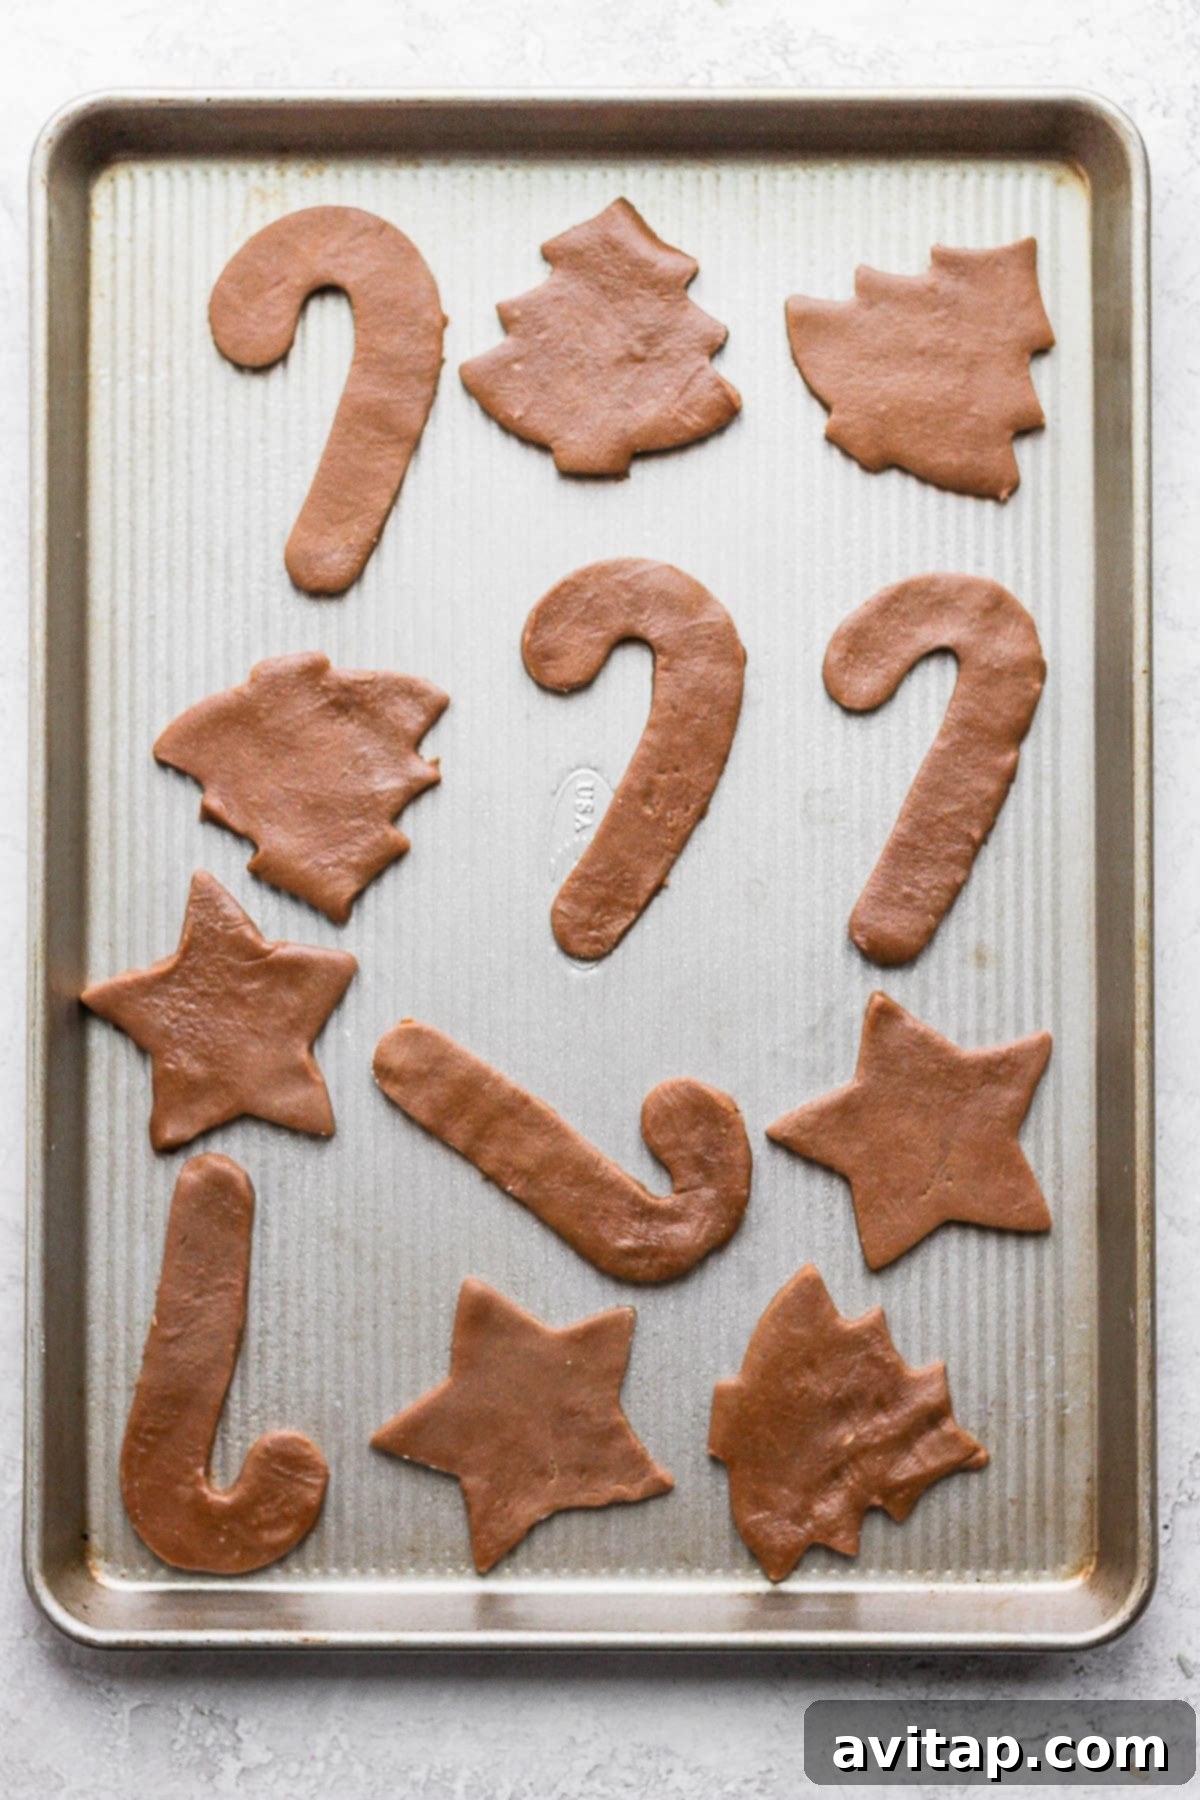
One of the most common frustrations when baking cut-out cookies is watching your carefully shaped dough spread into amorphous blobs in the oven. For soft gingerbread cookies that retain their intricate shapes, two critical steps are essential: extended refrigeration of the dough and a brief freeze of the cut-outs before baking. But why are these steps so important?
The science behind it is fascinating: The colder your cookie dough, the less likely it is to spread rapidly when introduced to the heat of the oven. Here’s a deeper look:
- Chilling the Dough (4 hours minimum): When you mix cookie dough, especially with butter, the butter warms up and softens. Refrigerating the dough solidifies the butter once more. Cold, firm butter takes longer to melt in the oven, meaning the cookie structure sets before the butter completely liquefies and causes excessive spreading. Additionally, chilling allows the flour to fully hydrate, resulting in a more tender cookie. It also gives the gluten a chance to relax, which prevents the cookies from becoming tough.
- Freezing the Cut-Outs (10 minutes): Taking it a step further, freezing the individual cut-out shapes for a short period right before baking creates an even more robust barrier against spreading. This flash-freeze hardens the butter and dough even more effectively than simple refrigeration. When these super-chilled cut-outs hit the hot oven, the exterior begins to set almost immediately, locking in the shape before the butter has a chance to fully melt and the dough spreads.
Through extensive testing, we’ve consistently found that cookies prepared with both adequate refrigeration time and a quick pre-bake freeze spread significantly less, resulting in beautifully defined gingerbread shapes every time. Do not skip either of these crucial chilling steps! Trust us, it makes all the difference for perfectly shaped, soft gingerbread cookies.
How to Decorate Soft Gingerbread Cookies
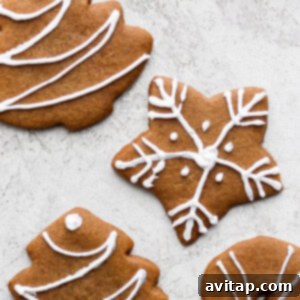
Decorating gingerbread cookies is arguably as much fun as baking them! While your cookies are cooling, it’s the perfect time to whip up a batch of our simple yet delicious gingerbread cookie icing. The key to successful decorating, especially if you plan to pipe intricate designs, is achieving the right consistency for your icing.
For a beautiful, defined piped design, you want the icing to be thick enough to hold its shape without melting or spreading excessively. This is why we recommend adding milk to the powdered sugar and butter mixture one tablespoon at a time. This allows you to gradually reach the desired consistency, ensuring you don’t accidentally make it too thin.
To test if your icing is ready for piping, spoon a small amount and let it drizzle back into the bowl. If it holds its distinct shape for a few seconds before slowly melting back into the rest of the icing, it’s perfect. If it disappears immediately, it’s too thin; add a little more powdered sugar. If it’s too stiff to pipe smoothly, add a tiny bit more milk, a half-teaspoon at a time.
What size Wilton tip should I use for piping? For fine lines and delicate details, we recommend using a Wilton 2 Round Tip. This size allows for precision and control, making it easy to create expressive faces, buttons, or elaborate patterns on your gingerbread figures. Don’t forget to have fun with sprinkles, edible glitter, or even different colored icings to make each cookie unique!

Freezing and Storing Your Gingerbread Masterpieces
These soft gingerbread cookies are incredibly versatile, offering excellent freezer stability. This makes them a fantastic make-ahead option for busy holiday seasons. You have two convenient options when it comes to freezing them:
- Freeze the Unbaked Cookie Dough:
You can prepare the dough up to the point of chilling, then wrap the entire dough ball tightly in plastic wrap (and optionally an additional layer of aluminum foil or an airtight container). This prevents freezer burn. The dough can be frozen for up to 3 months. When you’re ready to bake, thaw the dough in the refrigerator overnight, then proceed with rolling, cutting, and baking as directed in the recipe. This is perfect for fresh-baked cookies on demand.
- Freeze the Baked and Cooled Cookies:
Once your gingerbread cookies have been baked and cooled completely, you can freeze them (either decorated or undecorated). To prevent sticking, arrange the cookies in a single layer on a baking sheet and freeze until solid (about 1-2 hours). Once firm, transfer them to an airtight freezer-safe container, layering them with parchment paper between each layer to prevent sticking. They will keep well in the freezer for up to 3 months. To enjoy, simply thaw them at room temperature. If they are undecorated, you can frost them after thawing. This method is ideal for having a stash of ready-to-eat holiday treats.
Proper storage is also key for freshness. Store baked, frosted, or unfrosted cookies in an airtight container at room temperature in a cool, dark place for up to 5-7 days. The airtight seal will help maintain their softness and prevent them from drying out.
More of Our Favorite…
Christmas Cookie Recipes
If you’re still in the mood for baking, explore these other fantastic holiday cookie recipes:
- Healthy Christmas Cookies: A collection of lighter options.
- Shortbread Almond Flour Cookies: Buttery and tender, a gluten-friendly delight.
- Soft Ginger Cookies: Our inspiration for these cut-outs, packed with ginger flavor.
- White Chocolate Cranberry Oatmeal Cookies: A perfect blend of sweet and tart.
★★★★★ (5 from 3 votes)
Soft Gingerbread Cookies Recipe
Linley Hanson
Prep Time:
4 hours
Cook Time:
7 minutes
Total Time:
4 hours 7 minutes
15 cookies
Pin Recipe
Ingredients
Dry Ingredients
- 2 cups all-purpose flour, scooped and leveled
- 1/2 teaspoon salt
- 1 teaspoon baking soda
- 1/2 teaspoon ground cloves
- 2 teaspoons ground cinnamon
- 2 teaspoons ground ginger
Wet Ingredients
- 10 tablespoons butter, cold and cut into 1/2 tablespoon pats
- 1 cup light brown sugar, packed
- 1 large egg
- 1/4 cup molasses
Icing
- 2 cups powdered sugar
- 1 tablespoon unsalted butter, softened
- 2-3 tablespoons 2% milk
- 1 teaspoon vanilla extract
Instructions
-
Prepare Dry Ingredients: In a medium-sized bowl, combine all the dry ingredients (all-purpose flour, salt, baking soda, ground cloves, ground cinnamon, and ground ginger). Whisk them together thoroughly to ensure they are well distributed. Set this mixture aside for later.
-
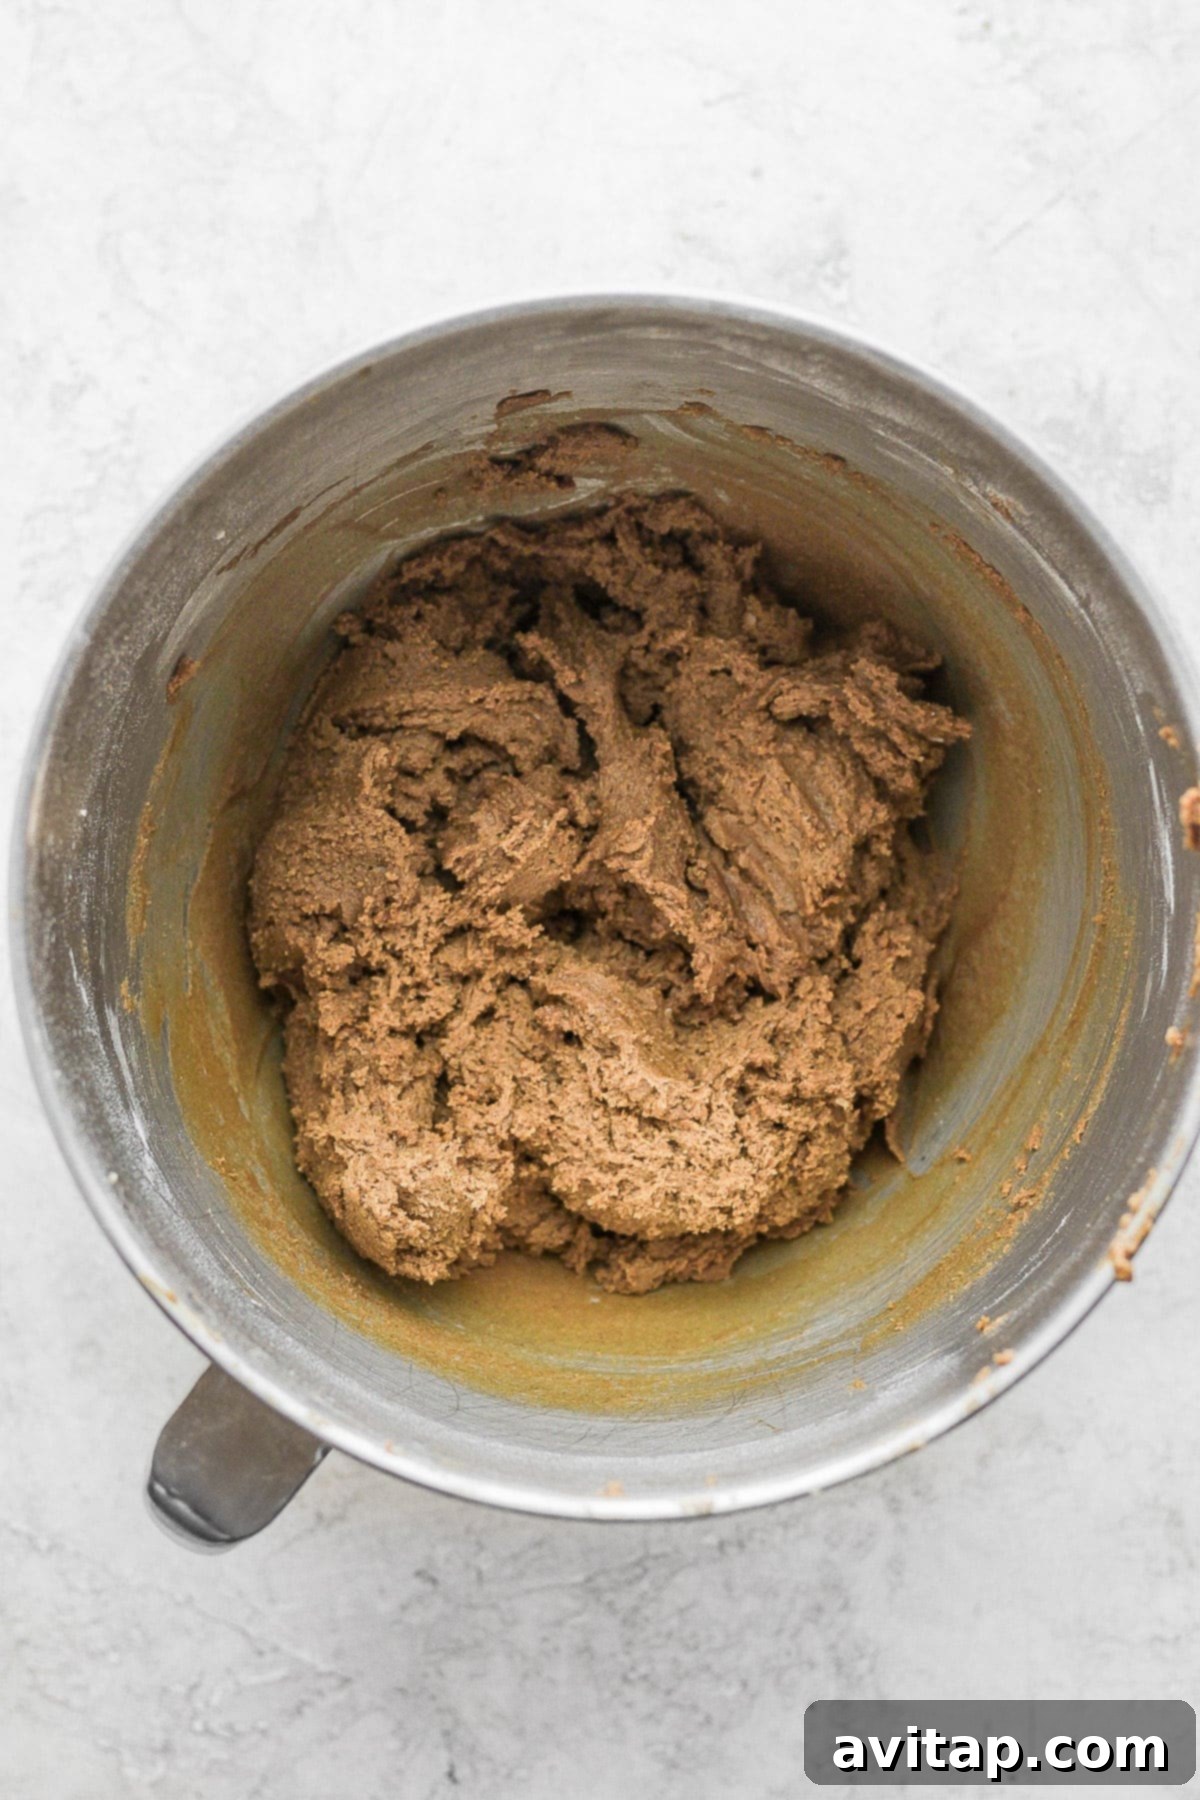
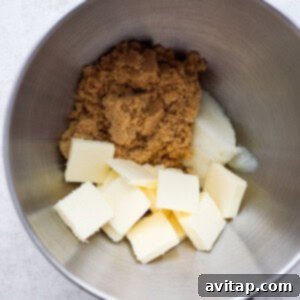
Cream Wet Ingredients: Using a stand mixer fitted with the paddle attachment, cream together the cold, cut-up butter and light brown sugar at medium speed. This step should take approximately 3-4 minutes, until the mixture is light and fluffy. Next, pour the molasses into the creamed butter and sugar, mixing for about 1 minute until fully incorporated and smooth. Finally, crack the large egg into the mixture and continue to mix on medium speed until everything is well combined and uniform.

-
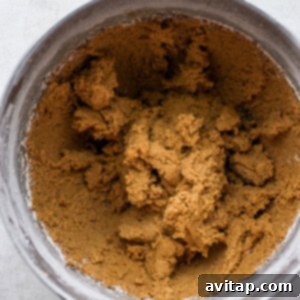
Combine Wet and Dry: Gradually add the dry ingredient mixture to the wet ingredients in the stand mixer. Add about 1/2 cup of the dry mixture at a time, mixing on medium speed after each addition until just combined. Continue this process until all the dry ingredients have been incorporated and the dough comes together. The finished dough should be slightly thicker than typical cookie dough but still soft and pliable enough to easily form a ball. Be careful not to overmix.
-
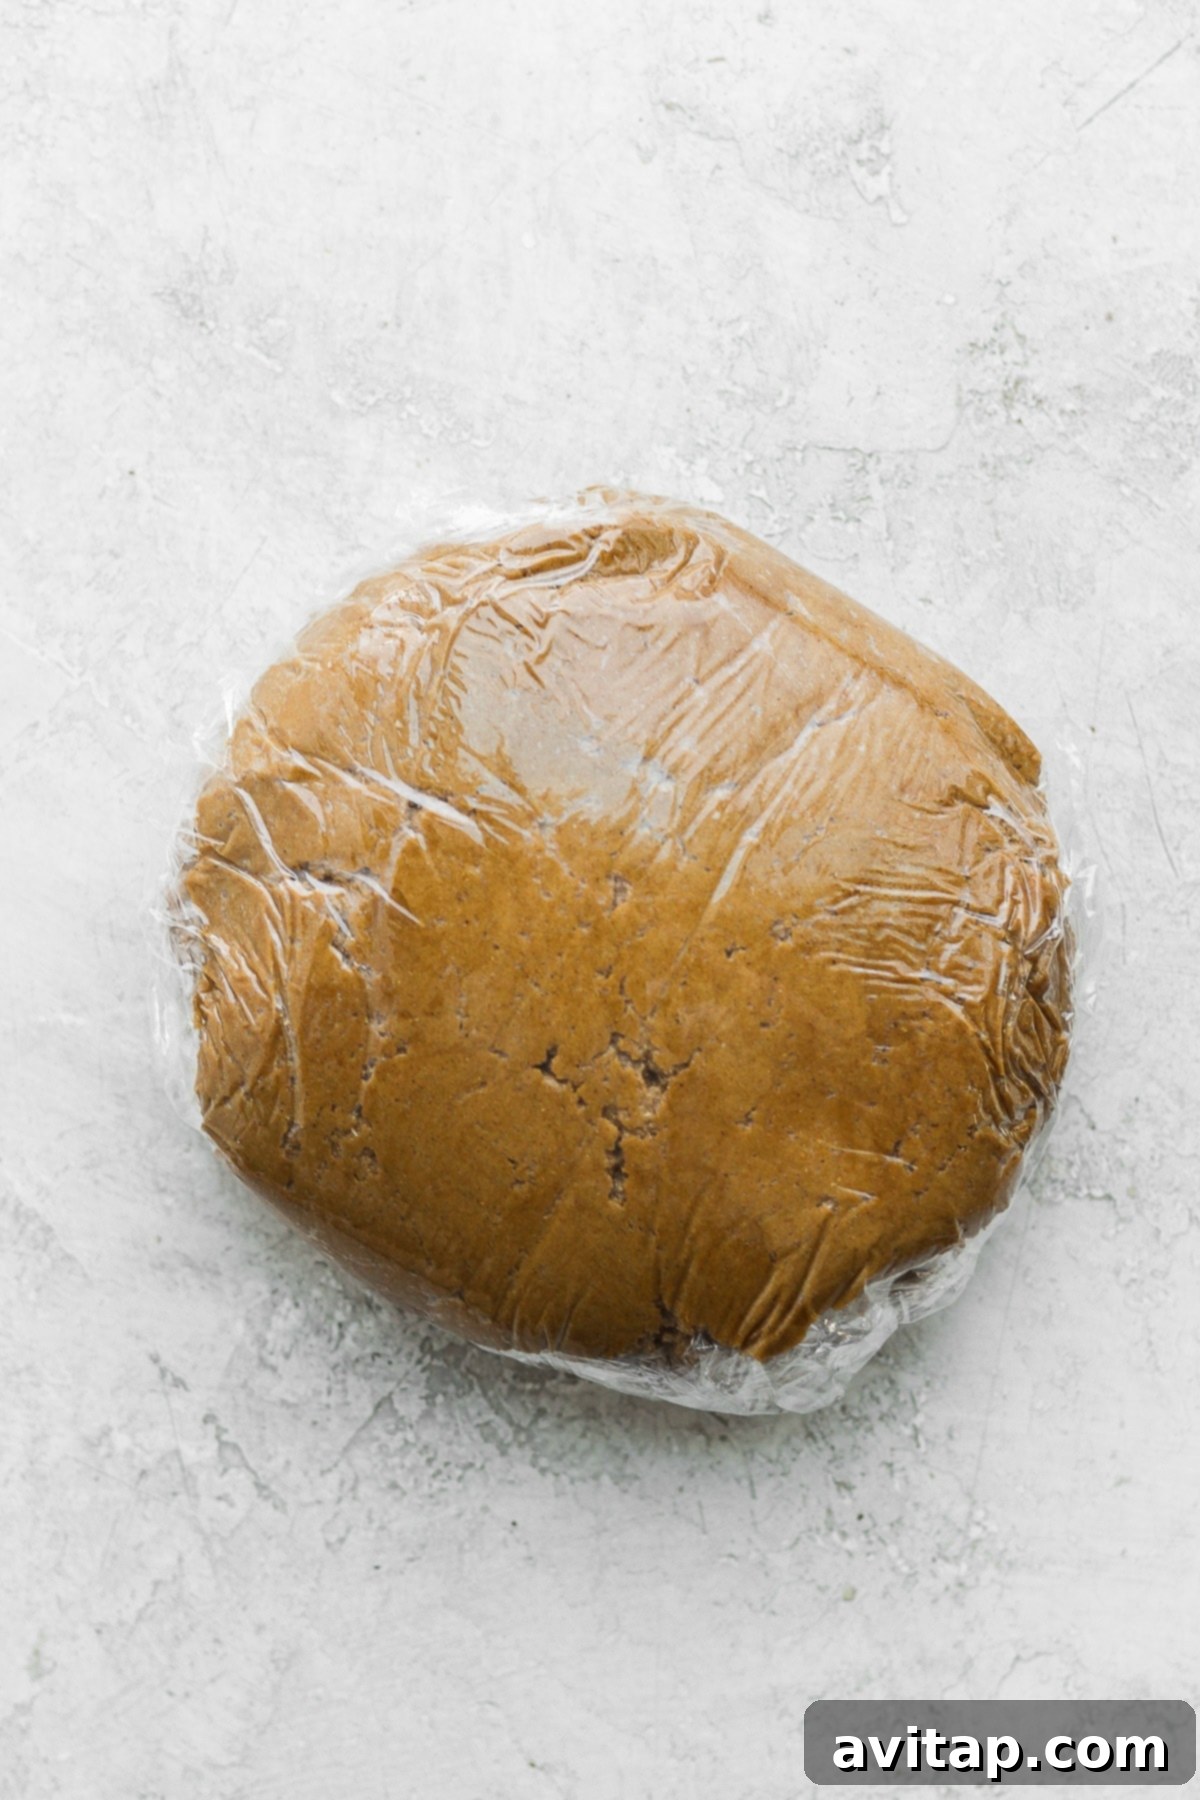
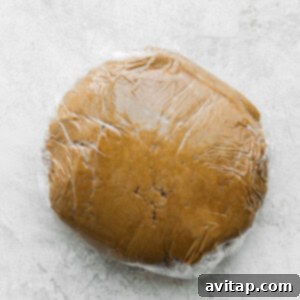
Chill the Dough: Form the cookie dough into a cohesive ball, then wrap it tightly in plastic wrap. Place the wrapped dough into the refrigerator for at least 4 hours. For best results and to ensure the dough is firm and easy to handle, chilling it overnight or even longer (up to 24 hours) is highly recommended. This step is crucial for preventing the cookies from spreading too much during baking.
-
Preheat Oven & Prepare Pans: When you’re ready to bake, preheat your oven to 350ºF (175ºC). Line two baking sheets with parchment paper to prevent sticking and ensure even baking.
-
Prepare for Rolling: Remove the chilled dough from the refrigerator. Lightly flour a clean, cool work surface and your rolling pin. Cut the dough ball in half. Place one half on the floured surface and return the other half to the refrigerator to keep it cool while you work. This ensures the dough remains firm and manageable.
-
Roll Out Dough: Use your rolling pin to roll out the dough evenly until it is approximately 1/4-inch thick. If the dough starts to stick to the rolling pin or your surface, don’t hesitate to sprinkle a little more flour as needed.
-
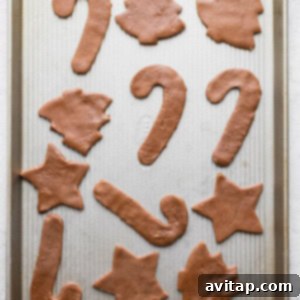
Cut & Freeze Cookies: Use your favorite small to medium-sized cookie cutters to create desired gingerbread shapes (e.g., gingerbread men, stars, trees). Carefully transfer the cut-outs to your parchment-lined baking sheets, leaving a small space between each cookie as they will expand slightly during baking. Place the baking sheets with the cookie cut-outs into the freezer for 10 minutes. This crucial step helps prevent the cookies from spreading too much in the oven, ensuring crisp, well-defined shapes.
-
Bake Cookies: Bake the frozen cookie cut-outs in the preheated oven at 350ºF (175ºC) for approximately 7-9 minutes. Keep a close eye on them; they cook quickly! You’ll know they’re done when the edges just begin to lightly brown. While one batch bakes, you can start rolling and cutting the other half of the dough that was kept in the refrigerator.
-
Cool: Immediately remove the baked cookies from the hot baking sheet and transfer them to a wire cooling rack to cool completely. Allow them to cool for at least 30 minutes before attempting to frost them. This prevents the icing from melting or sliding off.
-
Prepare Icing: For the delightful gingerbread cookie icing, combine the powdered sugar, softened unsalted butter, and vanilla extract in a large bowl. Begin adding the 2% milk one teaspoon at a time, mixing on low to medium speed. Continue adding milk gradually until the frosting achieves a thick, creamy, and smooth consistency. For piping, the icing should hold its shape for a few seconds when spooned and allowed to drip back into the bowl before slowly melding back in. Adjust with more powdered sugar for thicker icing or a tiny bit more milk for thinner.
-
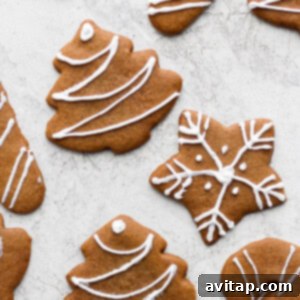
Decorate: Once the cookies are completely cool, frost them with the prepared icing. Get creative with sprinkles, edible glitter, or other festive decorations! If you’re piping intricate lines or designs, we recommend using a Wilton 2 Round Tip for precision, just like we did to achieve those lovely details.
-
Store: Store the decorated or undecorated soft gingerbread cookies in an airtight container in a cool, dark place. They will remain fresh and delicious for up to 5-7 days.
Tips & Notes for Perfect Gingerbread Cookies
- This recipe was updated on December 6, 2023, to remove white whole wheat flour from the primary ingredient list. However, if you wish to use a portion of whole wheat flour for added texture and nutrition, we recommend a ratio of 1.5 cups all-purpose flour to 1/2 cup whole wheat flour.
- Refrigeration & Freezing are Key: Absolutely do not skip the chilling steps! Chilling the dough for a minimum of 4 hours before rolling it out, and then freezing the cut-out shapes for 10 minutes just before baking, are critical. These steps solidify the butter in the dough, significantly preventing the cookies from spreading excessively in the oven and helping them maintain their perfect cut-out shapes.
- Avoid Overworking the Dough: Mix the dough until just combined. Overmixing can develop the gluten too much, leading to tough cookies instead of soft ones.
- Even Thickness: When rolling out the dough, strive for an even 1/4-inch thickness. This ensures all cookies bake uniformly, preventing some from burning while others are undercooked.
- Cool Completely Before Decorating: Patience is a virtue! Ensure your cookies are entirely cool before applying icing. Warm cookies will cause the icing to melt and run, ruining your beautiful designs.
Watch Our Step-by-Step Guide
Nutrition Information (per serving)
Calories:
307
kcal
,
Carbohydrates:
54
g
,
Protein:
2
g
,
Fat:
9
g
,
Fiber:
1
g
,
Sugar:
30
g
Nutrition information is automatically calculated and should only be used as an approximation.
🍪
Love this recipe? Leave a comment below!
Don’t forget to tag your posts on social media with the hashtag #fitfoodiefinds – we’d absolutely love to see your beautiful creations!
Photography by: The Wooden Skillet