
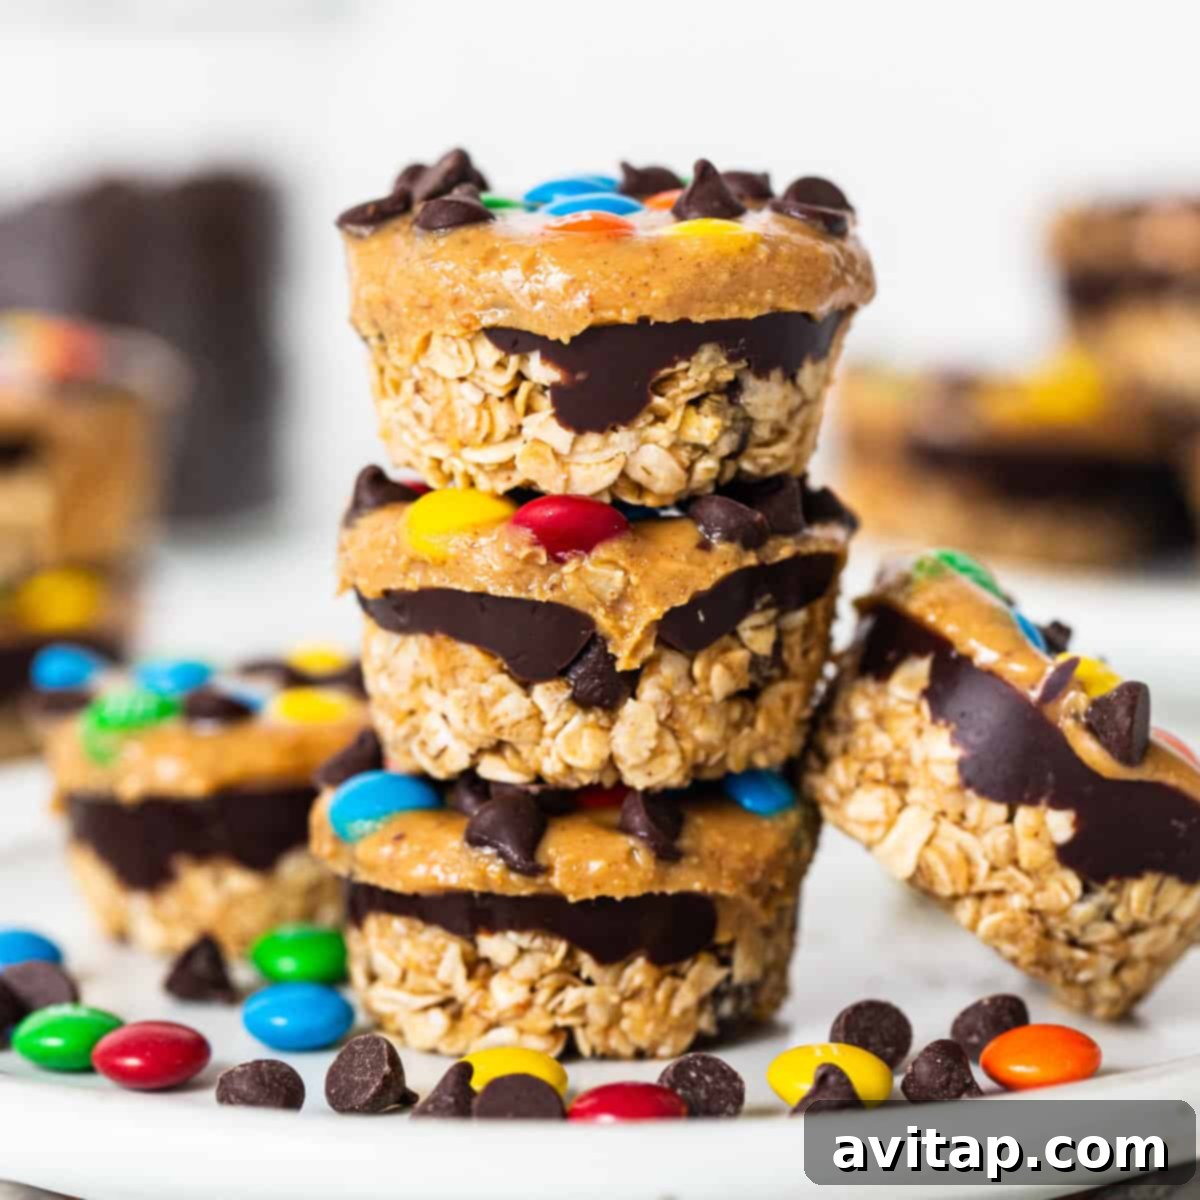
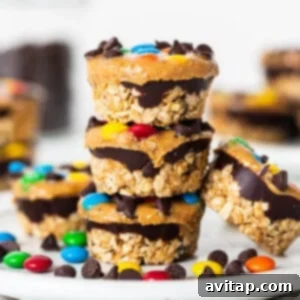
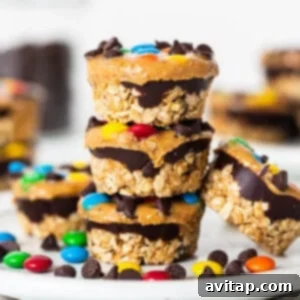
Prepare to fall in love with these Monster Cookie Oat Cups – an incredibly easy, no-bake dessert that promises to be a hit with the entire family! These delightful cups are the perfect solution for satisfying your sweet tooth without turning on the oven. Whether you need a quick snack, a lunchbox treat, or a wholesome dessert, these oat cups deliver on all fronts. Make a generous batch to have on hand; we guarantee you’ll be reaching for them frequently!
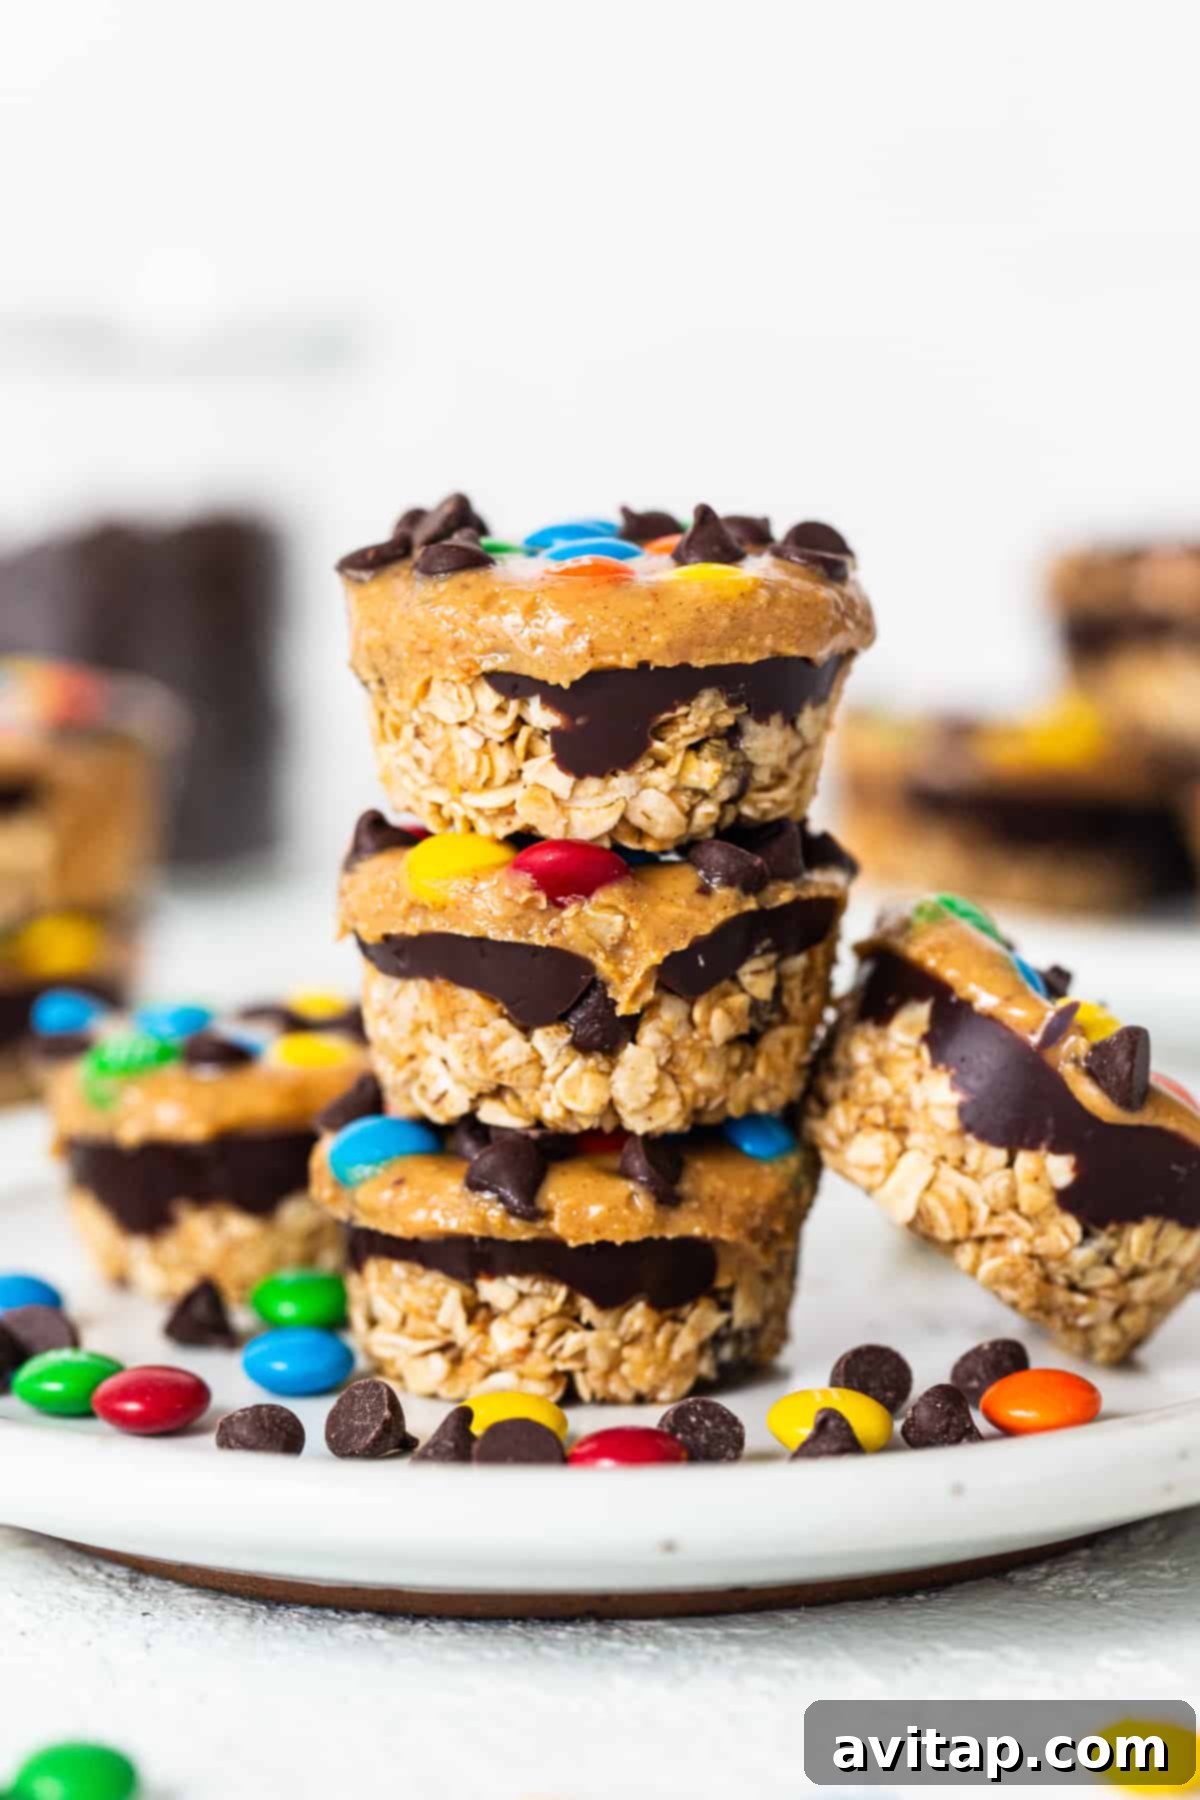
Embrace the Ease: Crafting Perfect No-Bake Desserts
Our quest for simple, delicious treats has led us to our latest obsession: these irresistible Monster Cookie Oat Cups! If you’re new to the world of no-bake desserts, you’re in for a real revelation. These easy oat cups are packed with classic monster cookie flavors – think oats, peanut butter, chocolate, and M&M’s – all without a single minute of baking time. They’re a fantastic addition to our collection of quick and wholesome treats. If you’ve enjoyed our PB&J Quinoa Cups or our classic Peanut Butter Oat Cups, then you already know the magic of combining simple ingredients into something truly extraordinary. Why not whip up a batch of these Monster Cookie Oat Cups alongside your other favorites for a truly decadent (yet healthy-ish!) spread?
The Undeniable Appeal of No-Bake Desserts
Unbeatable Speed: No oven, no waiting for baking! These treats come together in a flash, making them perfect for busy schedules.
Effortless Preparation: Simple mixing and layering are all it takes. Ideal for beginners, kids, or anyone looking for minimal fuss in the kitchen.
Perfect for Any Occasion: From quick after-school snacks to satisfying sweet cravings on the go, no-bake desserts are incredibly versatile.
No-bake desserts are a game-changer, especially when you crave something sweet but are short on time or want to avoid heating up your kitchen. They are often healthier alternatives, relying on wholesome ingredients like oats, nut butters, and natural sweeteners. Their simplicity makes them an excellent entry point into baking (or rather, “un-baking”) for aspiring home cooks of all ages. Plus, the quick setting time means you’re just minutes away from enjoying a delightful, homemade treat!
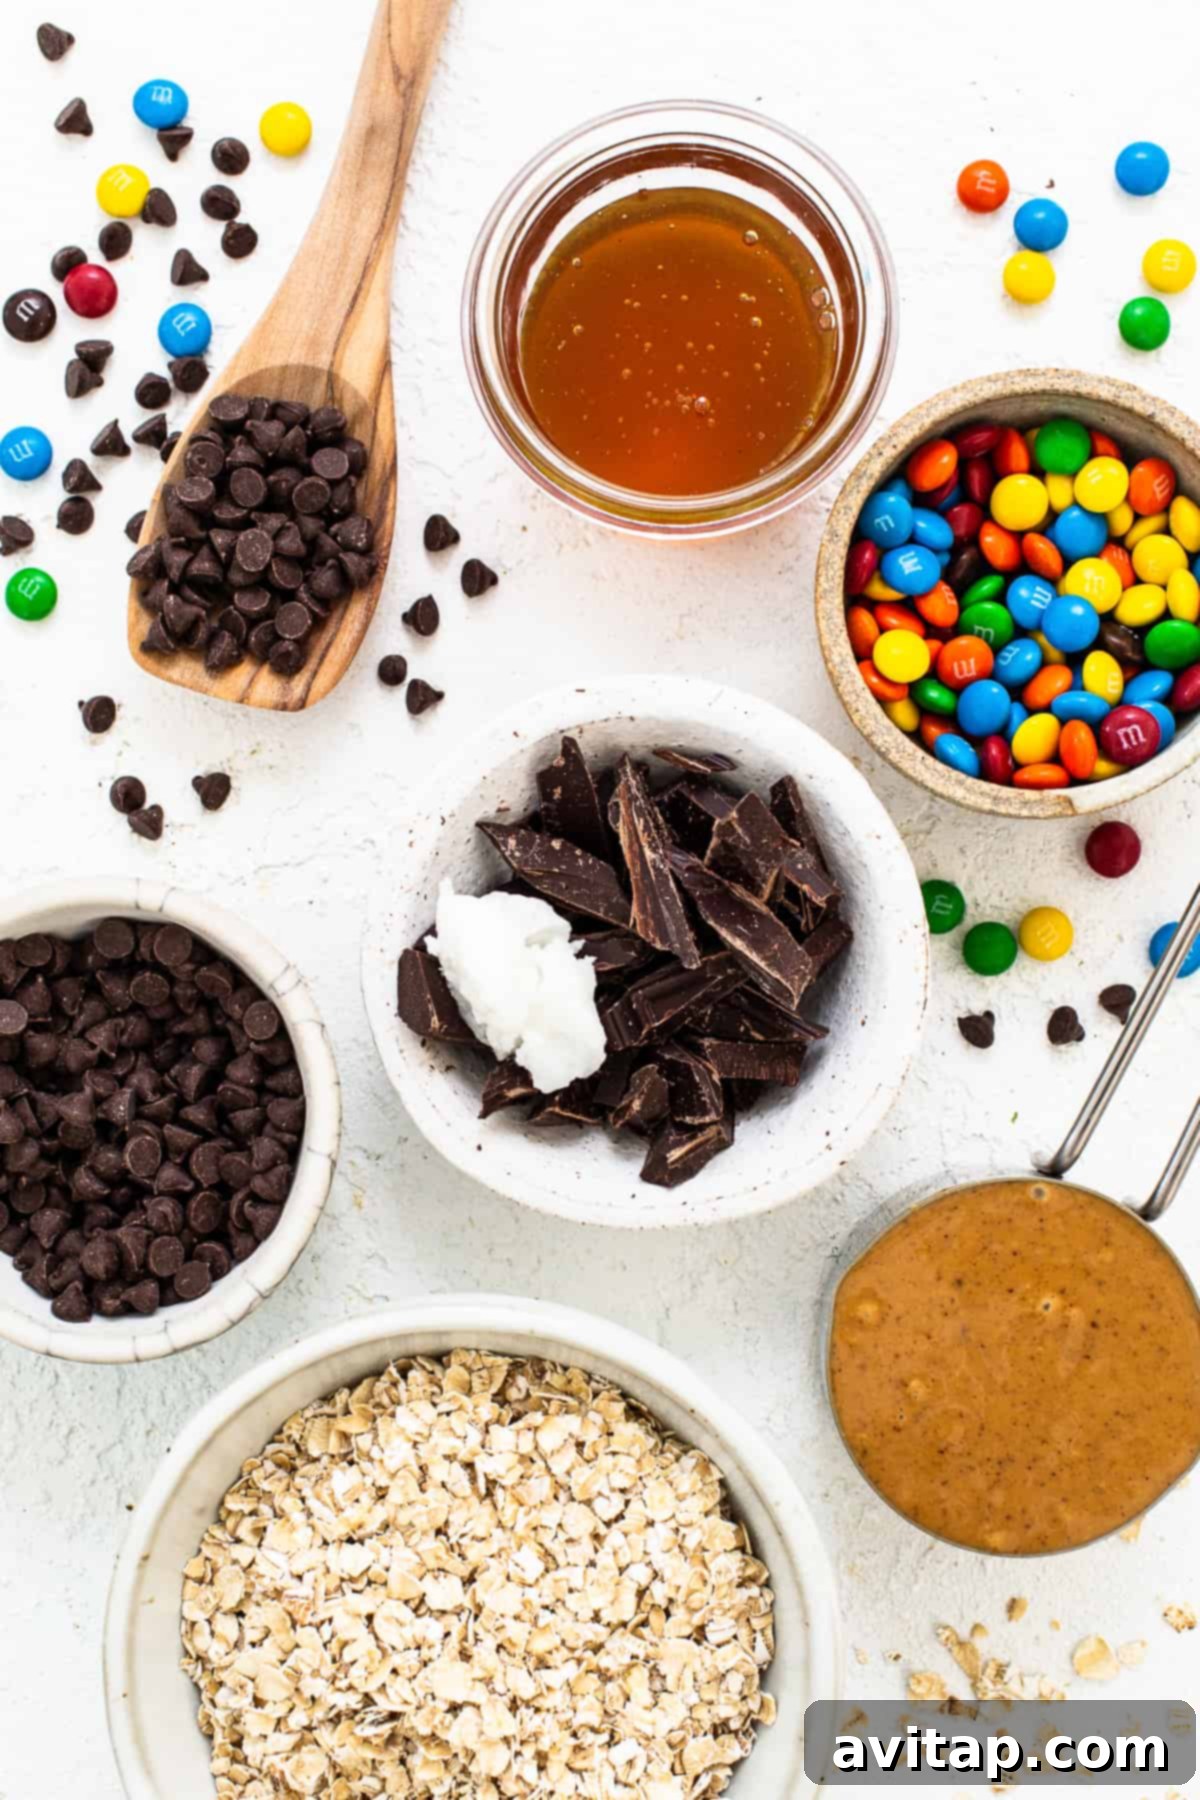
Essential Ingredients for Your Monster Cookie Oat Cups
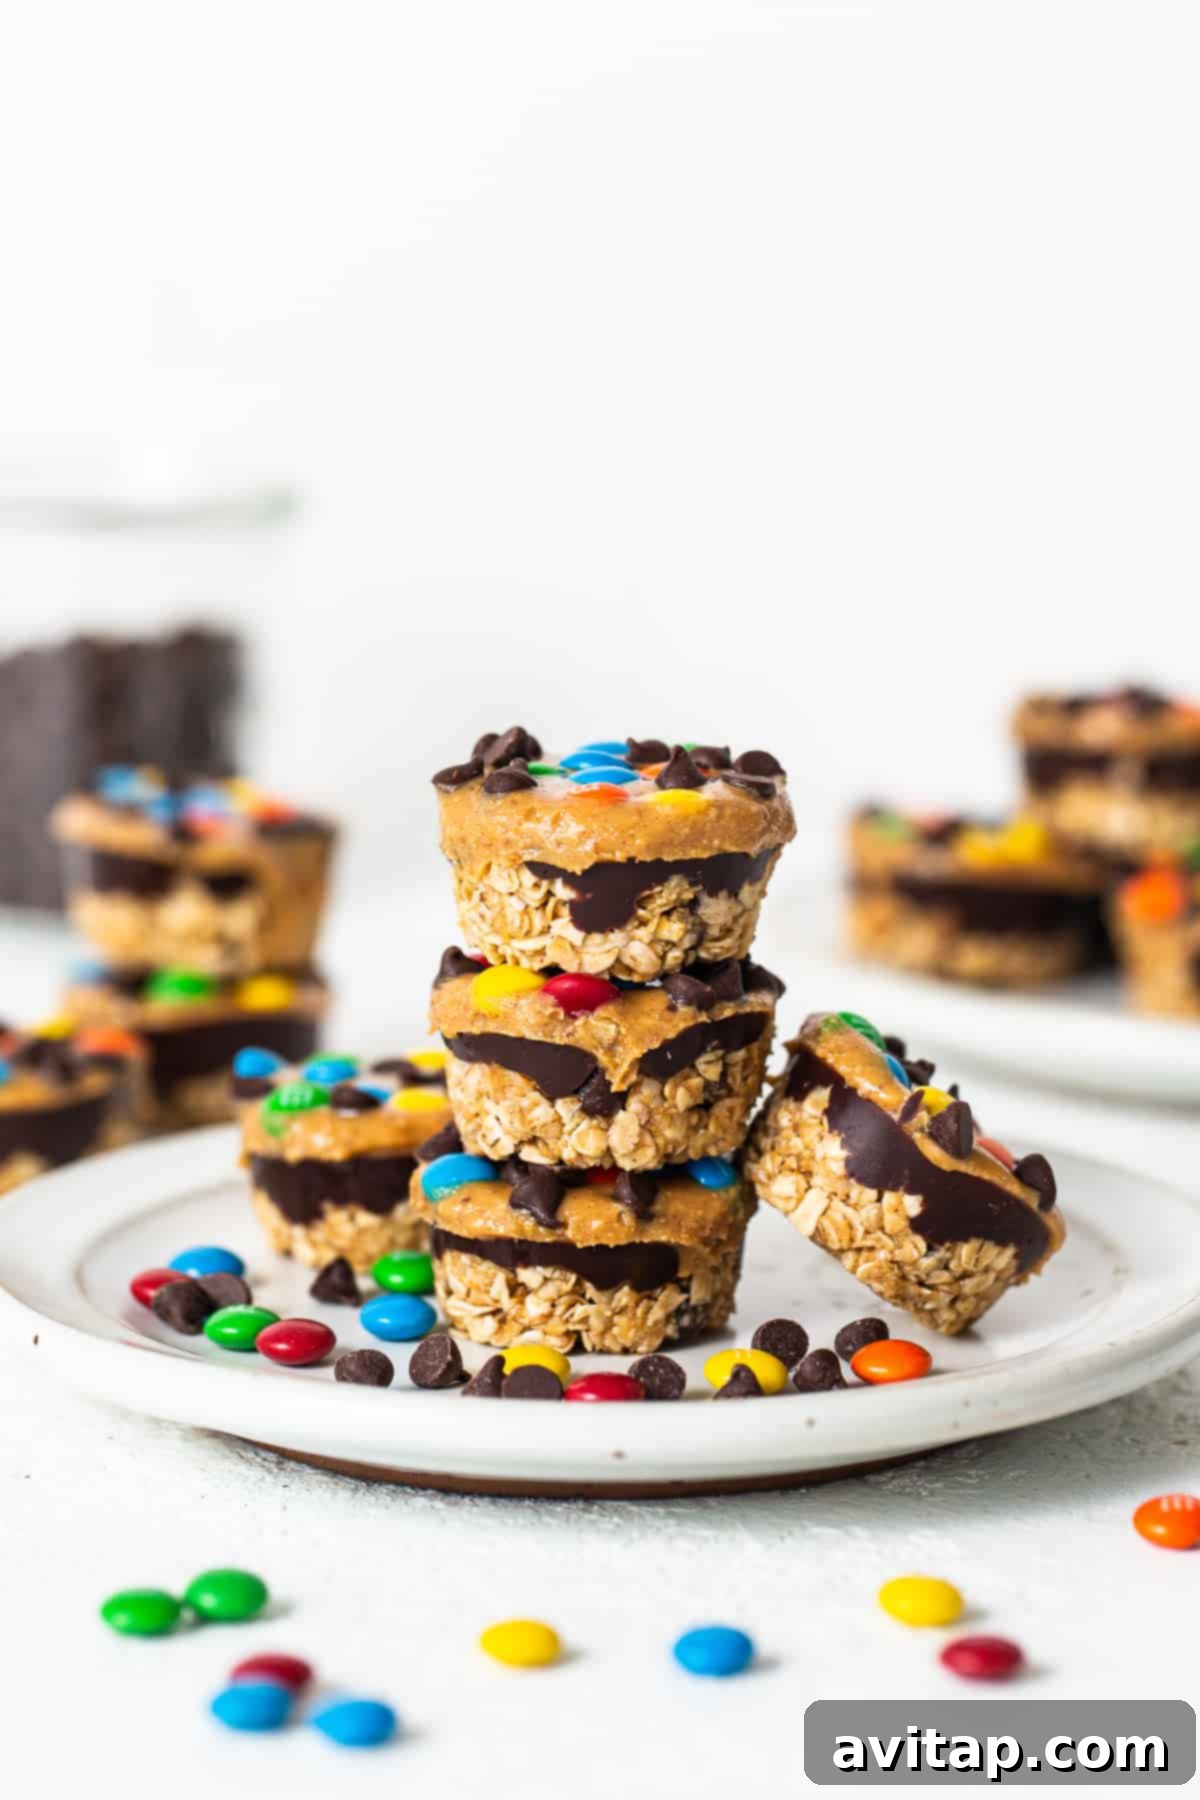
The beauty of these no-bake monster cookie oat cups lies in their simple, wholesome ingredients and ingenious three-layer construction. Each layer brings its unique texture and flavor, ensuring a burst of deliciousness in every single bite. We’ve carefully selected components that mimic the classic monster cookie profile while keeping the “no-bake” philosophy at heart. Here’s a detailed look at what you’ll need:
The Wholesome Oat Base Layer
- Quick-Cooking Oats: These are crucial for the right texture. Unlike rolled oats, quick-cooking oats absorb liquids faster and create a softer, more cohesive base without being too chewy or tough. They provide fiber and a satisfying chew.
- Honey: Our natural sweetener and binder. Honey not only adds a lovely sweetness but also helps to hold the oat layer together, giving it that perfect cookie-like consistency.
- All-Natural, Creamy Peanut Butter: The heart of any monster cookie! Choose a natural peanut butter with only peanuts and salt for the best flavor and consistency. It provides richness, protein, and helps bind the oats.
- Mini Chocolate Chips: Because what’s a monster cookie without chocolate? Mini chips distribute beautifully throughout the oat layer, ensuring chocolatey goodness in every morsel.
Rich & Decadent Chocolate Layer
- Chopped Dark Chocolate: Opt for high-quality dark chocolate for a rich, intense flavor that balances the sweetness. Chopping it finely helps it melt smoothly and evenly.
- Coconut Oil: This is the secret to a silky-smooth, pourable chocolate layer. Coconut oil helps the chocolate set firmly when chilled, creating a satisfying snap without requiring tempering.
Creamy Peanut Butter Topping Layer
- All-Natural, Creamy Peanut Butter: Again, a natural, creamy variety works best for a smooth and spreadable topping. Its familiar flavor enhances the monster cookie experience.
- Coconut Oil: Just a touch of coconut oil here helps thin the peanut butter slightly, making it easier to swirl and spread over the chocolate layer, creating a clean finish.
- Mini M&M’s: The iconic colorful crunch that makes monster cookies so fun! Mini M&M’s are perfect for sprinkling on top, adding visual appeal and a delightful texture.
- Mini Chocolate Chips: A final flourish of mini chocolate chips on top rounds out the classic monster cookie aesthetic and adds extra bursts of chocolate.
Our Go-To Choice
The Best Natural Peanut Butter
When it comes to baking and no-bake treats, Smucker’s All-Natural Peanut Butter is our top recommendation. Its perfectly drippy consistency is ideal for mixing into bases and creating smooth, luscious layers.
Step-by-Step Guide: Crafting Your Monster Cookie Oat Cups
Making these no-bake delights is a straightforward and fun process, even for beginner chefs. Follow these detailed steps to create perfectly layered, flavorful Monster Cookie Oat Cups every time. The key is allowing each layer to chill properly to ensure a stable and beautiful finished product.
Step 1: Prepare the Hearty Oat Base
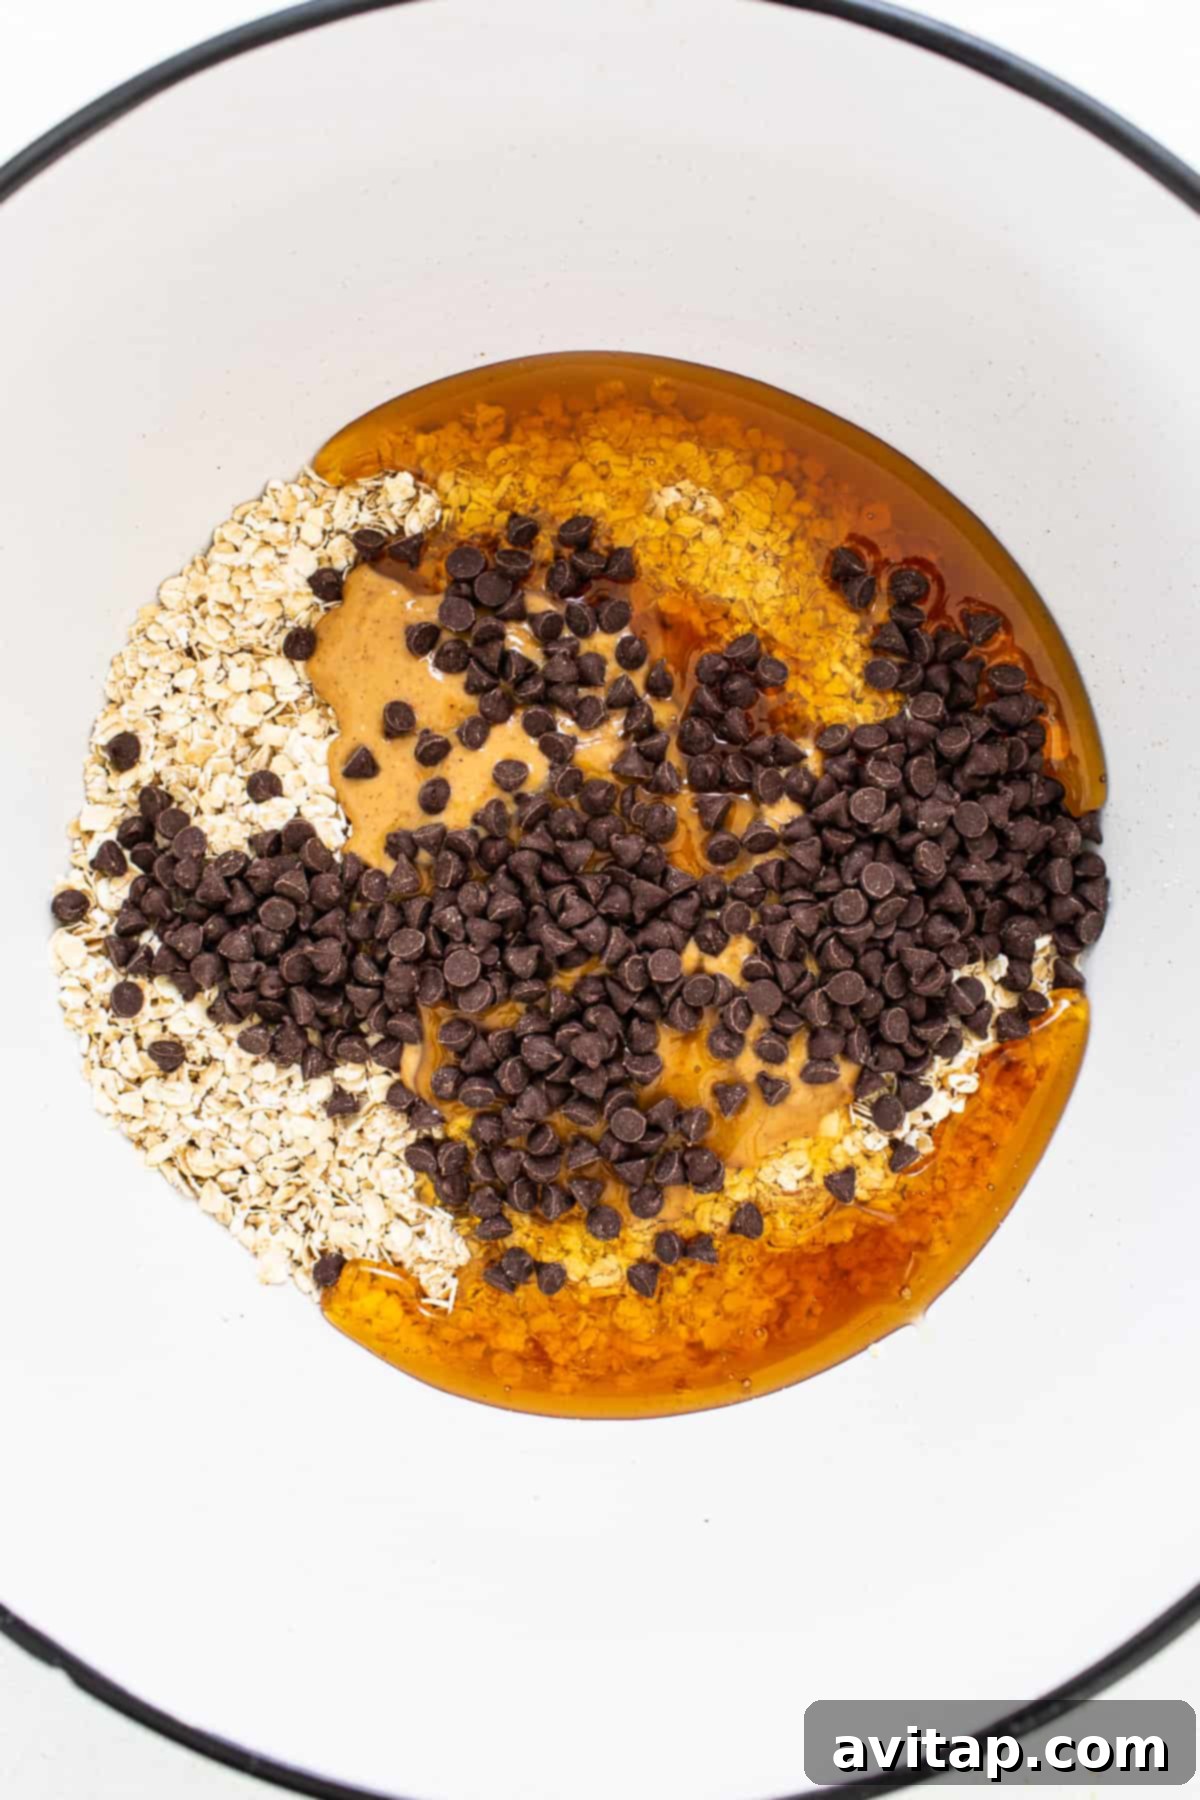
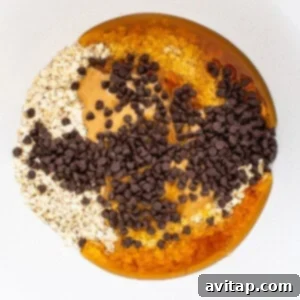
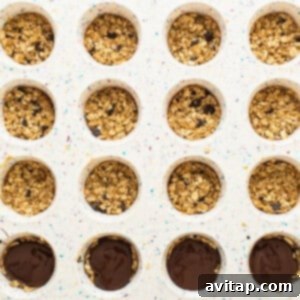
Begin by preparing your muffin tin. For easy removal, we recommend lining a metal muffin pan with paper liners or, even better, using a silicone muffin pan which often doesn’t require liners at all. In a medium-sized mixing bowl, combine the quick-cooking oats, honey, all-natural creamy peanut butter, and mini chocolate chips. Stir these ingredients thoroughly with a sturdy spoon or spatula until everything is well combined and forms a cohesive mixture. The mixture should be moist enough to hold its shape when pressed. If it appears too dry or crumbly, gradually add 1 to 2 teaspoons of water until you reach the desired consistency. This small adjustment can make a big difference in the final texture. Scoop approximately 2 tablespoons of this oat mixture into the bottom of each prepared muffin cup. Using the back of a spoon or your fingertips, firmly press the mixture down to create a compact and even base layer. This firm pressing is essential for the cups to hold their structure.
Step 2: Create the Smooth Chocolate Layer
Next, it’s time for the luscious chocolate layer. Transfer your chopped dark chocolate and coconut oil into a microwave-safe bowl. Heat the chocolate mixture on high power in 20-second increments. After each increment, remove the bowl and stir the chocolate and coconut oil thoroughly. Continue this process until the chocolate is completely melted and smooth, with no lumps remaining. Be careful not to overheat the chocolate, as this can cause it to seize. Once melted, scoop about 2 teaspoons of the warm, melted chocolate and carefully drizzle it over the pressed oat layer in each muffin cup. Gently swirl the muffin pan in a circular motion on your countertop. This simple trick helps to evenly distribute the chocolate over the oat base, creating a smooth and attractive layer. If you have any leftover melted chocolate, ensure it’s equally divided among the cups. Immediately transfer the muffin pan to the freezer and let it chill for a quick 5 minutes. This brief freezing step ensures the chocolate sets quickly and creates a firm base for the next layer.
Step 3: Add the Creamy Peanut Butter Topping
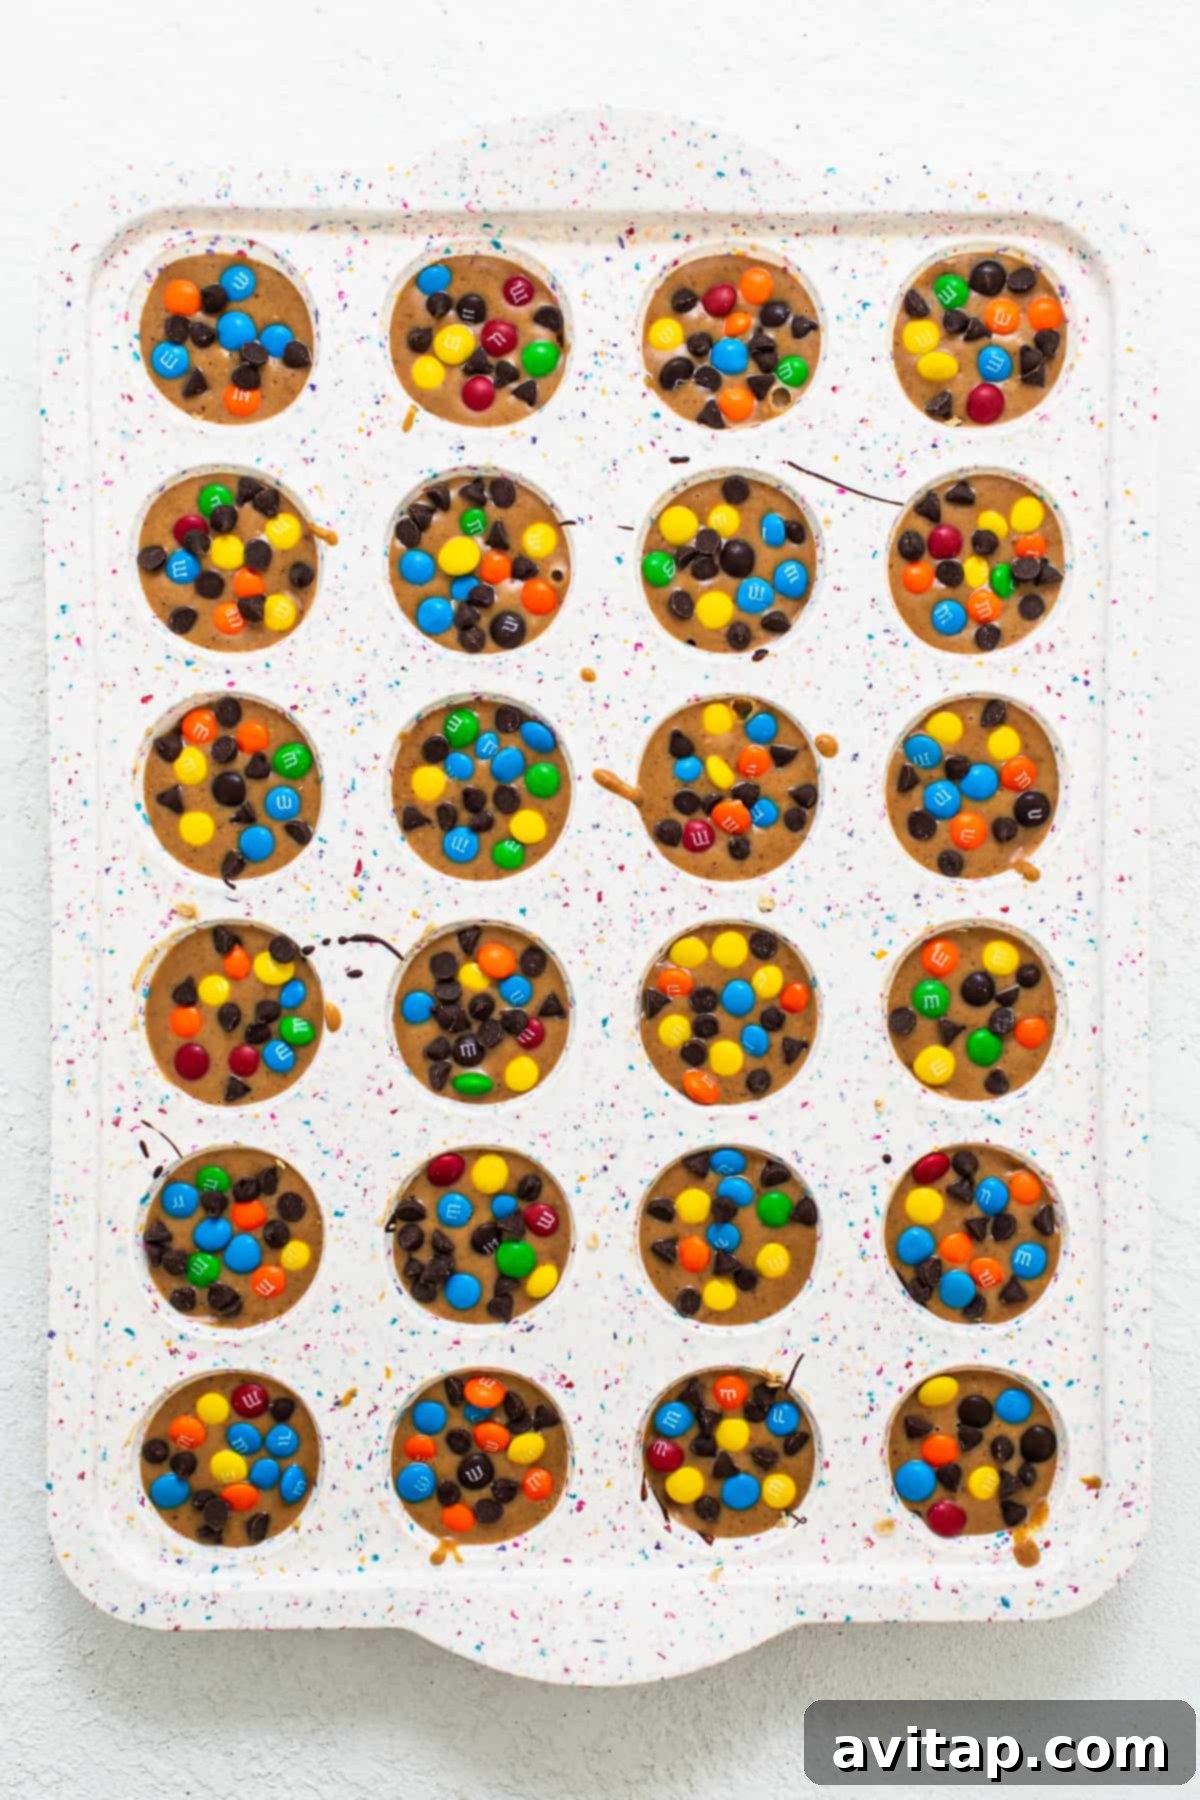
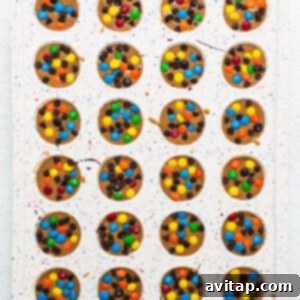
While the chocolate layer is setting, prepare your peanut butter topping. In a separate microwave-safe bowl, combine the creamy peanut butter and coconut oil. Microwave this mixture for about 15 seconds. Remove and stir well until the peanut butter and coconut oil are smoothly combined and slightly thinned. This makes it easier to work with. Carefully remove the muffin pan from the freezer. Spoon approximately 2 teaspoons of the warmed peanut butter mixture over the set chocolate layer in each cup. Again, gently swirl the pan to help the peanut butter spread evenly. For that quintessential monster cookie look and taste, generously sprinkle mini M&M’s and mini chocolate chips on top of each peanut butter layer. These colorful additions not only look appealing but also add a delightful textural contrast.
Step 4: Final Chill and Storage
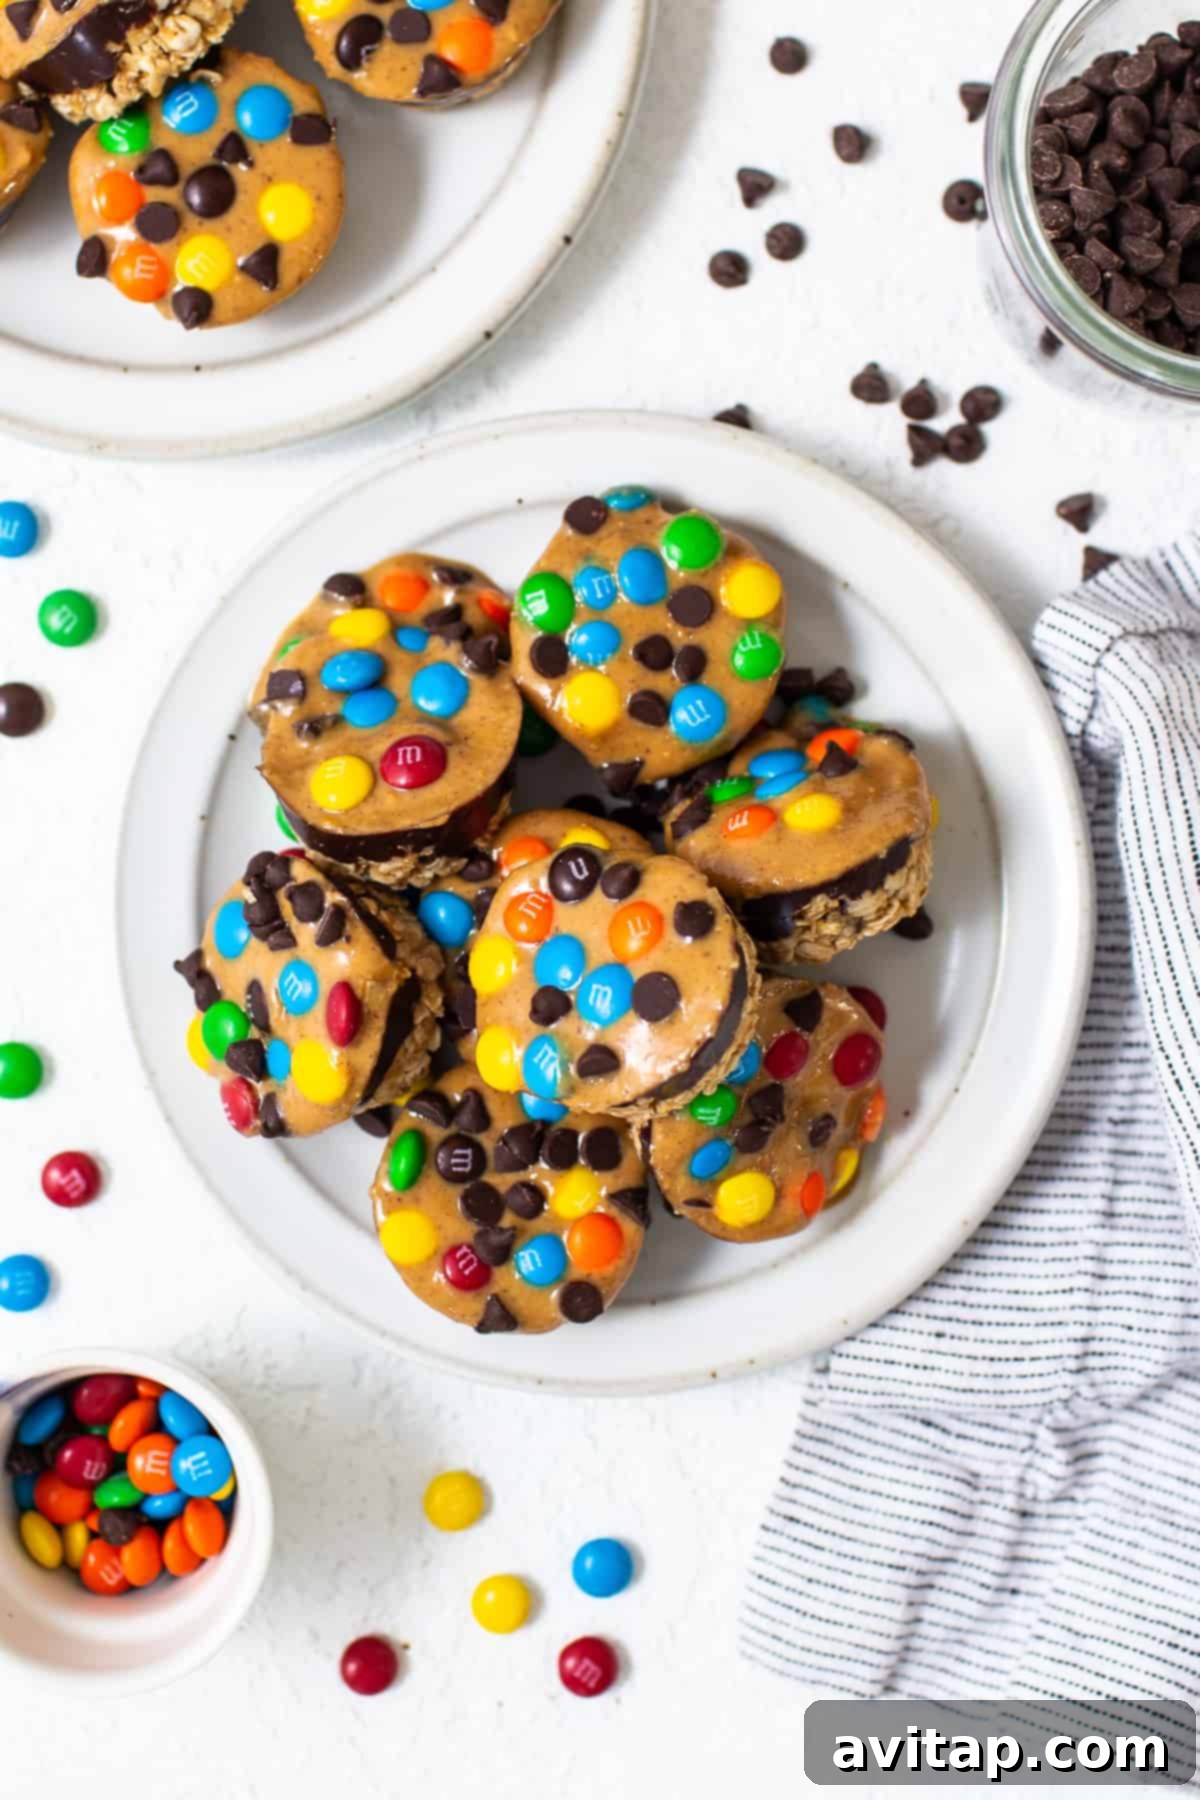
With all layers complete, return the muffin tin to the freezer for the final set. Allow the Monster Cookie Oat Cups to chill for at least 30 minutes to an hour. This extended chilling time is crucial for all the layers to firm up properly, ensuring they hold their shape beautifully when removed from the pan. Once fully set, carefully remove the oat cups from the muffin pan. If using paper liners, simply peel them away. If using a silicone pan, they should pop out easily. Transfer the finished oat cups into an airtight freezer bag or container. Store these delicious treats in the freezer to maintain their firm texture and extend their shelf life. They can be enjoyed directly from the freezer or allowed to soften slightly at room temperature for a few minutes before serving. Enjoy your homemade, hassle-free Monster Cookie Oat Cups whenever a craving strikes!
Creative Variations & Customization Ideas for Your Oat Cups
One of the best things about these Monster Cookie Oat Cups is how adaptable they are! Feel free to get creative and customize them to your taste or dietary needs. Here are some fantastic ideas to inspire your next batch:
-
Nut Butter Swaps: Can’t do peanuts or simply want to try something new? Easily swap out the peanut butter for another creamy nut or seed butter. Almond butter, cashew butter, or even sunflower seed butter (like SunButter) are excellent alternatives that will still provide that rich, nutty flavor and help bind the oat layer. Just ensure they are natural and creamy for the best consistency.
-
Flavorful Extracts: Elevate the taste profile by adding a hint of extract to the oat base or even the peanut butter layer. A teaspoon of pure vanilla extract will enhance all the flavors, while almond extract can add a delightful marzipan-like note. For a seasonal twist, consider a touch of peppermint extract around the holidays, or a dash of coffee extract to complement the chocolate.
-
Alternative Mini Chips: While mini chocolate chips are a classic, don’t limit yourself! Mini peanut butter chips can intensify the peanut butter flavor, butterscotch chips offer a warm, caramel-like sweetness, and white chocolate chips provide a creamy contrast. You could even use a mix of different chips for a truly “monster” experience.
-
Fruity Additions: For a burst of natural sweetness and a different texture, try incorporating dried or freeze-dried fruit. Instead of (or in addition to) mini M&M’s, sprinkle on chopped dried cranberries, golden raisins, or tiny pieces of freeze-dried strawberries or blueberries. These add a pleasant tartness and a chewy or crisp element.
-
Protein Boost: Looking to make these an even more substantial snack? Stir a scoop of your favorite vanilla or unflavored protein powder into the oat base mixture. You might need to add an extra teaspoon of water or honey to maintain the right consistency.
-
Seed Power: Boost the nutritional value by adding a tablespoon or two of chia seeds, ground flaxseeds, or hemp hearts to the oat layer. These tiny seeds are packed with fiber and omega-3s and integrate seamlessly into the mixture.
-
Vegan Friendly: To make these oat cups completely vegan, ensure your chocolate chips are dairy-free. Replace honey with maple syrup or agave nectar. The coconut oil and natural peanut butter are already plant-based!
Explore More Easy No-Bake Desserts
High-Protein Pumpkin Tiramisu (Fall Delight!)
Strawberries and Cream Rice Krispie Treats
Protein Cookie Dough Bark
Crispy Peanut Butter Crunch Cups
PB&J Protein Oat Cups
Frequently Asked Questions About Monster Cookie Oat Cups
Can I use a full-size muffin tin instead of a mini one?
Absolutely! While this recipe is optimized for mini muffin tins to create bite-sized treats, you can certainly use a regular-sized muffin tin. Keep in mind that using a larger tin will result in fewer but larger oat cups. You might need to adjust the amount of mixture per cup and potentially increase the chilling time to ensure they set completely. The layering process remains the same, but the proportions will simply scale up for each individual cup, offering a more substantial serving.
Is this recipe gluten-free?
Yes, this Monster Cookie Oat Cups recipe is inherently gluten-free! All the core ingredients – oats, peanut butter, honey, chocolate, and M&M’s – are naturally free of gluten. However, for individuals with celiac disease or severe gluten sensitivities, it’s crucial to ensure that you use certified gluten-free quick-cooking oats. While oats themselves are naturally gluten-free, they can sometimes be cross-contaminated during processing with wheat, barley, or rye. Always check the labels of all your ingredients to confirm they are produced in a certified gluten-free facility for complete peace of mind.
Is this dessert healthy?
Compared to traditional baked monster cookies, these no-bake oat cups offer a more nutritious profile. They are made with wholesome ingredients like whole grain quick-cooking oats, which provide fiber for digestive health and sustained energy. We also use all-natural peanut butter, a great source of plant-based protein and healthy fats. While they do contain natural sugars from honey and some added sugar from chocolate chips and M&M’s, they can be considered a “healthy-ish” dessert choice, especially when enjoyed in moderation. They are a much better option than many highly processed sweet treats, offering satisfying flavor with better ingredients. For an even healthier twist, you can reduce the amount of added sugars or use dark chocolate with a higher cocoa percentage.

Try This Next!
Classic No-Bake Peanut Butter Oat Cups
If you adore the convenience and flavor of our Monster Cookie Oat Cups, you absolutely must try our original Peanut Butter and Chocolate Oat Cups. They’re equally delightful and incredibly simple to make!
Proper Storage for Optimal Freshness
To ensure your Monster Cookie Oat Cups maintain their perfect texture and freshness, proper storage is key. Due to their no-bake nature and the layers of chocolate and peanut butter, these cups thrive in colder temperatures. Always store them in the freezer. If left on the counter at room temperature, the layers will soften and become difficult to handle, losing their structural integrity. For best results, once the oat cups are fully set, transfer them to an airtight freezer-safe bag or container. This prevents freezer burn and keeps them tasting fresh. They can be stored in the freezer for up to 1-2 months. Simply grab one whenever you need a quick, satisfying treat. They are delicious straight from the freezer or can be left out for a few minutes to soften slightly before eating.
More of our Favorite…
More Easy No-Bake Desserts You’ll Adore
Can’t get enough of the convenience and deliciousness of no-bake treats? You’re in luck! Our kitchen is always experimenting with simple, healthy, and satisfying no-bake dessert recipes. If you loved these Monster Cookie Oat Cups, be sure to explore some of our other top picks that are just as easy to make and equally delightful. These recipes are perfect for meal prepping a week’s worth of snacks or whipping up a quick dessert for unexpected guests:
- Classic No-Bake Peanut Butter Oat Cups
- High-Protein Peanut Butter Cups
- Refreshing Chocolate Strawberry Frozen Yogurt Bark
- Nutritious No-Bake Peanut Butter and Jelly Quinoa Cups
Monster Cookie Oat Cups Recipe
Prep: 30
Cook: 3
Total: 33
Print Recipe
Ingredients
For the Oat Layer:
- 2 cups quick-cooking oats
- ½ cup honey
- ⅓ cup all-natural creamy peanut butter
- ⅓ cup mini chocolate chips
- Optional: 1-2 teaspoons water (if mixture seems dry)
For the Chocolate Layer:
- 6 oz. dark chocolate, chopped
- 2 teaspoons coconut oil
For the Peanut Butter Layer:
- ½ cup all-natural creamy peanut butter
- 1 teaspoon coconut oil
- ¼ cup mini M&M’s
- 2 tablespoons mini chocolate chips
Instructions
-
Line a metal muffin pan with paper liners or use a silicone muffin pan (no need to line the silicone pan).
-
First, make the oat layer. Add the quick-cooking oats, honey, peanut butter, and mini chocolate chips to a bowl and stir all of the ingredients together until combined. If it seems dry, add 1 to 2 teaspoons of water. Scoop about 2 tablespoons of the oats into the bottom of each muffin cup and firmly press them into the cup.

-
Next, mix the chocolate layer. Transfer the chocolate and coconut oil into a microwave-safe bowl. Heat the chocolate on high for 20-second increments until the chocolate is melted. Be sure to stir the chocolate and coconut oil in between each increment.
-
Scoop 2 teaspoons of the melted chocolate and add it on top of the oat layer. Swirl the muffin pan in a circle to easily distribute the chocolate over the oats. If there is any melted chocolate left in the bowl evenly distribute the chocolate into each cup. Place the muffin pan in the freezer for 5 minutes.
-
Finally, make the peanut butter layer. Add the creamy peanut butter and coconut oil into a separate microwave-safe bowl and microwave the mixture for 15 seconds. Stir until well combined. Add 2 teaspoons of the peanut butter mixture to the top of the chocolate layer. Swirl the pan again to even out the peanut butter. Then, add mini m&ms and mini chocolate chips to the top of each cup.
-
Place the muffin tin in the freezer for at least 30 minutes to an hour to set.
-
When the oat cups have set remove them from the muffin pan and transfer them into a freezer bag and store the oat cups in the freezer.
Tips & Notes
- We do not recommend using rolled oats. Old-fashioned rolled oats would be too tough and chewy in these cups, preventing the smooth, cohesive texture we aim for. Quick-cooking oats are essential for this recipe.
- Be sure you let the oat cups set and firm up long enough in the freezer before attempting to remove or store them. Rushing this step can cause the layers to separate or the cups to lose their shape. Patience is key for perfect results!
Nutrition Information (per serving)
Nutrition information is automatically calculated and is an approximation only. Actual values may vary based on specific brands and preparation methods.
Love this recipe? Share your thoughts below!
Don’t forget to tag your delicious creations on social media with the hashtag #fitfoodiefinds – we can’t wait to see what you’re making!