
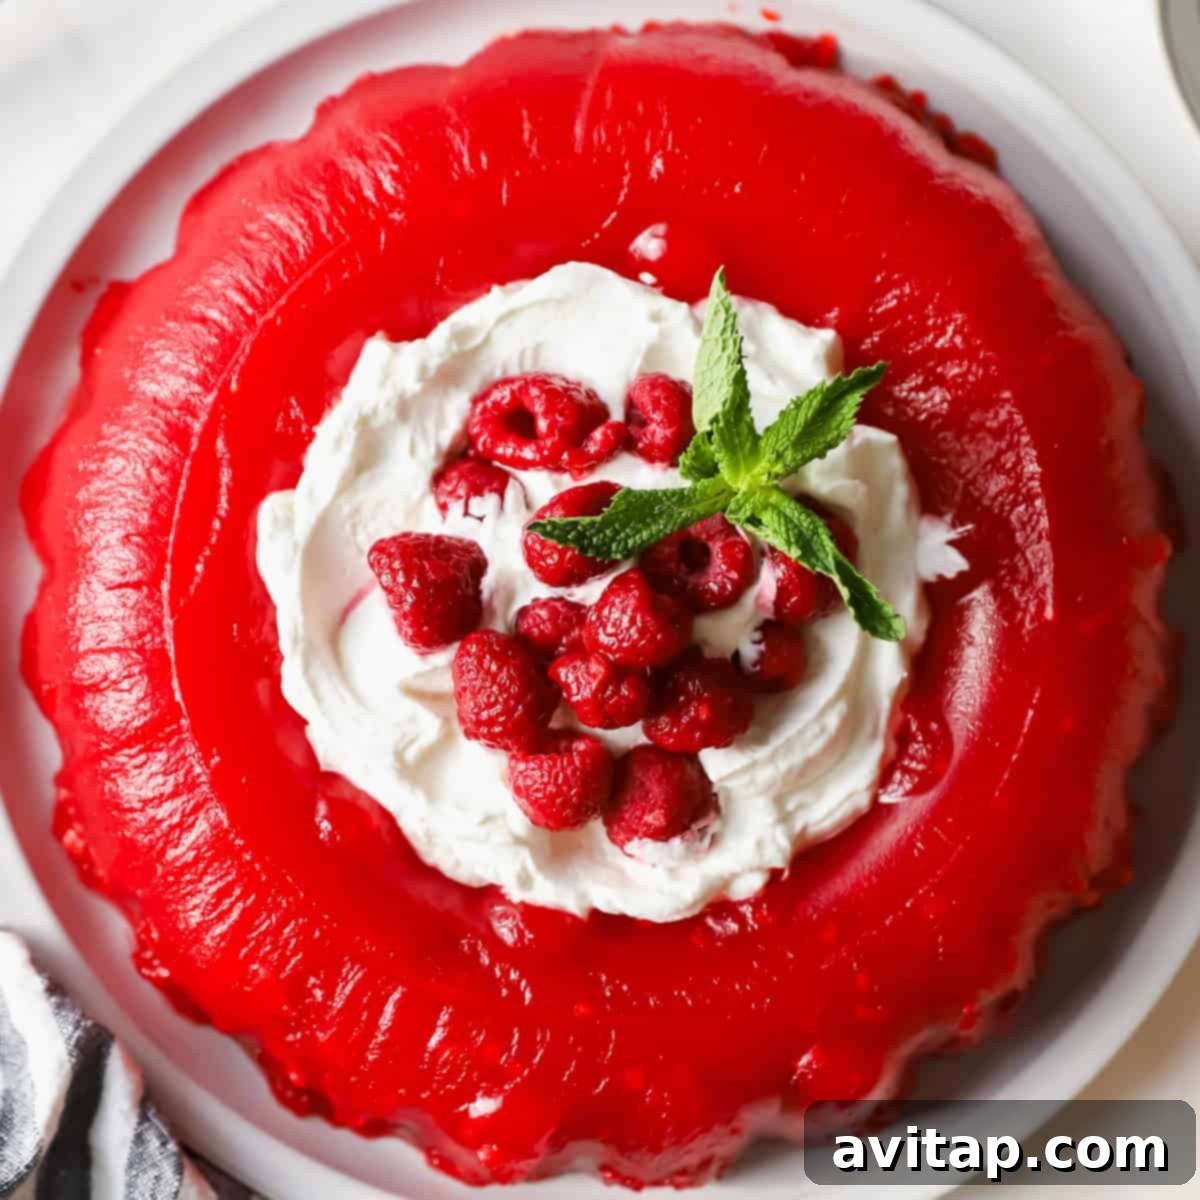
There are some classic recipes that simply never fade, and Nanie’s Raspberry Jello Mold is undoubtedly one of them. This refreshing and delightfully nostalgic treat has been cherished and passed down through generations in our family, captivating hearts and taste buds for good reason! Combining creamy vanilla pudding, vibrant raspberry jello, and juicy frozen berries, it creates a dessert that transports you back to simpler times and joyful family gatherings. It’s more than just a dessert; it’s a spoonful of history, a memory in the making, and a testament to the enduring appeal of simple, delicious food.
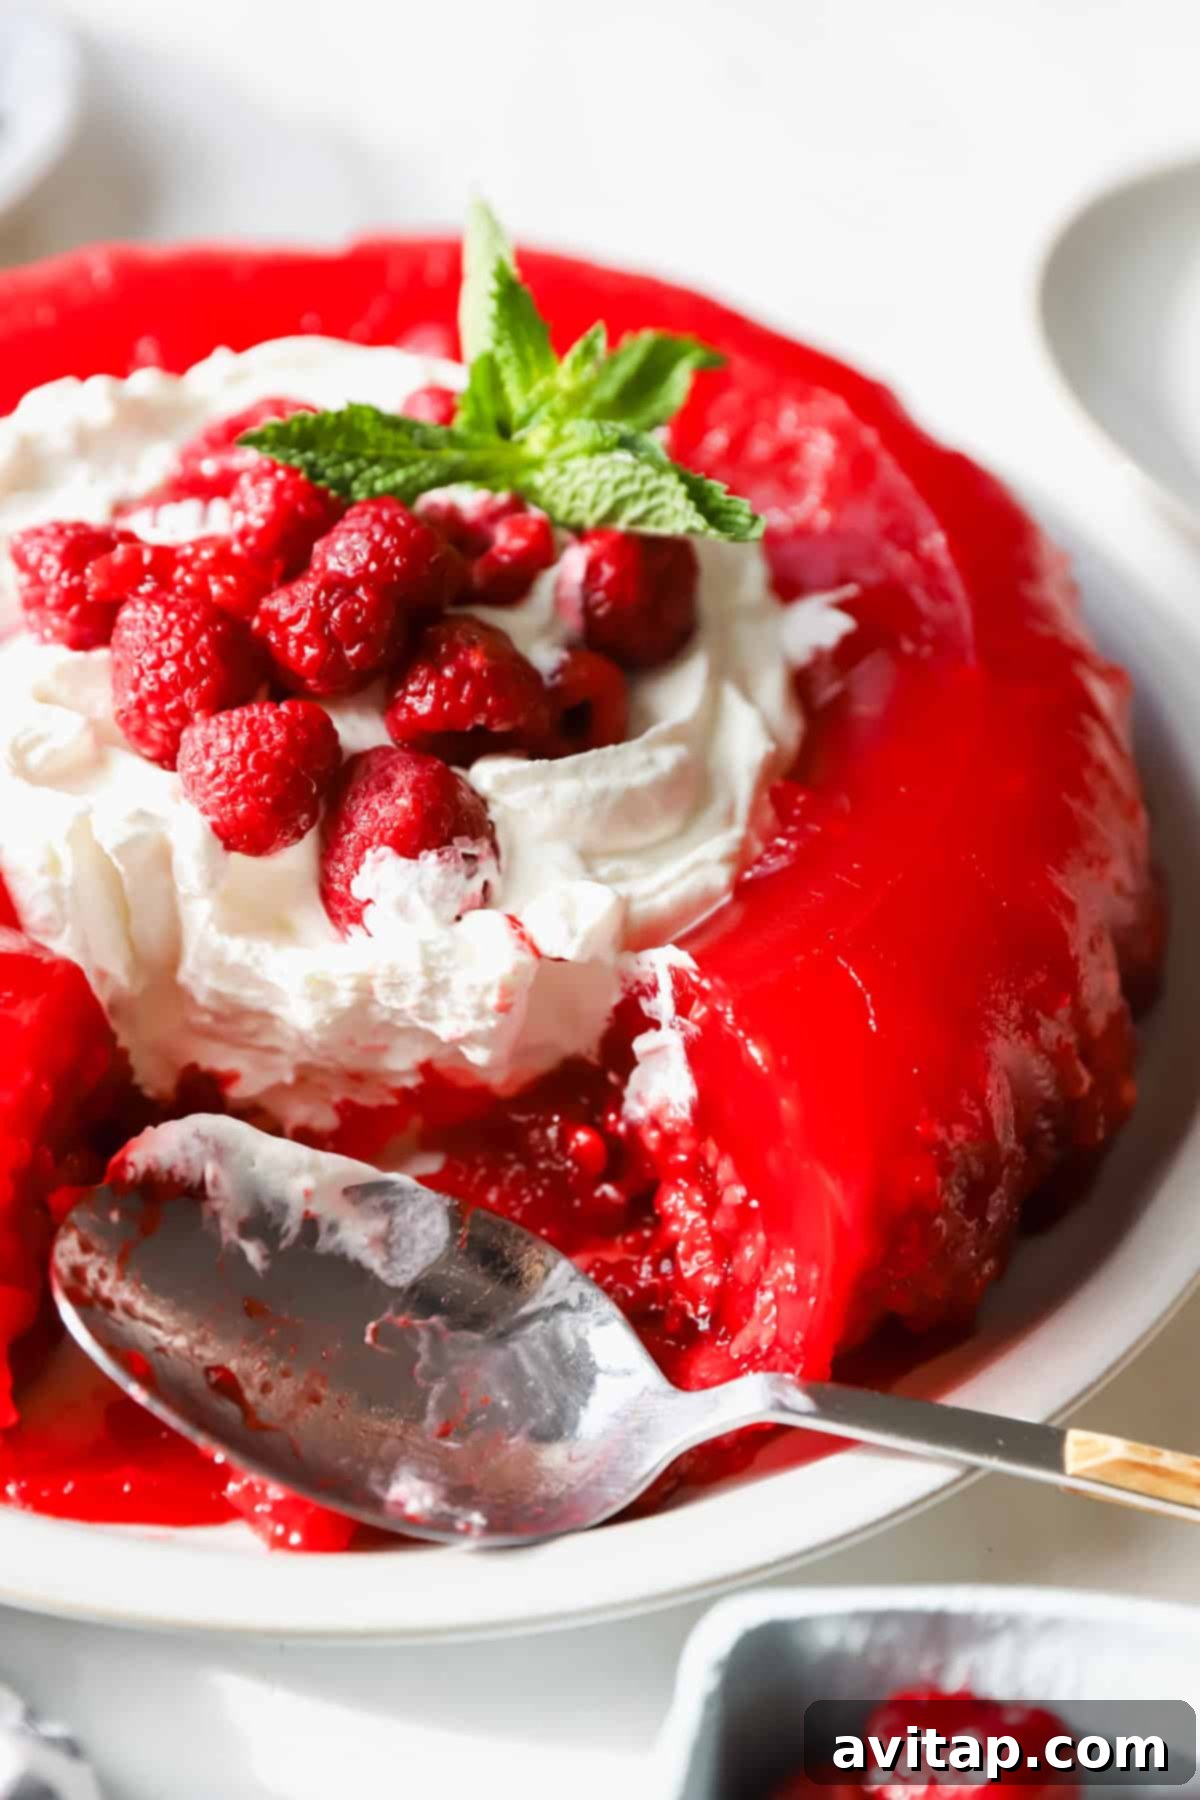
The Heartwarming Story Behind This Classic Jello Mold Recipe
I’ve always had a special place in my heart for recipes that are both delicious and incredibly simple, and my Nanie, Arlene, shared that sentiment. She wasn’t one to spend hours toiling in the kitchen; her fridge often held the bare minimum. Yet, when holidays rolled around, this specific raspberry jello mold was her unwavering signature dish. I grew up in a household with a rich blend of religious traditions, and every year, my Catholic side would eagerly invite my Jewish side to celebrate Christmas. And without fail, Nanie Arlene would arrive with her radiant, wobbly creation.
This fruit jello mold recipe isn’t just easy; it’s a perfect harmony of sweet and tart, with a wonderfully creamy texture that truly melts in your mouth. It was a dish that effortlessly brought smiles to everyone’s faces, symbolizing the warmth and inclusivity of our family gatherings. Preparing this jello mold is truly one of the simplest desserts you can master. The process is straightforward: just cook the jello mixture, pour it into your chosen mold, and allow it to chill thoroughly in the refrigerator overnight. The following day, with a gentle nudge, it releases from the mold, ready to be adorned with a dollop of homemade whipped cream and enjoyed. It’s a foolproof recipe that promises delicious results every time, making it an ideal choice for both seasoned home cooks and beginners alike.
Why You’ll Love Nanie’s Raspberry Jello Mold
This jello mold isn’t just a dessert; it’s a crowd-pleaser for many reasons:
- Effortless Preparation: With just three core ingredients, it’s incredibly simple to whip up, perfect for busy schedules or impromptu gatherings.
- Nostalgic Charm: Its classic look and familiar taste evoke a sense of warmth and happy memories, making it a beloved family favorite.
- Refreshing Taste: The combination of creamy vanilla pudding, tart raspberry jello, and fresh berries creates a light, refreshing dessert that’s ideal after any meal.
- Versatile Appeal: Perfect for holidays, potlucks, summer BBQs, or a simple weeknight treat, this jello mold fits any occasion.
- Beautiful Presentation: When unmolded, it creates an impressive, vibrant centerpiece that looks far more complex than it is.
Before you dive in, you’ll want to ensure you have a reliable 6-cup jello mold. We’ve found the Tupperware brand molds on Amazon work exceptionally well for achieving that classic, perfectly formed shape.
Essential Ingredients for Your Classic Raspberry Jello Mold
Crafting Nanie’s delightful jello mold requires just a handful of simple ingredients, each playing a crucial role in its iconic flavor and texture:
- Cook and Serve Vanilla Pudding: This is the secret to the jello mold’s luscious, creamy base. Unlike instant varieties, “cook and serve” pudding provides a richer, more stable texture that perfectly complements the jello. It’s essential for the mold to set correctly and achieve that melt-in-your-mouth creaminess. Ensure you grab the “cook and serve” type, typically found in a box on the baking aisle, as instant pudding will not yield the same results.
- Raspberry Jello: The undisputed star of the show, raspberry jello infuses this dessert with its vibrant color and a delightful burst of fruity, tart-sweet flavor. While raspberry is Nanie’s classic choice and highly recommended for its balanced profile, you could also experiment with other red berry flavors like strawberry or cherry for a similar effect.
- Frozen Raspberries: These berries are more than just a garnish; they add a wonderful layer of texture and intensify the natural raspberry flavor throughout the mold. When thawed, they release a bit of their natural juice, which melds beautifully with the jello mixture. Using frozen raspberries also helps to quickly cool the jello mixture, aiding in the setting process.
- Water: The crucial liquid component that dissolves both the pudding and the jello, bringing the entire mixture together.
- 6-Cup Jello Mold: While not an edible ingredient, this piece of equipment is absolutely vital for achieving the classic, eye-catching shape that makes this dessert so special. A good mold ensures easy unmolding and a beautiful presentation.
What if I don’t have a specific jello mold?
No dedicated jello mold? No problem! You have several excellent alternatives to create this delightful dessert:
- 9×9-inch Square Pan: This is a fantastic option. Simply pour the mixture into a lightly greased (or parchment-lined) 9×9-inch pan. Once set, you can cut the jello into elegant squares or diamond shapes, perfect for individual servings.
- Bundt Pan: A bundt pan can create a beautiful, decorative ring shape, similar in grandeur to a traditional jello mold. Ensure it’s lightly greased to help with unmolding. Serve it in generous slices for a stunning presentation.
- Loaf Pan: A loaf pan offers a more rectangular, sliceable shape, which is easy to serve.
- Individual Servings: For a more casual or party-friendly approach, you can pour the jello mixture into individual ramekins, small glass bowls, or even clear plastic cups. This eliminates the need for unmolding altogether.
Can I use fresh raspberries instead of frozen?
While we’ve primarily tested this beloved recipe with frozen raspberries for their chilling effect and ease, you can certainly try using fresh raspberries! The texture and consistency of the final mold may be slightly different—fresh berries might be a bit firmer and less “bursty” within the jello—but the flavor will undoubtedly still be delicious. If using fresh raspberries, consider chilling them in the freezer for about 15-20 minutes before adding them to the mixture. This will help them integrate better and maintain their shape, while also contributing to the cooling process of the jello.
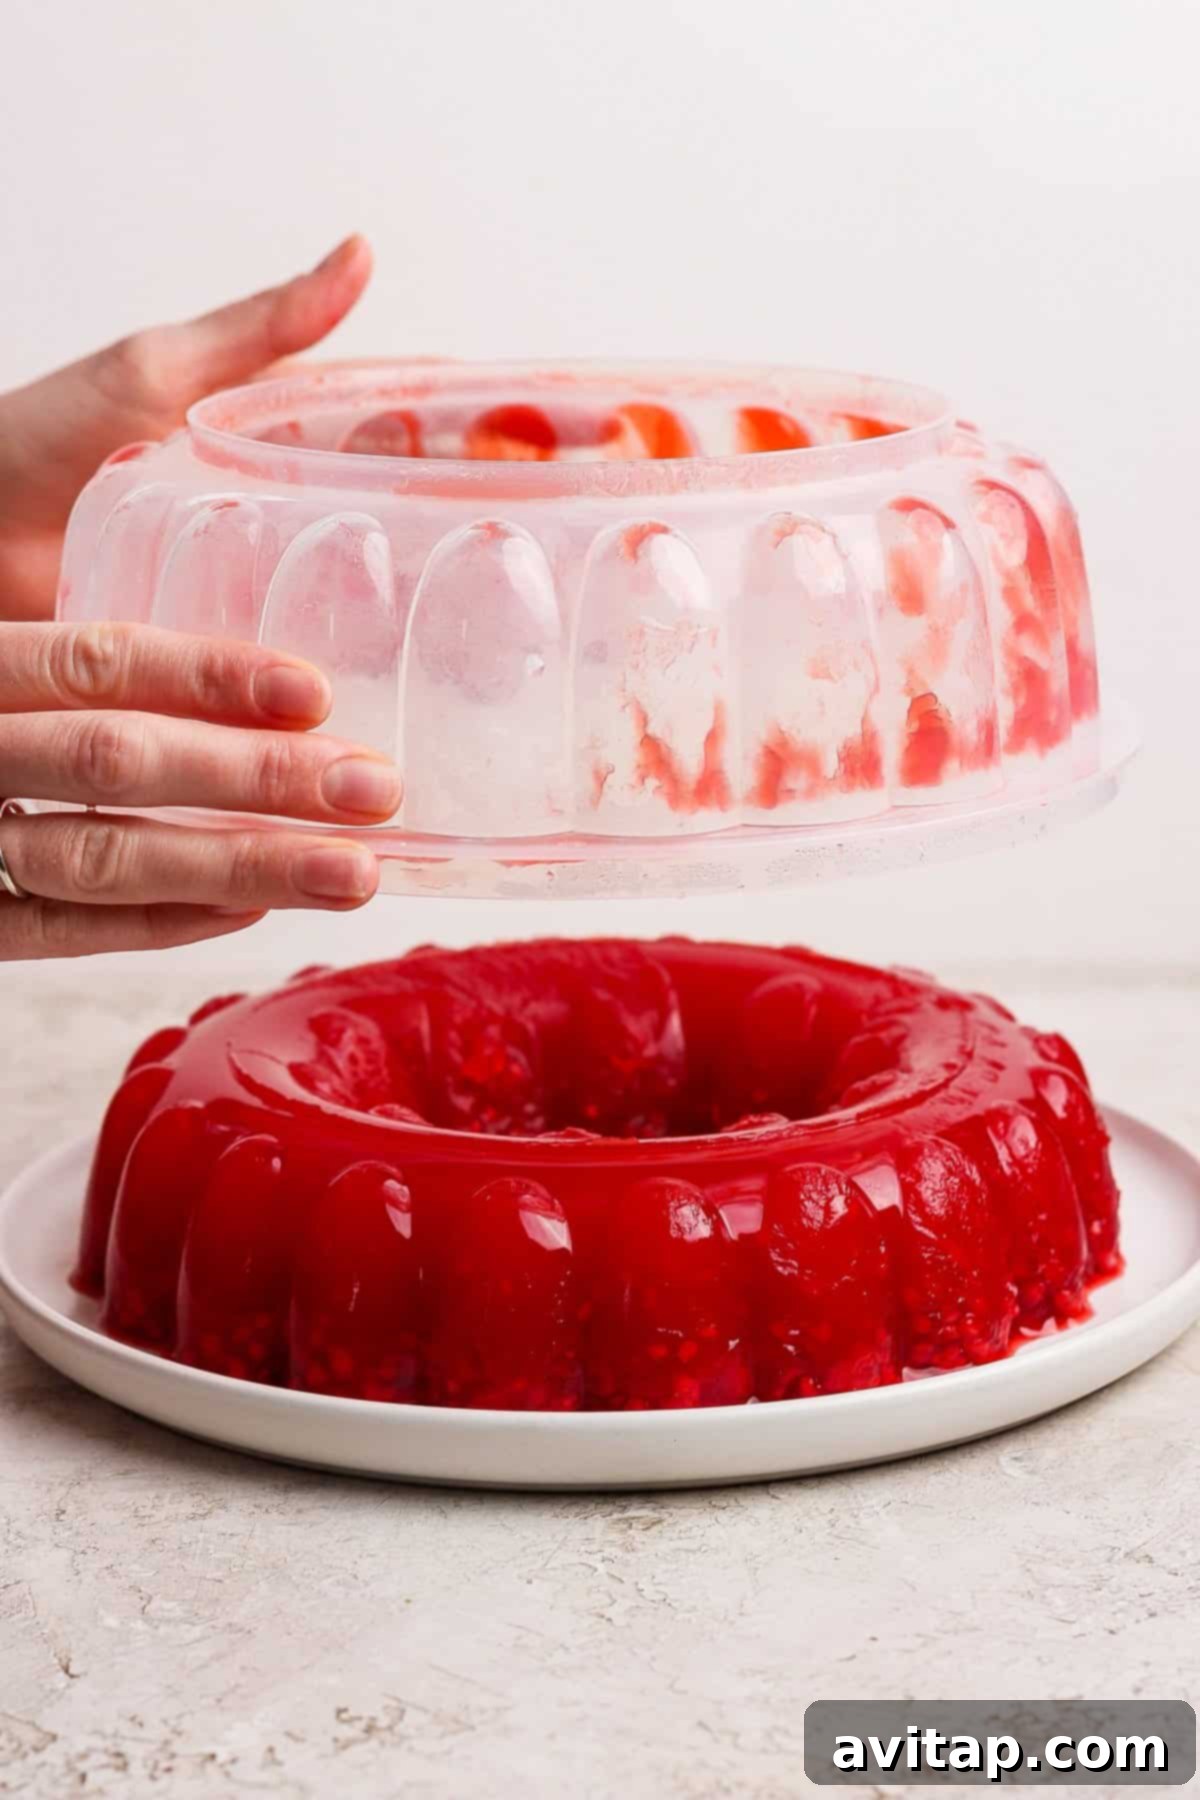
What is the easiest way to gracefully remove the jello from the mold?
Unmolding your jello can feel like the trickiest part, but with a few simple techniques, it’s incredibly easy to achieve a perfect presentation every time. Our go-to trick involves a swift, confident flip:
- Prepare Your Plate: Choose a serving plate that is slightly larger than the top of your jello mold.
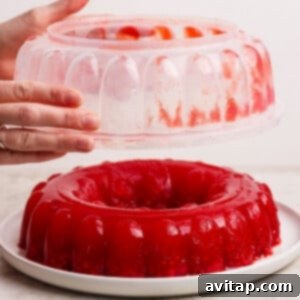
- The Flip: Place the large serving plate firmly on top of the jello mold. In one smooth, quick motion, flip the entire assembly (mold and plate) over. The jello should ideally release onto the plate with the aid of gravity.
- Warm Water Bath (If Needed): If the jello mold doesn’t immediately slide out, don’t force it! Gently immerse the bottom of the mold into a shallow pan or bowl of warm (not hot) water for about 10-15 seconds. This brief warmth slightly melts the outer layer of the jello, allowing it to detach from the mold. Be careful not to let the water seep into the jello itself.
- Shake and Release: After the warm water bath, try the flip again. You might hear a slight “whoosh” sound as air enters the mold and the jello releases. A gentle wiggle or slight twist of the mold can also help.
Patience and a gentle hand are key for a beautifully unmolded dessert!
Elevate Your Jello: Don’t Forget the Whipped Cream!
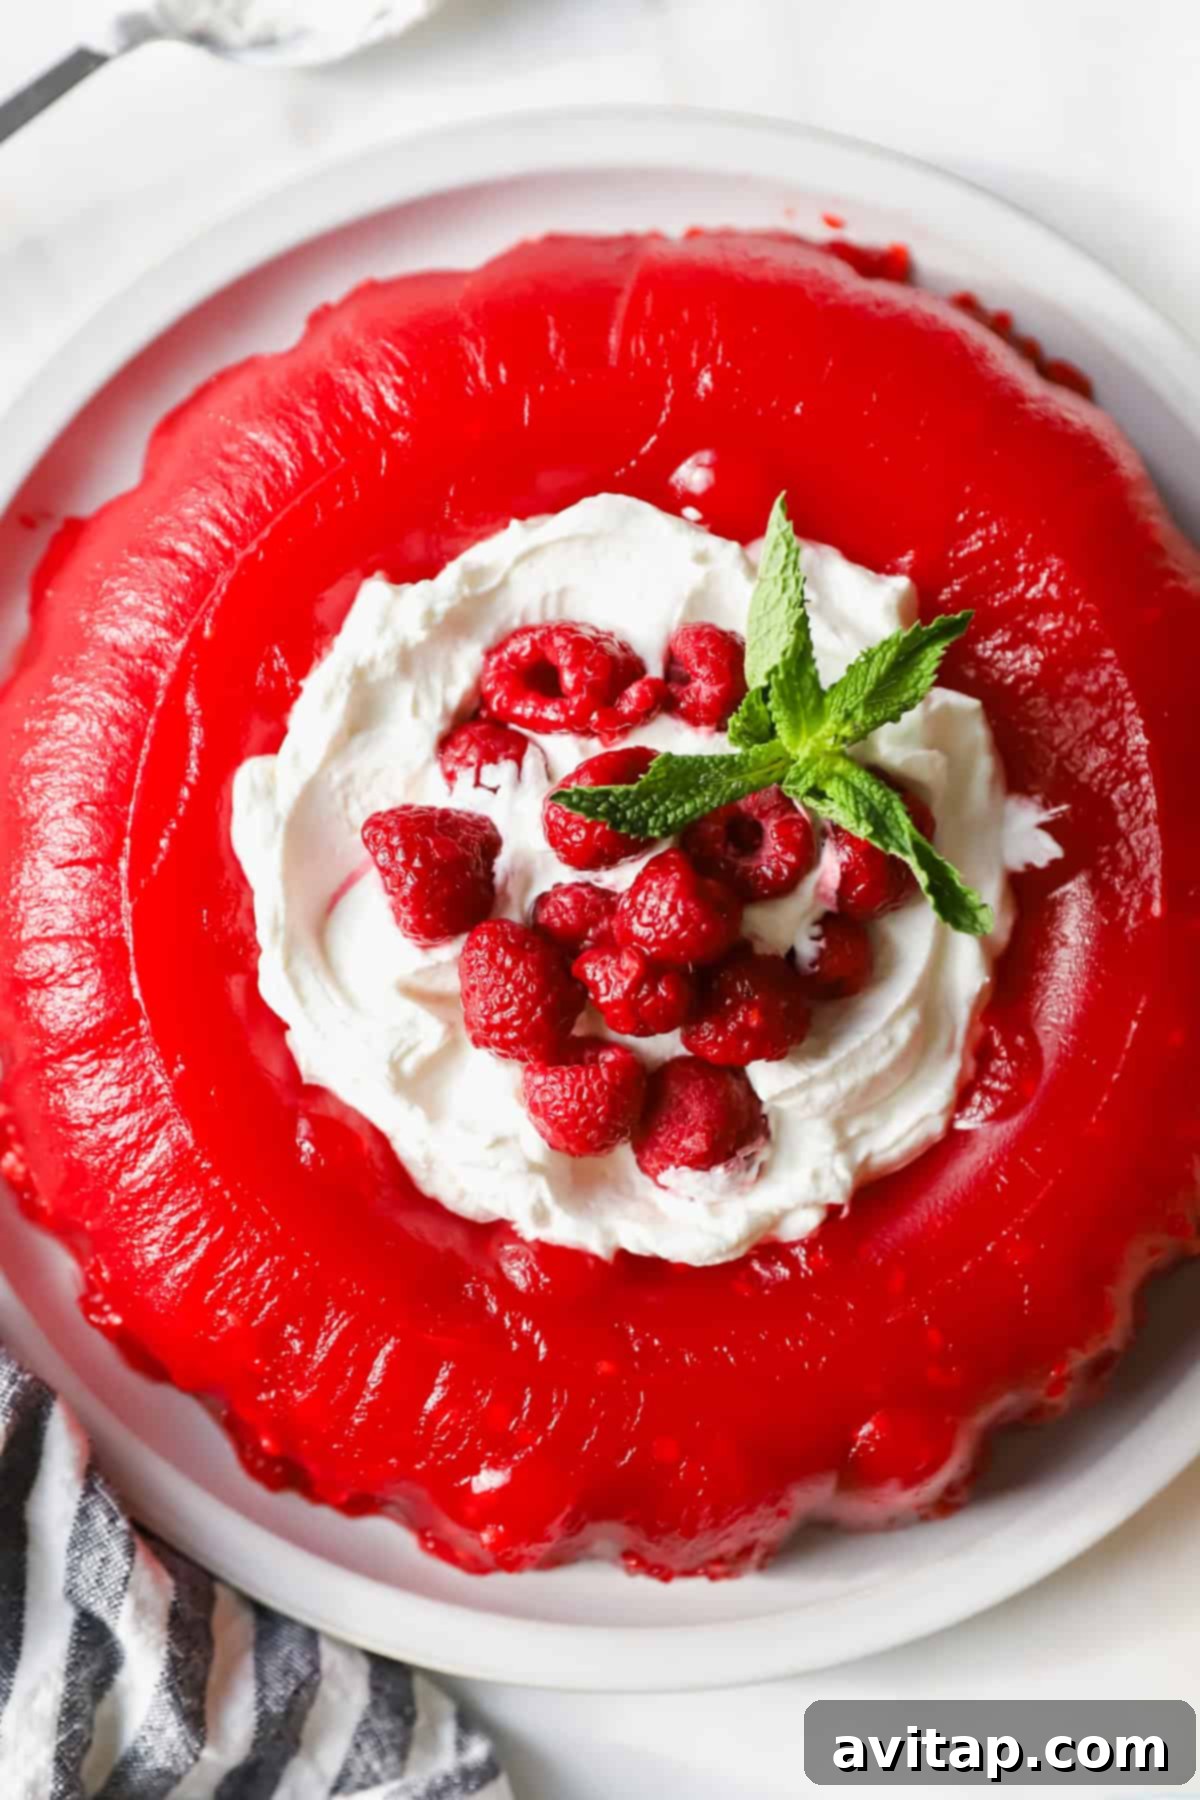
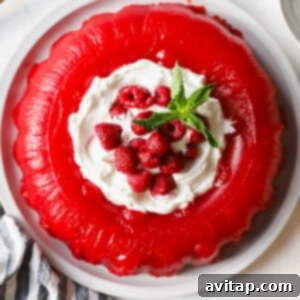
To truly make your jello mold extra special and present it with a flourish, a generous layer of fluffy whipped cream is absolutely essential before serving. It adds a delightful contrast in texture and a creamy sweetness that perfectly complements the fruit and pudding. For an even more festive touch, consider decorating with additional fresh raspberries, a few mint leaves for a pop of color, or even a sprinkle of your favorite colorful sprinkles. These simple additions transform a classic dessert into a show-stopping centerpiece!
Storage Tips for Your Jello Mold
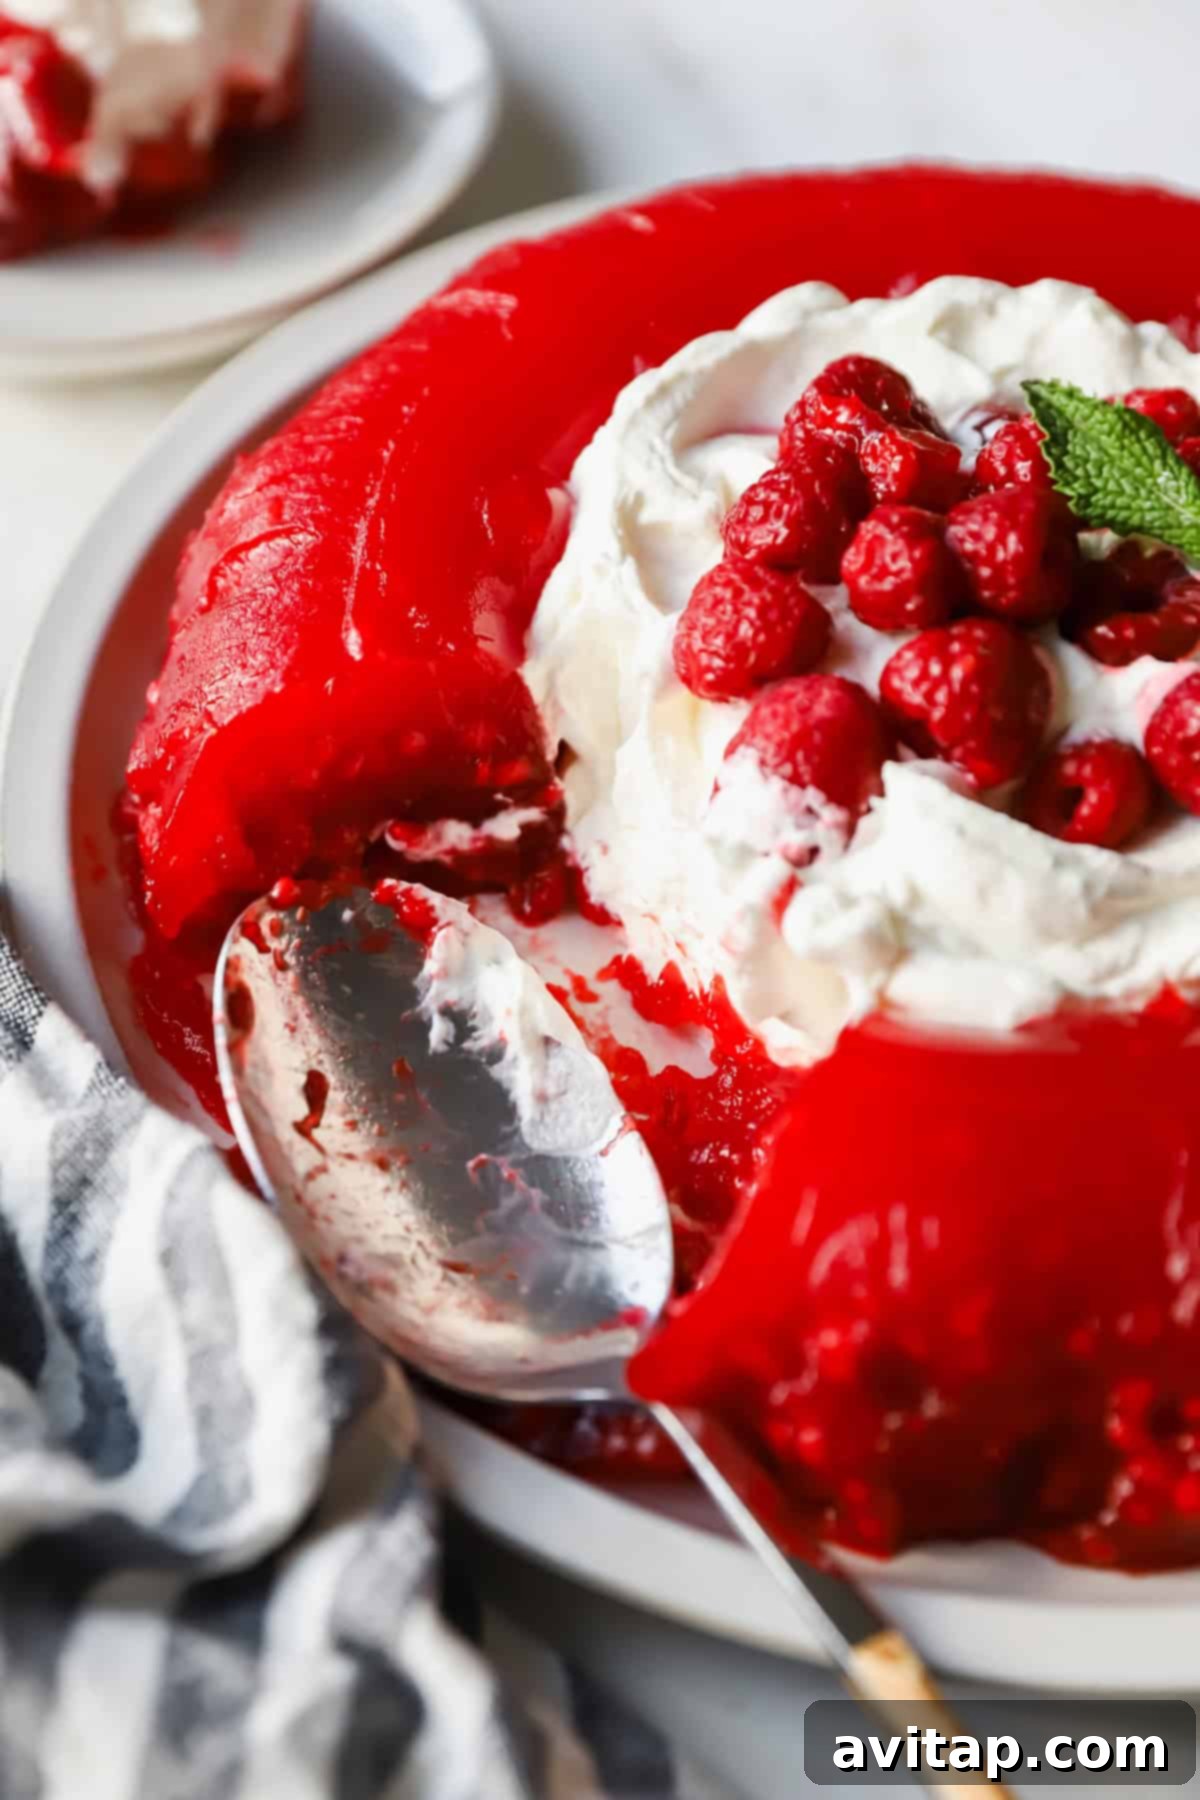
Should you be lucky enough to have any leftovers of this delicious jello mold, proper storage will ensure it remains fresh and enjoyable. Store the jello mold in an airtight container in the refrigerator for up to 3 days. While the texture may become a bit softer or slightly more watery over time, particularly around the edges, it will still retain its wonderful flavor. For the best experience, give it a gentle stir if any liquid has separated, and serve chilled. This dessert is always best when served cold, maintaining its refreshing quality.
More of our Favorite…
Simple & Delicious Desserts Using 5 Ingredients or Less
- Homemade Dilly Bars
- Protein Puppy Chow
- Easy Watermelon Sorbet
- Strawberry Dole Whip
Nanie’s Raspberry Jello Mold Recipe
Nanie Arlene’s classic jello mold is a delightful vintage recipe that is perfect for any occasion. With just 3 simple ingredients, it’s quick and easy to prepare, offering a legendary flavor that will transport you back to cherished memories and the good old days.
By: Lee Funke
Prep Time: 5 mins
Cook Time: 7 mins
Servings: 10
Pin Recipe
Print Recipe
Equipment
- 6-Cup Jello Mold
- Large Saucepan
- Whisk
- Serving Plate
Ingredients
- 2-3 oz. box Cook & Serve Vanilla Pudding (Jello brand recommended)
- 2-3 oz. box Raspberry Jello
- 4 cups water
- 10 oz. frozen raspberries, thawed
- Optional: Whipped cream, fresh raspberries, or mint sprigs for garnish
Instructions
-
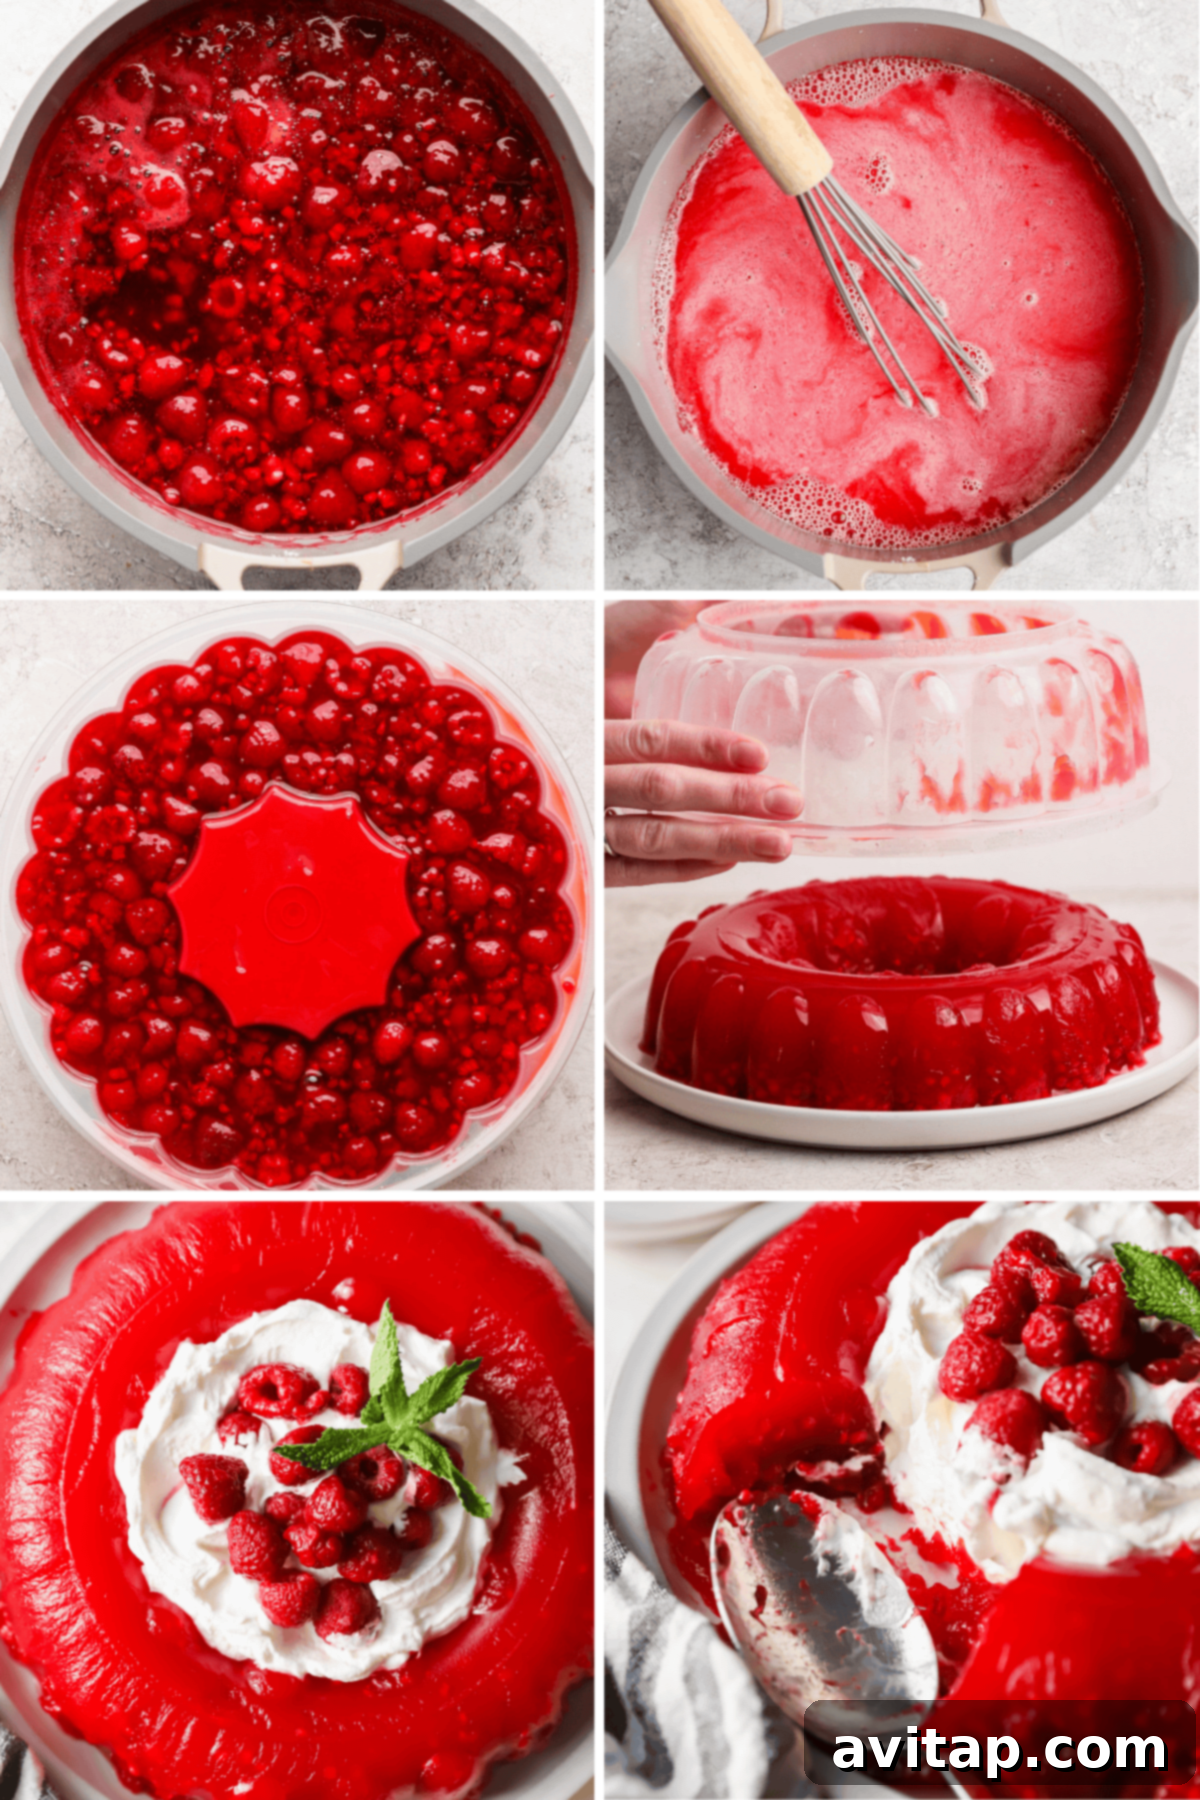
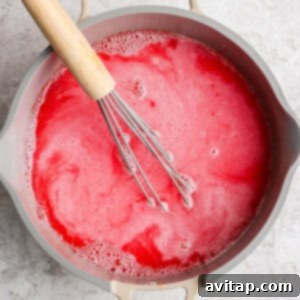
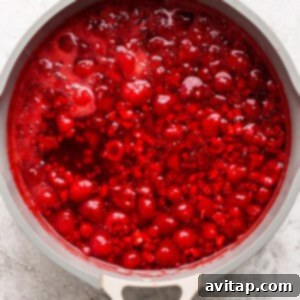
In a large saucepan, combine 4 cups of water, the vanilla pudding mix, and the raspberry jello mix. Whisk these ingredients together thoroughly to ensure there are no lumps.

-
Place the saucepan over medium-high heat and bring the mixture to a gentle boil, stirring constantly. Continue to boil for about 1 minute, ensuring the pudding thickens and all powders are fully dissolved.
-
Once boiled, remove the saucepan from the heat. Stir in the thawed frozen raspberries, including any liquid from thawing. The warmth of the jello mixture will help slightly soften the berries even further, distributing their flavor throughout.
-
Allow the mixture to cool at room temperature for 15-20 minutes. This cooling period is important as it prevents the hot liquid from potentially damaging your jello mold or affecting the setting process negatively.
-
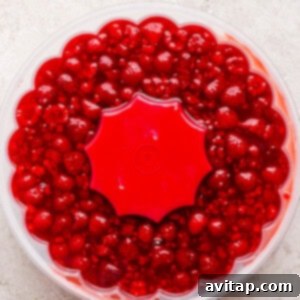
Carefully transfer the cooled jello and raspberry mixture into your 6-cup jello mold. Cover the mold tightly, either with its lid or plastic wrap. Refrigerate the jello mold overnight, or for a minimum of 8 hours, to allow it to firm up completely and achieve its perfect wobbly consistency.
-
To unmold the jello, place a large serving plate upside down on top of the mold. In one swift and confident motion, flip the mold and plate over. If the jello does not release immediately, dip the bottom of the mold into a shallow pan of warm water for about 10-15 seconds, then try flipping again. Be patient and gentle!
-
Once unmolded, top your beautiful jello creation with a generous swirl of whipped cream, fresh raspberries, and perhaps a sprig of mint for an elegant finish. Serve immediately and enjoy this nostalgic delight!
Tips & Notes for a Perfect Jello Mold
- If you do not have a dedicated jello mold (here is the one we used), a 9×9-inch pan or even a Bundt pan can be used. Simply cut into squares or slices for serving.
- This recipe is specifically designed for Jello brand “cook & serve” vanilla pudding. Using instant pudding or other brands may alter the texture and setting consistency, and we haven’t found suitable substitutions that work as well.
- For the best setting and flavor, always ensure the jello chills overnight. This allows all the flavors to meld beautifully and ensures a firm, yet wobbly, texture.
- Experiment with garnishes! Besides whipped cream and fresh raspberries, you could add chocolate shavings, toasted coconut, or even a drizzle of raspberry coulis.
Nutrition (per serving, estimated)
Calories: 97 kcal, Carbohydrates: 28g, Protein: 3g, Fat: 0.2g, Fiber: 2g, Sugar: 12g
Nutrition information is automatically calculated and should be used as an approximation only, as values can vary based on specific ingredients and brands.
Don’t forget to tag your posts on social media with the hashtag #fitfoodiefinds – we’d absolutely love to see your beautiful creations!