
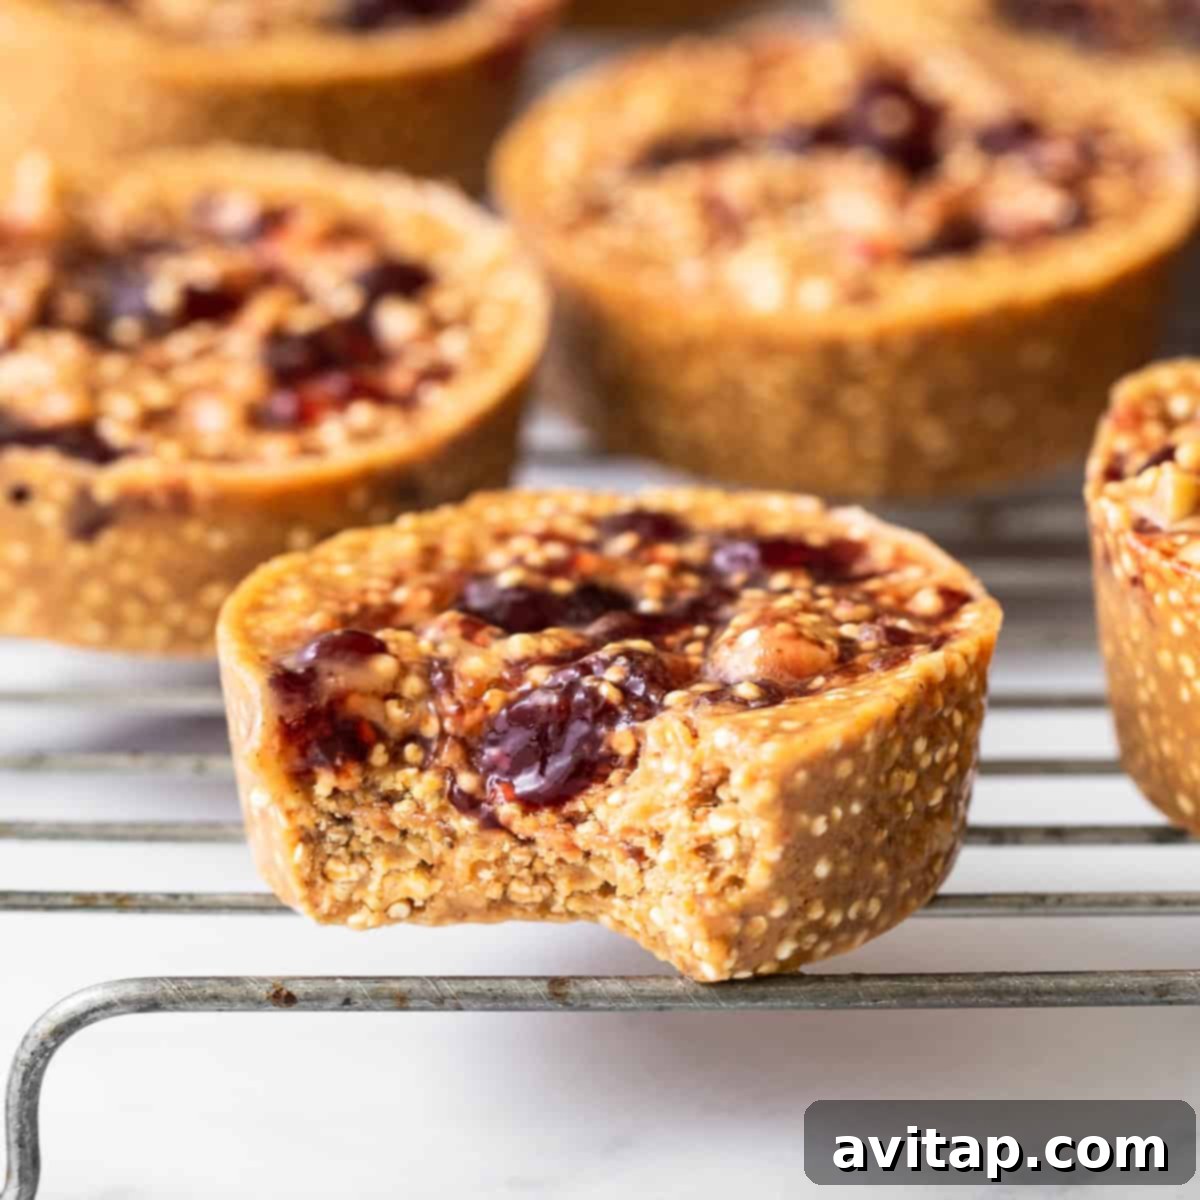
Who says healthy snacks can’t be incredibly delicious and easy to make? These Peanut Butter and Jelly Quinoa Cups are a testament to that! Offering a perfect blend of sweet and savory, these delightful no-bake treats feature toasted quinoa for an amazing texture, combined with the classic comfort of peanut butter and jelly. They’re not just tasty; they’re packed with flavor and satisfying crunch in every single bite, making them an ideal snack or dessert for any time of day.
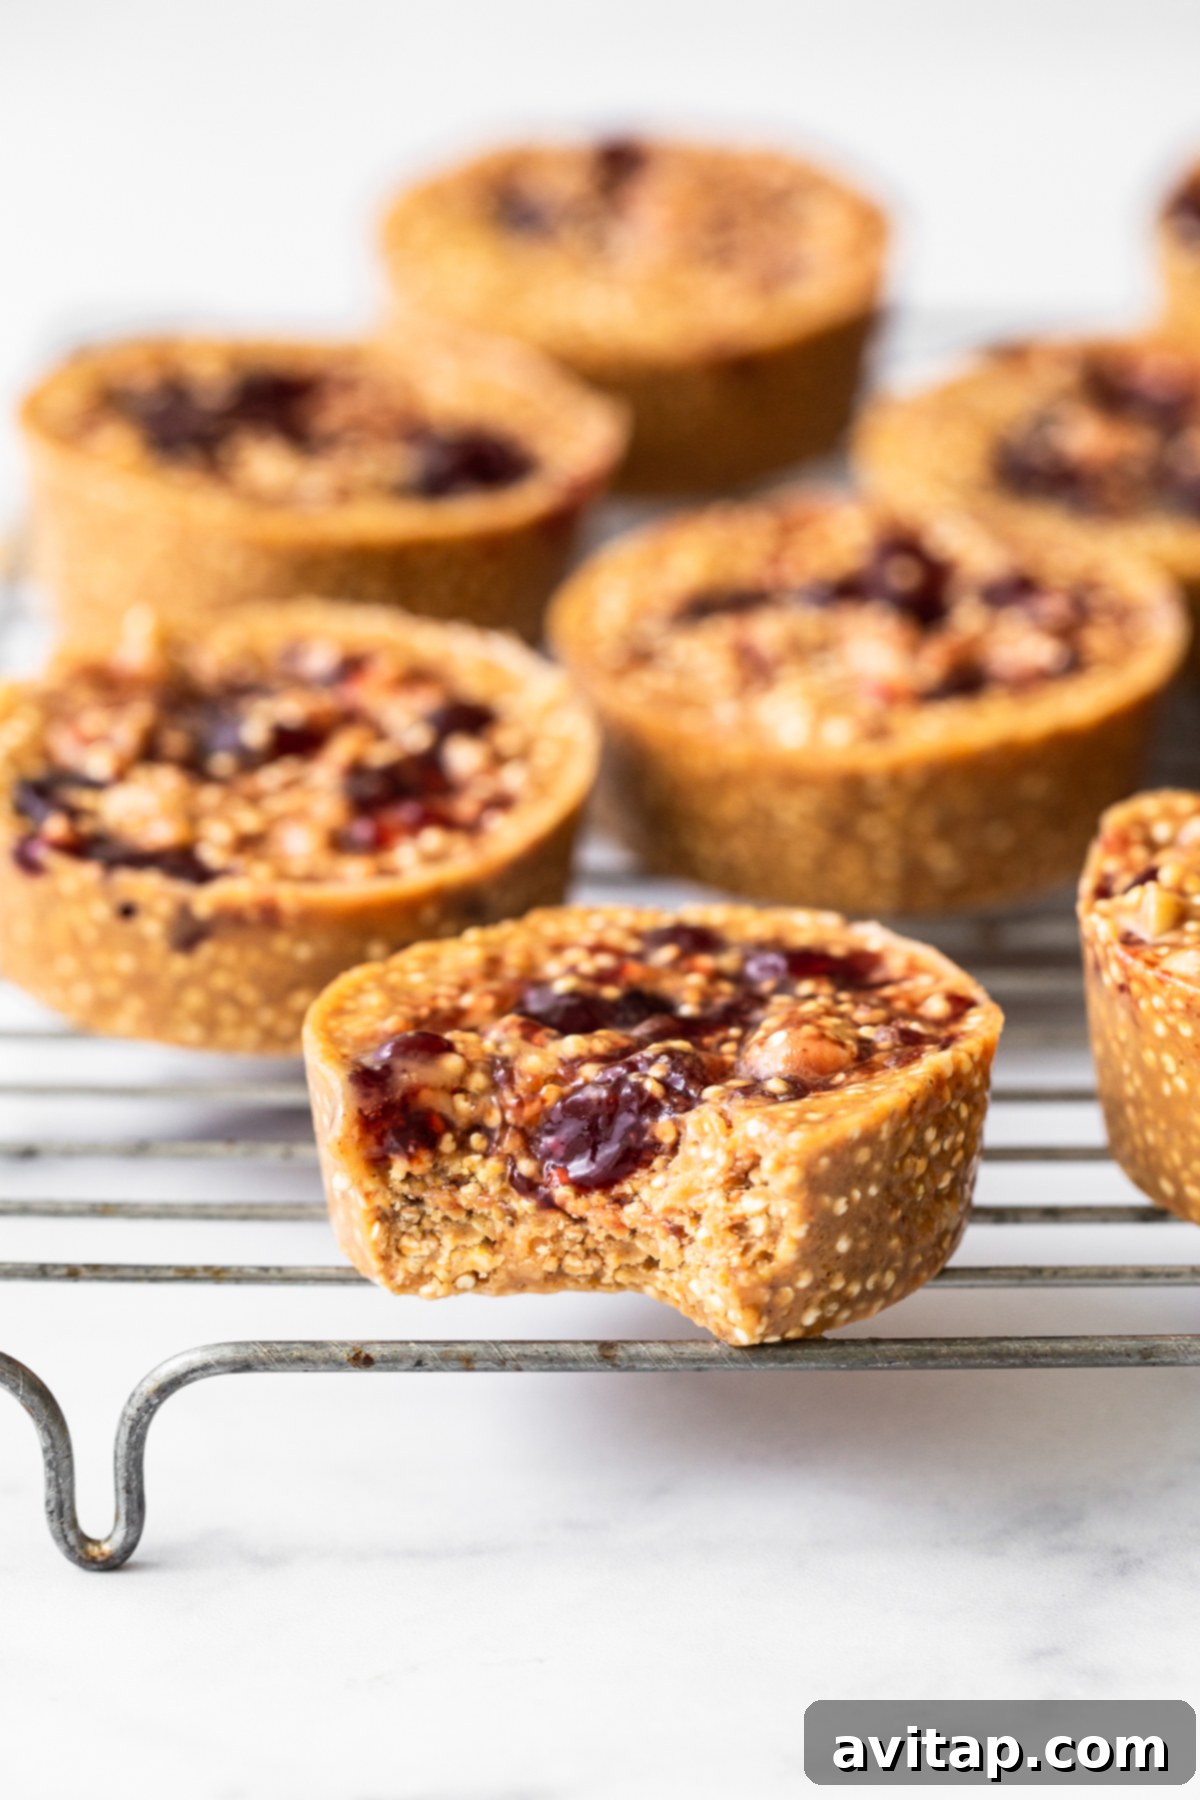
Indulge in Homemade Peanut Butter and Jelly Quinoa Cups: The Ultimate No-Bake Treat
The timeless appeal of peanut butter and jelly finds a new, exciting form in these effortless, no-bake quinoa cups. Designed for convenience and ultimate flavor, these cups are a fantastic option for a quick snack, a light dessert, or a protein-rich pick-me-up. They come together easily in a muffin tin, making portion control simple and preparation a breeze. Whether you’re enjoying them fresh or saving them for later, these homemade treats are sure to become a family favorite.
If you’re a fan of satisfying, wholesome snacks, you’ll adore these. Our community raves about our healthy peanut butter cups and our delightful range of oatmeal cups. Now, get ready to add another star to your recipe collection. Grab your muffin tin and prepare to fall in love with these easy, delectable peanut butter and jelly quinoa cups!
Why You’ll Adore These No-Bake Quinoa Cups
There are countless reasons to make these Peanut Butter and Jelly Quinoa Cups a staple in your kitchen. Beyond their irresistible taste, they offer incredible convenience and versatility:
- Effortlessly No-Bake: Forget turning on the oven! These cups require no baking, making them perfect for hot days or when you just want a quick, fuss-free dessert or snack that’s ready in minutes.
- Customizable to Your Taste: While grape and raspberry jam are classic choices, feel free to experiment with your favorite fruit spreads. Strawberry, apricot, or even a sugar-free option can transform these cups to suit your unique preference.
- Freezer-Friendly for Long-Term Enjoyment: Prepare a batch and store them in the freezer for up to three months. This makes them an excellent option for meal prepping healthy snacks that are ready whenever a craving strikes, simplifying your snack routine.
- A Universally Loved Flavor Combination: The classic pairing of creamy peanut butter and sweet jelly is a nostalgic favorite that appeals to all ages, from children to adults. It’s comfort food reinvented in a healthier, more exciting way, perfect for satisfying any sweet tooth.
- Nutrient-Packed Quinoa: Quinoa, celebrated as a complete protein and a good source of fiber, adds a wonderful, unique texture and a significant boost of nutrition, making these treats far more wholesome than traditional desserts.
- Quick & Easy Prep: With minimal ingredients and straightforward, step-by-step instructions, you can have these delicious cups ready to freeze in under 30 minutes of active time. They’re perfect for busy schedules!
Essential Ingredients for Your Quinoa Cups
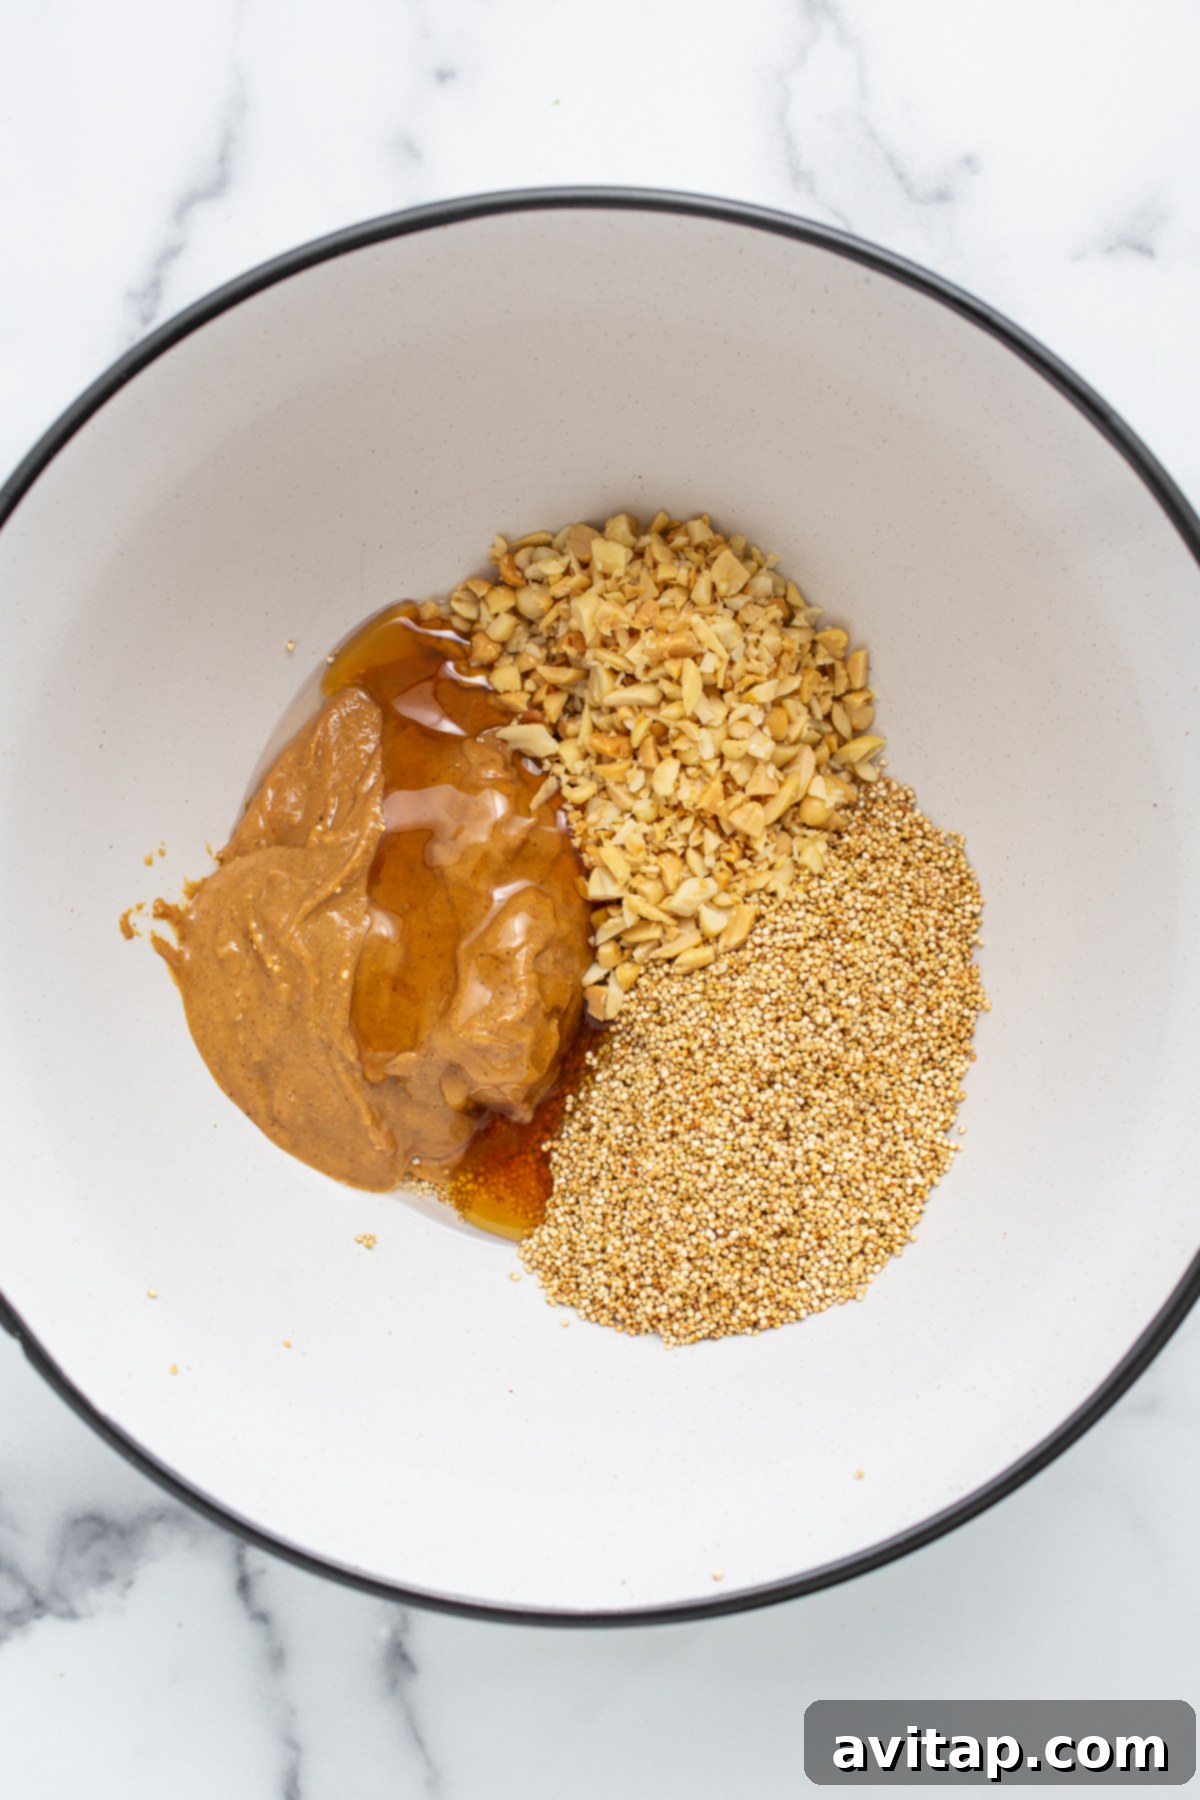
Crafting the perfect Peanut Butter and Jelly Quinoa Cup relies on a few key ingredients, each playing a vital role in texture, binding, and flavor. Here’s a closer look at what you’ll need and why each component is so important:
- Quinoa: We highly recommend using uncooked white quinoa for this recipe. It has a milder flavor compared to red or black quinoa, and it puffs beautifully when toasted. It’s essential to rinse your quinoa thoroughly before cooking to remove saponins, which are natural coatings that can impart a bitter, soapy taste. The unique, airy crunch of toasted quinoa is what truly sets these cups apart, offering an unexpected and delightful textural element that elevates the whole experience.
- All-Natural Peanut Butter: The type of peanut butter you choose makes a significant difference. Opt for an all-natural, creamy, and ideally *drippy* peanut butter. This usually means a brand where the oil tends to separate and sit on top, requiring a good stir. A runnier consistency is essential for helping the quinoa mixture bind together properly and achieve that smooth, decadent peanut butter base that holds its shape once frozen. Thicker, less oily peanut butters might result in a crumbly, less cohesive texture.
- Coconut Oil: This ingredient is a true game-changer for no-bake recipes, especially those that need to set firm. Melted coconut oil acts as the primary binder, helping the cups firm up quickly and hold their shape beautifully once placed in the freezer. Beyond its structural role, it also contributes a subtle, natural richness that complements the other flavors without overpowering them. There is genuinely no direct substitution for coconut oil in this particular recipe, as its unique properties are key to the cups’ perfect structure and setting ability.
- Honey: While both jam and peanut butter contribute their own sweetness, a touch of honey provides a balanced, natural sweetness that harmonizes with the other flavors without making the cups overly sugary. If you prefer a very sweet treat, you can always adjust the amount of honey to taste. For those seeking a vegan option, pure maple syrup is an excellent alternative that works just as well, though it might impart a slightly different, equally delicious, flavor profile.
- Jam: This is where you can truly personalize your quinoa cups! We’ve tested this recipe with classic grape jam and vibrant raspberry jam, both yielding absolutely fantastic results. Don’t hesitate to use your absolute favorite jam or jelly – whether it’s strawberry, apricot, or a mixed berry blend – to make these treats uniquely yours. The burst of fruit flavor provides a perfect counterpoint to the rich peanut butter.
- Chopped Peanuts: Adding a scattering of chopped peanuts introduces another layer of satisfying crunch and intensifies the nutty flavor of the cups. These are an optional but highly recommended addition for anyone who loves extra texture and a more robust peanut butter experience. They add a delightful surprise in every bite.
- Coarse Salt: A delicate sprinkle of coarse salt is a small but mighty addition. It effectively enhances all the other flavors, expertly balancing the sweetness of the jam and honey and bringing out the deep, earthy notes of the peanut butter. It’s that tiny touch that makes a surprisingly big difference in the overall flavor complexity.
Our Favorite Pick
Recommended Peanut Butter
Many of our recipes, including these delightful quinoa cups, call for a high-quality, drippy natural peanut butter. This Smuckers Natural Peanut Butter is consistently one of our top choices for its ideal consistency and pure peanut flavor. Stock your pantry with this staple for perfect results every time!
Quick & Easy Step-by-Step Instructions
For a comprehensive list of ingredients and detailed measurements, please refer to the full recipe card below.
- Prepare Your Muffin Tin: Begin by lightly greasing a silicone muffin pan with coconut oil or lining a standard muffin tin with paper liners. Silicone pans work exceptionally well for easy removal of the frozen cups due to their flexible nature. Set this aside, ensuring it’s ready for your delicious mixture.
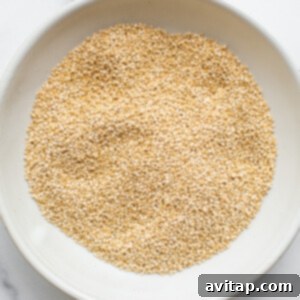
- Toast the Quinoa to Perfection: The secret to the amazing crunch in these cups is perfectly toasted quinoa. Heat a large skillet over medium-high heat and add 1 tablespoon of coconut oil. Once the coconut oil is fully melted and shimmering, add the uncooked white quinoa to the pan and toss it gently to ensure each grain is coated. Reduce the heat to medium and cover the pan. Within a few minutes, you’ll start to hear distinctive popping sounds, indicating the quinoa is beginning to puff and toast. Stir the quinoa periodically with a spatula to ensure even toasting and prevent any burning. Continue to cook for approximately 10 minutes until the quinoa is beautifully golden brown and delightfully crunchy. Immediately remove the toasted quinoa from the heat and transfer it to a large mixing bowl to cool slightly.
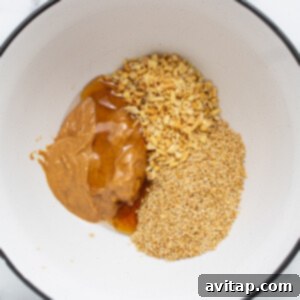
- Combine All Ingredients: To the bowl containing the perfectly toasted quinoa, add the all-natural drippy peanut butter, the remaining melted coconut oil, honey (or maple syrup), and chopped peanuts (if you’re using them for that extra crunch). Mix all these ingredients thoroughly until everything is well combined and the quinoa is evenly coated in the rich, creamy peanut butter mixture. This will form the delicious base of your cups.
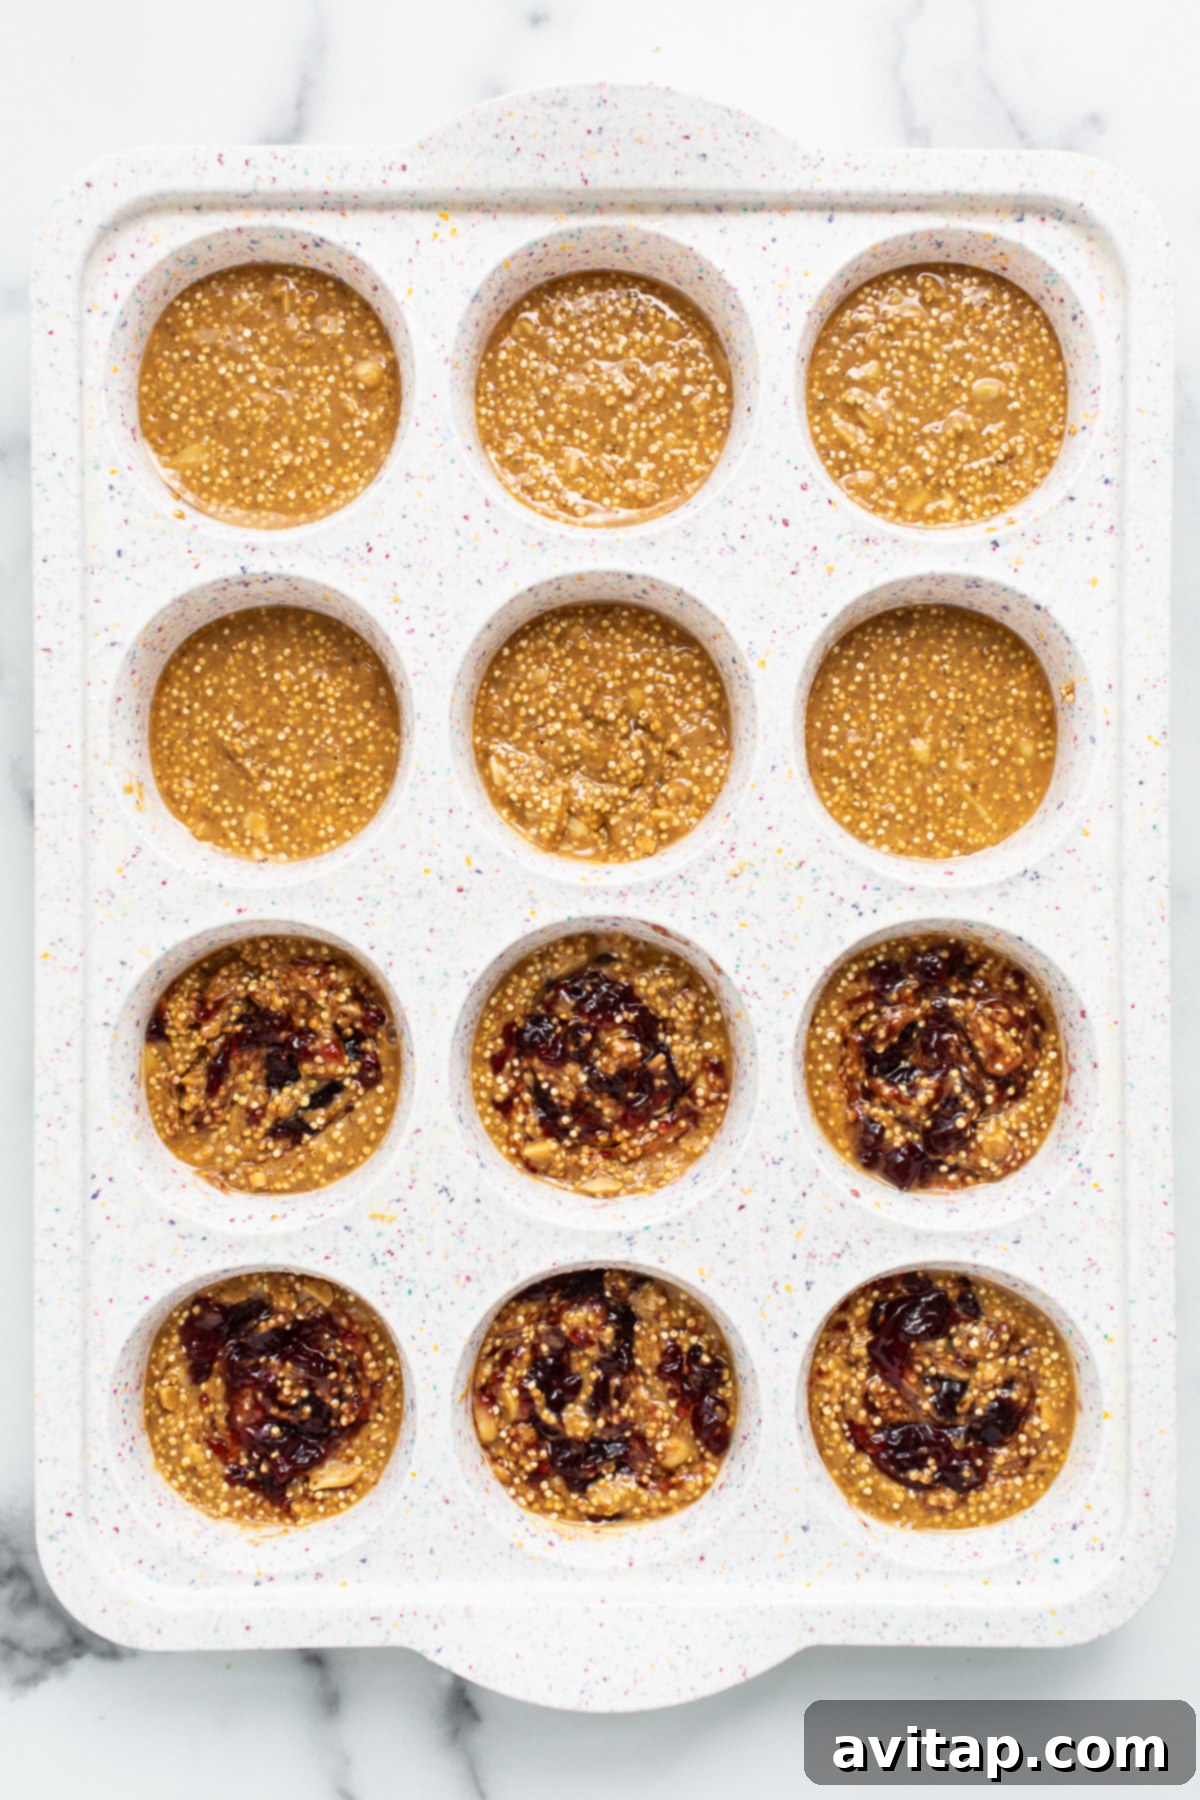
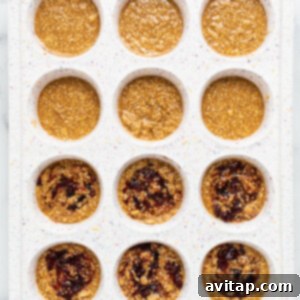
- Fill the Muffin Tin: Carefully spoon approximately 1.5-2 tablespoons of the quinoa-peanut butter mixture into each cup of your prepared muffin tin. Gently shake or tap the muffin pan on the counter a few times to help settle and even out the mixture in each cup. This ensures a consistent and firm base for your treats.
- Add the Jelly Swirl: Spoon about ½ to 1 teaspoon of your chosen jam or jelly on top of each quinoa cup. Using a toothpick or the tip of a small, sharp knife, gently swirl the jam into the peanut butter base to create an attractive marbled effect. Finish each cup with a light sprinkle of coarse sea salt – this small touch elevates the flavors beautifully by balancing the sweetness and enhancing the nutty notes.
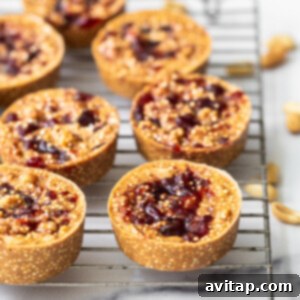
- Freeze to Set: Place the entire muffin pan into the freezer for at least 1 hour, or until the cups are completely firm and solid. This quick freezing process is absolutely essential for them to hold their shape and achieve their perfect no-bake consistency.
- Store for Later Enjoyment: Once fully set and frozen, carefully remove the cups from the muffin tin. They can be enjoyed immediately as a chilled treat or transferred to an airtight, freezer-safe container for long-term storage. To prevent sticking, you can place parchment paper between layers. Store these delicious no-bake treats in the freezer for up to 3 months, ready to grab whenever you need a quick, satisfying snack or a wholesome dessert.
Understanding Puffed Quinoa for Perfect Texture
The term “puffed quinoa” can sometimes conjure images of quinoa dramatically expanding to double its size, much like puffed rice, resembling soft, rounded circles. However, when toasting quinoa in a skillet, the “puffing” process typically manifests a bit differently and less dramatically in visual appearance.
Quinoa toasts and puffs quite quickly, often in just a few moments after being introduced to heat. While you might hear distinct popping sounds, similar to popcorn, the individual grains won’t necessarily grow significantly in visual size or become soft. Instead, they develop a delicate, airy crunch. You’ll know your quinoa is perfectly puffed and toasted when it’s easily chewable, offering a delightful, light crispness akin to a tiny, nutty kernel, rather than being hard or raw. The goal is to achieve that unique crunchy texture without over-browning or burning, which can happen quickly, so keep a close eye and stir frequently to ensure even cooking.
Storage & Shelf Life for Your Quinoa Cups
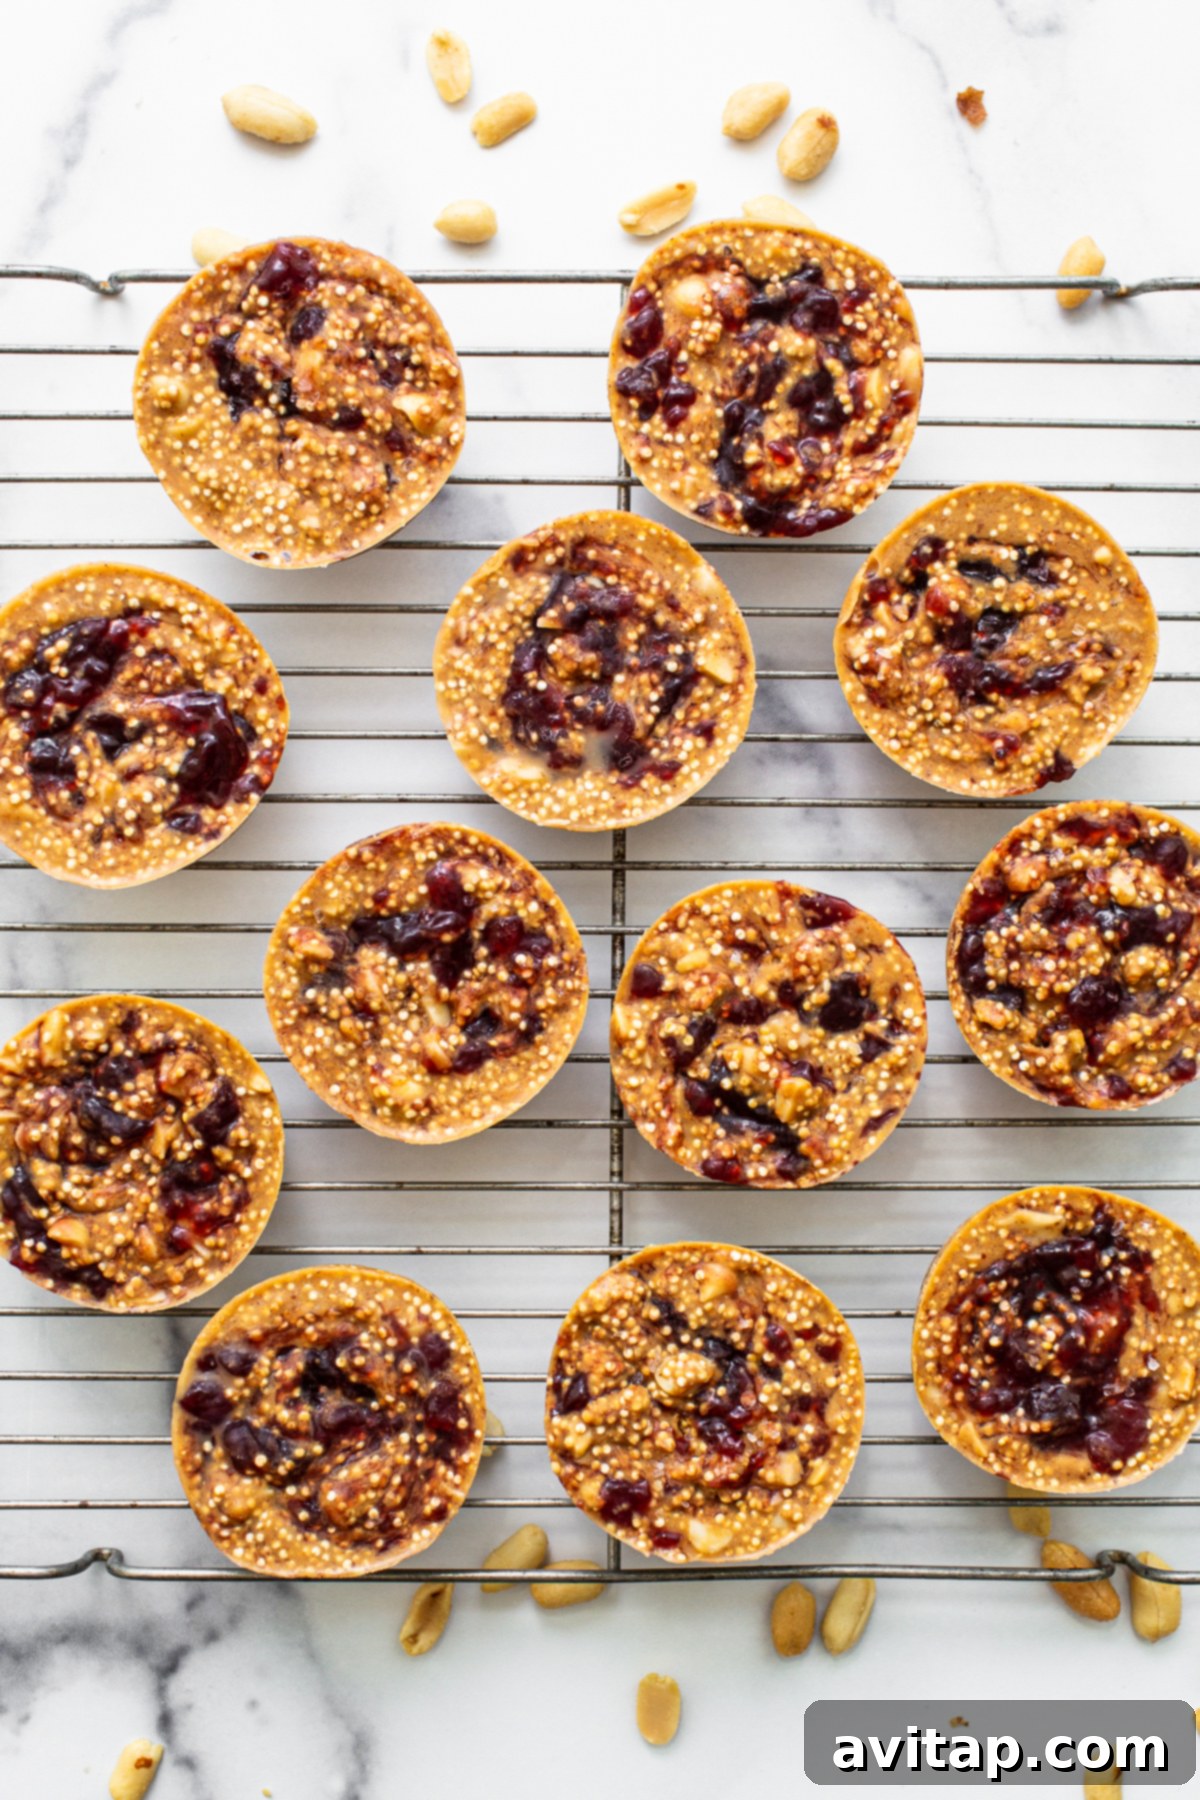
Proper storage is absolutely key to enjoying your Peanut Butter and Jelly Quinoa Cups for an extended period. Once the cups have fully set and are firm in the muffin tin, carefully remove them. Transfer the individual cups to an airtight, freezer-safe container. To prevent them from sticking together, you can place a piece of parchment paper between layers. Store these delicious no-bake treats in the freezer for up to 3 months, ensuring you always have a healthy, convenient snack on hand. When you’re ready to enjoy one, simply take it out of the freezer and let it sit at room temperature for a few minutes to soften slightly, or enjoy it directly from frozen for a firmer, colder treat.
Tips for Success & Creative Variations
Achieve perfection with your peanut butter and jelly quinoa cups and explore exciting new flavors with these helpful tips and creative variations:
- Silicone Muffin Pan Advantage: For the easiest removal and best overall results, we highly recommend using a silicone muffin pan. Its flexible nature ensures your perfectly set cups pop out without any sticking. If you’re using a metal tin, ensure it’s thoroughly greased or lined with paper cupcake liners.
- Ensure Full Freezing: For the best texture and to prevent crumbling, make sure the cups are completely frozen and firm before you attempt to remove them from the muffin tin or transfer them to a storage container. Patience here leads to perfect results!
- Jam Swirl Perfection: For a clean, attractive swirl, use the tip of a thin knife or a toothpick. Don’t overmix; a few gentle swirls are enough to create that beautiful marbled effect without fully incorporating the jam into the peanut butter base.
- Nut Butter Alternatives: While classic peanut butter is undoubtedly delicious, feel free to experiment with other drippy nut butters like almond butter or cashew butter for a different flavor profile. Just ensure they have a similar pourable consistency for optimal binding.
- Add-ins for Extra Flavor & Nutrition: Consider folding in mini chocolate chips for a touch of indulgence, a sprinkle of chia or flax seeds for added omegas and fiber, or a dash of cinnamon or vanilla extract into the quinoa mixture for an extra layer of warm flavor.
- Make it Vegan: To make this recipe completely vegan-friendly, simply substitute the honey with an equal amount of pure maple syrup. Also, ensure that the jam you choose is certified vegan and free from any animal-derived ingredients.
Frequently Asked Questions (FAQ)
Have questions about making these delicious no-bake quinoa cups? Here are answers to some common queries:
- Are these quinoa cups gluten-free? Yes, quinoa is naturally gluten-free. As long as your chosen peanut butter, jam, and any other ingredients are also certified gluten-free, these cups are a safe and delicious option for those following a gluten-free diet.
- Can I use a different sweetener instead of honey? Absolutely! Pure maple syrup is an excellent vegan-friendly alternative that works perfectly in this recipe, offering a subtly different flavor. You can also adjust the amount of sweetener to achieve your desired sweetness level.
- What if my peanut butter isn’t drippy enough? If your natural peanut butter is too thick or stiff, you can gently warm it slightly in the microwave for a few seconds (stirring frequently) or stir in a tiny bit of neutral oil (like melted coconut oil or a touch of vegetable oil) to achieve a smoother, more pourable consistency. This is crucial for proper binding.
- How long do they take to thaw? These cups thaw quite quickly at room temperature, usually within 5-10 minutes, making them incredibly convenient for a grab-and-go snack. Many people, however, enjoy them straight from the freezer for a firmer, ice-cream-like texture.
- Can I use pre-cooked quinoa? While this recipe specifically calls for *toasted uncooked* quinoa for its unique crunch and airy texture, you could certainly experiment with pre-cooked quinoa if you prefer a softer treat. However, the distinct “puffing” and crunchy element that makes these cups so special would be absent.
- Why is rinsing quinoa important? Rinsing quinoa removes saponins, a natural coating that can give quinoa a bitter, soapy taste. A quick rinse under cold water is usually sufficient.
Discover More of Our Favorite…
Irresistible Peanut Butter Desserts
If you’ve enjoyed these delightful no-bake quinoa cups, you’re in for a treat! Our recipe collection is full of innovative and delicious peanut butter-based recipes that are perfect for any occasion. Explore these other fantastic options to satisfy your peanut butter cravings:
- No-Bake Peanut Butter Bars: Rich, decadent, and requires absolutely no oven time for a quick indulgence.
- Peanut Butter Banana Cookies: A wholesome and naturally sweet cookie option that’s easy to make and perfect for a healthier treat.
- Oatmeal Peanut Butter Cookie Bars: Chewy, hearty, and utterly satisfying, these bars are a fantastic snack or dessert.
- Healthy Peanut Butter Cups: A lighter, more wholesome take on a classic candy favorite, without compromising on flavor.
- Peanut Butter Protein Balls: Perfect for a post-workout snack, an energy boost, or a healthy on-the-go treat.
★
★
★
★
Peanut Butter and Jelly Quinoa Cups
Linley Hanson
Prep Time:
20
Cook Time:
10
Total Time:
30
12 servings
Print Recipe
Ingredients
- 1 cup uncooked white quinoa, rinsed
- 1 cup all-natural peanut butter, drippy and creamy
- ¼ cup melted coconut oil, separated (1 tbsp for toasting, remainder for mixture)
- ¼ cup honey (or maple syrup for vegan)
- ½ cup chopped peanuts (optional, for extra crunch)
- 12 teaspoons raspberry or grape jam (or your favorite fruit jam)
- 1.5 teaspoons coarse salt, divided (for mixture and topping)
Instructions
-
Prepare Muffin Pan: Lightly spray a silicone muffin pan with coconut oil or line a standard 12-cup muffin tin with paper liners. Set aside, ensuring it’s ready for your mixture.
-
Toast Quinoa: Heat a large, dry skillet over medium-high heat. Add 1 tablespoon of coconut oil and let it melt. Once melted, add the rinsed uncooked white quinoa to the pan and toss to coat with the oil. Reduce the heat to medium and cover the pan. Listen for popping sounds, which indicate the quinoa is puffing. Stir the quinoa occasionally with a spatula to ensure even toasting and prevent burning. Continue to cook for approximately 10 minutes until the quinoa is golden brown and crunchy. Immediately remove the toasted quinoa from the heat and transfer it to a large mixing bowl.

-
Mix Ingredients: To the bowl containing the toasted quinoa, add the all-natural drippy peanut butter, the remaining melted coconut oil, honey, and chopped peanuts (if using). Stir all these components thoroughly until they are well combined and the quinoa is evenly coated, creating a cohesive, delicious base mixture.
-
Fill & Swirl: Distribute approximately 1.5-2 tablespoons of the quinoa-peanut butter mixture into each cup of your prepared muffin tin. Gently shake the muffin pan to ensure the mixture settles evenly. Next, add ½ – 1 teaspoon of your chosen jam to the top of each cup. Use a toothpick or the tip of a small knife to create an appealing swirl pattern with the jam. Finish by sprinkling each cup with a pinch of coarse sea salt.
-
Freeze & Store: Place the muffin pan into the freezer for at least 1 hour, or until the peanut butter and jelly quinoa cups are completely firm and set. Once solid, carefully remove them from the muffin tin. Transfer the finished cups to an airtight, freezer-safe container. Store them in the freezer for up to 3 months, ready to be enjoyed as a quick, delightful snack or dessert.
Tips & Notes for Optimal Results
- Silicone Pan Preference: For the easiest removal and best results, we highly recommend using a silicone muffin pan. If you’re using a standard metal tin, ensure you grease it thoroughly or use paper liners.
- Complete Freezing is Key: It’s crucial that your peanut butter and jelly quinoa cups are completely frozen and firm before you attempt to remove them from the muffin tin. This ensures they maintain their shape and don’t crumble.
- Customization: Don’t be afraid to experiment with different nut butters (almond, cashew) or various types of jams and jellies to find your perfect flavor combination!
Watch the Recipe Video
Watch how easily these delicious no-bake peanut butter and jelly quinoa cups come together! This video guides you through each step, from toasting the quinoa to creating the perfect jam swirl, ensuring your treats turn out perfectly every time.
Nutritional Information (per serving)
Calories: 294 kcal,
Carbohydrates: 26 g,
Protein: 8 g,
Fat: 19 g,
Fiber: 3 g,
Sugar: 11 g
Please note: Nutrition information is an estimate based on ingredients and automatic calculation. It should be used as an approximation only.
Enjoyed this recipe? Leave a comment below!
We’d love to see your creations! Don’t forget to tag your social media posts with the hashtag #fitfoodiefinds. Share your delicious results with our community!
Photography Credit: All images featured in this post were skillfully captured by Ashley McGlaughlin from The Edible Perspective.