
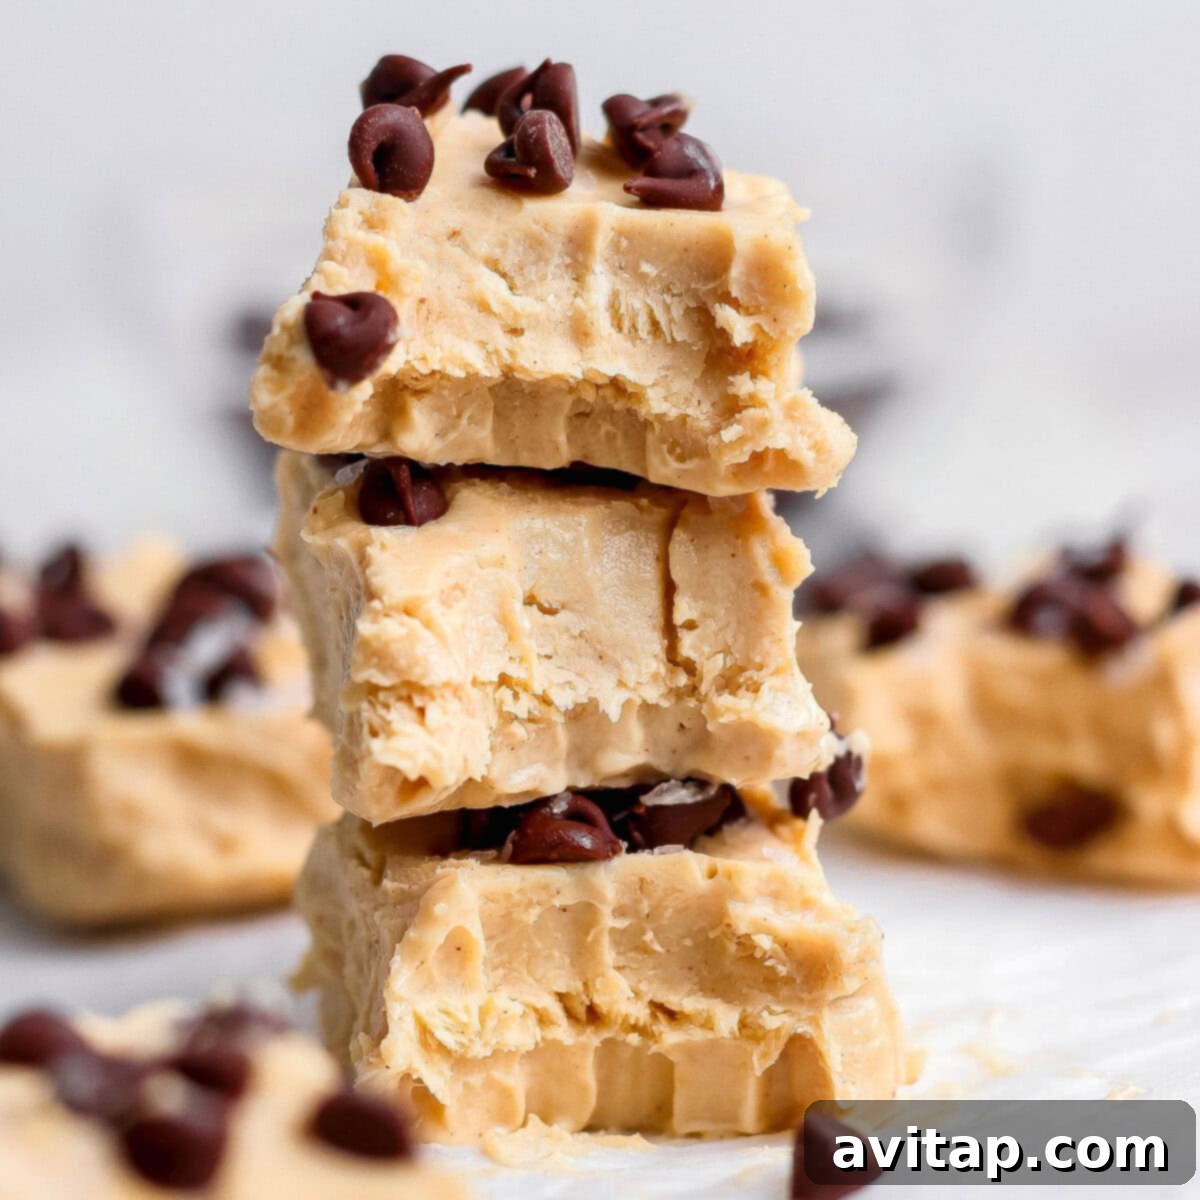
Peanut Butter Frozen Yogurt Bites: The Ultimate Frozen Dessert Recipe
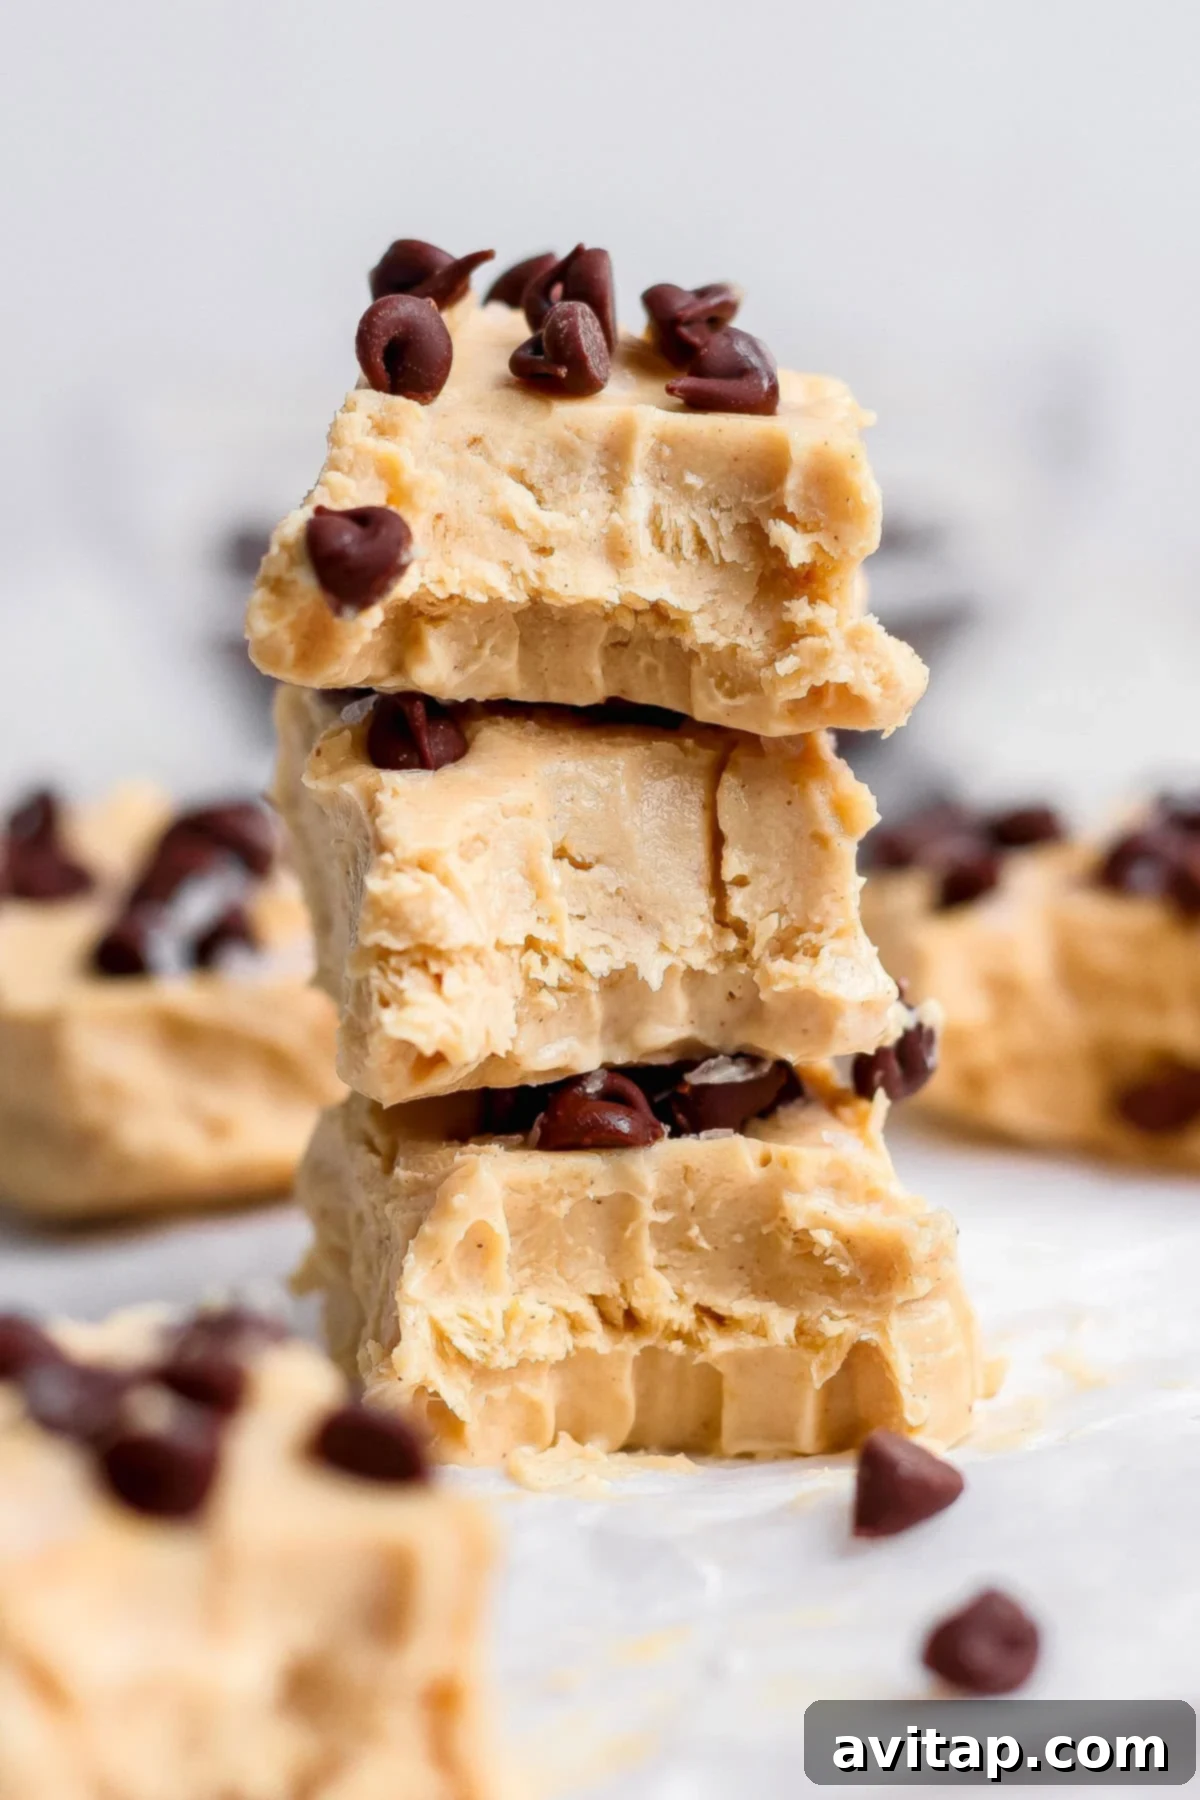
Craving a sweet, refreshing, and guilt-free dessert? Look no further than these incredible Peanut Butter Frozen Yogurt Bites! This recipe is a game-changer for anyone who loves a frozen treat but wants to avoid excessive sugar and unhealthy ingredients. Made with just four simple ingredients – peanut butter, yogurt, maple syrup, and a sprinkle of mini chocolate chips – these frozen yogurt bites are a delightful and satisfying dessert option.
Imagine having a batch of these yummy bites ready to go in your freezer, offering a quick and healthy treat whenever a craving strikes. This recipe is incredibly easy to make, requiring no baking and minimal prep time. Prepare to revolutionize your dessert routine with this effortless and delicious recipe!
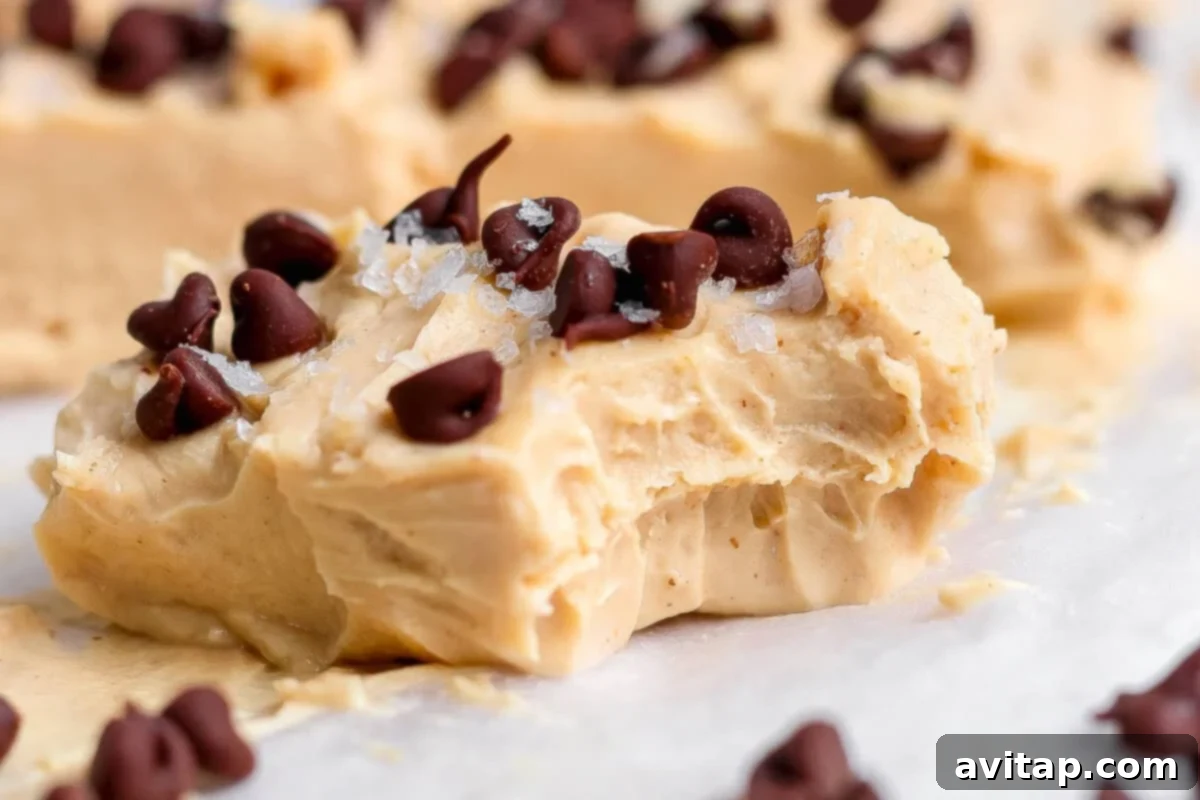
Why You’ll Love These Frozen Yogurt Bites
- No-Bake Bliss: Forget about heating up the kitchen! This recipe requires absolutely no baking. All you need is a loaf pan and your freezer to create these amazing frozen yogurt bites. It’s the perfect dessert for those hot summer days or any time you want a hassle-free treat.
- Protein Powerhouse: Thanks to the winning combination of Greek yogurt (or skyr yogurt) and peanut butter, each bite packs a protein punch! With 6g of protein per bite, you can indulge in these frozen delights without compromising your healthy eating habits. They’re a great way to satisfy your sweet tooth while keeping you feeling full and energized.
- Customization Central: The possibilities are endless when it comes to toppings! I chose to sprinkle mine with mini chocolate chips and a touch of flaky sea salt, but you can truly let your creativity shine. Use your favorite ice cream toppings to personalize these frozen yogurt bites to your liking. From chopped nuts to sprinkles to a drizzle of extra peanut butter, the choice is yours.
Ingredients You’ll Need to Make Peanut Butter Frozen Yogurt Bites
This recipe uses simple, wholesome ingredients that you can easily find in your local grocery store. Here’s a breakdown of what you’ll need:
- Yogurt: I highly recommend using either 5% plain Greek yogurt or skyr yogurt for the best results. These types of yogurt provide a rich, creamy texture that translates beautifully when frozen. I advise against using fat-free Greek yogurt, as its higher water content can lead to a more icy texture in the final product.
- Peanut Butter: Creamy peanut butter is my go-to choice for this recipe. It blends seamlessly with the yogurt and maple syrup, creating a smooth and decadent base. However, if you prefer a little crunch, feel free to use chunky peanut butter!
- Maple Syrup: This natural sweetener not only adds a touch of sweetness but also enhances the other delicious flavors in the recipe. It’s a healthier alternative to refined sugar and contributes to the overall wholesome nature of these frozen yogurt bites.
- Toppings: This is where you can really get creative! I opted for simple toppings like mini chocolate chips and flaky sea salt, but the sky’s the limit. Consider using mini M&Ms, chopped nuts, a drizzle of peanut butter, or any other ice cream topping that sparks your fancy.
Easy Steps to Make Your Own Frozen Yogurt Bites
Making these frozen yogurt bites is so simple, even a beginner cook can master it! Here’s a step-by-step guide:
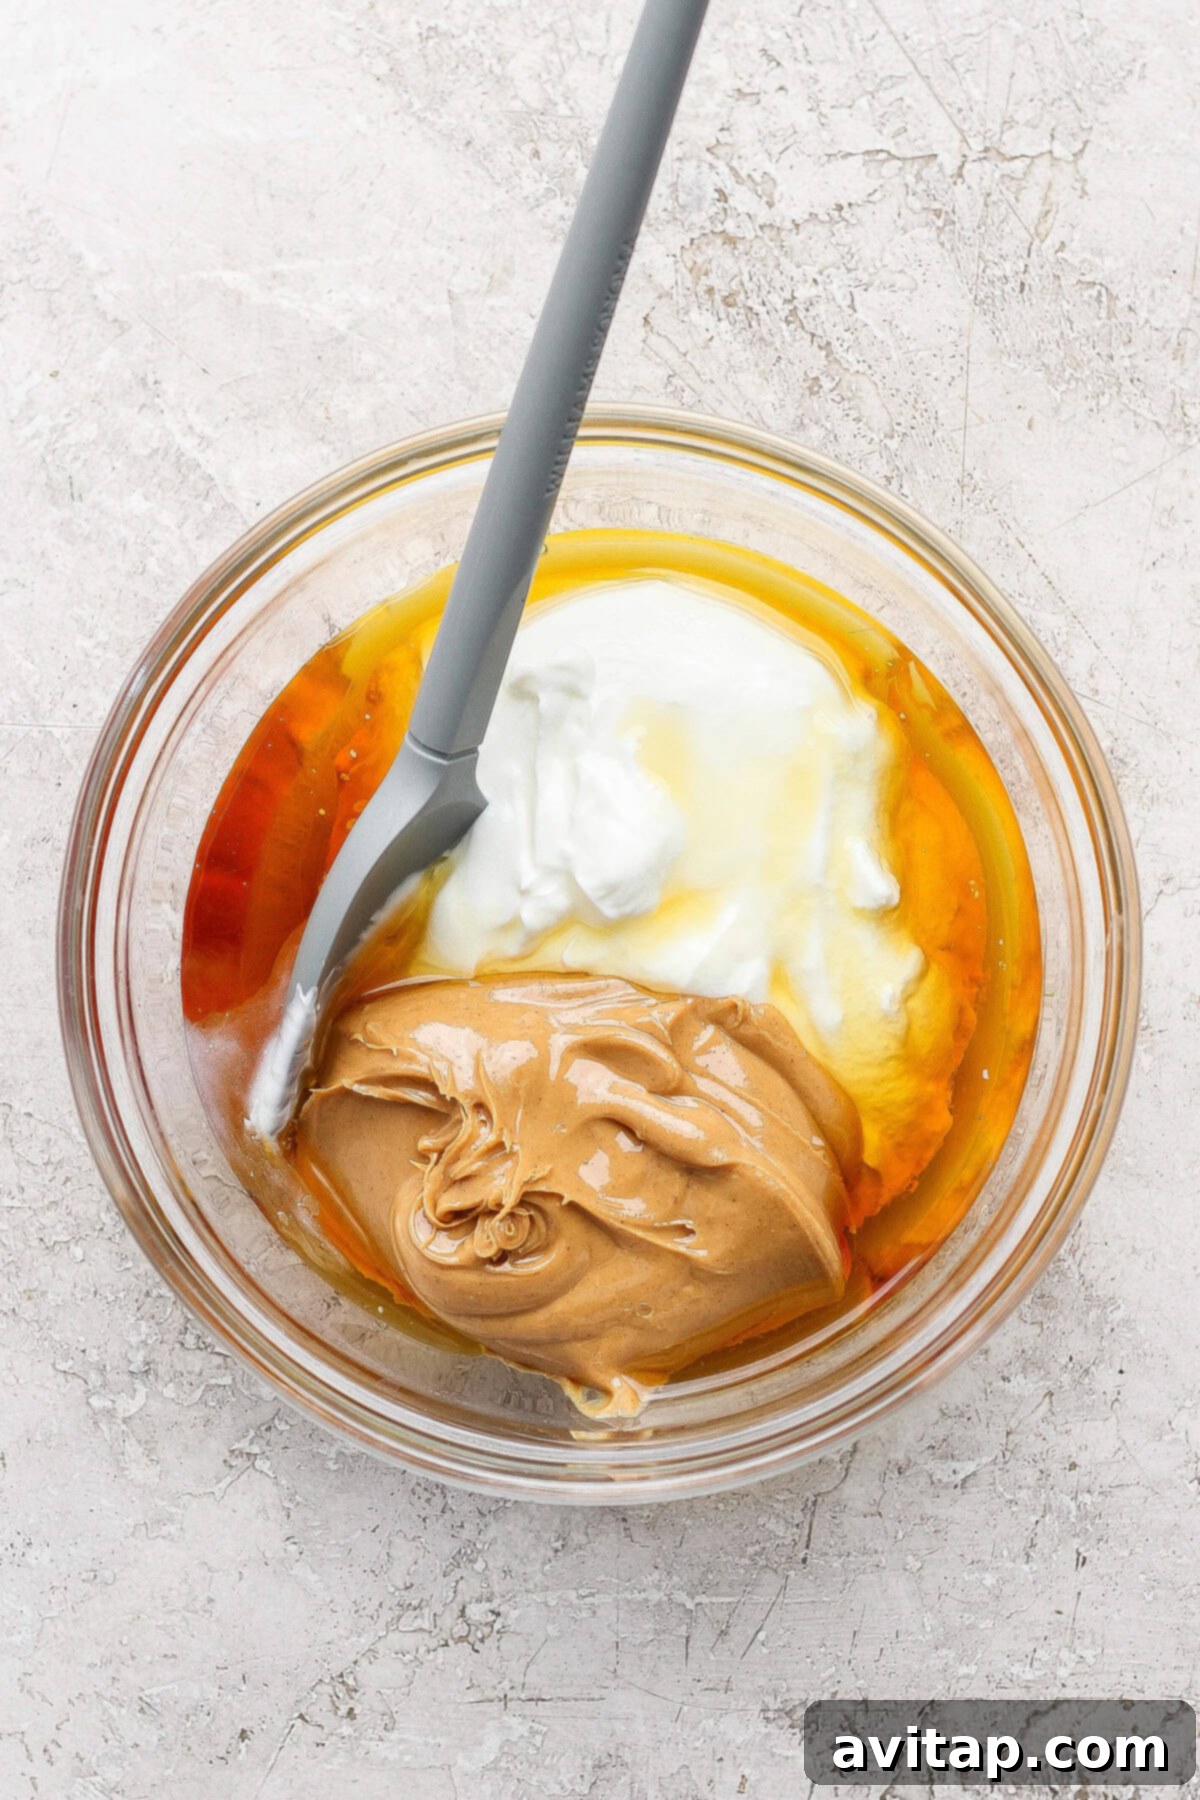
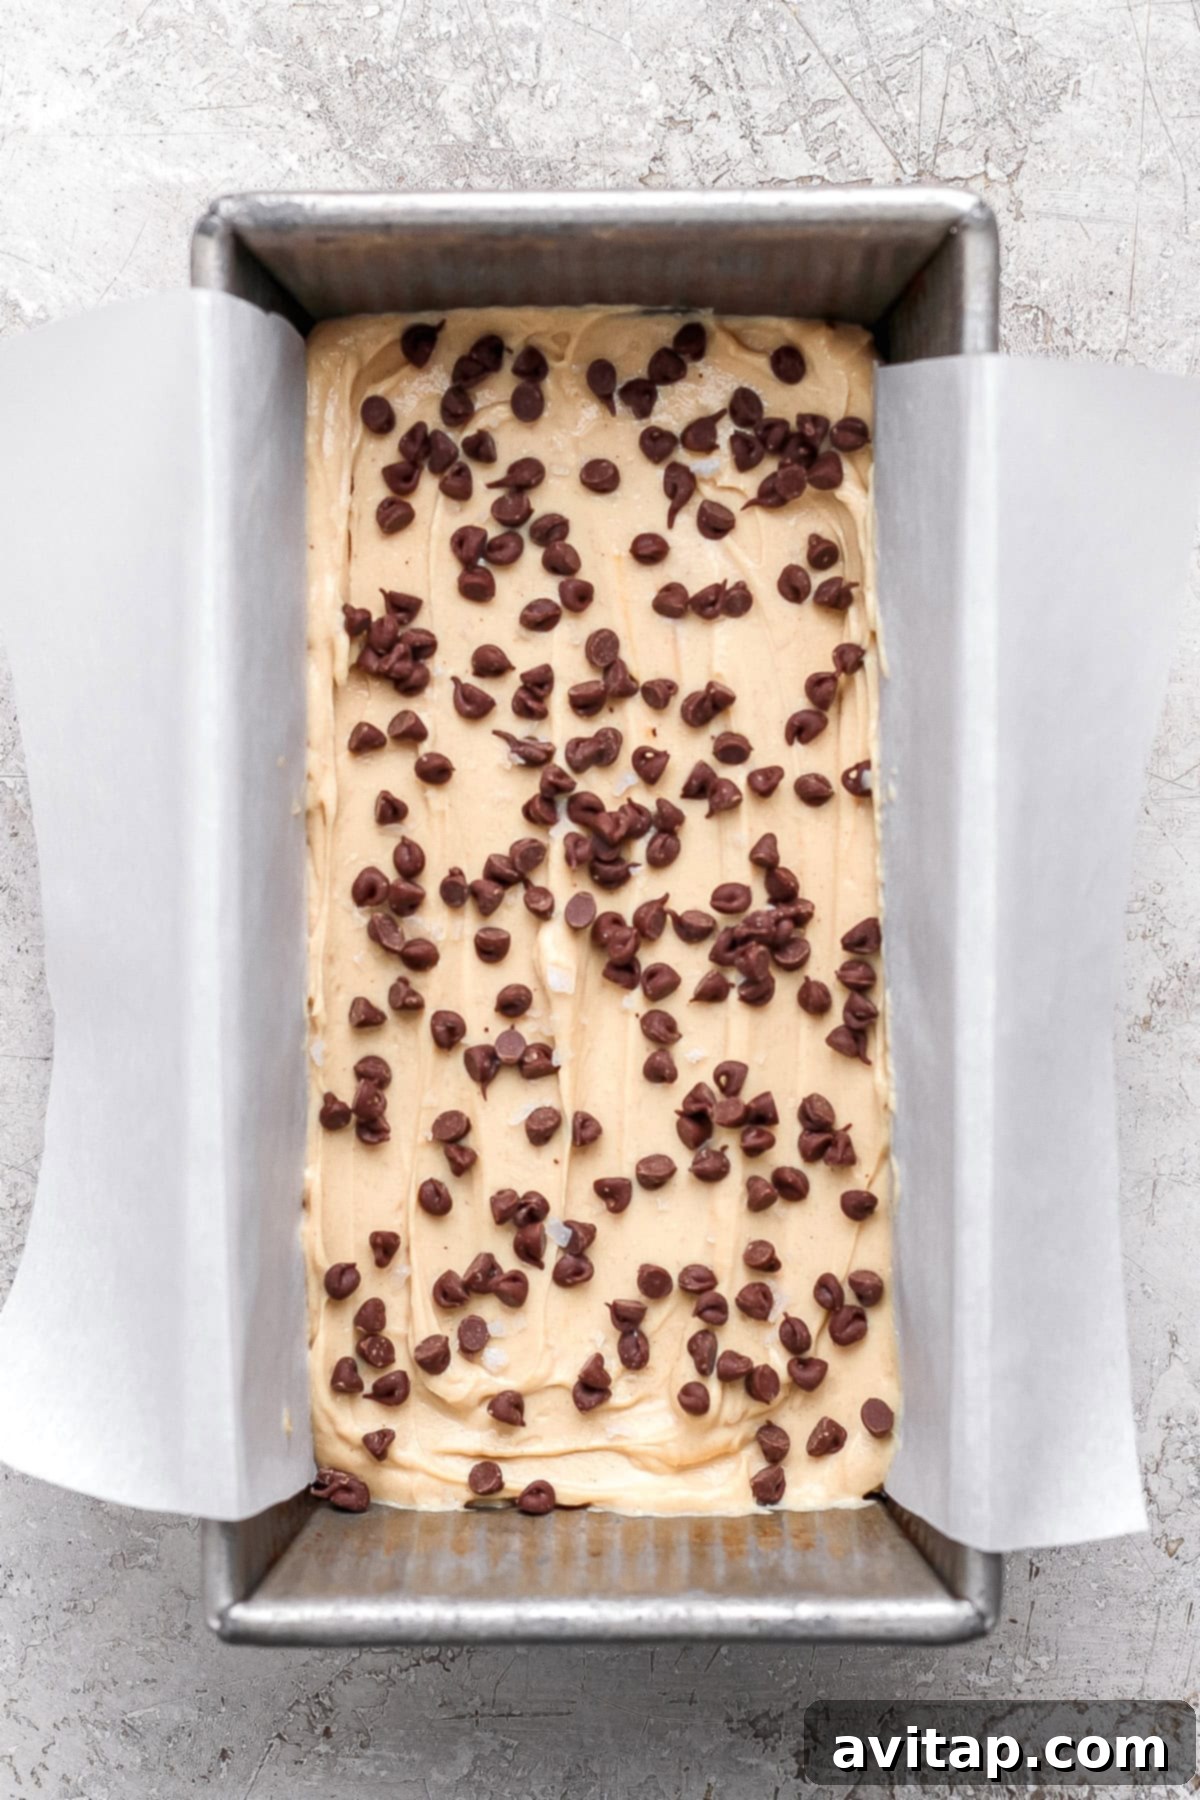
- Combine Ingredients: In a mixing bowl, combine the yogurt, peanut butter, and maple syrup. Use a whisk or spatula to mix until the mixture is smooth, creamy, and fluffy. Ensure all ingredients are well incorporated for the best taste and texture.
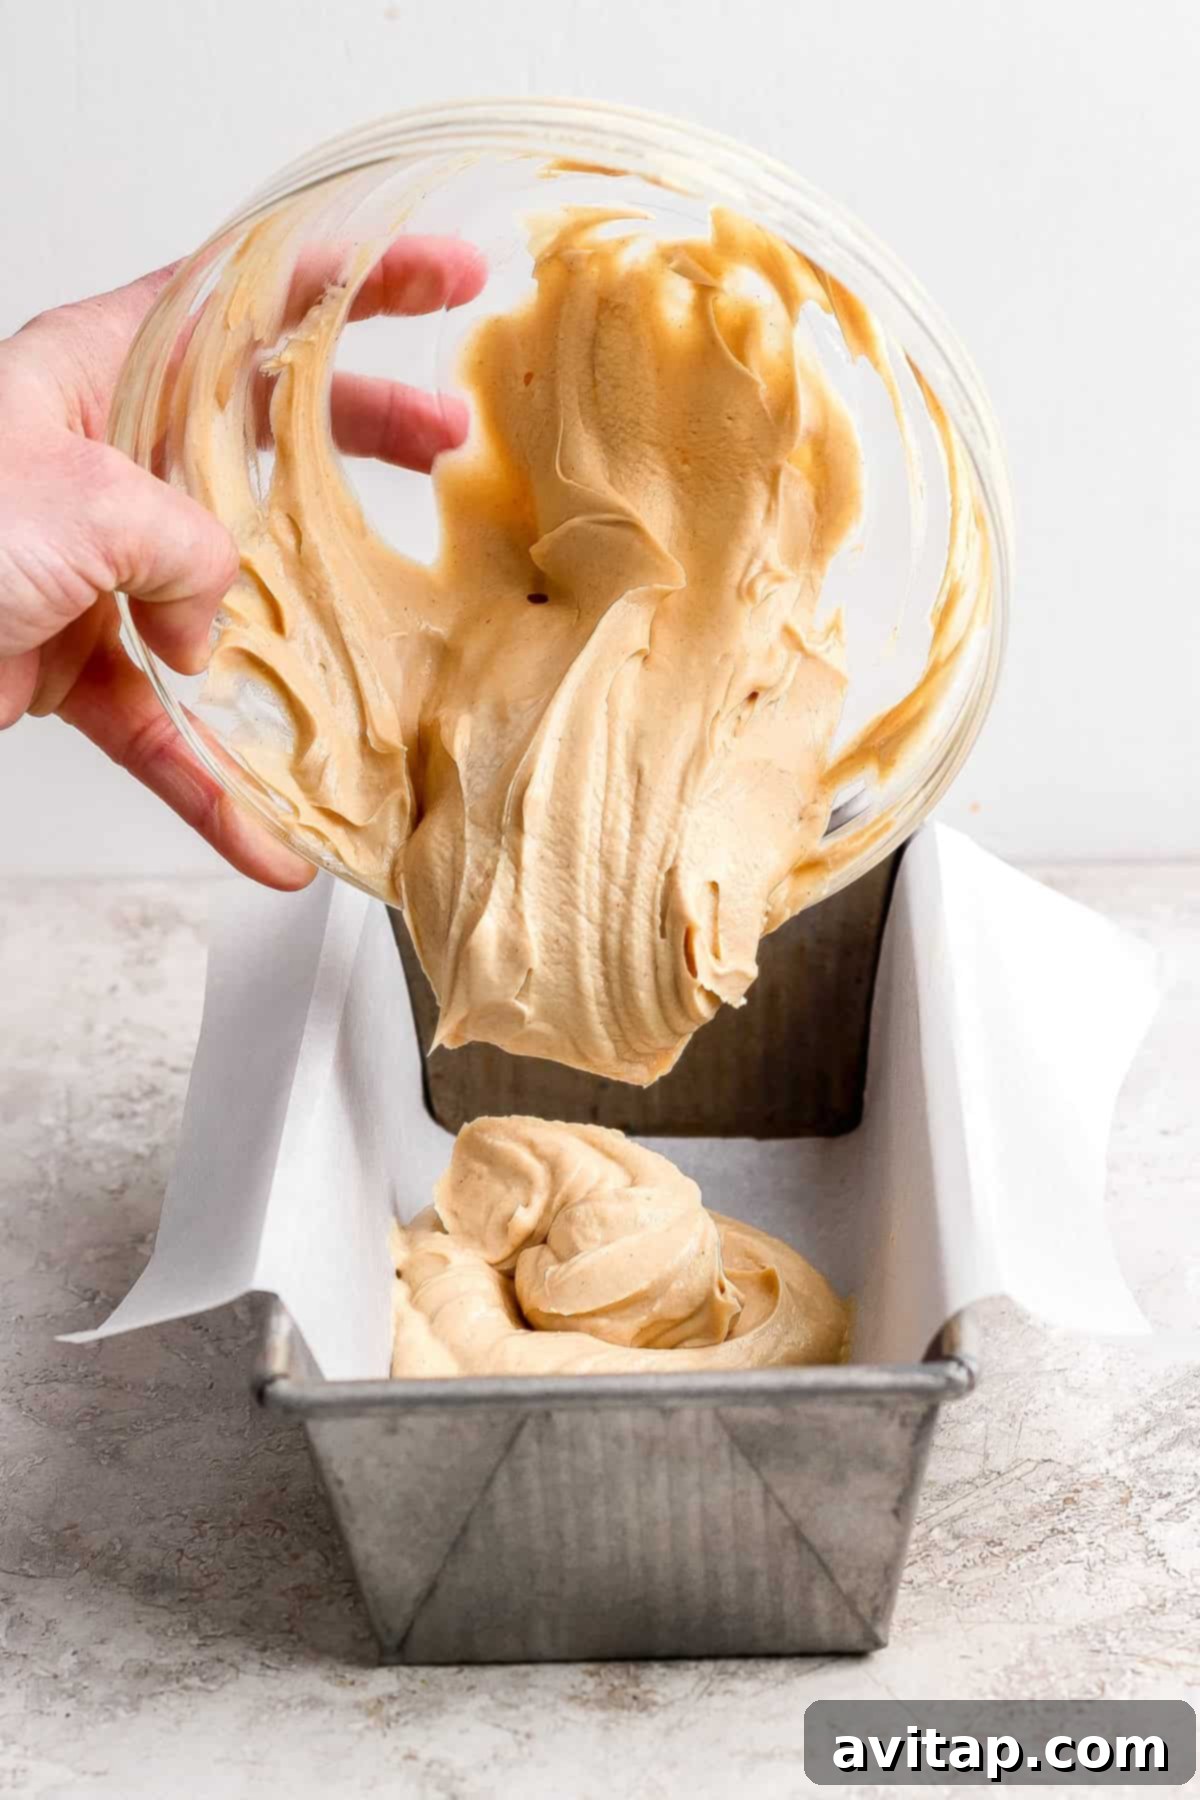
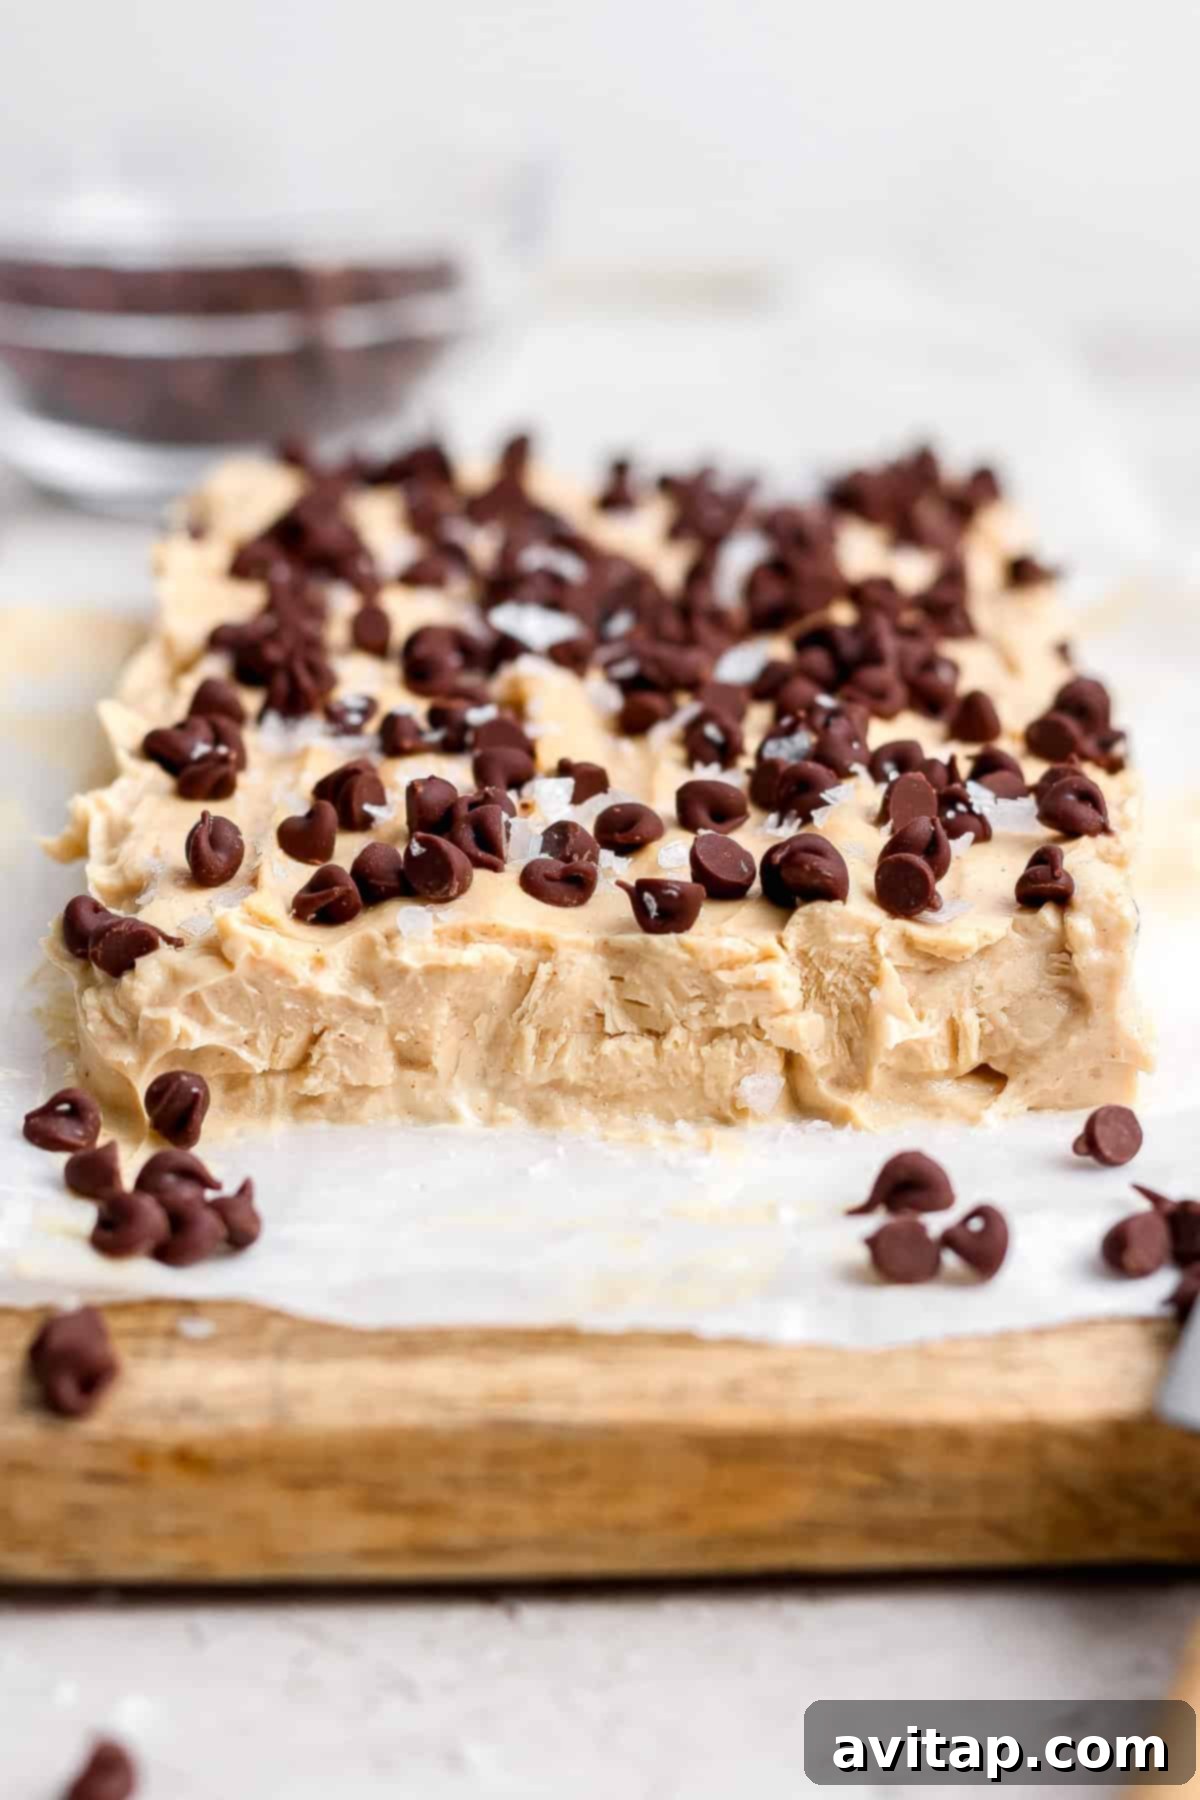
- Transfer to Loaf Pan: Line a loaf pan with parchment paper, leaving some overhang on the sides for easy removal. Pour the yogurt mixture into the prepared pan and spread it evenly. Sprinkle the top with your desired toppings, such as mini chocolate chips and flaky sea salt.
- Freeze to Perfection: Place the loaf pan in the freezer and let it freeze for at least 3 hours, or preferably overnight. This allows the yogurt bites to solidify completely, resulting in a firm and enjoyable texture.
- Slice and Serve: Once frozen, remove the loaf pan from the freezer. Use the parchment paper overhang to lift the frozen yogurt slab out of the pan. Place it on a cutting board and slice it into bite-sized pieces. Serve immediately and enjoy!
Pro Tips for the Best Frozen Yogurt Bites
To ensure your Peanut Butter Frozen Yogurt Bites turn out perfectly every time, here are some essential tips:
- Yogurt Selection is Key: I strongly advise using full-fat skyr or Greek yogurt for this recipe. Lower-fat yogurt tends to contain more water, which can result in an undesirable “icy” texture when frozen. Opting for full-fat yogurt guarantees a creamier, more luxurious bite.
- Nut Butter Variety: While peanut butter is the star of this recipe, feel free to experiment with other nut butters! Cashew butter would add a wonderful creamy sweetness, while almond butter would offer a slightly different but equally delicious flavor profile.
- Parchment Paper is a Must: Don’t skip the step of lining your loaf pan with parchment paper! It’s crucial for preventing the frozen yogurt from sticking to the pan, making it incredibly difficult to remove. If you’re out of parchment paper, you can use wax paper or aluminum foil as alternatives. The overhang of the parchment paper makes the frozen yogurt easy to remove and slice.
How to Store Your Frozen Yogurt Bites
These Peanut Butter Frozen Yogurt Bites are best stored in the freezer in an airtight container. This will prevent them from absorbing any unwanted flavors or odors and maintain their fresh taste. Properly stored, these bites will last for up to 3 months, allowing you to enjoy a healthy and delicious treat whenever you crave it!
More Frozen Treat Inspiration
Looking for more exciting frozen dessert ideas? Check out these other delicious recipes:
- Cookie Dough Freezer Fudge
- Peppermint Freezer Fudge
- Chocolate Strawberry Frozen Yogurt Bark
- Frozen Peanut Butter Protein S’mores
- Cottage Cheese Cheesecake Bars