
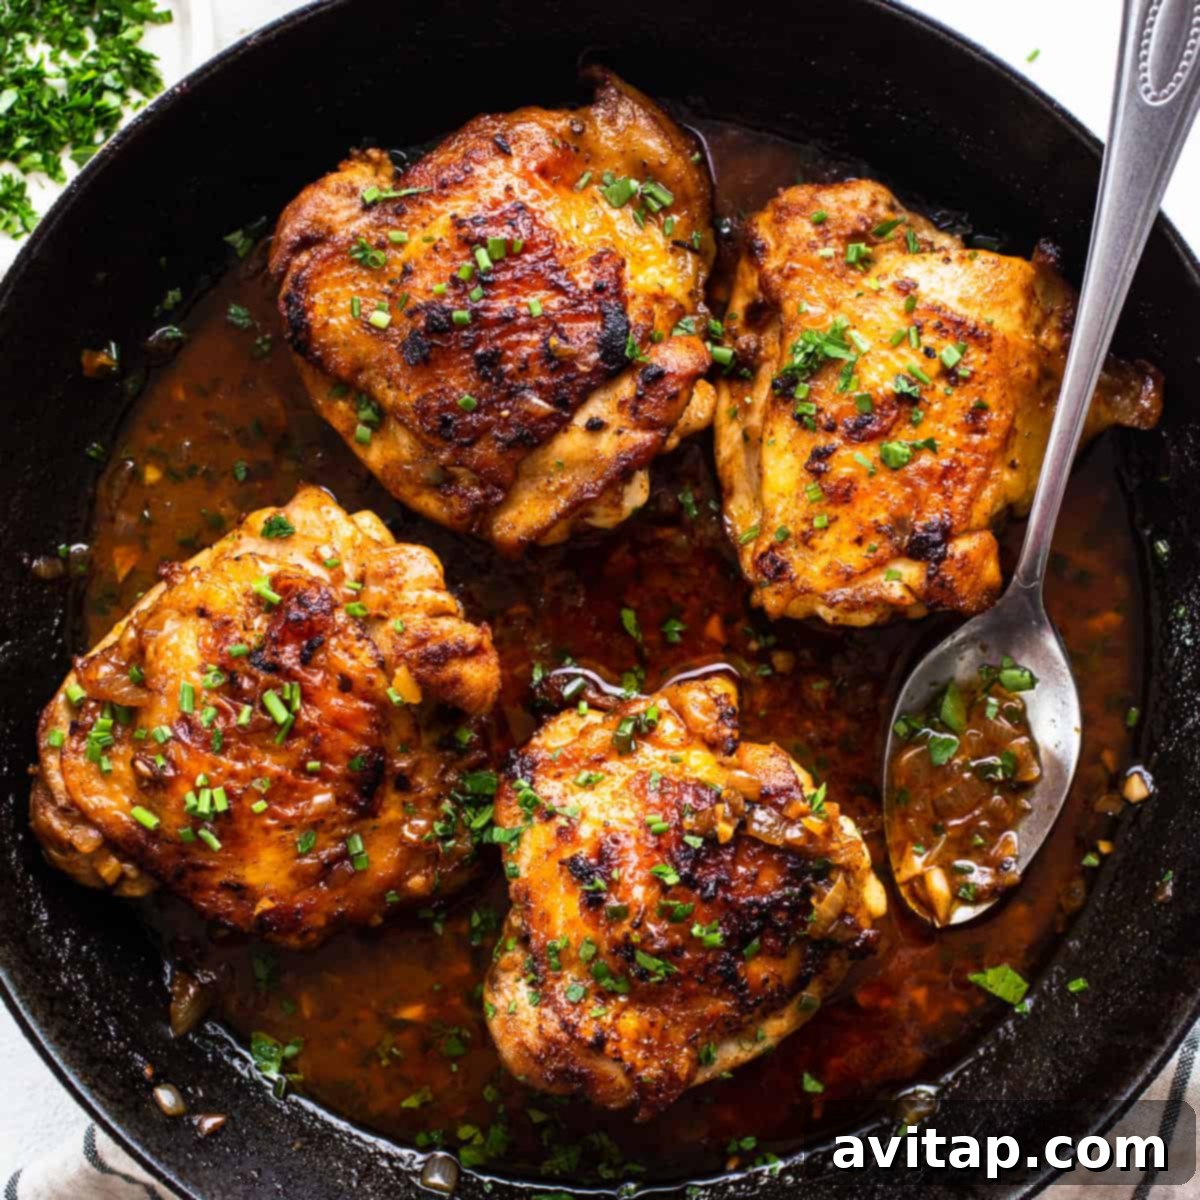
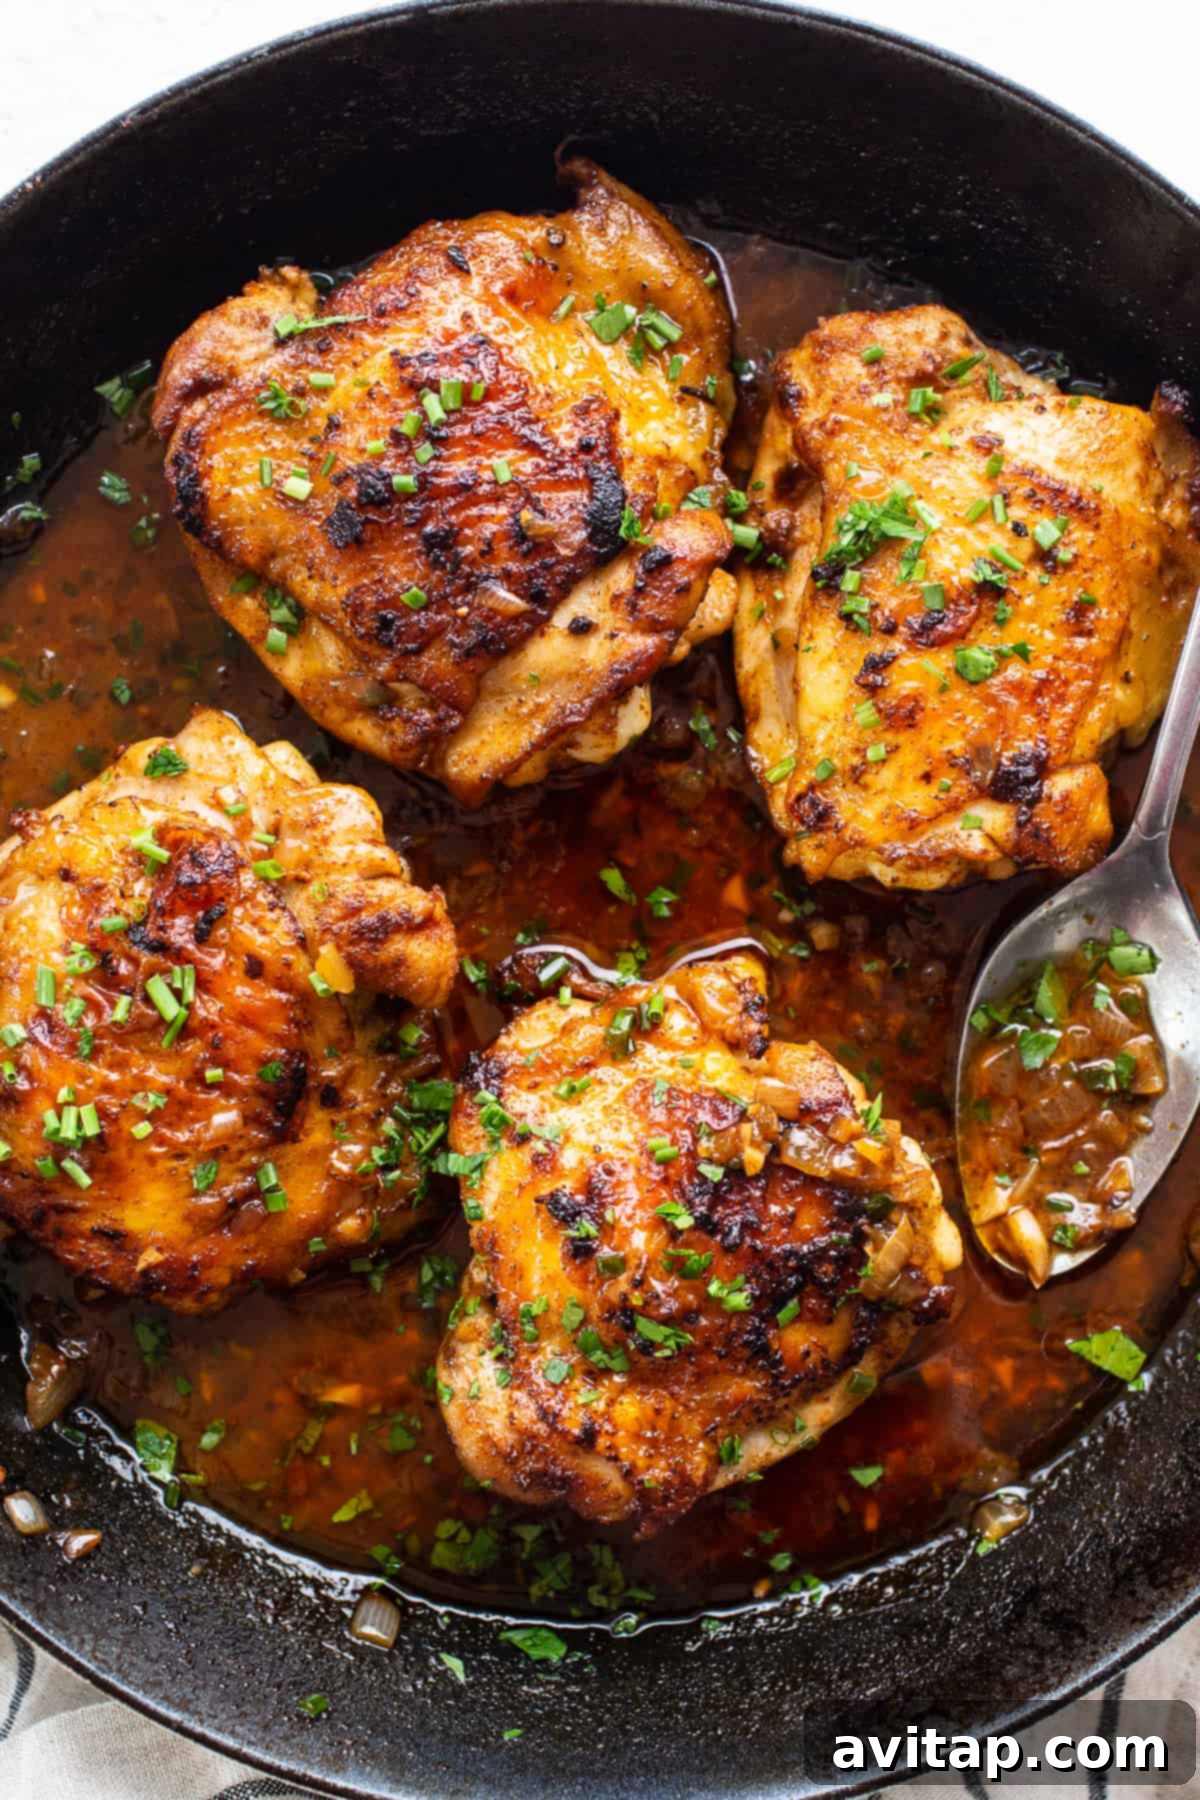
Are you yearning for a chicken thigh recipe that breaks free from the mundane, delivering an explosion of flavor and an irresistible texture? Look no further! This ultimate Cast Iron Chicken Thighs recipe is your passport to culinary perfection, promising a meal so delicious it will leave everyone at the table utterly satisfied. We’re talking about perfectly seasoned chicken thighs, expertly seared in a cast-iron skillet to achieve an incredibly crispy skin, then finished in the oven for a supremely tender and juicy interior. Say goodbye to dry, bland chicken and hello to a dinner hero!
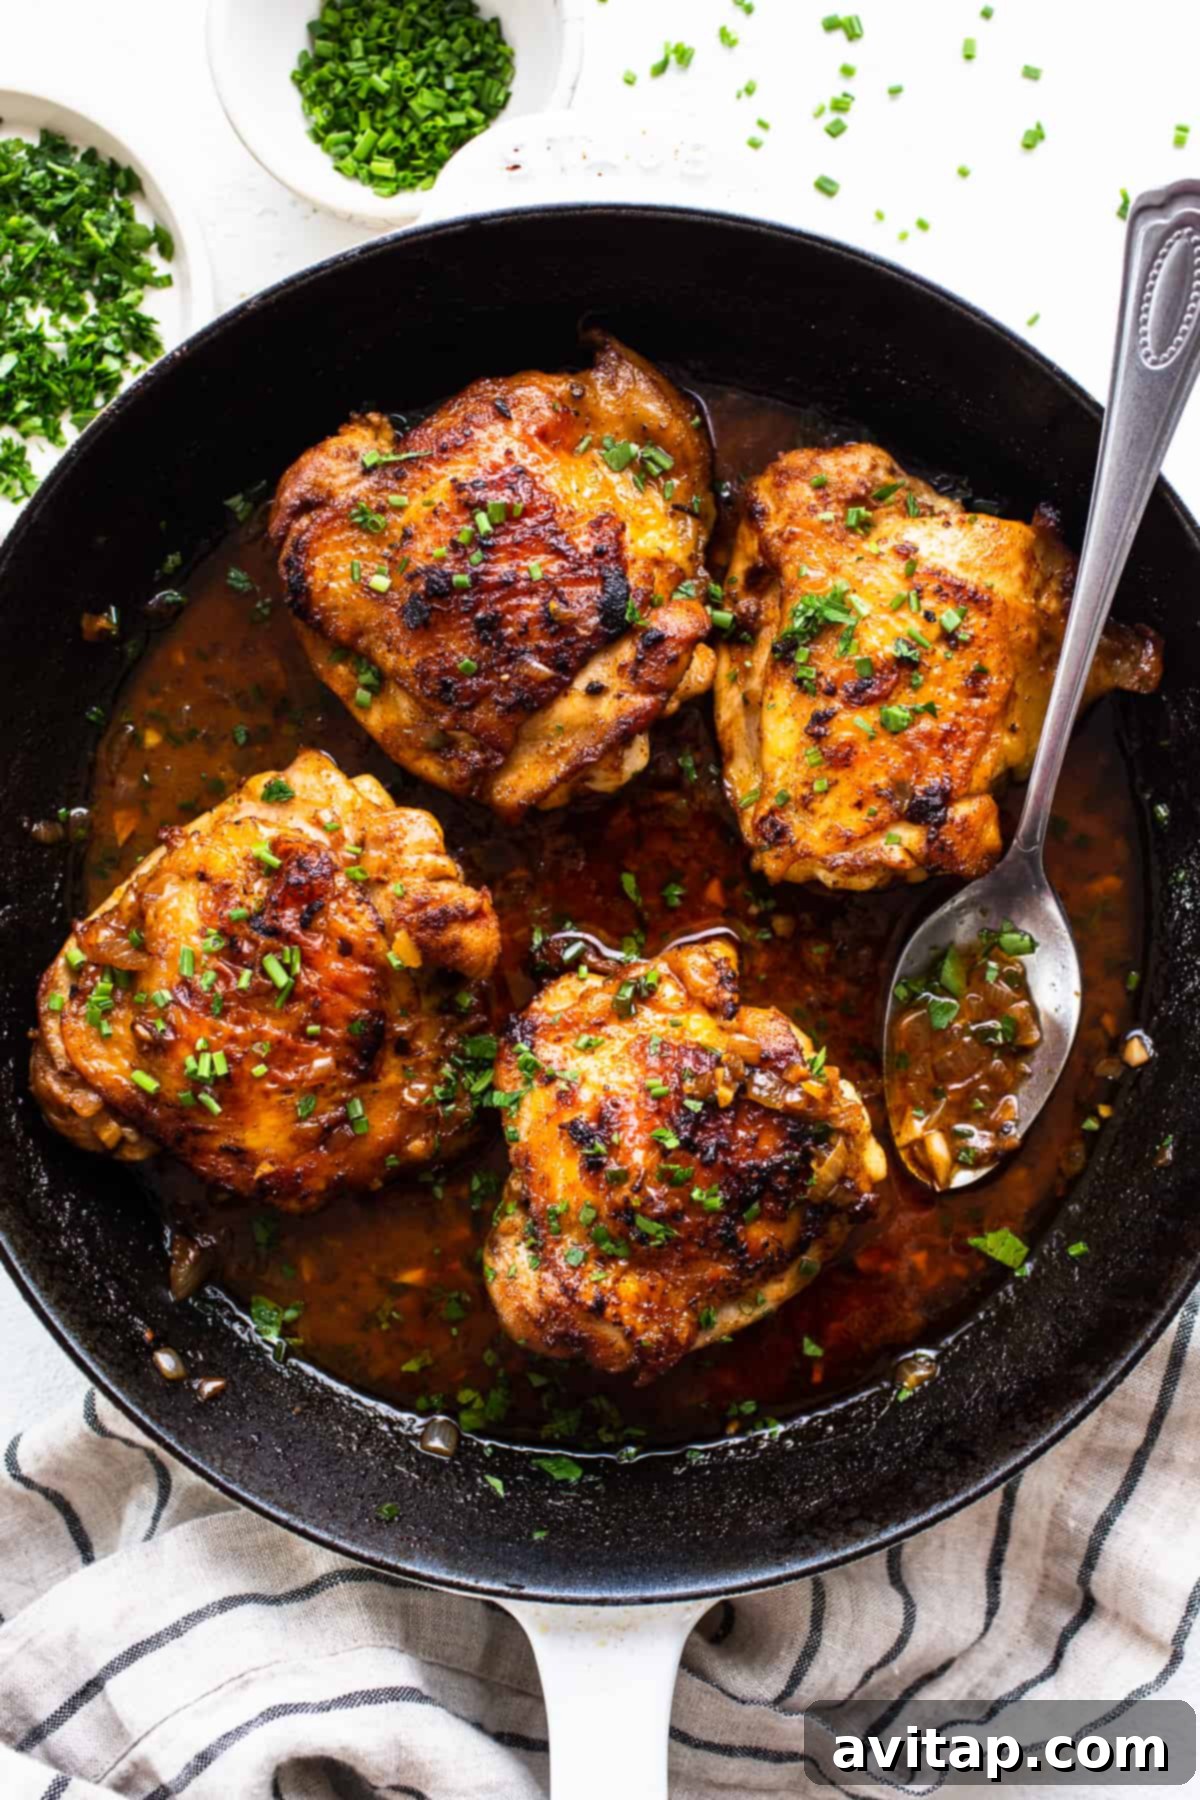
Harnessing the unparalleled power of your trusty cast iron skillet, this recipe will transform ordinary chicken thighs into a culinary masterpiece. If you have ever struggled to achieve that coveted crispy skin or maintain a wonderfully juicy texture, consider this your definitive guide. With just a few simple ingredients and the magic of cast iron, you’re about to unlock a dinner experience that’s truly heavenly. Prepare your skillet and your appetite – deliciousness awaits!
Crispy Cast Iron Chicken Thighs: Your Ultimate Guide to Flavorful & Juicy Perfection
Forget everything you thought you knew about cooking chicken thighs. This comprehensive guide will walk you through creating the most incredibly crispy, yet undeniably juicy, cast iron chicken thighs you’ve ever tasted. Utilizing the superior heat retention and distribution of a cast iron skillet, we’ll achieve a perfect sear on the stovetop before finishing the chicken in the oven, ensuring every bite is packed with savory flavor and a delightful texture contrast. Whether you’re a seasoned home cook or just starting your culinary journey, this recipe is designed for success.
Why Cast Iron is Your Secret Weapon for Perfect Chicken Thighs
When it comes to achieving that coveted crispy skin and tender meat, a cast iron skillet is truly an indispensable tool. Its unique properties make it superior for cooking chicken thighs compared to other types of cookware, offering distinct advantages:
- Unrivaled Heat Retention: Cast iron holds heat incredibly well, providing a consistent cooking surface that ensures even browning and a fantastic sear across the entire piece of chicken. This consistent, high heat is key to effectively rendering fat from the chicken skin, leading to maximum crispiness.
- Exceptional Heat Distribution: While it takes a little longer to heat up, once hot, cast iron distributes heat evenly across the entire surface of the pan. This prevents hot spots that can lead to uneven cooking, burning, or a patchy crust on your chicken.
- Natural Non-Stick Surface (with Proper Care): With consistent use and proper seasoning, a well-maintained cast iron skillet develops a natural, slick non-stick surface. This allows the chicken skin to release easily from the pan once it’s perfectly crispy, without sticking or tearing, ensuring an intact, beautiful crust.
- Oven-Safe Versatility: The ability to transfer a cast iron skillet directly from the stovetop to the oven is a game-changer for chicken thighs. It allows us to achieve that initial, crucial, high-heat sear for crispiness, then finish cooking gently in the oven. This two-stage cooking ensures the meat cooks through perfectly without drying out, while the skin continues to crisp up to perfection.
- Unmatched Flavor Development: The “fond” — the delicious browned bits that develop at the bottom of the pan during the searing process — is packed with concentrated flavor. This recipe strategically leverages these savory drippings to create a rich, buttery, and aromatic sauce right in the same pan, which then bathes the chicken as it finishes cooking, elevating the entire dish.
Embrace the power of cast iron, and you’ll consistently produce chicken thighs that are restaurant-quality in their crispiness, juiciness, and overall flavor profile.
Essential Ingredients for Our Crispy Cast Iron Chicken Thighs
Crafting these perfectly crispy and juicy chicken thighs requires a thoughtful selection of ingredients. Each component plays a crucial role in developing the incredible flavor and texture that makes this recipe a standout. Here’s a closer look at what you’ll need to create this delectable meal:
- Bone-in, Skin-on Chicken Thighs: For optimal results, bone-in and skin-on chicken thighs are non-negotiable. The bone helps to conduct heat slowly and retain moisture, ensuring the meat stays incredibly succulent and tender. Meanwhile, the skin, when properly seared, renders its fat and crisps up beautifully, providing that irresistible textural contrast. We typically recommend about 1.5 lbs, which usually amounts to 4 medium-sized thighs.
- Flavorful Seasoning Mix: Our signature dry rub is a delightful blend designed to create a savory, slightly sweet, and aromatic crust that adheres perfectly to the chicken. It includes:
- Garlic Powder: A foundational aromatic that infuses the chicken with deep, savory notes.
- Kosher Salt: Essential for seasoning the meat thoroughly, drawing out moisture from the skin to aid in crisping, and enhancing all other flavors.
- Light Brown Sugar: A touch of sugar is a secret weapon here, as it promotes beautiful caramelization, contributing to a rich, golden-brown, and extra-crispy skin, while adding a subtle sweetness that balances the savory spices.
- Ground Black Pepper: Provides a classic, warm, and subtly spicy kick that complements the other seasonings.
- Ground Paprika: Adds not only a vibrant, appetizing color but also a mild, sweet, and often smoky depth of flavor to the seasoning blend.
- Avocado Oil: This heart-healthy oil is our top choice for searing due to its exceptionally high smoke point (around 520°F/270°C). It can withstand the intense heat required for a perfect, quick sear in a cast iron skillet without burning or imparting any undesirable flavors to your chicken.
- Unsalted Butter: Used to create the rich, luscious pan sauce that will coat the chicken as it finishes cooking. Using unsalted butter gives you precise control over the overall saltiness of your dish. If you only have salted butter available, remember to reduce the amount of salt in your chicken seasoning blend accordingly.
- Fresh Aromatics (Onion & Garlic): These humble but mighty vegetables are sautéed in the rendered chicken fat and butter, creating an incredibly aromatic and deeply flavorful base for the pan sauce. They infuse the sauce with a complex, savory essence.
- Chicken Broth: Crucial for deglazing the pan. Adding chicken broth helps to lift all the delicious browned bits (the “fond”) from the bottom of the skillet, incorporating them into a rich, savory, and moistening sauce. This sauce not only adds flavor but also helps to keep the inside of the chicken incredibly tender as it finishes baking in the oven.
- Fresh Chives: A vibrant and delicate garnish that adds a hint of mild oniony freshness and a beautiful pop of color. Sprinkled over the finished dish, chives elevate the presentation and add a refined touch to the flavor profile.
Can You Use Boneless, Skinless Chicken Thighs for This Recipe?
While you can substitute boneless, skinless chicken thighs in a pinch, we strongly advise against it for the best possible culinary experience. This recipe is meticulously designed to maximize the benefits of bone-in, skin-on thighs, which inherently offer superior flavor, enhanced juiciness, and that incredibly crispy skin that truly elevates the dish.
If you absolutely must use boneless, skinless thighs, please be aware that the cooking method will require significant adjustments: you will need to skip the oven baking portion entirely. Instead, after searing the boneless thighs on the stovetop until they are cooked through (they will cook much faster without the bone), you will proceed directly to making the pan sauce in the same skillet. Once the sauce is ready, return the seared boneless thighs to the pan briefly to coat them in the flavorful sauce before serving. Be mindful that the overall cooking time will be substantially reduced, and you will not achieve the same level of crispiness or inherent moisture as with bone-in, skin-on thighs. For a truly authentic and satisfying result, stick with the recommended cut.
Expert Tips for Perfectly Crispy and Juicy Cast Iron Chicken Thighs
Achieving culinary perfection with cast iron chicken thighs is surprisingly simple when you follow these key tips. These insights will help you master the technique and ensure your chicken is consistently flavorful, crispy, and incredibly juicy, transforming your dinner into a memorable meal:
- Bring Chicken to Room Temperature: This is a crucial step often overlooked but vital for even cooking and preventing sticking. Always allow your chicken thighs to sit out at room temperature for at least 15-20 minutes before placing them in the hot skillet. Cold chicken hitting a hot pan can cause the muscles to seize, leading to uneven cooking and, more importantly, can cause the chicken to stick persistently to the cast iron skillet. Room temperature chicken sears more evenly and cooks through more consistently.
- Pat the Chicken Dry, Thoroughly: Moisture is the absolute enemy of crispy skin. Before applying any seasoning, use paper towels to vigorously pat down every surface of the chicken thighs, especially the skin side. The drier the skin, the more effectively the fat will render, leading to an incomparably crispy crust during searing. Don’t underestimate the importance of this step!
- Season Generously and Rub In: Don’t be shy with the seasoning! A generous application of our well-balanced spice rub, massaged directly into both the chicken skin and the flesh, is essential for building deep, delicious flavor and contributing to a beautiful, golden-brown, crusty exterior. Ensure all surfaces are coated evenly for maximum impact.
- Preheat Your Cast Iron Skillet Properly: A thoroughly hot pan is paramount for achieving a good sear and preventing the chicken from sticking. Place your empty cast iron skillet over high heat for several minutes before adding the oil. Once you add the avocado oil, allow it to get hot, shimmering and just beginning to smoke, before carefully placing the chicken in. This ensures immediate contact with a high-heat surface, triggering the Maillard reaction for optimal browning.
- Don’t Overcrowd the Pan: For optimum searing and crisping, it’s vital to ensure there is enough space between each chicken thigh in the skillet. If your pan is too crowded, the temperature of the skillet will drop significantly, and the chicken will end up steaming rather than searing, resulting in soggy skin and an unappetizing texture. Cook in batches if necessary, or use a larger skillet to accommodate all the thighs without overcrowding.
- Resist the Urge to Flip Too Soon: Patience is a virtue, especially when searing chicken skin. Allow the chicken to cook undisturbed, skin-side down, for the recommended time (6-7 minutes). The skin will naturally release from the pan once it has formed a beautiful, golden-brown, crispy crust. If it sticks when you try to move it, it usually means it’s not quite ready to be flipped – give it another minute or two.
- Understand Internal Temperature and Resting: Knowing when your chicken is safely cooked and allowing it to rest are paramount for both food safety and ensuring the juiciest possible outcome.
- According to the USDA, all poultry, including chicken thighs, should reach a safe internal temperature of 165ºF (74ºC). Always use a reliable instant-read meat thermometer inserted into the thickest part of the thigh, making sure to avoid touching the bone, to ensure an accurate reading.
- Let the Chicken Rest: Once the chicken reaches 165ºF, remove it from the oven and let it rest for at least 5-10 minutes before slicing or serving. This critical step allows the juices, which have migrated to the center of the meat during cooking, to redistribute throughout the entire thigh, resulting in a more tender, succulent, and juicy outcome. The internal temperature will also continue to rise slightly (carry-over cooking) by about 5ºF during this resting period.
Recommended Equipment: Our Favorite Cast Iron Skillet
While any good cast iron skillet will work wonders for this recipe, investing in a high-quality pan can significantly enhance your cooking experience and results. We enthusiastically recommend the Great Jones King Sear. Its robust construction, excellent heat retention, and perfectly sized cooking surface make it an exceptional choice for searing and baking. It’s a fantastic investment that will quickly become a cherished piece in your kitchen collection!

Explore More Delicious Chicken Thigh Recipes
Chicken thighs are incredibly versatile and lend themselves beautifully to a myriad of cooking methods and flavor profiles. If you’ve enjoyed this cast iron recipe and are eager to discover new ways to prepare this flavorful and economical cut of chicken, we have a collection of tutorials covering nearly every cooking technique imaginable. Expand your culinary repertoire and impress your family and friends with these fantastic ideas:
- Classic Stovetop Chicken Thighs: Perfect for quick weeknight meals when you need a delicious, pan-fried option.
- Hearty Dutch Oven Chicken Thighs: Ideal for slow-cooked, tender results bathed in rich sauces, perfect for cooler evenings.
- More Cast Iron Chicken Thighs Variations: Dive deeper into the world of skillet-cooked chicken with different flavor twists.
- Crispy Air Fryer Chicken Thighs: Achieve incredible crispiness with less oil and minimal fuss using your air fryer.
- Smoky Grilled Chicken Thighs: Infuse your chicken with irresistible smoky flavors, perfect for outdoor cooking and summer BBQs.
- Effortless Baked Chicken Thighs: A simple, hands-off method for consistently juicy chicken with easy cleanup.
- Quick Instant Pot Honey Garlic Chicken Thighs: For incredibly fast and flavorful meals, let your Instant Pot do the work.
- Perfectly Tender Sous Vide Chicken Thighs: Master precision cooking for unparalleled tenderness, followed by a quick sear for crispness.
- Flavorful Smoked Chicken Thighs: Unlock deep, complex flavors with a smoker for a truly gourmet experience.
Frequently Asked Questions About Cast Iron Chicken Thighs
Have more questions about perfecting your cast iron chicken thighs? We’ve got answers to some of the most common queries, ensuring your cooking experience is smooth, confident, and successful.
Q: Why is a cast iron skillet specifically recommended for cooking chicken thighs?
A: A cast iron skillet is highly recommended for chicken thighs due to its superior heat retention and even heat distribution. These qualities allow it to maintain a consistent high temperature, which is essential for creating that perfectly crispy skin and delivering a deep, flavorful sear. Additionally, its oven-safe nature provides the flexibility to seamlessly transition from stovetop searing to oven baking, ensuring the chicken cooks through without drying out.
Q: How can I prevent chicken thighs from sticking to the cast iron pan?
A: Preventing sticking involves a combination of best practices. Firstly, ensure your cast iron skillet is well-seasoned and thoroughly preheated before you begin cooking. Secondly, use an adequate amount of cooking fat, such as avocado oil, and allow it to get hot and shimmer before placing the chicken. Most importantly, resist the urge to move the chicken too soon. Let it sear undisturbed until a strong, golden-brown crust has formed; the chicken will naturally release itself from the pan once it’s truly ready to be flipped.
Q: Can I use boneless, skinless chicken thighs instead of bone-in for this recipe, and what adjustments are needed?
A: While bone-in, skin-on thighs are strongly preferred for their superior flavor, juiciness, and crispiness, boneless thighs can be used with specific modifications. If opting for boneless and skinless, you must skip the oven baking portion of the method entirely. Instead, sear them on the stovetop until they are fully cooked through (this will happen much faster), then proceed to make the pan sauce and return the cooked thighs to coat. Be aware that the texture and overall eating experience will differ significantly, with less crispiness and potentially reduced juiciness.
Q: What is the best way to ensure my chicken thighs are cooked through and safe to eat?
A: The most reliable and accurate method is to use an instant-read meat thermometer. Insert the thermometer into the thickest part of the chicken thigh, making sure to avoid touching the bone, which can give a false reading. Poultry is considered safely cooked when it reaches an internal temperature of 165°F (74°C). This ensures not only food safety but also optimal texture and juiciness.
Q: How do I store and reheat leftover cast iron chicken thighs to maintain their quality?
A: Store any leftover chicken thighs in an airtight container in the refrigerator for up to 3 to 4 days. To reheat and best preserve their crispy texture, we recommend using the oven. Place the chicken on a wire rack set over a baking sheet in an oven preheated to 350°F (175°C) and bake until heated through, typically 15-20 minutes, or until an internal temperature of 165°F (74°C) is reached. This method helps re-crisp the skin more effectively than microwaving.
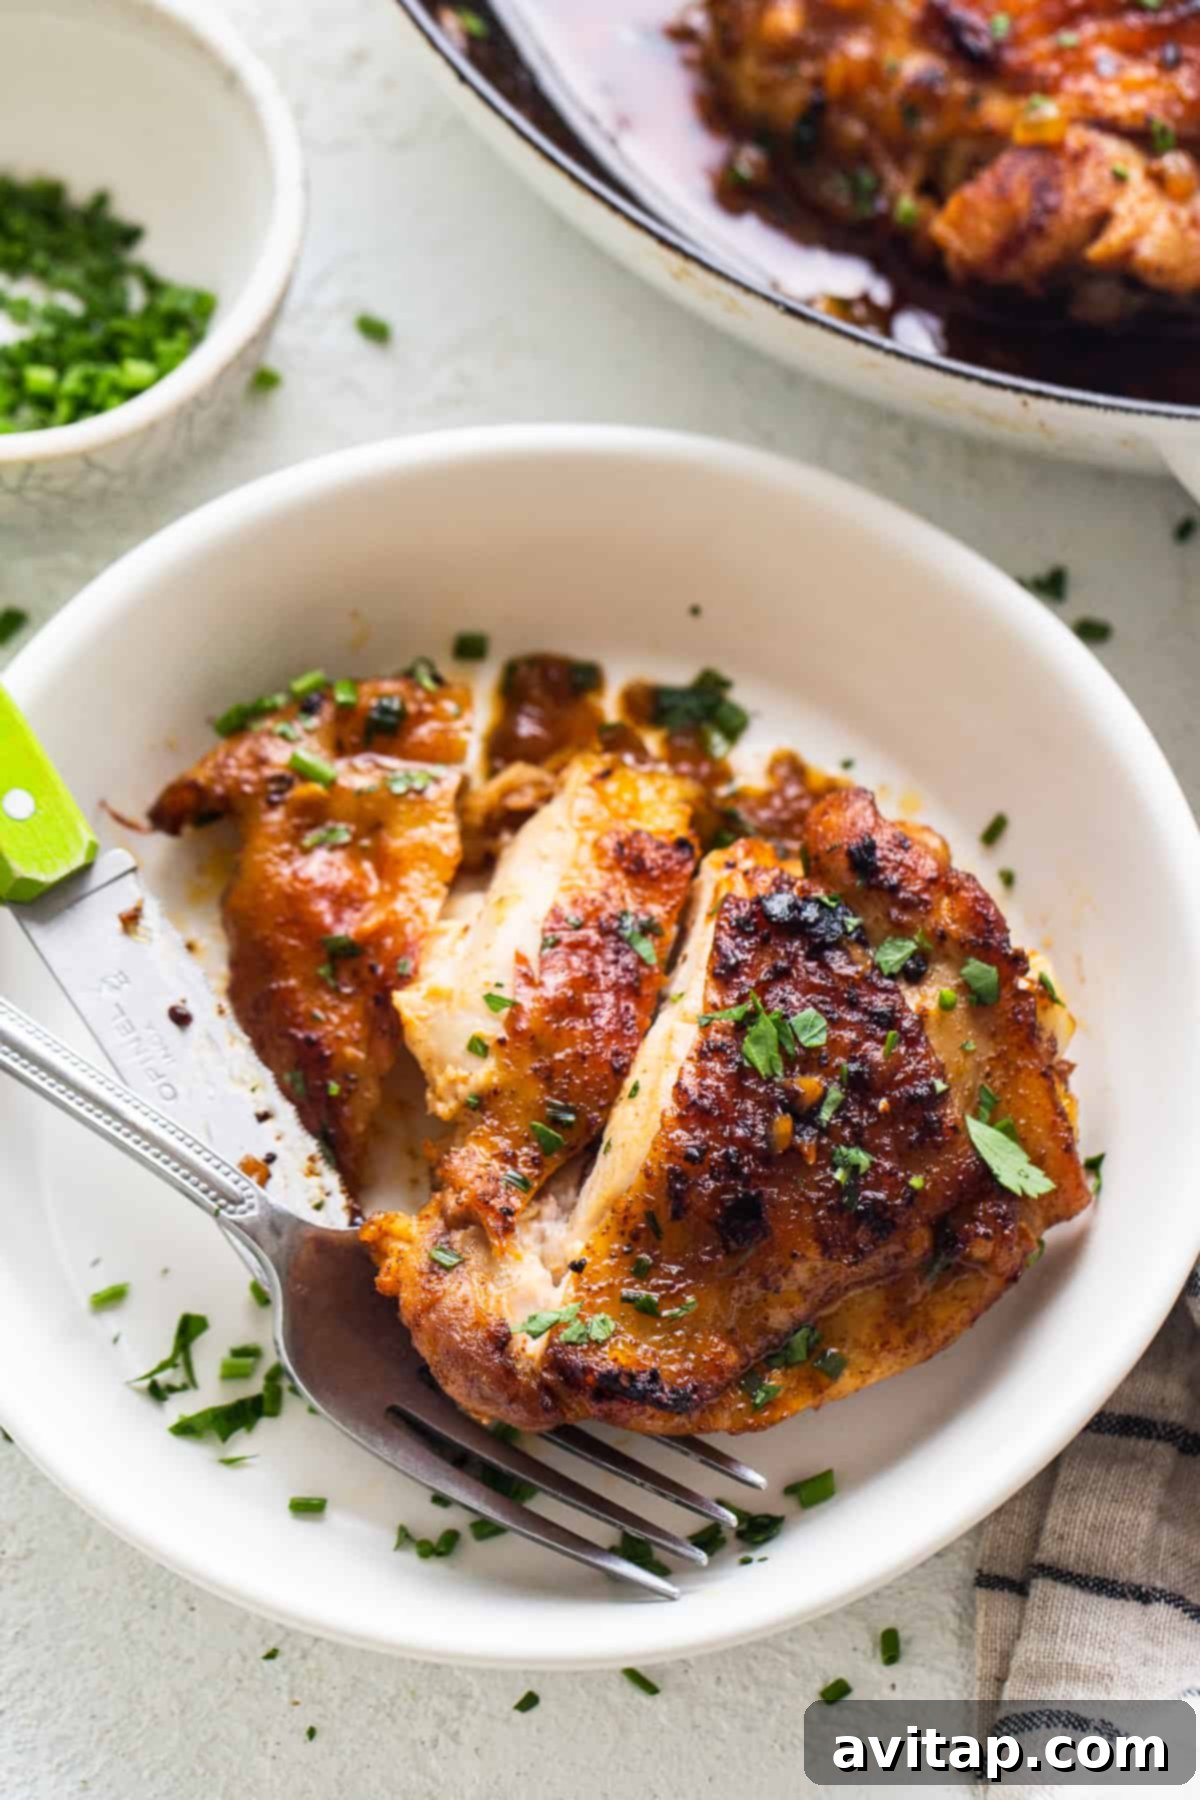
Storage and Reheating Your Crispy Chicken
To enjoy your delicious cast iron chicken thighs another day, proper storage is key to maintaining freshness and flavor. Store any leftover chicken in an airtight container in the refrigerator for up to 3 to 4 days. For the best quality and texture, we recommend consuming them within 2-3 days of cooking.
When it comes to reheating, you’ll want to take steps to preserve as much of that glorious crispy skin as possible. While a microwave will technically heat the chicken, it will almost certainly render the skin soggy. We highly recommend using your oven for the best reheating results:
- Preheat your oven to 350°F (175°C).
- For optimal re-crisping, place the chicken thighs on a wire rack set over a baking sheet. This allows air to circulate around the entire piece of chicken, helping the skin to regain some of its original crispiness.
- Bake for 15-20 minutes, or until the chicken is thoroughly heated through and reaches an internal temperature of 165°F (74°C). You’ll notice the skin becoming crispier during this process.
- Alternatively, you can gently reheat them in a cast iron skillet over medium-low heat on the stovetop, uncovered, until warmed through. This method also helps to re-crisp the skin.
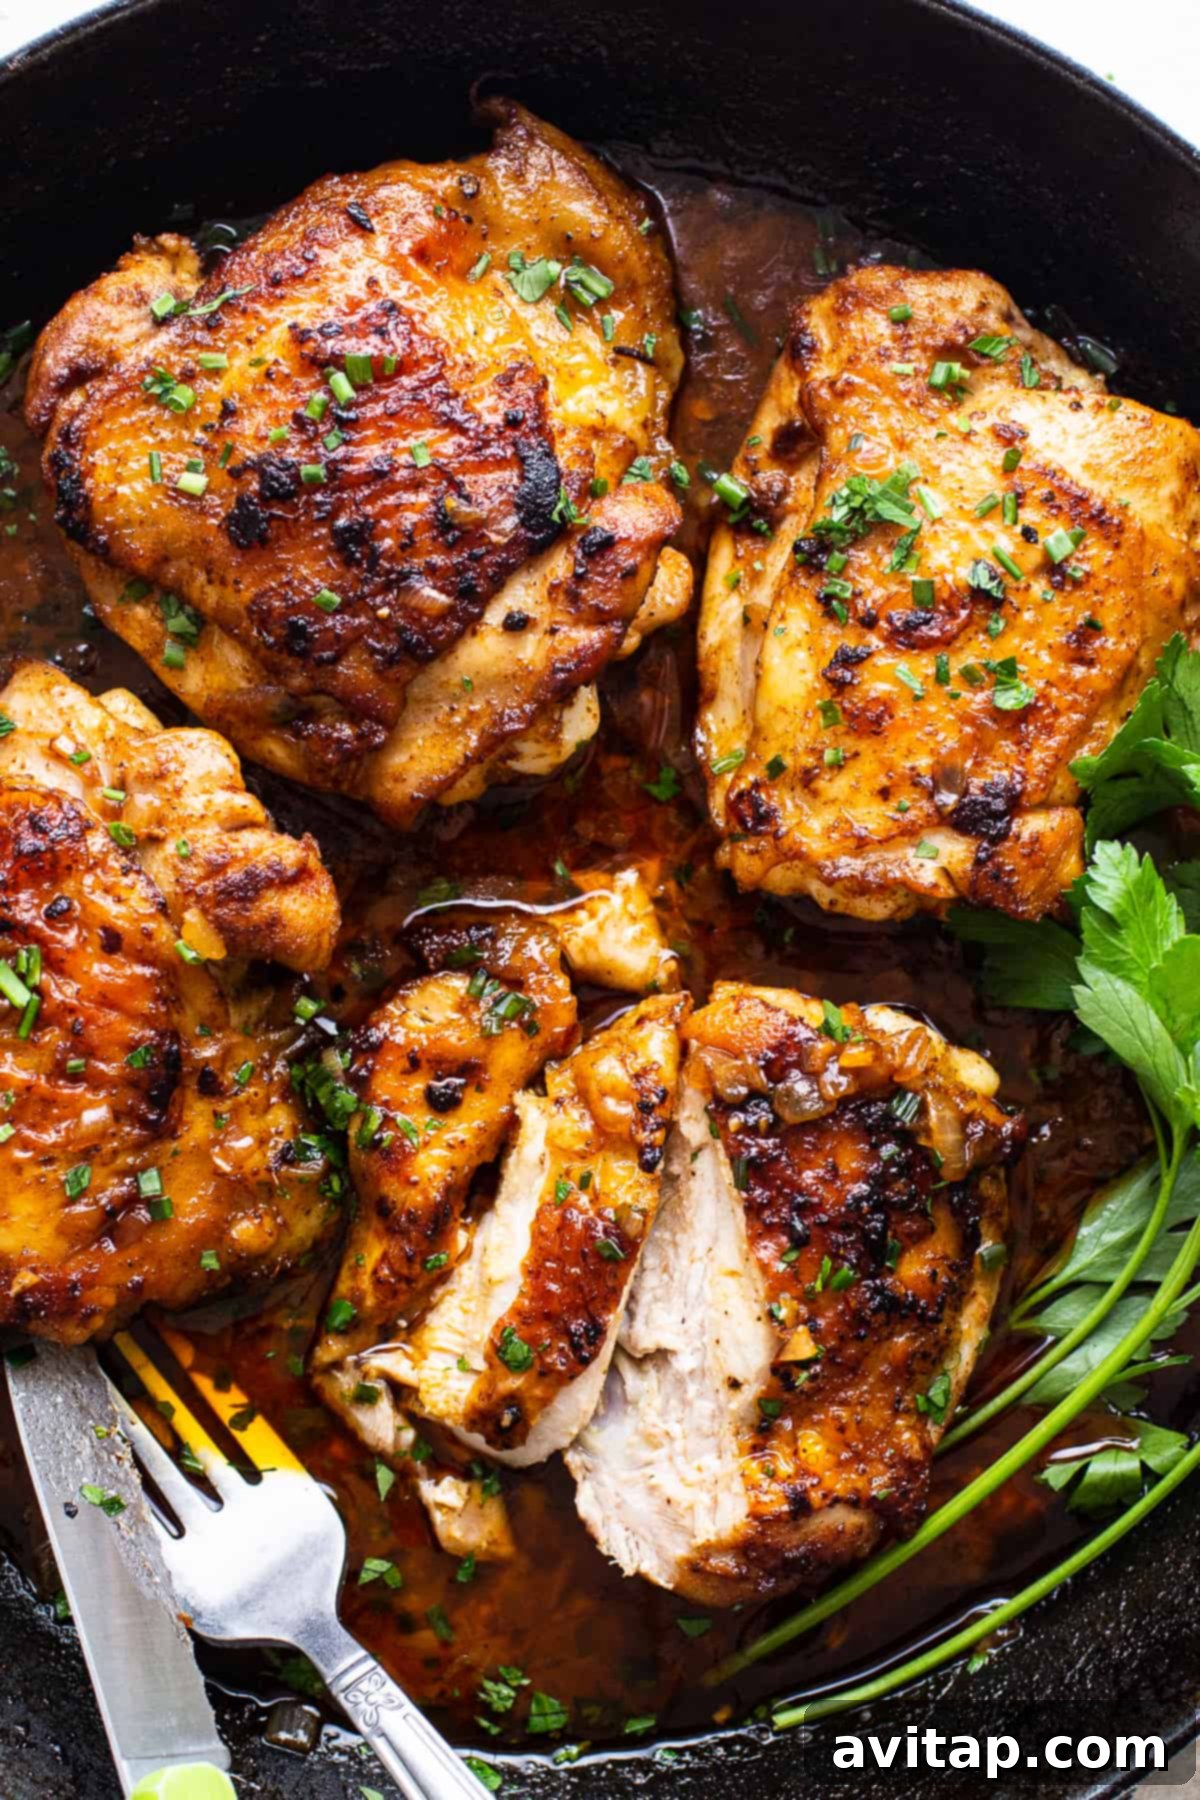
Perfect Pairings: Serving Suggestions for Cast Iron Chicken Thighs
These cast iron chicken thighs are so incredibly flavorful and satisfying that they can easily stand alone as the star of your meal. However, their rich, savory notes pair wonderfully with a diverse array of side dishes. Here are some ideas to help you create a perfectly balanced and delicious meal:
Hearty & Neutral Sides:
To beautifully balance the robust flavors of the chicken and soak up the delectable pan sauce, consider serving it with simple, comforting carbohydrate-rich sides:
- Creamy Sticky Rice or fluffy jasmine rice to absorb all the savory juices.
- Smooth and flavorful Mashed Sweet Potatoes or classic buttery mashed potatoes for an ultimate comforting touch.
- A simple green salad with a light vinaigrette to add a refreshing counterpoint and cut through the richness.
- Quinoa or couscous for a nutritious, absorbent, and slightly nutty grain option.
Complementary Flavors:
If you prefer to build upon the existing flavor profile with additional complexity, these sides offer fantastic synergy:
- Rich and creamy Butternut Squash Mac and Cheese for an indulgent, hearty, and harmoniously flavored pairing.
- Crisp Roasted Broccoli or asparagus, lightly seasoned with salt and pepper, to add a hint of delightful bitterness and varied texture.
- Savory Balsamic Sea Salt Roasted Brussels Sprouts for a tangy, earthy, and slightly sweet counterpoint that complements the chicken perfectly.
- Garlic green beans or a medley of roasted root vegetables like carrots and parsnips.
Lighter & Fresher Options:
For a lighter meal that still feels complete and satisfying, these pairings are excellent choices:
- Steamed seasonal vegetables such as zucchini, snap peas, or green beans, brightened with a squeeze of fresh lemon juice.
- A vibrant cucumber and tomato salad, tossed with a light herb dressing.
- Cauliflower rice or mashed cauliflower as a delicious low-carb alternative to traditional grains or potatoes.
No matter your preference, these crispy cast iron chicken thighs are sure to be a hit at your dinner table!
Crispy Cast Iron Chicken Thighs Recipe
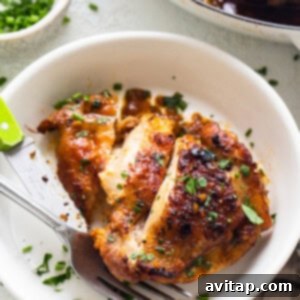
Savor the deliciously crispy texture of these cast iron chicken thighs, seasoned with a flavorful spice blend, then pan-seared and oven-baked to perfection in a rich buttery sauce with minced onion and garlic, all topped with fresh chives, for a dish that’s sure to impress and satisfy every palate.
Recipe by: Emily Richter
- Prep Time: 20 minutes
- Cook Time: 30 minutes
- Total Time: 50 minutes
- Servings: 4
Ingredients
- 1.5 lbs. bone-in, skin-on chicken thighs (~4 thighs)
- ½ tablespoon garlic powder
- 1 teaspoon coarse kosher salt
- 1 teaspoon light brown sugar
- ½ teaspoon ground black pepper
- 2 teaspoons ground paprika
- 2 tablespoons avocado oil
- 3 tablespoons unsalted butter
- ¼ medium white onion, minced
- 4 cloves garlic, minced
- ⅓ cup chicken broth
- 2 tablespoons fresh minced chives, for garnish
Instructions
- Preheat Oven: Begin by preheating your oven to 400ºF (200ºC). This ensures the oven is at the correct temperature when your chicken is ready to finish baking.
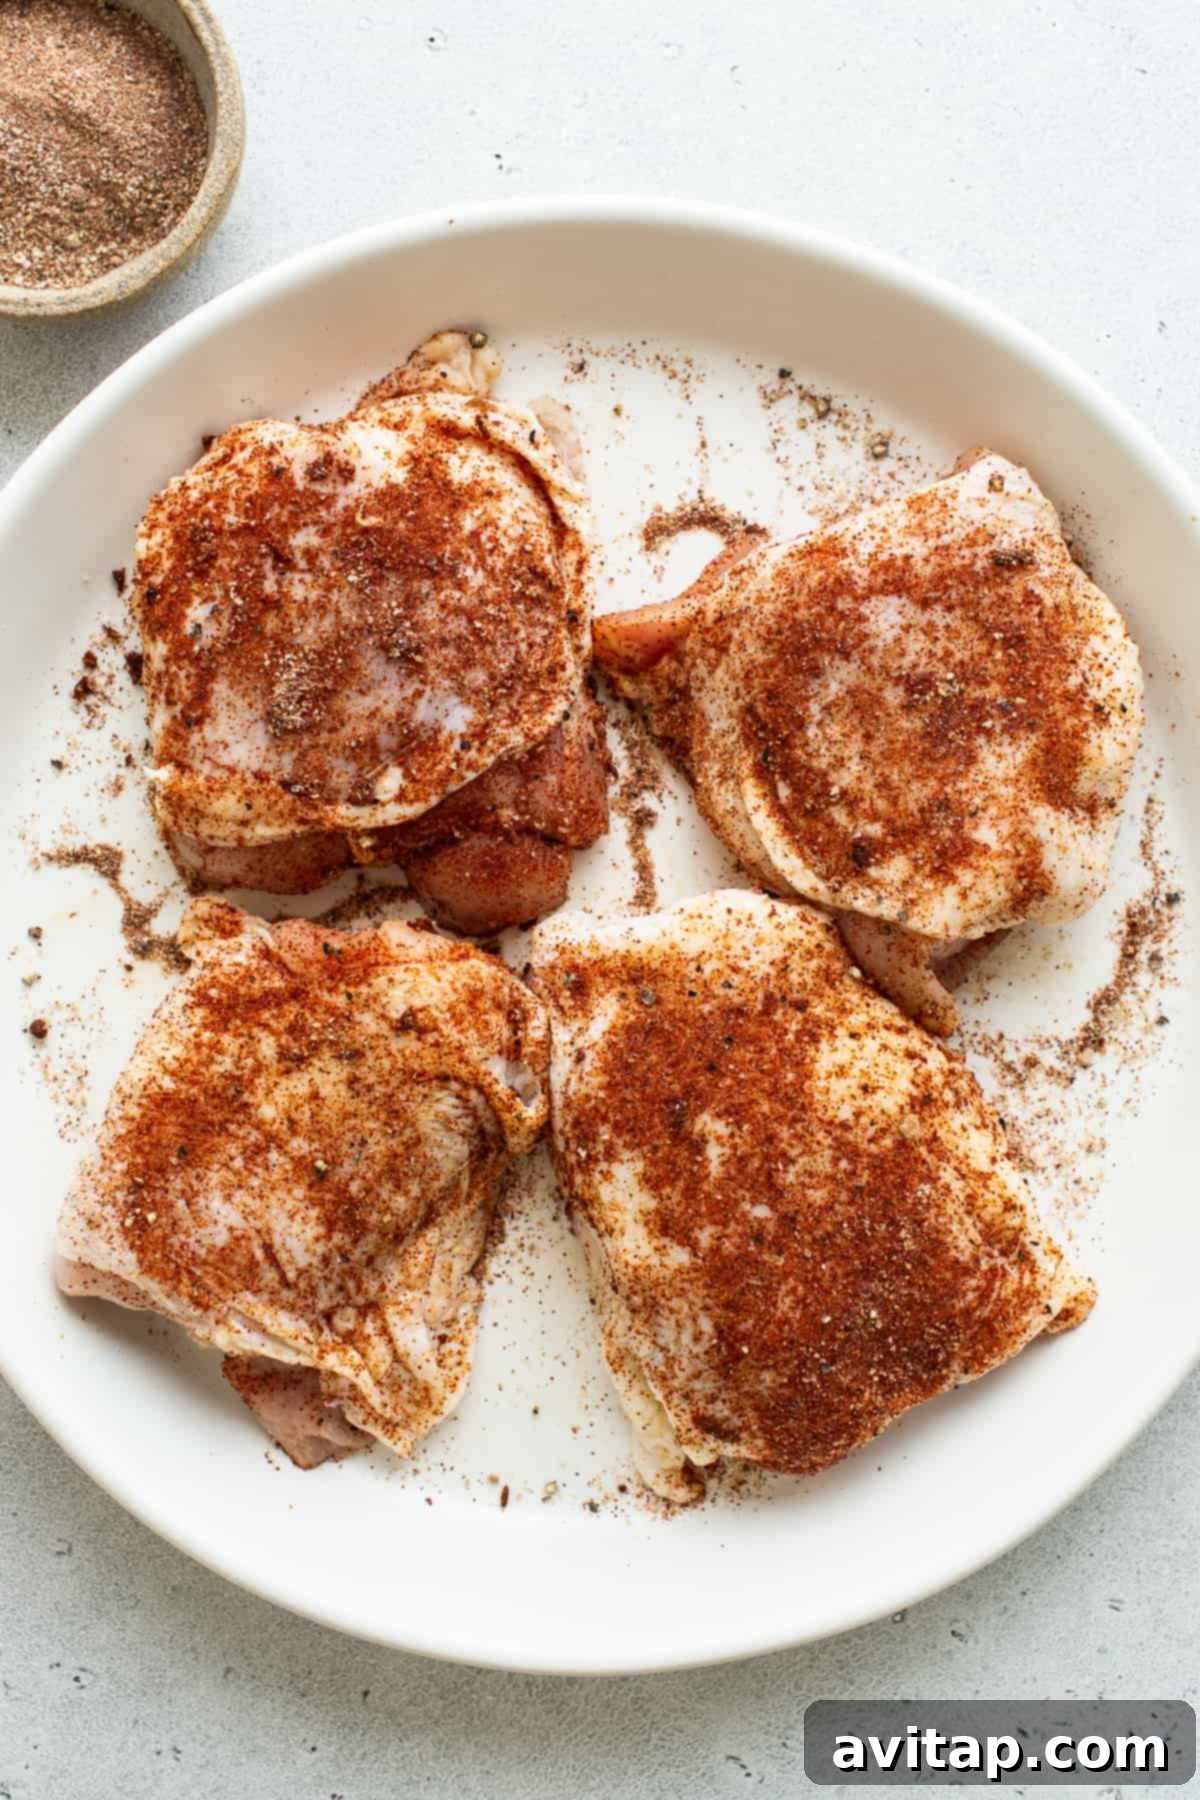
- Prepare Chicken & Seasoning: Thoroughly pat the chicken thighs dry with paper towels. In a small dish, combine the garlic powder, kosher salt, light brown sugar, black pepper, and paprika; mix these spices well to create your dry rub. Generously season both sides of the chicken thighs with this flavorful rub, pressing it firmly into the skin and flesh. Set the seasoned chicken aside to rest at room temperature for 10 minutes, allowing the seasoning to adhere and the chicken to lose its chill.

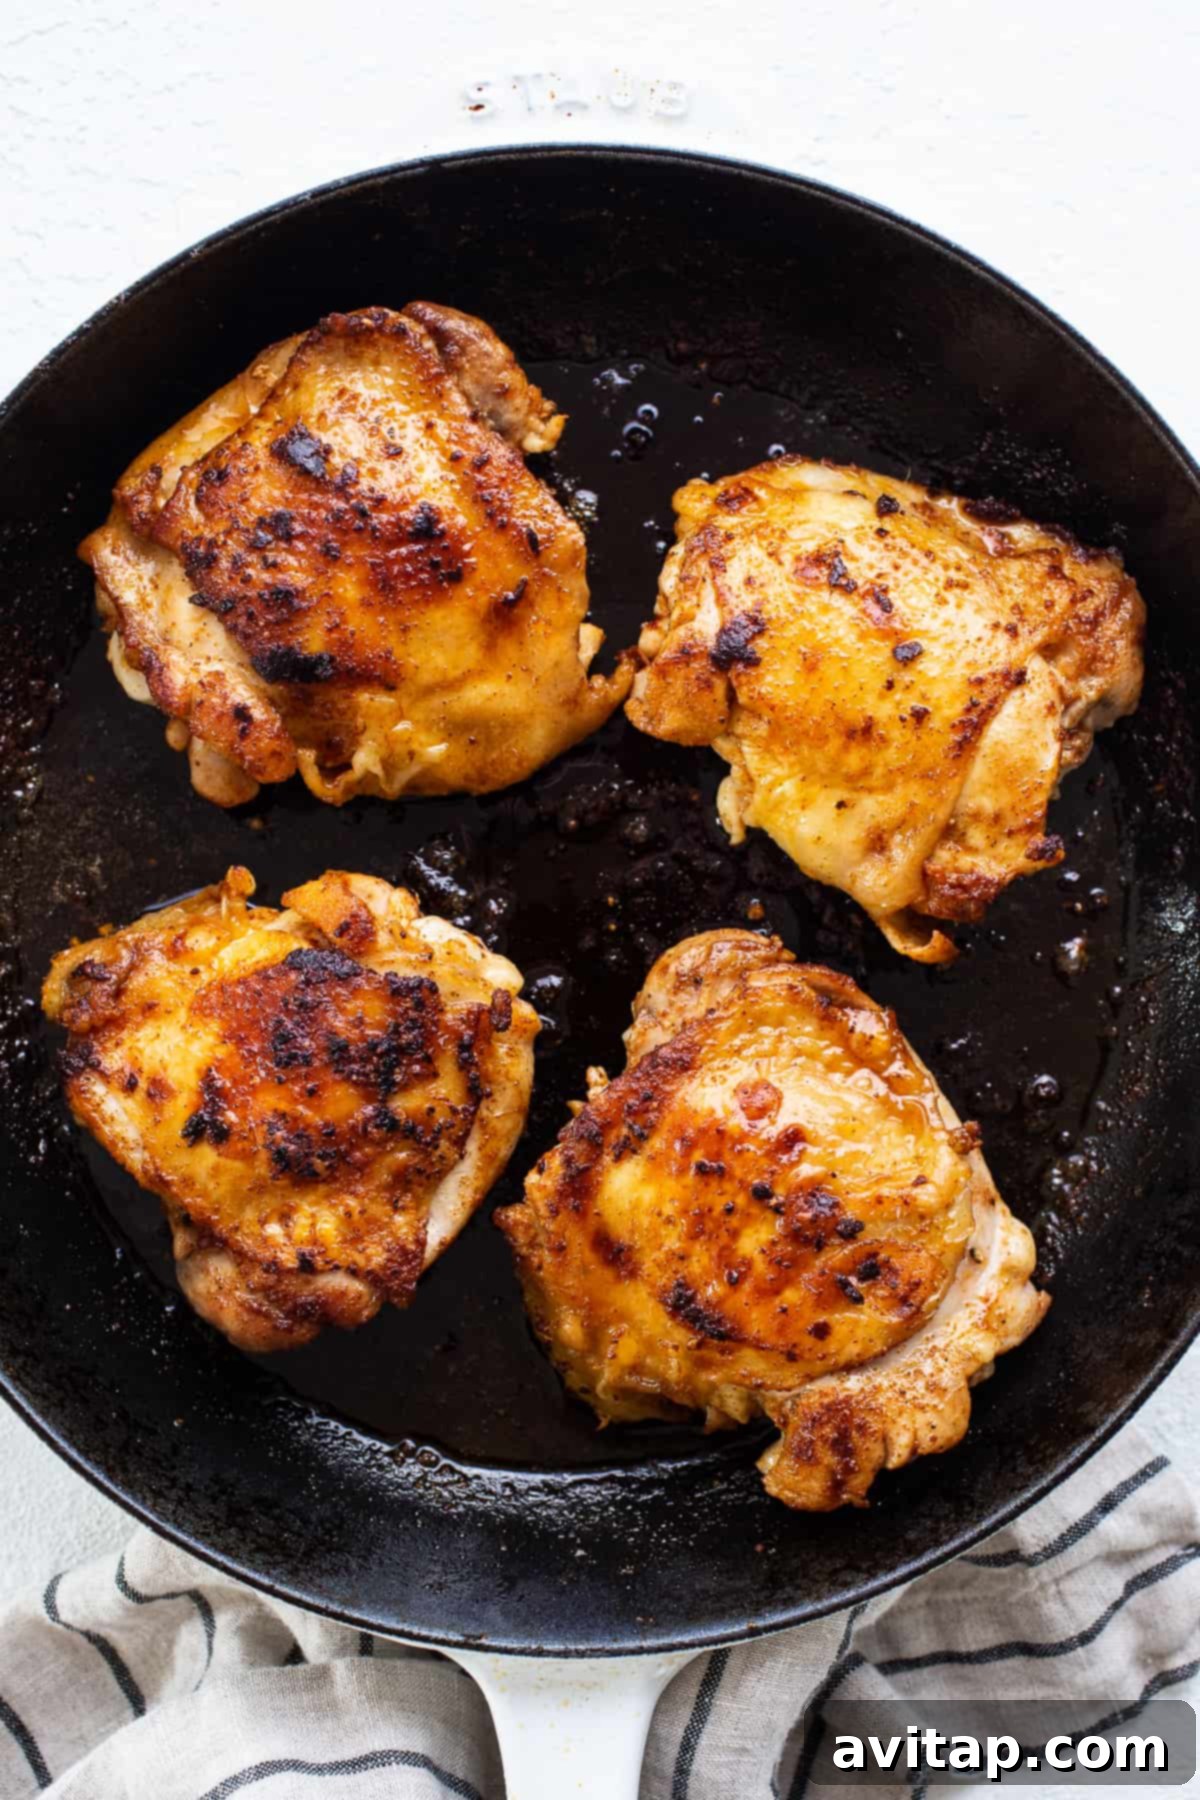
- Sear Skin-Side Down: Heat the avocado oil in a 10 or 12-inch cast iron skillet over high heat until it’s shimmering and just beginning to smoke. Carefully place the chicken thighs, skin-side down, into the hot skillet. Cook for 6-7 minutes without moving them, occasionally jostling with tongs just to ensure the skin isn’t sticking and is releasing naturally from the pan. This crucial step creates that beautiful, crispy, golden-brown crust.
- Flip & Briefly Sear: Using tongs, carefully flip the chicken thighs over and sear for an additional 2 minutes on the other side. At this point, the chicken will not be fully cooked through. Carefully remove the chicken from the pan and set it aside on a clean plate. Remove the cast iron skillet from the heat.
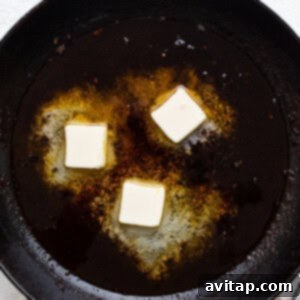
- Prepare Pan Sauce Base: Leave the flavorful chicken drippings in the pan – these are packed with taste! Return the skillet to medium-low heat and add the unsalted butter. Once the butter is melted and sizzling gently, add the minced white onion and sauté for 2-3 minutes until it becomes translucent and softened. Stir in the minced garlic and sauté for 1 more minute until it’s fragrant, being careful not to burn it.
- Deglaze & Simmer: Deglaze the pan by pouring in the chicken broth. Use a wooden spoon or spatula to stir well, scraping up all the delicious browned bits (fond) from the bottom of the skillet. These bits will dissolve into the broth, incorporating into your sauce and adding incredible depth of flavor. Bring the sauce to a gentle simmer.
- Finish in Oven: Transfer the seared chicken thighs back into the pan, nesting them skin-side up in the simmering sauce. Ensure the skin remains above the liquid to maintain its crispiness. Place the entire cast iron skillet into the preheated oven.
- Bake Until Cooked: Bake for 10-15 minutes, or until the internal temperature of the thickest part of the chicken (inserted into the meat, avoiding the bone) reaches a safe 165ºF (74ºC) on an instant-read thermometer.
- Rest & Coat: Carefully remove the skillet from the oven using oven mitts. Let the chicken rest for 5 minutes right in the pan. During this time, spoon the rich pan sauce over the chicken thighs a few times to thoroughly coat them and ensure maximum juiciness.
- Garnish & Serve: Garnish generously with fresh minced chives for a burst of freshness and color. Serve immediately with your favorite complementary side dishes and enjoy your perfectly crispy and juicy cast iron chicken thighs!


Tips & Notes for Success
- Room Temperature Chicken: Always ensure your chicken thighs are brought to room temperature before cooking to promote even searing and prevent sticking.
- Dry Skin is Key: Pat the chicken skin very dry with paper towels prior to seasoning for the absolute best, crackling-crispy skin.
- Boneless Thighs Alternative: If you must use boneless, skinless thighs, skip the oven portion. Sear on the stovetop until fully cooked, then make the sauce and return to coat. Adjust cooking times accordingly as they will cook much faster.
- Don’t Rush the Sear: Allow the chicken to sear undisturbed, skin-side down, until it naturally releases from the pan. This indicates a perfect crust has formed and it’s ready to flip.
Watch the Recipe
See how it’s done! Watch our step-by-step video for a visual guide to making these amazing cast iron chicken thighs, ensuring you master every technique:
Click here to watch the full recipe video for Crispy Cast Iron Chicken Thighs!
(This video demonstrates the entire cooking process from seasoning to serving, providing helpful visual cues.)
Nutrition Information (Approximate)
- Calories: 529 kcal
- Carbohydrates: 5 g
- Protein: 28 g
- Fat: 44 g
- Fiber: 1 g
- Sugar: 2 g
Nutrition information is automatically calculated and should be used as an approximation only. Individual results may vary significantly based on specific ingredient brands, exact measurements, and preparation methods.
We hope you absolutely love this recipe and that these crispy cast iron chicken thighs become a new favorite in your kitchen! Don’t forget to tag your culinary creations on social media with the hashtag #fitfoodiefinds – we’d absolutely love to see your delicious results and hear your feedback in the comments section below!