
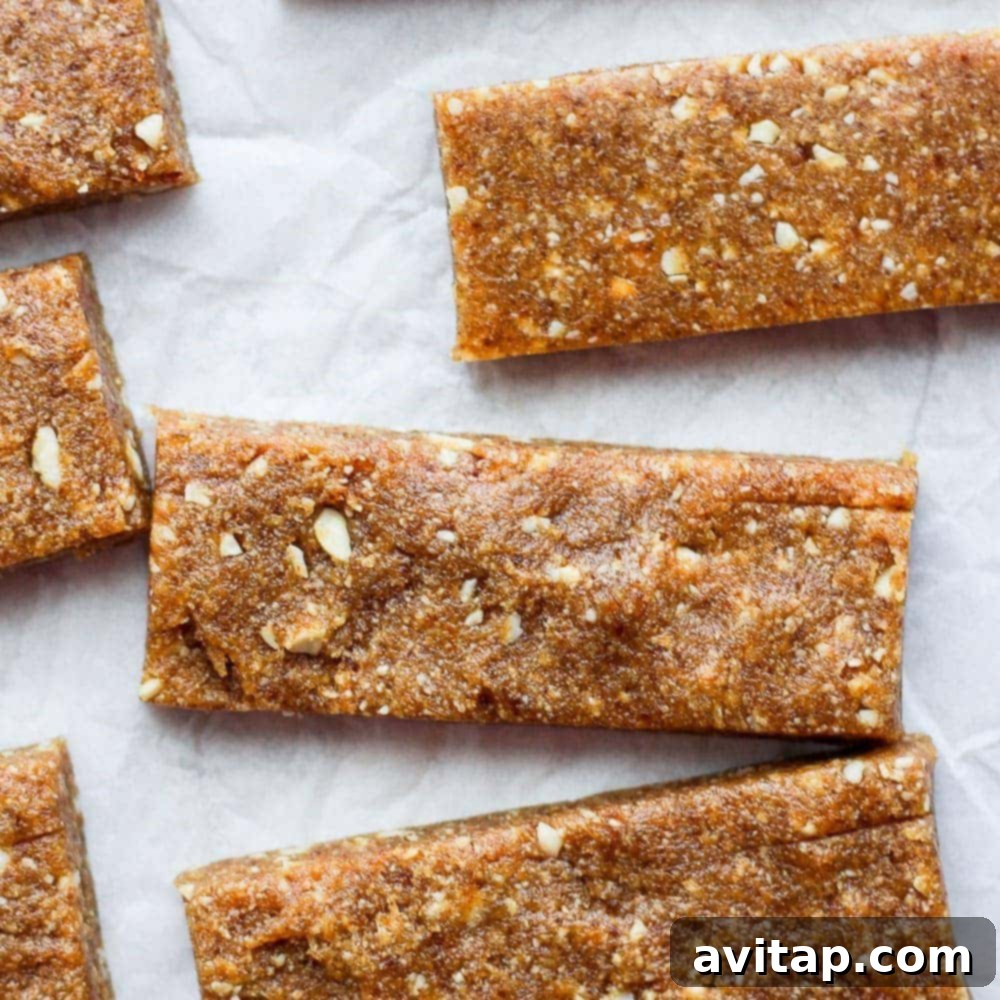
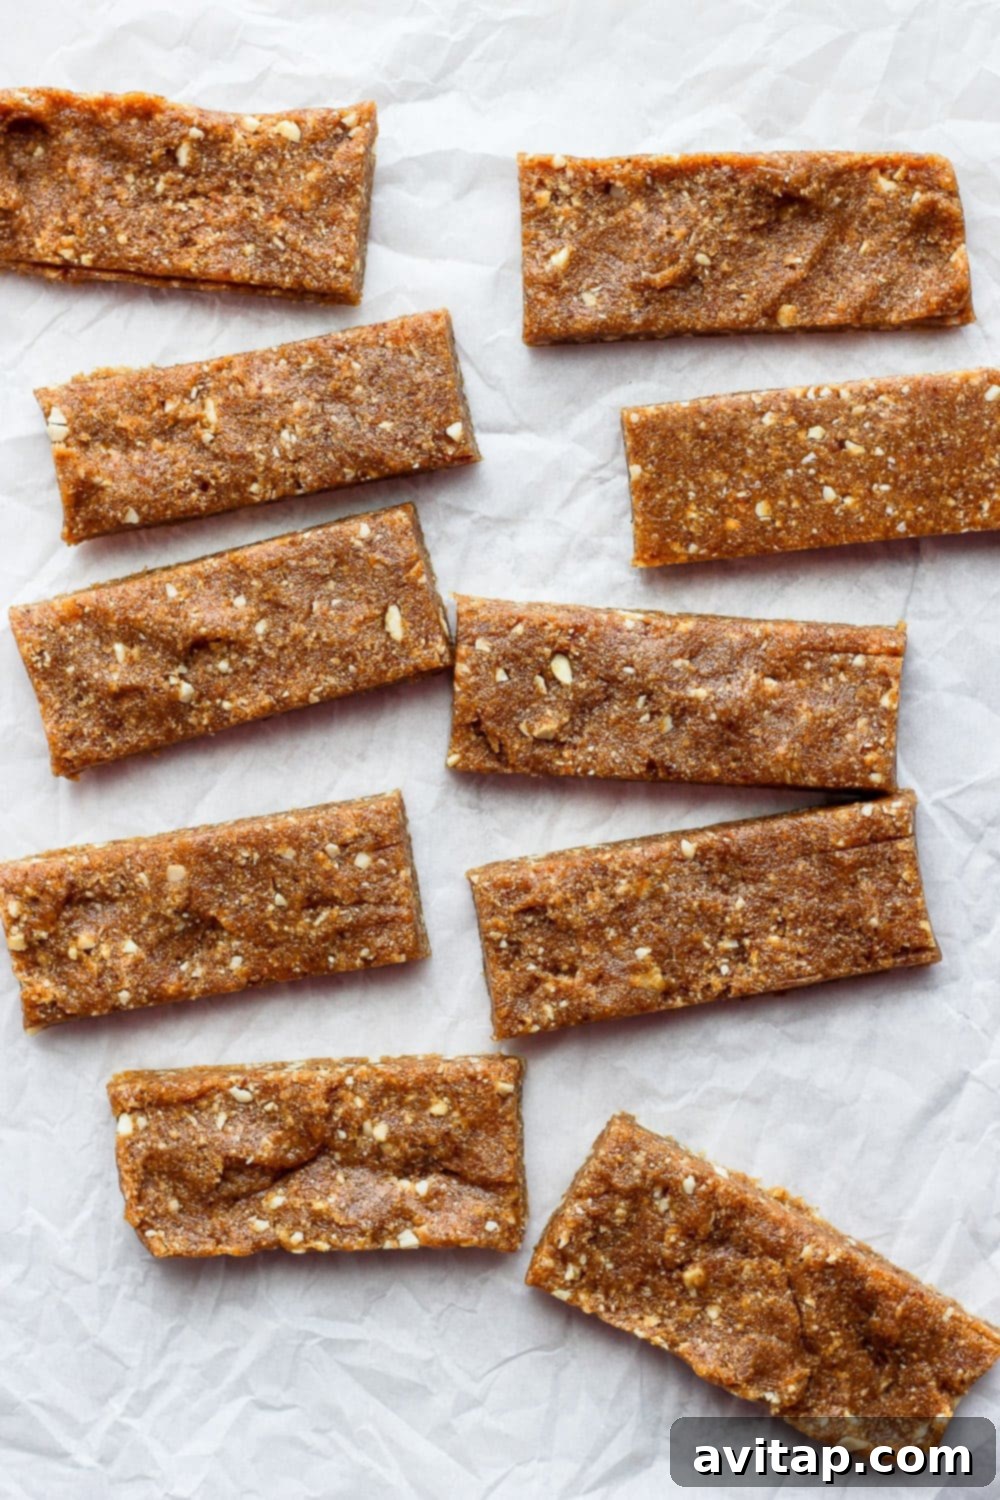
Crafting homemade snacks has never been easier or healthier! With just three simple, wholesome ingredients, you can create these delightful Copycat Cashew Cookie Larabars. These no-bake bars are not only grain-free, refined-sugar-free, and vegan, but also incredibly kid-friendly, making them the perfect energizing treat for anyone.
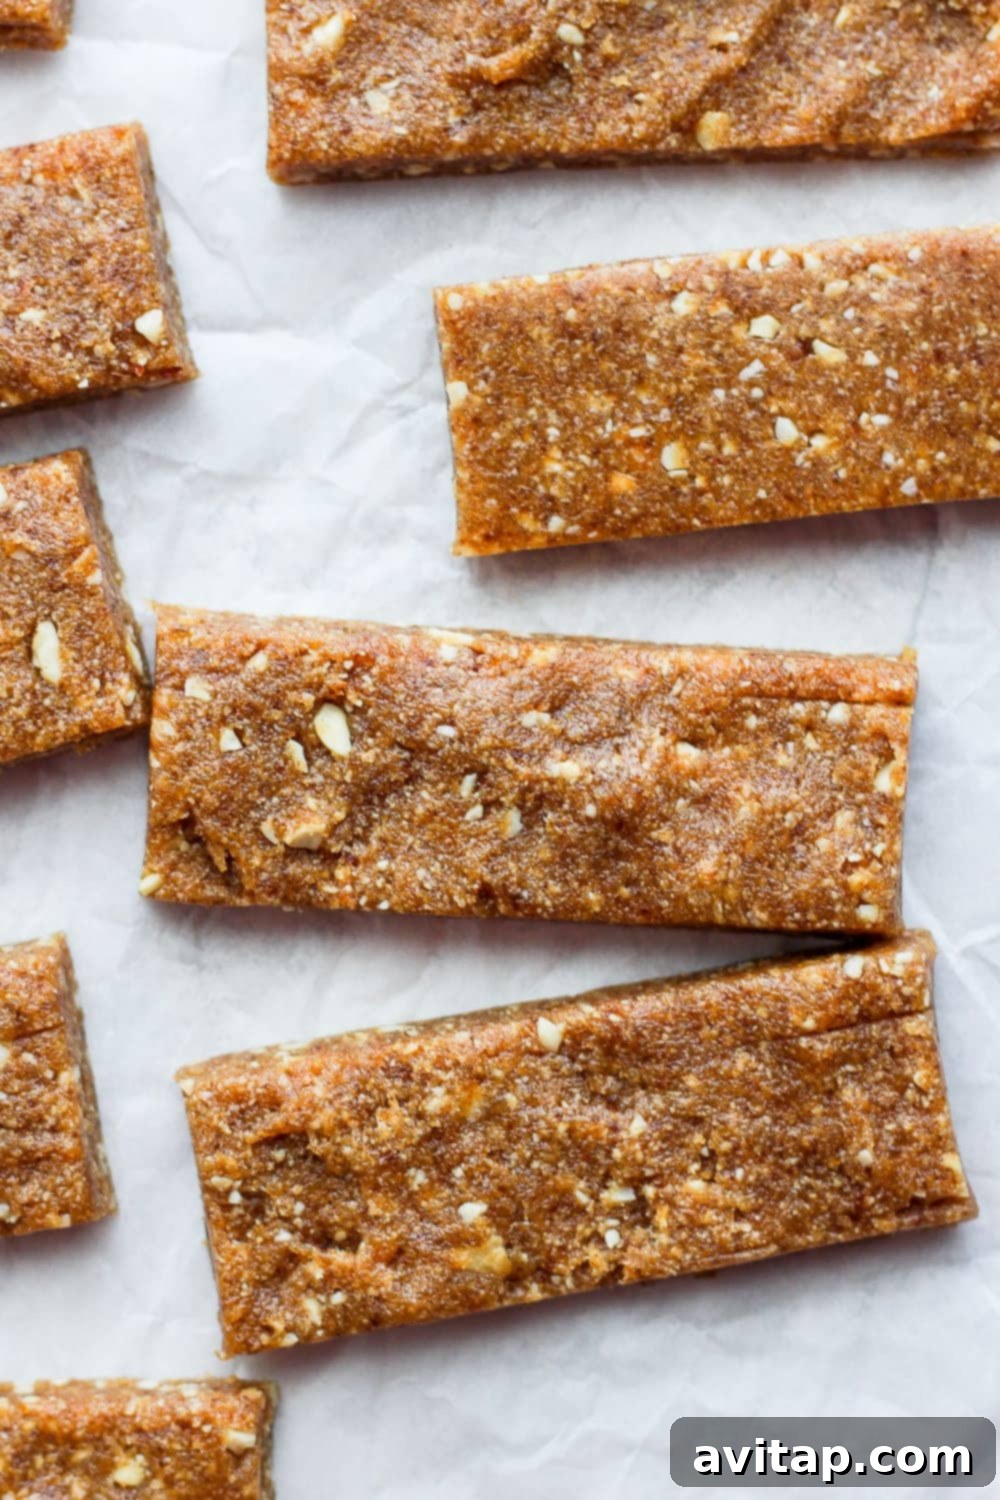
Your Ultimate On-the-Go Snack: Homemade Cashew Cookie Larabars
There’s something incredibly satisfying about having a reliable, healthy snack always within reach. These 3-Ingredient Cashew Date Bars, affectionately known as Copycat Cashew Cookie Larabars, transport me back to my college days. Back then, a Larabar was my backpack essential – a quick, wholesome energy boost made with simple ingredients. Among all the flavors, the Cashew Cookie Larabar always stood out as my absolute favorite. Its unique blend of sweet, chewy, and a perfect hint of salt was simply irresistible. Just thinking about them now, I can almost taste their deliciousness!
Recreating this beloved snack at home offers numerous advantages. You gain complete control over the quality and freshness of your ingredients, avoid unnecessary additives found in some store-bought versions, and often save money in the process. These homemade bars embody the same whole-food philosophy as their inspiration, making them a superb choice for a pre-workout fuel, an afternoon pick-me-up, or a satisfying treat anytime hunger strikes. They provide sustained energy without the sugar crash, thanks to their natural sweetness and healthy fats.
Explore More Healthy Snack Ideas!
Looking for more delicious ways to fuel your day? Dive into our extensive collection of healthy snack recipes and discover a world of nutritious and tasty options!
The Magic of Three: Essential Ingredients for Your Bars
The true genius of this recipe lies in its minimalist approach. You only need three incredibly simple ingredients to create these wonderfully chewy and satisfying bars:
- Medjool Dates: These luscious, naturally sweet fruits form the sticky base that holds your bars together. Medjool dates are renowned for their caramel-like flavor and soft, chewy texture, making them the perfect natural binder and sweetener. The most crucial tip for this recipe is to ensure your dates are as fresh and soft as possible. Soft dates will blend easily, creating a smooth, cohesive “dough.” If your dates feel a bit firm, a quick soak in warm water for about 10-15 minutes can work wonders, just be sure to drain them thoroughly before use. They also pack a punch of fiber and essential minerals, contributing to the bars’ nutritional value.
- Cashews: Our star nut! Cashews contribute a rich, buttery flavor and a creamy texture when processed. They’re not just delicious; cashews are also packed with healthy monounsaturated fats, protein, and essential minerals like magnesium and zinc. These healthy fats help keep you feeling full and satisfied, making these bars an excellent choice for sustained energy. We’ll be using them both finely ground and in small pieces for a delightful textural contrast.
- Coarse Salt: Don’t underestimate the power of a pinch of salt! Coarse salt is essential here, as it beautifully balances the sweetness of the dates and enhances the nutty flavor of the cashews. That classic sweet and salty combination is what truly elevates these bars from good to absolutely addictive. A good quality sea salt or Himalayan pink salt will make a noticeable difference.
That’s it! Just these three power-packed ingredients come together to create a snack that rivals any store-bought version in flavor and nutrition.
Customization Corner: Easy Swaps & Creative Add-Ins
While the beauty of this recipe lies in its simplicity, it’s also incredibly versatile. Since we’re working with just three core ingredients, add-ins and swaps are your best friends for personalizing these bars to your taste and dietary needs. Think of these as a blank canvas waiting for your creative touch:
Nut Varieties – Feeling adventurous? You can easily substitute cashews with almost any raw nut in this recipe. Each nut will impart its unique flavor profile, allowing for endless variations:
- Peanuts: For a delicious, classic peanut butter cookie flavor.
- Walnuts: Offer a slightly more earthy taste and a boost of omega-3 fatty acids.
- Pecans: Provide a rich, buttery depth that pairs wonderfully with dates.
- Almonds: A versatile choice that offers a subtle sweetness and crunch.
- Mixed Nuts: Combine different nuts for a complex flavor and nutritional profile.
Flavorful Add-Ins – These are where you can truly make these bars your own. A small amount goes a long way in transforming the basic cashew cookie flavor:
- Chocolate Chips: Mini chocolate chips or finely chopped dark chocolate pieces can be folded in for a decadent touch.
- Chia Seeds: Boost the fiber and omega-3 content, adding a slight textural pop.
- Hemp Seeds: Another excellent source of healthy fats and protein, with a mild, nutty flavor.
- Sunflower Seeds: A great option for those with nut allergies or simply for a different nutty flavor.
- Shredded Coconut: Unsweetened shredded coconut adds a tropical note and chewy texture.
- Vanilla Extract: Just a teaspoon can enhance the “cookie” flavor significantly.
- Cinnamon or Cardamom: Warm spices add depth and aroma, especially lovely in the colder months.
- Cocoa Powder: A tablespoon or two of unsweetened cocoa powder can transform these into a delicious chocolate cashew bar.
- Protein Powder: For an extra protein boost, a scoop of your favorite unflavored or vanilla protein powder can be mixed in. You might need a tiny bit more liquid if the mixture becomes too dry.
- Dried Fruit Bits: A sprinkle of dried cranberries, cherries, or finely chopped apricots can add a fruity twist.
Experiment with these additions to find your perfect combination. Remember to keep the quantities moderate to maintain the ideal consistency of the bars.
Whip It Up: Effortless Assembly for Perfect Bars
One of the most appealing aspects of this recipe is its straightforward, no-fuss assembly. You don’t need to be a seasoned baker to master these bars. The entire process relies on the magic of your food processor:
- Prepare Your Pan: First, ensure you have an 8×8-inch square pan ready. Line it with parchment paper, leaving an overhang on the sides. This “sling” will make it incredibly easy to lift the finished bars out later. Set this aside.
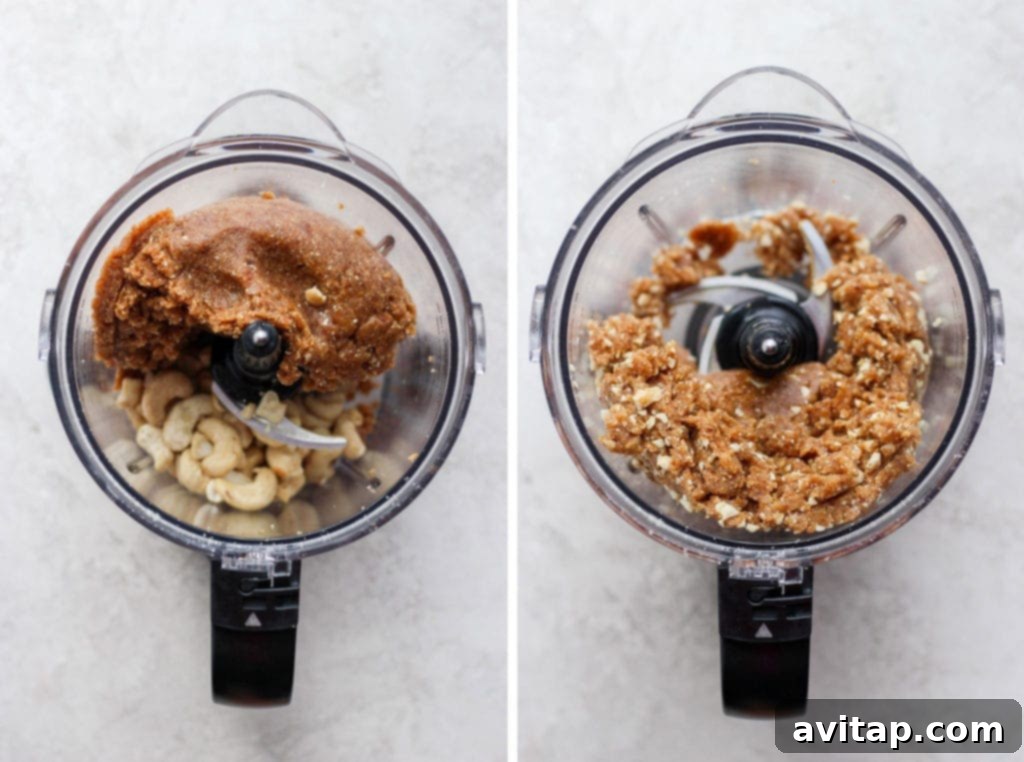
- Initial Cashew Grind: Begin by placing 1 cup of the raw cashews into a high-speed food processor. Pulse them on high until they are finely ground into a coarse meal or crumbs. This initial grind creates the foundational texture for your bars.
- Date & Dough Formation: Next, add the pitted Medjool dates to the food processor with the ground cashews. Blend this mixture on high for about 3 to 4 minutes. During this time, the dates will gradually break down and combine with the cashews, transforming into a sticky, uniform “dough.” You’ll likely need to pause the food processor a couple of times and use a spatula to scrape down the sides, ensuring all ingredients are thoroughly incorporated. The goal is a consistency that resembles thick cookie dough.
- Textural Cashew & Salt Integration: Once your primary dough is formed, add the remaining 1/2 cup of cashews and the coarse salt to the food processor. Pulse the mixture a few times until these cashews are broken into small, discernible pieces. This step is key to adding a wonderful textural contrast and an extra layer of nutty flavor to each bite. After this, your dough should be well-blended and have that perfect, pliable cookie dough-like consistency.
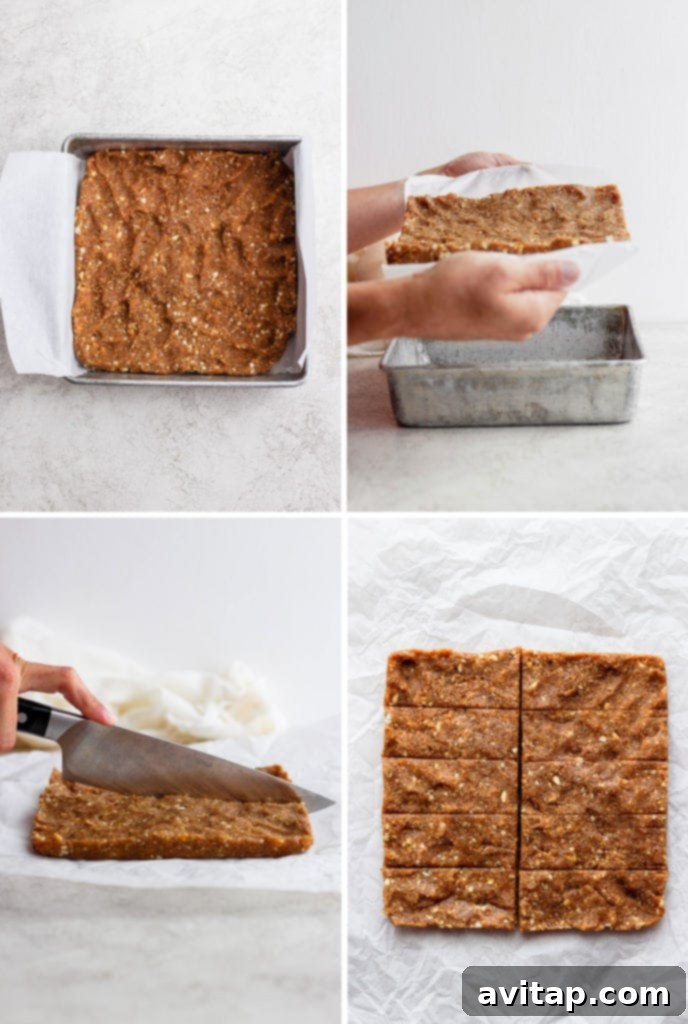
- Press into Pan: Gather the entire dough mixture into a large ball and place it into your prepared 8×8-inch pan. Using your fingers or a spatula, firmly press the dough evenly into the bottom of the pan. Aim for a compact and level surface to ensure uniform bar thickness.
- Chill to Set: Transfer the pan to the freezer and let the bars chill for approximately 20-30 minutes. This crucial step helps the bars firm up, making them much easier to slice neatly and giving them that satisfying, dense texture.
- Slice and Enjoy: Once set, remove the pan from the freezer. Use the parchment paper overhang to lift the entire slab of bars out onto a cutting board. With a sharp knife, carefully cut the slab into 10 evenly sized bars. Now, they’re ready to be enjoyed!
- Store Remaining Bars: Place any leftover bars into an airtight container and store them as recommended below to maintain freshness.
Troubleshooting: When Your Dough Isn’t Perfect
Even with simple recipes, sometimes you might encounter a minor hiccup. Here are solutions for common issues:
Dough Not Sticking or Too Dry? This is almost always due to dates that weren’t fresh or soft enough. If your dates were a bit firm to begin with, the dough might struggle to come together. To fix this, simply add water, one teaspoon at a time, to the food processor while pulsing. Continue until the mixture softens and forms a cohesive, malleable dough. It truly is as easy as adjusting a little at a time until you reach perfection.
Dough Too Wet or Oily? If your dough feels overly sticky or oily, it might be that your dates were exceptionally moist, or perhaps you added a bit too much liquid. The easiest fix here is to add a tablespoon of additional raw cashews (or another nut of your choice) to the food processor and pulse until incorporated. This will help absorb the excess moisture. You can also try a tablespoon of oat flour or shredded coconut as an alternative. Continue adding small amounts until the dough reaches the desired cookie-dough consistency.
Keeping Your Larabars Fresh: Storage Tips
Proper storage is key to enjoying your homemade Larabars for as long as possible. Their no-bake nature makes them ideal for both refrigeration and freezing:
Refrigerator Storage: We highly recommend storing your finished bars in the refrigerator. After you’ve sliced them into individual portions, arrange them in an airtight container. Stored this way, your Copycat Cashew Cookie Larabars will maintain their freshness, chewiness, and delightful flavor for up to two weeks. The cool temperature helps them retain their shape and prevents them from becoming too soft.
Freezer Storage: For an even longer shelf life, these bars freeze beautifully. You have a couple of options here:
- Individual Portions: For ultimate convenience, wrap each sliced bar tightly in plastic wrap or tin foil. Then, place the wrapped bars in an airtight freezer-safe container or bag. This allows you to grab a single bar whenever you need a quick snack without having to thaw the entire batch.
- Whole Batch: Alternatively, you can wrap the entire unsliced slab tightly in tin foil and freeze it. When you’re ready to enjoy them, simply thaw the whole batch slightly at room temperature, then slice and serve.
Frozen bars will last for up to three months, making them fantastic for meal prepping and ensuring you always have a healthy snack on hand. Plus, many people, myself included, find that these bars actually taste even better when enjoyed straight from the freezer! The chill enhances their dense, chewy texture, making them a delightful frozen treat. So, don’t hesitate to stock your freezer!
More of our Favorite…
Delicious No-Bake Bar Recipes You’ll Love
If you’re a fan of easy, no-bake treats, you’re in for a treat! Explore some of our other popular recipes:
- Homemade Peanut Butter Chocolate Chip Larabars
- No-Bake Chocolate Coconut Energy Bars
- Satisfying Peanut Butter Protein Bars
Copycat Cashew Cookie Larabar Recipe
Lee Funke
45 mins
0 mins
45 mins
10
Print Recipe
Ingredients
- 30 pitted Medjool dates
- 1.5 cups raw cashews, divided
- 1/8 teaspoon coarse salt
Instructions
-
First, line an 8×8-inch pan with parchment paper, leaving an overhang on the sides. Set aside.
-
Place 1 cup of the cashews into a high-speed food processor and pulse on high until the cashews are ground up into crumbs.
-
Then, add the pitted Medjool dates to the food processor and blend for 3 to 4 minutes on high until the dates become pureed and your dough is formed. You may need to stop the food processor a couple of times to scrape down the sides with a spatula to ensure everything is well combined.
-
Add the last 1/2 cup of cashews and the salt to the food processor and pulse until the cashews are broken up into small pieces, creating a delightful texture. After everything is blended, the dough should look and feel like thick, pliable cookie dough.*
-
Next, form the dough into a large ball and place it into the lined 8×8-inch pan.
-
Press the dough ball down evenly into the pan with your hands or a spatula, ensuring it’s spread flat across the bottom.
-
Place the pan in the freezer for 20-30 minutes to allow the bars to firm up and set.
-
Remove the pan from the freezer. Use the parchment paper overhang to lift the entire slab of bars from the pan and place it on a cutting board.
-
Use a sharp knife to carefully cut the slab into 10 evenly sized bars.
-
Enjoy your fresh bars! Store any remaining bars in an airtight container in the refrigerator or freezer as recommended.
Tips & Notes
Nutrition Information (Approximate Per Serving)
Calories: 223 kcal
Carbohydrates: 55 g
Protein: 2 g
Fat: 2 g
Fiber: 5 g
Sugar: 48 g
Nutrition information is automatically calculated and should only be used as an approximation. Values may vary based on specific ingredients and preparation methods.

Love This Recipe? Share Your Thoughts Below!
Don’t forget to tag your posts on social media with the hashtag #fitfoodiefinds – we’d absolutely love to see your delicious creations!
As a final tip, I often prepare a large batch of these homemade Larabars and store them in the freezer. This is a habit I’ve adopted for many of my no-bake treats, like my Grain-Free Protein Peanut Butter Cookies and Brownie Cookie Dough Swirl Protein Balls. Freezing significantly extends their shelf life, ensuring I always have a healthy, convenient snack ready when cravings strike.
And honestly, I find they taste even better when enjoyed straight from the freezer! The texture becomes wonderfully firm and satisfyingly chewy, almost like a frozen dessert. Is that just me, or do you enjoy frozen treats too?
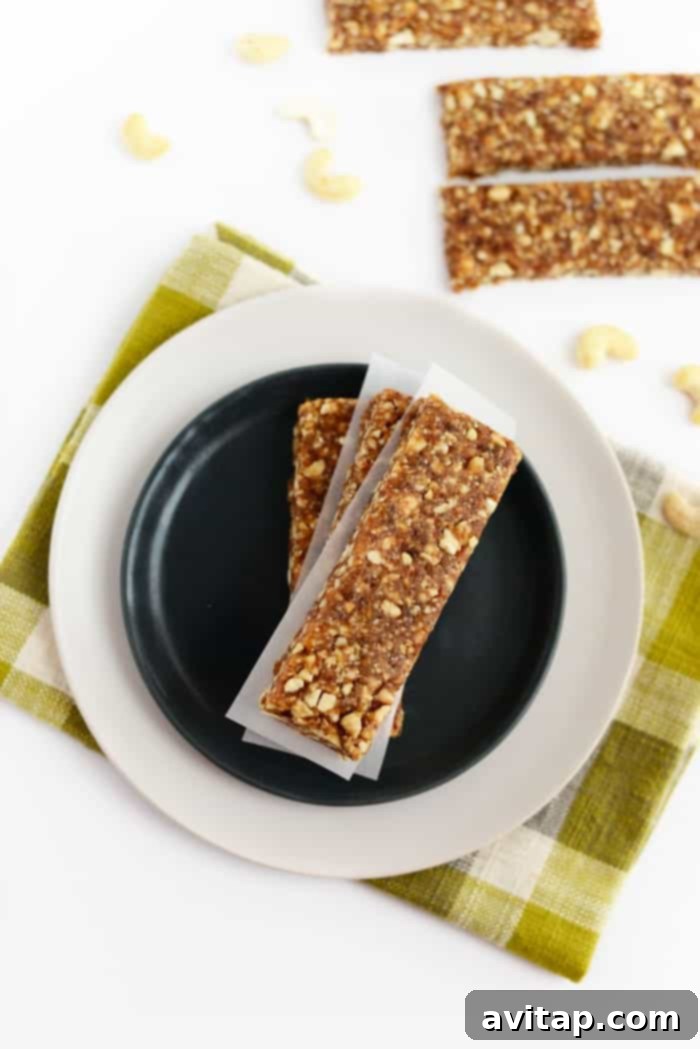
We hope you enjoy making and savoring these simple yet incredibly satisfying Copycat Cashew Cookie Larabars. They truly are a testament to how easy and delicious healthy eating can be. Give them a try and let us know what you think!
What’s your all-time favorite Lärabar flavor, or what variations would you add to this recipe? Share your ideas in the comments!