
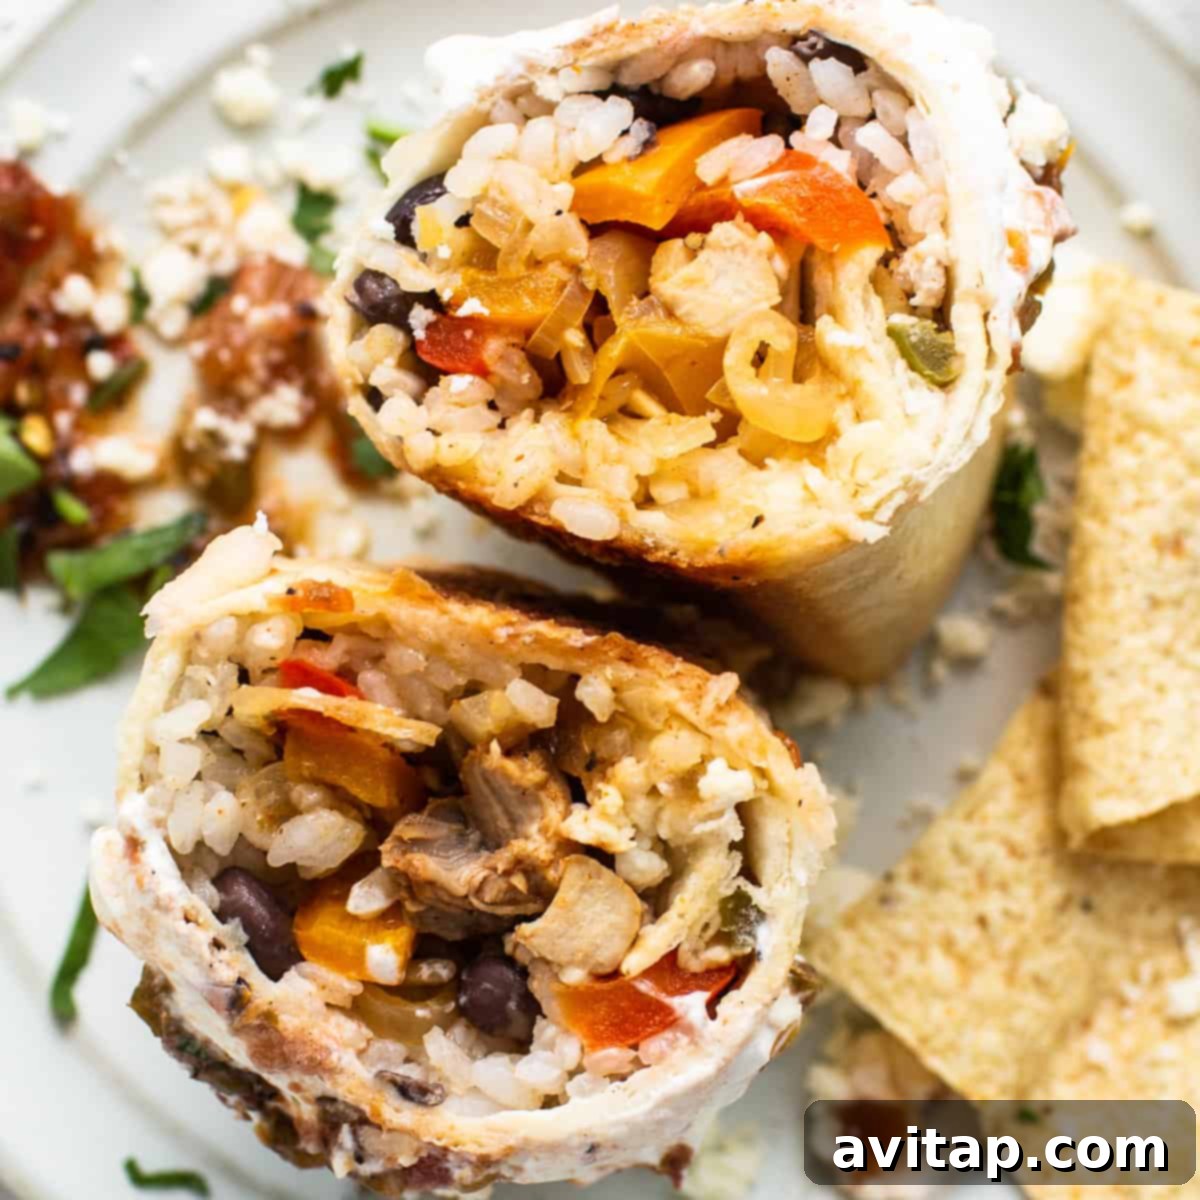
Easy & Delicious Chicken Fajita Burritos: Your Ultimate Meal Prep Solution
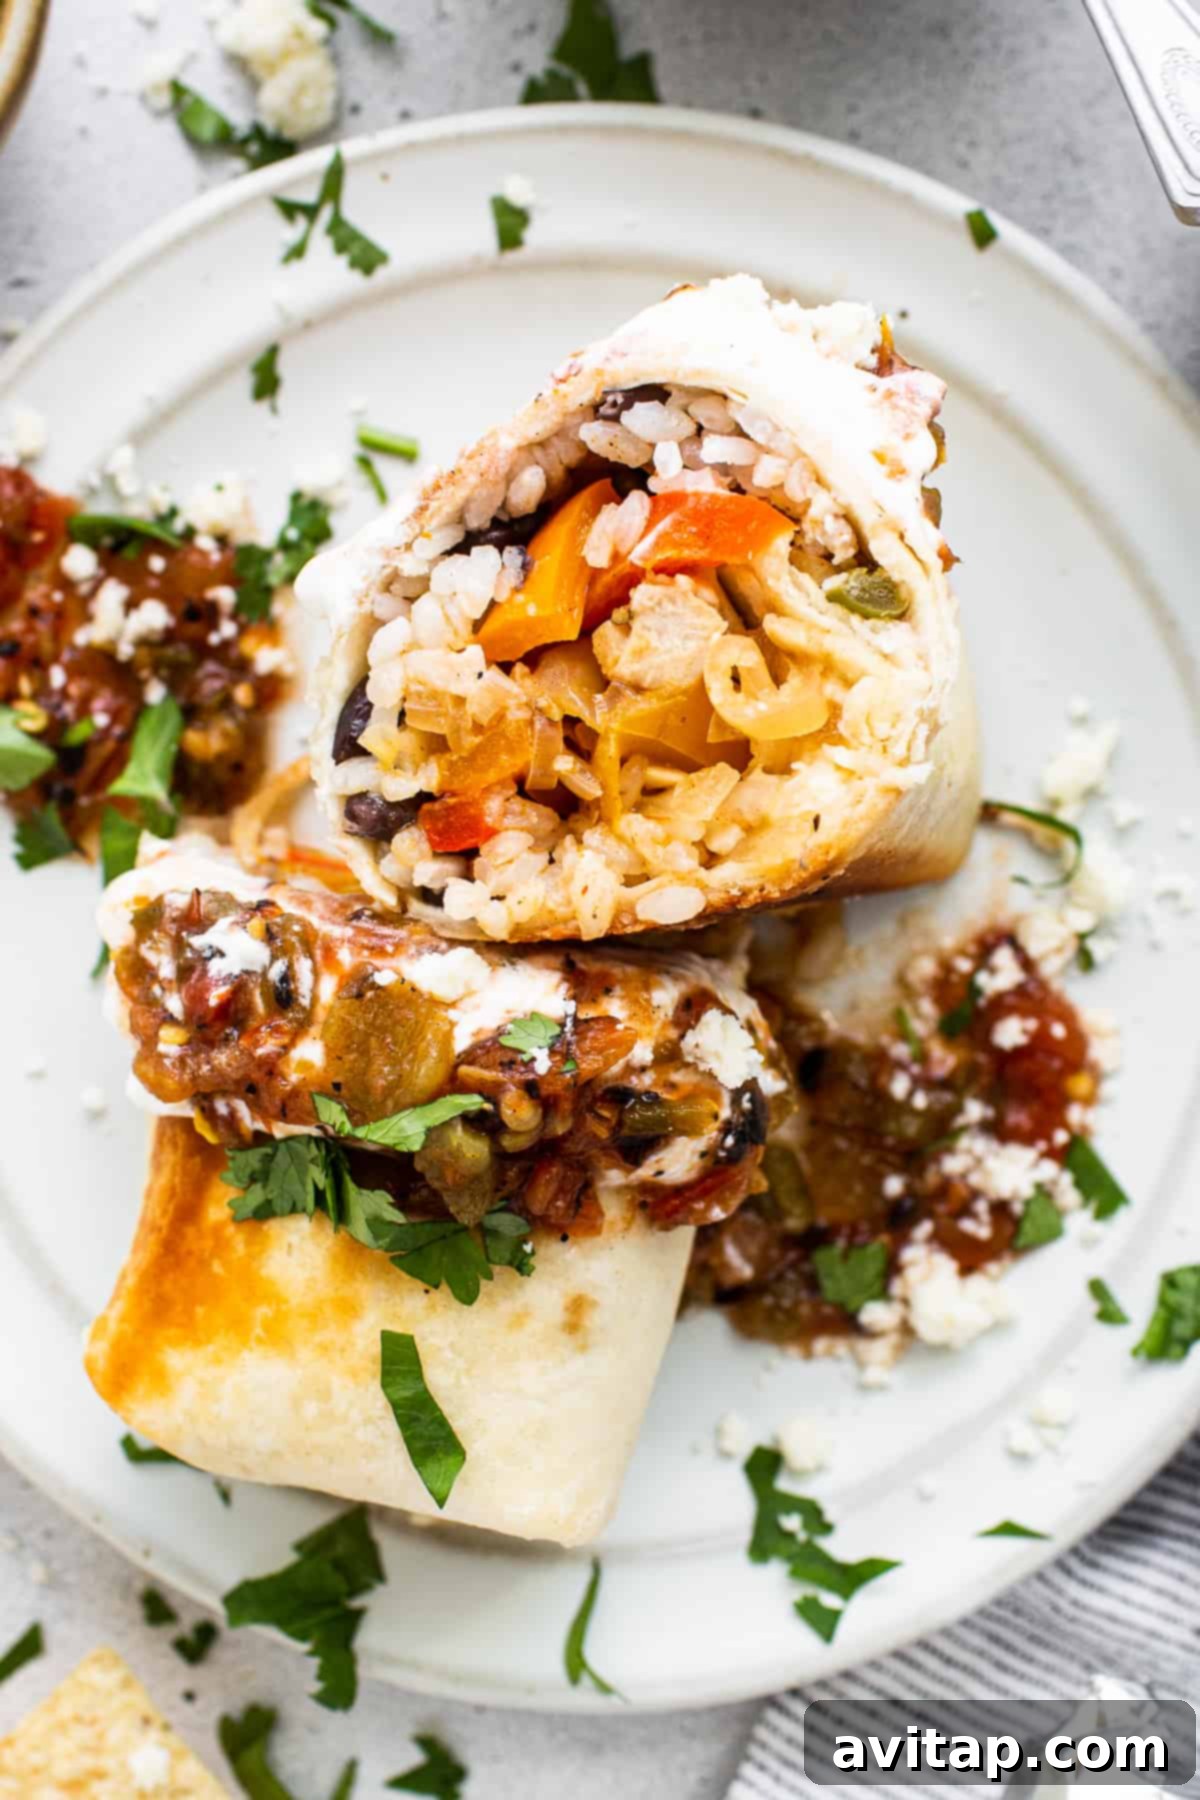
These incredibly satisfying chicken fajita burritos are a flavor powerhouse, brimming with tender, salsa-marinated chicken, perfectly seasoned fajita vegetables, hearty black beans, and fluffy rice. They’re not just delicious; they’re also incredibly versatile, making them an ideal choice for a quick weeknight dinner or a convenient, freezer-friendly meal prep solution.
Whether you’re looking to whip up a batch to enjoy fresh tonight or prepare a stash for future busy days, this recipe has you covered. Follow our simple steps to create burritos that are bursting with vibrant Tex-Mex flavors and designed for ultimate convenience.
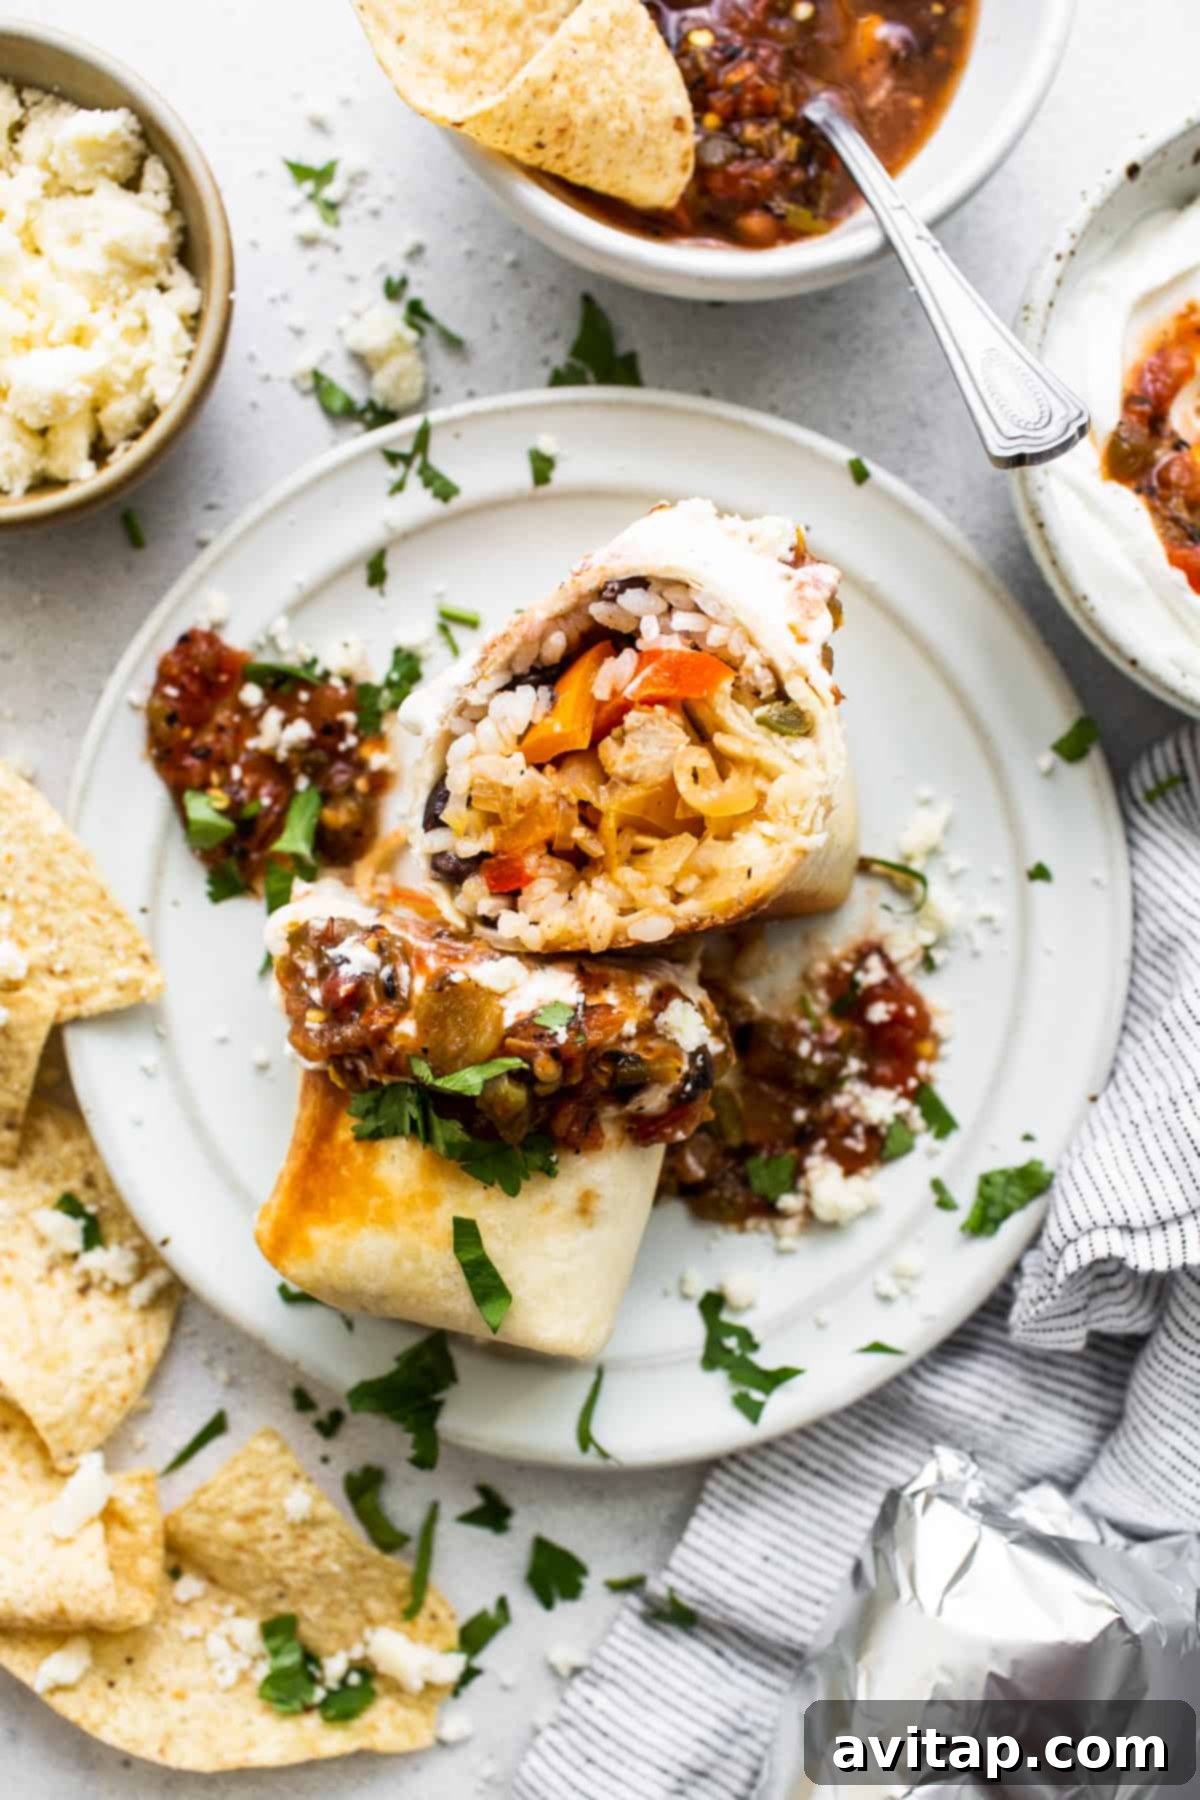
Why These Chicken Fajita Burritos Are a Must-Try
Burritos stand out as one of the most effective and gratifying meal prep recipes, and these chicken fajita burritos elevate the concept even further. They’re a true lifesaver for anyone navigating a hectic schedule, from new parents to busy professionals, or simply for those evenings when dinner plans are nowhere in sight. They expertly combine all the beloved elements of classic fajitas and neatly wrap them into a portable, flavorful package that’s equally delightful eaten fresh or saved for later.
Irresistible Reasons to Love Them!
Unbeatable Flavor: The rich, spiced flavors of these homemade burritos genuinely surpass any takeout option, offering a fresh and authentic taste experience.
Fantastic for Leftovers & Freezing: Whether you refrigerate them for a quick lunch the next day or freeze them for future meals, these burritos maintain their deliciousness and texture, making them a meal prep dream come true.
Incredibly Tender & Juicy Chicken: Our preparation method ensures the chicken is cooked to perfection – moist, succulent, and bursting with flavor in every bite.
Effortless Cleanup with Sheet Pan Cooking: Utilizing the sheet pan method for cooking the chicken and veggies dramatically simplifies the cleanup process, leaving you with more time to enjoy your meal and less time scrubbing dishes.
If you’re a fan of convenient, make-ahead meals, be sure to explore our other popular freezer burrito recipes:
- Savory Fajita Breakfast Burritos
- Quick Make-Ahead Breakfast Burritos in 30 Minutes
- Best Homemade Freezer Burritos
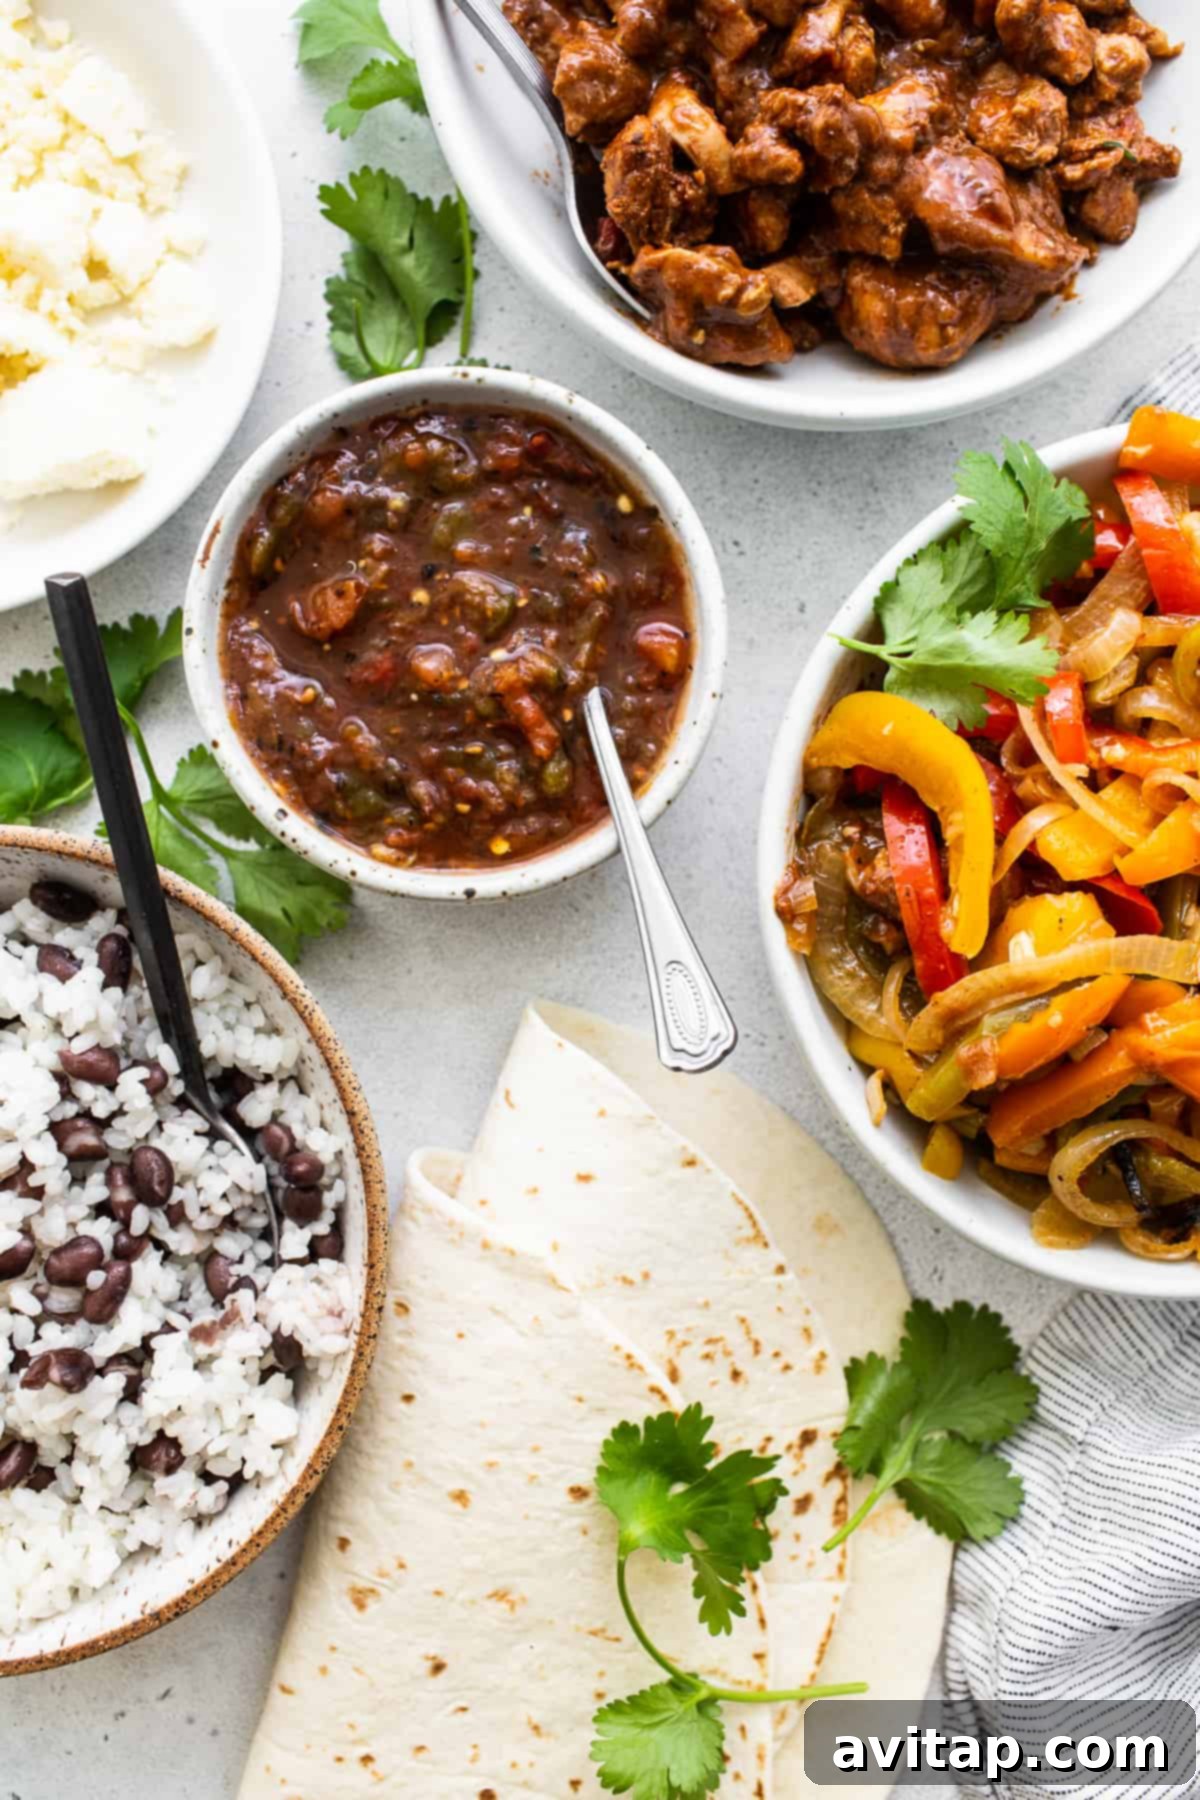
Featured Ingredients for Flavorful Burritos
Crafting the perfect chicken fajita burrito starts with selecting high-quality, fresh ingredients. Here’s a closer look at what makes these burritos so special:
- Chicken: We opt for boneless, skinless chicken thighs due to their inherent juiciness and rich flavor, which holds up beautifully during cooking and reheating. However, if you prefer a leaner option, boneless, skinless chicken breasts can be used as a 1:1 substitute. Just ensure they are sliced evenly for consistent cooking.
- Salsa: A crucial ingredient for infusing the chicken with moisture and a burst of zesty flavor. Any type of salsa works, allowing you to customize the heat and flavor profile. For an even fresher taste, consider making our homemade salsa recipe – it makes a noticeable difference!
- Bell Peppers: These add vibrant color, a sweet crunch, and essential nutrients to your burritos. Feel free to use a mix of any colors you desire – red, orange, yellow, and green peppers create a visually appealing and flavorful medley.
- Onions: A foundational element for fajita flavor, onions caramelize beautifully and add a sweet, savory depth. White, yellow, or red onions are all excellent choices.
- Rice: White rice provides a soft, comforting base for the burrito fillings. For an extra layer of flavor and a touch of freshness, try substituting it with our cilantro lime rice, which adds a bright, tangy note.
- Beans: Canned black beans are an excellent choice, offering a complementary earthy flavor, a creamy texture, and a boost of plant-based protein and fiber. However, feel free to experiment with other varieties of canned beans like pinto or kidney beans.
- Fajita Seasoning: This spice blend is essential for authentic fajita flavor. You can use your favorite store-bought blend for convenience, or elevate your burritos with our aromatic homemade fajita seasoning, tailored to your taste.
- Oil: Avocado oil is our preferred choice for its high smoke point and neutral flavor, but olive oil works just as well for cooking the chicken and vegetables.
- Burrito-Sized Tortillas: This is a key component for successful burritos, especially for meal prep. Our top tip is to always use large flour tortillas. Corn tortillas tend to be less pliable, cracking easily, particularly when folded or after freezing, making flour tortillas the superior choice for holding all those delicious fillings.
How to Make The Best Chicken Fajita Burritos
For detailed measurements and a complete list of ingredients, please refer to the full recipe card below.
Step 1: Prepare the Flavorful Fajita Chicken
Begin by preheating your oven to 375ºF (190ºC) and lightly greasing a large baking sheet with avocado oil. In a medium bowl, combine your thinly sliced chicken strips with the salsa, fajita seasoning, and a pinch of salt. Toss everything thoroughly until each piece of chicken is well coated with the spices and salsa. Allow the chicken to marinate for at least 10 minutes to absorb the flavors; if you have more time, marinating for 30 minutes to an hour will enhance the taste even further.
Step 2: Season and Spread Fajita Veggies on Sheet Pan
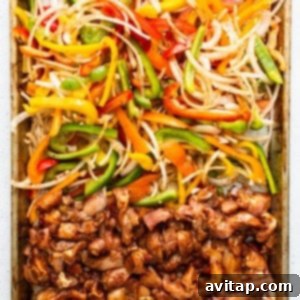
Next, transfer your sliced bell peppers, onions, and minced garlic to the prepared baking sheet. Drizzle them generously with avocado oil and sprinkle with additional fajita seasoning. Toss the vegetables until they are evenly coated. Spread them out in a single layer over one half of the baking sheet, ensuring they have enough space to roast properly without steaming.
Step 3: Add Chicken and Bake
Carefully spread the marinated chicken strips over the other half of the baking sheet, keeping them in a single layer for even cooking. Bake the chicken and vegetables together for approximately 30 minutes. To ensure everything cooks evenly and gets a nice char, make sure to toss all ingredients halfway through the cooking time.
Step 4: Prepare the Rice & Beans
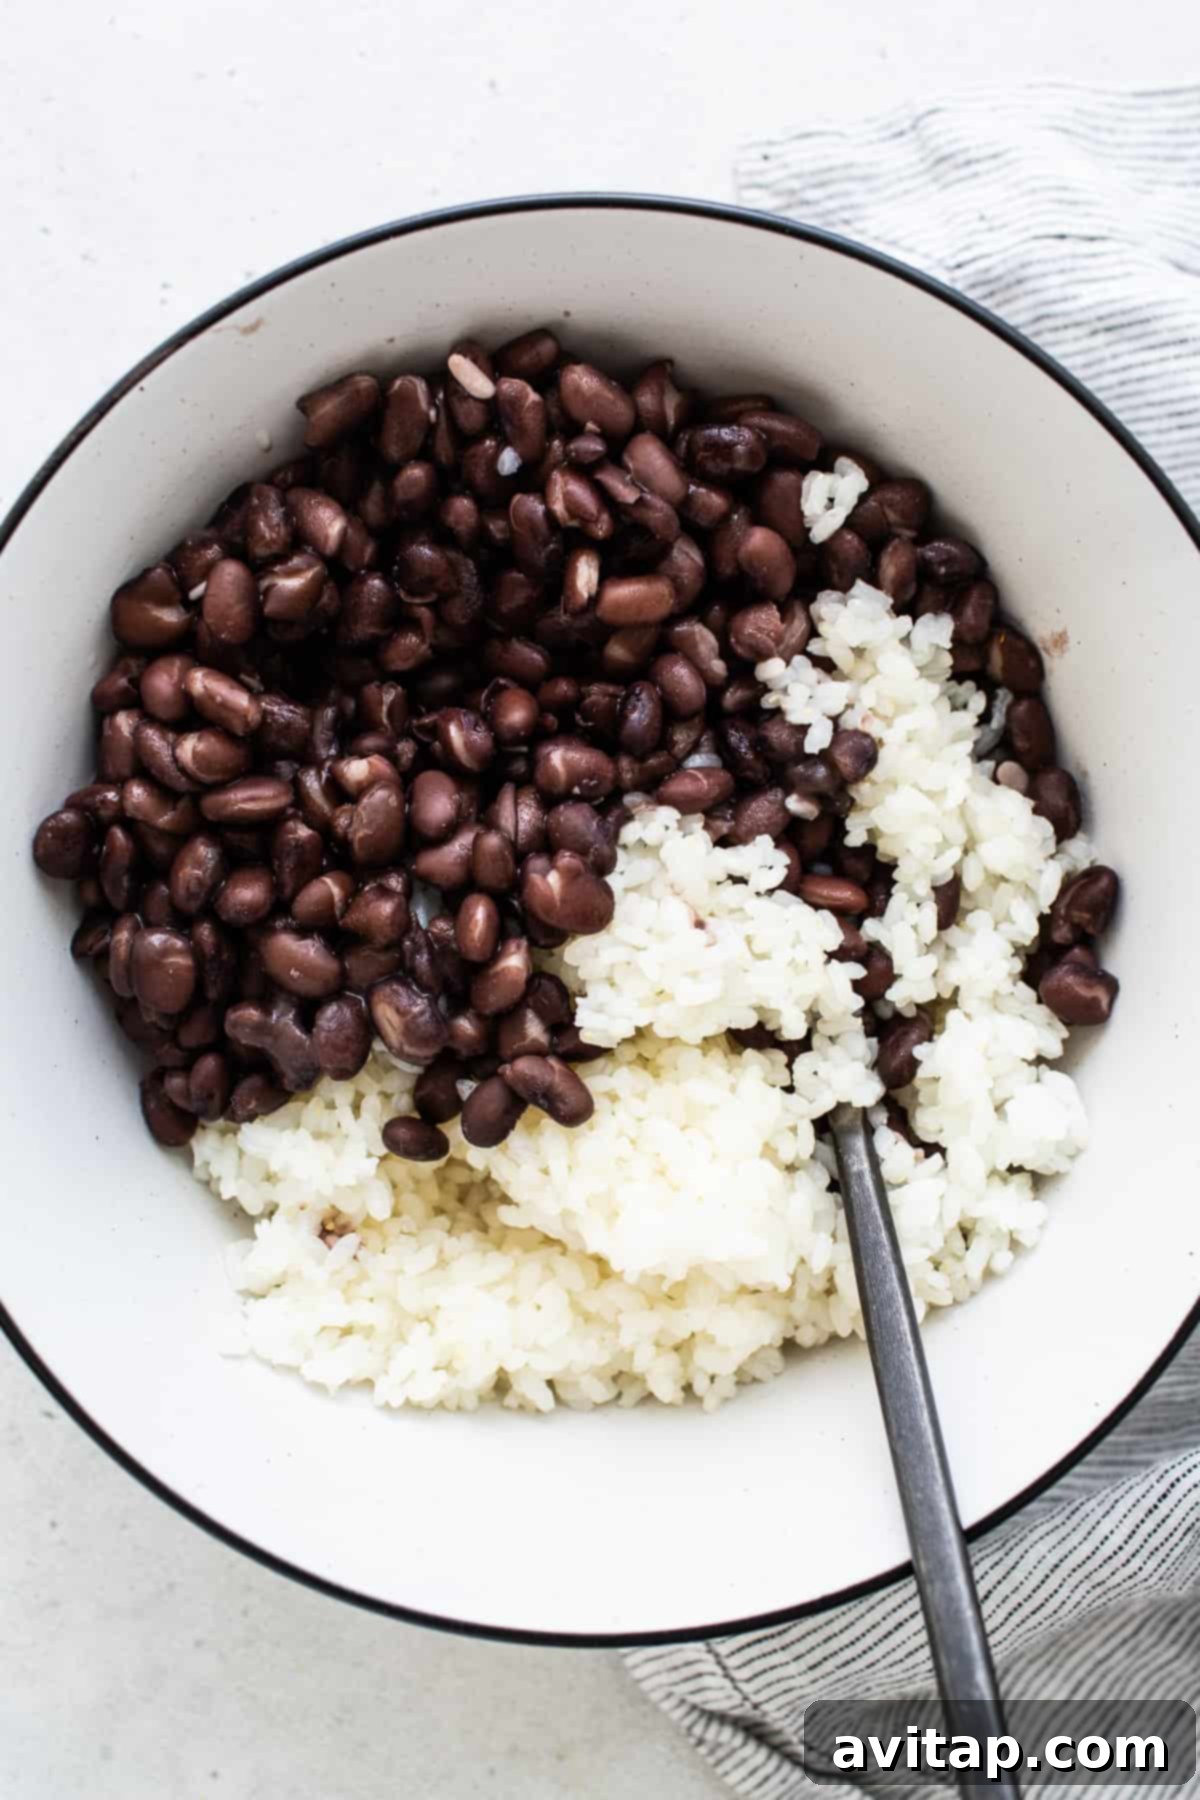
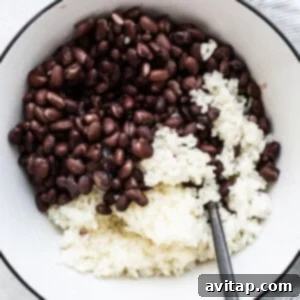
While your chicken and veggies are roasting, prepare the rice. Rinse the white rice under cold water until the water runs clear; this removes excess starch and prevents stickiness. Transfer the rinsed rice to a medium-sized saucepan. Add 1.5 cups of water, a tablespoon of avocado oil, and ½ teaspoon of salt. Bring the mixture to a boil over medium-high heat. Once boiling, reduce the heat to low, cover the saucepan tightly, and let it simmer for 15-20 minutes, or until all the water has been absorbed and the rice is tender yet still has a slight bite. Remove from heat and fluff with a fork. Finally, stir in the drained and rinsed black beans until well combined with the rice.
Step 5: Broil for Crispy Perfection
After the initial 30 minutes of baking, turn your oven to the broiler setting. Broil the chicken and peppers for an additional 2-4 minutes. Keep a close eye on them during this stage, as broilers can vary in intensity. You’re looking for the chicken and peppers to develop golden-brown edges and a slight char, which adds an irresistible smoky flavor and texture. Once achieved, remove the baking sheet from the oven and let the chicken and veggies rest for about 10 minutes before assembling your burritos. This resting period helps the chicken retain its juices.
Step 6: Assemble Your Delicious Burritos
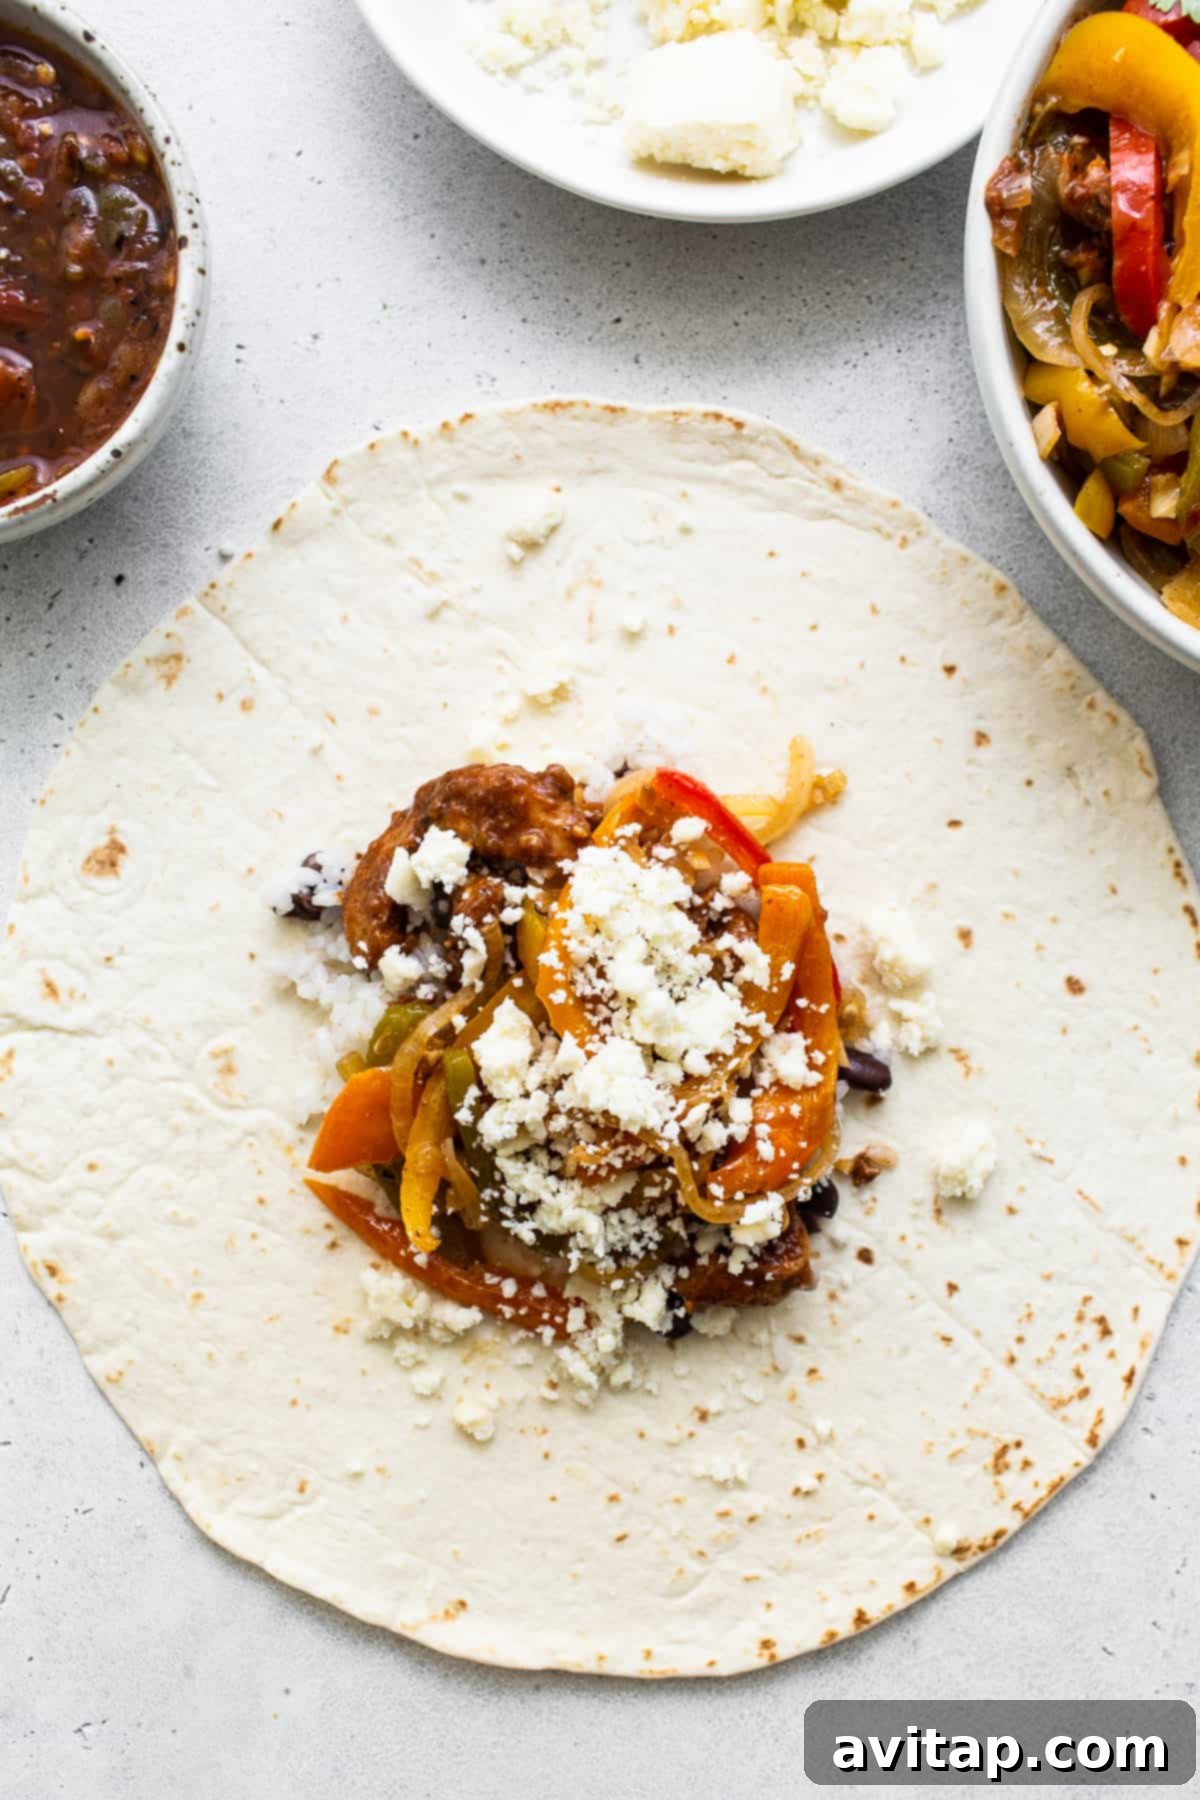
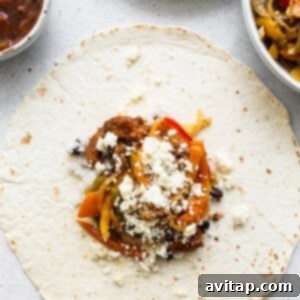
Lay your large flour tortillas out on a clean, flat surface. To the center of each tortilla, add:
- Approximately ¼ cup of the flavorful rice and bean mixture.
- About ¼ cup of the perfectly cooked fajita chicken.
- Roughly ¼ cup of the roasted fajita veggies.
- A generous tablespoon of cotija crumbles for a salty, tangy kick.
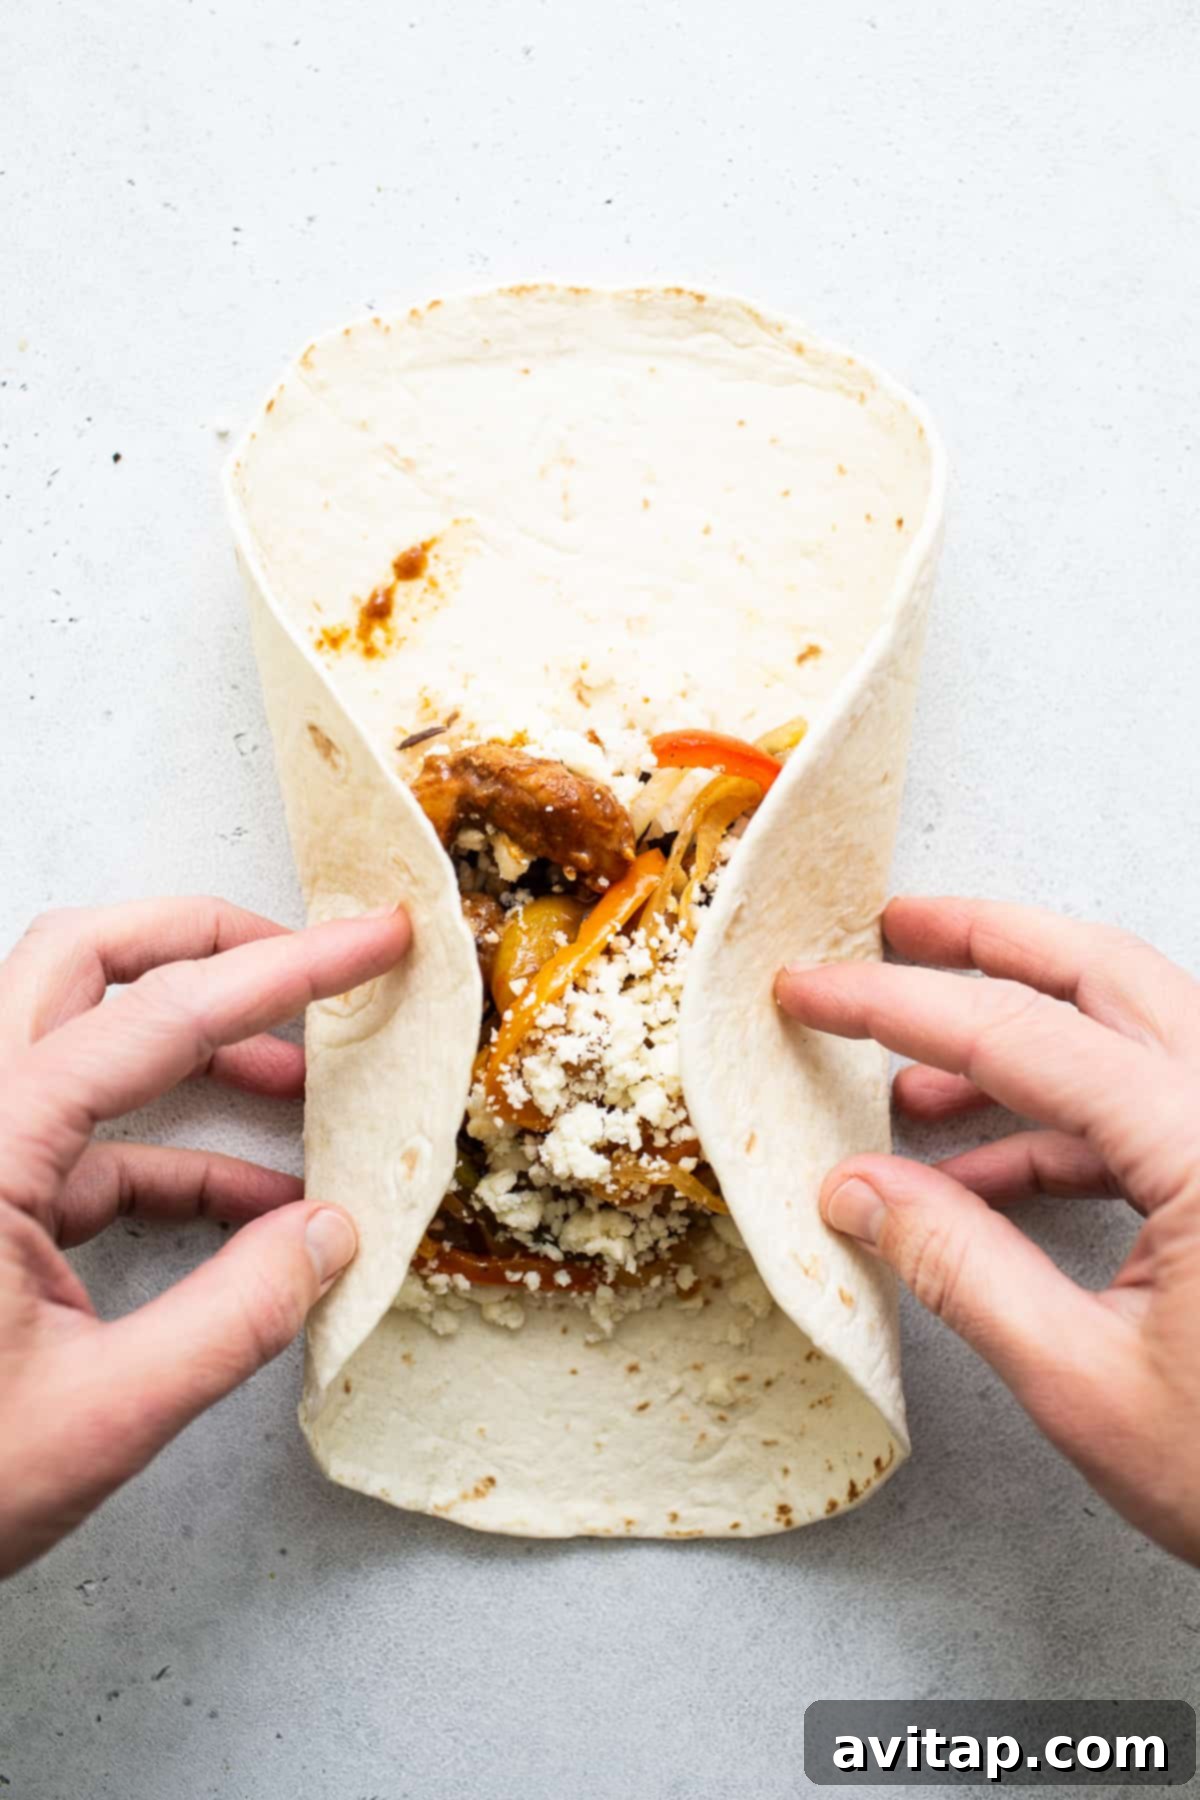
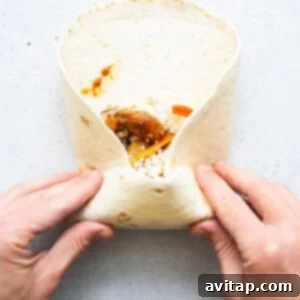
To wrap each burrito tightly, first fold in the sides of the tortilla over the filling, then roll it up firmly from the bottom, ensuring all ingredients are securely enclosed. This technique helps prevent spillage and keeps your burrito intact.
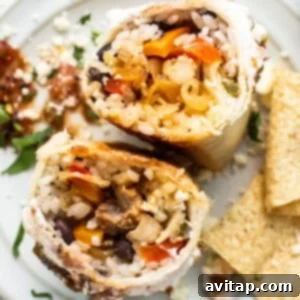
Once assembled, you have a few options: enjoy your chicken burritos immediately, prepare them for freezing, or heat them up further for an extra warm and crispy finish using the stovetop or oven instructions below.
Stovetop Instructions for a Crispy Finish
For an enticingly crispy exterior, heating your burritos on the stovetop is ideal:
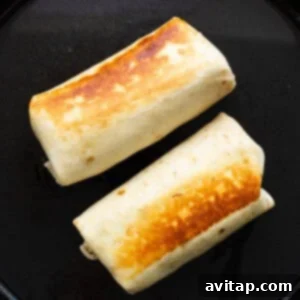
- Heat a large skillet over medium-high heat and add 1 tablespoon of olive oil.
- Once the olive oil is shimmering and fragrant, carefully place a burrito seam-side down in the pan. Allow it to brown for 2-3 minutes on each side over medium heat, until the tortilla is golden and crispy.
- Remove from the stovetop and enjoy your perfectly warmed and crispy burrito.
Oven Instructions for a Warm, Cheesy Burrito
If you prefer a uniformly warmed burrito with melted cheese, the oven method is excellent:
- Preheat your oven to 425ºF (220ºC) and spray a casserole dish or baking sheet with non-stick cooking spray.
- Arrange the burritos on the baking sheet or in the casserole dish. For extra indulgence, sprinkle more cheese over the tops of the burritos and drizzle lightly with olive oil.
- Bake for 10-15 minutes, or until the tortillas start to brown slightly and the cheese is beautifully melted and bubbly.
- Remove from the oven and serve hot.
Craving Fajitas Without the Wrap?
Try Our Sheet Pan Chicken Fajitas!
If you’re in the mood for the incredible flavors of chicken fajitas but prefer them served deconstructed or as a lighter meal without the tortilla, we’ve got the perfect recipe for you! Our Sheet Pan Chicken Fajitas are just as easy and flavorful, made with fewer than 10 ingredients for a quick and satisfying dinner.
Add-Ins and Swaps for Customized Chicken Fajita Burritos
One of the best aspects of these chicken fajita burritos is their adaptability. Feel free to customize them with your favorite ingredients or dietary preferences:
- Switch Up Your Beans: While black beans are fantastic, don’t hesitate to experiment! Chili beans can add a smoky, spicier note, kidney beans offer a different texture, or refried beans can provide a creamier consistency.
- Use a Different Cut of Chicken: We love chicken thighs for their moisture and flavor, but if you prefer a leaner protein, boneless, skinless chicken breasts are an excellent 1:1 substitute. Just ensure they are sliced uniformly for optimal cooking.
- Add Roasted Sweet Potato: For an extra boost of complex carbohydrates and a touch of natural sweetness, consider adding some roasted sweet potato cubes to your filling. It’s a delicious way to incorporate more plant-based goodness.
- Elevate with Cilantro Lime Rice: Transform your standard white rice into a more vibrant component by swapping it for a batch of our homemade cilantro lime rice. The fresh, zesty flavors pair perfectly with the fajita spices.
- Experiment with Taco Seasoning: If you’re out of fajita seasoning or simply want a different flavor profile, taco seasoning can be used as a flavorful alternative. You can also sprinkle a little extra on top of each burrito before browning on the stovetop for an added kick.
- Make It Breakfast-y: For a delightful breakfast or brunch twist, incorporate fluffy scrambled eggs into these chicken fajita burritos. It transforms them into a hearty morning meal that’s still packed with fajita flavor.
- Incorporate Fresh Avocado or Guacamole: A dollop of creamy sliced avocado or homemade guacamole inside or on top of your finished burrito adds healthy fats and a cooling contrast.
- Add Fresh Herbs: Chopped fresh cilantro is a classic addition that brightens all the flavors.
- Different Cheese Options: Beyond cotija, shredded cheddar, Monterey Jack, or a Mexican blend cheese can be used for varying melt and flavor profiles.
Top Tips for Perfect Chicken Fajita Burritos
Achieving restaurant-quality chicken fajita burritos at home is easier than you think with these expert tips:
- Craft Your Own Fajita Seasoning: While store-bought blends offer convenience, making your own spice mix allows for superior flavor and control over ingredients. Our homemade fajita seasoning is a fan favorite for a reason – it delivers an authentic, robust taste that truly elevates your fajitas.
- Ensure Even Slicing: Precision in slicing is key to even cooking. Whether it’s your chicken strips or your bell peppers and onions, aim for uniform thickness. This ensures that everything cooks at the same rate, preventing some pieces from being undercooked or overcooked.
- Adjust the Spice Level: Our recipe provides a balanced flavor, but if you’re a spice enthusiast, feel free to turn up the heat! Incorporate ½ to 1 teaspoon of red pepper flakes into the chicken marinade for an extra kick that will awaken your taste buds. You can also add a dash of your favorite hot sauce to the finished burritos.
- Don’t Overfill: While it’s tempting to pack your burritos to the brim, overfilling can lead to difficulty in rolling and potential spillage. Aim for a generous but manageable amount of filling in the center of each tortilla.
- Warm Your Tortillas: Gently warming your flour tortillas before assembly makes them more pliable and easier to roll without tearing. You can quickly microwave them for 15-20 seconds, or briefly heat them in a dry skillet.
FAQs About Chicken Fajita Burritos
Absolutely! Fajita seasoning is not only suitable but highly recommended for burritos. Its smoky, savory, and slightly zesty profile is perfect for seasoning chicken, vegetables, and even rice to create a cohesive and delicious flavor experience within your burrito.
Quite the contrary! Homemade make-ahead freezer burritos are generally a much healthier option compared to their store-bought counterparts. When you prepare them at home, you have full control over the ingredients, allowing you to choose fresh, wholesome components, limit preservatives, and manage sodium and fat content to suit your dietary needs. This recipe, for instance, focuses on lean protein, plenty of vegetables, and whole grains.
For burritos, flour tortillas are overwhelmingly preferred and recommended. This is because flour tortillas are significantly more flexible and durable, making them ideal for holding a substantial amount of filling without cracking or falling apart. Corn tortillas, while delicious for tacos, tend to be smaller, stiffer, and prone to breaking, especially when rolled or after being frozen and reheated.
Chicken fajita burritos are quite filling on their own, but if you’re looking to round out your meal, consider serving them with a simple side salad, a bowl of fresh guacamole and tortilla chips, a light slaw, or extra salsa. A side of grilled corn on the cob or black bean and corn salsa would also complement the flavors beautifully.
Storage Tips for Freshness
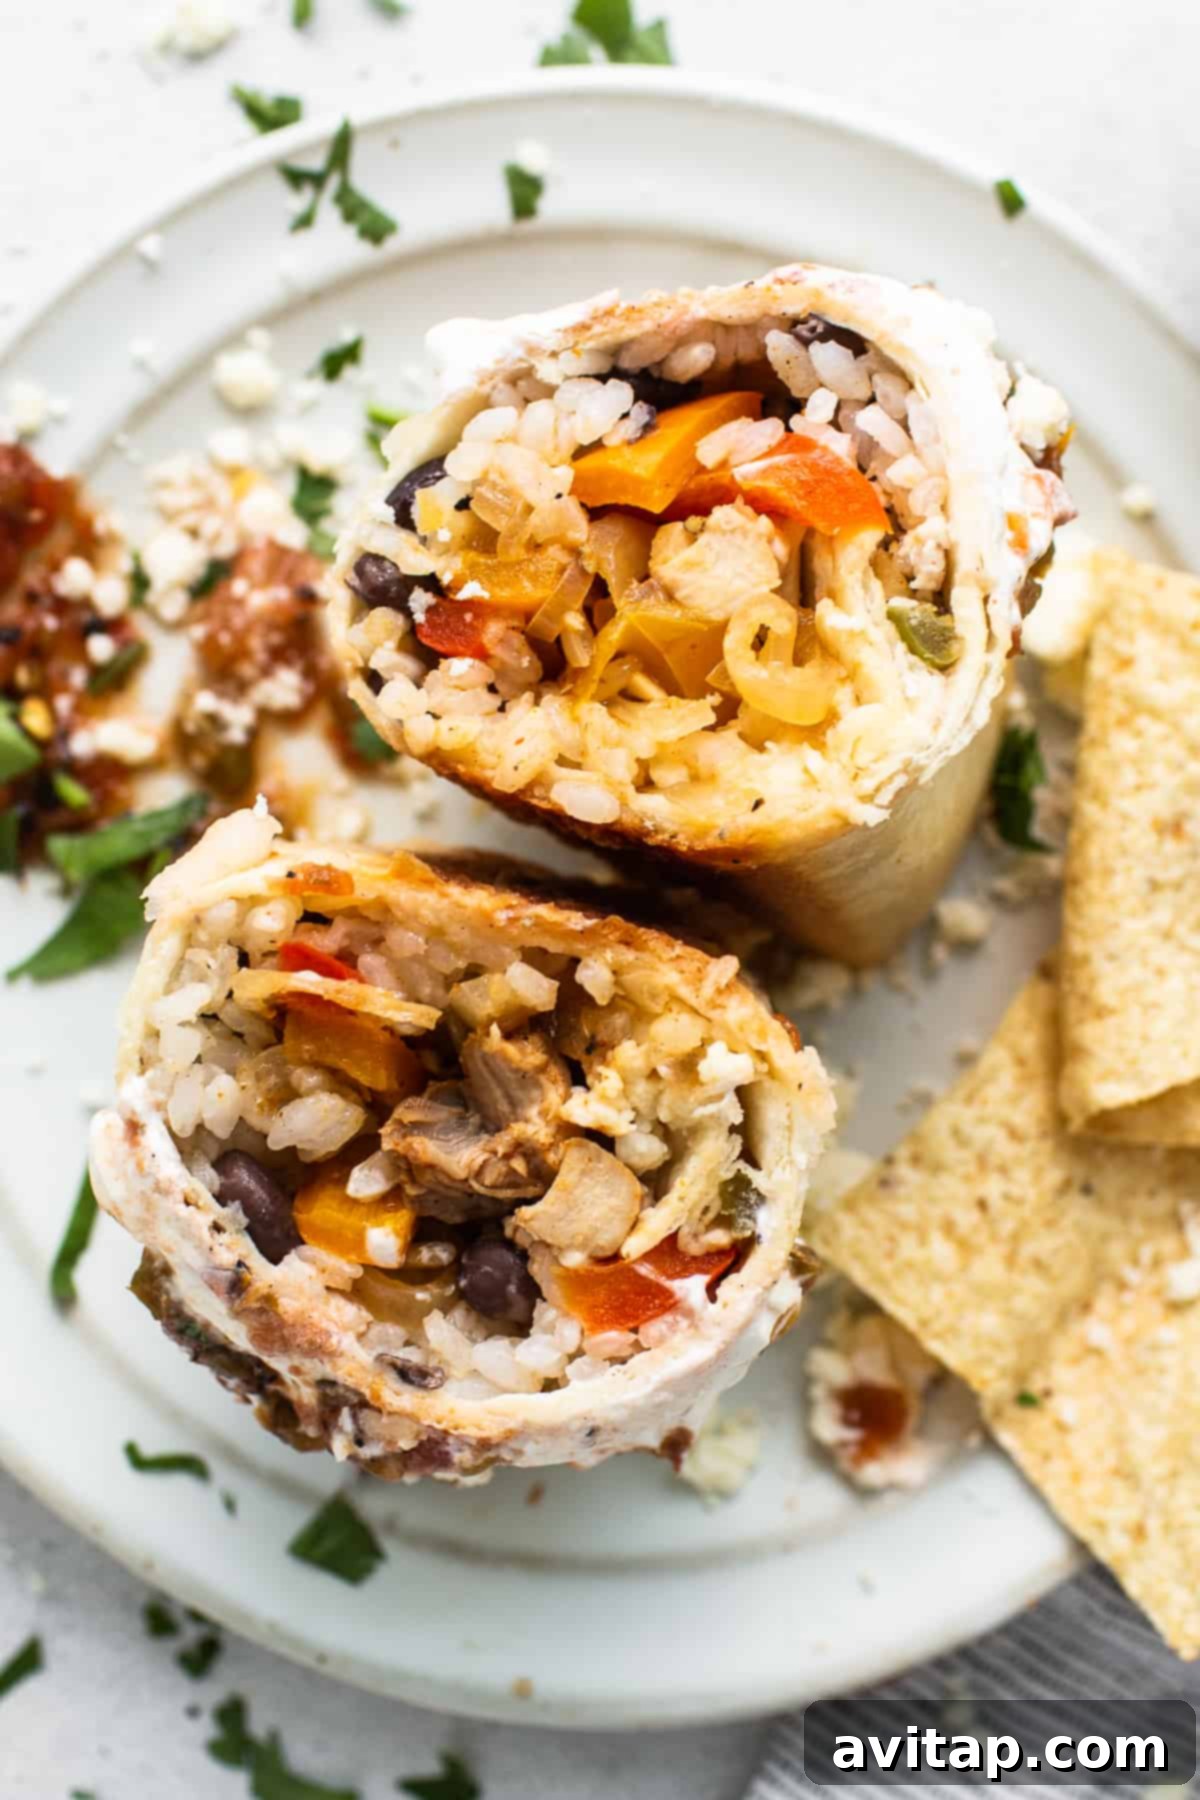
To keep your leftover chicken fajita burritos at their best, store them in an airtight container in the refrigerator. They will remain fresh and delicious for up to 3 days. This makes them perfect for quick grab-and-go lunches throughout the week.
Freeze for Later: The Ultimate Meal Prep
These chicken fajita burritos are exceptionally well-suited for freezing, making them a fantastic option for efficient meal prepping. Here’s how to properly freeze them to preserve their quality and flavor:
- Individual Wrapping: Allow your assembled burritos to cool completely to room temperature. This is crucial to prevent condensation and ice crystals from forming in the freezer. Once cooled, tightly wrap each individual burrito in a piece of tin foil. Ensure as much air as possible is pressed out to prevent freezer burn.
- Labeling is Key: For ultimate organization, use a marker to write “Chicken Fajita Burritos” and the date of freezing on the foil. This way, you’ll always know what you’re pulling out of the freezer and how long it has been stored.
- Freezer Storage: Store the wrapped burritos in a larger freezer-safe bag or container to provide an additional layer of protection. They can be safely stored in the freezer for up to 3 months, offering a convenient and healthy meal solution whenever you need it.
How to Reheat Your Frozen or Thawed Burritos
The beauty of these chicken fajita burritos is their flexibility in reheating, whether straight from the freezer or after thawing. Choose the method that best fits your schedule:
- Reheating from Frozen: If you’re reheating a burrito directly from the freezer, first unwrap it from the tin foil and place it on a microwave-safe plate. Use your microwave’s defrost setting for 2 to 3 minutes, flipping the burrito every minute to ensure even thawing. Once partially thawed, microwave on high for an additional 60-90 seconds, or until the filling is thoroughly heated through and piping hot.
- Reheating from Thawed: For burritos that have been thawed in the refrigerator overnight, simply unwrap and microwave on high for 60 to 90 seconds, or until fully heated. You can also use the stovetop or oven methods mentioned above for a crispier finish.
More of Our Favorite Meal Prep & Burrito Recipes
Other Burrito Recipes You’ll Love!
If you’re looking to expand your meal prep repertoire with more delicious and convenient burrito options, explore these other fantastic recipes:
- Spicy Fajita Breakfast Burritos
- Simple 6-Ingredient Freezer-Friendly Bean Burritos
- Hearty Make Ahead Beef Burritos
- Wholesome Vegetarian Black Bean Breakfast Burritos
- Quick & Easy Make Ahead Breakfast Burritos
Average Rating: 4.67 out of 5 stars (based on 3 votes)
Chicken Fajita Burritos
Emily Richter
30 mins
37 mins
1 hr 7 mins
8
Print Recipe
Ingredients
For the Chicken
- 1.5 lbs. boneless, skinless chicken thighs, thinly sliced into ~3-inch strips*
- ½ cup salsa, any kind
- 2.5 tablespoons fajita seasoning
- 1 teaspoon kosher salt
For the Peppers & Onions
- 4 bell peppers, sliced (any color)
- 1 large white onion, sliced
- 4 cloves garlic, minced
- 2 tablespoons avocado oil
- 3 teaspoons fajita seasoning
For the Rice & Beans
- 1 cup short or medium grain white rice
- ½ teaspoon salt
- 1 tablespoon avocado oil
- 15 oz. black beans, drained and rinsed
Other Ingredients
- ½ cup cotija crumbles
- 8 large burrito tortillas
Instructions
-
Preheat the oven to 375ºF (190ºC) and grease the pan with avocado oil.
-
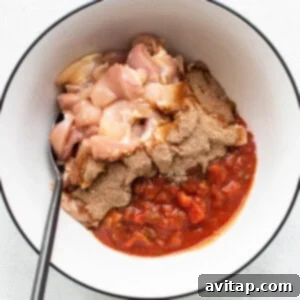
Add the chicken strips, salsa, fajita seasoning, and salt to a bowl and toss until the chicken is coated in spices and salsa. Let the chicken marinate for at least 10 minutes (longer for extra flavor).

-
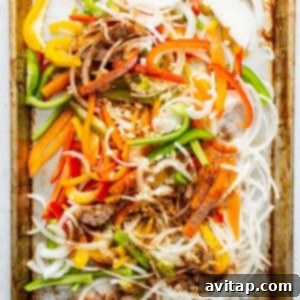
Transfer the peppers, onions, and garlic to the baking sheet and drizzle the avocado oil over the vegetables and season them with fajita seasoning. Toss all of the ingredients together until the veggies are coated. Spread the vegetables out over half of the baking sheet.
-
Spread the chicken strips out over the other half of the baking sheet. Bake everything together for 30 minutes, tossing halfway through the cooking time.
-
While the chicken and veggies are cooking, prepare the rice. Rinse the rice under cold water and then transfer the rice to a medium-sized saucepan. Add 1.5 cups of water, avocado oil, and salt to the rice and bring to a boil over medium/high heat. Turn the heat to low and cover. Simmer the rice for 15-20 minutes or until the rice has a bit to it and is not mushy. Remove the rice from the heat and fluff with a fork.
-
Add the black beans to the rice and stir to combine. Set aside.
-
For the chicken and veggies, turn the heat to broil after 30 minutes and broil the chicken and peppers for 2-4 minutes until the chicken and peppers brown and form crispy edges.
-
Remove from the oven and let the chicken and veggies rest for 10 minutes before building the burritos.
-
Lay the tortillas out on a flat surface and add about ¼ cup of the rice and bean mixture to the middle of each tortilla. Then, add about ¼ cup of chicken and ¼ cup of veggies over the top of the rice and beans. Top each burrito off with 1 tablespoon of cotija crumbles.
-
Tightly wrap each burrito by folding the sides in and rolling from the bottom up.
-
If you are going to eat the chicken burritos right away, feel free to eat them as is, or heat them up in the oven or on the stovetop for a crispier tortilla. Alternatively, prepare them for freezing (see instructions below).
Stovetop Reheating Instructions
-
Heat a large skillet over medium/high heat and add 1 tablespoon of olive oil.
-
Once the olive oil is fragrant, place the burrito in the pan (seam-side down first) and let it brown for 2-3 minutes on each side over medium heat until crispy.
-
Remove from the stovetop and enjoy immediately.
Oven Reheating Instructions
-
Preheat the oven to 425ºF (220ºC) and spray a casserole dish or baking sheet with non-stick cooking spray.
-
Place the burritos on the baking sheet or casserole dish and, if desired, sprinkle with extra cheese and drizzle with olive oil.
-
Bake the burritos for 10-15 minutes or until they begin to brown and the cheese is melted and bubbly.
-
Remove from the oven and enjoy hot.
How to Freeze for Later
-
Once burritos are completely cooled, wrap each individual burrito tightly in a piece of tin foil, removing as much air as possible. Label with the date.
-
Store in the freezer for up to 3 months.
Reheating Frozen Burritos
-
If heating from frozen, unwrap the burrito and place it on a microwave-safe plate. Use the defrost setting on your microwave for 2 to 3 minutes, flipping every minute. Then microwave on high for 60-90 seconds or until hot throughout.
-
If heating from thawed, microwave on high for 60 to 90 seconds until thoroughly warmed.
Tips & Notes
- *1.5 lbs. of boneless, skinless chicken thighs typically equates to about 6 thighs, but this can vary depending on their size.
- We highly recommend using our homemade fajita seasoning for the best flavor, but a good quality store-bought blend works too.
- For those who enjoy a spicier kick, feel free to add ½ -1 teaspoon of red pepper flakes to the chicken marinade.
- For easiest rolling, slightly warm your tortillas before assembling.
Nutrition Information (Per Serving)
Calories:
551
kcal
,
Carbohydrates:
68
g
,
Protein:
33
g
,
Fat:
16
g
,
Fiber:
9
g
,
Sugar:
6
g
Nutrition information is automatically calculated and should be used as an approximation.
Love this recipe? Leave a comment below!
Don’t forget to tag your posts on social media with the hashtag #fitfoodiefinds, we’d love to see what you’re up to!
Photography: Photos in this post were expertly captured by Ashley McGlaughlin from The Edible Perspective.