
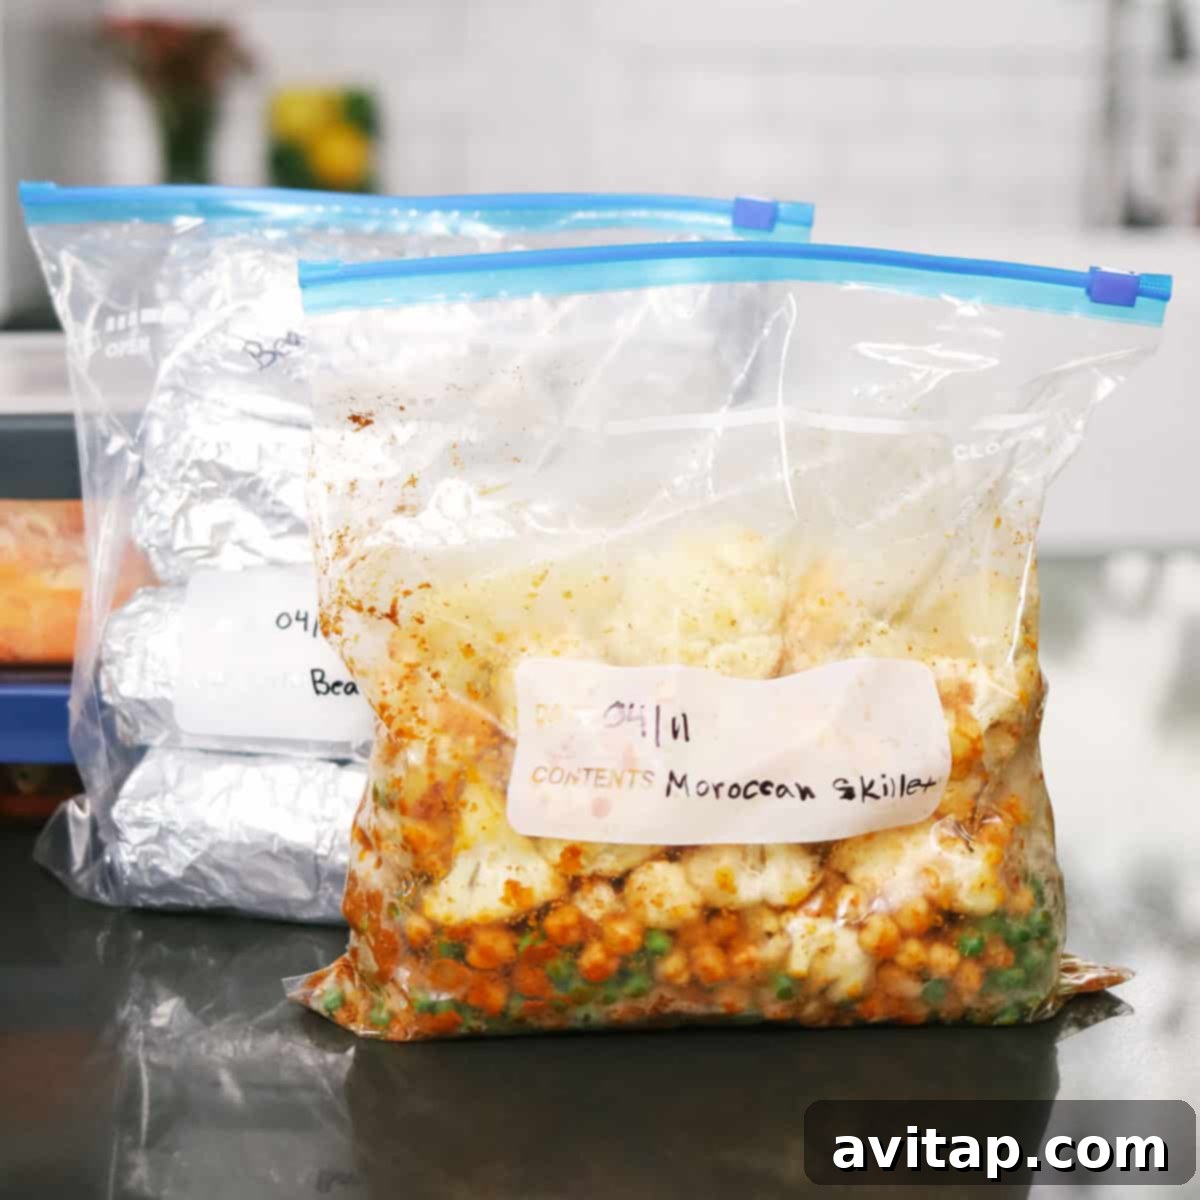
Effortless Vegetarian Freezer Meals: Prep 5 Delicious Dishes in Under an Hour for Just $75
Are you looking for clever ways to incorporate more meatless meals into your routine without sacrificing precious time? Look no further! This comprehensive guide will inspire you to transform your kitchen into a vegetarian freezer meal powerhouse. Imagine prepping five incredible, plant-based meals in under an hour, all for an astonishing budget of just $75. These aren’t just any recipes; they are carefully selected dishes designed for maximum flavor and minimal effort, perfect for stocking your freezer with wholesome options for busy weeknights.
Once prepped, simply pop these vegetarian delights into your freezer. Then, on those hectic evenings when cooking from scratch feels impossible, pull one out, reheat, and enjoy a nourishing, homemade meal. It’s the ultimate solution for healthy eating convenience!
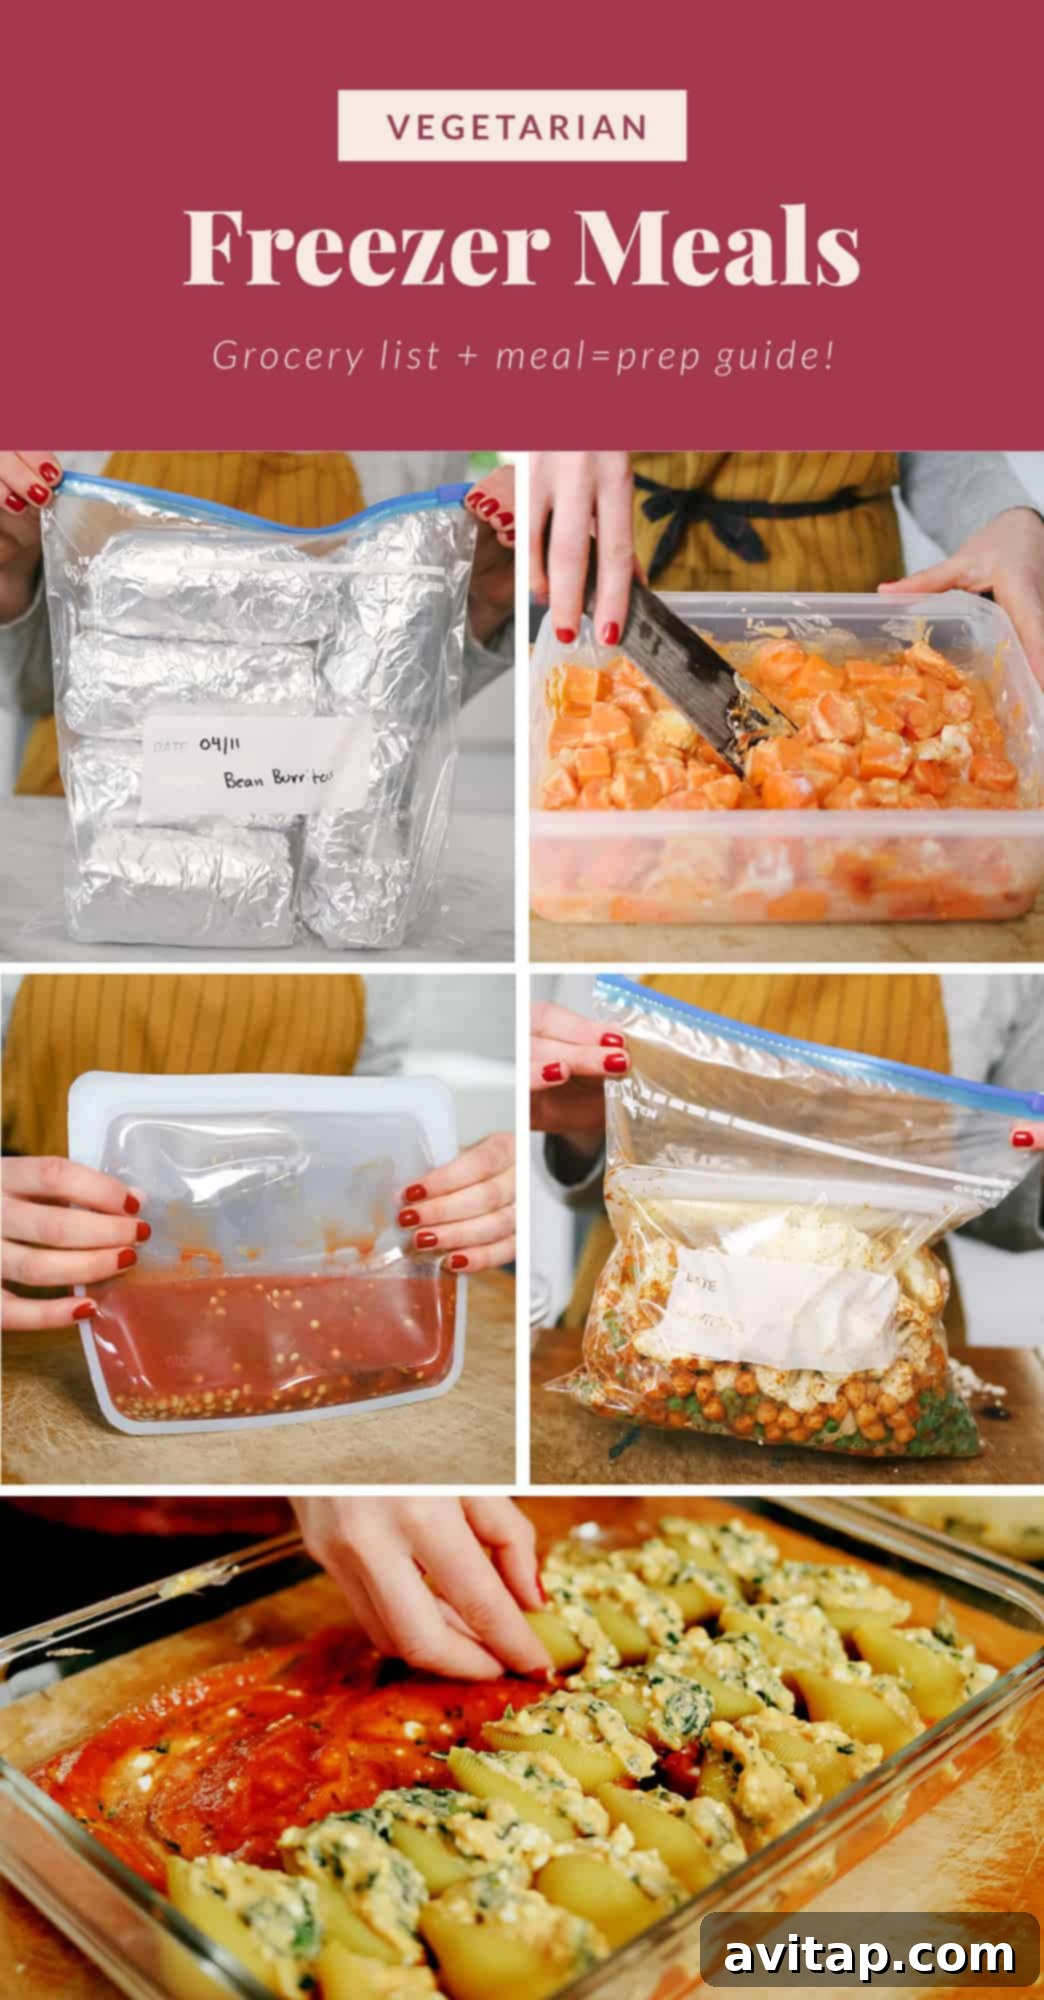
Unlock the Power of Vegetarian Freezer Meals
Today, we’re diving deep into the art of transforming five beloved vegetarian recipes into convenient freezer meals. If you’re eager to try them fresh, feel free to explore each recipe individually. However, for maximum efficiency and future ease, we highly recommend embracing the freezer meal prep method.
Inspired by the overwhelming success of our Crock Pot Freezer Meals + grocery list post and countless requests for a dedicated vegetarian series, we’re thrilled to present this guide. We understand the love for vegetarian freezer meals, and for good reason! Here’s why they are an absolute game-changer for anyone looking to eat well and save time:
- Unbeatable Value at $2.50/serving: Prepare all five of these incredible vegetarian freezer meals for a total grocery cost of only $75! This breaks down to an incredible $2.50 per serving, making healthy, home-cooked food more accessible and affordable than ever before.
- The Perfect Thoughtful Gift: Searching for a truly meaningful and practical gift? Whether it’s for new parents, a friend recovering from illness, or anyone needing a thoughtful pick-me-up, a collection of pre-made vegetarian freezer meals is an act of kindness that truly nourishes.
- Time-Saving Convenience: Imagine dedicating just two hours to prepare all five of these meals at once, then having a delicious, wholesome dinner ready to go on your busiest days. Simply pull a meal from the freezer, follow the reheating instructions, and enjoy the peace of mind that comes with knowing you’re serving a nutritious dish with minimal effort.
- Effortless Healthy Eating: When healthy options are readily available in your freezer, you’re less likely to resort to unhealthy takeout. These vegetarian meals are packed with fresh ingredients and vibrant flavors, ensuring your body gets the nourishment it deserves.
- Minimize Food Waste: Meal prepping helps you utilize all your groceries efficiently, reducing the likelihood of fresh produce going bad before you can use it. By freezing portions, you extend the life of your food and contribute to a more sustainable kitchen.
Your Curated Vegetarian Freezer Meals Menu
Get ready to explore a diverse and delicious menu that caters to various tastes and cooking styles. From comforting soups to hearty tacos and satisfying burritos, this selection offers something for everyone, proving that vegetarian freezer meals are anything but boring!
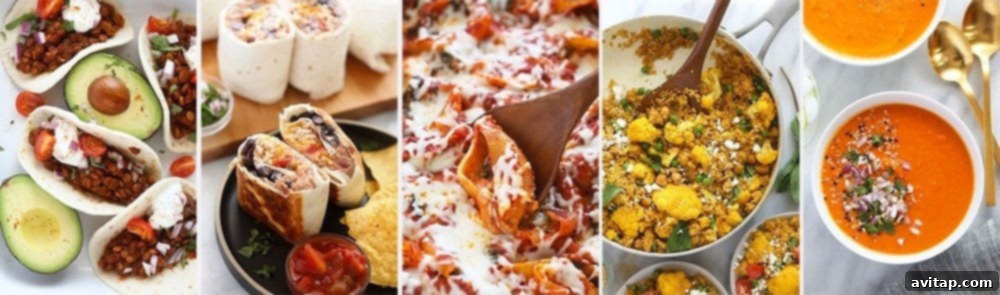
- Instant Pot Lentil Tacos
- 6-Ingredient Bean Burritos
- Sweet Potato Spinach Stuffed Shells
- Moroccan Chickpea Couscous
- Instant Pot Sweet Potato Carrot Ginger Soup
Essential Downloads: Grocery List & Comprehensive Meal-Prep Guide
As we mentioned, these five recipes are truly a gift—whether for yourself or a loved one. To make your meal prep journey as seamless as possible, we’ve created indispensable resources. Our printable grocery list ensures you gather all the necessary ingredients without guesswork. Furthermore, our detailed meal-prep guide offers step-by-step instructions for each recipe, along with a master list, specifically designed for those who want to tackle all five recipes in one epic, highly recommended prep session!
Must-Have Kitchen Tools for Effortless Freezer Meal Prep
Don’t feel obligated to invest in specialized equipment for these freezer meals! Your existing freezer-safe plastic bags will absolutely get the job done. However, for those looking to elevate their freezer meal prep experience, we do have a few tried-and-true essentials that make the process incredibly smooth and enjoyable. These are our go-to items for efficient, no-fuss meal prep:
- Reusable Silicone Storage Bags: An eco-friendly alternative to plastic, perfect for individual portions or larger batches.
- Casserole Dish with Lid: Ideal for baked dishes like stuffed shells, allowing for easy freezer-to-oven transfer.
- Tin Foil: Essential for wrapping burritos and covering casserole dishes to prevent freezer burn.
- Freezer-Safe Plastic Bags: A classic and versatile option for almost all freezer meals.
- Permanent Markers: Crucial for labeling and dating your meals, ensuring freshness and organization.
Instant Pot Lentil Tacos: A Quick & Flavorful Vegan Delight
Say hello to your new favorite meatless taco filling! This Instant Pot Lentil Tacos recipe is not only incredibly nutritious and vegan but also requires just five simple ingredients. It’s the perfect protein-packed base for tortillas, a wholesome bowl, or even a flavorful topping for nachos. Preparing this in advance for the freezer means a speedy and satisfying meal is always within reach.
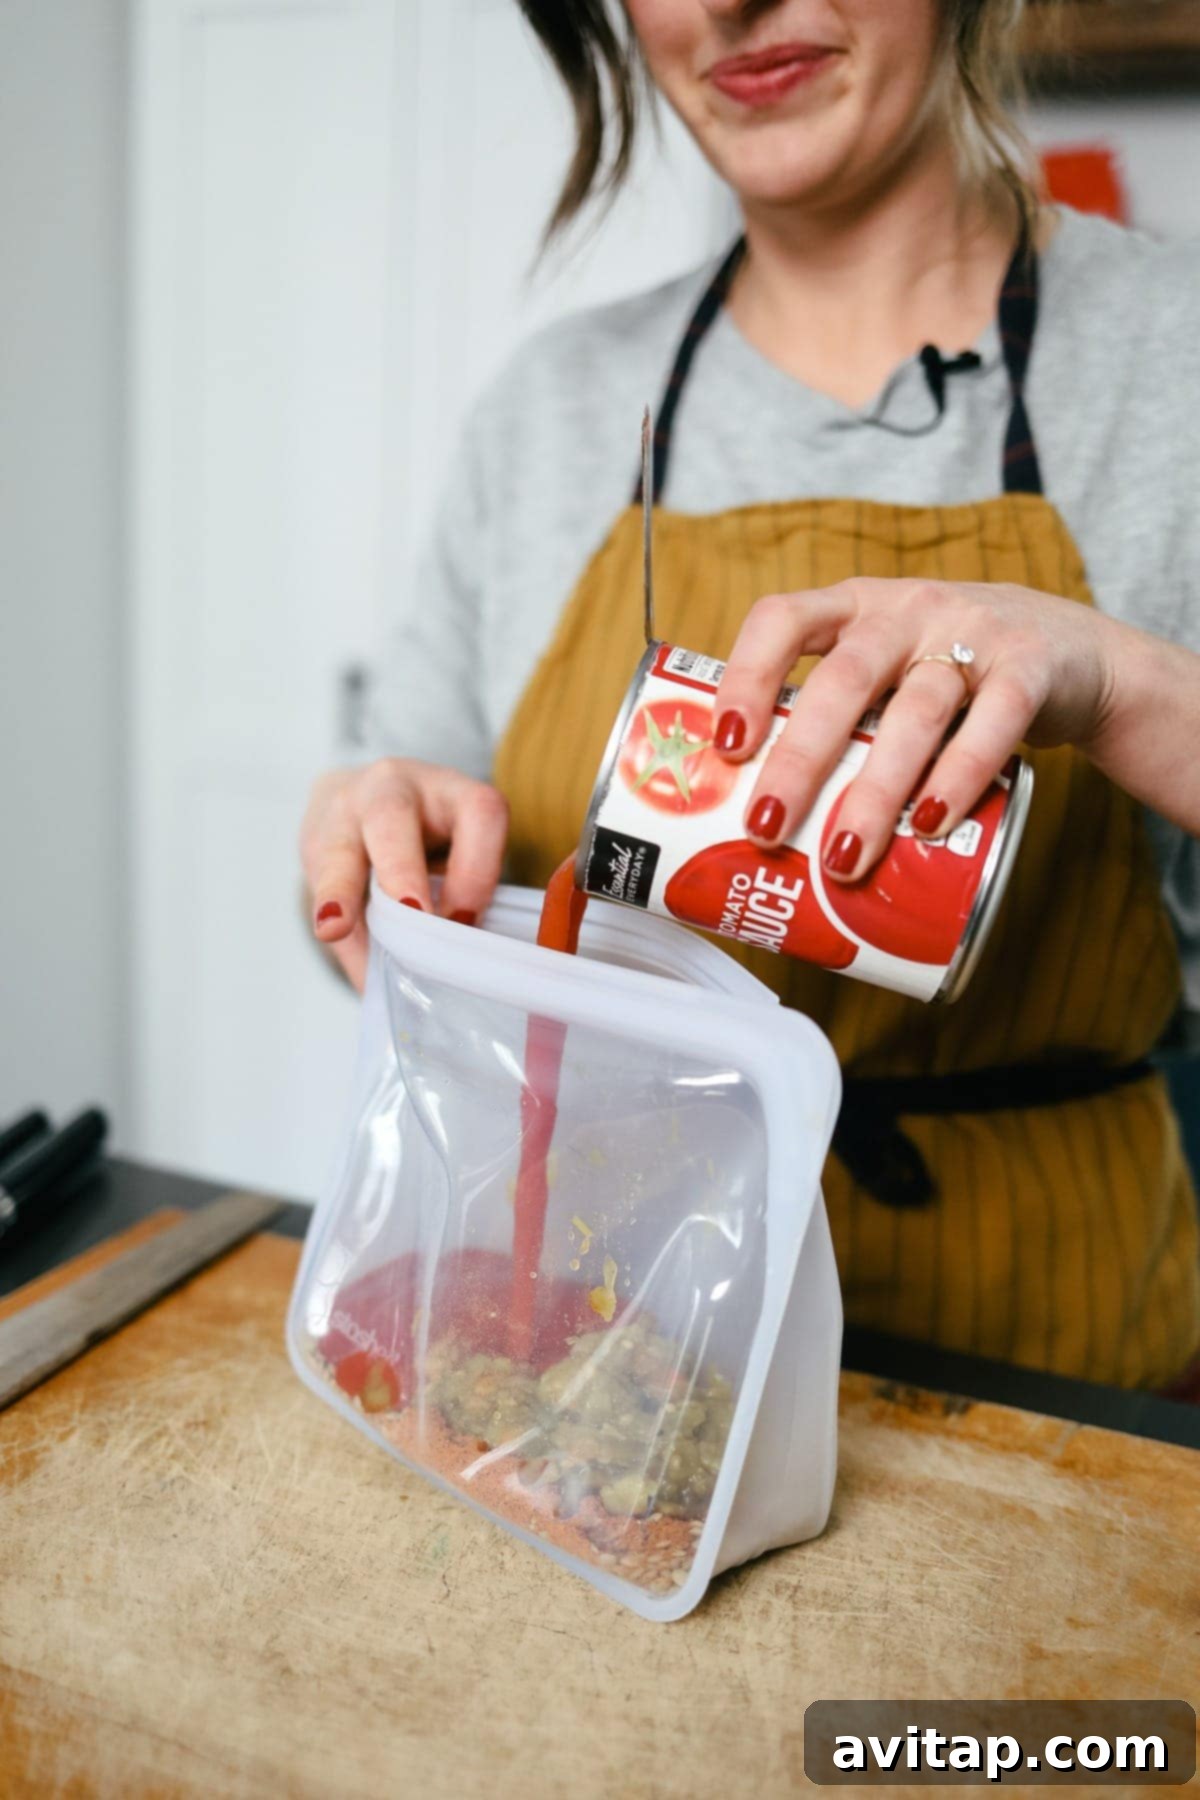
Ingredients to Freeze Together
- 1 cup uncooked green lentils
- 1 4.5-oz can green chiles
- 1 15-oz. can tomato sauce
- 3 tablespoonstaco seasoning
Freezer Instructions
- Combine all ingredients into a durable freezer-safe container. This could be a plastic gallon-size bag, a reusable Stasher bag, or a glass container. Ensure all components are well mixed.
- Remove as much air as possible from the container before sealing it tightly. This step is crucial for preventing freezer burn and maintaining freshness.
- Label the container with the date and contents. Freeze for up to 3 months for optimal flavor and texture.
Ready to Cook?
When hunger strikes, simply follow these steps for a quick, wholesome meal.
Additional Ingredients for Cooking
- 1.5 cups vegetable broth (any type of broth or water works)
Instant Pot Cooking Directions (from frozen)
- To easily release the frozen lentil mixture, run the freezer bag or container under hot water for a few seconds.
- Transfer the entire frozen block into your Instant Pot. Add 1.5 cups of vegetable broth.
- Secure the lid on the Instant Pot, ensuring the vent is sealed. Set the Instant Pot to “Manual” or “Pressure Cook” on high pressure for 15 minutes. Allow 5-10 minutes for the Instant Pot to build pressure before the countdown begins.
- Once the cooking cycle is complete, perform a quick release by carefully opening the vent and allowing the steam to escape fully. When the Instant Pot unlocks, open the lid and give the mixture a good stir.
- Let the lentil mixture sit for about 10 minutes before serving. This allows the lentils to absorb more moisture and thicken to perfection. Serve with your favorite taco fixings like avocado, cilantro, and a squeeze of lime.
Chef’s Notes & Tips
- If your lentils feel a bit crunchy after 15 minutes, simply re-seal the lid and cook for an additional 2 minutes at a time until they reach your desired tender texture.
- Keep in mind that as the lentil mixture cools and sits, it will naturally absorb more moisture and thicken, resulting in a richer consistency.
6-Ingredient Bean Burritos: Your Ultimate Grab-and-Go Vegetarian Meal
These Make Ahead Bean Burritos are a lifesaver for anyone seeking a quick, satisfying, and vegetarian meal on the go. Requiring only six ingredients, they are incredibly easy to assemble and perfect for meal prep. Keep a stash of these hearty burritos in your freezer, and you’ll always have a delicious, fulfilling option ready when time is tight.
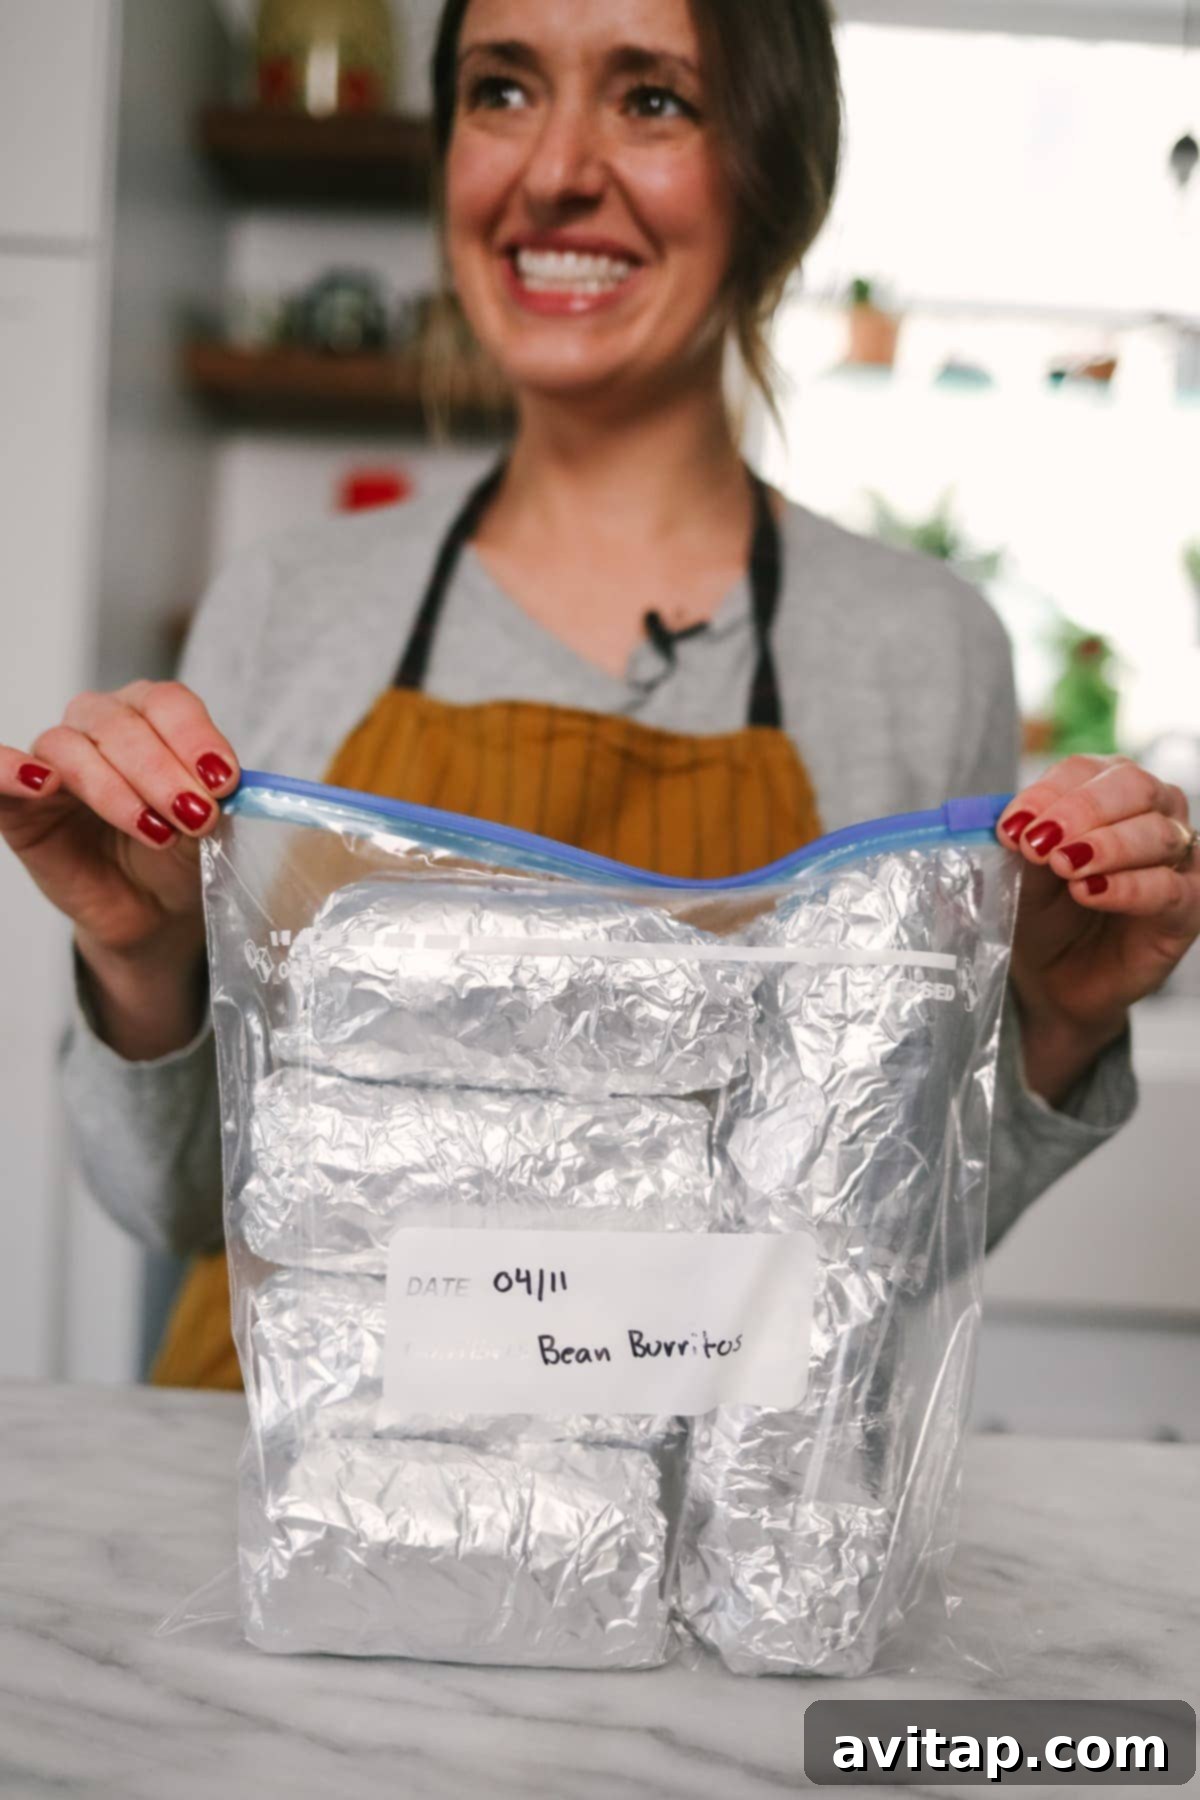
Ingredients for Freezing
- 6-8 12-inch flour tortillas
- 1 15-oz. can refried beans
- 1 15-oz. can black beans, drained and rinsed thoroughly
- 1 cup long-grain brown rice
- 2 cups water
- 1.5 cups shredded cheddar cheese
- 1/2 cup salsa, of your preferred kind and spice level
Freezer Preparation Steps
- Start by preparing your brown rice. If using pre-cooked brown rice, you can skip this step. Otherwise, combine brown rice and water in a medium pot and bring to a boil over medium-high heat. Once boiling, reduce the heat to low, cover, and simmer for approximately 35 to 40 minutes, or until all the water has been absorbed.
- While the brown rice cooks, prepare the remaining burrito components. Lay your tortillas out on a clean, flat work surface.
- Using a tablespoon, evenly spread about 3 tablespoons of refried beans onto each tortilla.
- Next, layer approximately 3 tablespoons each of black beans, shredded cheddar cheese, and cooked brown rice onto each tortilla.
- Finally, add a generous tablespoon of your favorite salsa (or more, according to your taste).
- To wrap each burrito tightly, fold in two opposite sides, then roll it up firmly from the bottom.
- Individually wrap each prepared burrito securely in tin foil, ensuring as much air as possible is removed to prevent freezer burn. Label and date each burrito. Freeze for up to 3 months.
Expert Tips:
- Brown Rice Variation: For even quicker prep, opt for pre-cooked brown rice. Approximately 1.5 cups of cooked rice will be sufficient.
- Tortilla Yield: This recipe typically yields 6-8 burritos, depending on how generously you fill each one. Feel free to adjust filling amounts to suit your preference.
Cooking Instructions
From Frozen in Microwave
- Unwrap the frozen burrito, discarding the aluminum foil. Place the burrito on a microwave-safe plate.
- Microwave on high for 1 minute and 15 seconds. Flip the burrito, then cook for an additional 1 minute and 15 seconds on high, or until thoroughly heated through.
Oven Baked From Frozen
- Preheat your oven to 350ºF (175ºC).
- Place the burrito(s) directly into the oven, keeping them wrapped in tin foil. Bake for 50-55 minutes, or until heated completely through and warmed evenly.
For an Irresistible Crispy Finish:
- After your burrito is cooked in either the microwave or oven, heat a large skillet over medium-high heat. Add 2 teaspoons of olive oil.
- Once the olive oil is fragrant and shimmering, place the burrito seam-side down in the pan. Cook for 2-3 minutes, or until the tortilla begins to brown and crisp. Flip and repeat on the other side for another 2 minutes to achieve an all-around crispy exterior.
Sweet Potato Spinach Stuffed Shells: A Hearty & Flavorful Vegetarian Bake
Prepare to fall in love with these Vegetarian Sweet Potato, Spinach and Ricotta Stuffed Shells. What makes this recipe truly special is that it requires absolutely no pre-cooking of the pasta noodles, saving you valuable prep time. Packed with a rich, savory filling and bursting with flavor, this dish is a comforting, freezer-friendly meal that’s perfect for family dinners or entertaining.
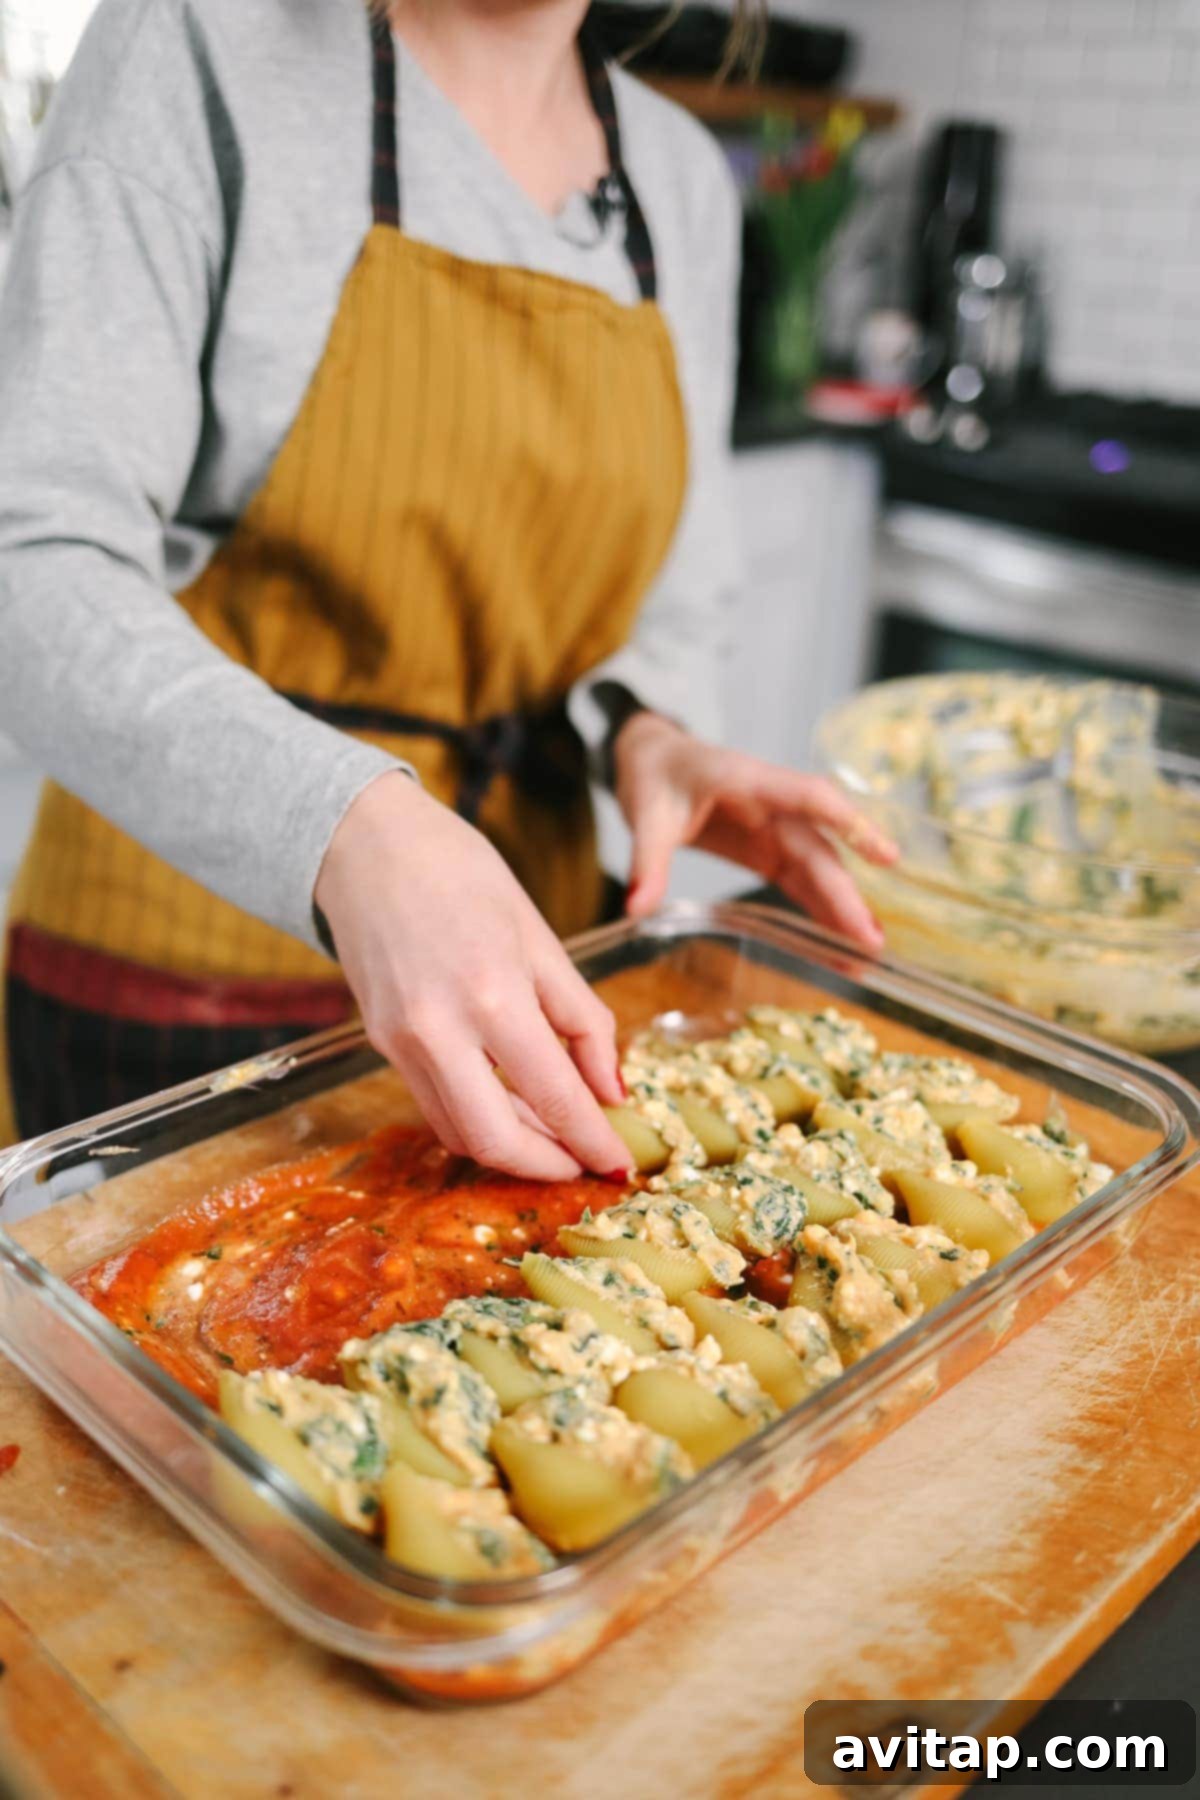
Ingredients to Assemble & Freeze
- 2 tablespoons olive oil
- 1/4 large white onion, finely diced
- 5 oz. fresh spinach
- 1 cup full-fat ricotta cheese
- 1 cup 4% cottage cheese
- 1 15-oz. can sweet potato puree (pumpkin puree can be substituted)
- 1/2 tablespoon minced garlic
- 1/8 teaspoon salt
- 1 24-oz. jar organic marinara sauce
- 12-oz. jumbo shells, uncooked
Freezing Instructions
- Begin by heating a large nonstick skillet over medium-high heat and add the olive oil.
- Once the olive oil is fragrant (indicating it’s hot), add the finely diced onion to the pan and sauté for 1 minute until slightly softened. Then, add the fresh spinach and toss to combine.
- Sauté the spinach over medium heat for 4-5 minutes, or until it has completely wilted. Remove from heat.
- In a large mixing bowl, combine the ricotta cheese, cottage cheese, sweet potato puree, minced garlic, salt, and the wilted spinach mixture. Mix until all ingredients are well incorporated. Set this delicious filling aside.
- Prepare a freezer-safe casserole dish by spreading 1 cup of your favorite marinara sauce on the bottom. Add about 1/2 cup of the sweet potato and cheese mixture, then use a spatula to gently mix and evenly spread the sauce across the bottom of the dish. This creates a flavorful base.
- Carefully stuff each uncooked jumbo shell individually with the sweet potato and cheese mixture until it’s generously filled. Arrange the stuffed shells in the casserole dish, open side facing upwards. Continue this process until all shells are used or the dish is full.
- Finally, pour the remaining marinara sauce over the arranged shells, ensuring they are well covered.
- Allow the stuffed shells to cool completely before covering the casserole dish. Use either its designated cover, or tightly wrap with a piece of plastic wrap, followed by a layer of tin foil for extra protection against freezer burn.
- Before placing the dish into the freezer, label it with the date and contents. Freeze for up to 3 months.
When It’s Time to Enjoy
Extra Ingredients for Baking
- 1/2 cup vegetable broth
- 1 cup shredded mozzarella cheese
Baking Directions (from frozen in oven)
- Preheat your oven to 375ºF (190ºC).
- Remove the stuffed shells from the freezer. Discard any plastic wrap you used for covering or remove any non-oven-safe lids.
- Next, gently pour ½ cup of vegetable broth over the frozen shells. This helps to prevent them from drying out and assists in the cooking process. Cover the entire dish securely with tin foil.
- Bake at 375ºF for one hour. After one hour, uncover the dish, sprinkle the shredded mozzarella cheese evenly over the shells, and continue baking for an additional 10 minutes, or until the cheese is beautifully melted and bubbly. Serve hot and savor the comforting flavors!
Moroccan Chickpea Couscous: An Anti-Inflammatory & Freezer-Friendly Delight
This vibrantly flavorful and anti-inflammatory Moroccan Chickpea Couscous skillet is a truly healthy vegetarian meal that’s perfectly suited for your freezer. Bursting with aromatic spices and wholesome ingredients, it offers a taste of North Africa that’s both comforting and invigorating. Its freezer-friendly nature makes it an ideal option for quick, exotic weeknight dinners.
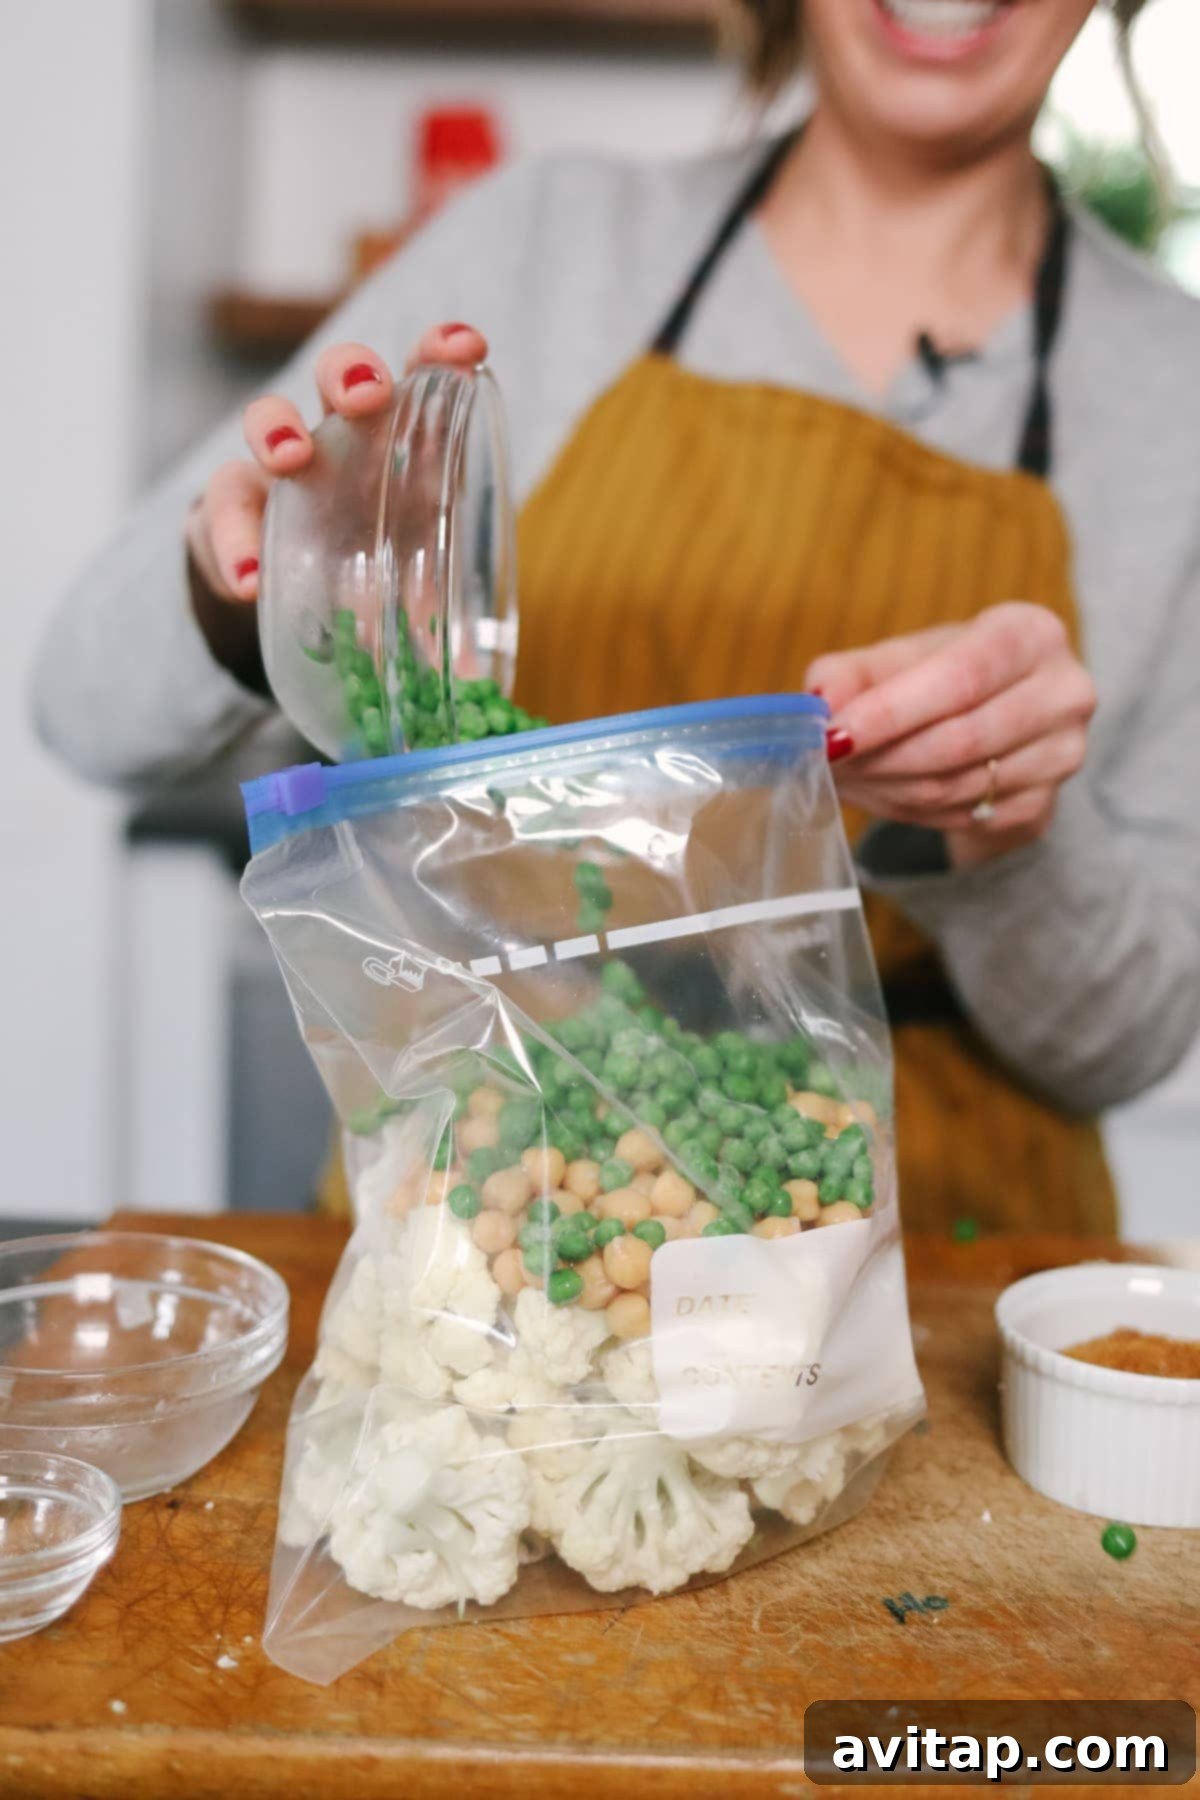
Components for Freezing
- 1/2 large white onion, diced
- 4 cloves garlic, minced
- 4 cups fresh cauliflower, chopped into florets
- 2 tablespoonsMoroccan spice mix
- 1/4 teaspoon salt
- 1-15 oz. can garbanzo beans (chickpeas), thoroughly drained and rinsed
- 1 cup fresh English peas
- 1 cup uncooked couscous
Freezer Preparation Steps
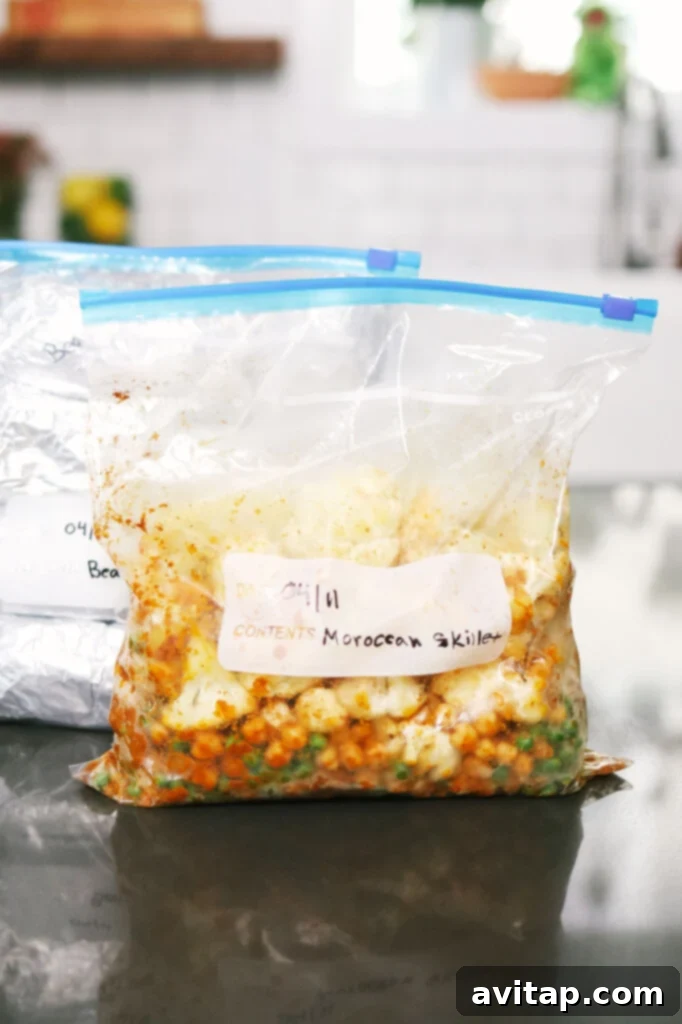
- Combine the diced onion, minced garlic, chopped cauliflower, Moroccan spices, salt, drained garbanzo beans, and fresh peas into a large freezer-safe gallon-size bag or container.
- Place the uncooked couscous into a separate small bag (either plastic or reusable) and seal it securely. This is important because the couscous will be cooked separately later.
- Insert the small bag of couscous inside the larger gallon-sized bag with the rest of the ingredients.
- Remove as much air as possible from the gallon-size bag before sealing it tightly. This prevents freezer burn and keeps the ingredients fresh.
- Label and date the bag clearly, then place it in the freezer for up to three months.
Cooking This Vibrant Dish
Ingredients to Add During Cooking
- 3 tablespoons olive oil
- 1.5 cups vegetable broth (or any preferred broth)
Optional Enhancements:
- 1/4 cup crumbled feta cheese
- 1/4 cup freshly chopped mint
- 1/4 cup creamy hummus
Stovetop Cooking Instructions (From Frozen)
- First, heat a large skillet over medium-high heat and add the olive oil.
- Once the olive oil is fragrant, reduce the heat to medium and pour the frozen cauliflower mixture into the skillet. Cook for 10-15 minutes, stirring every couple of minutes, until the cauliflower is tender and no longer frozen.
- When the vegetables are fully cooked, add the vegetable broth to the skillet and increase the heat to high.
- Bring the broth to a rolling boil, then add the couscous from its separate bag. Remove the skillet from the heat immediately, stir well, and cover tightly.
- Let the couscous sit for 5 minutes off the heat, allowing it to absorb the liquid and become fluffy. Then, uncover and fluff with a fork.
- Stir in any optional toppings you desire, such as feta, mint, or hummus, and serve hot!
Instant Pot Sweet Potato Carrot Ginger Soup: A Cozy & Aromatic Plant-Based Soup
Indulge in the vibrant flavors of this beautiful Instant Pot Sweet Potato Carrot Ginger Soup. Crafted in under 30 minutes, this creamy, comforting soup features fresh ginger, rich coconut milk, and a hint of red curry paste, creating an aromatic and deeply satisfying experience. Its naturally sweet and savory profile makes it a perfect, wholesome freezer meal for chilly evenings or when you need a nourishing boost.
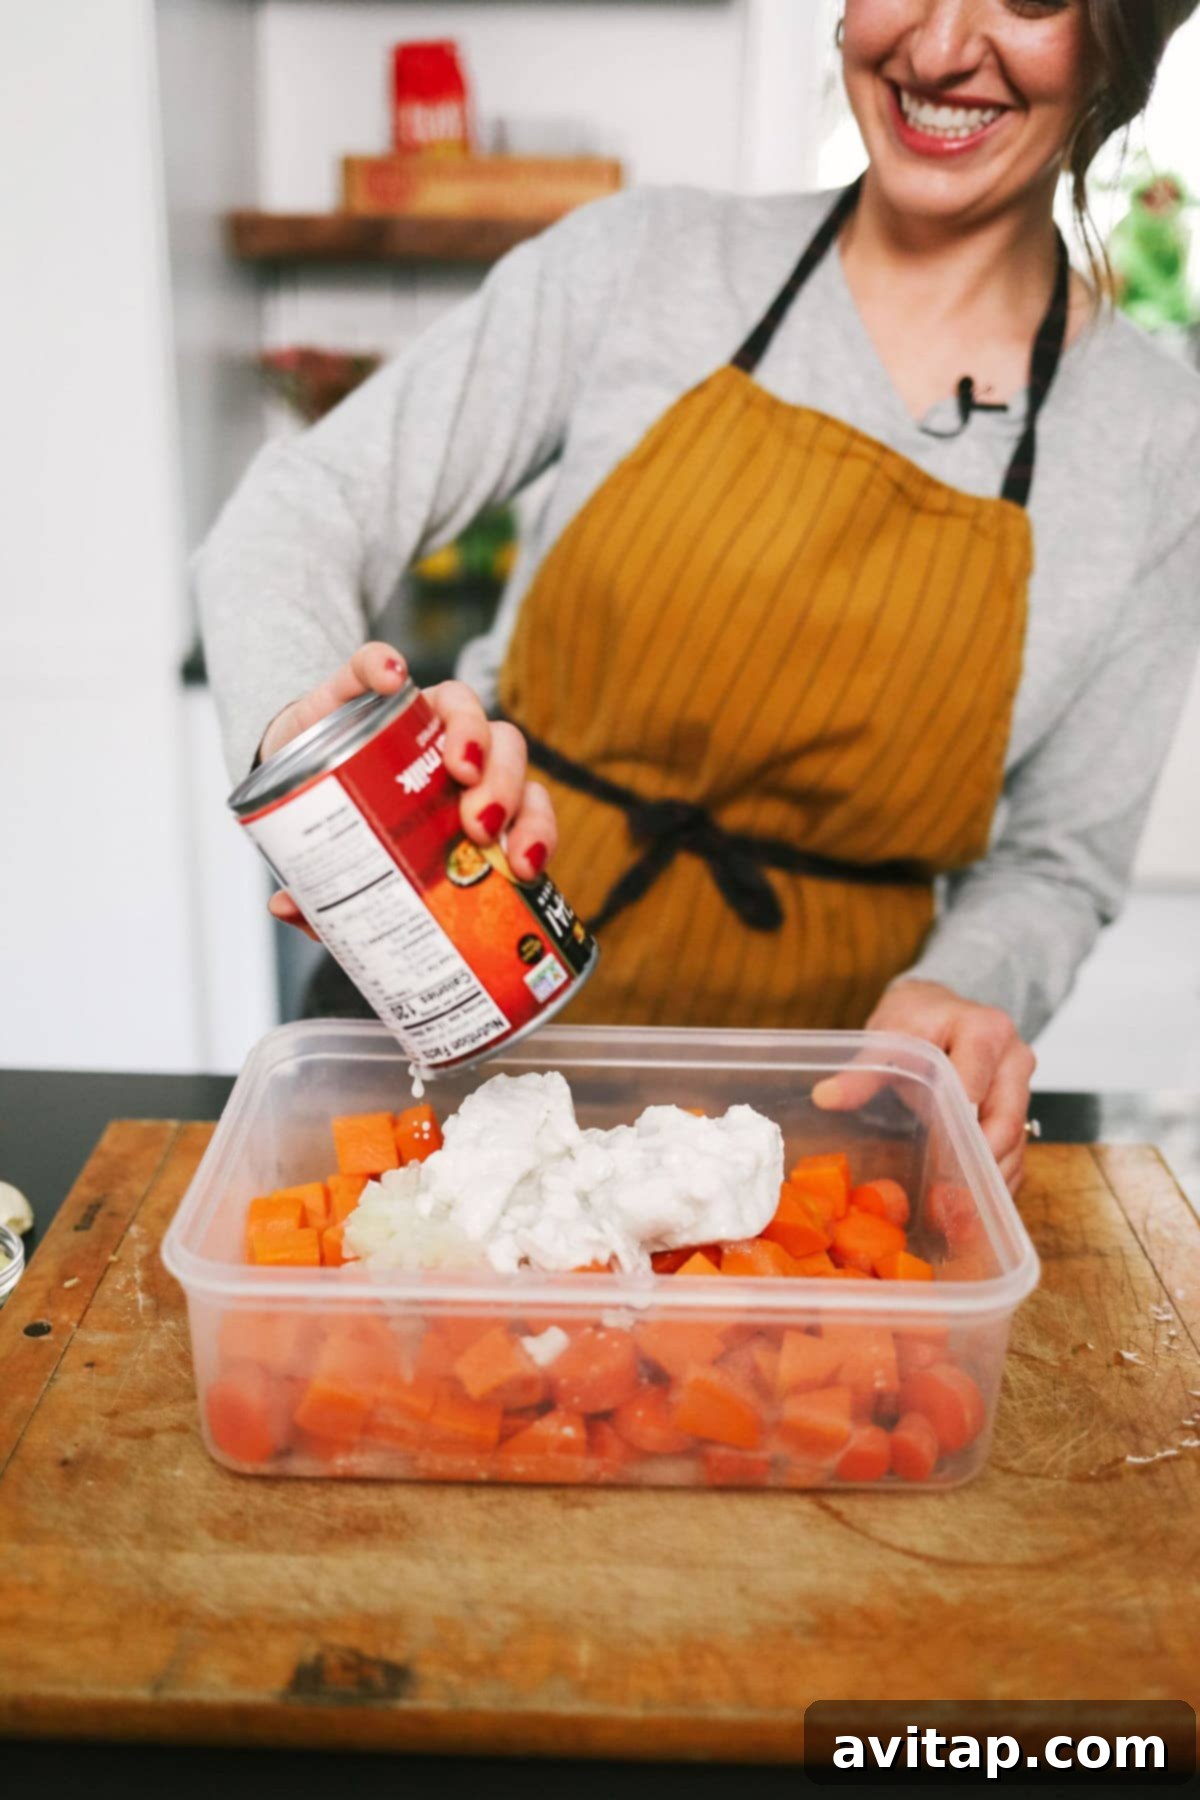
Ingredients for Freezing
- 8 cups water (for blanching)
- 1 teaspoon salt (for blanching water)
- 1/2 large white onion, chopped
- 4 cloves garlic, chopped
- 2 large sweet potatoes, peeled and diced (approximately 5 cups)
- 4 large carrots, chopped
- 1 tablespoon freshly grated ginger
- 2 tablespoons red curry paste
- 1 15-oz. can full-fat coconut milk
Freezing Instructions
- **Blanching Sweet Potatoes:** This crucial first step prevents the sweet potatoes from becoming grainy and discolored during freezing. Prepare an ice water bath in a large mixing bowl by adding about 2 cups of ice and 8 cups of cold water. Set this aside.
- In a separate large pot, bring 8 cups of water and 1 teaspoon of salt to a rolling boil. Once boiling, add the diced sweet potatoes to the pot and boil for exactly 3 minutes (no longer than 3 minutes to avoid overcooking).
- Immediately remove the sweet potatoes from the boiling water with a slotted spoon and transfer them directly into the prepared ice bath. Let the sweet potatoes cool in the ice bath for 10 minutes, or until they are completely chilled.
- Remove the sweet potatoes from the ice bath and spread them on a clean dish towel to thoroughly dry. Excess moisture can lead to ice crystals in the freezer.
- Now, combine the chopped onion, garlic, blanched sweet potatoes, chopped carrots, grated ginger, red curry paste, and full-fat coconut milk into a large freezer-safe bag or container. Mix all ingredients very well to ensure even distribution of flavors. Seal the bag or container tightly.
- Label and date the bag/container, then place it in the freezer for up to 3 months.
Ready to Savor?
Ingredients to Add While Cooking
- 1 cup vegetable broth (or water)
- 1/4 teaspoon salt
- 2 tablespoons fresh lime juice
Instant Pot Cooking Directions (From Frozen)
- Remove the frozen soup mixture from the freezer. If using a rigid container, you might need to run it under warm water to loosen the ingredients. You may also need to break the frozen block into a few pieces for it to fit into your Instant Pot.
- Place the frozen ingredients into the Instant Pot. Add the vegetable broth and salt.
- Cover the Instant Pot and turn the valve to the “sealing” position. Set the Instant Pot to “Manual” or “Pressure Cook” on high pressure, and set the timer to 3 minutes. Note that it will take approximately 10-15 minutes for your Instant Pot to build sufficient pressure before the cooking countdown begins.
- Once the timer signals completion, perform a quick release by carefully opening the vent and allowing all the steam to escape.
- Open the Instant Pot and give the soup a good stir. Use a fork to test the tenderness of both the sweet potato and carrot chunks. Ensure they are cooked through. Sweet potatoes tend to cook faster than carrots, so they will likely be softer. If any vegetables are still too firm, simply close the lid and cook for an additional 1-2 minutes on high pressure.
- Now it’s time to blend! For a silky-smooth soup, you can either use a Vitamix/high-speed food processor or an immersion blender directly in the Instant Pot. Blend until the soup reaches your desired smooth consistency. At this point, feel free to add a little more vegetable broth or water if you prefer a thinner soup.
- Finish the soup by stirring in 2 tablespoons of fresh lime juice and blending briefly one more time.
- Serve your aromatic soup immediately. Garnish with fresh cilantro, finely minced red onion, and a sprinkle of everything bagel seasoning for an extra pop of flavor and texture.
Start Your Vegetarian Freezer Meal Journey Today!
Embracing vegetarian freezer meals is more than just cooking; it’s adopting a lifestyle of convenience, health, and mindfulness. These five plant-based recipes demonstrate just how easy and affordable it can be to stock your freezer with nourishing options that cater to your busy schedule. Say goodbye to last-minute meal stress and hello to flavorful, wholesome dinners waiting patiently for you.
From the zesty Instant Pot Lentil Tacos to the comforting Sweet Potato Carrot Ginger Soup, each recipe is designed to simplify your life while delighting your taste buds. So, gather your ingredients, download our handy guides, and embark on your vegetarian freezer meal prep journey. Your future self (and your wallet) will thank you for making healthy eating effortless and enjoyable!