
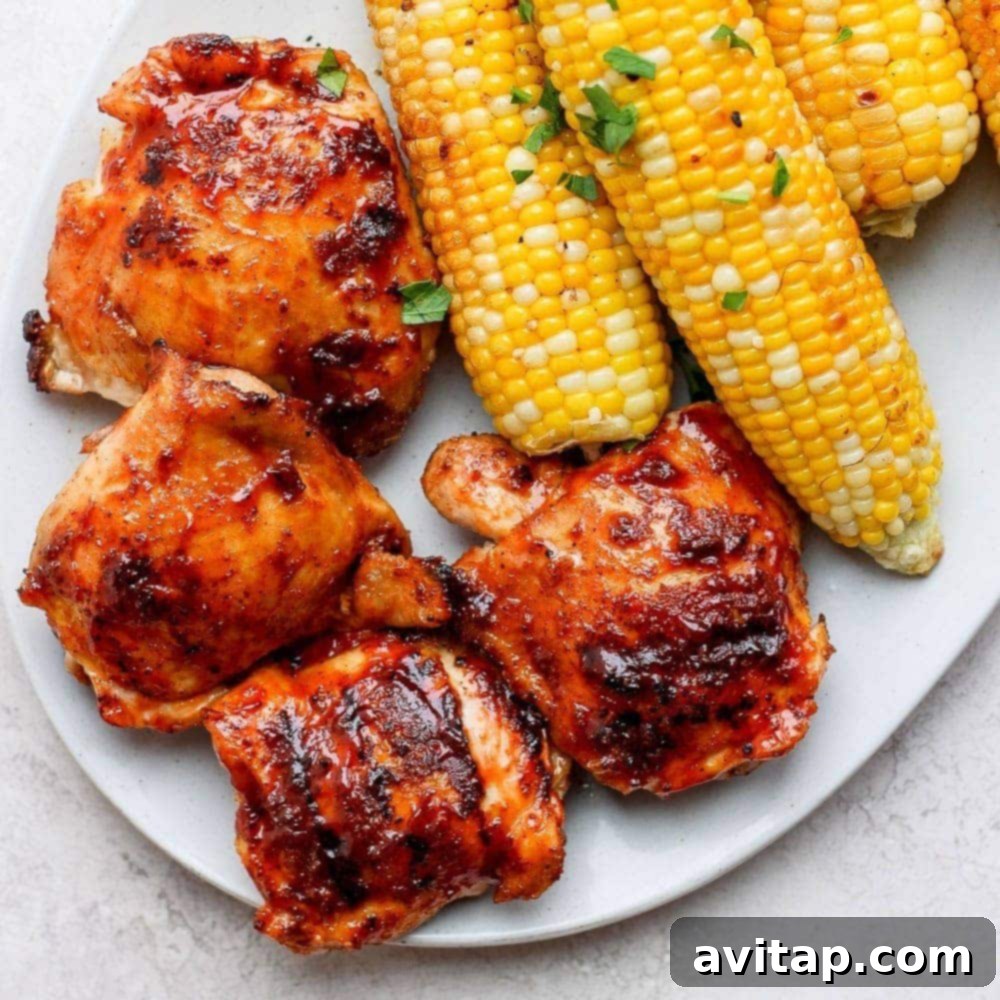
If there’s one recipe that consistently steals the show at every gathering, it’s these incredible grilled BBQ chicken thighs. This isn’t just a recipe; it’s a proven method to create chicken that everyone absolutely adores. The secret to their irresistible flavor and texture lies in a powerful one-two punch: a savory dry rub followed by a generous slathering of BBQ sauce.
Having perfected these grilled chicken thighs over countless cookouts, through all seasons – even winter grilling sessions – I’ve discovered that the magic truly comes from this dual-layer flavor strategy. The dry rub permeates the meat, infusing it with deep, aromatic spices, while the BBQ sauce caramelizes on the grill, adding a sweet, tangy, and smoky finish.
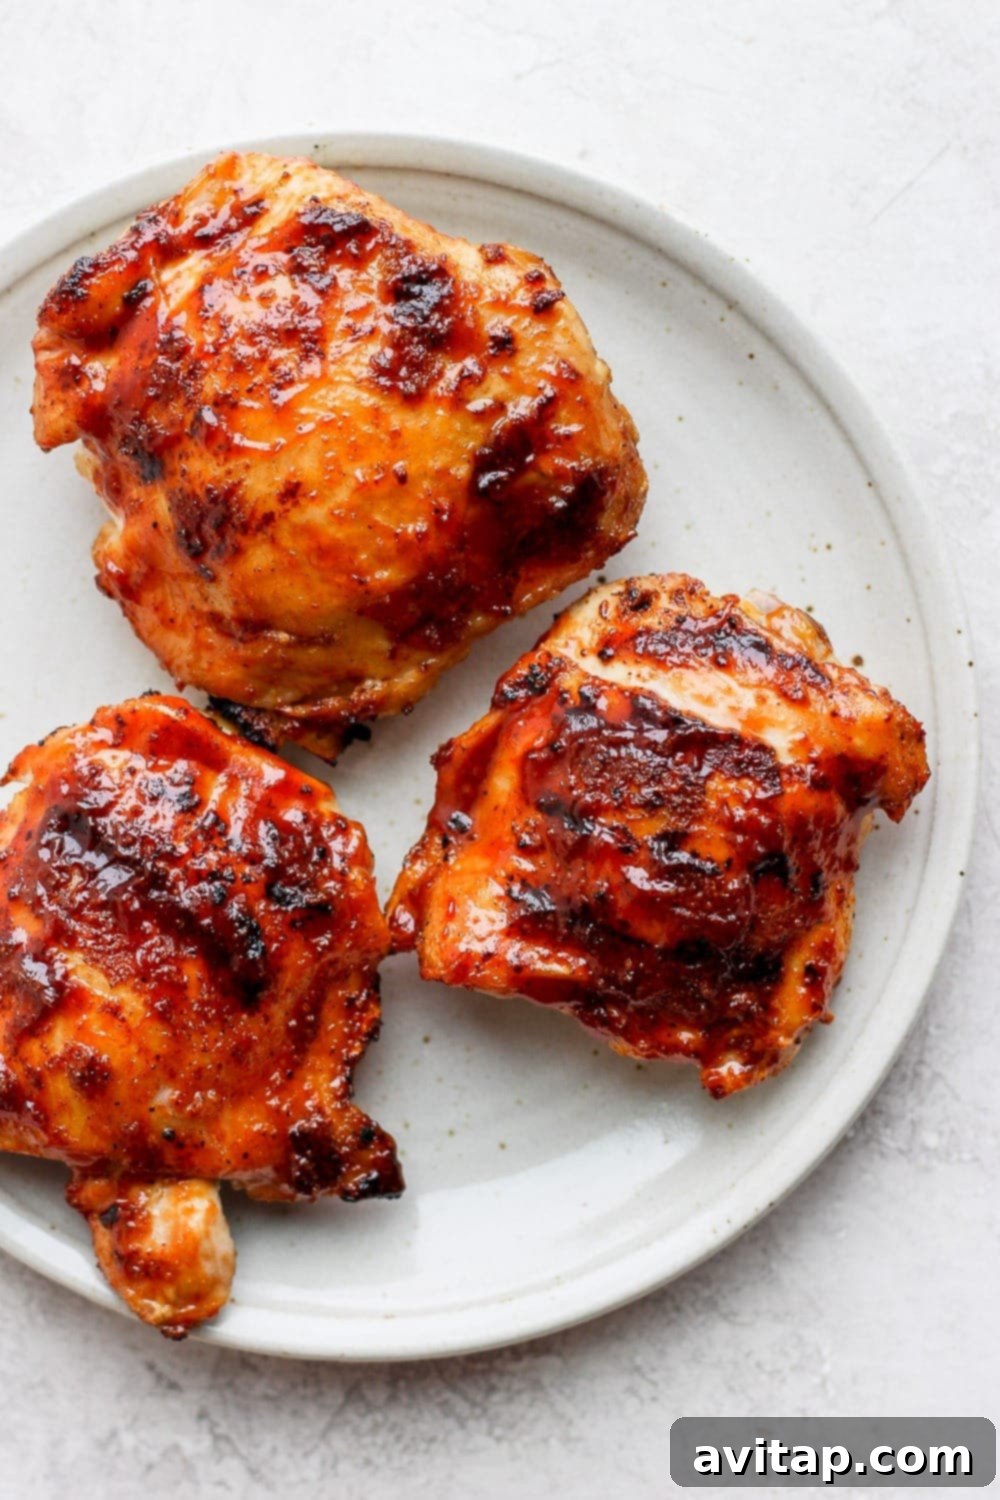
Prepare to say hello to your new favorite grilled chicken recipe! I’m genuinely excited for you to experience the juicy tenderness and explosive flavor of these thighs. By combining a robust dry rub with your favorite BBQ sauce, we ensure every bite is packed with deliciousness.
These grilled BBQ chicken thighs are the centerpiece of any fantastic meal. Pair them with classic BBQ sides like a foil-packed baked potato, savory balsamic grilled Brussels sprouts, or a fresh summer salad for a complete and satisfying feast.
Unveiling the Flavor Profile: What to Expect
Imagine a symphony of smoky, subtly spicy, and wonderfully sweet notes dancing on your palate. That’s precisely what these grilled chicken thighs deliver. The carefully crafted dry rub provides the foundational smoky and spicy elements, while the BBQ sauce introduces a delightful sweetness that perfectly balances the overall flavor. Each component plays a crucial role in creating an unforgettable taste experience that will have everyone asking for your secret.
Choosing the Ideal Chicken Thighs for Grilling Success
When it comes to grilling chicken thighs, you have the flexibility to use either bone-in or boneless cuts. The choice ultimately comes down to your personal preference and what you prioritize in your grilled chicken.
For me, bone-in chicken thighs are a clear winner. The bone not only helps to distribute heat more evenly during cooking, preventing the meat from drying out, but it also imparts a deeper, richer flavor to the chicken. This subtle enhancement makes a significant difference in the final taste. However, if you prefer a quicker cooking time or easier carving, boneless thighs are an excellent alternative. Just remember to adjust your grilling time accordingly, as boneless cuts cook faster.
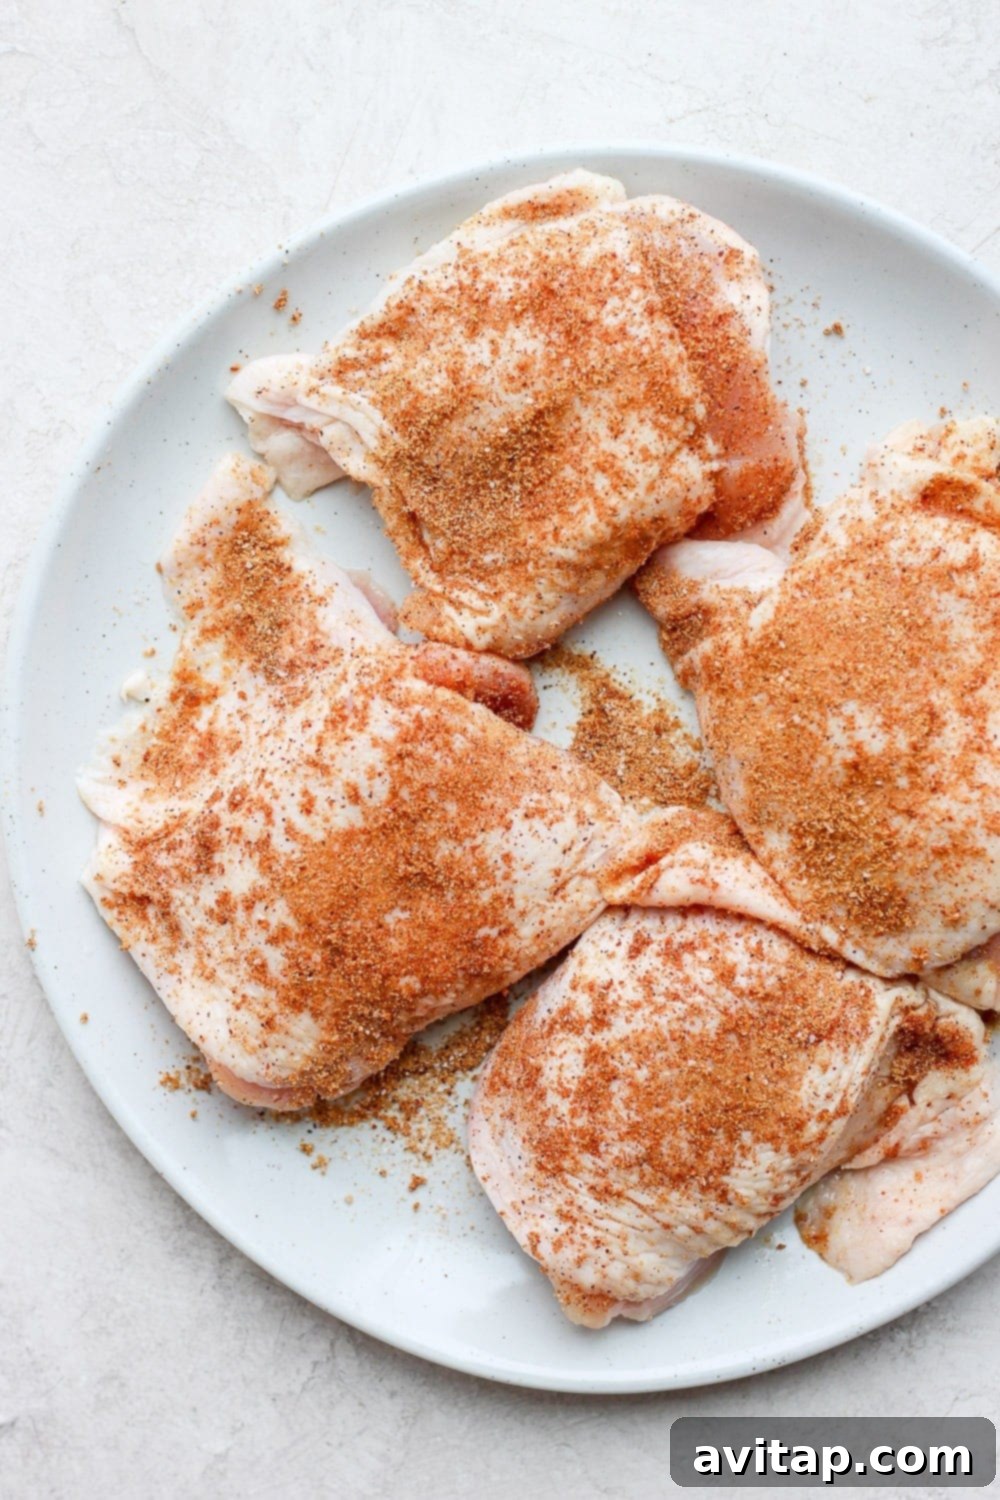
Mastering the Grill: A Step-by-Step Guide to Perfect Chicken Thighs
Achieving perfectly grilled chicken thighs every single time is simpler than you might think. Follow this straightforward 4-step process, and you’ll be serving up unbelievably juicy chicken with irresistibly crispy skin.
Step 1: The Essential Moisture Removal
This initial step might seem minor, but it’s absolutely critical for achieving that coveted crispy skin. Before applying any seasoning, thoroughly blot your chicken thighs with paper towels. Removing excess surface moisture allows the skin to crisp up beautifully on the grill, rather than steaming. This simple action also helps the dry rub adhere better to the chicken, ensuring maximum flavor penetration. Don’t skip this!
Step 2: Crafting and Applying the Flavorful Dry Rub
A phenomenal dry rub is the cornerstone of truly delicious grilled chicken. It infuses the meat with a complex blend of spices, creating a robust flavor base. While our team has a reputation for fantastic seasoning blends, including a beloved all-purpose chicken dry rub, for these BBQ thighs, we’re going for something with a bit more smoky heat. This specific blend perfectly complements the BBQ sauce:
- Chipotle Powder: For a smoky, mild heat.
- Chili Powder: Adds depth and a touch of warmth.
- Smoked Paprika: Enhances the smoky flavor profile beautifully.
- Ground Black Pepper: A classic seasoning that adds a pungent kick.
- Salt: Essential for tenderizing the meat and amplifying all other flavors.
Combine these spices thoroughly, then generously rub the mixture all over the chicken thighs, ensuring every crevice is coated. This meticulous application guarantees an even distribution of flavor.
Pro Tip: The Power of Resting
After applying the dry rub, don’t rush to the grill! Allow the seasoned chicken thighs to rest at room temperature for at least 30 minutes, or even longer if time permits (up to 2 hours is ideal, refrigerating for longer periods). This resting period is crucial for several reasons:
- Flavor Infusion: It gives the salt and spices time to penetrate deep into the meat, tenderizing it and building layers of flavor.
- Even Cooking: Bringing the chicken closer to room temperature prevents the meat from seizing up on the hot grill, promoting more even cooking from edge to center.
This simple step significantly enhances both the taste and texture of your finished grilled chicken.
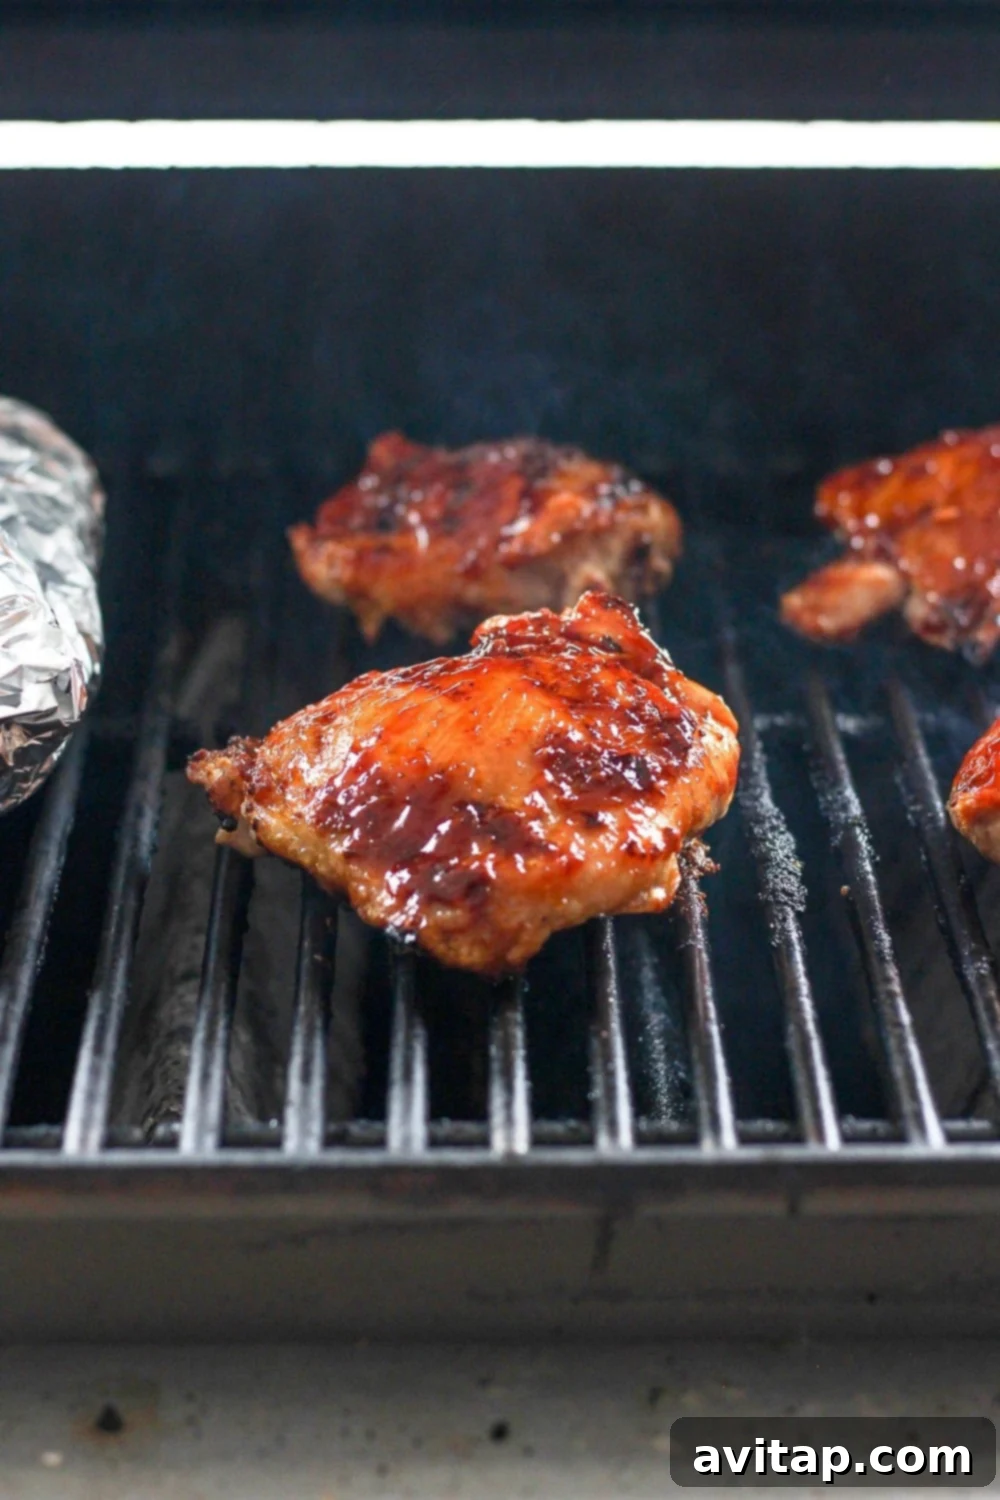
Step 3: Grilling and Saucing for Maximum Flavor
With your thighs beautifully rubbed and rested, it’s time to bring on the heat and the sauce!
- Preheat Your Grill to 400ºF: Ensure your grill is consistently hot. Clean the grates thoroughly to prevent sticking and achieve perfect grill marks.
- Initial Sear (Skin-Side Down, Direct Heat): Place the chicken thighs skin-side down over direct heat. Grill for 4-5 minutes. This intense heat is key to rendering the fat and achieving that wonderfully crispy skin.
- First Flip (Meat-Side Down, Direct Heat): Flip the chicken thighs and continue cooking over direct heat for another 4-5 minutes. This ensures the meat begins to cook through and develops a nice char.
- Second Flip & Indirect Cooking: Flip the chicken thighs one last time, so the skin is facing up. Move them over to indirect heat. Close the grill and allow them to cook for approximately 4-6 minutes. Indirect heat allows the chicken to cook through gently without burning the exterior.
- Sauce Application & Caramelization: At this stage, your thighs should be nearly done. Generously brush your favorite BBQ sauce over each chicken thigh. Close the grill lid and allow the sauce to caramelize for another 2-3 minutes. This creates a beautiful glaze and deepens the BBQ flavor.
- Check for Doneness: The chicken is perfectly cooked when it reaches an internal temperature of 165ºF (74ºC). Insert a meat thermometer into the thickest part of the thigh, avoiding the bone.
Determining the Ideal Grilling Time for Chicken Thighs
Generally, you should grill chicken thighs for about 15-20 minutes, or until they reach an internal temperature of 165ºF (74ºC). However, the exact timing can vary. Thicker chicken thighs will naturally require a longer cooking time compared to thinner cuts. Always rely on a reliable meat thermometer for accuracy, rather than solely on visual cues or time, to ensure food safety and prevent overcooking.

Try It! Thermoworks Thermapen
We cannot stress enough the importance of using a meat thermometer for any cut of meat you’re cooking. It’s the single best way to guarantee your food is safe and perfectly cooked every time. Our go-to device is the Thermapen – it’s incredibly fast, accurate, and consistently reliable.
Buy Now
Step 4: The Crucial Resting Period
Once your chicken thighs reach the ideal internal temperature, remove them from the grill and place them on a clean plate or cutting board. Cover them loosely with foil and allow them to rest for about 5-10 minutes. This resting period is not optional – it’s vital for achieving maximum juiciness. As the chicken rests, the internal temperature continues to rise slightly (carryover cooking), and the muscle fibers relax, allowing the juices to redistribute throughout the meat. Cutting into the chicken too soon would cause all those delicious juices to run out, resulting in a drier piece of meat.
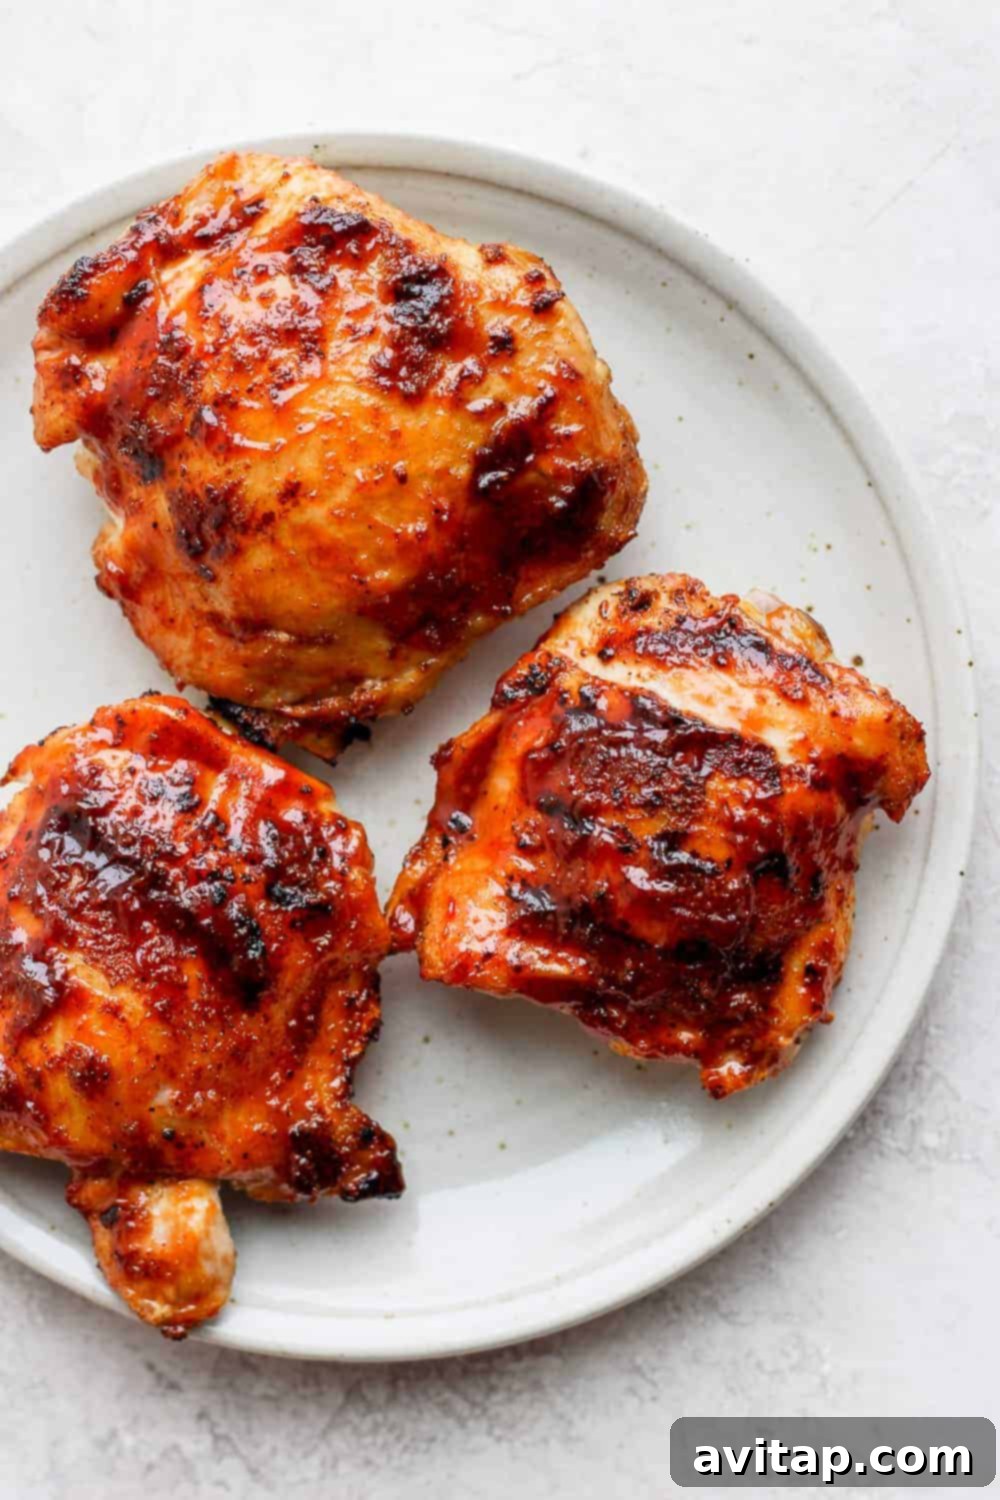
Gas Grill vs. Charcoal Grill: Which is Best?
The good news is that this fantastic grilled chicken thighs recipe is versatile enough to work beautifully on both gas and charcoal grills. Each type of grill offers unique advantages.
- Gas Grill: Offers precise temperature control, quicker heat-up times, and easier cleanup. This allows for more consistent results and simpler execution, especially when managing direct and indirect heat zones.
- Charcoal Grill: Imparts a distinct smoky flavor that many grill enthusiasts adore. While it requires a bit more effort to manage temperature and setup, the authentic charcoal taste can elevate your BBQ experience.
My personal preference often leans towards a gas grill for its ease of use and temperature precision, but for that truly classic BBQ flavor, a charcoal grill is an excellent choice. Ultimately, use whichever grill you feel most comfortable and confident with!
Preventing Dryness: Secrets to Juicy BBQ Chicken Thighs
The key to grilling moist and tender BBQ chicken thighs, without them drying out, lies in careful temperature management and technique. I’ve found that a consistent grilling temperature of 400ºF (200ºC) is absolutely perfect for chicken thighs. This temperature is hot enough to achieve a fantastic sear and crispy skin over direct heat, while still being gentle enough to cook the interior meat through without overcooking or drying it out when moved to indirect heat.
Additionally, the “two forms of flavor” strategy (dry rub and BBQ sauce) also contributes to juiciness. The rub often contains salt, which helps the chicken retain moisture, and the BBQ sauce creates a protective, flavorful crust that seals in juices. Always use a meat thermometer and the resting step for guaranteed success.
Exploring Marinades: An Alternative Flavor Boost
While our dry rub and BBQ sauce method yields incredible results, you might sometimes prefer the deep, pervasive flavor that a marinade offers. If you’re looking to infuse your chicken thighs with a different kind of moisture and flavor, consider using a marinade. We have a fantastic chicken marinade post where we share 6 diverse and delicious options, from zesty lemon-herb to spicy buffalo.
If you opt for a marinade, simply marinate your chicken thighs for at least 30 minutes (or several hours for deeper flavor) before proceeding with the grilling steps outlined above, starting from the preheating of the grill.
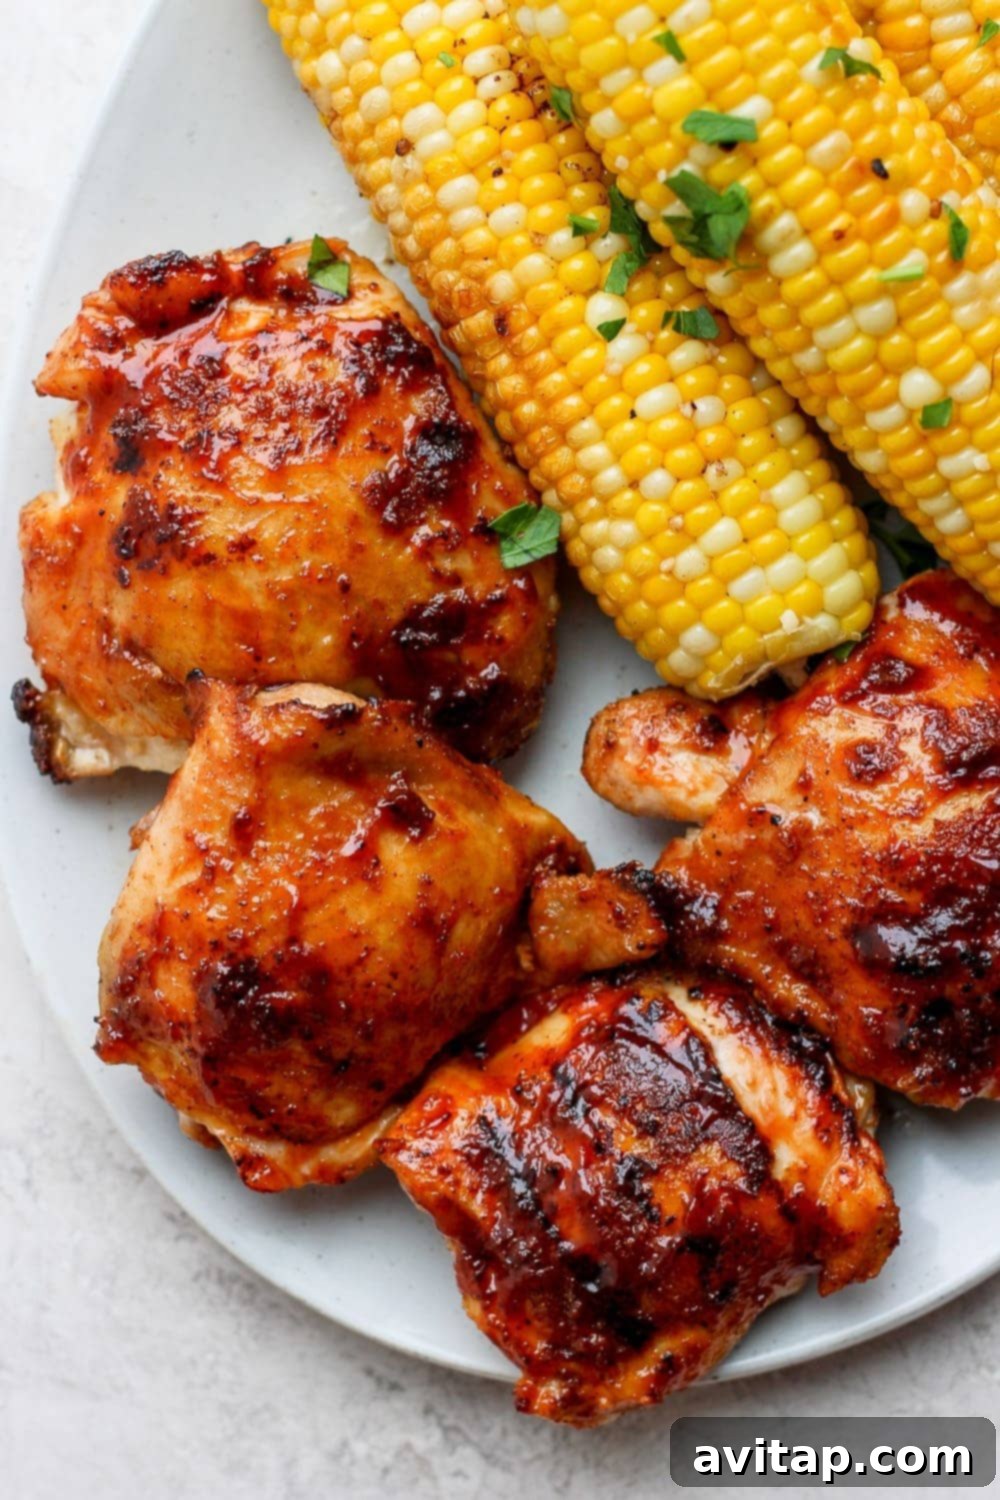
Complementary Serving Suggestions for Your BBQ Feast
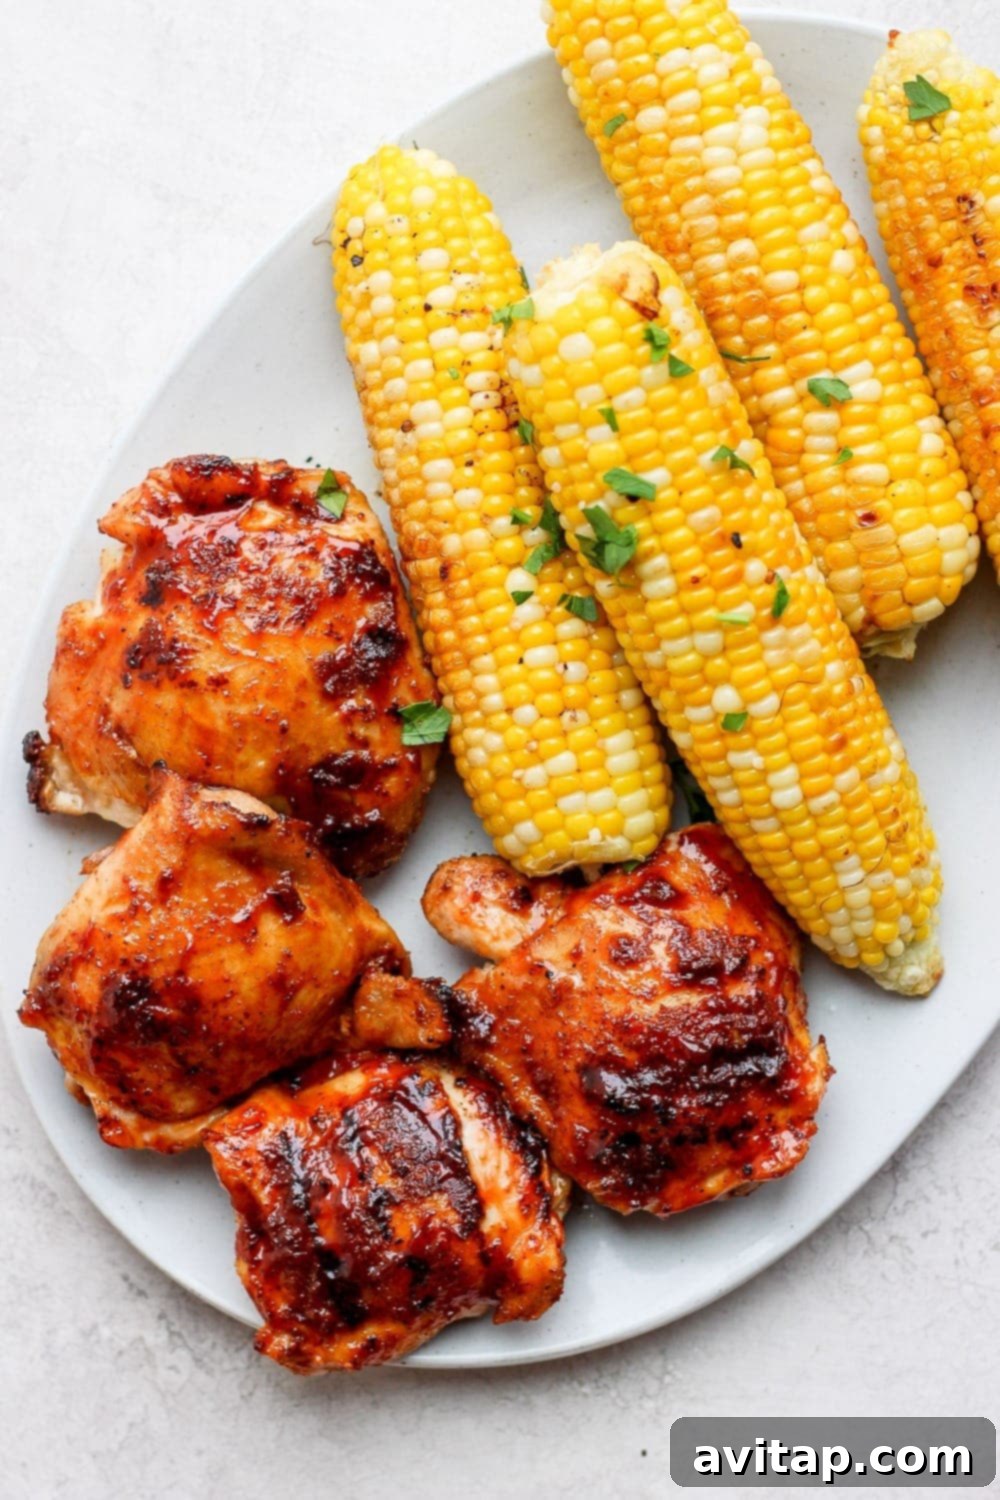
No BBQ is complete without an array of delicious side dishes. These grilled BBQ chicken thighs pair wonderfully with a variety of grilled vegetables and classic comforts. Here are some of our top recommendations to elevate your meal:
- Grilled Red Potatoes: These foil-pack grilled red potatoes are incredibly easy to prepare and make a fantastic addition to any BBQ. Simply toss them in olive oil and your favorite spices, then seal them in a foil pack and grill alongside your chicken. They emerge tender and flavorful with minimal effort.
- Baked Potatoes in Foil: Whether you’re aiming for a grilled baked potato in foil or using your oven, this method guarantees a perfectly fluffy baked potato every time. A timeless classic that complements grilled meats beautifully.
- Easy Grilled Asparagus: Embrace asparagus season with this simple yet delicious method. Grilling asparagus in foil yields perfectly tender-crisp spears in just 20 minutes, making it a quick and healthy side dish that appeals to everyone.
- Balsamic Grilled Brussels Sprouts: This recipe transforms Brussels sprouts into a delightful and flavorful side. The balsamic glaze caramelizes on the grill, adding a tangy sweetness that balances the slight bitterness of the sprouts. Perfect for a weeknight meal or meal prep.
- Grilled Corn in Foil: A true summer staple! Achieving perfectly cooked corn on the cob is effortless with this grilled corn in foil recipe. The foil steams the corn, locking in its natural sweetness and moisture, resulting in tender, juicy kernels every time.
Discover More of Our Favorite…
Inspired Grilled Chicken Recipes
If you’ve loved this recipe, explore our extensive collection of grilled chicken dishes designed to satisfy every craving. From different cuts to varied flavor profiles, there’s always something new to try on the grill.
- Grilled Chicken Legs
- The Best Grilled Chicken Marinade
- Grilled Whole Chicken
- Grilled Chicken Salad
- Grilled Boneless Chicken Thighs
- Grilled Chicken Breast
- Grilled Chicken Kabobs
- Grilled Pesto Chicken Skewers (kid-friendly!)
- Browse AllGrilled Chicken Recipes
Storage Best Practices for Grilled Chicken Thighs
To ensure your delicious grilled BBQ chicken thighs remain fresh and safe to eat, proper storage is key. First, allow the cooked chicken thighs to cool completely to room temperature. This is important to prevent condensation, which can lead to sogginess and bacterial growth. Once cooled, transfer them to an airtight container. They can then be stored in the refrigerator for up to 3-5 days. For longer storage, grilled chicken thighs can be frozen in an airtight freezer-safe bag or container for up to 2-3 months. Thaw them in the refrigerator overnight before reheating.
Creative Ways to Repurpose Leftover BBQ Grilled Chicken Thighs
Don’t let any delicious leftovers go to waste! Grilled BBQ chicken thighs are incredibly versatile and can be transformed into exciting new meals. We love finding creative ways to repurpose our recipes. Here are a few ideas to inspire your next meal:
- Make a Flavorful Chicken Salad: Shred your leftover chicken thighs (discarding the bones if bone-in). Then, use the shredded meat to create our vibrant BBQ Chicken Salad recipe. It’s a fresh and light way to enjoy the smoky flavors.
- Whip Up BBQ Chicken Pizza: Everyone loves pizza, and it’s even better with BBQ chicken! Use a store-bought crust for a quick semi-homemade meal, and top it with shredded BBQ chicken, red onion, and extra BBQ sauce for a delicious BBQ Chicken Pizza. Add some caramelized onions for an extra layer of sweetness.
- Create Delectable BBQ Pulled Chicken Sandwiches: Shred the chicken thighs, then toss the shredded meat with a little more of your favorite BBQ sauce. Serve it warm on a soft bun for a mouthwatering BBQ Pulled Chicken sandwich. A truly comforting and satisfying option that comes together in minutes.
- Add to Tacos or Quesadillas: Dice or shred the chicken and add it to your favorite taco shells or tortillas with cheese, salsa, and other toppings for a quick weeknight meal.
- Mix into Loaded Nachos: Layer tortilla chips with shredded BBQ chicken, cheese, beans, jalapeños, and a drizzle of sour cream for an ultimate party snack.
BBQ Grilled Chicken Thighs Recipe
These are truly the juiciest grilled chicken thighs you’ll ever make. They’re bursting with flavor thanks to a homemade dry rub and your favorite BBQ sauce, featuring perfectly crispy skin and super tender, juicy meat.
Prep time: 45 mins | Cook time: 15 mins | Total time: 1 hr
Servings: 4
Ingredients
- 1 lb. bone-in chicken thighs (or boneless, adjust cook time)
- 2 teaspoons garlic powder
- 1/4 teaspoon chipotle powder
- 1/4 teaspoon chili powder
- 1/8 teaspoon paprika (smoked paprika preferred for extra flavor)
- 1/8 teaspoon ground black pepper
- 1/4 teaspoon salt
- 1/4 – 1/3 cup BBQ sauce, your favorite kind
Instructions
- Prepare Chicken: Begin by taking out the chicken thighs. Pat each one thoroughly with a paper towel to remove any excess moisture. This is crucial for crispy skin.
- Mix Dry Rub: In a small bowl, combine the garlic powder, chipotle powder, chili powder, paprika, black pepper, and salt. Mix all the spices together until well blended.
- Season Thighs: Pour the spice mixture generously over the chicken thighs. Use your hands to massage the spices evenly onto each thigh, ensuring they are fully coated.
- Rest for Flavor: Let the seasoned chicken thighs sit for at least 30 minutes at room temperature (longer is always better, up to 2 hours for deeper flavor infusion). This helps tenderize the meat and allows flavors to penetrate.
- Preheat Grill: While the chicken is resting, preheat your grill to 400ºF (200ºC). Set up your grill for both direct and indirect heat zones. Clean the grates well.
- Sear Skin (Direct Heat): When the chicken is ready, place the thighs skin-side down over direct heat. Grill for 4-5 minutes to crisp up the chicken skin and render some fat.
- First Flip (Direct Heat): Flip the chicken and cook over direct heat for another 4-5 minutes.
- Second Flip & Indirect Cooking: Flip the chicken one more time (skin-side up) and move it to the indirect heat zone of your grill. Close the grill lid.
- Apply BBQ Sauce: After 2-3 minutes on indirect heat, open the grill. Add a tablespoon or so of your favorite BBQ sauce to the top of each chicken thigh and spread it out evenly.
- Caramelize Sauce & Finish Cooking: Close the grill again and let the BBQ sauce caramelize for 2-3 more minutes. Cook until the internal temperature of the thickest part of the thigh reaches 165ºF (74ºC) using a meat thermometer.
- Rest Chicken: Remove the cooked thighs from the grill and place them on a clean plate or cutting board. Cover loosely with foil and let them rest for 5-10 minutes before serving. This allows the juices to redistribute, ensuring maximum tenderness and flavor.
- Serve: Enjoy your juicy grilled BBQ chicken thighs, perhaps with a little extra BBQ sauce on the side!
Tips & Notes
- BBQ Sauce Choice: The BBQ sauce is a major flavor contributor. Choose a sauce you genuinely love! If you prefer a sweeter profile, opt for a sweeter sauce. If you enjoy a spicier or smokier kick, select a sauce that aligns with those tastes.
- Thermometer is Key: Always use a reliable meat thermometer to ensure your chicken is cooked through to 165ºF (74ºC) and to prevent overcooking.
- Adjust for Thigh Size: Larger or thicker chicken thighs may require a few extra minutes of grilling time.
Watch It!
See how it’s done in our quick video tutorial:
Watch Grilled Chicken Thighs Video Tutorial
Description: Learn the simple steps to create perfectly juicy and crispy grilled BBQ chicken thighs.
Nutrition Information (Approximate)
Per serving (based on 4 servings):
- Calories: 264 kcal
- Carbohydrates: 4 g
- Protein: 25 g
- Fat: 18 g
- Fiber: 0 g
- Sugar: 2 g
Nutrition information is an approximation based on standard calculations and may vary depending on ingredients used and portion sizes. It should be used as a general guide only.
Love this recipe? Leave a comment below!
Don’t forget to tag your delicious creations on social media with the hashtag #fitfoodiefinds. We’d love to see what you’re cooking up!
Photography by: The Wooden Skillet