
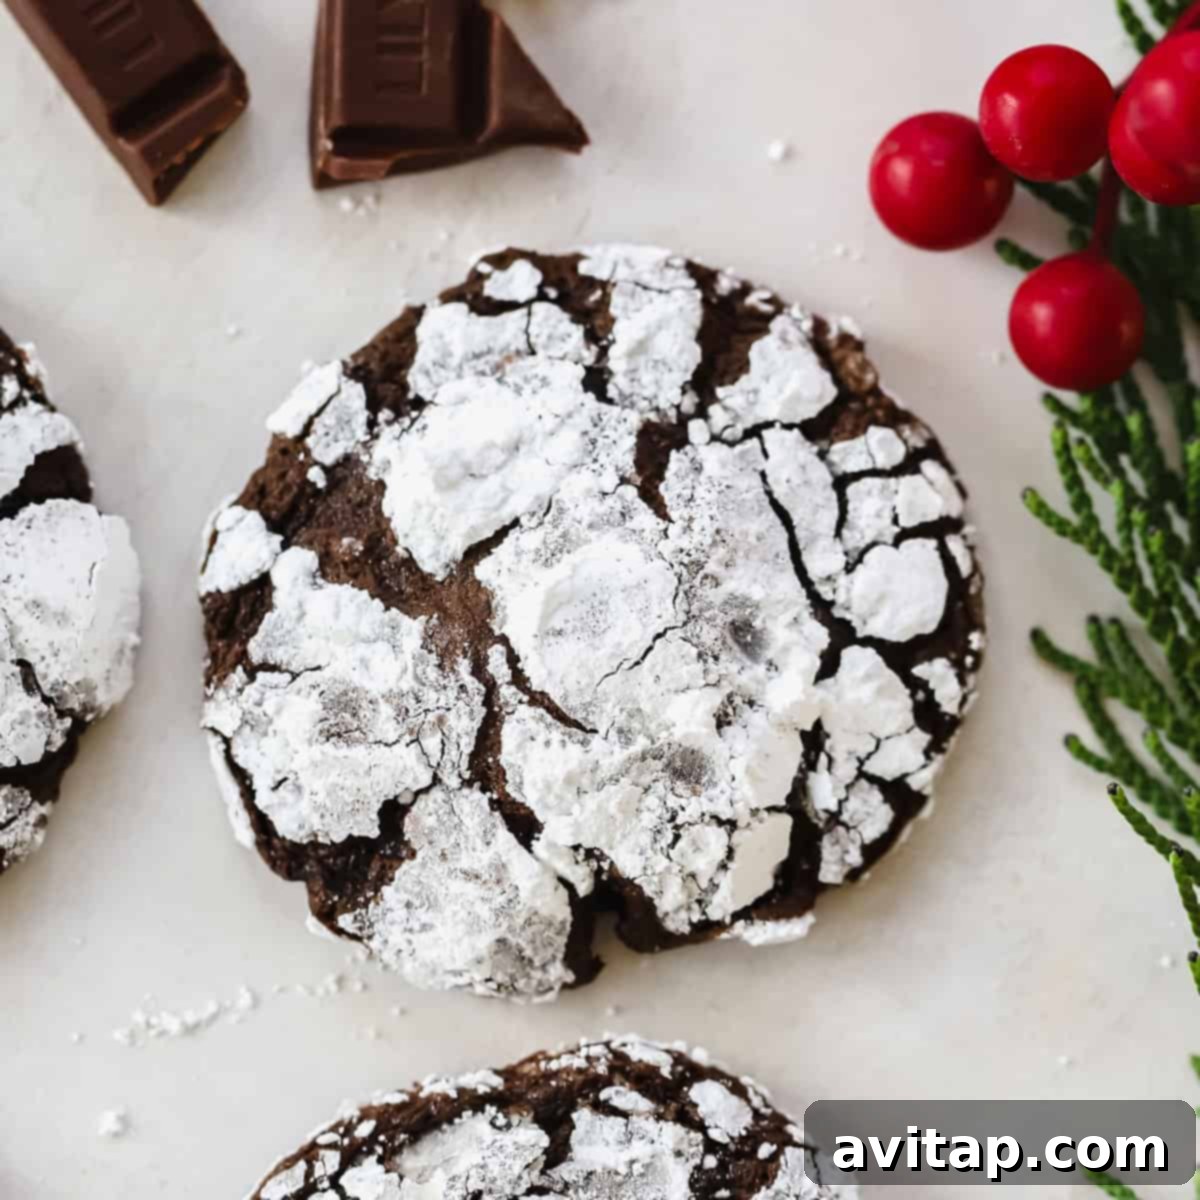
As the holiday season draws near, there’s no better way to fill your home with warmth and joy than by baking a batch of truly extraordinary **Chocolate Crinkle Cookies**. These delightful festive treats are renowned for their irresistibly chewy, fudgy centers and their signature snowy, cracked exterior, created by a generous coating of powdered sugar. They are the quintessential Christmas cookie, bringing smiles and a touch of magic to any gathering, cookie exchange, or quiet evening by the fire. Get ready to embark on a baking adventure that will yield the most decadent, chocolatey crinkle cookies you’ve ever tasted, perfect for sharing with loved ones or savoring all to yourself.
Mastering the Art of Chewy Chocolate Crinkle Cookies
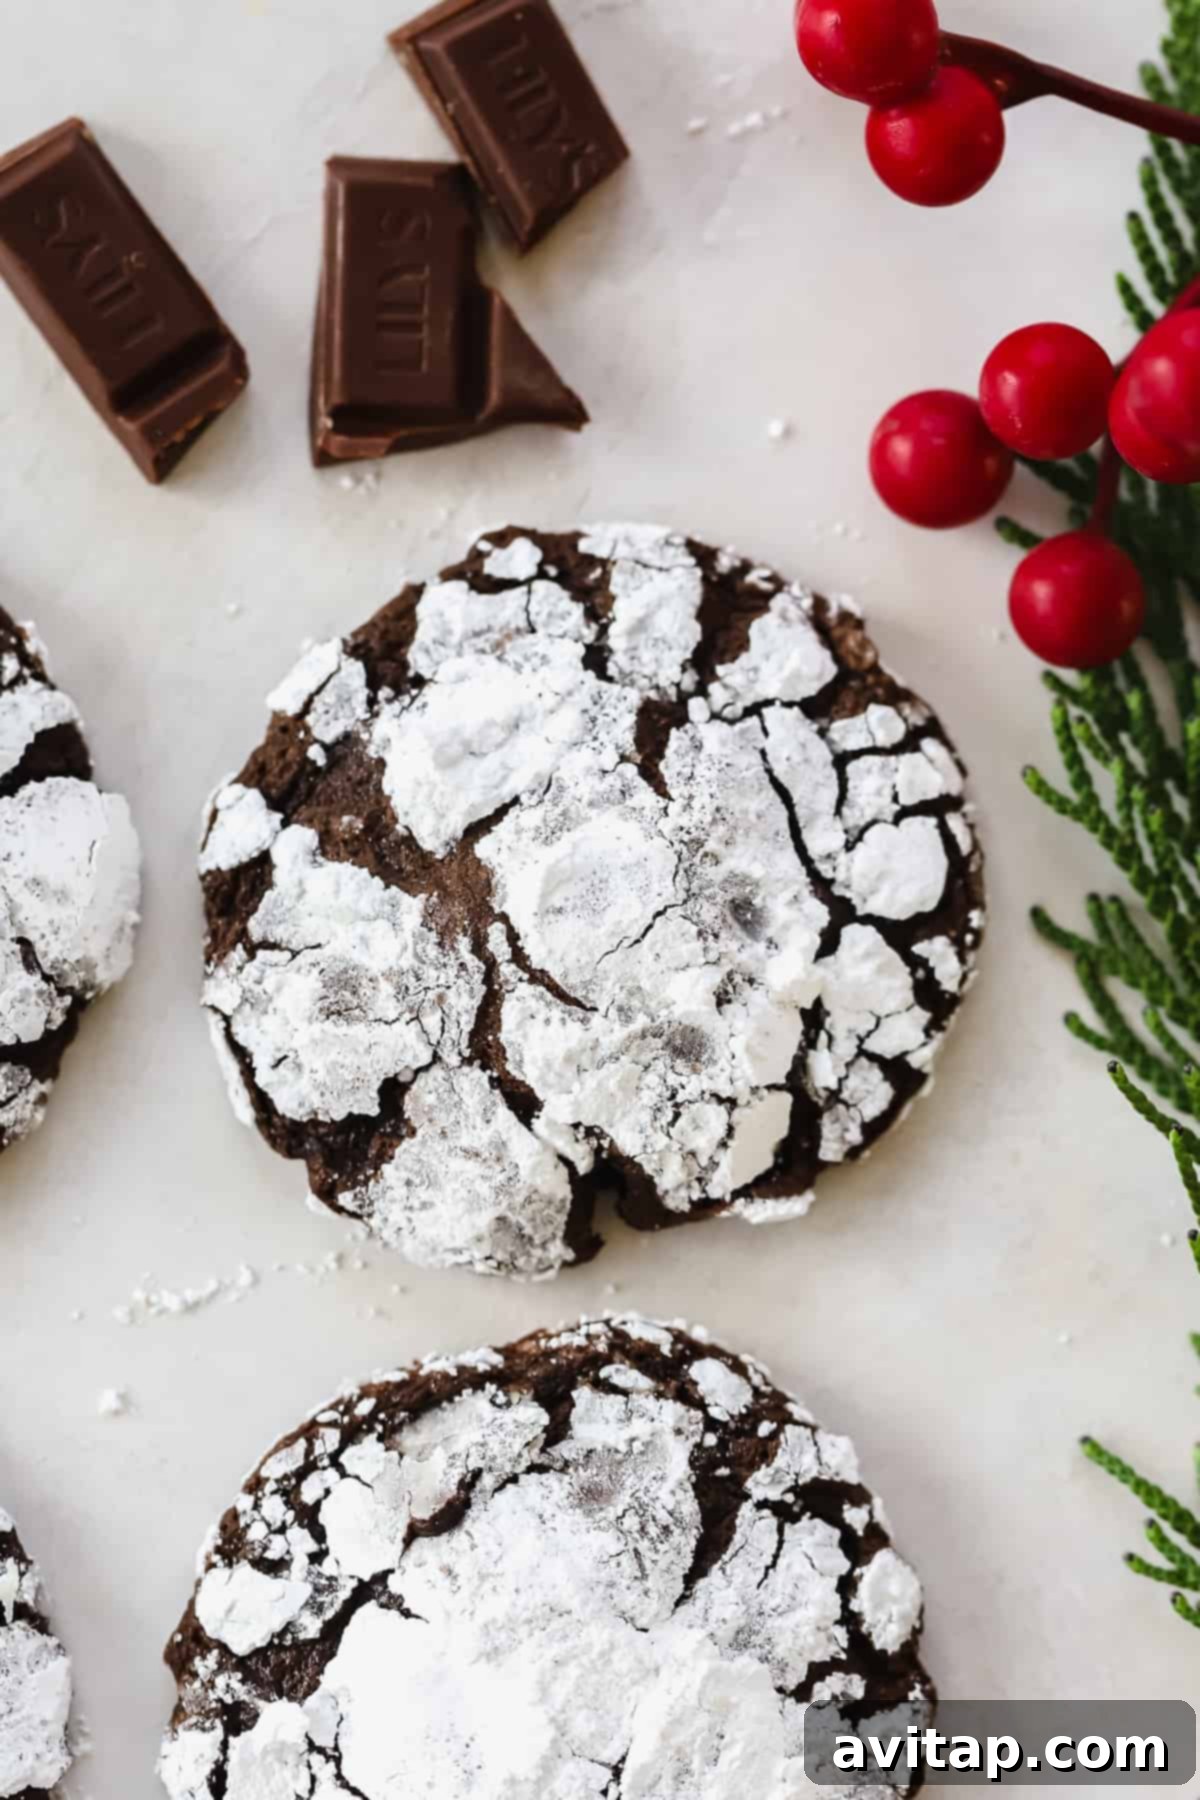
Holiday baking is a cherished tradition, and this year, our rich and chewy chocolate crinkle cookies are taking center stage in every cookie exchange. What sets these crinkle cookies apart is their incredible texture – a luxurious, ooey-gooey chewiness on the inside that perfectly contrasts with the delicate, slightly crisp exterior. This isn’t just any chocolate cookie; it’s a triple chocolate sensation, crafted with a thoughtful blend of dark chocolate, milk chocolate chunks, and robust cocoa powder to deliver an unparalleled depth of flavor. The final dusting of powdered sugar isn’t just for aesthetics; it’s what gives these cookies their iconic “crinkled” appearance, making them as visually appealing as they are delicious. Prepare to elevate your holiday dessert spread with a recipe that promises to be a memorable addition to your festive repertoire.
Why You’ll Fall in Love with These Crinkle Cookies!
Irresistibly Decadent: If you’re searching for a truly indulgent holiday dessert that satisfies every chocolate craving, your quest ends here! These cookies are packed with rich, deep chocolate flavors from three different sources, making each bite an exquisite experience. They are intensely chocolatey, without being overly sweet, achieving that perfect balance that defines a gourmet treat.
Perfectly Chewy Texture: We’ve perfected the balance to ensure these cookies come out wonderfully chewy and fudgy, not dry or cakey. The secret lies in using both melted dark chocolate and generous milk chocolate chunks within the batter. This combination guarantees an ooey-gooey interior that melts in your mouth, offering a luxurious texture that cookie connoisseurs adore.
Festive and Visually Stunning: The distinctive crinkled pattern, achieved by rolling the dough in a generous coating of powdered sugar, makes these cookies incredibly beautiful and festive. They resemble little snow-covered jewels, making them a perfect addition to any holiday platter, dessert table, or as a thoughtful homemade gift. Their unique appearance always draws compliments!
Simple Yet Impressive: Despite their sophisticated appearance and complex flavor, this recipe is surprisingly straightforward to follow. With clear instructions and readily available ingredients, even novice bakers can achieve spectacular results. The process is enjoyable, and the outcome is consistently impressive, ensuring you can whip up a batch whenever a chocolate craving strikes or guests arrive.
Essential Ingredients for Your Best Chocolate Crinkle Cookies
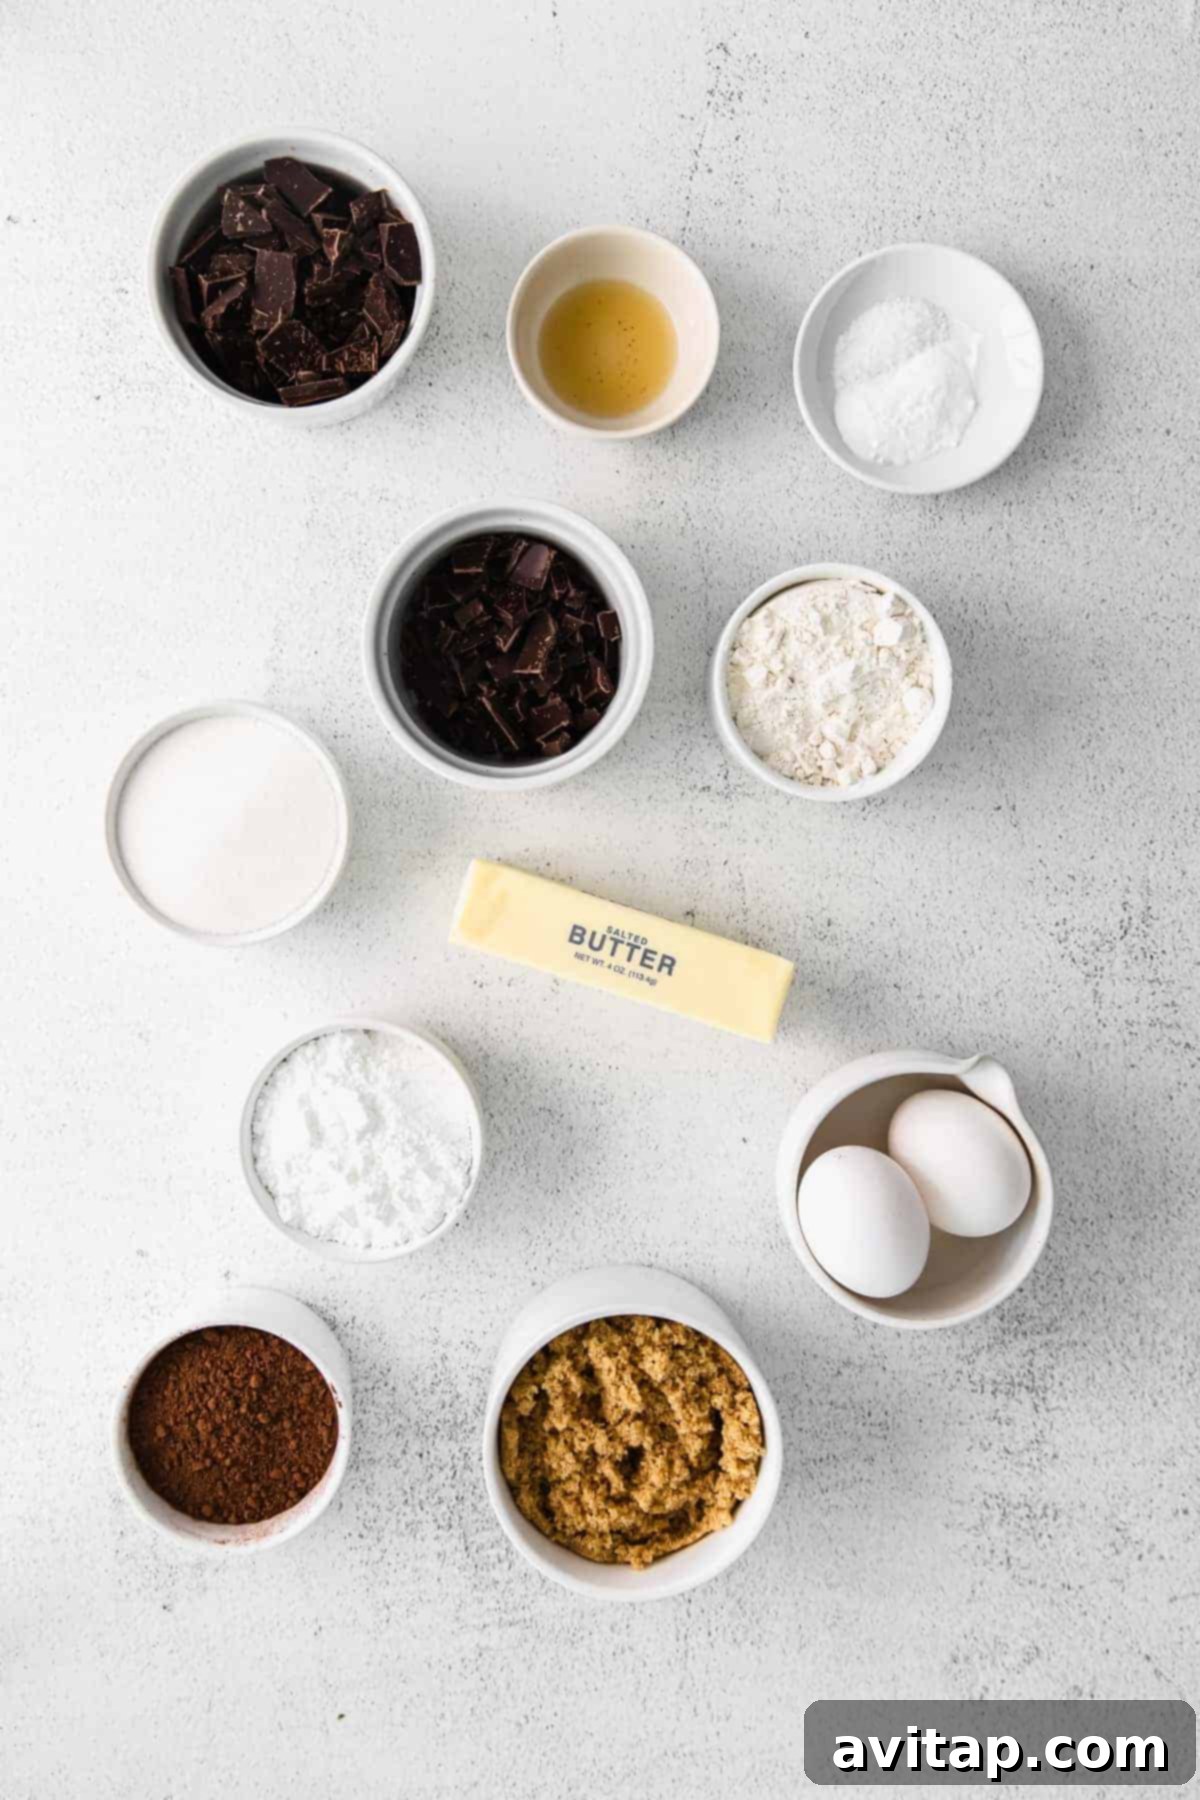
Crafting the perfect chocolate crinkle cookie begins with understanding the role each ingredient plays in achieving that coveted chewy texture, rich flavor, and iconic crinkled finish. Here’s a breakdown of what you’ll need and why:
- Dark Chocolate: A cornerstone of the recipe, a portion of dark chocolate is melted and incorporated directly into the batter. This is key to developing that incredibly deep, intense chocolate flavor and contributes significantly to the cookie’s fudgy, chewy interior. We recommend a quality dark chocolate with at least 70% cocoa solids for the best results.
- Cocoa Powder: Used in conjunction with the melted dark chocolate, cocoa powder amplifies the overall chocolatey richness of these cookies, giving them a truly decadent profile. It ensures every bite delivers a powerful cocoa punch that lingers pleasantly.
- All-Purpose Flour: This forms the structural base of our cookies. Keeping things simple and effective, all-purpose flour provides the necessary body without making the cookies too dense. Precise measurement is crucial for the perfect texture.
- Baking Soda: Our essential leavening agent, baking soda reacts with acidic ingredients (like cocoa powder) to create carbon dioxide, resulting in a slight lift and a tender crumb while helping achieve that characteristic crinkle.
- Salt: A small but mighty ingredient, salt doesn’t just add flavor; it balances the sweetness and remarkably intensifies the complex chocolate notes, making the chocolate taste even more vibrant and profound.
- Milk Chocolate Chunks: Mixed into the cookie dough, these sweet morsels melt into pockets of creamy milk chocolate goodness during baking, providing delightful bursts of sweetness and an extra layer of chocolatey indulgence in every bite.
- Unsalted Butter: A critical fat source, butter adds richness, moisture, and a tender texture to the cookies. Using unsalted butter allows you to control the overall salt content of the recipe.
- Eggs: Acting as the primary binder, eggs provide structure, moisture, and emulsification, ensuring all the ingredients come together cohesively and the cookies maintain their shape and chewiness. Room temperature eggs blend more smoothly.
- Vanilla Extract: A splash of vanilla extract brightens and rounds out the chocolate flavors, adding a subtle warmth and complexity that elevates the overall taste profile of these cookies.
- Brown Sugar: While granulated sugar is used for coating, brown sugar in the dough contributes significantly to the cookies’ chewiness and moisture. Its molasses content adds a deeper, more caramelized flavor compared to white sugar.
- Powdered Sugar: This is the iconic coating! Rolling the cookie dough balls generously in powdered sugar before baking creates the beautiful, snow-like outer layer that cracks as the cookies expand, forming those characteristic crinkles.
- Granulated Sugar: A clever trick! Rolling the dough in granulated sugar *before* the powdered sugar acts as a protective layer. It prevents the powdered sugar from absorbing into the dough and melting during baking, ensuring a distinct, long-lasting crinkle effect.
Can I Make These Gluten-Free?
While you might be able to swap the all-purpose flour for a high-quality gluten-free all-purpose flour blend (one that contains xanthan gum), we have not personally tested this recipe with gluten-free alternatives. Baking with gluten-free flours can alter the texture and moisture content of cookies, so we cannot guarantee the same results or chewy consistency. If you decide to experiment, look for a blend specifically designed for baking and be prepared for potential variations.
Can I Use Different Flour?
For the best results and to achieve the signature chewy texture of these chocolate crinkle cookies, we strongly advise against substituting the all-purpose flour. Different flours have varying protein contents and absorption rates, which can significantly impact the dough’s consistency and how the cookies spread and crinkle. Stick with all-purpose flour to ensure your cookies turn out perfectly every time.
Can I Make These Egg-Free?
Unfortunately, we do not recommend making these cookies egg-free. Eggs play a crucial role in this recipe as a binder, providing structure, moisture, and helping the dough emulsify. Replacing them can significantly alter the cookie’s texture, leading to a crumbly or overly dense result, and may prevent them from achieving their characteristic chewiness and crinkle. This recipe relies heavily on the properties of eggs for its success.
The Secret Weapon: Why Chilling Your Dough is Non-Negotiable
Have you ever baked crinkle cookies only for them to come out disappointingly flat, spread too thin, or lacking those beautiful, distinct crinkles? The culprit is almost certainly insufficient chilling time for your cookie dough. This isn’t just a suggestion; it’s the absolute number one tip for achieving perfect chocolate crinkle cookies!
Chilling the dough accomplishes several critical things: First, it solidifies the butter in the dough, which prevents the cookies from spreading too rapidly when they hit the warm oven. This allows them to hold their shape better and develop a thicker, chewier center. Second, chilling gives the flour time to fully hydrate, resulting in a more tender and moist cookie. Third, and most importantly for crinkle cookies, cold dough promotes those dramatic cracks and fissures as the outside of the cookie bakes and sets faster than the interior. This contrast in baking speed is what creates the stunning crinkled effect. Whatever you do, do not skip this vital step!
For optimal results, we highly recommend chilling your cookie dough for a minimum of 3 hours. If you have the patience, chilling it overnight (or even up to 24-48 hours) will yield an even more robust flavor and a superior texture. This extended chill time allows the flavors to meld beautifully, leading to a more complex and satisfying cookie experience. Trust us, the wait is absolutely worth it for those picture-perfect crinkles and ultimate chewiness.
More Holiday Baking Inspiration
Discover Our Favorite Christmas Cookies

Looking to diversify your holiday cookie collection? Explore all our cherished Christmas Cookie Recipes in one convenient place! Whether you’re craving the comforting warmth of Hot Cocoa Cookies with vanilla bean frosting, the elegant crunch of Gluten-Free Biscotti, or something entirely new, we have a festive cookie for every palate and preference. Perfect for gifting, sharing, or indulging in a sweet moment during the most wonderful time of the year.
Unlocking the Ultimate Chewy Texture
The secret to achieving the extraordinarily chewy and fudgy texture of these chocolate crinkle cookies lies in a couple of key ingredients and techniques, much like how we create our fudgy brownies. Firstly, the inclusion of **melted dark chocolate** directly into the dough is paramount. This liquid chocolate creates a rich, dense base that solidifies into a wonderfully chewy texture once baked. Secondly, **brown sugar** plays a significant role. Unlike granulated sugar, brown sugar contains molasses, which not only adds a deeper, caramelized flavor but also contributes moisture, keeping the cookies soft and pliable. When combined with perfectly proportioned flour and a short baking time that prevents over-drying, these elements work in harmony to deliver a truly unforgettable, melt-in-your-mouth chewiness.
Is Chilling the Dough Absolutely Essential?
YES. Yes. And, unequivocally, YES! You absolutely, positively must not skip chilling the dough for this recipe. This step is critical for several reasons: without proper chilling, your cookie dough will be too soft and will spread excessively when baked, resulting in thin, flat, and potentially greasy cookies that lack the desired chewy texture and, most importantly, the iconic crinkled appearance. Chilling allows the fats in the dough to firm up, preventing premature spreading, and gives the ingredients time to meld, deepening the flavor. In fact, if your schedule allows, chilling the dough overnight is preferred, yielding the best possible flavor and texture. It truly makes all the difference between a good cookie and a truly spectacular one.
Short on Time? A Quick Chill Solution!
We understand that sometimes you’re in a hurry to get those delicious cookies into the oven. If you’re truly in a pinch and can’t commit to the recommended 3 hours or overnight chill, you can place the cookie dough in the freezer for about 30 minutes. While this will firm up the dough quickly, please note that it won’t allow the flavors to develop quite as deeply, nor will it achieve the same level of flour hydration as a longer refrigeration period. For the absolute best results in terms of texture and flavor, we strongly recommend allowing the cookie dough to chill in the refrigerator for at least 3 hours, or ideally, overnight.
The Double Roll: Granulated Sugar First, Then Powdered Sugar
This might seem like an extra step, but rolling the cookie dough in granulated sugar before coating it in powdered sugar is a simple yet brilliant trick that makes all the difference in achieving those beautiful, long-lasting crinkles. Here’s why it’s a non-negotiable step: The granulated sugar acts as a protective barrier. When the cookies bake, the powdered sugar, which is very fine, tends to melt and absorb into the cookie dough due to the moisture and heat. The larger crystals of granulated sugar, however, create a slightly coarser surface that prevents the powdered sugar from soaking in too quickly. This ensures that the powdered sugar remains visible, creating a more defined and striking contrast against the dark chocolate as the cookie expands and cracks. Don’t skip this part – it’s key to the iconic crinkled appearance!
Storing Your Delicious Chocolate Crinkle Cookies
Once your irresistible chocolate crinkle cookies have cooled completely, proper storage is key to maintaining their freshness and chewy texture. First, ensure they are fully cool to prevent condensation, which can make them soggy. Then, layer them in an airtight container, using sheets of parchment paper between each layer to prevent sticking and preserve their delicate powdered sugar coating. Store the container in a cool, dark place at room temperature for up to 3-5 days. For optimal freshness, avoid placing them directly in the refrigerator, as the cold can sometimes alter their texture.
Freezing Baked Crinkle Cookies for Longer Enjoyment
These chocolate crinkle cookies freeze beautifully, making them perfect for meal prepping holiday treats or simply extending their shelf life. Once the cookies have cooled completely after baking, arrange them in a single layer on a baking sheet and freeze for about 30 minutes, or until they are partially frozen and firm. This “flash freezing” prevents them from sticking together. After they are firm, transfer the cookies to a freezer-safe gallon-size bag or an airtight container, layering them with parchment paper if necessary. They can be stored in the freezer for up to 3 months. When you’re ready to enjoy, simply remove them from the freezer and let them thaw at room temperature for a quick, delicious treat!
Freezing Cookie Dough for Future Baking
You can also freeze the unbaked cookie dough for convenience! After chilling the dough as instructed, roll the dough balls in both granulated and powdered sugar. Place these sugared dough balls on a baking sheet and flash freeze them for 1-2 hours until solid. Once frozen, transfer them to a freezer-safe bag or container. They can be stored for up to 3 months. When ready to bake, place the frozen dough balls directly on a parchment-lined baking sheet and bake as directed, adding an extra 2-4 minutes to the baking time.
Frequently Asked Questions About Crinkle Cookies
What is the ideal texture for crinkle cookies?
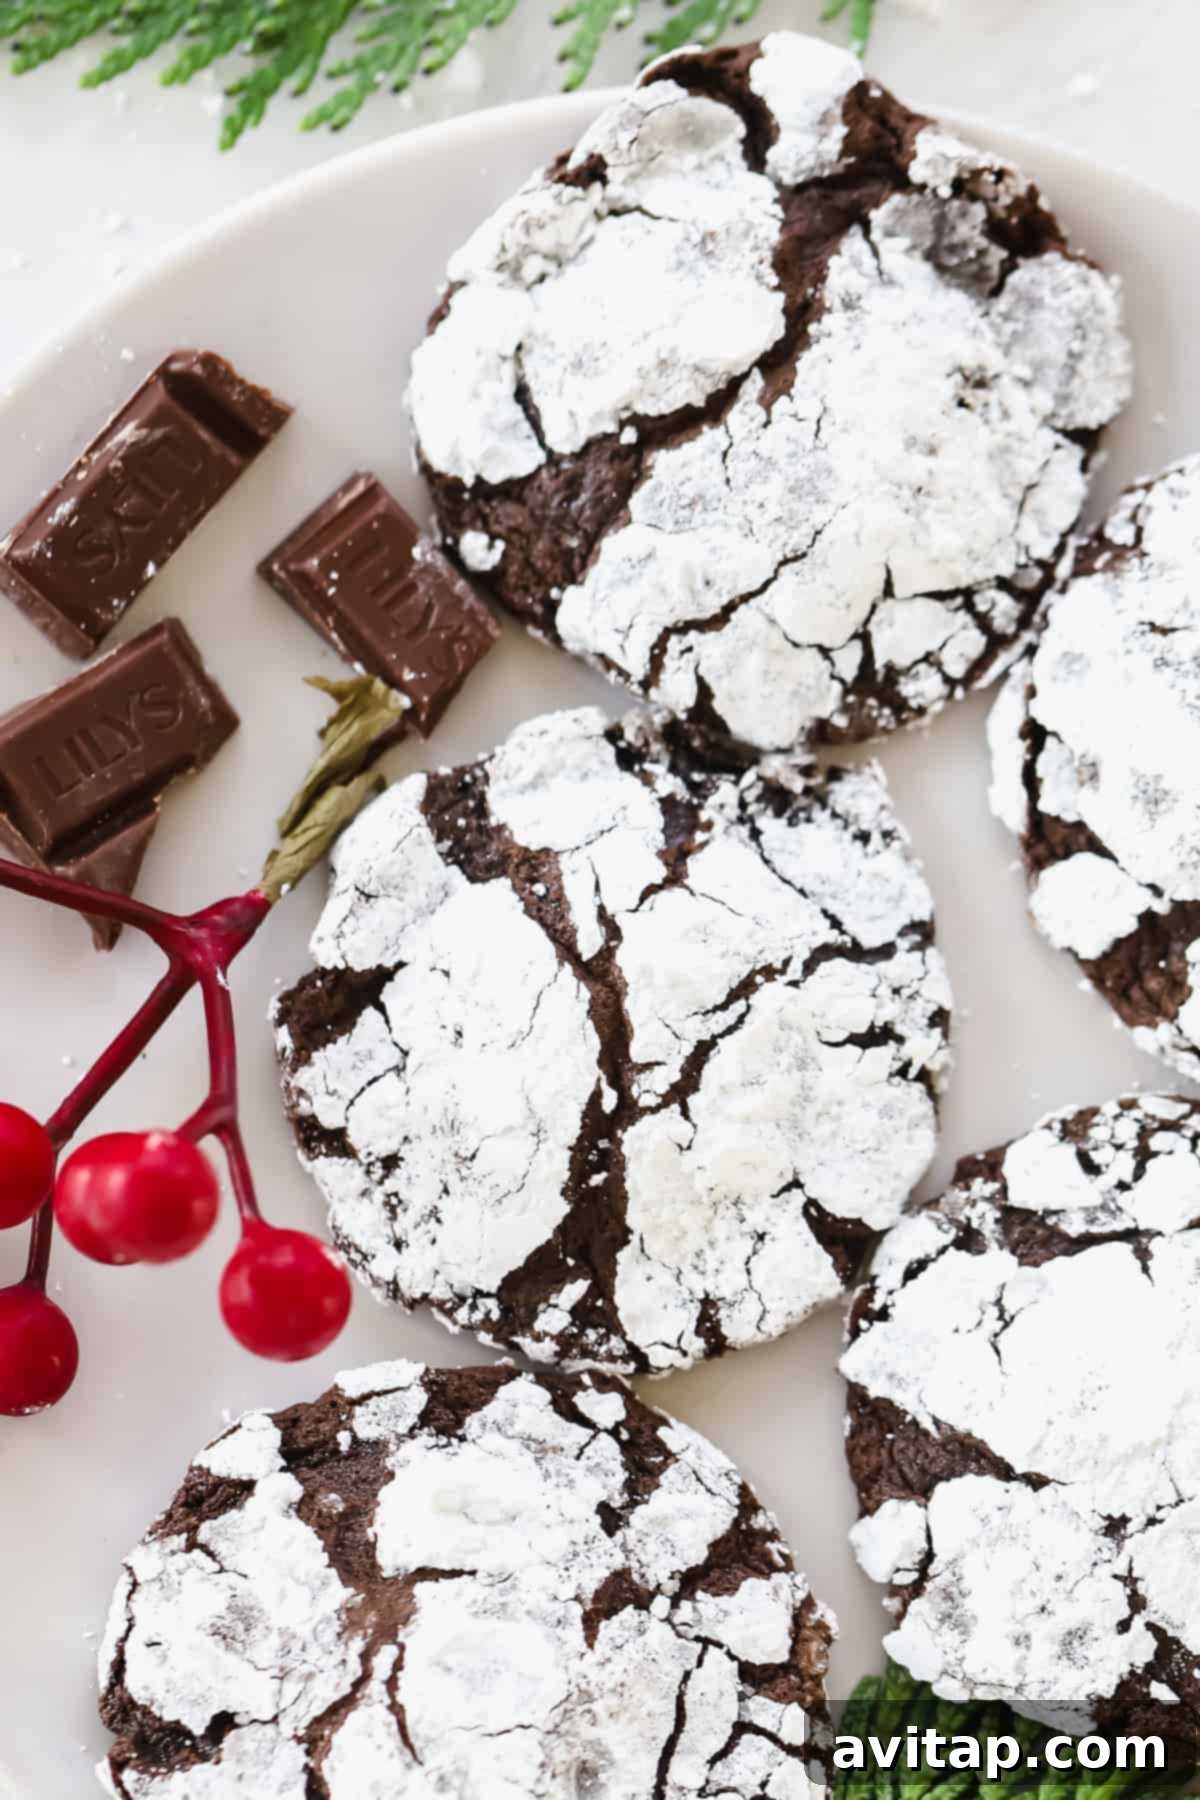
The perfect chocolate crinkle cookie should have a delightful contrast in textures. The exterior should be slightly crisp or chewy at the edges, with a soft, fudgy, and intensely chewy interior. The powdered sugar coating should create a distinct “crackle” or “crinkle” effect on the surface, revealing the dark chocolate cookie underneath. They should not be dry, crumbly, or cakey in the middle.
Can I add other flavors to crinkle cookies?
Absolutely! While these chocolate crinkle cookies are phenomenal on their own, you can certainly experiment with complementary flavors. Consider adding a touch of peppermint extract for a festive twist, orange zest for a bright citrus note, or a pinch of cayenne pepper for a subtle hint of spice. You could also swap out the milk chocolate chunks for white chocolate, peanut butter chips, or even chopped nuts for added texture and flavor variety.
How do I prevent my crinkle cookies from becoming too hard?
Overbaking is the most common reason for hard crinkle cookies. Keep a close eye on them in the oven, as they can go from perfectly chewy to dry in a matter of minutes. Bake them for just 9-11 minutes; they should look set at the edges but still slightly soft in the center. They will continue to firm up as they cool. Additionally, ensuring your dough is well-chilled and accurately measured will help maintain their moisture and chewy texture.
What essential equipment do I need for this recipe?
To make these crinkle cookies, you’ll need a few basic baking tools. A stand mixer with a paddle attachment or a hand mixer is highly recommended for creaming butter and sugar effectively. You’ll also need a couple of mixing bowls, measuring cups and spoons, a rubber spatula, a tablespoon cookie scoop (for uniform cookies), parchment paper, baking sheets, and a wire cooling rack. A double boiler or a microwave-safe bowl for melting chocolate will also be useful.
Explore More Sweet Treats
More Irresistible Christmas Cookie Recipes
- Chewy Ginger Cookies: A classic holiday favorite, these ginger cookies are perfectly spiced and wonderfully chewy.
- Almond Flour Sugar Cookies: Deliciously grain-free and gluten-free sugar cookies, perfect for decorating.
- Snickerdoodles: A timeless treat with a tender texture and a delightful cinnamon-sugar coating.
- White Chocolate Cranberry Oatmeal Cookies: A delightful combination of sweet white chocolate and tart cranberries in a hearty oatmeal cookie.
Chewy Chocolate Crinkle Cookies Recipe
These perfectly chewy crinkle cookies are made with a delightful blend of three different chocolates and emerge from the oven beautifully crinkled on the outside, guaranteeing a festive treat!
By: Lee Funke
Ingredients
Dry Ingredients
- 4 oz. dark chocolate, chopped into pieces and divided (we used Ghirardelli Intense Dark 72%)
- ½ cup cocoa powder (50g)
- ½ cup all-purpose flour (70g)
- 1 teaspoon baking soda
- ½ teaspoon salt
- 2 oz. milk chocolate, chopped into pieces (I used a Lindt chocolate bar)
- 1 cup (200g) brown sugar
Wet Ingredients
- ½ cup unsalted butter, softened and separated
- 2 large eggs, room temperature
- 1 teaspoon vanilla extract
Topping Ingredients
- ½ cup powdered sugar
- ½ cup granulated sugar
Instructions
- First, combine 3 ounces of chopped dark chocolate (reserving the remaining 1 ounce) and 2 tablespoons of softened butter in either a double boiler or a microwave-safe bowl. Gently melt the chocolate until it becomes glossy and perfectly smooth. Set this mixture aside to cool slightly.
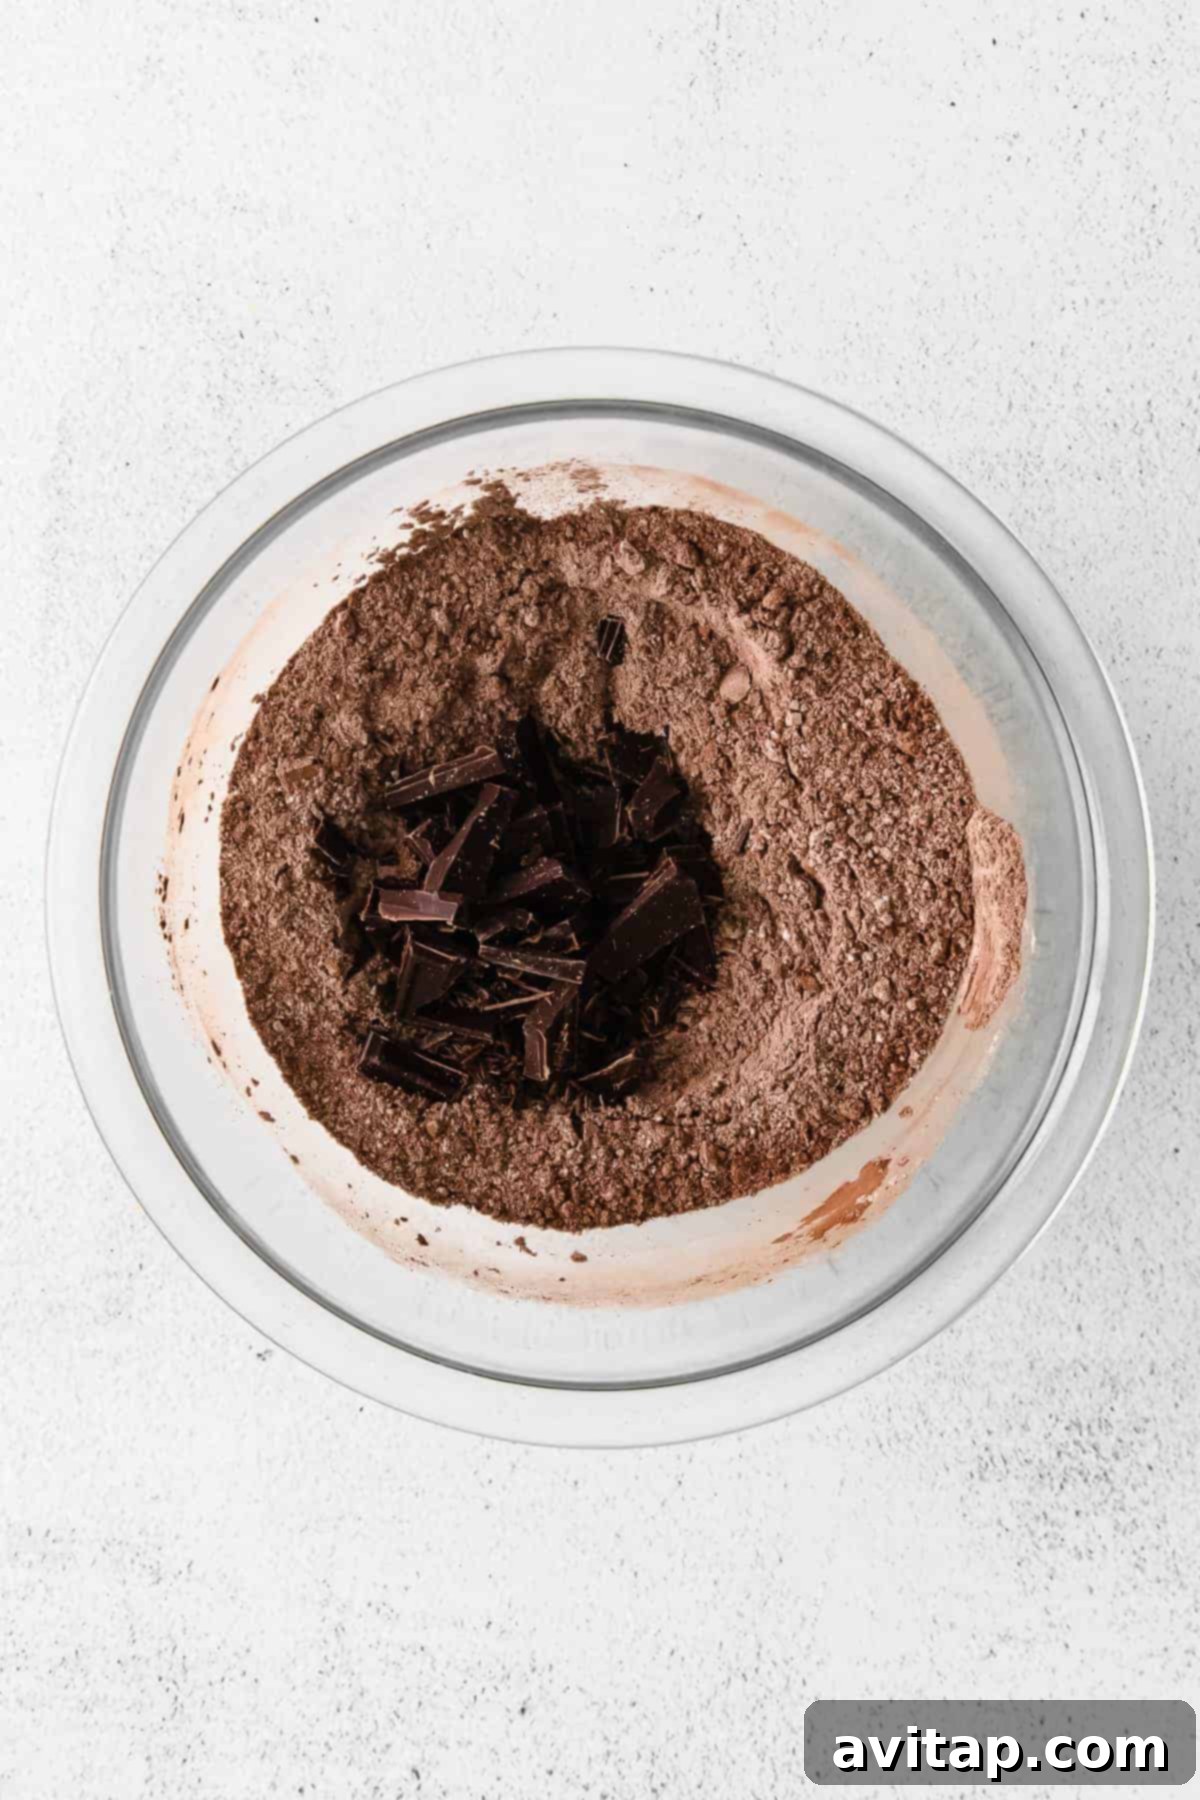
- Next, prepare your dry ingredients. In a separate large bowl, combine the all-purpose flour, rich cocoa powder, baking soda, and salt. Whisk these ingredients together thoroughly until they are well combined and no lumps remain, ensuring an even distribution throughout the cookie dough.
- Add the remaining 1 ounce of chopped dark chocolate and all of the chopped milk chocolate pieces to the whisked flour mixture. Toss them gently to coat the chocolate pieces with the flour, which helps prevent them from sinking to the bottom of the dough during mixing. Set this bowl aside.
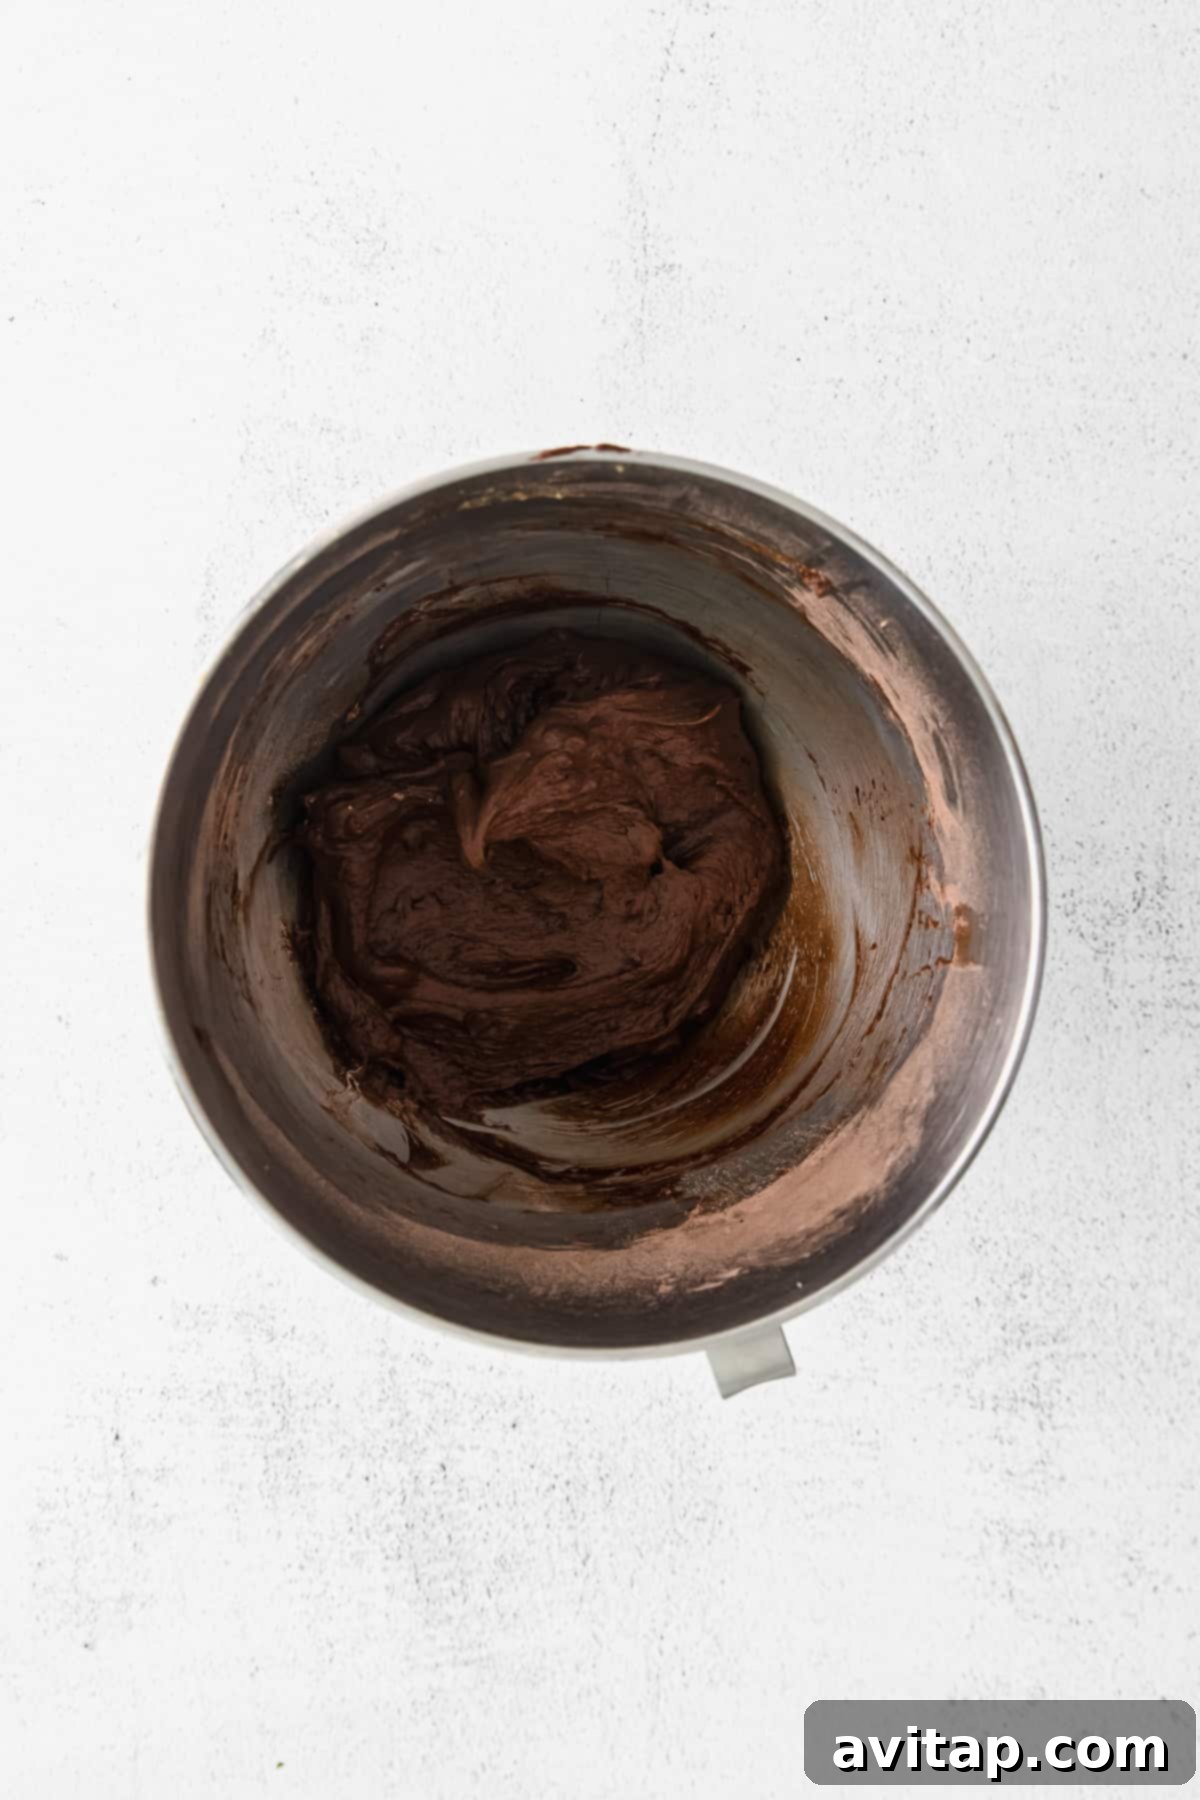
- In the bowl of a standing mixer fitted with a paddle attachment, add the rest of the softened butter and the brown sugar. Beat on medium-high speed for 3-5 minutes. Continue mixing until the butter and sugar mixture becomes noticeably lighter in color, creamy, and fluffy. Remember to scrape down the sides of the bowl frequently to ensure everything is evenly incorporated.
- While the butter and sugar are creaming, whisk the eggs and vanilla extract together in a separate small bowl. Gently combine them until the yolks and whites are fully integrated with the vanilla.
- Slowly pour the egg and vanilla mixture into the creamed butter and sugar mixture in the stand mixer. Continue beating on medium speed until the eggs are completely combined and the entire mixture is light and fluffy, resembling a smooth, aerated batter.
- Gradually add the prepared dry ingredients (with the chocolate pieces) to the wet ingredients in the mixer. Mix on low speed until just combined. Be careful not to overmix the dough, which can lead to tough cookies. Ensure there are no visible flour streaks or clumps at the bottom of the mixing bowl.
- Finally, pour the melted and slightly cooled dark chocolate into the cookie dough. Mix on low speed just until the melted chocolate is fully incorporated, creating a rich, uniform chocolate dough.
- Transfer the finished cookie dough into an airtight container. Refrigerate the dough for a minimum of 2 hours, or for best results, allow it to chill overnight. This crucial step ensures proper texture and crinkle formation.
- When you’re ready to bake, remove the chilled cookie dough from the refrigerator and let it sit at room temperature for about 10 minutes to soften slightly, making it easier to scoop and roll.
- Preheat your oven to 350ºF (175ºC). Line a large baking sheet with parchment paper to prevent sticking and ensure even baking.
- While the dough is softening, prepare your sugar coatings. Pour the granulated sugar into one shallow bowl and the powdered sugar into a separate shallow bowl.
- Using a tablespoon-sized cookie scoop, portion out the dough. Roll each scoop into a smooth ball between your palms.
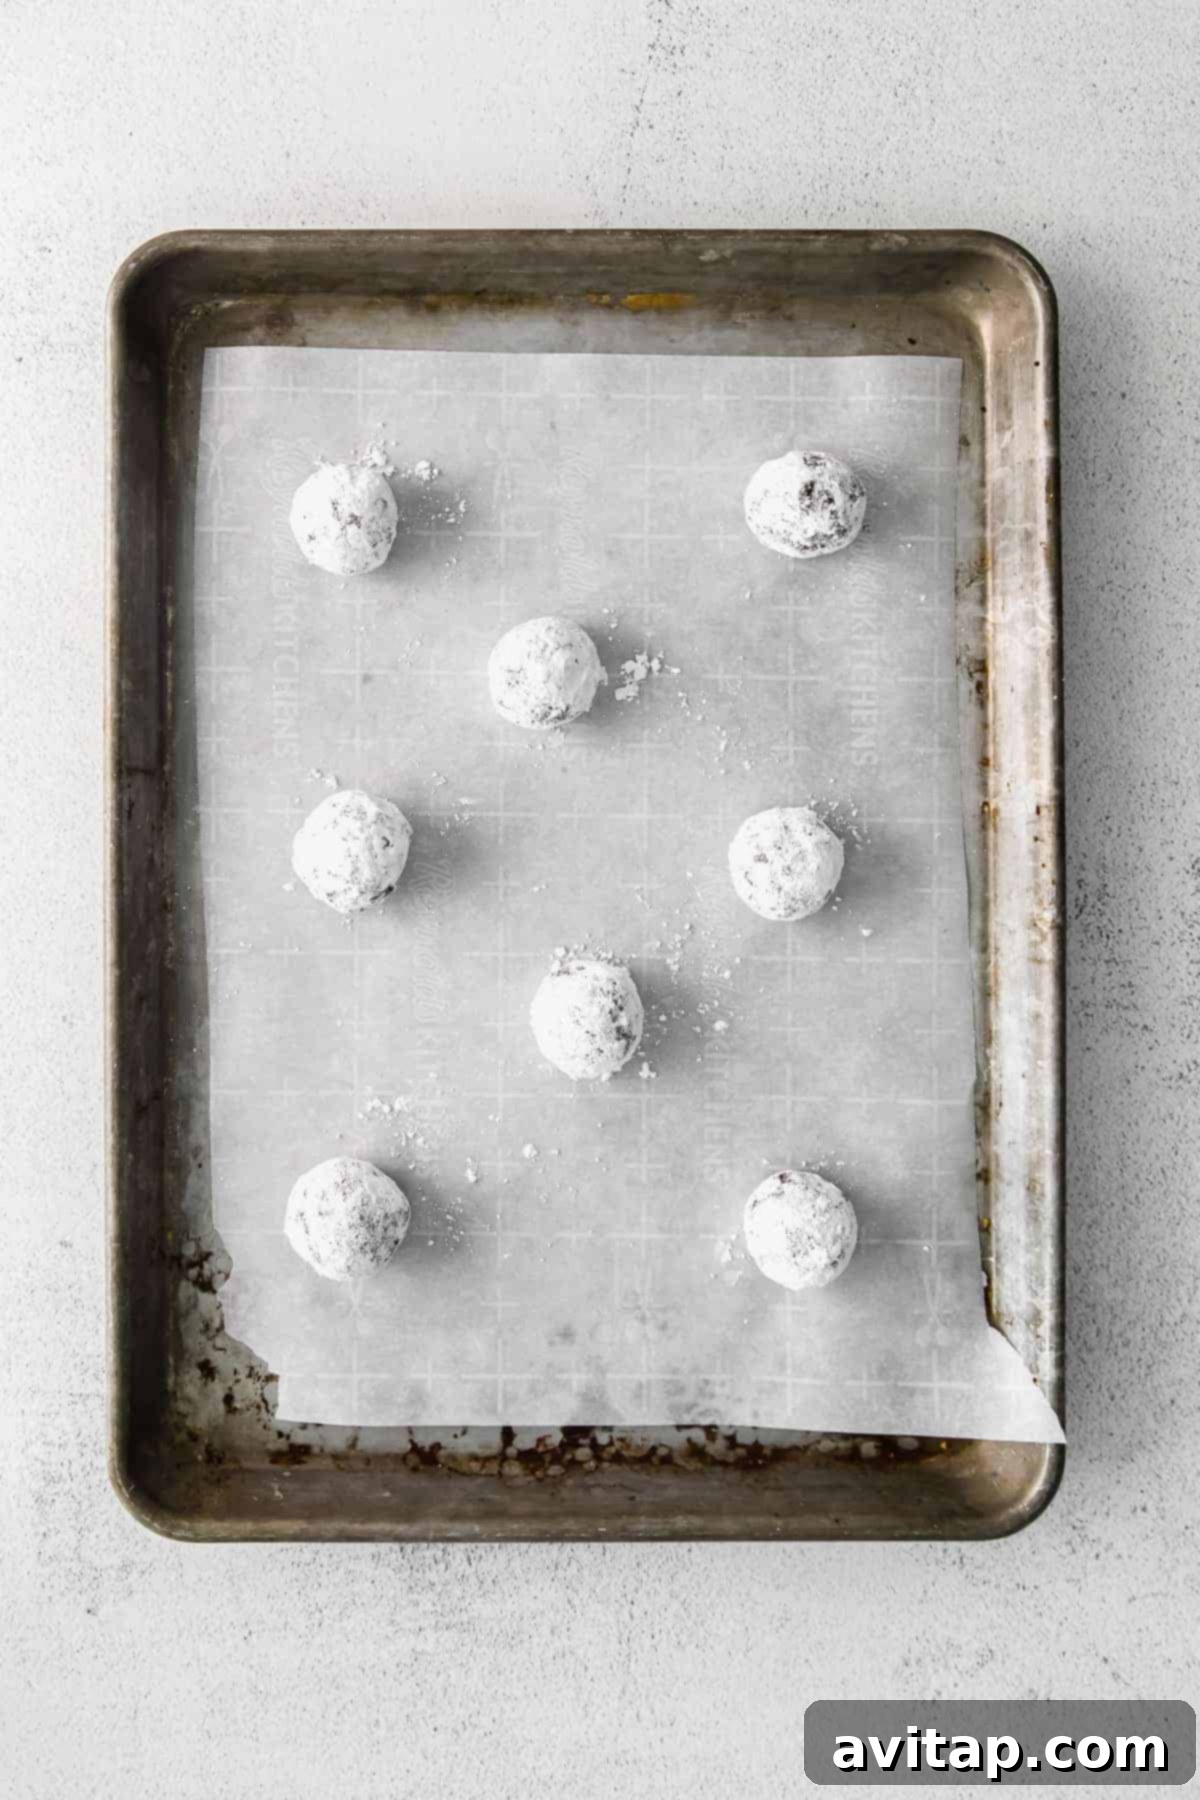
- First, roll each dough ball thoroughly in the granulated sugar, ensuring it’s completely coated. Then, transfer the ball to the powdered sugar and roll it until it’s generously and completely covered. Place the coated dough balls onto the parchment-lined baking sheet, spacing them sufficiently apart (about 2 inches), as these cookies will spread slightly during baking. Repeat this process until all the dough has been rolled.
- Bake the cookies in the preheated oven for 9-11 minutes. The crinkle cookies are done when the edges are set and the tops have begun to crack beautifully, but the centers still look slightly soft.
- Carefully remove the cookies from the oven. Let them cool on the baking sheet for a few minutes before transferring them to a wire cooling rack to cool completely. This helps them set and prevents them from breaking.
Tips & Notes
Melting Chocolate Instructions
- In the microwave: Add the chopped chocolate pieces and 2 tablespoons of butter to a microwave-safe bowl. Heat on high for 30 seconds, then remove and stir. Repeat this process 3-4 times, or until the chocolate is fully melted and achieves a glossy, smooth consistency. Be careful not to overheat.
- In a double boiler: Place the chopped chocolate pieces and 2 tablespoons of butter in the top bowl of a double boiler. Fill the bottom pan with about 1 cup of water, ensuring the top bowl does not touch the water. Heat over medium-low heat, stirring the chocolate periodically until it has melted completely and is glossy.
Other Important Notes for Success
- Measure Precisely: Before you begin baking, take the time to measure out all of your ingredients. This practice, known as mise en place, ensures a smooth baking process and prevents discovering you’re missing something mid-recipe.
- Accurate Flour Measurement: For the best texture, we recommend measuring flour by weight (70g for ½ cup) if you have a kitchen scale. If using measuring cups, spoon the flour into the cup and then level it off with a straight edge rather than scooping directly from the bag, which can compact the flour and lead to too much being used.
- Creaming Butter and Sugar: Don’t rush the creaming step! Beating the butter and sugars long enough until they are light in color and fluffy incorporates air, which is crucial for the cookies’ tender texture and helps with the crinkling.
- Chill the Dough Religiously: As emphasized, never skip refrigerating the cookie dough. This step is twofold: it allows the dough to firm up, preventing excessive spreading in the oven, and it provides time for the flour to fully hydrate, resulting in moist, perfectly chewy cookies.
- Emergency Chill: If time is extremely limited, you can place the cookie dough in the freezer for 30 minutes. However, for optimal flavor development and texture, we strongly advise a minimum of 3 hours or an overnight chill in the refrigerator.
Nutrition
Calories: 167 kcal, Carbohydrates: 25 g, Protein: 2 g, Fat: 7 g, Fiber: 1 g, Sugar: 19 g
Nutrition information is automatically calculated and should be used as an approximation only.
Don’t forget to tag your posts on social media with the hashtag #fitfoodiefinds – we’d absolutely love to see your delicious creations!