
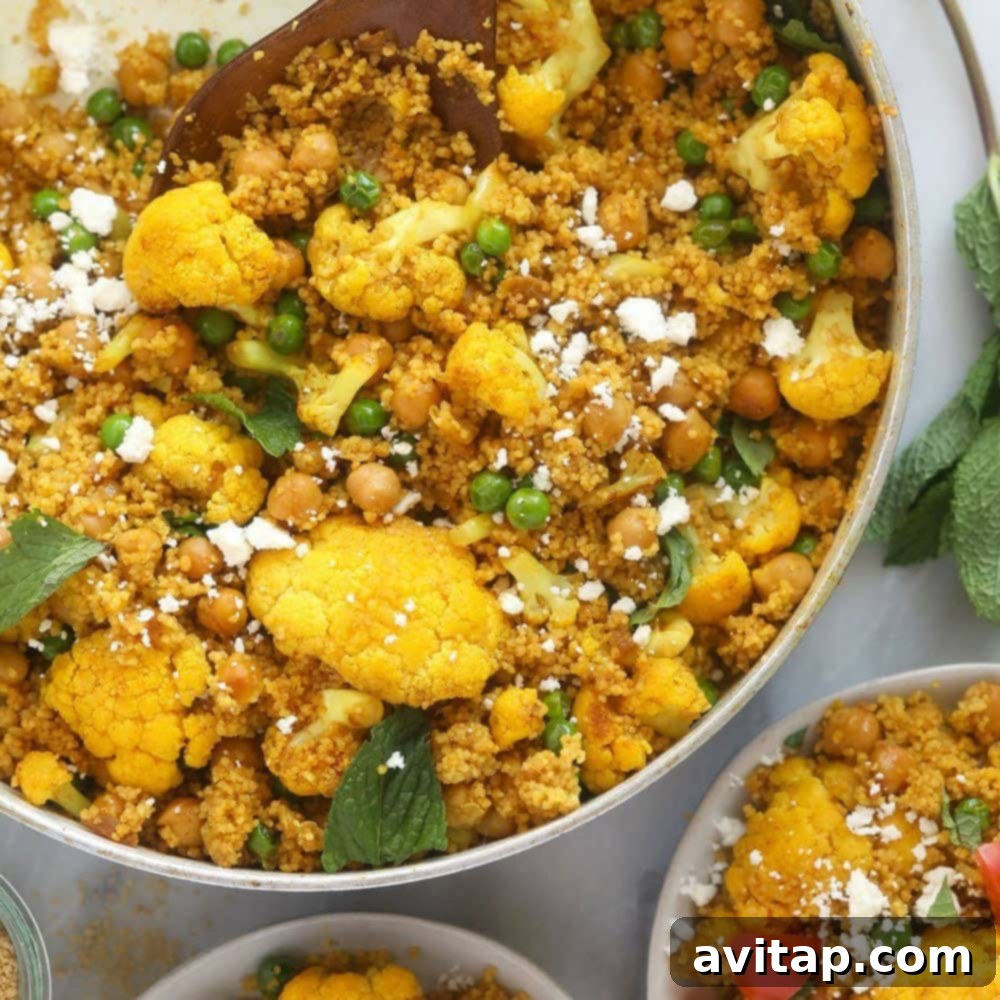
Wholesome Moroccan Chickpea Couscous Skillet: Your Go-To Anti-Inflammatory, Freezer-Friendly Vegetarian Meal
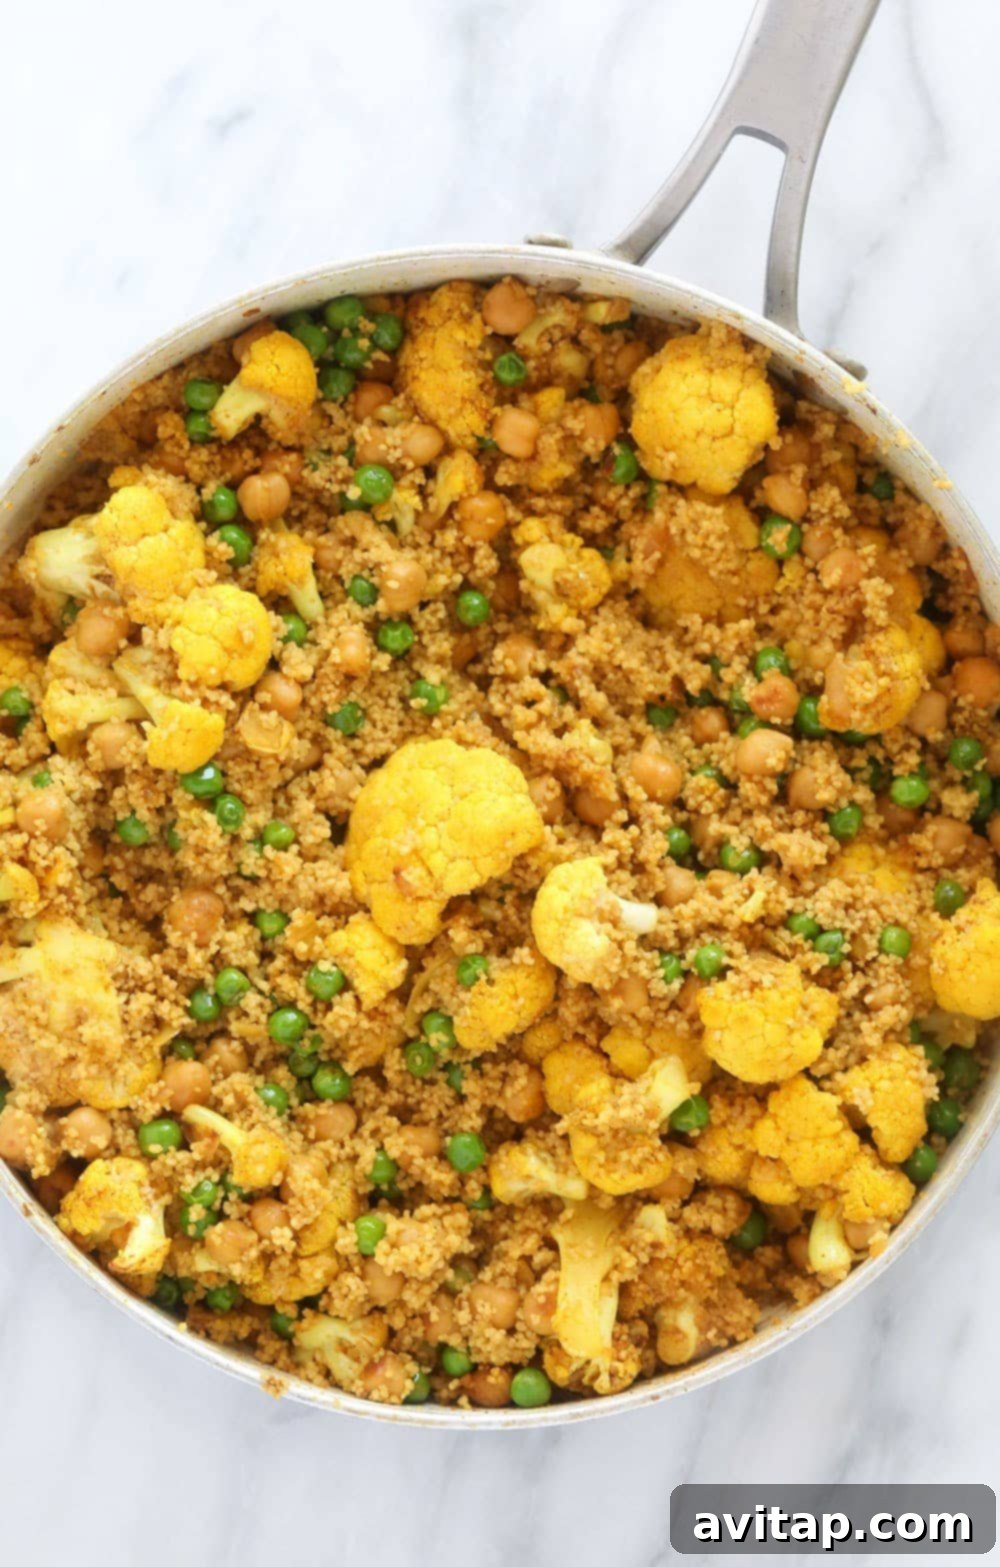
Embark on a culinary journey to North Africa with this exquisite Moroccan Chickpea Couscous Skillet. This vibrant dish isn’t just a feast for the senses; it’s a remarkably healthy vegetarian meal, thoughtfully crafted with potent anti-inflammatory ingredients. Its delightful flavors and ease of preparation make it an instant favorite, and the best part? It’s incredibly freezer-friendly, perfect for convenient meal prep!
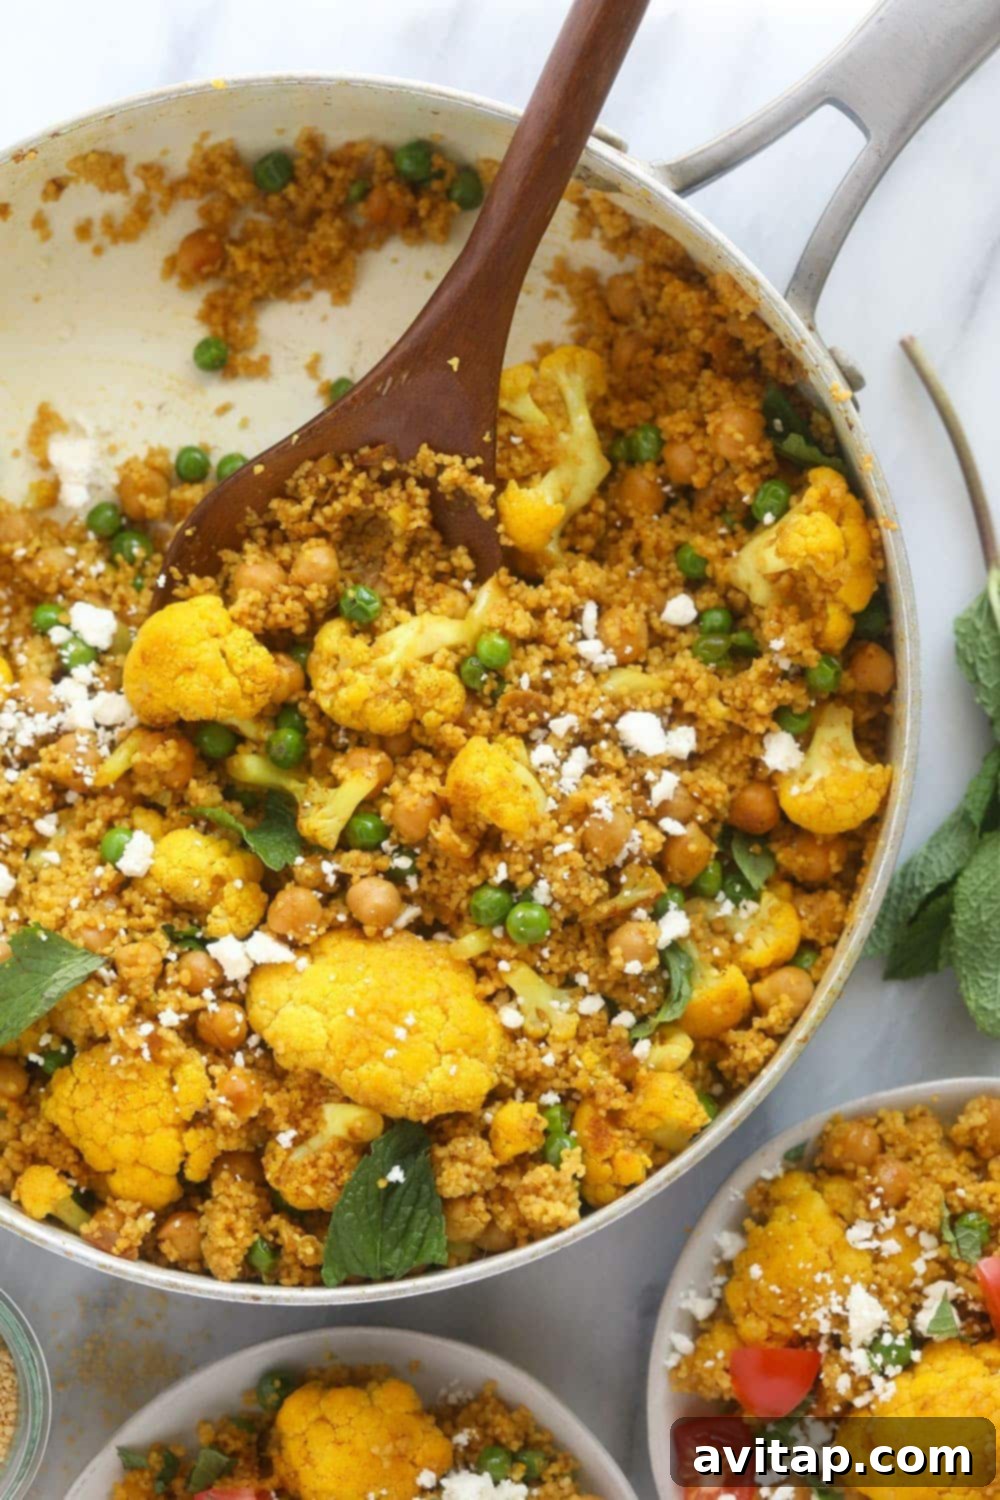
In today’s fast-paced world, finding meals that are both nourishing and convenient can be a challenge. That’s where this Moroccan Chickpea Couscous Skillet truly shines. It’s designed to simplify your healthy eating goals, offering a delicious solution for busy weeknights or proactive meal planning. Loaded with wholesome goodness and rich, aromatic spices, this skillet meal promises a comforting and satisfying experience with every bite.
Effortless Meal Prep: Freezer-Friendly and Incredibly Delicious
This healthy vegetarian meal is a powerhouse of flavor and nutrition, featuring a carefully selected blend of anti-inflammatory ingredients. Each component contributes not only to the dish’s vibrant taste but also to its impressive health benefits:
- Cauliflower: A versatile cruciferous vegetable known for its fiber and antioxidant content.
- Turmeric: The golden spice celebrated for its powerful anti-inflammatory compound, curcumin.
- Garlic: A foundational ingredient in many cuisines, offering immune-boosting and anti-inflammatory properties.
- Couscous: Light and fluffy, this semolina pasta provides a wonderful base for absorbing all the delicious Moroccan flavors.
- Garbanzo Beans (Chickpeas): An excellent source of plant-based protein and fiber, promoting satiety and digestive health.
- Vegetable Broth: Forms the flavorful liquid base, infusing the couscous and vegetables with depth.
Together, these ingredients create an exceptionally flavorful and deeply satisfying vegetarian meal. It’s essentially the vegetarian meal of your dreams—comforting, exotic, and supremely healthy. And as if that weren’t enough, its exceptional freezer-friendliness makes it an indispensable addition to your meal prep rotation!
Craft Your Own Aromatic Moroccan Spice Blend
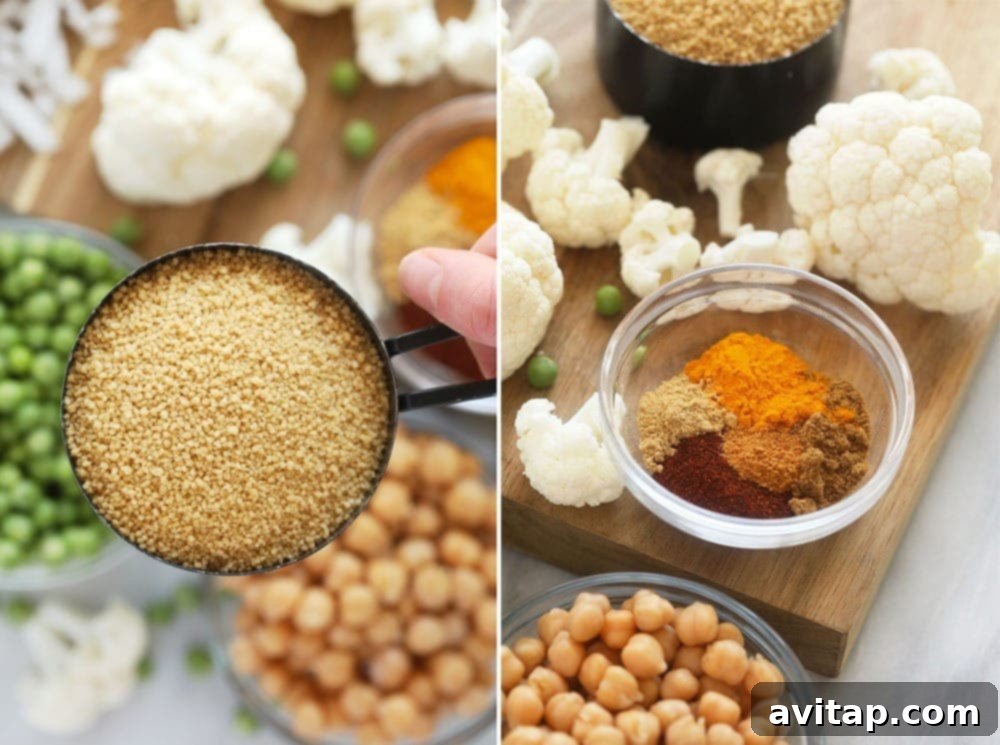
The secret to this skillet’s authentic and captivating flavor lies in our homemade Moroccan spice blend. While store-bought blends are available, crafting your own ensures maximum freshness and allows you to customize the intensity. The good news is, you likely already have most, if not all, of these seven essential spices in your pantry:
- Cumin: Adds an earthy, warm undertone.
- Turmeric: Provides vibrant color and its signature earthy, slightly bitter notes, alongside its health benefits.
- Ginger Powder: Contributes a warm, spicy kick and aromatic freshness.
- Garlic Powder: Offers concentrated garlic flavor that melds beautifully with other spices.
- Chili Powder: Adds a mild, smoky heat.
- Cayenne: For those who prefer a little extra warmth and spice. Adjust to your preference!
- Salt: Essential for balancing and enhancing all the flavors.
How much does one batch of this spice blend yield? A single batch of our homemade Moroccan spice blend produces approximately 3 tablespoons of spice. This Moroccan chickpea couscous recipe specifically calls for 2 tablespoons, leaving you with a little extra. This extra blend is perfect for seasoning future dishes or experimenting with other Moroccan-inspired recipes. Keeping a jar of this blend on hand means you’re always just a few minutes away from infusing your meals with exotic flavor!
Simple Steps to Making Your Moroccan Chickpea Couscous Skillet
Despite its rich flavor profile and nutrient-dense ingredient list, this vegetarian skillet meal is surprisingly straightforward to prepare. We’ve broken down the process into easy-to-follow steps to ensure a perfect result every time. The entire dish comes together in just about 30 minutes!
Step 1: Sauté the Aromatics and Vegetables
Begin by heating olive oil in a large nonstick skillet over medium-high heat. A 16-inch skillet is ideal for this recipe, allowing ample space for all the ingredients. If using a smaller pan, ensure it’s deep enough to comfortably hold the vegetables and broth. Once the olive oil becomes fragrant and shimmers slightly, add the diced onion and minced garlic. Sauté them for 2-3 minutes, until the onion begins to soften and turn translucent, and the garlic releases its sweet aroma.
Next, introduce the chopped cauliflower, fresh English peas, drained and rinsed garbanzo beans, and the star of the show – your homemade Moroccan spice blend – to the skillet. Continue to sauté for an additional 5-7 minutes, stirring consistently to ensure even cooking and to prevent sticking. Maintain the medium-high heat throughout this step to allow the vegetables to develop a slight caramelization, enhancing their natural sweetness and depth of flavor.
Step 2: Incorporate Couscous and Broth
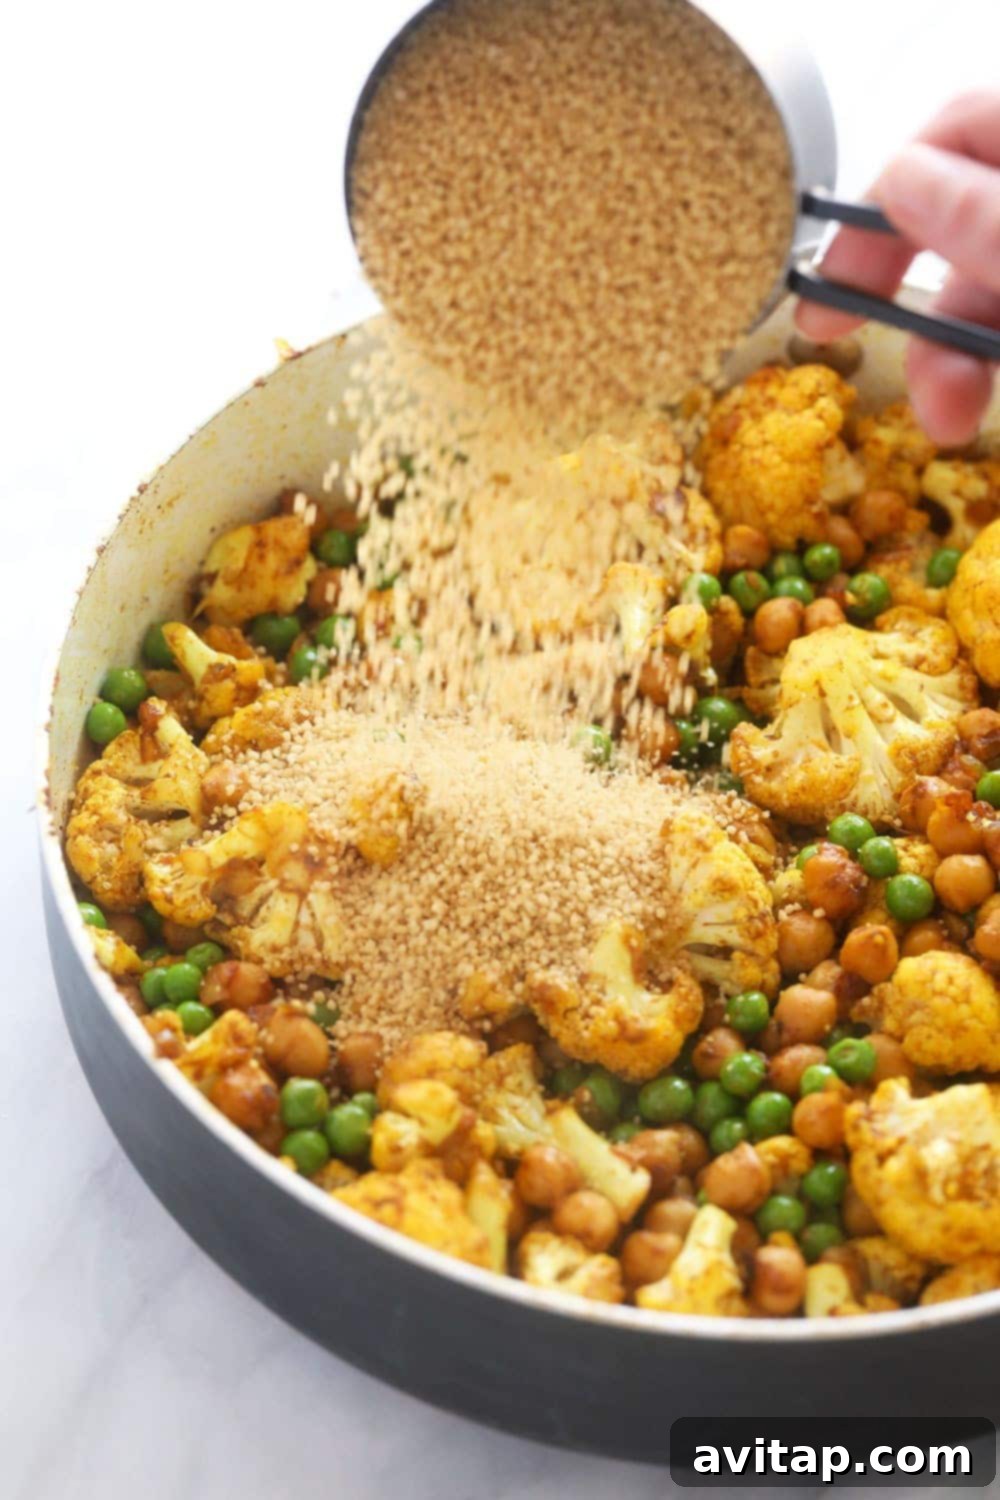
After the vegetables are tender-crisp and beautifully seasoned, it’s time to add the couscous. Sprinkle the uncooked couscous directly into the skillet with the sautéed vegetables and mix thoroughly. Ensure the couscous is well-distributed and lightly coated with the pan’s savory flavors. Immediately after mixing, pour the vegetable broth into the skillet. Increase the heat to bring the broth to a rapid boil. This quick boil is crucial for properly hydrating the couscous.
Step 3: The Magical Resting Period
As soon as the broth reaches a rolling boil, remove the entire skillet from the heat source. This is a critical step for achieving perfectly cooked, fluffy couscous. Immediately cover your skillet tightly with a lid. Allow the skillet to sit undisturbed for precisely 5 minutes. During this resting period, the hot broth will be fully absorbed by the couscous, cooking it gently to a tender perfection. Simultaneously, the steam trapped within the covered skillet will finish steaming the vegetables, ensuring they are tender and flavorful.
Step 4: Uncover and Fluff to Perfection
Once the 5-minute resting time is complete, carefully uncover the skillet. You’ll notice the couscous has absorbed all the liquid and is plump and tender. Using a fork, gently fluff the couscous. This action separates the grains, preventing them from clumping together, and also helps to thoroughly mix all the delicious vegetables and spices throughout the dish, ensuring a burst of flavor in every spoonful.
Step 5: Don’t Forget the Optional Flavor-Boosting Toppings
While the Moroccan Chickpea Couscous Skillet is delightful on its own, these optional toppings add an extra layer of flavor and texture, elevating the dish to gourmet status. Pro tip: For optimal freshness and texture, add these toppings right before serving. If you’re preparing this meal for later or as part of your weekly meal prep, keep the toppings separate and add them at mealtime to prevent them from becoming soggy or losing their vibrant appeal.
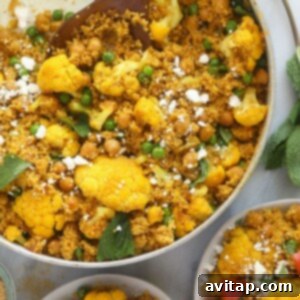
- Crumbled Feta: Crumbled feta cheese introduces a wonderfully tangy, salty creaminess that beautifully complements and enhances the warm, earthy Moroccan spices. Its sharp notes provide a lovely contrast. For those following a dairy-free or vegan diet, any good quality crumbled vegan cheese alternative will work perfectly to achieve a similar textural and flavor profile.
- Fresh Chopped Mint: Fresh mint is one of our absolute favorite additions to Moroccan-inspired dishes. Its bright, cool, and aromatic punch adds an incredible freshness that invigorates the palate. To keep fresh mint longer, trim the stems and place them in a glass of water on your countertop, similar to a bouquet of flowers. Simply pluck a few leaves off the stems, chop them to your desired garnish size, and sprinkle generously over your serving.
- Diced Cherry Tomatoes: If you’re seeking a burst of fresh, juicy sweetness and a vibrant pop of color, diced cherry tomatoes are the ideal choice. Their slight acidity adds a refreshing counterpoint to the rich flavors of the couscous skillet, making each bite even more exciting.
Mastering Meal Prep: How to Freeze This Moroccan Chickpea Couscous
One of the standout features of this Moroccan Chickpea Couscous Skillet is its incredible adaptability for freezing. It makes an excellent addition to your meal prep arsenal, ensuring you always have a quick, nutritious, and incredibly flavorful meal ready to go. It’s also a thoughtful and wholesome gift for loved ones who could use a convenient, home-cooked option.
Ingredients for Freezing
To prepare your freezer meal components, gather the following:
- 1/2 large white onion, diced
- 4 cloves garlic, minced
- 4 cups fresh cauliflower, chopped
- 2 tablespoons Moroccan spice mix (homemade or store-bought)
- 1/4 teaspoon salt
- 1-15 oz. can garbanzo beans, drained and rinsed
- 1 cup fresh English peas
- 1 cup uncooked couscous
Detailed Freezer Directions
- Combine Vegetables and Spices: Place the diced onion, minced garlic, chopped cauliflower, Moroccan spice mix, salt, drained and rinsed garbanzo beans, and fresh English peas into a large, freezer-safe gallon-sized bag or an airtight container. Ensure the ingredients are well mixed.
- Separate Couscous: Crucially, the uncooked couscous must be stored separately to maintain its texture and prevent it from becoming soggy. Place the 1 cup of uncooked couscous into a separate, smaller sealable bag (a snack-size plastic bag or a reusable silicone bag works well). Seal this smaller bag tightly.
- Package Together: Place the sealed bag of couscous inside the larger gallon-sized bag or container with the rest of the vegetable mixture. This keeps all components of the meal together for easy retrieval.
- Remove Air and Seal: Remove as much air as possible from the gallon-sized bag before sealing it. This helps prevent freezer burn and preserves the quality of the ingredients.
- Label and Freeze: Clearly label the bag with the name of the dish (“Moroccan Chickpea Couscous Skillet”) and the date of preparation. Place it in the freezer, where it will remain fresh for up to three months.
To Cook from Frozen on the Stovetop
Enjoying your prepped meal is simple! Here’s how to transform your frozen meal kit into a delicious dinner:
Additional Ingredients to Add Before Cooking
- 3 tablespoons olive oil
- 1.5 cups vegetable broth (or any preferred broth)
Cooking Instructions from Frozen
- Prepare Skillet: Heat a large skillet (preferably nonstick) over medium-high heat. Add the olive oil and allow it to become fragrant.
- Sauté Frozen Mixture: Reduce the heat to medium. Carefully pour the frozen vegetable and spice mixture (everything from the large bag, excluding the separately packed couscous) into the skillet. Cook for 10-15 minutes, stirring every couple of minutes, until the cauliflower is fully cooked through and the mixture is no longer frozen.
- Add Broth and Boil: Once the vegetables are thawed and tender, add the 1.5 cups of vegetable broth to the skillet. Increase the heat back to high and bring the broth to a rolling boil.
- Add Couscous and Rest: Once boiling, immediately add the uncooked couscous (from the small separate bag) to the skillet. Stir well to combine. Remove the skillet from the heat, cover it tightly with a lid, and let it sit undisturbed for 5 minutes. This allows the couscous to absorb the hot broth and cook perfectly.
- Fluff and Serve: After 5 minutes, uncover the skillet and use a fork to fluff the couscous, integrating it with the flavorful vegetables.
- Garnish and Enjoy: Add any desired optional toppings (feta, mint, cherry tomatoes) and serve hot. Enjoy your quick, healthy, and satisfying meal!
The Anti-Inflammatory Powerhouse: More Than Just a Delicious Meal
Beyond its tantalizing flavors, this Moroccan Chickpea Couscous Skillet is a nutritional champion, specifically designed to support an anti-inflammatory lifestyle. Chronic inflammation is linked to various health issues, and incorporating anti-inflammatory foods can play a crucial role in maintaining overall well-being. Let’s delve into some of the key ingredients that make this dish so beneficial:
- Turmeric: This golden spice contains curcumin, a compound with potent anti-inflammatory and antioxidant properties. It’s known to help reduce inflammation throughout the body.
- Chickpeas (Garbanzo Beans): As a legume, chickpeas are rich in fiber, which aids in digestive health and can reduce inflammatory markers. They also provide plant-based protein, contributing to muscle repair and satiety.
- Cauliflower: A low-calorie, high-fiber vegetable packed with antioxidants and phytonutrients that can fight inflammation and support detoxification.
- Garlic and Onion: These alliums are celebrated for their sulfur-containing compounds, which have been shown to have anti-inflammatory and immune-boosting effects.
- Olive Oil: A cornerstone of the Mediterranean diet, extra virgin olive oil is rich in monounsaturated fats and antioxidants, particularly oleocanthal, which has anti-inflammatory effects similar to ibuprofen.
- Fresh Herbs (Mint): Beyond flavor, many fresh herbs, including mint, contain essential oils and antioxidants that contribute to their anti-inflammatory profile.
By combining these nutrient-dense ingredients, this skillet offers a delicious and effective way to nourish your body and combat inflammation, making it an ideal choice for anyone looking to eat healthier without sacrificing taste.
Variations and Customizations to Make It Your Own
One of the joys of cooking is the ability to adapt recipes to your personal taste and what you have on hand. This Moroccan Chickpea Couscous Skillet is incredibly versatile, inviting you to experiment with different additions and substitutions:
- Add More Veggies: Feel free to toss in other quick-cooking vegetables. Spinach or kale can be wilted in during the last few minutes of cooking, while diced bell peppers, zucchini, or carrots can be sautéed alongside the cauliflower for added color and nutrients.
- Boost Protein: For those who aren’t strictly vegetarian, cooked chicken or lamb can be added to the skillet after sautéing the vegetables, allowing it to warm through with the couscous. For a plant-based protein boost, consider adding crumbled tofu or tempeh, or even a handful of chopped nuts for crunch.
- Different Grains: While couscous is traditional, you can substitute it with other grains. Quinoa or bulgur wheat are excellent alternatives, though cooking times and liquid ratios will need to be adjusted according to package directions.
- Spice Level: If you love heat, increase the amount of cayenne pepper in your Moroccan spice blend. For a milder version, omit the cayenne entirely.
- Citrus Zest: A squeeze of fresh lemon or orange juice, or a sprinkle of their zest, can brighten the flavors of the dish just before serving.
Don’t be afraid to get creative! This recipe is a fantastic starting point for a truly personalized meal.
Explore More Moroccan-Inspired Recipes
If you’ve fallen in love with the exotic and aromatic flavors of this Moroccan Chickpea Couscous Skillet, you’ll be delighted to explore our other Moroccan-inspired culinary creations. These dishes bring the same warmth, spice, and wholesome goodness to your table:
- One-Pot Moroccan Chicken
- Moroccan Quinoa Salad with Crispy Chickpeas
- Moroccan Style Instant Pot Chicken Thighs
Moroccan Chickpea Couscous Skillet Recipe
This gorgeous, anti-inflammatory Moroccan Chickpea Couscous Skillet is a healthy vegetarian meal that’s freezer-friendly!
By: Linley Richter
Prep Time: 10 mins
Cook Time: 20 mins
Total Time: 30 mins
Servings: 6
Ingredients
- 3 tablespoons olive oil
- 1/2 large white onion, diced
- 4 cloves garlic, minced
- 4 cups cauliflower, chopped
- 2 tablespoons Moroccan spice mix
- 1/4 teaspoon salt
- 15 oz. canned garbanzo beans, drained and rinsed
- 1 cup fresh English peas
- 1 cup uncooked couscous
- 1.5 cups vegetable broth, or any kind of broth
Optional Toppings
- 1/4 cup feta crumbles
- 1/4 cup chopped mint
- 1/4 cup diced cherry tomatoes
Instructions
- Heat olive oil over medium/high heat in a large nonstick skillet*.
- When olive oil is fragrant, add onion and garlic. Sauté for 2-3 minutes.
- Add cauliflower, peas, garbanzo beans, and Moroccan seasoning to the skillet and sauté for 5-7 minutes, stirring consistently.
- Next, add couscous and mix well.
- Finally, pour broth into the skillet and bring to a boil.
- Once boiling, remove from heat immediately, cover skillet, and let sit covered for 5 minutes or until all the broth is absorbed by the couscous.
- Uncover the skillet and fluff the couscous with a fork.
- Top with optional toppings and enjoy.
Tips & Notes
- Skillet size: We used a 16-inch skillet, but if you use something smaller, just make sure it is deep enough. A Dutch oven would work perfectly!
- Freezer directions: Please scroll up for a thorough explanation of how to freeze this meal for up to 3 months and how to cook from frozen on the stovetop.
Watch It
For a visual guide to preparing this delicious Moroccan Chickpea Couscous Skillet, watch our step-by-step video demonstration!
(Video player would typically be embedded here via an iframe or direct HTML5 video tag. The original content used a Javascript player which has been removed.)
Nutrition
Nutrition information is automatically calculated, so should only be used as an approximation.
- Calories: 285 kcal
- Carbohydrates: 43 g
- Protein: 11 g
- Fat: 8 g
- Fiber: 8 g
- Sugar: 4 g
Don’t forget to tag your posts on social media with the hashtag #fitfoodiefinds; we’d love to see what you’re up to!