
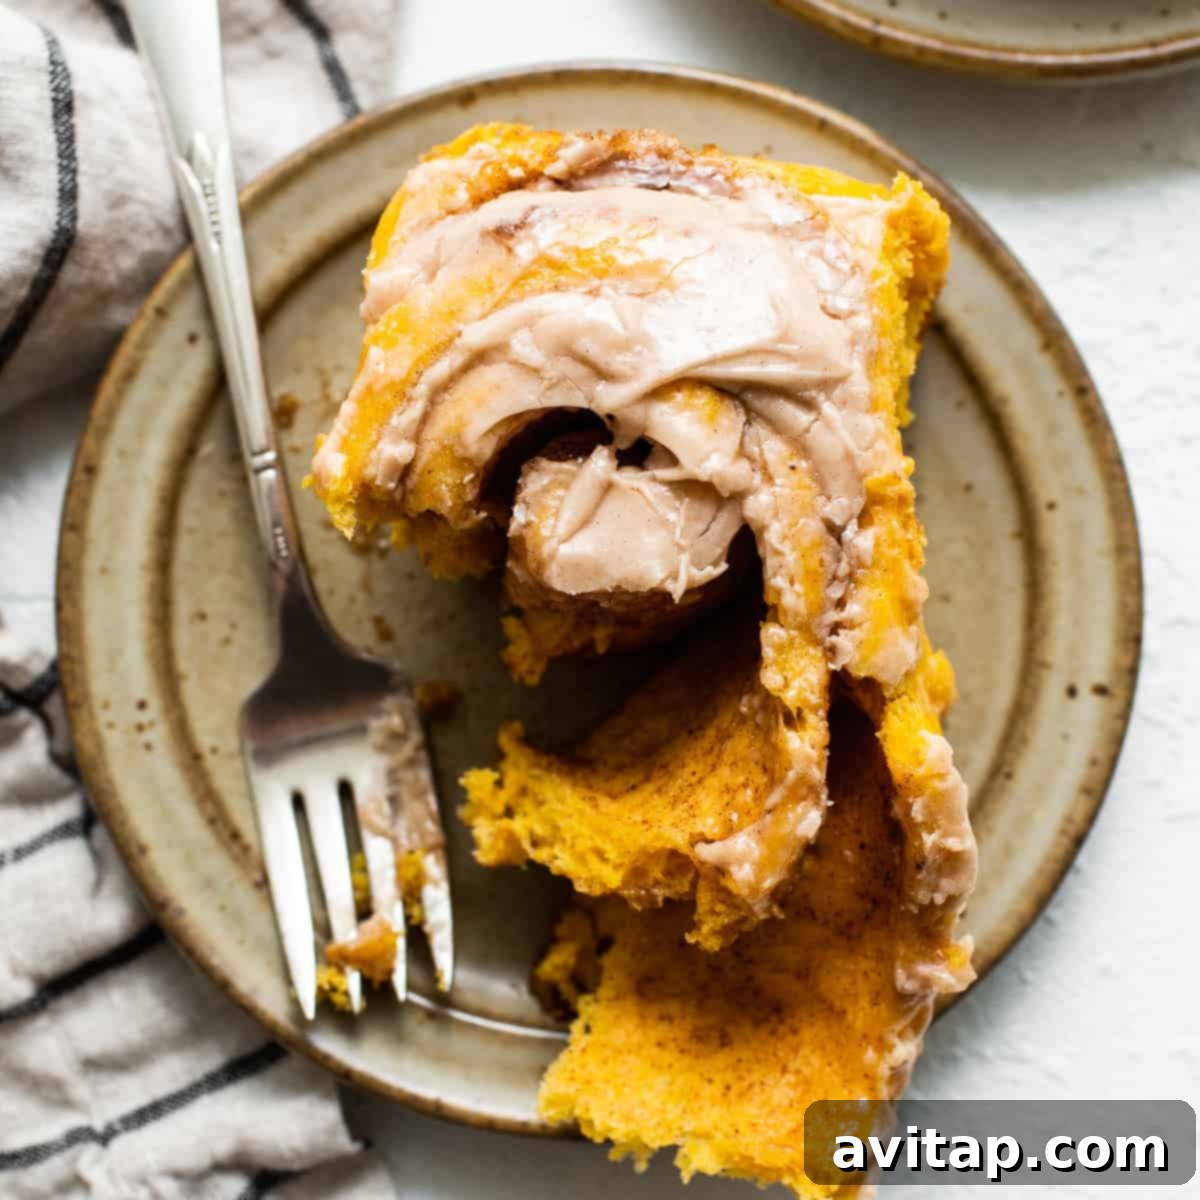
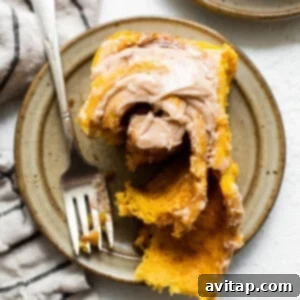
Welcome to the ultimate guide for crafting the most heavenly pumpkin cinnamon rolls! These aren’t just any rolls; they’re an autumnal dream, brimming with warm spices and a rich pumpkin flavor. Each soft, gooey swirl is generously topped with an irresistible cinnamon cream cheese frosting that you’ll want to lick straight from the spoon. What’s more, we’ll unveil the secret to preparing these delightful treats the night before, allowing you to wake up to freshly baked, warm rolls ready to be devoured on a cozy morning or during a festive holiday gathering.
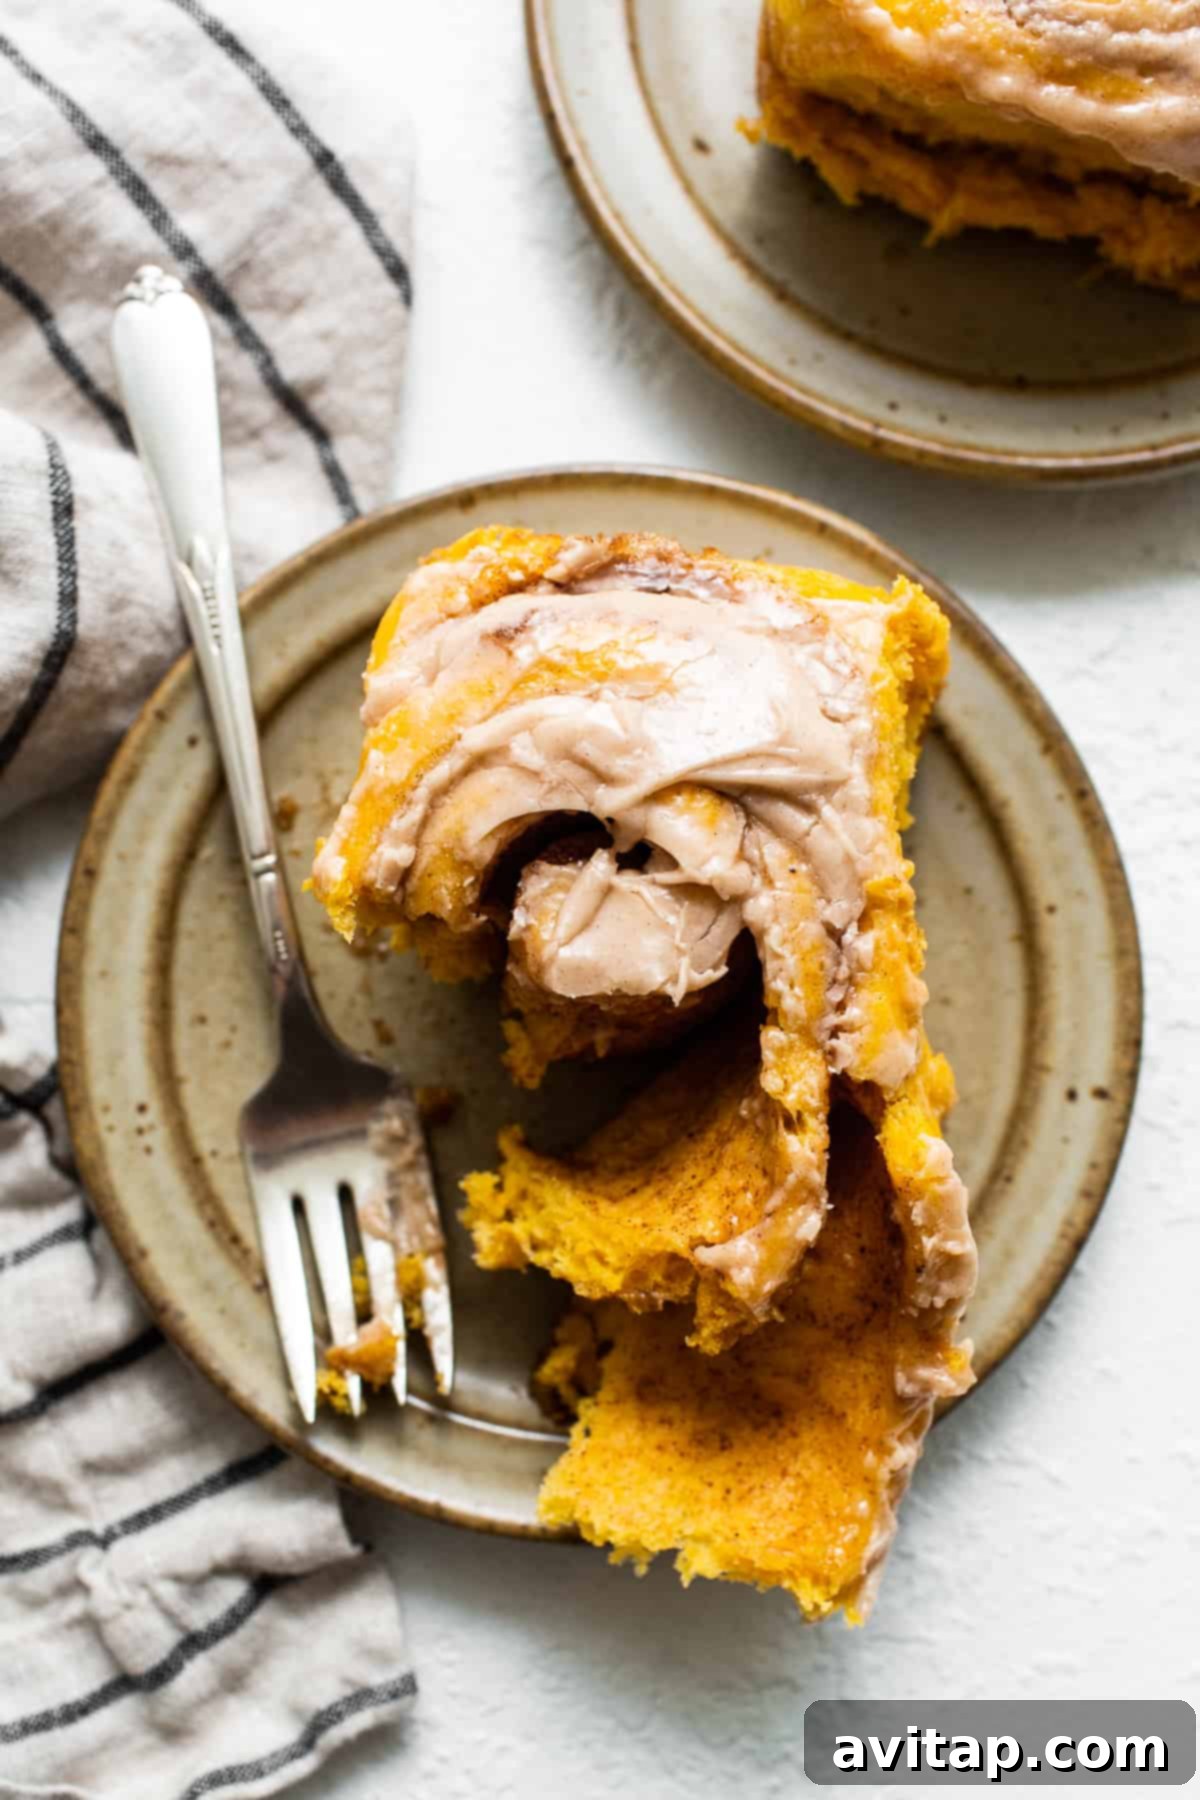
Effortlessly Delicious Pumpkin Cinnamon Rolls for Any Occasion
Get ready to fall in love with these effortlessly delicious and incredibly aromatic pumpkin cinnamon rolls! They capture the essence of autumn in every bite, offering a perfect balance of sweet, spicy, and savory notes. Our recipe ensures each roll is wonderfully ooey-gooey, with a tender crumb that practically melts in your mouth. The star of the show, beyond the pumpkin-infused dough, is undoubtedly the easy-to-make cinnamon cream cheese frosting. It’s light, fluffy, tangy, and boasts a hint of cinnamon that perfectly complements the rich pumpkin flavor of the rolls.
Beyond their incredible taste, a major highlight of this recipe is its flexibility. We’re excited to guide you through a simple method for preparing the rolls the night before. This means you can enjoy a stress-free morning, simply pulling them from the fridge, allowing them to proof slightly, and then baking them to golden perfection. Imagine waking up to the enticing aroma of fresh pumpkin cinnamon rolls wafting through your home – it’s the perfect way to start any day, especially during the busy holiday season.
Why These Pumpkin Cinnamon Rolls Will Be Your New Favorite
Unforgettable Pumpkin Flavor: We’ve taken the classic cinnamon roll and infused it with an incredible pumpkin-y twist that truly sings of the season. You’ll experience a robust, authentic pumpkin flavor in every single bite, thanks to the addition of real pumpkin puree in the dough itself. But we don’t stop there! The luscious filling is generously spiced with aromatic pumpkin pie spice, creating a harmonious blend of warm, comforting flavors that will delight your palate.
Convenient Overnight Preparation: Life is busy, and sometimes you need a little help preparing a show-stopping breakfast without the morning rush. This recipe offers the ultimate convenience: you can fully prepare your rolls the night before, tuck them away in the fridge, and let them slowly develop their flavor and texture overnight. In the morning, simply take them out, allow them to come to room temperature, bake, and savor the magic. It’s perfect for lazy weekends or special occasions.
Ideal for Holiday Feasts: These pumpkin cinnamon rolls are more than just a breakfast item; they are a celebration in themselves. Their festive flavors and comforting warmth make them absolutely perfect for serving at any fall or winter holiday gathering. Whether it’s Thanksgiving morning, a Christmas brunch, or a cozy New Year’s Day breakfast, these rolls are guaranteed to be a crowd-pleaser. The whole family, from the youngest to the oldest, will absolutely adore them!
Perfectly Soft and Gooey Texture: There’s nothing quite like a cinnamon roll that’s soft, tender, and incredibly gooey in the center. Our carefully crafted dough recipe, combined with the rich filling, ensures that every roll achieves that coveted melt-in-your-mouth texture that makes cinnamon rolls so irresistible. They are truly bakery-quality, made right in your own kitchen.
Aromatic Home Baking Experience: Beyond the delicious taste, the process of baking these pumpkin cinnamon rolls fills your home with the most delightful aroma. The comforting scents of pumpkin, cinnamon, and freshly baked bread create an inviting and cozy atmosphere that sets the perfect mood for any day. It’s an experience for all the senses!
Essential Ingredients for Your Pumpkin Cinnamon Rolls
Crafting these delectable pumpkin cinnamon rolls requires a few key components, each playing a vital role in achieving the perfect flavor and texture. We’ve categorized the ingredients into three main elements: the dough, the flavorful filling, and the luscious cinnamon cream cheese frosting. Here’s a detailed look at what you’ll need to gather:
For the Soft & Fluffy Dough
- 2% Milk: Warmed to the ideal temperature, this helps activate the yeast and provides moisture to the dough, ensuring a soft and tender crumb.
- Quick Rise Yeast: Our preferred choice for its efficiency, allowing for faster proofing times without compromising on texture.
- Granulated Sugar: Feeds the yeast and adds a touch of sweetness to the dough, balancing the pumpkin and spice flavors.
- Pumpkin Puree: The star ingredient for the dough! Use 100% pure pumpkin puree, not pumpkin pie filling, for the best flavor and moisture. It gives the rolls their signature autumn hue and subtle earthy sweetness.
- Butter: Melted butter enriches the dough, contributing to its tender texture and delicious flavor. Unsalted is often preferred for better control over the overall saltiness.
- Egg: A large, room temperature egg adds richness, binds the ingredients, and helps the dough rise beautifully.
- Vanilla Extract: Enhances all the other flavors, adding a warm, aromatic depth to the dough.
- All-Purpose Flour: The foundation of our dough, providing structure. You might need slightly more or less depending on humidity, but start with the recommended amount.
- Salt: Balances the sweetness and enhances the overall flavor profile of the dough.
For the Irresistible Cinnamon-Pumpkin Filling
- Butter: Softened butter forms the base of our filling, helping the sugar and spice adhere to the dough and creating that wonderful gooey texture as it bakes.
- Light Brown Sugar: Provides a deep, molasses-rich sweetness and contributes to the signature caramelized gooiness of cinnamon rolls.
- Pumpkin Pie Spice: A fragrant blend of cinnamon, nutmeg, ginger, and cloves, this spice blend is crucial for delivering that quintessential fall flavor profile to your rolls.
For the Luscious Cinnamon Cream Cheese Frosting
- Cream Cheese: Softened cream cheese is the foundation for a tangy, rich, and creamy frosting that perfectly complements the sweet rolls. Full-fat cream cheese is recommended for the best texture.
- Powdered Sugar: Also known as confectioners’ sugar, it sweetens the frosting and creates a smooth, lump-free consistency.
- Vanilla Extract: Adds a classic, warm note to the frosting, enhancing its overall flavor.
- Ground Cinnamon: A touch of cinnamon in the frosting ties all the flavors together, echoing the spices in the rolls themselves.
- Salt: A tiny pinch of salt helps to balance the sweetness of the frosting and brings out the cream cheese flavor.
Crafting Your Own Homemade Pumpkin Cinnamon Rolls: A Step-by-Step Guide
For precise measurements and a complete list of ingredients, please refer to the detailed recipe card located at the bottom of this page.
Phase 1: Preparing the Perfect Pumpkin Dough
Begin by activating your yeast. In a large bowl, combine the warm milk (ensure it’s between 100-110°F – too hot will kill the yeast, too cold won’t activate it) and the packet of quick-rise yeast. Stir gently and let it sit for about 5 minutes, or until the mixture becomes foamy and fragrant, indicating the yeast is active and ready to work its magic.
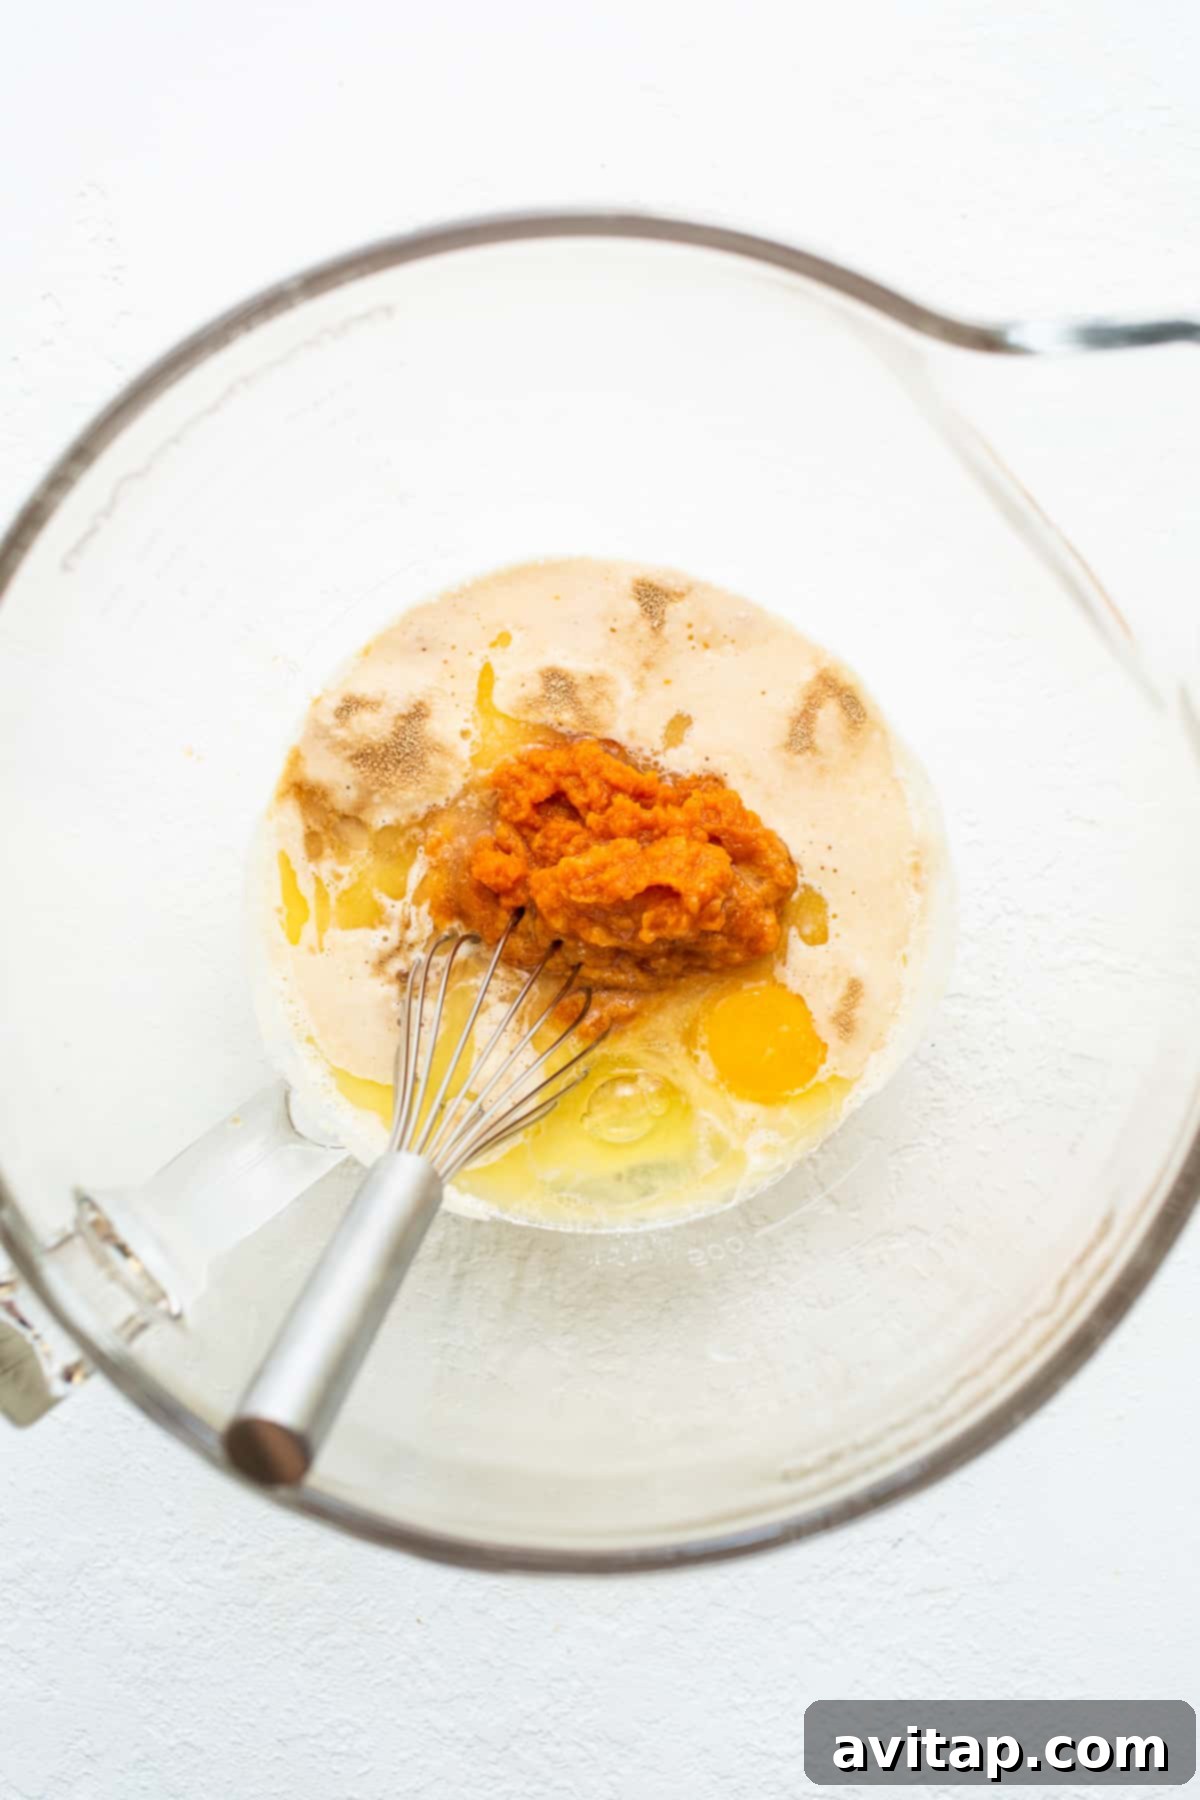
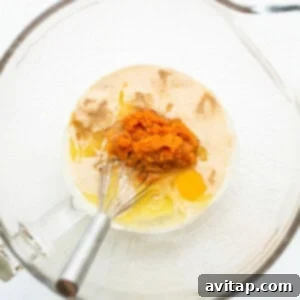
Once your yeast has bloomed, whisk in the remaining wet ingredients: pumpkin puree, melted butter, room temperature egg, and vanilla extract. Mix until everything is well combined and smooth. This creates a rich, flavorful base for your dough.
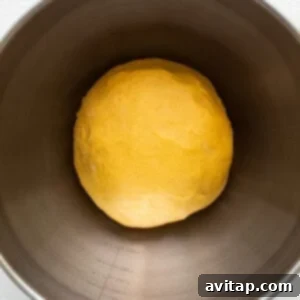
Next, with your stand mixer fitted with a dough hook attachment, set the speed to low-medium. Gradually add the all-purpose flour and salt to the wet ingredients. Start slowly to avoid a flour cloud! Continue mixing until a shaggy, somewhat sticky dough begins to form. Then, increase the speed slightly and continue kneading for another 2-3 minutes. The goal is a dough that is smooth, elastic, and bounces back gently when you poke it with a finger. This indicates proper gluten development, essential for soft rolls.
No Stand Mixer? No Problem! You can absolutely make this dough by hand. Use a sturdy wooden spoon to mix the flour and salt into the wet ingredients until the dough is too thick to stir. Then, transfer the dough to a lightly floured surface and knead by hand for about 8-10 minutes, or until it reaches that smooth, elastic consistency. It’s a great arm workout!
Phase 2: The First Rise for Fluffy Dough
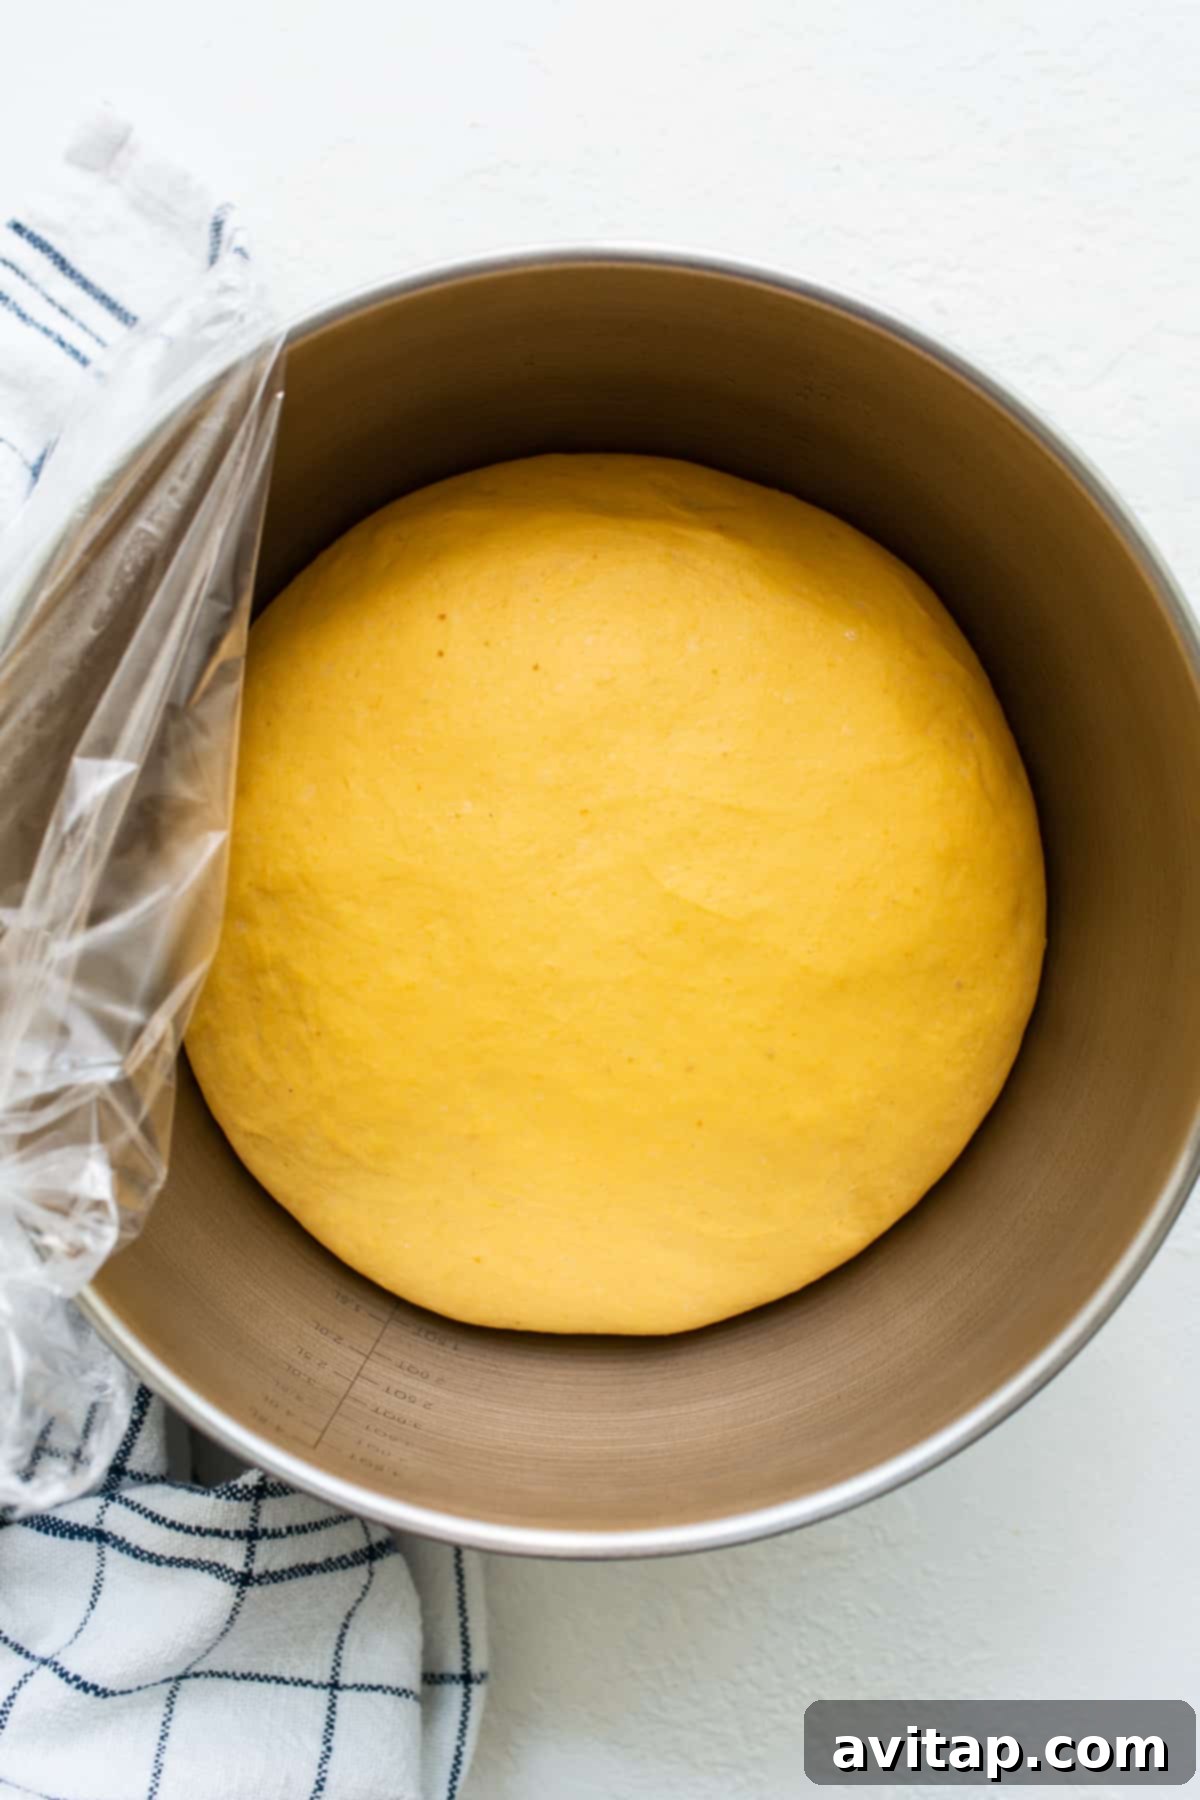
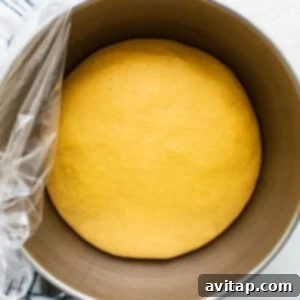
Once your dough is perfectly kneaded, form it into a smooth ball. Transfer this dough ball to a lightly buttered (or oiled) large bowl, turning it once to coat all sides. Cover the bowl tightly with plastic wrap, then drape a clean tea towel over it. Place your dough in a warm, draft-free spot to rise. Our favorite trick? Set the bowl inside your oven with the oven turned OFF and the door slightly ajar. This creates an ideal environment. Let the dough rise until it has visibly doubled in size, which typically takes approximately 1 to 1.5 hours, depending on the warmth of your kitchen.
Phase 3: Whipping Up the Cinnamon Cream Cheese Frosting
While your dough is on its first rise, it’s the perfect time to prepare the delectable cinnamon cream cheese frosting. In the bowl of your stand mixer, fitted with a paddle attachment, combine the softened cream cheese, vanilla extract, ground cinnamon, and a pinch of salt. Beat on medium speed until the mixture is smooth and creamy, with no lumps of cream cheese remaining.
Once smooth, reduce the mixer speed to low and gradually add the powdered sugar, a little at a time, until it is fully incorporated. Be sure to scrape down the sides of the bowl with a spatula to ensure everything is mixed in. Increase the speed to medium-high and beat the frosting for an additional 30-45 seconds until it becomes light, airy, and wonderfully fluffy. Cover the bowl and set the frosting aside at room temperature until your rolls are baked and ready to be frosted.
Craving More Sweetness?
Discover Our Maple Cinnamon Rolls
If you’re a fan of our pumpkin rolls, you’ll absolutely love exploring another delightful variation: our fantastic maple cinnamon rolls! They’re equally fluffy and decadent, perfect for any sweet tooth. Find the recipe and add it to your baking repertoire!
Phase 4: Rolling and Shaping Your Rolls
Once your dough has completed its first glorious rise and doubled in size, gently punch it down to release the air. Turn the dough out onto a lightly floured work surface. Using a rolling pin, carefully roll the dough into a large, even rectangle, aiming for dimensions of approximately 18 inches long by 12 inches wide, and about 1/4 inch thick. Strive for an even thickness across the entire surface to ensure uniform baking.
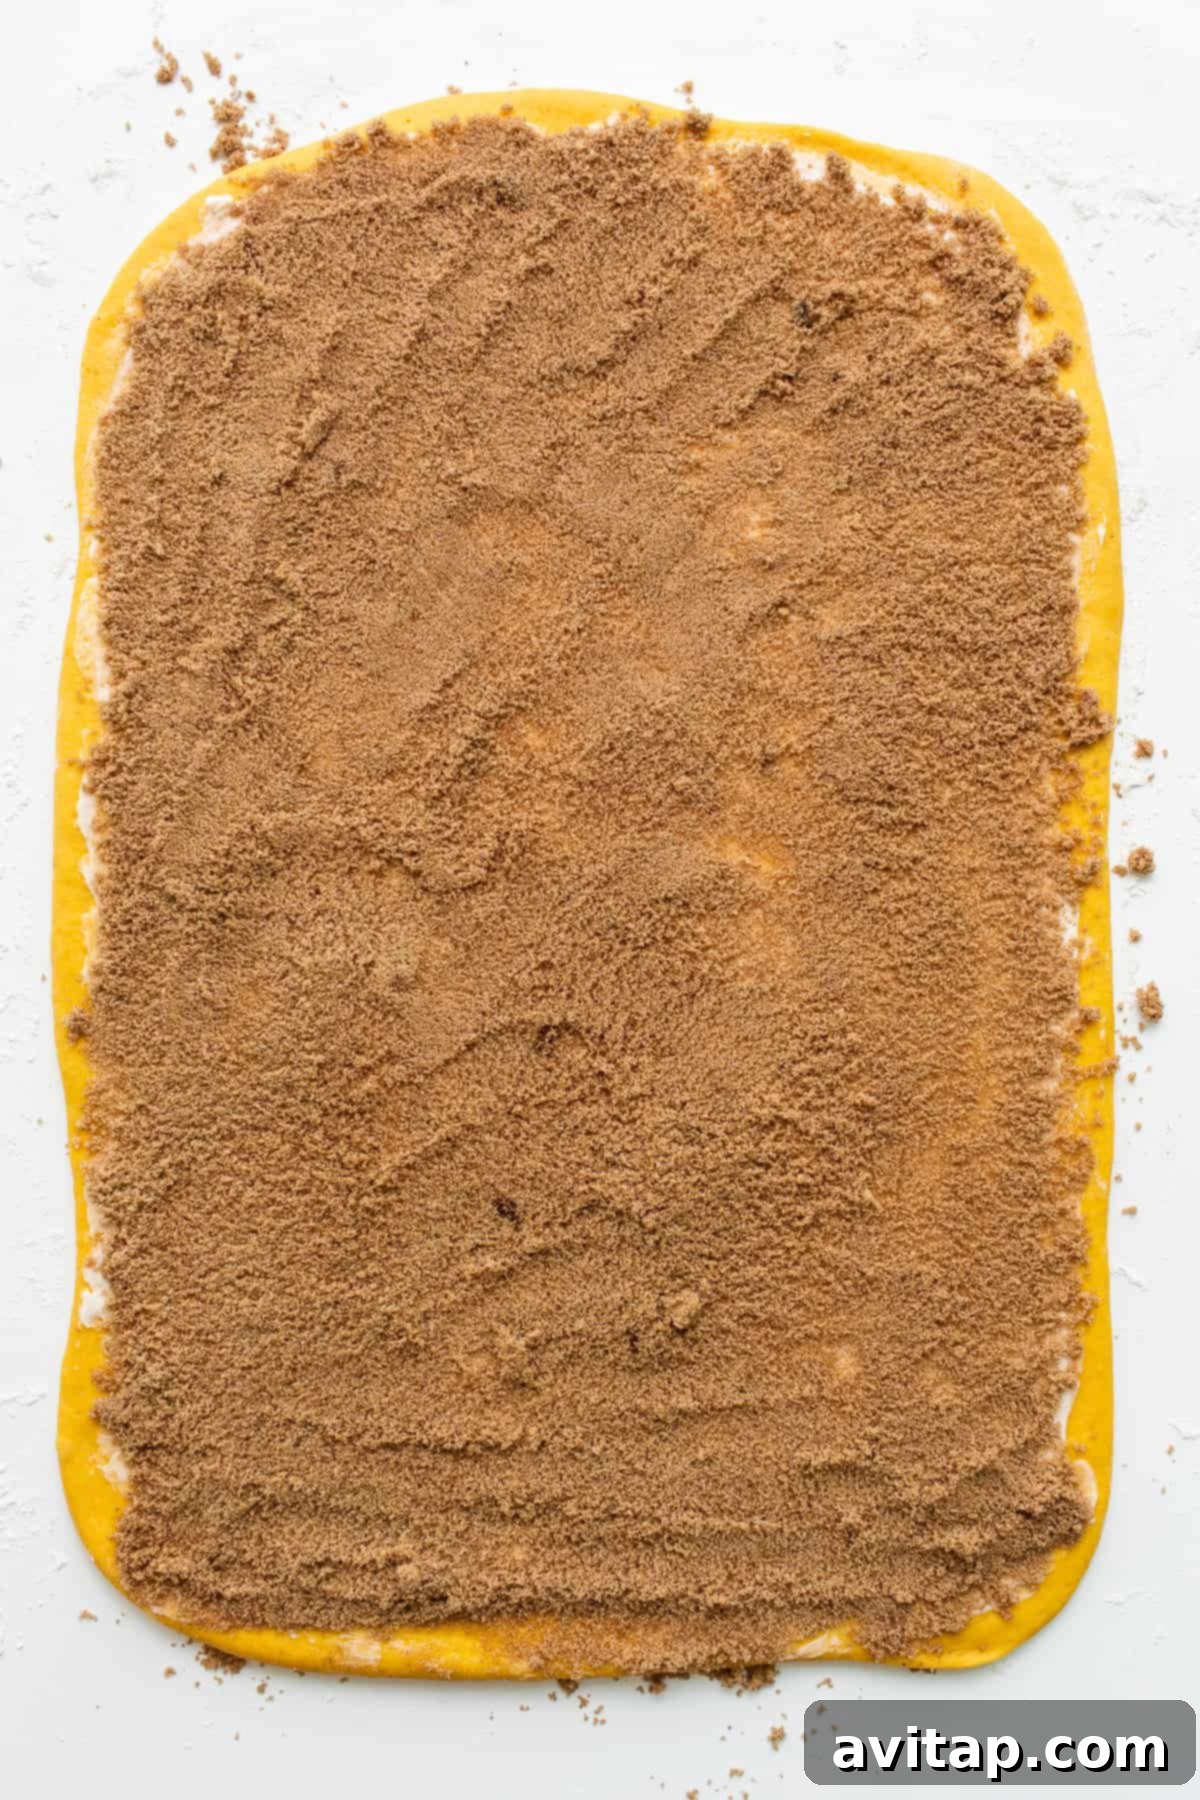
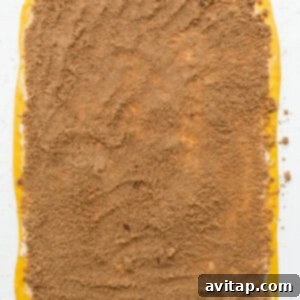
Now, it’s time for the delicious filling! Evenly spread the softened butter over the entire surface of the rolled-out dough, leaving a small border (about half an inch) along one of the long edges. In a small bowl, combine the light brown sugar and pumpkin pie spice, then sprinkle this aromatic mixture generously over the buttered dough. Gently press the filling into the butter with your hands.
Starting from one of the *long sides* of the rectangle, carefully and tightly roll the dough into a log. A tight roll ensures beautiful, concentric spirals in your baked rolls. As you roll, try to keep the log uniform in thickness.
Pro Tip: Craving Larger Rolls? Here’s How!
The standard method involves rolling the dough starting from the LONG SIDE, which yields more rolls of a moderate size. However, if your heart desires fewer, but more magnificently oversized pumpkin cinnamon rolls, simply adjust your rolling technique! Instead, roll your dough starting from one of the SHORT SIDES of the rectangle. This will result in a shorter, thicker log and consequently, larger, more indulgent rolls.
Once you have your tightly rolled log, it’s time to slice it into individual rolls. For consistent sizes, which ensures even baking and a beautiful presentation, we recommend this method: find the exact middle of your log and make a light mark with a sharp knife. Then, starting from this middle mark, measure and mark every 1 to 1.5 inches along both sides. This technique guarantees your rolls are equally sized, creating a visually appealing batch of cinnamon rolls.
Phase 5: The Second Rise or Overnight Chill
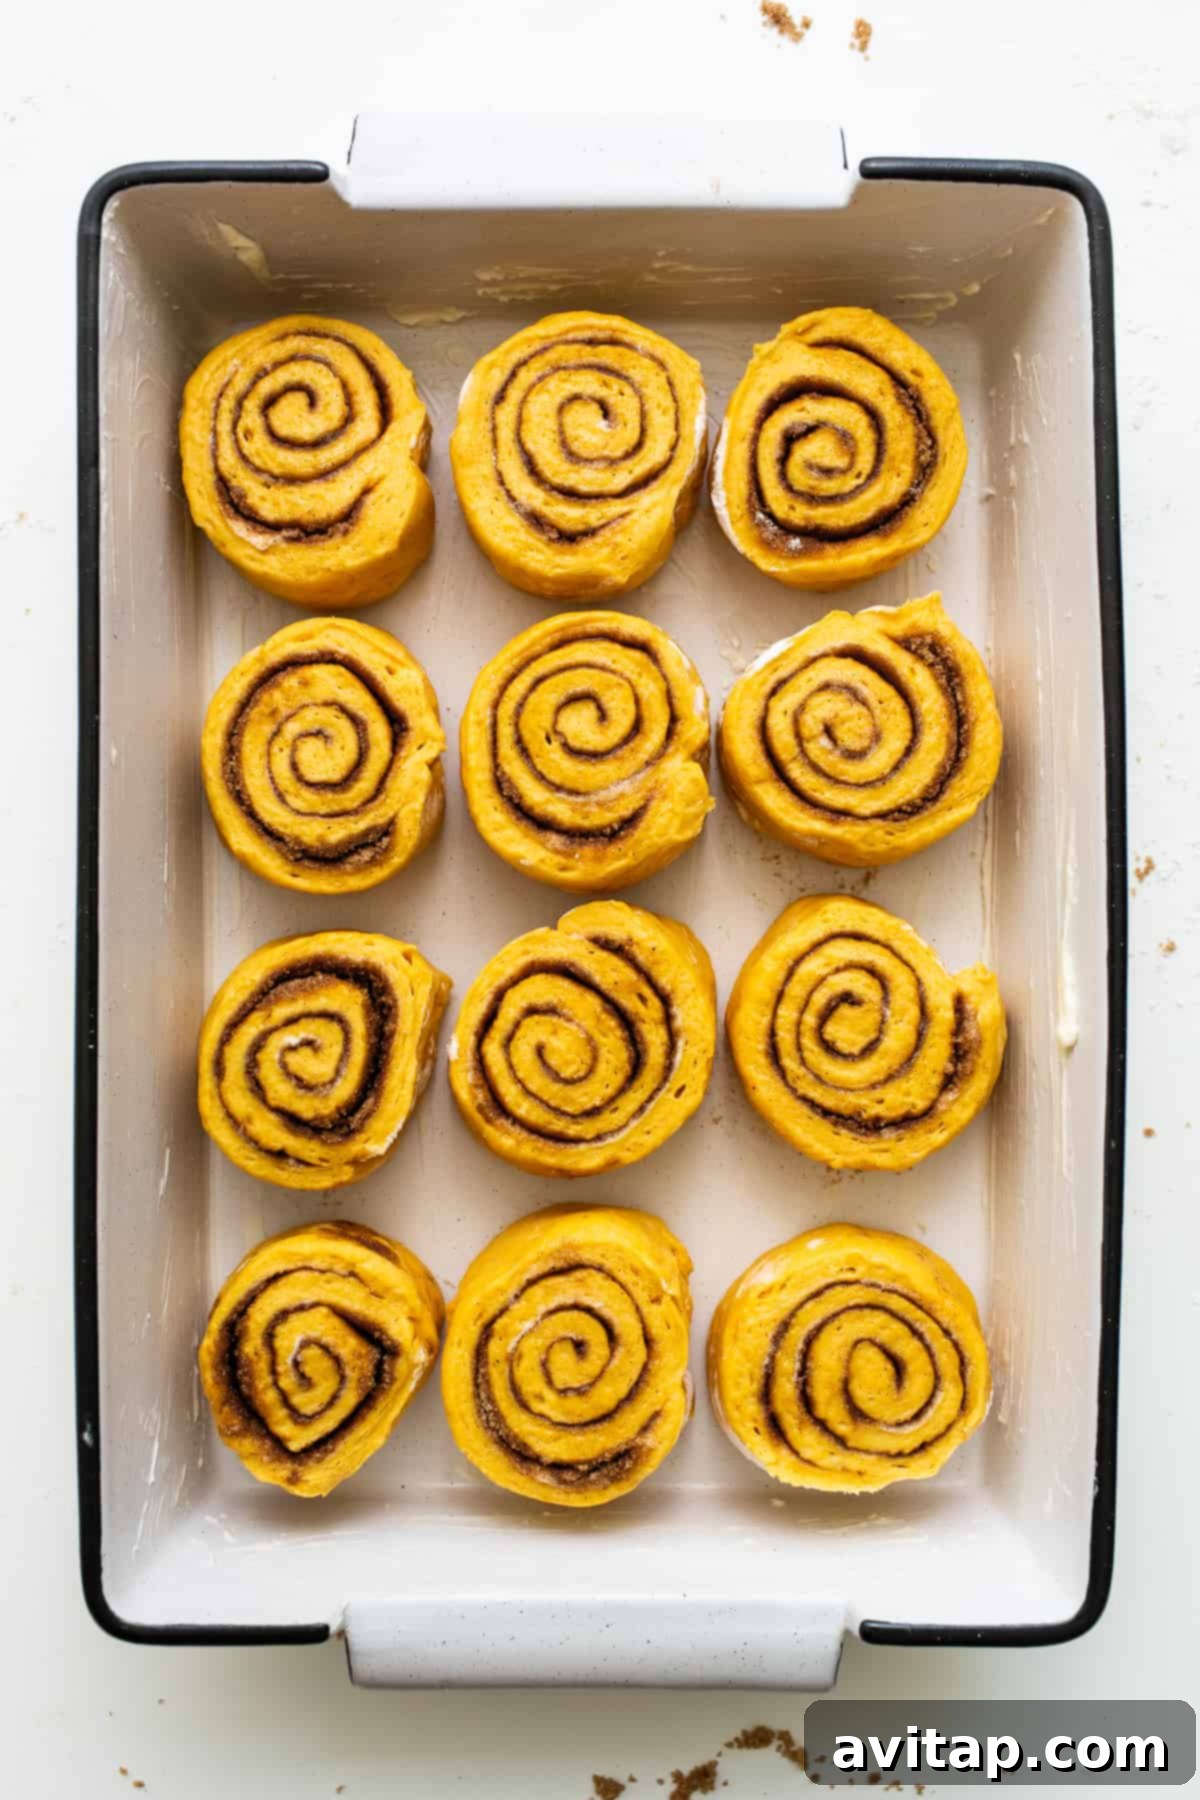
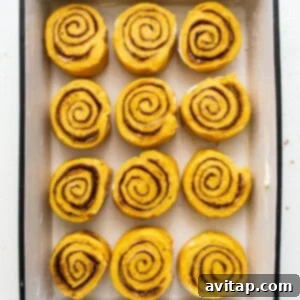
Carefully place your sliced pumpkin cinnamon rolls into a prepared 9×13-inch baking dish. You can lightly butter the dish or line it with parchment paper for easy removal. Arrange the rolls so they are just barely touching each other; they will expand during the second rise and baking. Depending on how tightly you rolled and sliced, you might fit them in a 3×4 pattern or a 2×4 pattern with a few extra in a smaller dish.
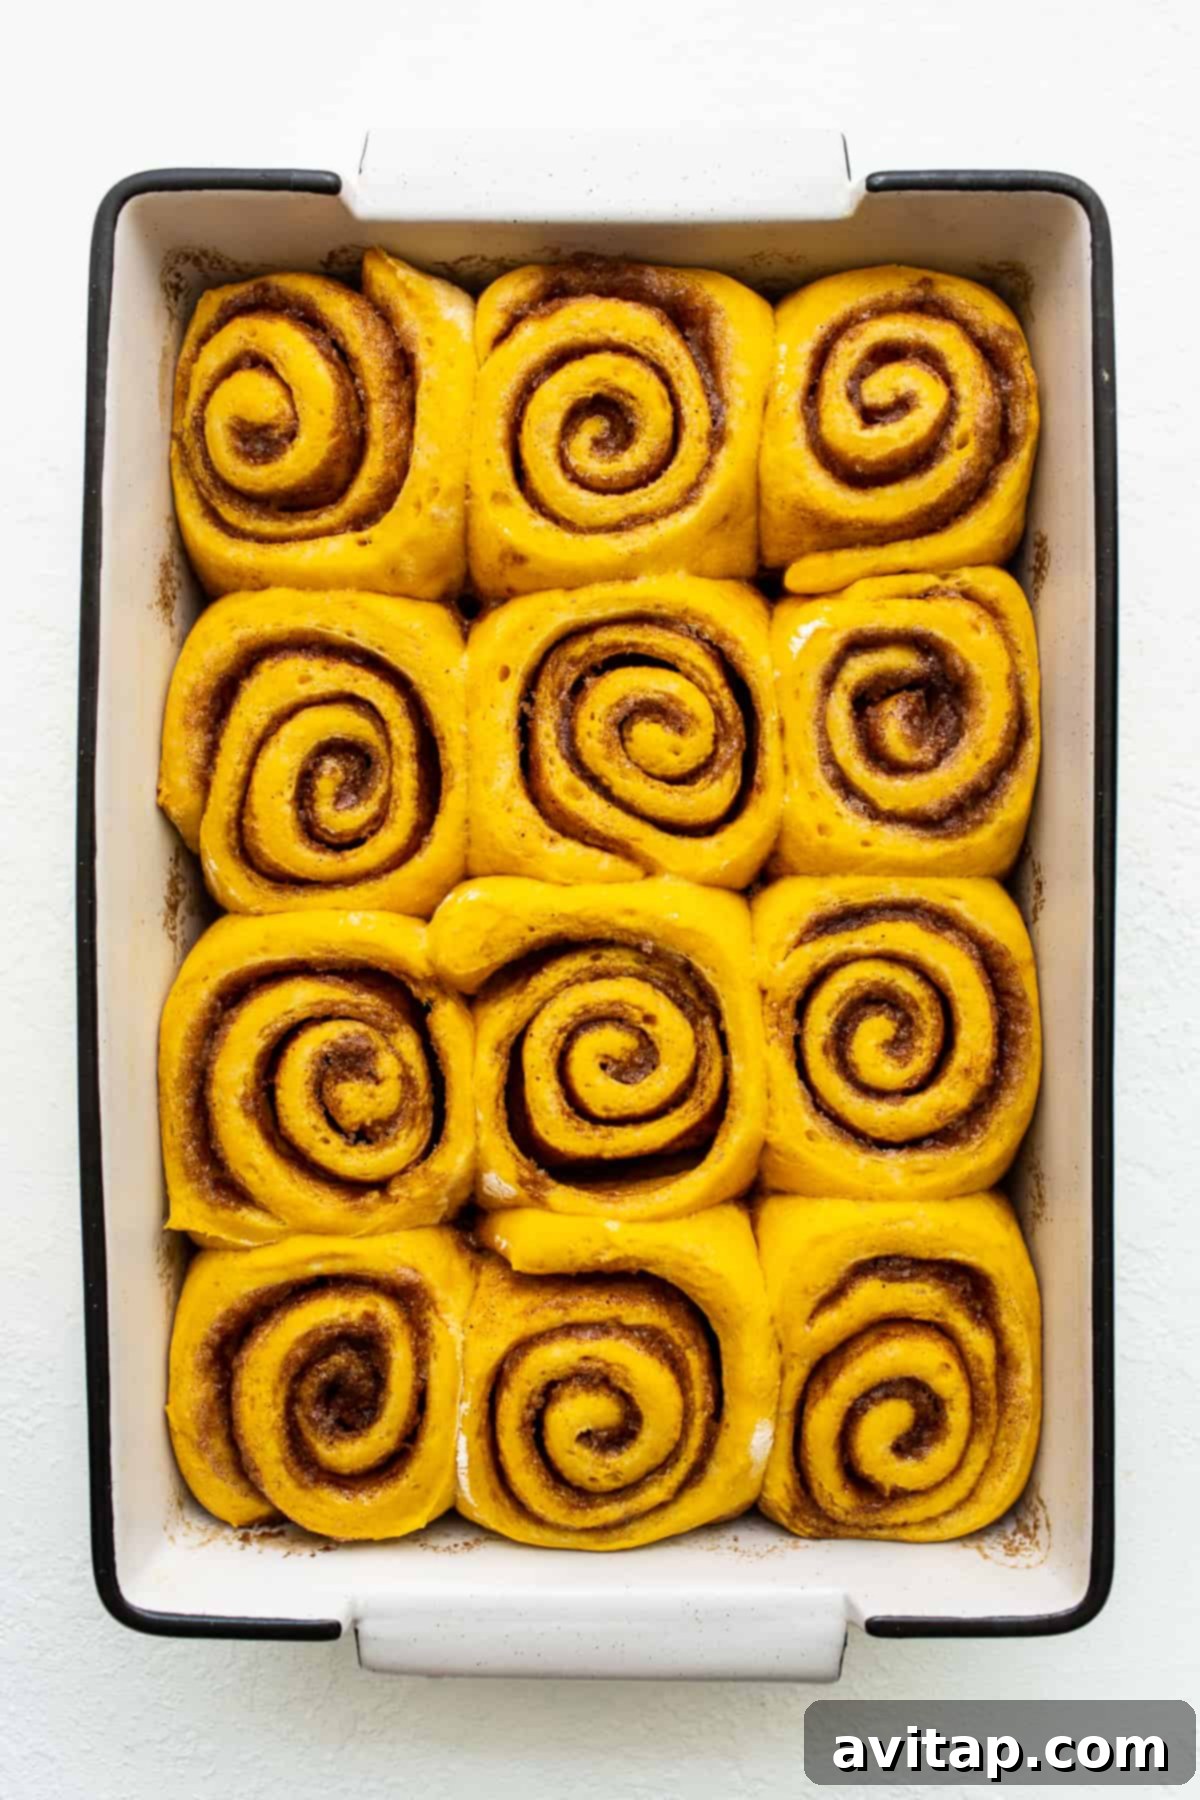
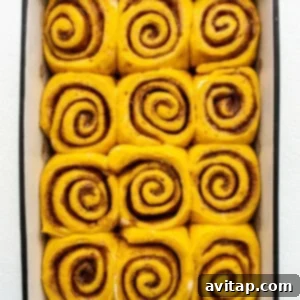
Cover the baking dish again with plastic wrap and then a clean tea towel. If you plan to bake them immediately, place the dish in a warm, draft-free location for their second rise, which typically takes around 30 minutes. The rolls should noticeably puff up and start to touch.
Preparing These Rolls for Tomorrow? This is where the magic of overnight preparation comes in! Instead of placing the covered rolls in a warm spot for a second rise, transfer the entire covered baking dish directly to your refrigerator. They can chill there overnight for up to 12 hours. The slow, cold proofing develops even deeper flavors. On baking morning, remember to take the rolls out of the fridge at least 30 minutes to 1 hour before baking. This allows them to come to room temperature and complete their final proof, ensuring they bake up light and fluffy. Do not skip this step!
Phase 6: The Moment of Baking Glory
Once your rolls have completed their second rise (or have come to room temperature after an overnight chill), it’s time for them to hit the oven! Preheat your oven to 350°F (175°C). Remove the plastic wrap and tea towel from the baking dish. Place the dish in the preheated oven and bake for approximately 18-22 minutes. Baking times can vary slightly depending on your specific oven and the size of your rolls, so keep an eye on them.
The rolls are ready when they are golden brown on top, the centers are set, and they smell absolutely intoxicating. Be careful not to overbake, as this can lead to dry rolls. A slight jiggly-ness in the center is okay, as they will firm up as they cool. Get ready for your house to be filled with the most AMAZING, comforting aroma of baked pumpkin and spice!
Phase 7: Frost and Indulge!
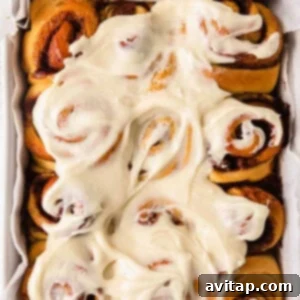
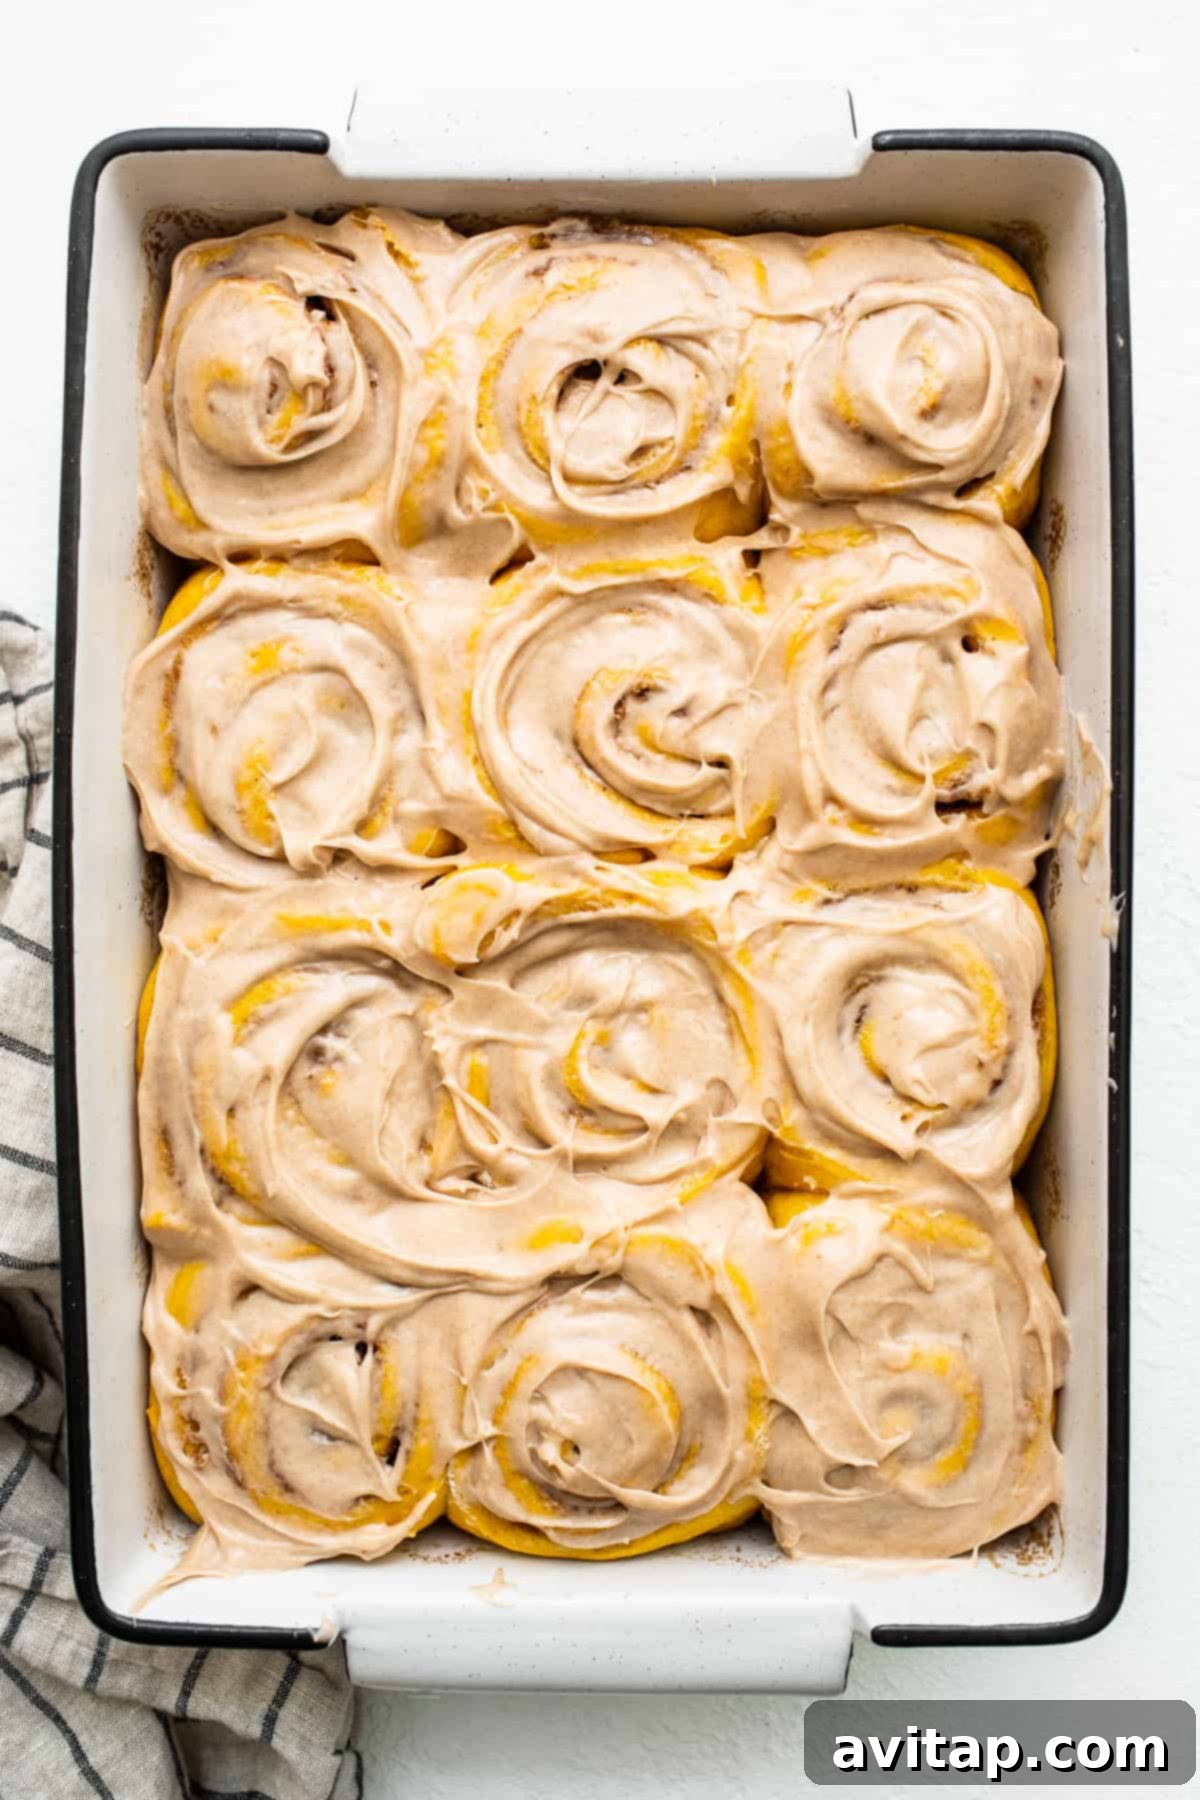
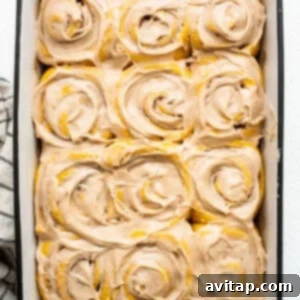
Once your pumpkin cinnamon rolls emerge from the oven, resist the urge to frost them immediately. Allow them to cool in the baking dish for at least 10-15 minutes. This crucial cooling period allows the rolls to set slightly and ensures the frosting melts beautifully without becoming a runny mess. While they’re still warm, but not piping hot, generously spread your prepared cinnamon cream cheese frosting over the top of all the rolls.
The warmth of the rolls will slightly soften the frosting, allowing it to gently cascade into all the nooks and crannies, creating an incredibly decadent glaze. Now, they are ready! Serve them warm, perhaps with a fresh cup of coffee or a glass of milk, and prepare to be utterly delighted. SERVE AND ENJOY these homemade pumpkin cinnamon roll masterpieces!
Expert Tips for Pumpkin Cinnamon Roll Perfection
Achieving bakery-quality pumpkin cinnamon rolls at home is easier than you think with these professional tips. Follow these insights to ensure your rolls are consistently soft, flavorful, and utterly delightful:
The Golden Rule of Yeast: Don’t Overheat the Milk!
The temperature of your milk is paramount for yeast activation. Yeast thrives and blooms perfectly when the milk is gently warmed to approximately 100-110°F (38-43°C). You can easily check this with a kitchen thermometer. If the milk is too hot, exceeding 120°F (49°C), you risk killing the yeast entirely, resulting in a dough that won’t rise. Conversely, if the milk is too cold, the yeast will struggle to activate and bloom effectively, which can lead to dense, heavy rolls – a texture no one desires! Aim for that sweet spot for optimal rise and a light, airy texture.
Understanding Your Yeast: Quick Rise vs. Active Dry
We specifically recommend using quick-rise yeast (also known as instant yeast) for this recipe because it generally produces a faster and more vigorous rise. Technically, quick-rise yeast doesn’t strictly require blooming before being mixed into the dough; it can be added directly to the dry ingredients. However, we still prefer to activate it in warm milk as a foolproof step. This ensures the yeast is alive and active, giving you peace of mind and guaranteeing a perfect first rise.
Can I Use Active Dry Yeast Instead? Absolutely! Active dry yeast will also work wonderfully for these pumpkin cinnamon rolls. Just follow the same instructions as with quick-rise yeast: dissolve it in the warm milk with a pinch of sugar and let it bloom until foamy. Be mindful that using active dry yeast might slightly increase your overall rising times, so allow a bit more flexibility in your schedule for both the first and second proofing stages.
The Secret to Clean Slices: Use a Sharp Serrated Knife
When it comes to slicing your cinnamon roll log, the right tool makes all the difference. We highly recommend using a SHARP serrated knife. Gently saw through the dough with a back-and-forth motion, avoiding applying excessive downward pressure. This technique helps to cleanly cut through the layers of dough and filling without squishing or distorting the beautiful spirals. If, despite your best efforts, a roll does squish a bit, don’t worry! You can easily reform and reshape it gently with your hands before placing it in the baking dish.
Alternatively: The Dental Floss Method! For ultra-clean cuts that maintain perfect round shapes, try using unflavored dental floss. Slide a long piece of floss underneath the log at your desired cutting point, cross the ends over the top, and pull them tightly in opposite directions. The floss will slice through the dough like butter, leaving perfectly round rolls.
Achieving Uniformity: How to Cut Equal-Sized Cinnamon Rolls
For a batch of pumpkin cinnamon rolls that are not only beautiful but also bake evenly, consistent sizing is key. To ensure each roll is approximately 1 to 1.5 inches thick, use this simple trick: first, measure and mark the exact middle of your dough log with a small notch from your knife. Then, starting from this central mark, measure and make a small mark every inch or inch and a half on both sides. This method helps you divide the log into perfectly equal portions, guaranteeing a stunning and uniformly baked batch.
Simplify Your Morning: Overnight Pumpkin Cinnamon Rolls Instructions
One of the most appealing aspects of this pumpkin cinnamon roll recipe is the ability to prepare them ahead of time. This means you can wake up to the delicious aroma of fresh cinnamon rolls without the usual early morning fuss. To enjoy freshly baked rolls for breakfast or brunch with minimal effort on the day of serving, follow these streamlined instructions:
- Prepare the Rolls in Advance: Follow all the recipe instructions meticulously, right up to the point of placing the sliced rolls in the baking dish (which is typically step 11 or 12, depending on your recipe card numbering). Ensure the rolls are arranged in your buttered or parchment-lined dish, just barely touching.
- Overnight Refrigeration: Instead of allowing the rolls to undergo their second rise at room temperature, securely cover the baking dish with plastic wrap. Make sure the wrap is sealed tightly to prevent the rolls from drying out. Place the covered dish directly into your refrigerator. The rolls will undergo a slow, cold proof overnight, developing rich flavors and a tender texture. They can be stored in the fridge for up to 12-16 hours.
- Morning Prep: Bring to Room Temperature: On the morning you plan to bake and serve, remove the covered baking dish from the refrigerator. Allow the rolls to sit at room temperature for approximately 30-60 minutes. This crucial step allows the dough to warm up and complete its final proof, ensuring light and fluffy rolls. During this time, you can preheat your oven to 350°F (175°C).
- Bake as Instructed: Once the rolls have come to room temperature and look visibly puffy, proceed with the baking instructions exactly as written in the main recipe. Bake for 18-22 minutes until golden brown and set.
- Frost & Enjoy: Allow the baked rolls to cool for 10-15 minutes before generously spreading the prepared cinnamon cream cheese frosting over them. Then, serve them warm and savor the delightful experience!
Explore Another Fall Favorite!
Our Delicious Apple Cinnamon Rolls
If you’re enchanted by the flavors of autumn, you simply must try our sensational apple cinnamon rolls! Featuring tender apples and a rich brown butter cream cheese frosting, they are another perfect fall treat. Discover the recipe for these delightful rolls and add a new seasonal favorite to your repertoire!
Storage & Reheating for Lasting Freshness
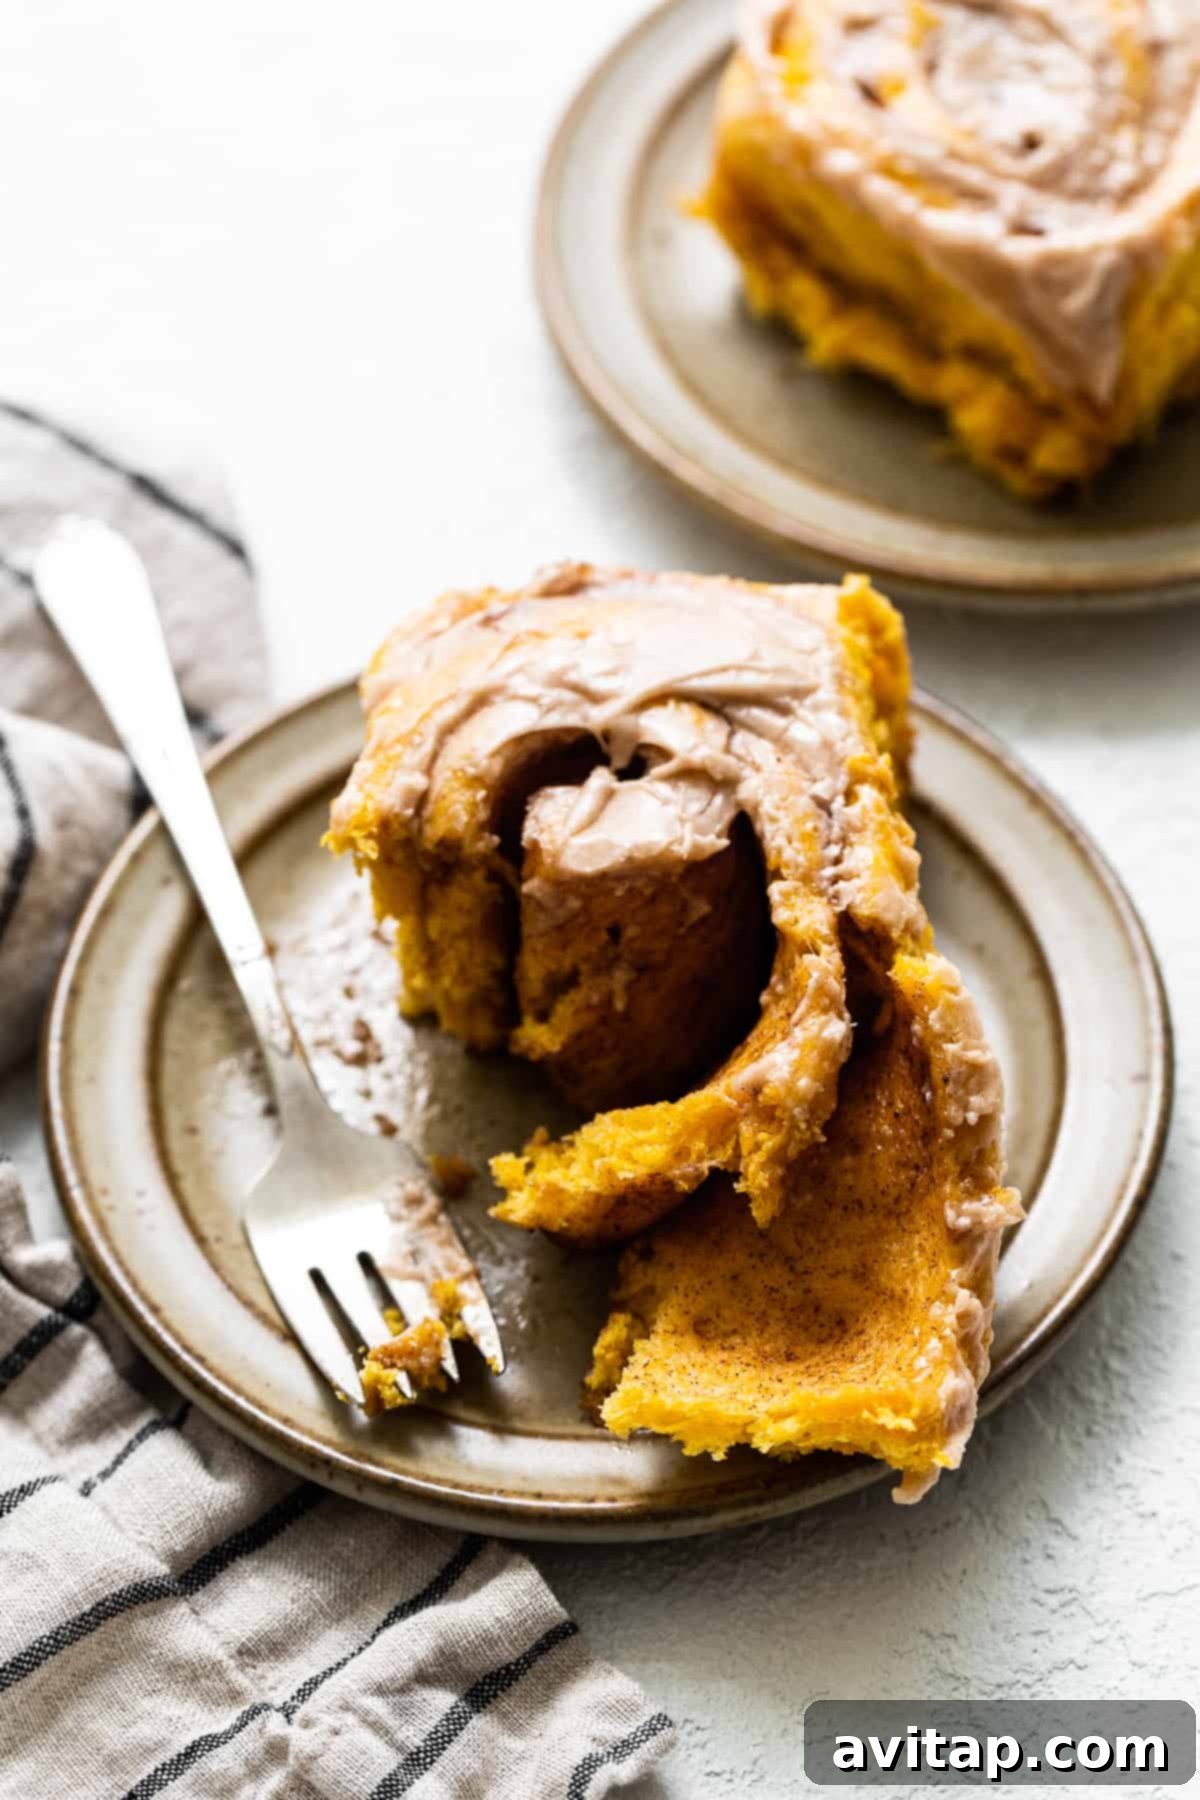
These pumpkin cinnamon rolls are best enjoyed fresh and warm from the oven, but any leftovers can be stored and reheated for continued enjoyment. Proper storage is key to maintaining their delightful texture and flavor.
Store any remaining pumpkin cinnamon rolls in an airtight container at room temperature for up to 1-2 days, or in the refrigerator for up to 3 days. If storing in the fridge, ensure they are well-sealed to prevent them from drying out.
To Reheat Your Cinnamon Rolls: While a quick zap in the microwave will certainly warm them up (about 15-30 seconds per roll), our absolute preferred method for reheating is in the oven. This helps to crisp up the edges slightly and brings back that freshly baked softness without making them chewy.
For oven reheating: Preheat your oven to 350°F (175°C). Place the cinnamon rolls in an oven-safe dish and cover them tightly with aluminum foil to trap moisture. Reheat for about 10-15 minutes, or until the rolls are warm throughout and as deliciously soft and gooey as the moment they first came out of the oven. Enjoying them reheated is almost as good as the first time!
Freezing Instructions: If you wish to freeze unbaked rolls for an even more convenient future breakfast, simply follow all steps up to the second rise, then place the covered baking dish in the freezer. Once frozen solid, you can transfer the rolls to a freezer-safe bag or container for up to 1 month. To bake, thaw overnight in the refrigerator, then proceed with the room temperature rise and baking instructions. You can also freeze baked, unfrosted rolls, wrapped tightly, for up to 2-3 months. Thaw, warm in the oven, and then frost.
Discover More of Our Favorite…
Irresistible Sweet Breakfast Recipes
- Maple Cinnamon Rolls
- Apple Cinnamon Rolls
- Cinnamon French Toast Bake
- Peanut Butter Banana French Toast Bake
- Instant Pot French Toast Casserole
The Best Homemade Pumpkin Cinnamon Rolls
Prep: 2 hours
Cook: 18 minutes
Total: 2 hours 18 minutes
Pin
Ingredients
Dough
- ¾ cup 2% milk, warmed to 100-110°F
- 1 packet of quick rise yeast
- ¼ cup granulated sugar
- ¾ cup pumpkin puree
- 3 tablespoons butter, melted (unsalted preferred)
- 1 large egg, room temperature
- 1 teaspoon pure vanilla extract
- 4 cups all-purpose flour
- 1 teaspoon salt
Filling
- 4 tablespoons unsalted butter, softened
- ¾ cup light brown sugar
- 1 tablespoon pumpkin pie spice
Frosting
- 4 oz cream cheese, softened
- 1 ¼ cup powdered sugar
- ½ teaspoon vanilla extract
- ½ teaspoon ground cinnamon
- Pinch of salt
Instructions
-
In a large bowl, combine the warm milk (100-110°F), granulated sugar, and quick rise yeast. Stir gently and allow the mixture to sit for approximately 5 minutes, or until the yeast has bloomed and appears foamy on the surface.
-
To the bloomed yeast mixture, add the pumpkin puree, melted butter, room temperature egg, and pure vanilla extract. Whisk all the wet ingredients together until they are well combined and smooth.

-
Using a stand mixer fitted with a dough hook attachment, set the speed to low-medium. Gradually add the all-purpose flour and salt to the wet ingredients. Continue mixing until all the flour is incorporated and a shaggy dough forms. Then, knead for an additional 2-3 minutes, or until the dough is smooth, elastic, and springs back when gently poked.
-
Form the dough into a ball and transfer it to a lightly oiled bowl. Cover the bowl tightly with plastic wrap and then a clean tea towel. Place in a warm, draft-free spot (like an oven with the light on, but oven off) to rise until the dough has doubled in size, which typically takes about 1 to 1.5 hours.
-
While the dough is rising, prepare the cinnamon cream cheese frosting. In the bowl of a stand mixer fitted with the paddle attachment, combine the softened cream cheese, vanilla extract, ground cinnamon, and a pinch of salt. Beat until smooth and creamy.
-
With the mixer on low speed, slowly add the powdered sugar to the cream cheese mixture until fully incorporated. Scrape down the sides of the bowl as needed.
-
Increase the mixer speed to medium and beat for 30-45 seconds, or until the frosting is light, airy, and fluffy. Cover and set aside at room temperature.
-
Once the dough has risen for 1 to 1.5 hours, gently punch it down to release the air. Turn the dough out onto a lightly floured surface.
-
Using a rolling pin, roll the dough into a large rectangle, approximately 18 inches long, 12 inches wide, and 1/4 inch thick. Strive for even thickness.
-
Spread the softened butter evenly over the rolled-out dough, leaving a small border along one long edge. In a small bowl, combine the light brown sugar and pumpkin pie spice, then sprinkle this mixture over the buttered dough. Gently press the filling into the butter. Roll the dough into a tight log, starting from one of the long sides. For larger rolls, start rolling from one of the short sides.
-
Slice the log into approximately 1 to 1.5-inch thick rolls. This should yield about 12 rolls, depending on how tightly you rolled the log and your chosen starting side. Using a sharp serrated knife or unflavored dental floss is recommended for clean cuts.
-
Butter a 9×13-inch baking dish or line it with parchment paper. Carefully place the sliced rolls into the dish, ensuring they are just barely touching each other to allow for expansion during baking. Depending on the size, you can arrange them 3×4 or 2×4, using an additional small dish for any extra rolls.
-
For Overnight Rolls: If preparing in advance, wrap the dish tightly with plastic wrap and place it in the refrigerator for up to 12 hours. The morning you plan to bake, remove the rolls from the fridge and let them come to room temperature for approximately 30-60 minutes before proceeding to step 13.
-
For Immediate Baking: If you are not making the rolls in advance, cover the dish with plastic wrap and then a tea towel. Place in a warm spot for their second rise until the rolls have visibly puffed up and are touching each other, about 30 minutes. During this second rise, preheat your oven to 350°F (175°C).
-
Bake the pumpkin cinnamon rolls in the preheated oven for 18-22 minutes. Baking time may vary depending on your oven and roll size; bake until the tops are golden brown and the centers are set. Be careful not to overbake, as this can dry out the rolls.
-
Remove the baked rolls from the oven and allow them to cool in the dish for at least 10-15 minutes before spreading the cinnamon cream cheese frosting generously over the warm rolls. Serve immediately and enjoy!
Watch It
Nutrition
Nutrition information is automatically calculated and should only be used as an approximation. Individual results may vary.
Love this recipe? Leave a comment below and tell us what you think!
Don’t forget to tag your posts on social media with the hashtag #fitfoodiefinds – we’d absolutely love to see your beautiful pumpkin cinnamon roll creations!
Photography: All stunning photos in this post were expertly captured by Ashley McGlaughlin from The Edible Perspective, bringing our delicious recipe to life visually.