
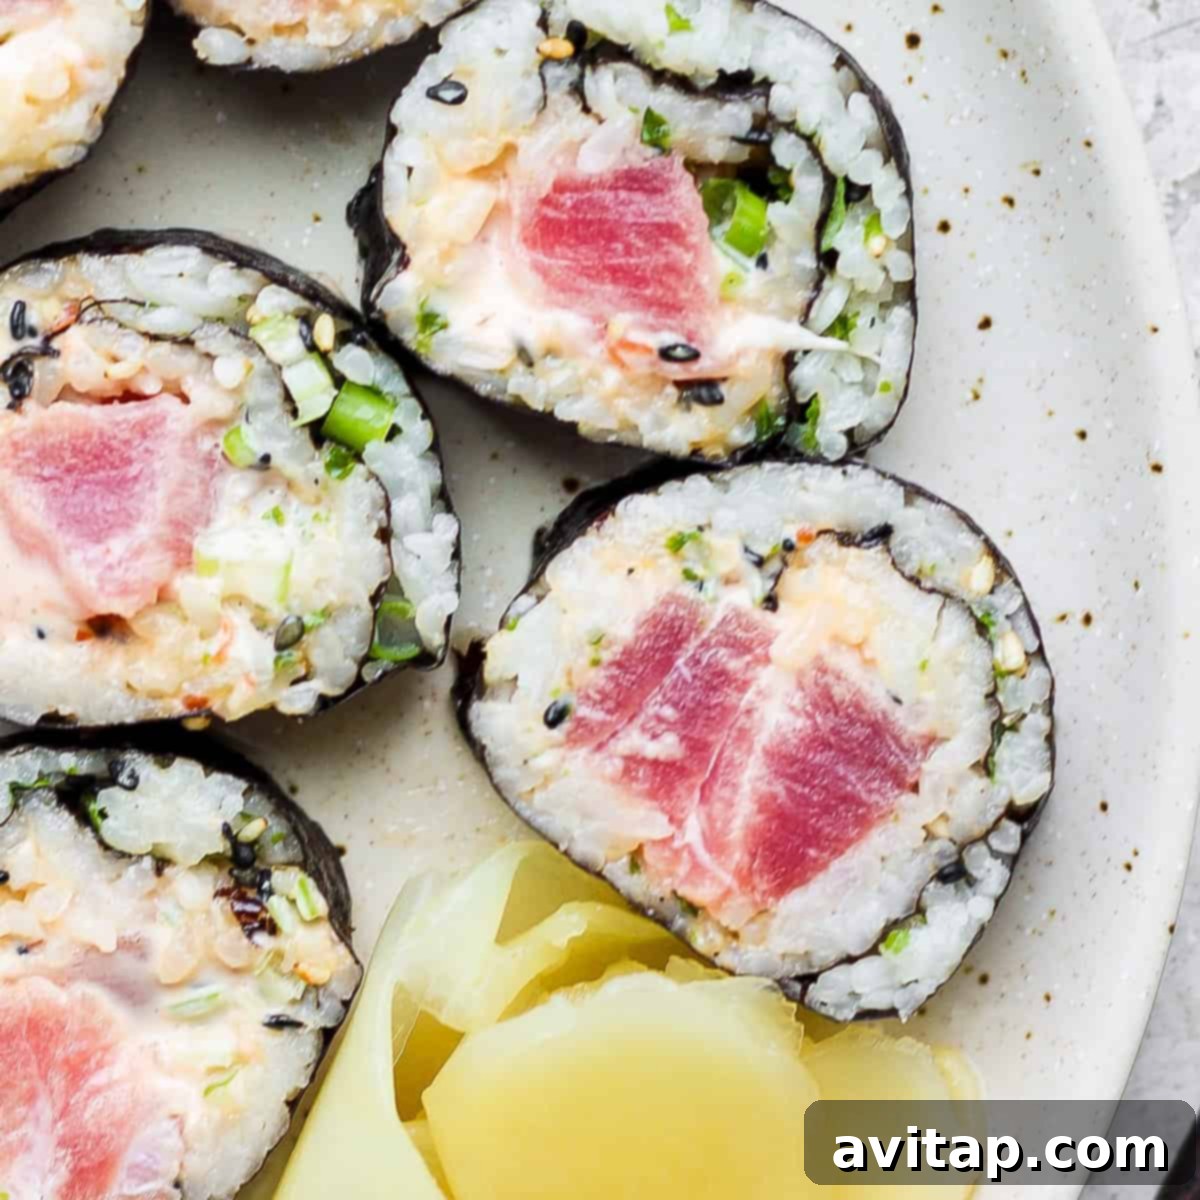
Embark on a delightful culinary journey and create your own sushi masterpieces right in your kitchen with this incredibly **easy spicy tuna roll** recipe. Designed for sushi enthusiasts and first-time rollers alike, this guide simplifies the process, making homemade sushi approachable and fun. Our recipe focuses on readily available ingredients and clear, step-by-step instructions, ensuring a delicious and satisfying result every time. Get ready to impress yourself and your guests with fresh, flavorful, and perfectly rolled spicy tuna sushi!
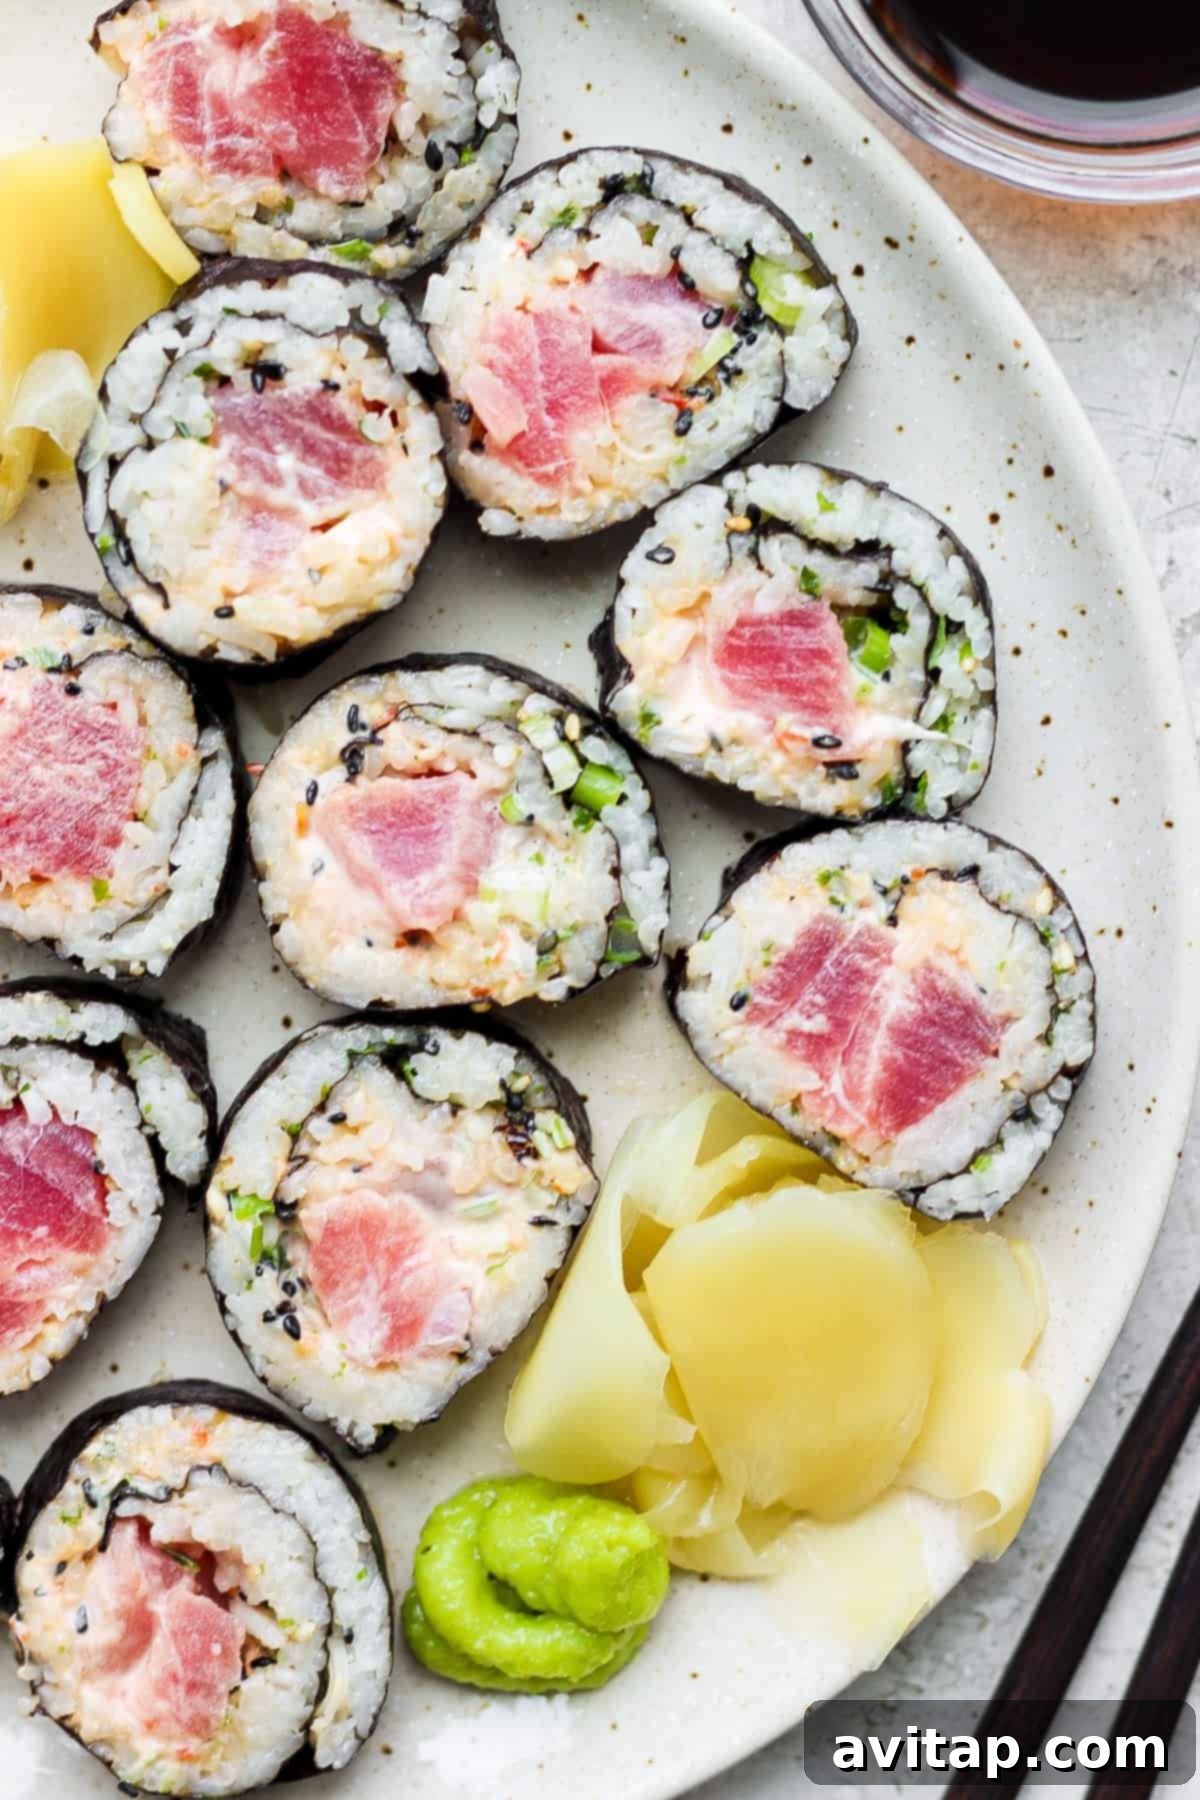
We understand that the thought of crafting your own sushi from scratch can seem daunting. Visions of intricate rolling techniques and elusive ingredients might make you hesitant. But fear not! We’ve meticulously crafted this **easy-to-follow recipe to ensure even the most novice home sushi chefs achieve a restaurant-quality result.** We’ve streamlined the process, focusing on just a handful of simple ingredients to create a sushi roll that’s both authentic and incredibly satisfying.
Beyond the simple assembly, we’ve included a crucial element: a detailed, **step-by-step guide on how to prepare the absolute PERFECT sticky rice.** This rice is the true foundation of exceptional sushi, providing the ideal texture and consistency that holds everything together and elevates the flavor profile. Forget the complexities, just follow our exact instructions for this easy spicy tuna roll recipe, and you’ll be astonished by your newfound sushi-making prowess. Prepare for a truly rewarding culinary experience that will change your perception of homemade sushi forever.
Why Choose Our Easy Spicy Tuna Roll Recipe?
Diving into the world of homemade sushi offers countless rewards. Our particular recipe stands out for several compelling reasons:
- A Guaranteed Crowd-Pleaser: The classic combination of fresh, delicate tuna and a creamy, zesty spicy mayo is universally loved. These rolls are sure to be a hit at any gathering, from casual dinners to special occasions. Everyone appreciates the vibrant flavors and appealing presentation of a well-made spicy tuna roll.
- Budget-Friendly Indulgence: Enjoying high-quality sushi at a restaurant can be quite expensive. By making sushi at home, especially with simple, accessible ingredients like those in our recipe, you can significantly cut down costs without compromising on taste or quality. It’s an affordable way to satisfy your sushi cravings regularly.
- Foolproof for First-Timers: Our recipe is specifically designed to be beginner-friendly. We break down each step into manageable parts, taking the guesswork out of sushi making. You don’t need years of experience to achieve a beautiful and delicious roll; just follow our instructions, and you’ll be amazed at your success.
- Unbeatable Freshness & Quality: When you make sushi at home, you have complete control over the freshness and quality of your ingredients. You can select the finest sushi-grade tuna and freshest vegetables, ensuring a superior taste and texture that often surpasses takeout options.
- A Fun and Creative Kitchen Project: Sushi making is more than just cooking; it’s an interactive and enjoyable activity. Whether you’re making it solo or with family and friends, the process of assembling and rolling sushi can be a wonderfully creative and bonding experience.
- Customization at Your Fingertips: Love extra spice? Want to add more avocado or cucumber? Making sushi at home allows you to customize each roll to your exact preferences, ensuring every bite is exactly how you like it.
Essential Ingredients for Your Spicy Tuna Roll
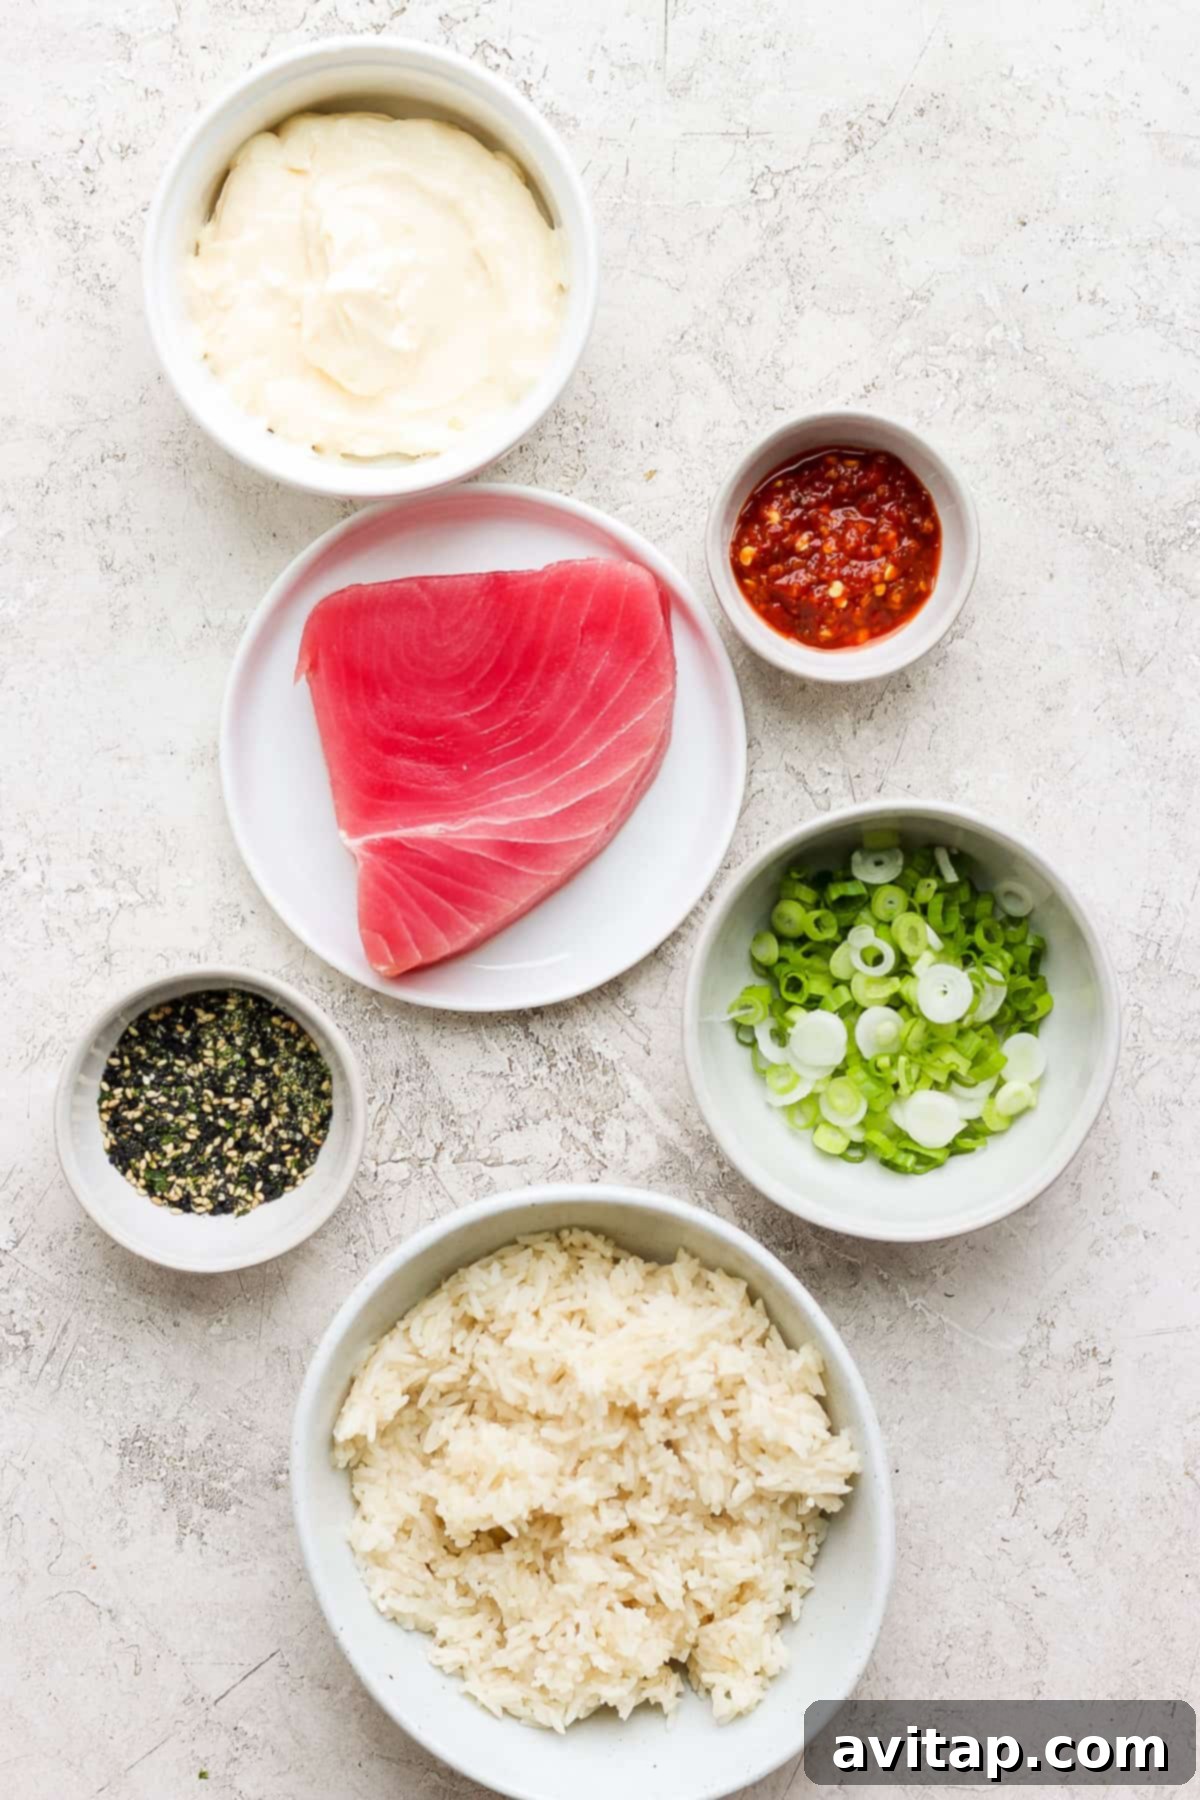
Crafting the perfect spicy tuna roll begins with selecting high-quality, fresh ingredients. Here’s a detailed look at what you’ll need and why each component is vital:
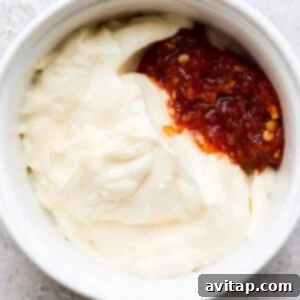
- Creamy Mayonnaise: This forms the base of our irresistible spicy mayo. It contributes a rich, smooth texture and a delightful tangy flavor that complements the tuna beautifully. Choose a good quality, full-fat mayonnaise for the best results.
- Fiery Chili Garlic Sauce: This is where the “spicy” in our spicy tuna roll comes from! Packed with pungent garlic and a vibrant chili kick, it adds depth and heat to the mayonnaise, creating a balanced and exciting flavor profile. Adjust the amount to your preferred spice level.
- Perfectly Cooked Sticky Rice: Not just any rice will do for sushi! You need short-grain sushi rice, cooked to perfection, ensuring it’s sticky, slightly sweet, and firm enough to hold its shape when rolled. This is the backbone of your sushi.
- Premium Sushi-Grade Tuna: This is arguably the most crucial ingredient. “Sushi-grade” indicates that the tuna is of high quality and safe to consume raw. Look for vibrant red, firm flesh with no discoloration or strong fishy odor. Freshness is key for both flavor and safety.
- Crispy Nori Sheets: These dried seaweed sheets are essential for holding your sushi rolls together. Nori provides a slightly salty, earthy flavor and a satisfying crunch. Ensure your nori is fresh and pliable for easy rolling.
- Flavorful Furikake: This traditional Japanese seasoning blend typically includes toasted sesame seeds, dried seaweed flakes, sugar, and salt. It adds an extra layer of umami, a nutty crunch, and a beautiful visual appeal to your rolls.
- Fresh Green Onions: Thinly sliced green onions offer a mild, crisp onion flavor and a refreshing crunch that cuts through the richness of the tuna and mayo. They also add a pop of color to your filling.
- Optional (but Recommended) Sushi Vinegar: While not listed in the original, a proper sushi rice seasoning blend (rice vinegar, sugar, salt) is critical for authentic sushi rice flavor. We’ll cover this in the sticky rice section.
Mastering the Art: How to Make PERFECT Sticky Rice for Sushi
Achieving restaurant-quality sushi starts with perfectly prepared rice. It needs to be sticky enough to hold its shape, soft, and moist, with a subtle sweetness and tang. This isn’t just cooked rice; it’s a carefully crafted component that makes all the difference. While an Instant Pot offers convenience, the principles apply to stovetop cooking too.
To help you achieve sticky rice perfection, here’s an easy step-by-step guide for Instant Pot preparation:
- Rinse Thoroughly: Begin by rinsing 1 cup of uncooked short-grain sushi rice under cold running water. Continue rinsing for 2-3 minutes, or until the water runs clear. This crucial step removes excess starch, preventing the rice from becoming gummy and ensuring individual, yet sticky, grains.
- Instant Pot Prep: Transfer the rinsed rice to your Instant Pot. Add exactly 1 cup of cold water. Stir the rice gently to ensure all grains are submerged and evenly distributed in the water.
- Pressure Cook & Release: Secure the Instant Pot lid and set the valve to “sealing.” Cook the rice under high pressure for precisely 4 minutes. Once the cooking cycle is complete, allow the pressure to naturally release for 8 minutes. This natural release period is vital for achieving the perfect texture. After 8 minutes, carefully release any remaining pressure.
- Fluff and Season: Once the pressure is fully released, open the lid. Gently fluff the rice with a rice paddle or a wooden spoon. Now for the secret to sushi rice flavor: while the rice is still warm, transfer it to a large, shallow non-metallic bowl. Gently fold in a sushi vinegar seasoning (typically a mixture of rice vinegar, sugar, and a pinch of salt, warmed slightly to dissolve). Fan the rice as you fold to cool it quickly and give it a glossy sheen.
- Rest and Prepare: Cover the seasoned rice with a damp cloth or plastic wrap and set it aside at room temperature until it reaches body temperature. Avoid refrigerating, as this can make the rice hard and less pliable for sushi rolling. It’s now ready to be transformed into delicious sushi!
Pro Tip for Sushi Rice Seasoning: For every cup of uncooked rice, aim for a seasoning blend of 2 tablespoons rice vinegar, 1 tablespoon sugar, and ½ teaspoon salt. Warm gently until sugar and salt dissolve, then fold into warm rice.
Expert Tips for Rolling a Flawless Spicy Tuna Roll
Rolling sushi can seem tricky at first, but with a few key techniques, you’ll be rolling like a pro in no time. The goal is a firm, uniform roll that holds its shape beautifully when sliced.
To ensure your sushi rolls don’t fall apart, remember these critical tips:
- Keep Hands and Mat Wet: Before you even touch the rice, lightly dampen your hands and your sushi rolling mat (or plastic wrap if you’re not using a mat). This is paramount to prevent the sticky rice from adhering to everything and making the rolling process a frustrating mess. A small bowl of water nearby for re-wetting your hands regularly is a game-changer.
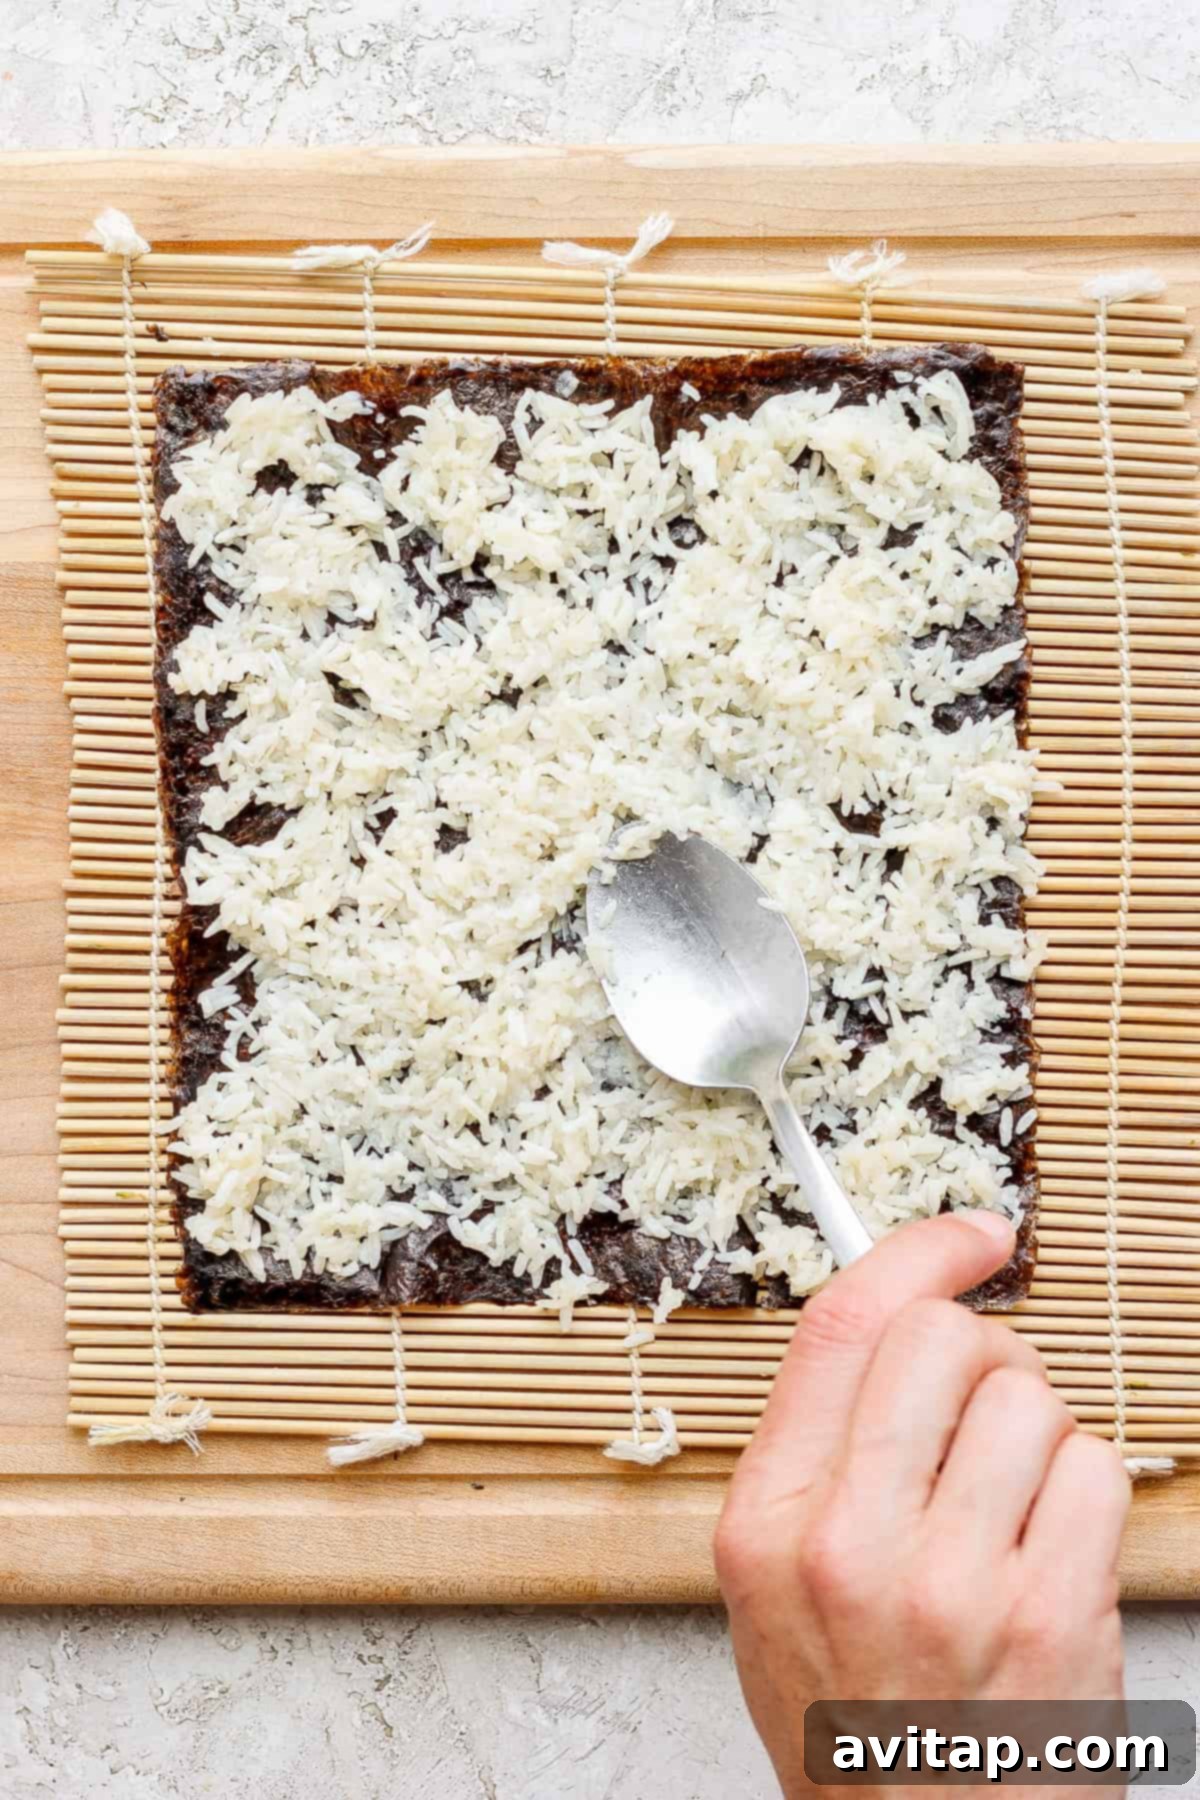
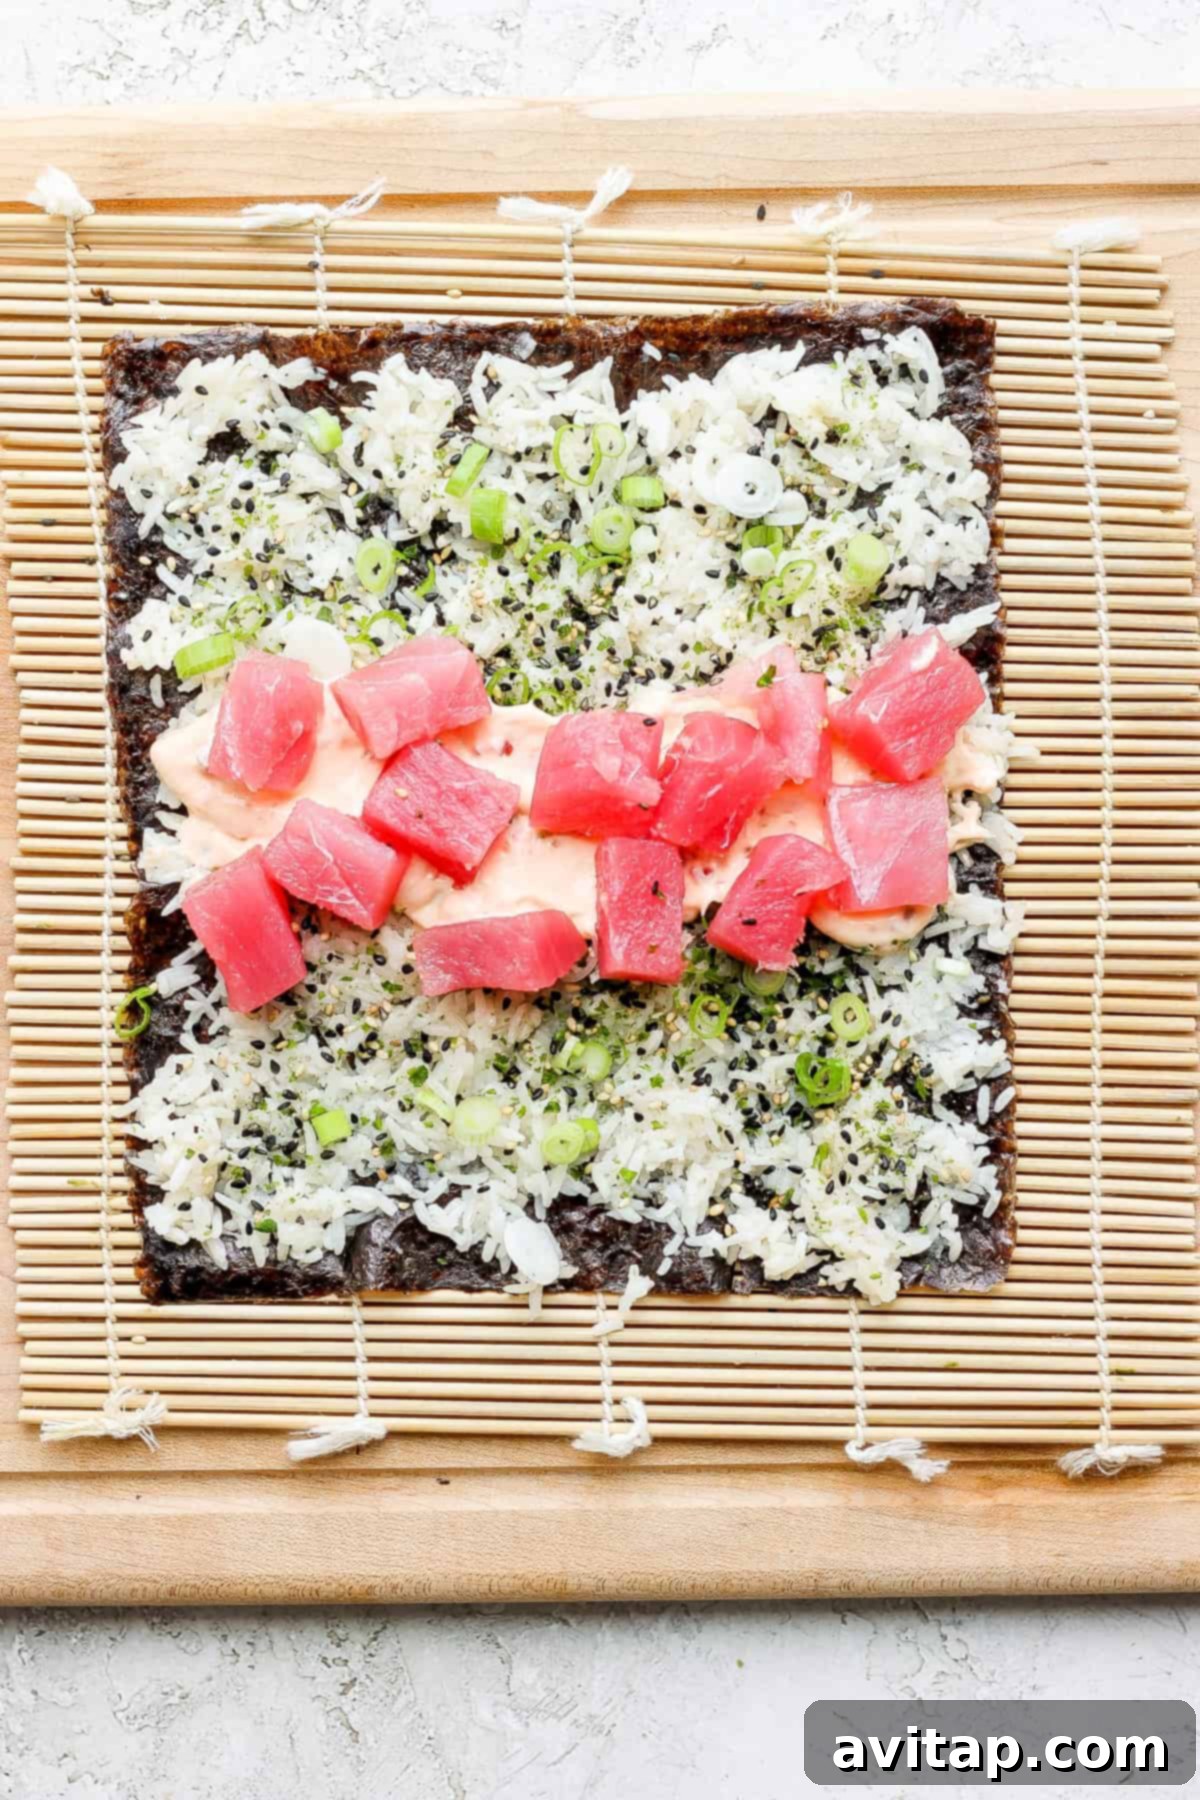
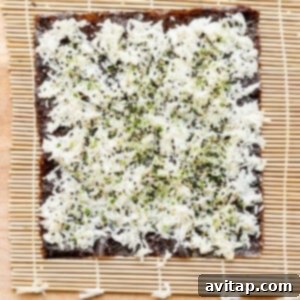
- Even Rice Distribution: When spreading the seasoned rice onto the nori sheet, aim for an even, thin layer. Leave about a ¾-inch strip of nori bare at the far end; this will act as the “seal” for your roll. Don’t press the rice too hard, just gently spread it.
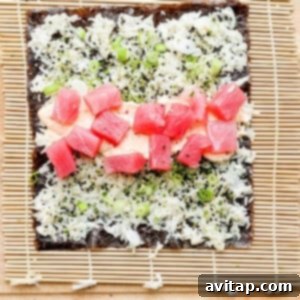
- Strategic Filling Placement: Arrange your spicy tuna mixture, green onions, and furikake in a neat line across the center of the rice-covered nori, closer to the edge nearest you. Don’t overfill! Too many ingredients will make rolling difficult and potentially lead to a bursting roll.
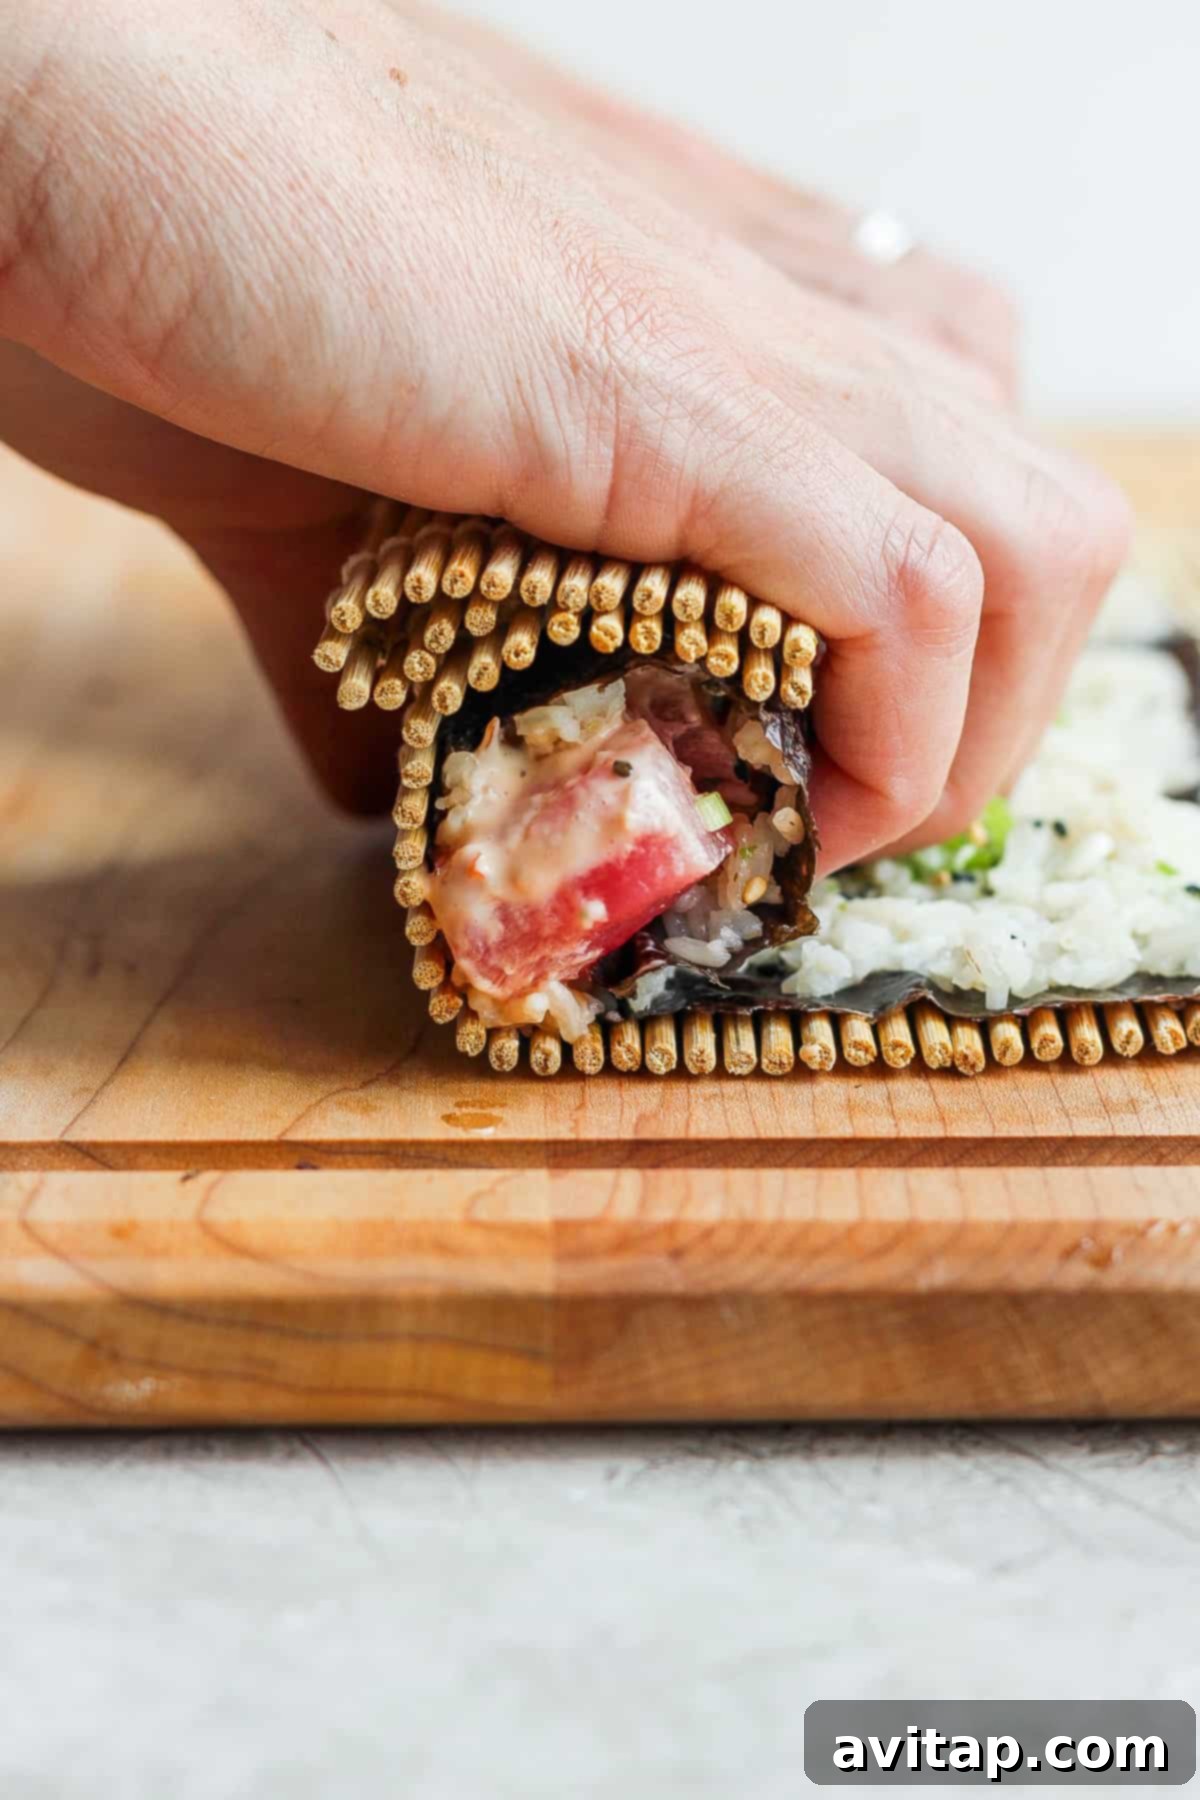
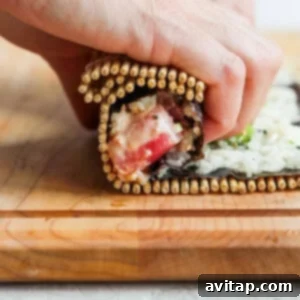
- The Initial Roll and Tuck: Using your sushi mat (or plastic wrap), lift the edge closest to you and gently bring it over the fillings, tucking it in to meet the other side of the ingredients. Apply gentle, even pressure to form the core of your roll. This first tuck is crucial for tightness.
- Gentle and Consistent Pressure: As you continue to roll the mat forward, lifting it slightly as you go, gently squeeze the roll with your fingers to maintain a tight, compact shape. The pressure should be firm but not crushing, compressing the rice and fillings so they bond together securely. This prevents the roll from disintegrating when cut.
- Seal the Deal: Once you reach the bare strip of nori at the far end, use a tiny bit of water to moisten it. Then, press firmly to seal the roll completely. You can reshape the roll slightly at this stage to ensure it’s perfectly round or square.
If your ingredients start to shift or escape during rolling, don’t fret! Simply push them back into place with your fingers and continue rolling. Sushi making is an art that improves with practice. Your first roll might not be magazine-perfect, and that’s completely okay! It will still taste incredibly delicious, which is what truly matters. Embrace the learning process and enjoy the journey!
Expand Your Seafood Repertoire with More of Our Favorite…
Irresistible Easy Seafood Recipes
If you’re loving the fresh flavors of these spicy tuna rolls, you’re in for a treat! Explore more delightful and simple seafood creations from our kitchen:
- Simple Salmon Sushi Burrito: A fun, oversized take on sushi, perfect for a hearty and portable meal.
- Crispy Air Fryer Shrimp: Quick, healthy, and wonderfully tender shrimp, ideal for appetizers or a light main course.
- Flavorful Ahi Tuna Poke Bowl: A vibrant, deconstructed sushi experience with seared tuna, fresh veggies, and a delicious sauce.
- Baked Cod Fish Tacos: Light and flaky baked cod nestled in warm tortillas with crunchy toppings.
- Zesty Thai Salmon Salad: A refreshing salad bursting with Asian-inspired flavors and succulent salmon.
- Creamy Avocado Tuna Salad Sandwich: A healthier, elevated take on a classic sandwich, perfect for lunch.
Frequently Asked Questions About Spicy Tuna Rolls
For achieving that authentic, perfectly sticky sushi texture, short-grain rice is your ultimate choice. Its high starch content is exactly what makes each grain adhere just enough to form a cohesive roll, preventing it from falling apart. If short-grain white rice is unavailable, medium-grain rice makes an excellent substitute; it still offers a good balance of stickiness and bite. Absolutely avoid long-grain rice, as its lower starch content and distinct texture will not yield the desired sushi consistency.
A classic spicy tuna roll typically features a simple yet powerful combination of three core ingredients: perfectly seasoned sushi rice, fresh sashimi-grade tuna, and crisp nori (seaweed) sheets, all brought together with a vibrant spicy mayonnaise sauce. Our enhanced recipe elevates this classic by incorporating thinly sliced green onions for a fresh bite and a sprinkle of furikake for added umami and textural interest, making each roll even more flavorful and complex.
While a bamboo sushi mat certainly makes rolling easier and helps achieve a uniform shape, it’s not strictly essential! You can easily employ the “towel trick” or simply use a sheet of plastic wrap. To do this, lay a clean kitchen towel or a large piece of plastic wrap flat on your counter or table. Place your nori sheet on top. Spread a thin, even layer of sushi rice onto the nori, then arrange your fillings down the center. Use the edge of the towel or plastic wrap closest to you to gently lift and begin rolling, applying consistent, gentle pressure to form a tight, well-bound roll. With a little practice, you’ll be rolling perfect sushi even without specialized equipment!
“Sushi-grade tuna” is a term used to describe fish that is safe to eat raw. It’s not a legally regulated term, but rather a quality indicator used by fishmongers and chefs. It generally means the fish has been handled with exceptional care from catch to sale, quickly bled and gutted, flash-frozen to destroy parasites (a common practice even for fresh-looking tuna), and stored at extremely low temperatures. When buying, look for a reputable fish market or grocer, ask about their sourcing, and choose tuna with a vibrant, deep red color, firm texture, and a fresh, ocean-like smell (not overly fishy).
While you can certainly make a delicious “spicy tuna salad roll” with canned tuna, it won’t be a traditional spicy tuna sushi roll. Canned tuna is cooked and has a different texture and flavor profile. For an authentic raw sushi experience, fresh sushi-grade tuna is essential. If you’re looking for a budget-friendly or cooked alternative, mixing canned tuna with mayonnaise, chili sauce, and perhaps some finely diced celery or cucumber can make a tasty substitute, but manage your expectations for it to be like restaurant sushi.
Craving More Creative Sushi? Try This!
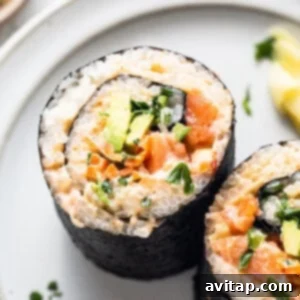
Simple Salmon Sushi Burrito
If you’re a fan of these easy spicy tuna rolls, you absolutely must try our equally delightful and simple salmon sushi burritos. They offer all the fantastic flavors of sushi in a convenient, hearty, and handheld form. Yum!
Complementary Dishes: What to Serve with Spicy Tuna Rolls
While spicy tuna rolls are fantastic on their own, pairing them with the right side dishes can elevate your meal into a full, immersive dining experience. Here are some of our top recommendations:
- Simple Asian-Inspired Salad – Looking to complement your favorite Asian dish with a fresh and vibrant salad? Our colorful recipe, tossed with a delicious and zesty dressing, is the perfect light accompaniment.
- Wholesome Cauliflower Fried Rice – This clever Cauliflower Fried Rice recipe offers a delicious and satisfying low-carb alternative to traditional fried rice. It’s packed with a medley of fresh vegetables and a super flavorful sauce, plus it’s incredibly easy to prepare.
- Zesty Thai Chili Corn Salad – We absolutely adore this refreshing Thai Chili Summer Corn Salad. It features sweet grilled corn, crisp carrots, red pepper, and crunchy cabbage, all coated in the most delicious vinaigrette! Make this vibrant grilled corn salad today for a burst of summer flavor.
- Vibrant Rainbow Noodle Salad – Discover the freshness of this delightful salad, featuring crisp veggies like red and green peppers, shredded carrots, tender pea pods, red onion, and cooling cucumbers. These are all tossed with delicate linguine noodles and an irresistible Asian-inspired sesame dressing, creating the freshest of fresh salads.
- Miso Soup: A warm, savory bowl of miso soup offers a comforting and traditional start to any sushi meal.
- Edamame: Lightly steamed and salted edamame pods are a classic, healthy, and easy appetizer that’s perfect for sharing.
- Gari (Pickled Ginger): Essential for cleansing the palate between different types of sushi, offering a refreshing, piquant bite.
- Wasabi & Soy Sauce: Don’t forget the traditional condiments for dipping your rolls!
Proper Storage for Your Homemade Spicy Tuna Rolls
For the absolute best flavor and texture, it’s always recommended to enjoy homemade sushi rolls on the same day they are prepared. The rice can dry out and the nori can become chewy if left too long. However, if you happen to have leftovers, proper storage can help maintain their quality for a short period.
We recommend **gently wrapping your spicy tuna rolls tightly in plastic wrap, and then placing them in an airtight container or wrapping them again in a thick kitchen towel.** This dual protection helps to prevent the rice from getting too cold and dry, which is the primary concern for leftover sushi. Store them in the coldest part of your refrigerator. While they can be consumed the next day, they are best eaten within 24 hours. Keep in mind that the texture of the rice and nori will soften, but the flavors will still be enjoyable. Always trust your senses; if anything smells or looks off, it’s best to discard it.
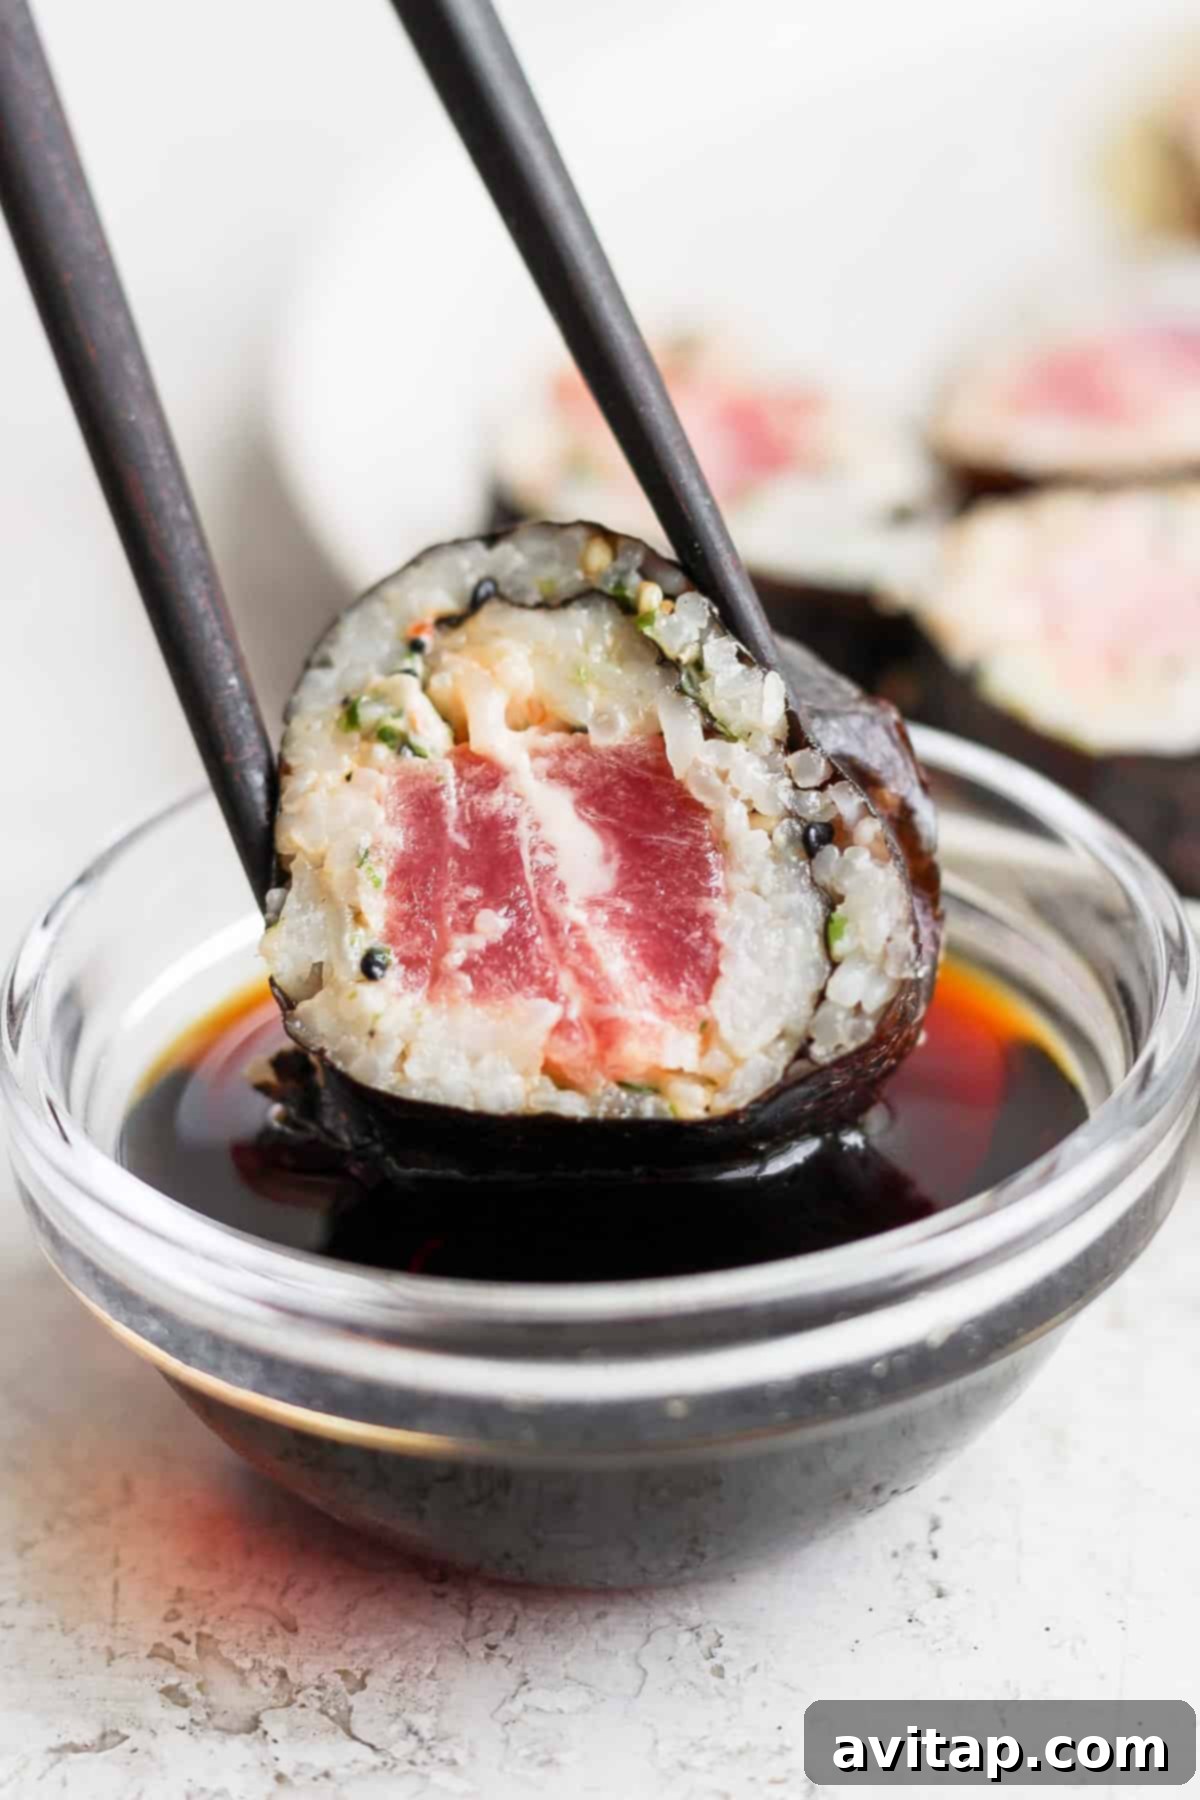
Easy Spicy Tuna Roll Recipe
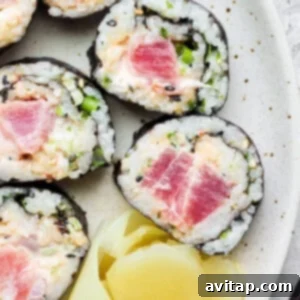
Ingredients
- ½ cup mayonnaise
- 1 tablespoon chili garlic sauce
- 1.5-2 cups cooked sticky rice* (seasoned with sushi vinegar if desired, see notes)
- ½ lb. sushi-grade tuna, finely diced
- 1.5 tablespoons furikake
- 2 green onions, thinly sliced
- 4 sheets nori
- Optional: Pickled ginger, wasabi, soy sauce for serving
Instructions
-
In a small bowl, mix the mayonnaise and chili garlic sauce until thoroughly combined and smooth. This is your spicy mayo. Set aside.

-
Lay a sushi rolling mat (or a large piece of plastic wrap) on your clean counter. Place one sheet of nori on top of the mat, shiny side down. Slightly dampen your hands to prevent rice from sticking.
-
Spread about ½ cup of the cooked sticky rice evenly over the nori, leaving a ¾-inch border at the top edge (the side furthest from you). Gently press the rice to form a thin, even layer. Next, arrange about ¼ of the diced tuna in a line across the center of the rice. Sprinkle with ¼ of the furikake and ¼ of the sliced green onions. Drizzle a generous amount of the prepared spicy mayo over the tuna.
-
Wet your hands again. Carefully lift the edge of the plastic wrap or sushi mat closest to you, bringing it over the ingredients. Tuck the edge of the nori tightly around the fillings. Continue to roll forward, applying gentle, consistent pressure to compress the roll and keep it firm. Use your fingers to tuck in any escaping ingredients.
-
Once fully rolled, moisten the exposed edge of the nori with a tiny bit of water and press firmly to seal the roll. Repeat the process for the remaining nori sheets and ingredients. The longer the rolls sit, the more tender the nori will become, making it easier and more enjoyable to eat. We recommend letting the rolls rest for at least 10 minutes before slicing.
-
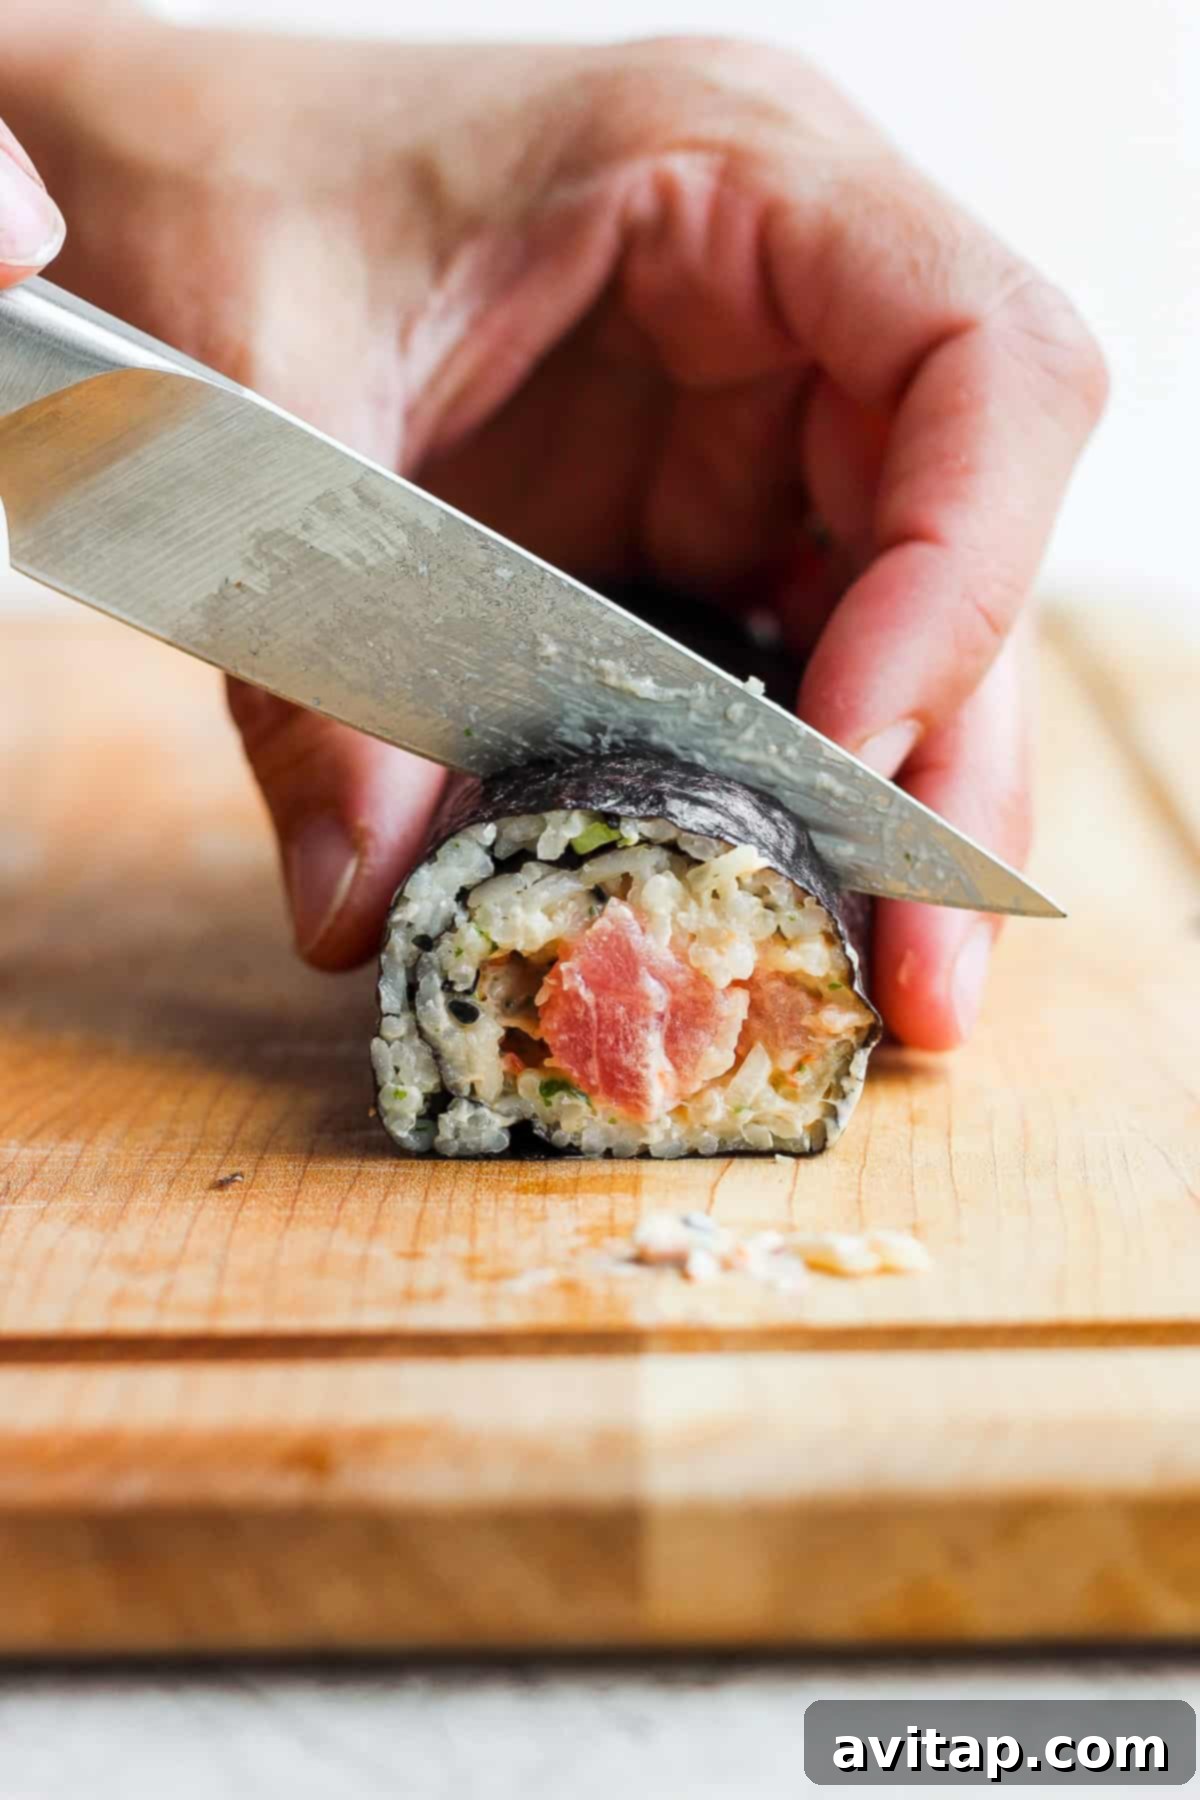
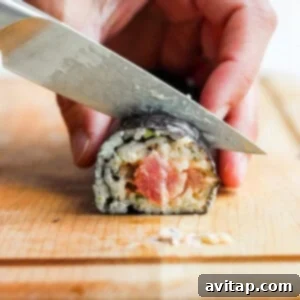
Using a very sharp, damp knife, slice each roll into 0.5 – 1-inch sections. Serve immediately with pickled ginger, wasabi, and soy sauce for dipping. Enjoy your homemade sushi!
Tips & Notes for Sticky Rice
For the asterisked sticky rice directions:
- Rinse 1 cup of uncooked short-grain sushi rice under cold water for 2-3 minutes, until the water runs clear.
- Add the rinsed rice to an Instant Pot along with 1 cup of water. Stir to ensure all rice is covered.
- Cook the rice under high pressure for 4 minutes, then let it naturally release pressure for 8 minutes. Carefully release any remaining pressure and fluff the rice with a paddle.
- Transfer warm rice to a non-metallic bowl. Gently fold in sushi vinegar (2 tbsp rice vinegar, 1 tbsp sugar, ½ tsp salt, warmed to dissolve) while fanning, then cover with a damp cloth and set aside at room temperature until ready to use.
Nutrition Information
Calories:
343 kcal
,
Carbohydrates:
15 g
,
Protein:
15 g
,
Fat:
24 g
,
Fiber:
1 g
,
Sugar:
1 g
Nutrition information is automatically calculated, so should only be used as an approximation.

Love this recipe? Leave a comment below!
Don’t forget to tag your delicious creations on social media with the hashtag #fitfoodiefinds – we’d absolutely love to see what you’re up to in the kitchen!