
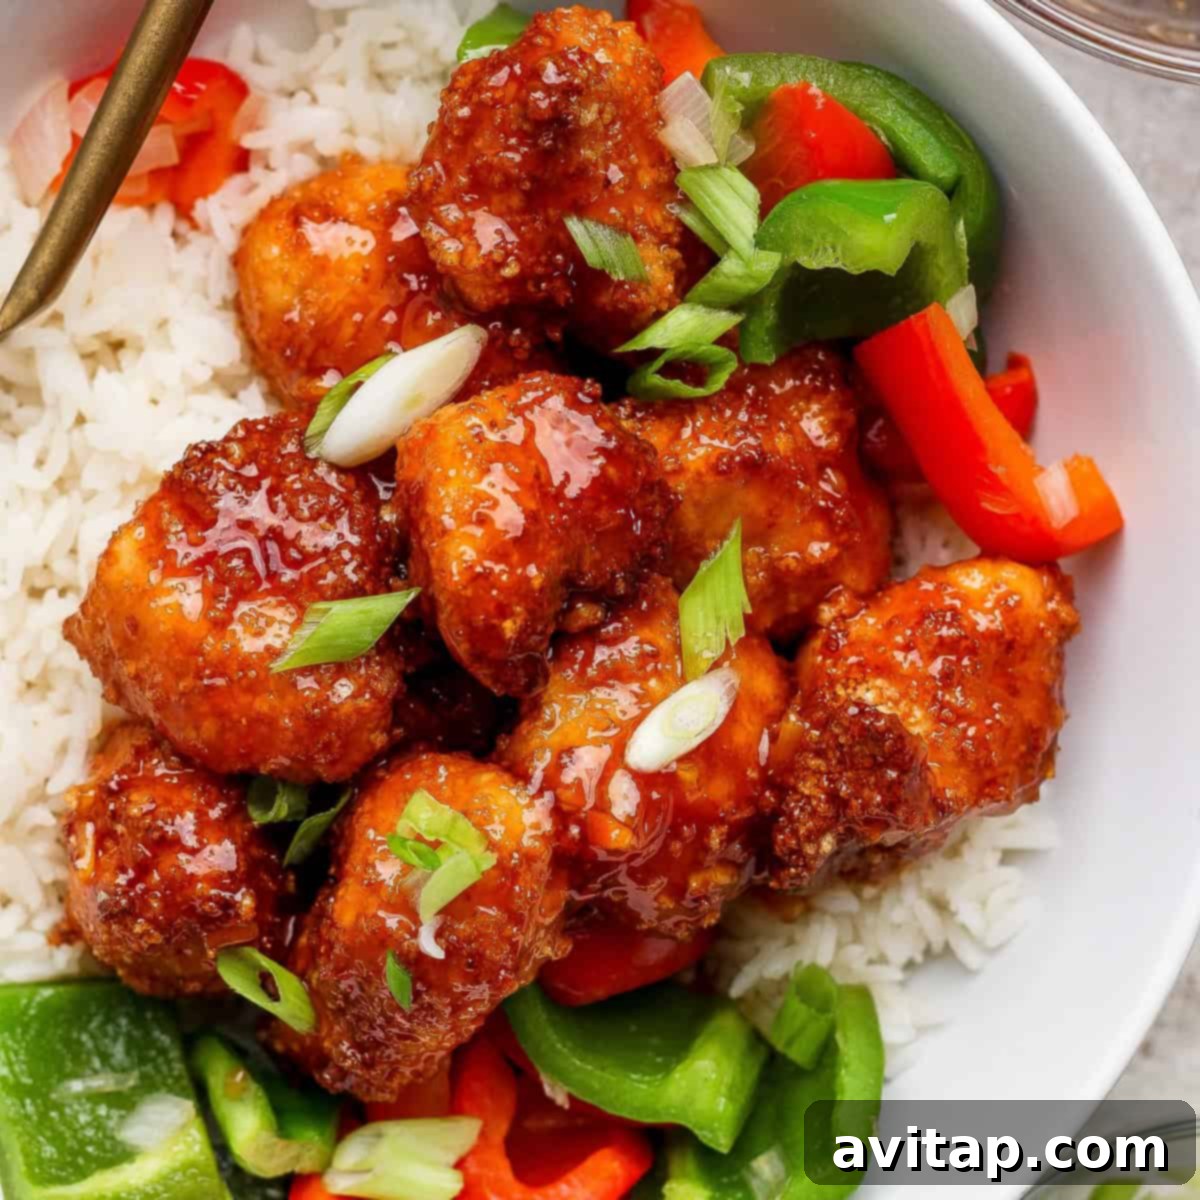
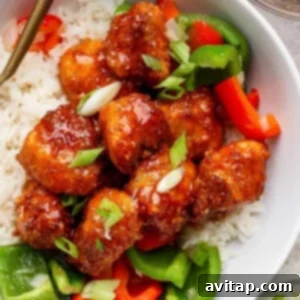
Transform your weeknight dinner routine with this incredible Air Fryer Sweet and Sour Chicken recipe. Featuring perfectly crispy chicken, a colorful medley of fresh vegetables, and a tantalizing homemade sweet and sour sauce, this dish offers all the craveable flavors of your favorite takeout—without the extra fuss or questionable ingredients. It’s a satisfying, wholesome, and surprisingly easy meal that comes together quickly, making it ideal for busy evenings when you’re short on time but refuse to compromise on taste. Plus, it’s a guaranteed hit with the entire family, even the pickiest eaters!
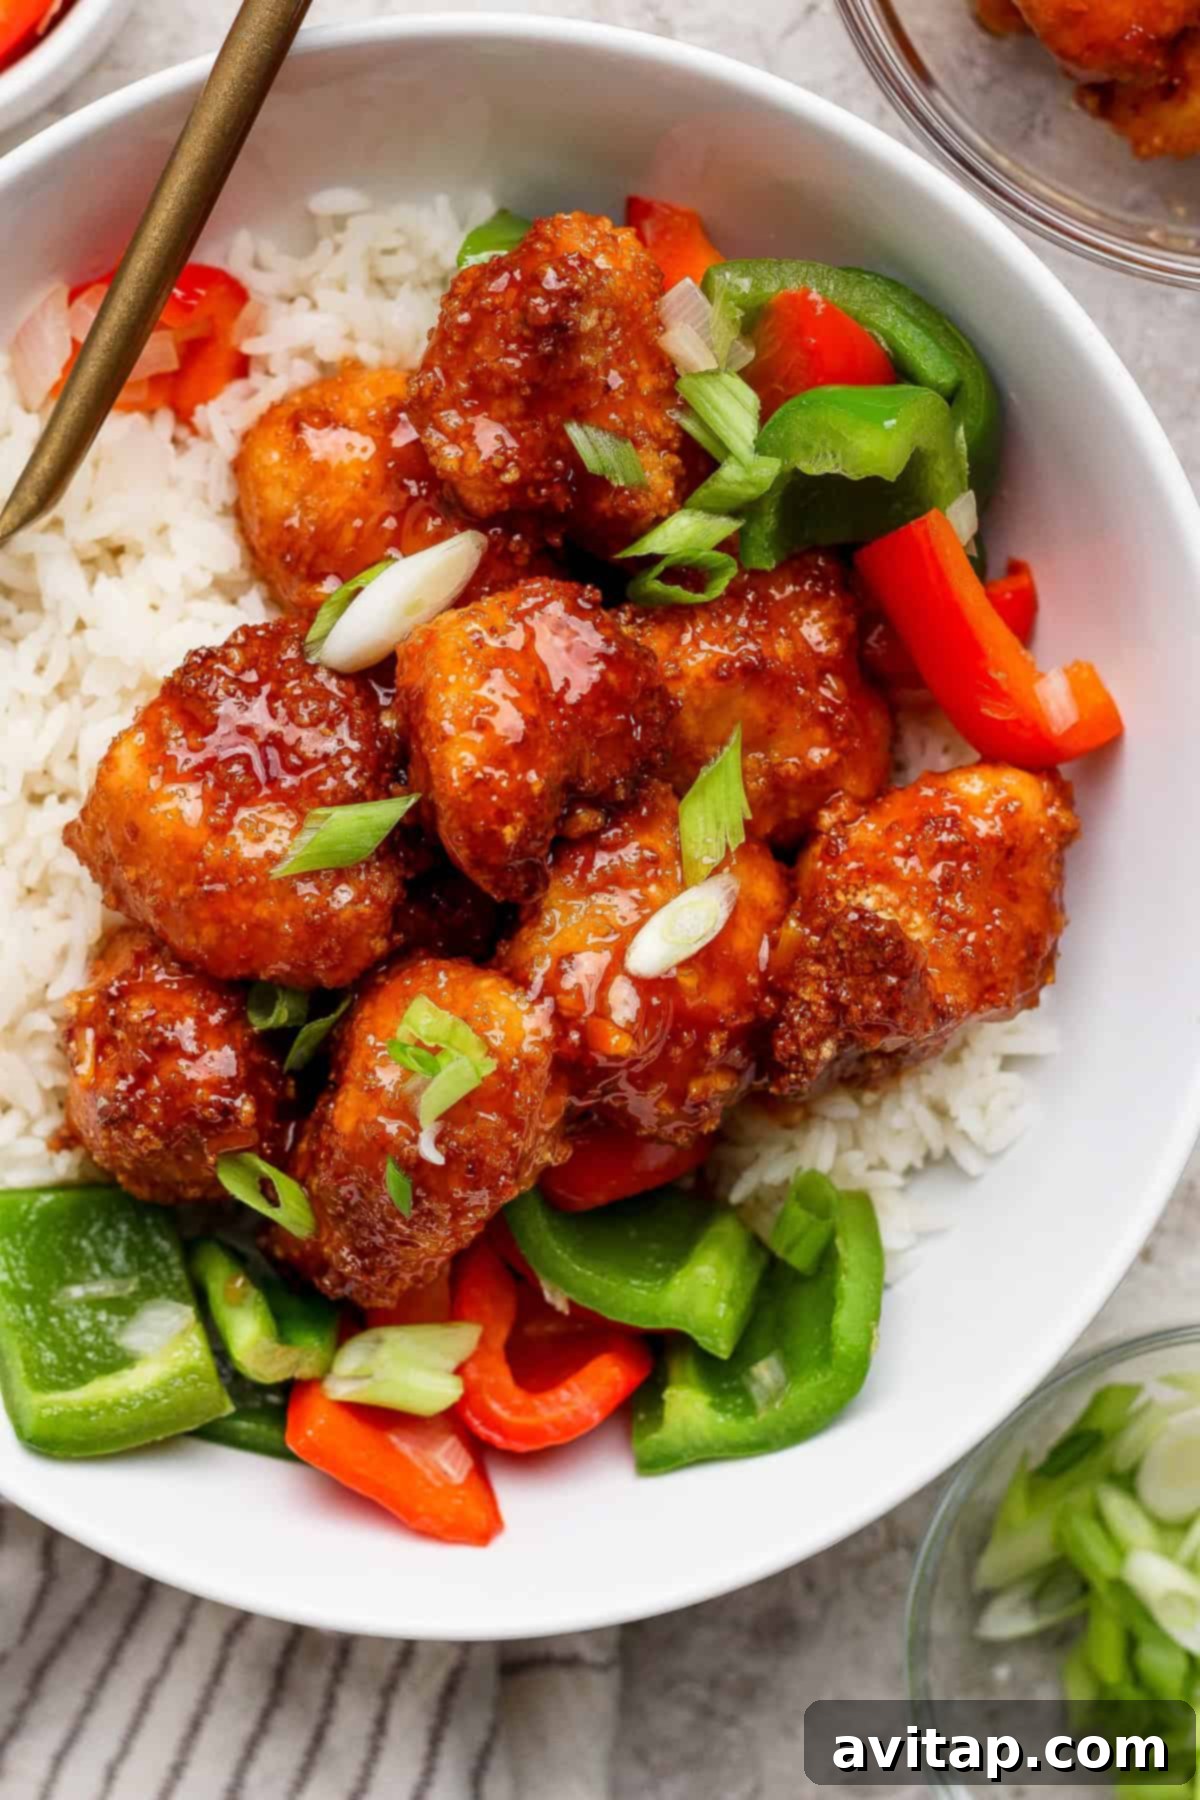
Why You’ll Love This Air Fryer Sweet and Sour Chicken Recipe
- Complete Meal in One Bowl: This recipe is designed for maximum convenience and minimal cleanup. While your chicken crisps to perfection in the air fryer, you can effortlessly sauté fresh, vibrant bell peppers and onions. Serve everything over a fluffy bed of rice for a balanced and delicious meal that’s ready in under an hour, providing all your essential food groups in a single, satisfying bowl. It’s truly a smart solution for wholesome family dinners.
- Unbelievably Crispy Chicken (Without Deep Frying!): As dedicated enthusiasts of air fryer cooking, we’ve spent years perfecting crispy textures, and this recipe stands out as one of our absolute favorites. The air fryer works its magic, transforming ordinary chicken pieces into wonderfully golden and crunchy bites. No need for messy deep-frying; you achieve that coveted restaurant-quality crispiness with far less oil. Once tossed in our irresistible sweet and sour sauce, each piece becomes a burst of flavor and texture that’s simply irresistible.
- Authentic Takeout Flavor, Healthier Ingredients: Do you crave the comforting taste of sweet and sour chicken but prefer to know exactly what goes into your meal? Our homemade sweet and sour sauce delivers that beloved sweet, tangy, and subtly spicy profile using natural sweeteners like honey and a hint of bright orange marmalade. A touch of chili garlic sauce (or sriracha) adds a balanced kick, allowing you to customize the spice level to your family’s preference. Enjoy a guilt-free, flavorful alternative to traditional takeout that tastes even better.
Key Ingredients for Success
Crafting the perfect Air Fryer Sweet and Sour Chicken involves a handful of star ingredients, each playing a crucial role in delivering that authentic flavor and satisfying texture. Here’s a closer look at what makes this dish shine:
- Chicken: For this recipe, boneless, skinless chicken breasts are our top choice, cut into uniform 1 to 1.5-inch chunks. This ensures they cook evenly and crisp up beautifully in the air fryer. If you prefer a slightly richer flavor and juicier texture, boneless, skinless chicken thighs can also be used and will work wonderfully.
- Panko Breadcrumbs: This is your secret weapon for achieving truly exceptional crispiness! Unlike regular breadcrumbs, panko is lighter, flakier, and absorbs less oil, resulting in a superior crunch that holds up remarkably well in the air fryer. It creates an airy, golden crust that is central to the appeal of this dish.
- Orange Marmalade: This unsung hero of our sweet and sour sauce adds an incredible depth of flavor. Beyond its natural sweetness, the marmalade brings a subtle citrusy brightness and a lovely thickness to the sauce, giving it that desirable glossy finish and complex profile. It’s a simple addition that makes a significant difference.
- Cornstarch Slurry: Essential for thickening the sweet and sour sauce to a perfect consistency. A well-made cornstarch slurry transforms a watery sauce into a rich, luscious glaze that beautifully coats the crispy chicken. If you choose to omit it, be aware that your sauce will be much thinner, resembling more of a pourable dressing than a clinging glaze.
- Chili Garlic Sauce (or Sriracha): To perfectly balance the sweetness from the honey and marmalade, a touch of chili garlic sauce adds a delightful zing and a hint of warmth. It introduces that signature “sour” element with an underlying subtle spice. You can easily adjust the amount to suit your taste, using less for a milder family-friendly version and adding extra for those who enjoy a spicier kick.
- Rice Vinegar: This ingredient is paramount for achieving the characteristic “sour” component of sweet and sour chicken. Its mild, tangy acidity brightens the sauce and cuts through the sweetness, creating a harmonious and well-rounded flavor profile that is both refreshing and addictive.
You’ll find the complete list of all ingredients with precise measurements in the comprehensive recipe card located further down this page.
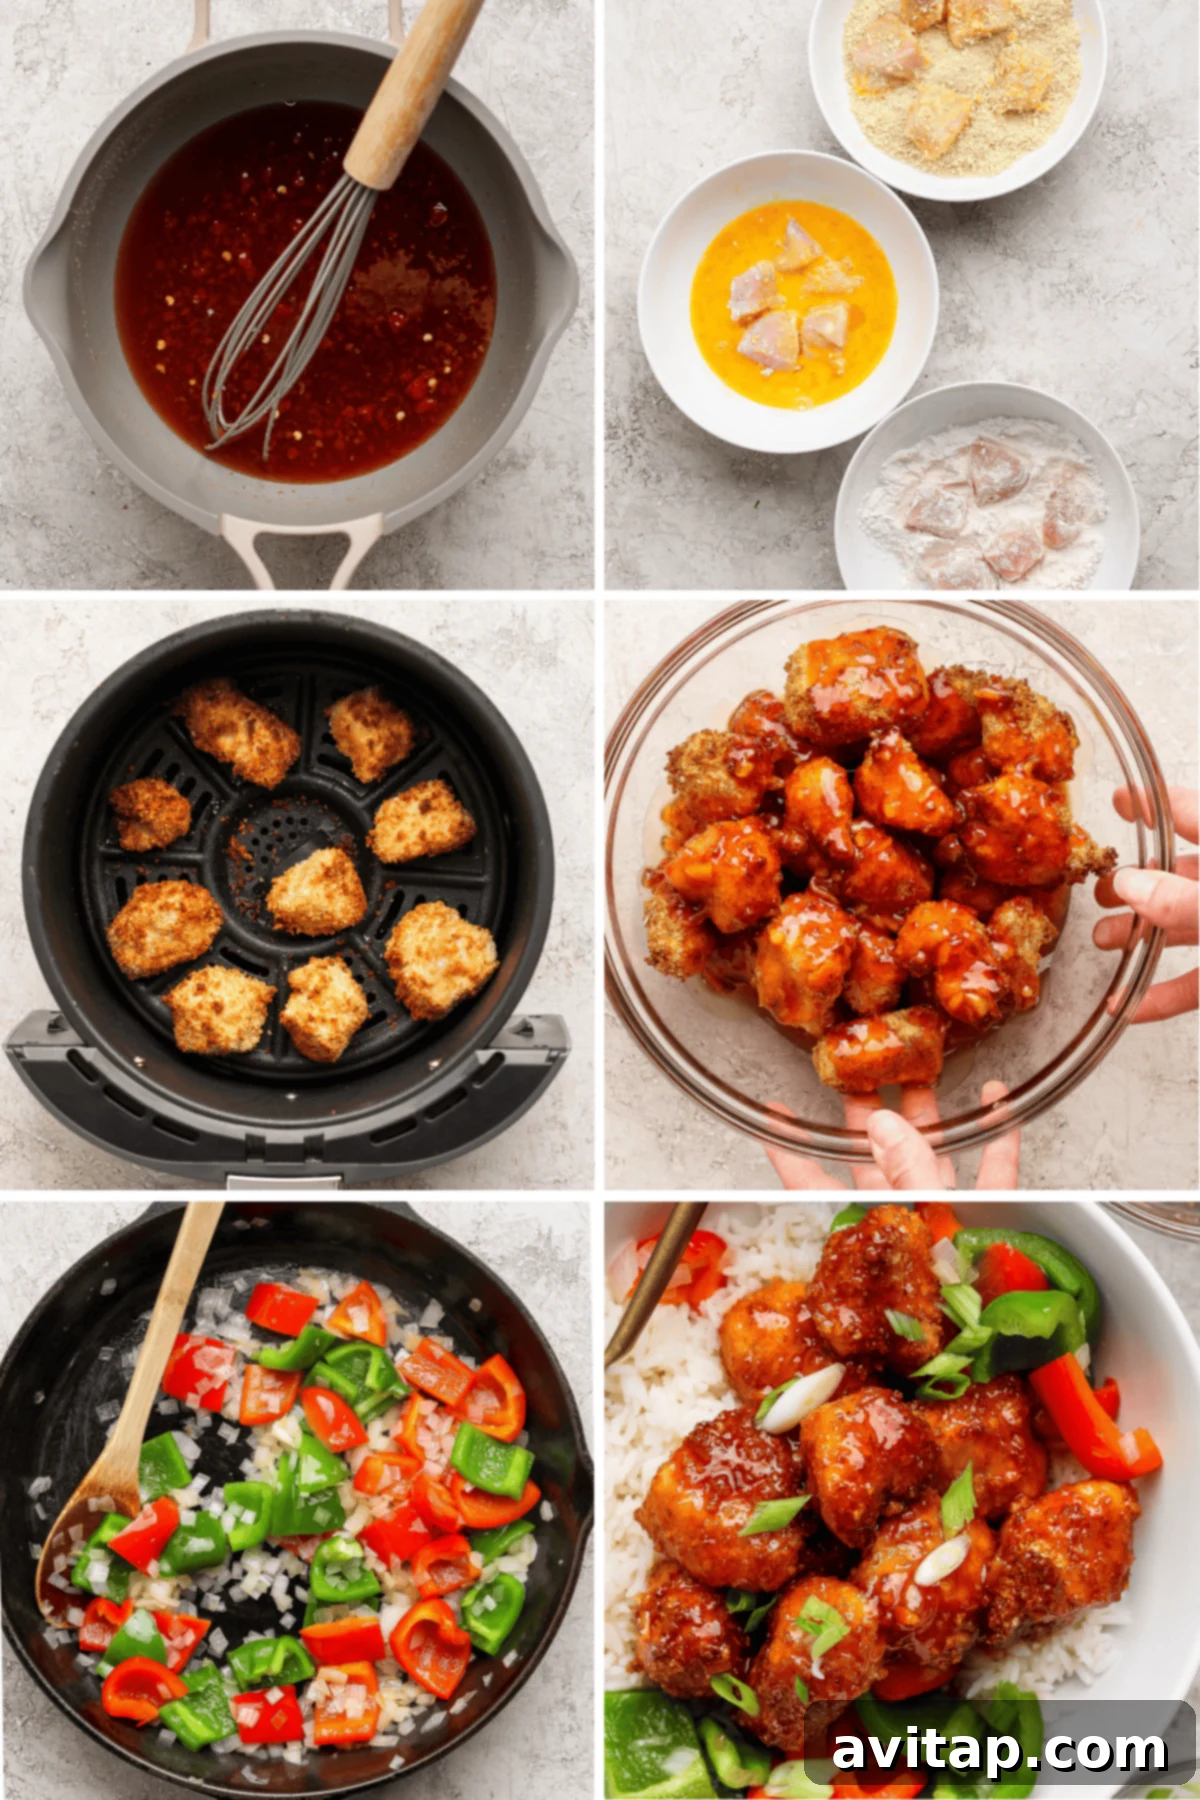
Mastering Air Fryer Sweet and Sour Chicken: A Step-by-Step Guide
This recipe is designed to be straightforward and enjoyable, even for novice cooks. Follow these simple steps to create a delicious and visually appealing meal:
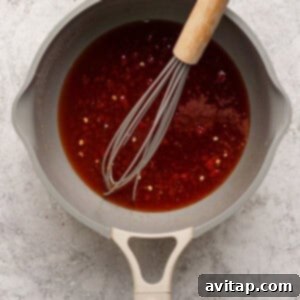
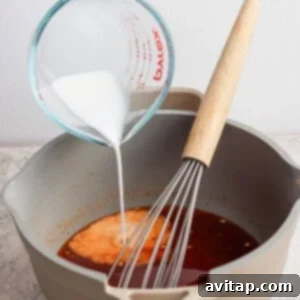
- Craft the Irresistible Sauce: Begin by combining all your sweet and sour sauce ingredients—honey, ketchup, rice vinegar, soy sauce, orange marmalade, and chili garlic sauce—into a small saucepan. Whisk them together until thoroughly blended. Gently bring this mixture to a simmer over medium-high heat, then reduce the heat to low to maintain a gentle bubble. While the sauce simmers, prepare your cornstarch slurry in a separate small bowl by whisking cornstarch with warm water until smooth. Pour this slurry into the simmering sauce and continue whisking until the sauce visibly thickens and achieves a beautiful, glossy consistency. Remove from heat and set aside.
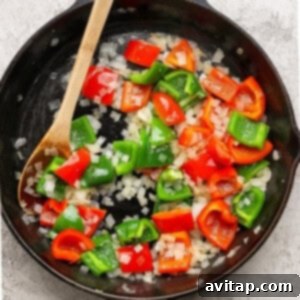
- Sauté the Vibrant Veggies: Heat a large skillet over medium-high heat and add the sesame oil. Once shimmering, add your chopped red bell pepper, green bell pepper, and white onion to the skillet. Season with a pinch of sea salt. Sauté the vegetables for about 5-7 minutes, stirring occasionally, until they reach your desired tenderness—whether you prefer them crisp-tender or slightly softer. Cover the skillet and remove it from the heat to keep them warm.
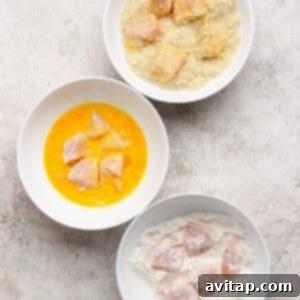
- Prepare the Crispy Chicken: Set up a classic breading station with three shallow bowls. In the first, place the flour. In the second, whisk the two large eggs. In the third, combine the panko breadcrumbs with ½ teaspoon of sea salt. Take each chicken chunk, dredge it first in the flour (shaking off any excess), then dip it into the egg wash, ensuring it’s fully coated, and finally press it firmly into the panko breadcrumbs until completely covered. This three-step process is key to achieving that perfectly crispy, golden crust in the air fryer. Repeat until all chicken pieces are coated.
- Air Fry to Golden Perfection: Arrange the coated chicken pieces in a single layer in your air fryer basket, making sure not to overcrowd them. Work in batches if necessary to ensure even cooking and maximum crispiness. Lightly spray the chicken with avocado oil for an even crispier finish. Air fry at 400°F (200°C) for 5-8 minutes, or until the chicken is golden brown, cooked through, and deliciously crispy. The exact cooking time may vary slightly depending on your air fryer model and chicken piece size. Always ensure the internal temperature reaches 165°F (74°C) for food safety.
- Toss and Transform: Once all the chicken is cooked, transfer the crispy pieces into a large bowl. Pour your prepared sweet and sour sauce over the chicken and toss gently until every piece is beautifully coated in the sticky, flavorful glaze.
- Assemble Your Flavorful Bowls and Savor: Divide your fluffy white rice among serving bowls. Top with the glazed sweet and sour chicken and the sautéed bell peppers and onions. Garnish with a sprinkle of fresh green onions or sesame seeds if desired. Now, it’s time to dig in and enjoy this fantastic homemade meal!
For detailed nutritional information and precise ingredient quantities, please consult the complete recipe card below.
Elevate Your Meal: Serving Suggestions
This Air Fryer Sweet and Sour Chicken is incredibly versatile and pairs beautifully with various sides to create a complete and satisfying meal. Our absolute go-to is serving it over a fluffy bed of perfectly cooked white rice. My Instant Pot white rice recipe is a game-changer, yielding flawless results every single time. Simply start a batch in your Instant Pot while you’re preparing the chicken and veggies, and everything will be ready simultaneously—easy peasy!
Beyond white rice, consider these delicious alternatives:
- Brown Rice or Quinoa: For a nutrient-dense option, serve with brown rice or quinoa. Their nutty flavors complement the sweet and sour profile beautifully.
- Cauliflower Rice: If you’re looking for a lower-carb alternative, cauliflower rice is an excellent choice. It absorbs the sauce well and adds a subtle texture.
- Noodles: Transform your bowl into a hearty noodle dish! Serve over cooked lo mein noodles, udon, or even simple spaghetti for a different textural experience.
- Steamed Vegetables: Boost your veggie intake by adding a side of steamed broccoli, snap peas, or asparagus. Their crisp freshness provides a wonderful contrast to the saucy chicken.
- Lettuce Wraps: For a lighter meal, spoon the chicken and a few veggies into crisp lettuce cups for a fresh and crunchy alternative.
Storing and Reheating Your Leftovers
This Air Fryer Sweet and Sour Chicken makes fantastic leftovers! To store, transfer any remaining chicken and vegetables into an airtight container and refrigerate for up to 3 days. While the chicken won’t be as intensely crispy as when it’s freshly made, the flavors meld beautifully, making it a delightful meal for the next day.
For reheating, I highly recommend using your air fryer again! Place the chicken and veggies back in the air fryer basket and heat at 350°F (175°C) for 5-7 minutes, or until warmed through and the chicken regains some of its desirable crispiness. The air fryer truly excels at bringing leftovers back to life! If you’re short on time, the microwave also works perfectly well for reheating, though the chicken may be softer.
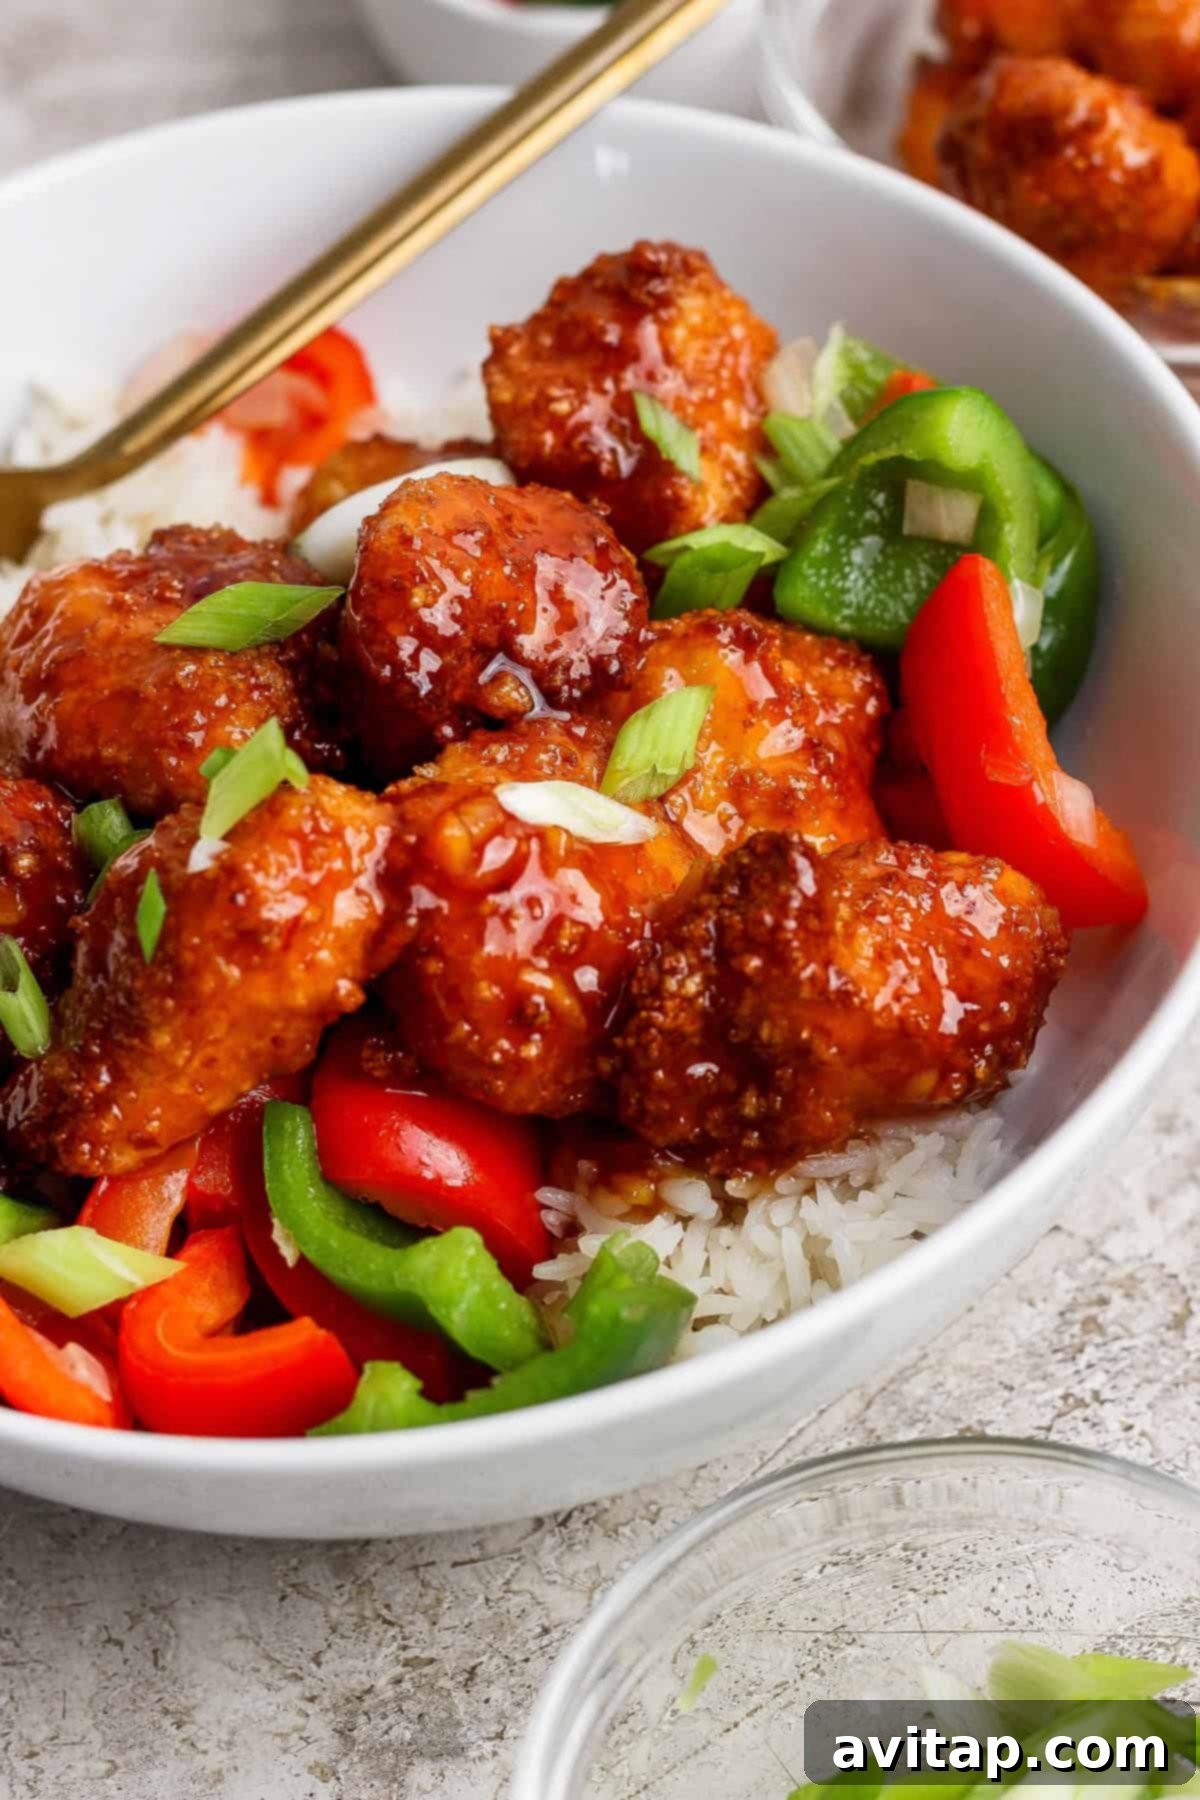
Explore More Delicious Air Fryer Recipes
Love the ease and efficiency of air frying? So do we! It’s a game-changer for quick, healthy, and incredibly delicious meals. If you enjoyed this Air Fryer Sweet and Sour Chicken, you’re in for a treat. Dive into our collection of other fantastic air fryer recipes that are perfect for any meal:
- Honey Chili Crunch Salmon Bites
- Air Fryer Shrimp and Veggies
- Juicy Air Fryer Chicken Breast
- Air Fryer Chicken Thighs
- Air Fryer Honey Sesame Chicken
Air Fryer Sweet and Sour Chicken Recipe
Prep: 30 minutes
Cook: 30 minutes
Total: 1 hour
Pin
Ingredients
Homemade Sweet and Sour Sauce
- ½ cup honey
- ¼ cup ketchup
- ½ cup rice vinegar
- 2 tablespoons soy sauce
- 3 tablespoons orange marmalade
- 1 teaspoon chili garlic sauce or sriracha
- Cornstarch slurry: 1 tablespoon cornstarch + 2 tablespoons warm water, whisked
Vegetables for Sautéing
- 1 tablespoon sesame oil
- 1 large red bell pepper, chopped
- 1 large green bell pepper, chopped
- ½ large white onion, chopped
- ½ teaspoon sea salt
Crispy Chicken
- 1.5 lbs chicken breast, sliced into 1-1.5-inch chunks
- ¾ cup flour
- 2 large eggs
- 2 cups panko bread crumbs
- ½ teaspoon sea salt
Instructions
-
Begin by preparing the sweet and sour sauce. Add the honey, ketchup, vinegar, soy sauce, orange marmalade, and chili garlic sauce to a small saucepan. Whisk thoroughly to combine all ingredients. Bring the mixture to a gentle boil over medium-high heat, then reduce the heat to low and allow it to simmer gently, allowing the flavors to meld.

-
In a separate small bowl, prepare the cornstarch slurry by whisking together the cornstarch and warm water until no lumps remain. Once the cornstarch has fully dissolved, carefully pour this mixture into the simmering sweet and sour sauce in the saucepan. Continue to whisk the sauce vigorously; it should begin to thicken quite quickly, achieving a glossy, desired consistency. Remove the thickened sauce from the heat and set it aside to cool slightly.
-
Prepare your colorful vegetables next. Heat the sesame oil in a large skillet over medium-high heat. Add the chopped onion and both red and green bell peppers to the hot oil. Season with ½ teaspoon of sea salt. Sauté the vegetables for 5-7 minutes, stirring occasionally, until they reach your preferred texture – whether you like them crisp-tender or slightly softer. Once cooked, cover the skillet and remove it from the heat to keep the vegetables warm and vibrant.
-
Now, it’s time to prepare the chicken for air frying. Set up three separate, shallow bowls for your breading station. In the first bowl, place the ¾ cup of flour. In the second bowl, whisk the two large eggs until well beaten. In the third bowl, combine the 2 cups of panko breadcrumbs with an additional ½ teaspoon of sea salt, mixing them thoroughly.
-
Begin breading the chicken pieces. Take one chunk of chicken and dredge it completely through the flour, ensuring it’s lightly coated on all sides, then gently shake off any excess. Next, dip the floured chicken into the whisked egg, allowing any extra egg to drip off. Finally, press the chicken firmly into the panko breadcrumbs, ensuring it is fully coated and the breading adheres well. Set the coated chicken aside on a clean plate or cutting board and repeat this process for all remaining chicken chunks. This sequential coating method is essential for a wonderfully crispy exterior.
-
Carefully transfer the breaded chicken pieces into your air fryer basket, arranging them in a single layer. It’s crucial not to overcrowd the basket, as this will prevent the chicken from crisping properly. If necessary, cook the chicken in multiple batches. Lightly spray the chicken with avocado oil for extra crispiness. Set your air fryer to 400ºF (200°C) and cook for 5-8 minutes, or until the chicken is beautifully golden brown, wonderfully crispy, and cooked through to an internal temperature of 165ºF (74°C). Cooking times may vary depending on your specific air fryer model and the size of your chicken pieces.
-
Once all the chicken is perfectly air-fried, transfer the hot, crispy pieces to a large mixing bowl. Pour the prepared sweet and sour sauce generously over the chicken. Using tongs or a spoon, gently toss the chicken until every piece is evenly coated in the delicious, glossy sauce. Serve the coated chicken immediately with the sautéed bell peppers and onions over a bed of fluffy rice for a complete and satisfying meal. Enjoy!


Helpful Tips & Variations
- Marmalade Alternatives: While orange marmalade provides a unique depth, you can certainly experiment with other jams or preserves. Peach or apricot jam would offer a lovely fruity twist, but remember that using a different fruit will subtly alter the overall flavor profile of your sauce.
- Orange Juice Substitution: If you don’t have marmalade on hand, you can replace it with fresh orange juice. However, keep in mind that orange juice is thinner than marmalade. You might need to add a bit more cornstarch to your slurry to achieve the desired thickness for your sweet and sour sauce. Start with an extra ½ to 1 teaspoon of cornstarch and adjust as needed.
- Add a Spicy Kick: For those who love a bit more heat, feel free to increase the amount of chili garlic sauce or sriracha in the sauce. Alternatively, you can serve extra hot sauce on the side for individual customization.
- Make it Gluten-Free: To make this recipe gluten-free, substitute the all-purpose flour with a gluten-free all-purpose flour blend and ensure your soy sauce is gluten-free (e.g., tamari). Confirm all other packaged ingredients are certified gluten-free.
- Pre-chop Veggies: Save time on busy weeknights by chopping your bell peppers and onions ahead of time. Store them in an airtight container in the refrigerator for up to 2-3 days.
- Non-Air Fryer Option: If you don’t have an air fryer, you can pan-fry the breaded chicken in about an inch of oil until golden and cooked through, or bake it in the oven at 400°F (200°C) for 20-25 minutes, flipping halfway, until crispy.
Watch How It’s Made!
Nutrition Information
Nutrition information is automatically calculated, so should only be used as an approximation.
Frequently Asked Questions (FAQs)
Q: Can I use frozen chicken for this recipe?
A: While fresh chicken is recommended for the best texture and crispiness, you can use frozen chicken. Ensure it is fully thawed, patted very dry, and cut into uniform pieces before breading and air frying. Adjust cooking time as needed.
Q: Can I make the sweet and sour sauce ahead of time?
A: Absolutely! The homemade sweet and sour sauce can be prepared up to 3-4 days in advance. Store it in an airtight container in the refrigerator. When ready to use, gently reheat it on the stovetop over low heat, whisking constantly, and add a splash of water if it’s too thick.
Q: What if I don’t have panko breadcrumbs?
A: While panko is highly recommended for its superior crispiness, you can substitute it with regular breadcrumbs. However, the chicken may not achieve the same level of airy crunch. You might also need slightly less regular breadcrumbs as they tend to be denser.
Q: Can I add other vegetables to this dish?
A: Yes! This recipe is very adaptable. Feel free to incorporate other quick-cooking vegetables like snap peas, broccoli florets, baby corn, or water chestnuts. Add them to the skillet with the bell peppers and onions during the last few minutes of sautéing to ensure they remain crisp-tender.
Q: How can I ensure my chicken is extra crispy?
A: Several factors contribute to crispy chicken: ensure your chicken pieces are patted very dry before breading, coat them thoroughly in the flour, egg, and panko mixture, and most importantly, do not overcrowd the air fryer basket. Cook in batches to allow hot air to circulate freely around each piece, promoting maximum crispiness.
Loved this Recipe? Leave a Comment Below!
We’re thrilled you enjoyed this delicious air fryer sweet and sour chicken! Your feedback means the world to us. Don’t forget to tag your beautiful creations on social media with the hashtag #fitfoodiefinds – we can’t wait to see what you’re cooking up!
Photography by: The Wooden Skillet